When it’s done right, gazpacho is one of the most delicious summer soups you’ll ever have. The secret, of course, is using super-fresh veggies. That’s why I crave it at the first sign of a vine-ripened tomato in my garden or a local farm stand. When my tomato plants have dozens of ripening fruits on them every day, I eat some in salads…I make tomato sauce with others…but the reddest and ripest become gazpacho!

I never make this out of season, and I’m always wary of restaurants that do! Very often, they’ll try to hide the taste of older veggies by adding too much salt or lots of spice.
The consistency of gazpacho is a personal preference. I like mine a bit chewy…not chunky like salsa, but not watery like soup…somewhere in between the two is perfection.
All the work is pretty much in the slicing, peeling and chopping…so I do it carefully.
1 large Vidalia onion, peeled and roughly chopped
1 carrot, peeled and roughly chopped
5 large tomatoes, peeled, seeded, and roughly chopped
2 medium cucumbers, peeled, seeded, and roughly chopped
6 sprigs of flat-leaf parsley
1/2 cup olives, drained (I like kalamatas)
1/2 cup good quality extra virgin olive oil
Juice of 1/2 a large lemon
3 tablespoons white vinegar
Sea salt and freshly cracked black pepper
An easy way to peel tomatoes is to turn them upside down and make an X with a knife, puncturing the skin. Drop the tomatoes in boiling water for about 30 seconds, and the skin will start peeling away from the meat. Scoop the tomatoes out of the water, and immediately drop them into a bowl of ice water, letting them cool for 5 minutes. The skin will peel right off. Cut the tomatoes in half and (over the sink!) gently press your thumbs into the seed compartments, popping them out. Give the tomato a little shake to remove any last seeds, and it’s ready to be chopped.
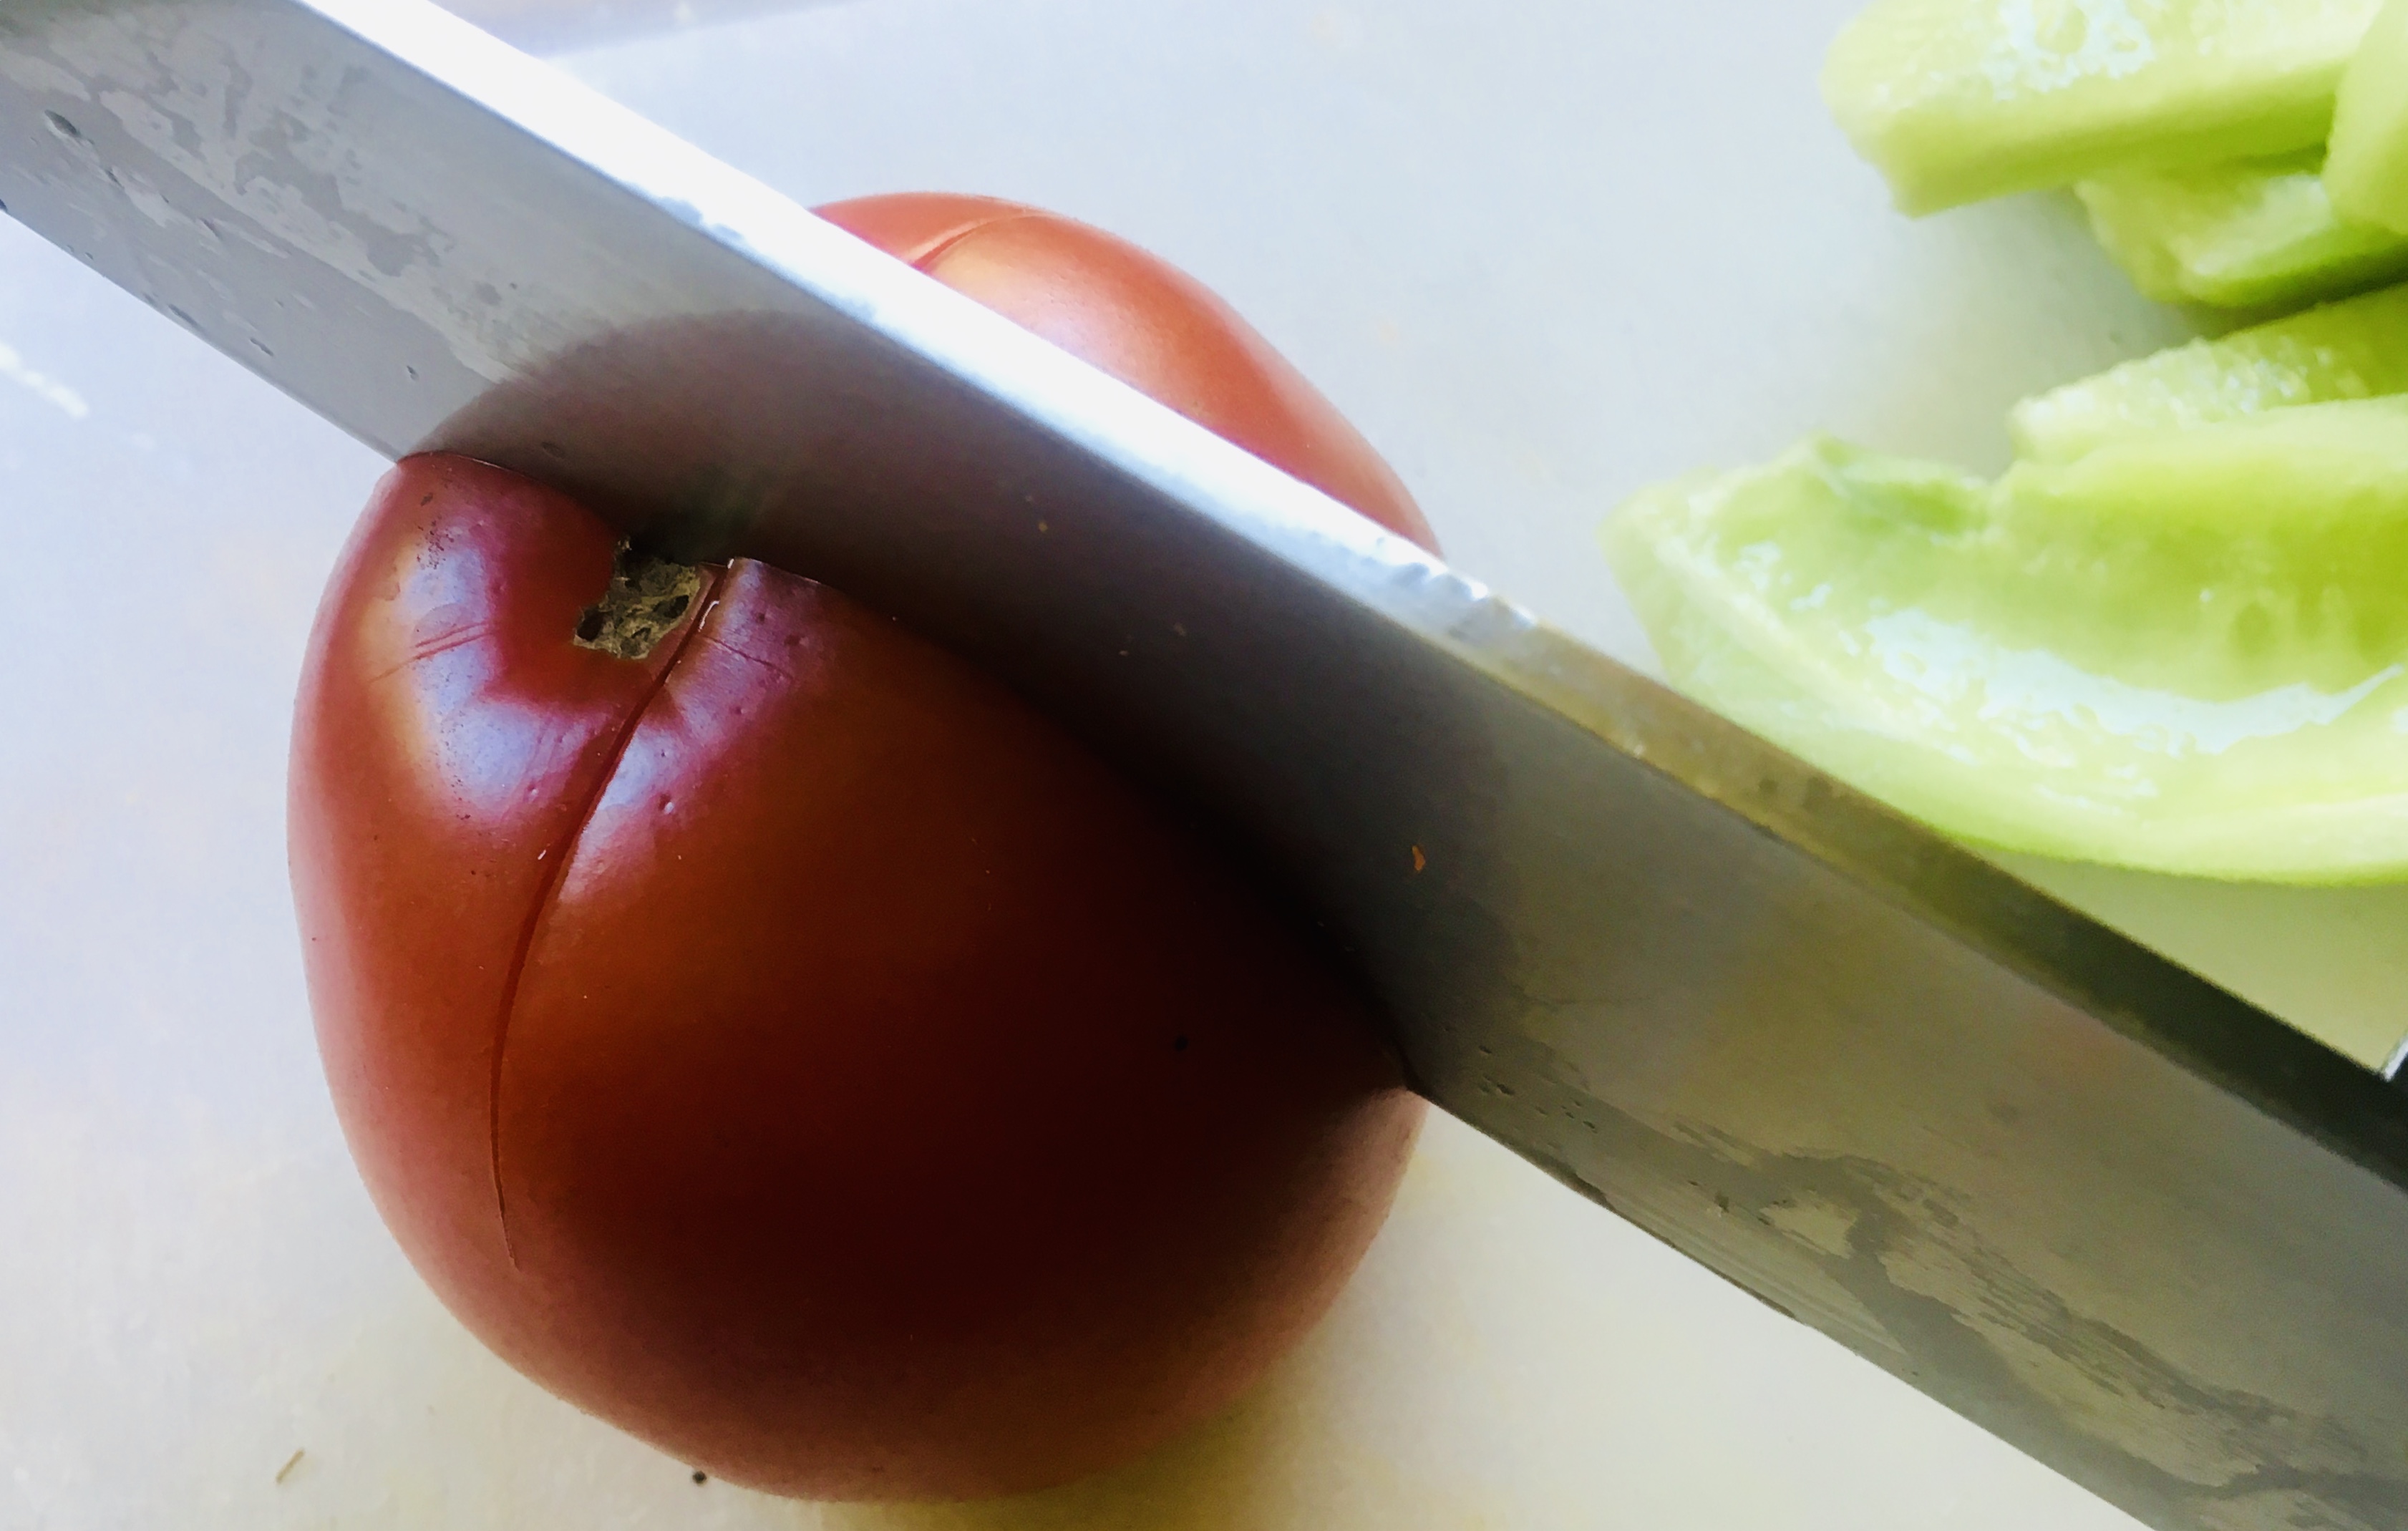
Make an X, then drop the tomatoes in boiling water for 30 seconds.
While the tomatoes are cooling, you can peel and chop the other veggies.
Peel and roughly chop the onion and carrot, and place them in a food processor. Let it run for about 10 seconds.
Add the peeled and seeded tomatoes, the peeled and seeded cucumbers, and the sprigs of parsley and continue processing.
Add the olives, olive oil, lemon juice, vinegar, sea salt and black pepper.

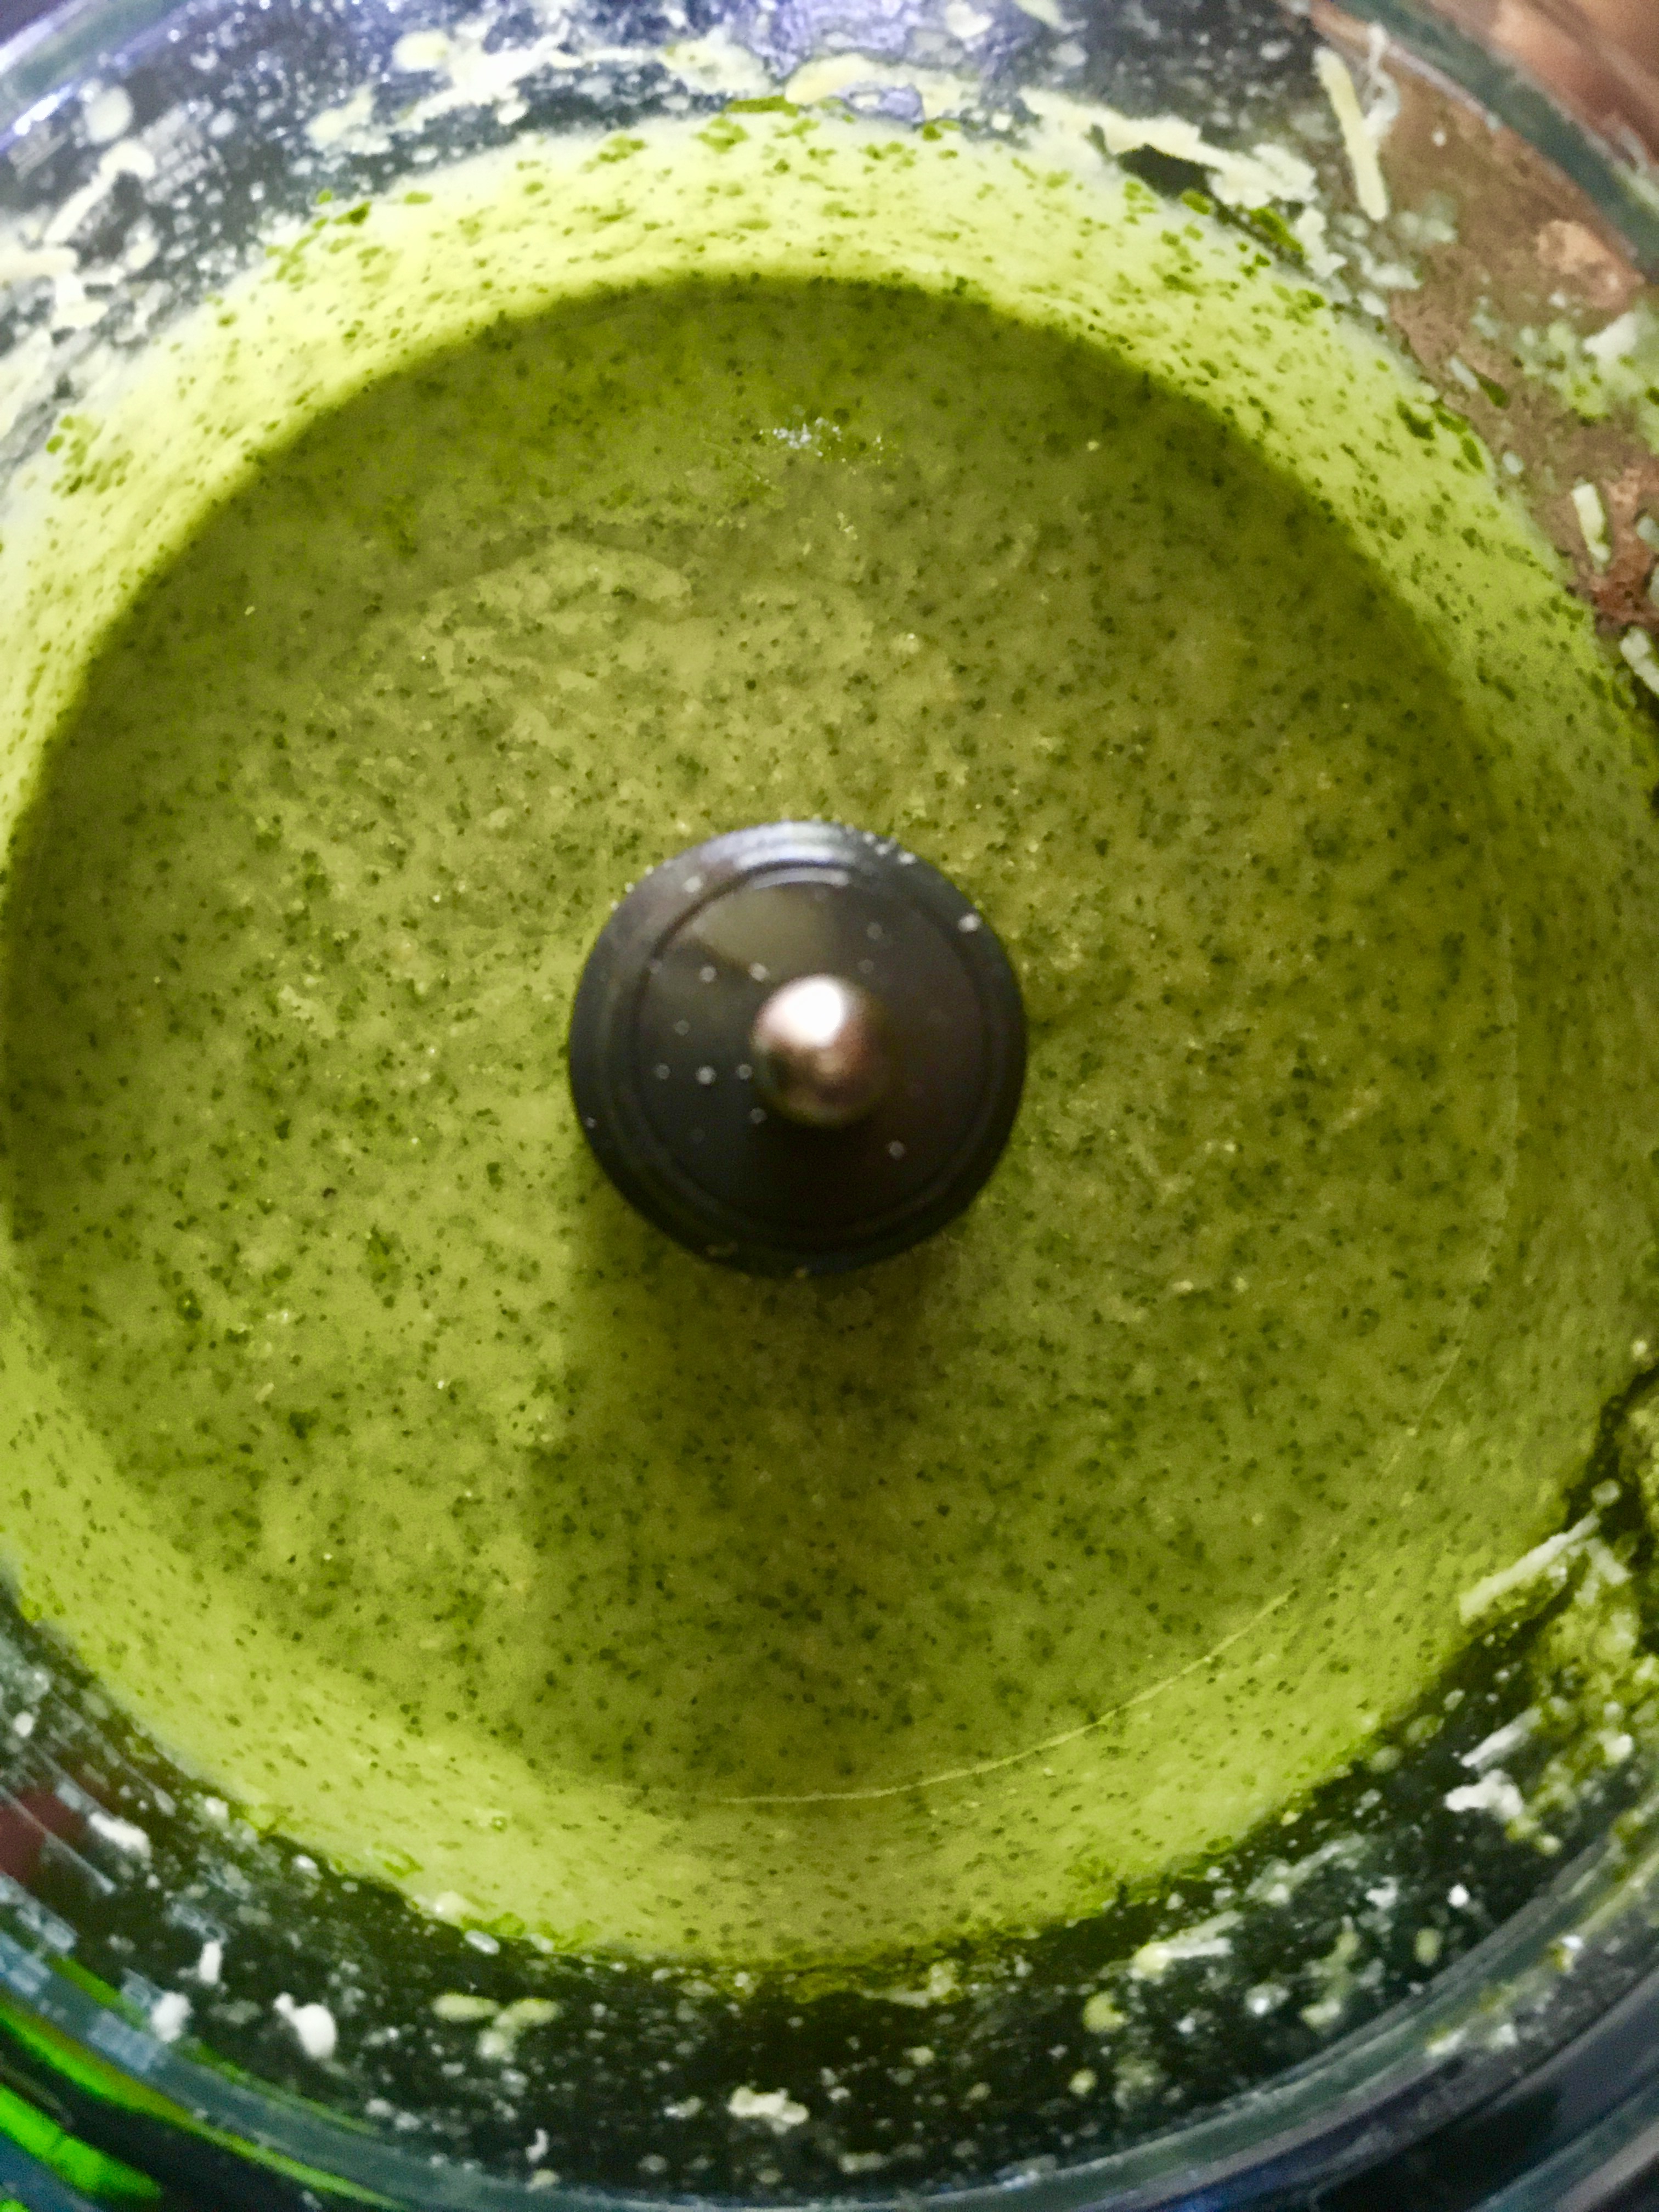
Process until the veggies are finely chopped, and you’ve got a soup. Store it in the fridge for at least one hour to chill before serving.

Garnish with a sprig of parsley and a sprinkle of Fleur de Sel or other tasty finishing salt.