Off on a vacation for a few days, so I’m posting this a bit early. But let’s face it: weekends are for ribs, and even if you don’t have the grill ready for the season yet, you can enjoy this recipe because the ribs bake in the oven.
The balsamic vinegar I use in this recipe is not the super-expensive stuff that should only be drizzled at the very end for a Caprese salad. I use the $9-a-bottle stuff that you can find in any supermarket. Good quality, and I try to find one from Modena, Italy, the world headquarters of balsamic vinegar.
3 lbs. pork ribs (I like the St. Louis cut)
4 cloves garlic, minced or through a press
1 tablespoon chopped fresh rosemary
1 tablespoon dark brown sugar, packed
1 tablespoon balsamic vinegar
1 1/2 teaspoons Kosher salt
Place the ribs in a roasting pan, cutting the racks in half if you need to, to make them fit.
In a bowl, combine the garlic, rosemary, brown sugar, balsamic vinegar and salt, and then rub the mixture evenly all over the ribs.
Let the ribs marinate for an hour at room temperature or longer in the fridge.

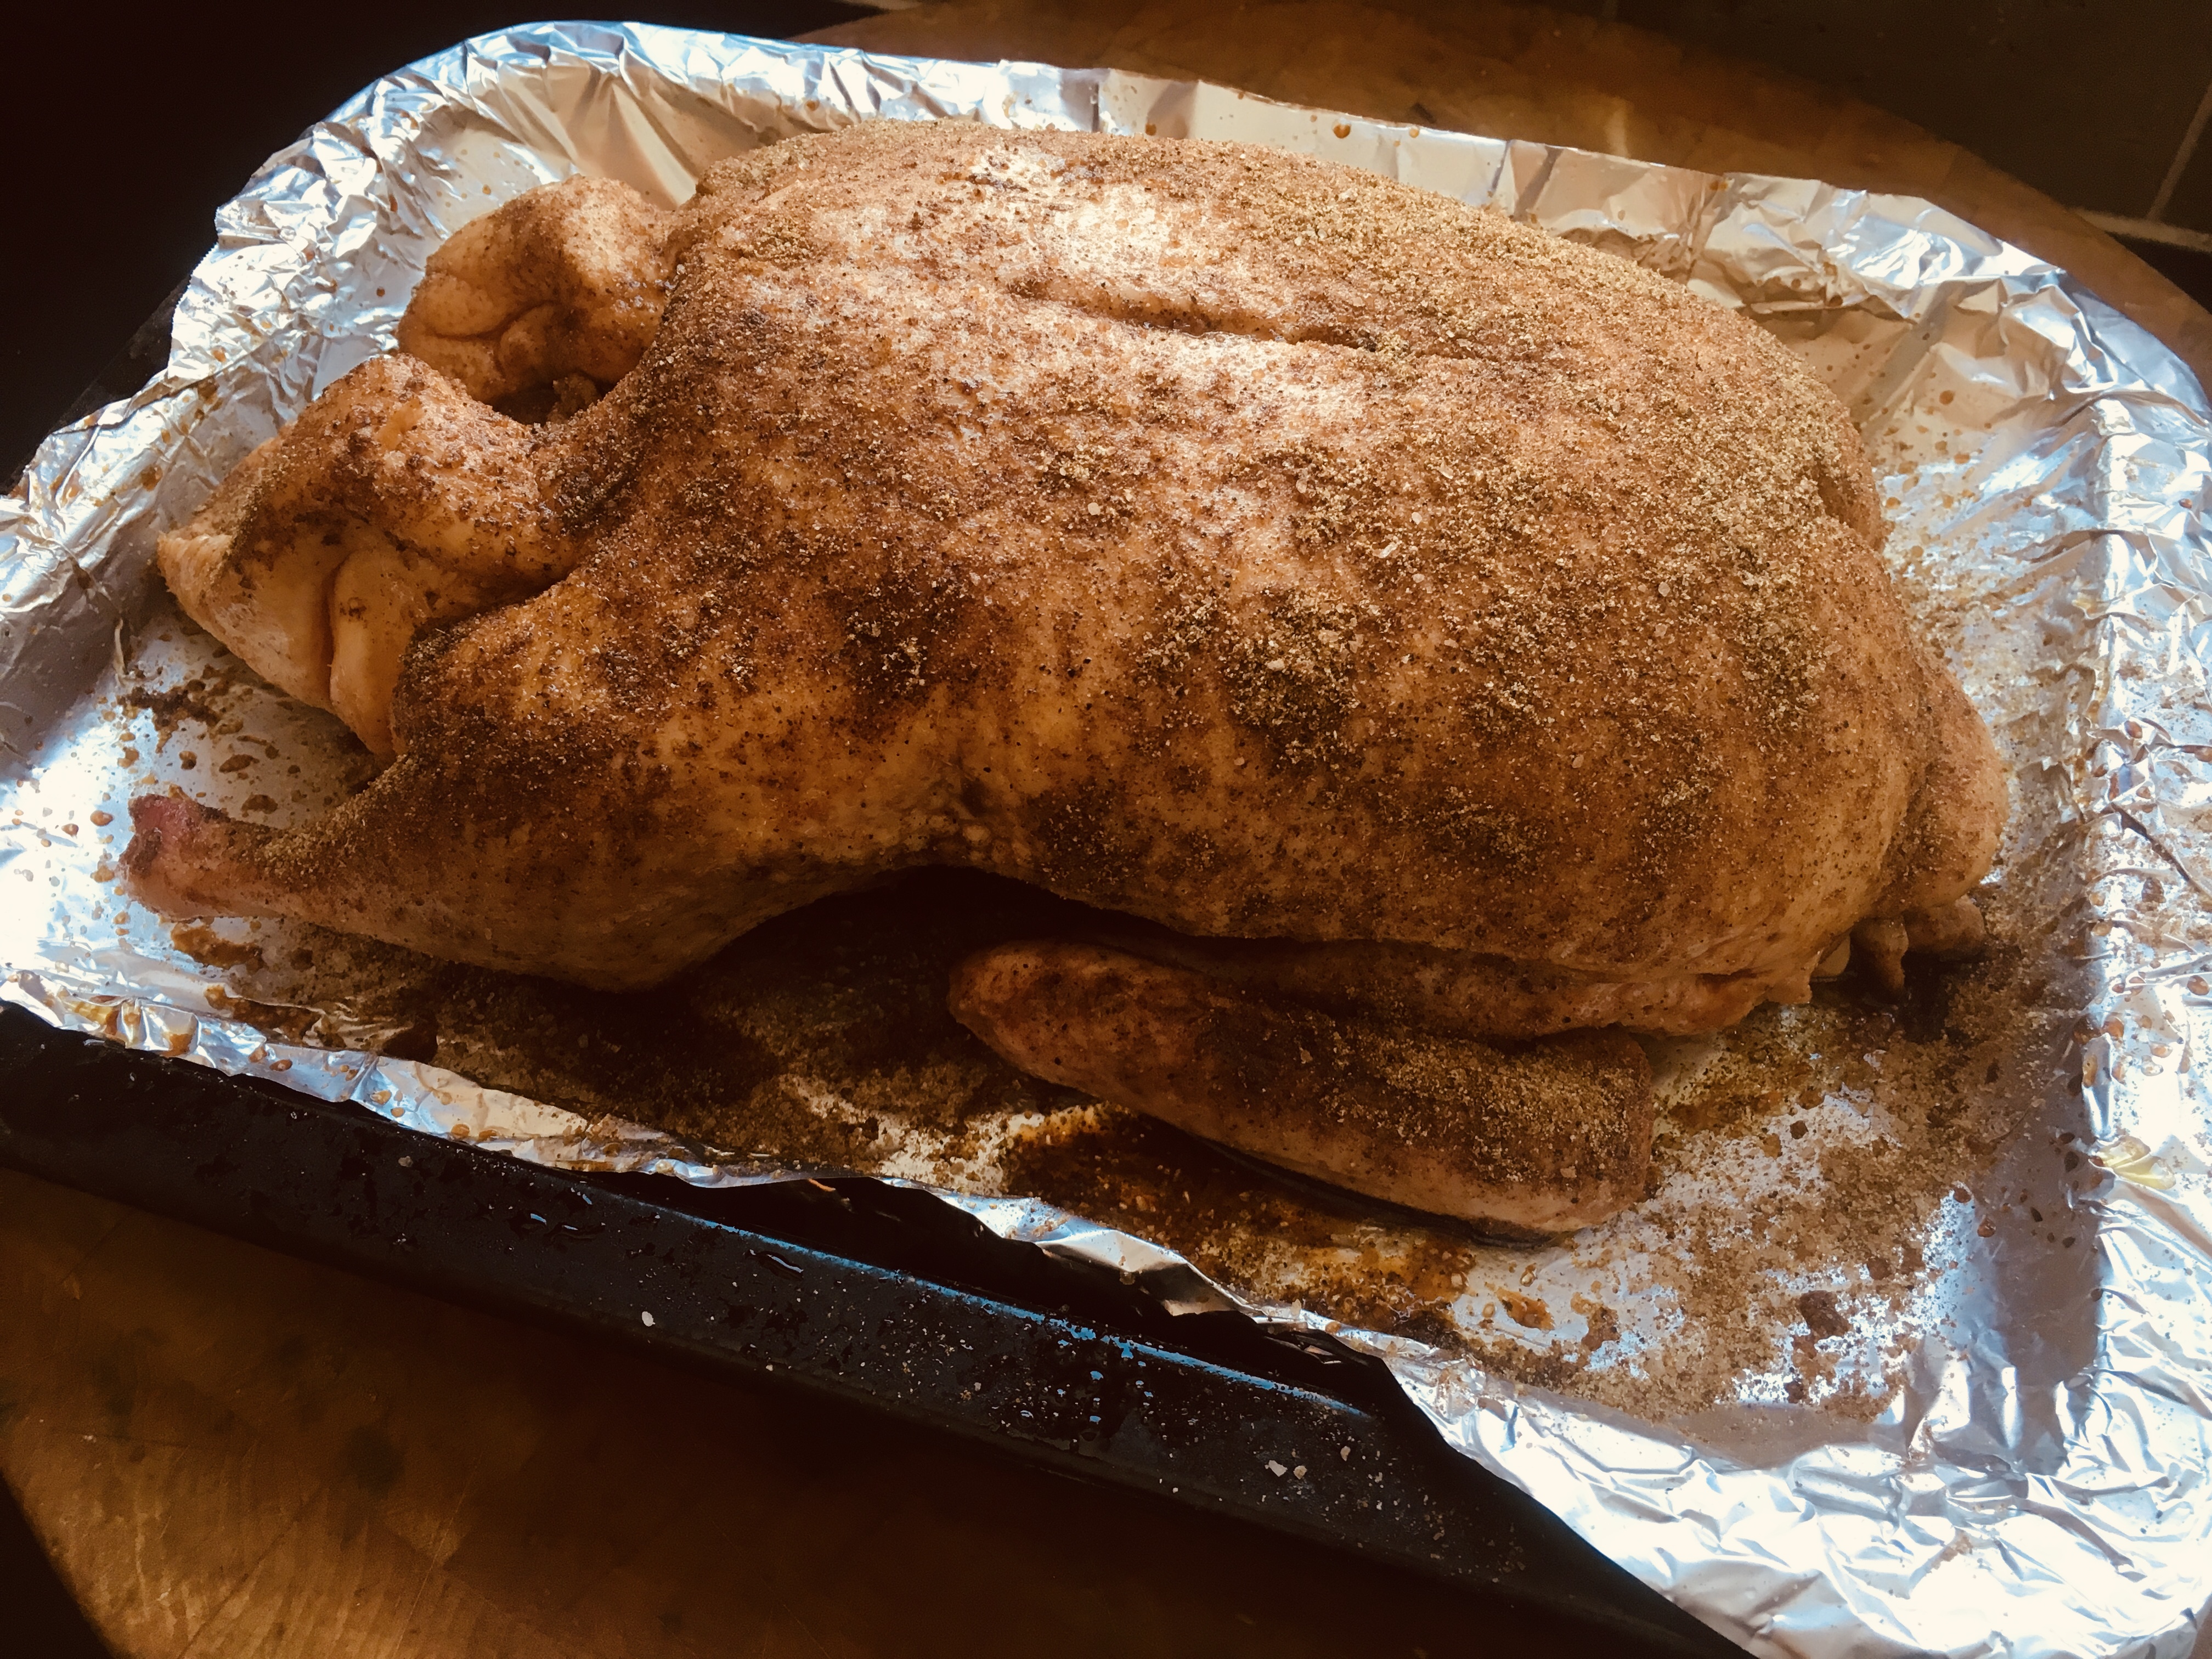
Marinated ribs, ready for the oven.
Place a rack in the center of the oven and pre-heat it to 425. Pour 1/2 cup of water into the roasting pan with the ribs and cover the pan tightly with aluminum foil.
Roast the ribs until the meat is very tender, about 1 1/2 hours.
While the ribs are roasting, make the barbecue sauce…
1 cup balsamic vinegar
1 cup ketchup
1/2 cup apple cider vinegar
1/4 cup honey
2 tablespoons whole grain mustard
1 tablespoon molasses
2 teaspoons Worcestershire sauce
1 1/2 teaspoons hot sauce (I like Frank’s)
1/4 teaspoon Kosher salt
Place the balsamic vinegar in a medium saucepan over medium-high heat. Bring it to a boil, then lower the heat to medium and cook the vinegar until it is reduced by a third, about 8 minutes.
Whisk in the ketchup, apple cider vinegar, honey, mustard, molasses, Worcestershire, hot sauce and salt. Bring the sauce back to a boil, then lower the heat to a simmer until it has thickened, about 15 to 20 minutes. Stir occasionally. Remove the pan from the heat and let it cool to room temperature.

After baking, brush the ribs with the barbecue sauce.
Remove the ribs from the oven and transfer them to a baking sheet lined with non-stick aluminum foil.
Increase the oven temperature to 450 .
Brush both sides of the ribs generously with the barbecue sauce and bake them uncovered for about 10 minutes, until the sauce is browned and sizzling.

Delicious balsamic ribs!
Leftover barbecue sauce is great for dipping the ribs in!