Fat Tuesday is March 4th! Laissez les boss temps rouler!
Back in the 80’s, I worked at a radio station in Mobile, Alabama. My New York buddies thought I was crazy to move to the South, but that’s where the job was. When they realized that I was only a 2-hour ride from New Orleans, I wasn’t so crazy after all! I spent every possible weekend there: the food, the music, the people…
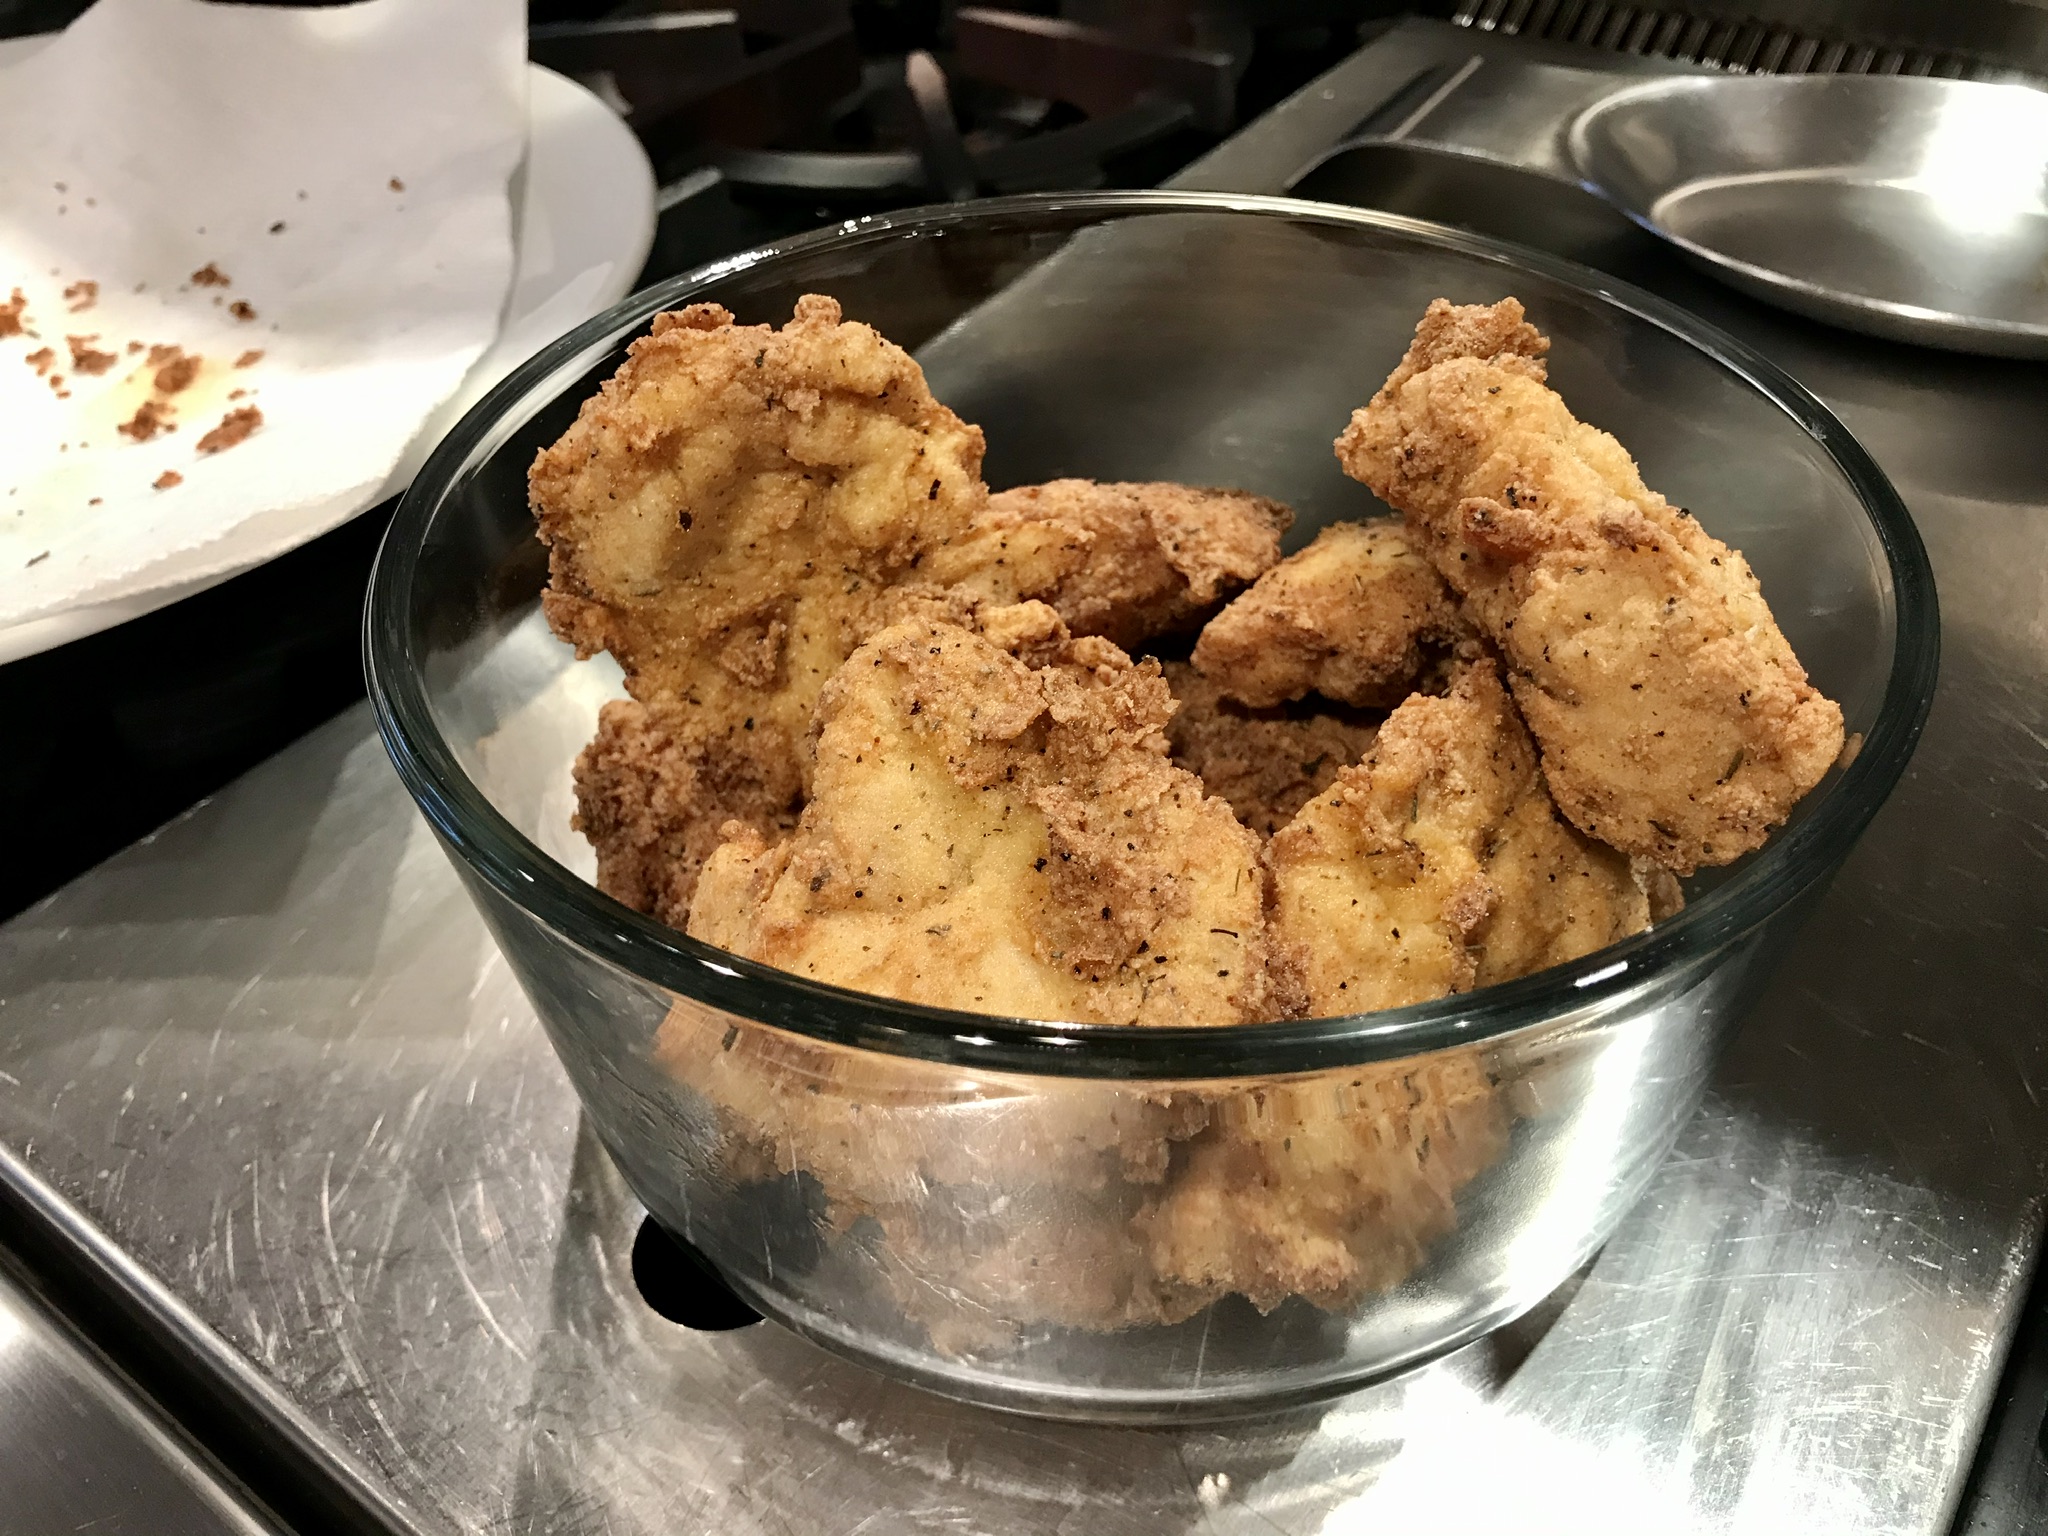
When I moved to Rhode Island, I really missed all the fun of the Big Easy. So I decided to have a Mardi Gras party every year. I’d invite 80+ people, and I cooked all of the dishes myself. I made all the classics: red beans and rice, crawfish etouffe, gumbo, Cajun chicken (my own recipe), and, of course, jambalaya.

For the seasoning mix:
2 bay leaves
1 teaspoon salt
1/2 teaspoon white pepper
1 teaspoon granulated garlic
1/4 teaspoon cayenne pepper
1/4 teaspoon black pepper
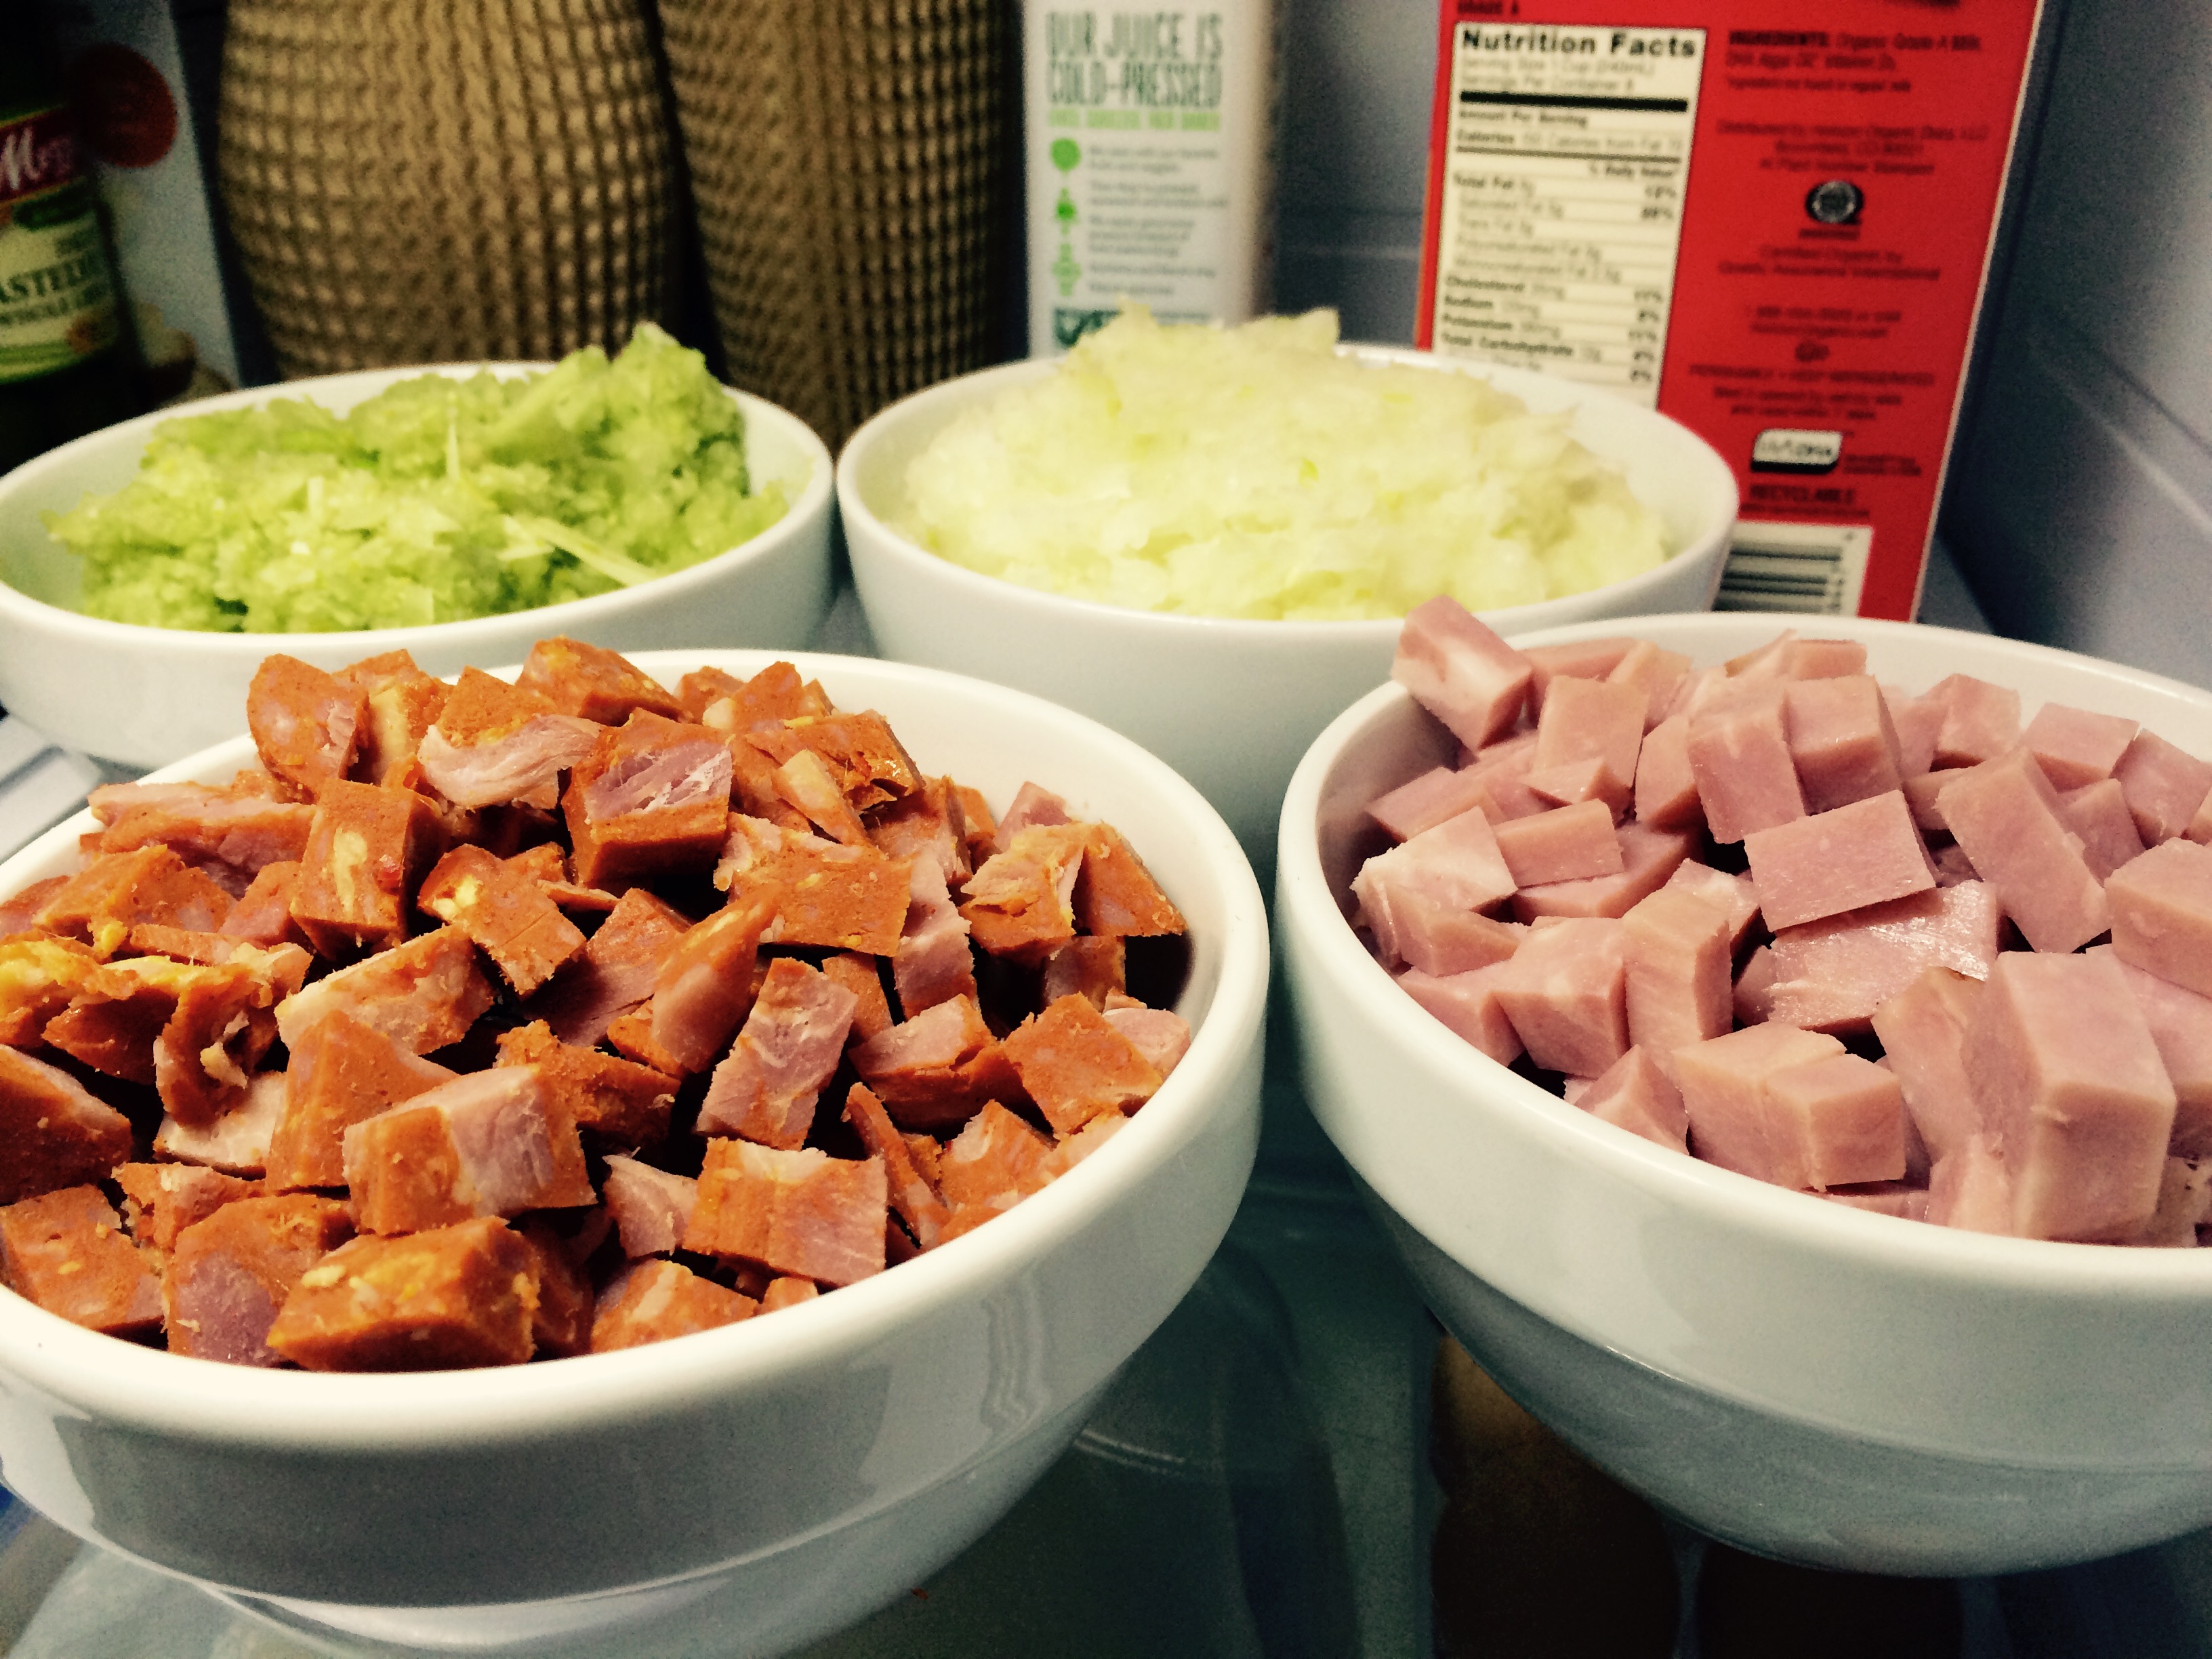
I find it easier to measure and chop all the ingredients before I start cooking.
4 tablespoons olive oil
1 1/2 cups finely chopped onions, in all
1 1/2 cups finely chopped celery, in all
1 1/2 cups good quality chopped ham
1 1/2 cups chopped andouille sausage (Here in RI, I use local Portuguese chourico from Fall River, MA)
1 teaspoon cayenne pepper sauce (I use Frank’s Red Hot)
3/4 cup tomato sauce made from pureed whole tomatoes
2 cups uncooked rice (I like Texmati brown basmati rice)
3 cups chicken stock (preferably homemade)
1 lb. peeled and de-veined wild-caught American shrimp

Over medium-high heat, heat the olive oil in a large sauce pan. Add 3/4 cup of the onions and 3/4 cup of the celery. Cook until the onions are translucent.
Stir in the seasoning mix, then the chopped ham and the chourico, and then the cayenne pepper sauce. Cook until the onions are a dark brown, about 20 minutes, stirring constantly.
Add the remaining 3/4 cup of the onions and celery. Cook about 5 minutes.
Open a can of whole tomatoes and puree them in a food processor to make sauce. Add 3/4 cup of this and cook for about 5 minutes.
Stir in the rice, mixing well. Reduce the heat and simmer for about 12 minutes.
Add the chicken stock, stir well, and bring it all to a boil. Then reduce the heat and simmer, covered, over very low heat until the rice is tender but firm, about 15 minutes.
Remove the cover, toss in the shrimp, stir, then put the cover back on and cook for 5 minutes more.
Sometimes it’s hard to get wild-caught American shrimp at my local seafood store or supermarket. But for me, buying tiger shrimp or other Asian products is not an option. Once I learned about how they are farmed, I decided I’d never eat those shrimp again!
When I find wild-caught American shrimp locally, I buy extra to keep in the freezer. (The better supermarkets, like Whole Foods, have them.) For many years, I bought my shrimp online from http://www.cajungrocer.com. Not only will you find shrimp there, you’ll find many other Cajun classics: King cakes, Turduckens, andouille and alligator sausage, even live crawfish. And the price of their shrimp, even with shipping, is the same as the nasty Asian shrimp you buy in the store. Make some room in your freezer, order large to save, and stock up on the real deal!