Archive for the ‘Recipes’ Category

Gas grills make no sense to me at all. I find little or no difference between them and the gas stove I have in my home. I can make a perfectly acceptable steak by grilling it on my stovetop cast iron griddle…or I can sear it in a pan and pop it in a hot oven. If the real reason for grilling is flavor, why wouldn’t you want something that makes a real difference?

A hardwood charcoal grill is the way to go. Besides the quality and source of your beef, wood and smoke are what makes the difference between a good steak and a great steak.

beef brisket

I know the #1 argument for going with gas over hardwood charcoal is time. “It takes too long to start a charcoal grill.” That’s a load of crap. I’ve convinced many friends over the years by showing them that it takes no more time to light a charcoal fire than it does a gas grill.

Here’s what you need: Get yourself the charcoal grill you like…the classic Weber is still an awesome choice.

Get a bag of hardwood charcoal. I’m not talking charcoal briquets, like Kingsford, that have a ton of additives in them. And definitely don’t ever use crap like Match Light. I’m talking pure hardwood charcoal, easily found in many stores.

Get a charcoal chimney. It’s a metal tube with a handle and a grate at the bottom. You crumble a couple of sheets of newspaper into the bottom, pour charcoal into the top, light it, and you have hot coals in 10 minutes without lighter fluid.

And DON’T EVER use lighter fluid! Why would you spend good money on a steak and then want to make it taste like gasoline?

The variety of wood chips available for smoking is another flavor factor when it comes to grilling with charcoal. My personal favorite is hickory, especially when I’m cooking pork or chicken. But apple, cherry, oak, mesquite: they all impart their own unique flavors. I have apple and cherry trees in my yard. So whenever they need a little pruning, I save those cut pieces of wood and use them to smoke with.

You don’t need to buy a separate smoker. Simply soak some wood chips in water for about a 1/2 hour before grilling (I’ve found that hot water speeds the process up), drain the water, and then sprinkle the moist chips on the hot coals in your grill. Throw your meat on the grill, close the lid (opening the vents, of course) and off you go.

So now in 10 minutes, you’ve got a grill ready to cook a steak with…about the same as gas.

“I don’t cook with charcoal because it’s so messy!” So what are you…a girl? You probably have one of those fake gas fireplaces in your house, too.

Because I’m using a small amount of hardwood charcoal for the average dinner, I don’t have to clean out my grill every time I use it. After a while, yes, some ashes pile up in the bottom of my grill and I have to dump them. Because they’re pure wood ashes, I dump mine into my strawberry or raspberry patch. They love the stuff.

You still have to clean a gas grill after a while, and it always runs out of propane halfway through cooking when you have guests over for dinner. So where’s the convenience in that?

Charcoal grills give you everything you could ask for: low maintenance…ease of use–no stupid propane tanks, valves and igniters…real wood flavor–not lava rocks, whatever the hell those things are…and the thrill of cooking meat over a real fire–bonding with the caveman in you, not some pussy with an umbrella drink and his shiny chrome gas grill with a thermometer that doesn’t work and burners that don’t cook evenly or get hot enough.

Time to be a man again! Ditch the gas grill. Get the hardwood charcoal. Find out what a really good steak is supposed to taste like this Memorial Day weekend.

The Mint Julep is such a perfect, classic and historic bourbon drink, I really don’t know why I wait until Derby day to have one. Of course, as any aficionado of spirits will tell you, there are as many right ways as wrong ways of making one, depending on who you talk to. This is true for any classic cocktail, from a Sazerac to a Manhattan.

The first step in my Mint Julep is making the simple syrup. I use the standard ration of 1 cup of clean, filtered water to 1 cup of sugar, but I use an organic product like Woodstock Farms Organic Pure Cane Sugar. Place the sugar and water in a saucepan and heat until just boiling. I’ve found that it needs to reach this stage for the unbleached sugar to really dissolve. As soon as it starts to boil, remove the saucepan from the heat, and throw in a handful of freshly picked mint leaves. Stir to make sure the mint gets in there, and then leave the saucepan to cool to room temperature. Once it’s at room temp, strain the simple syrup into a bottle with a tight sealing lid, and place in the refrigerator to cool. It will keep for about a week.

The next step is the tough part: the battles of the bourbons! The recent explosion of choices on the bourbon market has make it all but impossible for the average imbiber to know which bourbon is best for their tastes. My suggestion for this is to go to a trusted bartender and explain that you’re new to the bourbon world, and could you have the tiniest of tastes and sniffs of what he’s got at his bar. Chances are, you’ll get a sampling of some of the better known standards: Maker’s Mark, Woodford Reserve, perhaps Buffalo Trace or Bulleit, and the standard Jim Beam. This is a very good start. If you have deeper pockets, go to the manager of a trusted higher end liquor store and explain that you’ve had all the rest, now what does he think is the best? This is how I came across a fabulous 17-year-old bottle of Eagle Rare, my choice for my Mint Julep. And of course, hinting to wife and friends that “I’m trying new bourbons” around your birthday or the holidays inevitably gets you a few bottles as well, like the very tasty 15-year-old high-alcohol Pappy Van Winkle, excellent for special sipping occasions (when you don’t have to operate heavy machinery for a while!)

Other ingredients for my perfect Mint Julep include crushed ice from clean, filtered water. Don’t even think of using tap water for any cocktail much less this one. Why ruin an expensive bottle of bourbon by going cheap on the ice? I make my own ice cubes, then put them in a canvas ice bag and bash them to the perfect crushed size.

And a Mint Julep needs a metal–not glass– Julep cup. Made of pewter or aluminum, it frosts on the outside as you stir your drink, keeping your beverage ice cold on even the hottest of days. You simply need to have one to make the perfect Mint Julep.

So many choices...

So many choices…


So here’s my recipe…


ALZ MINT JULEP


Ingredients:

3 oz bourbon

1 oz mint-infused simple syrup

crushed ice

Julep cup

Fresh mint for garnish

Crush the ice and pack it into the Julep cup, even letting it dome slightly over the top. Don’t worry…the alcohol will melt it.

I like to add 1 jigger of bourbon (1.5 oz), then the shot of simple syrup (1 oz), then another jigger of bourbon on top. Break off a few mint leaves from the stem and push into the ice. Using a long spoon, stir the drink well. A beautiful layer of frost will form on the outside of the cup. Garnish with a sprig of mint.


The home garden is already showing signs of activity. Overwintered kale and arugula plants are springing back to life, enough for a quick salad. Cool weather seeds that I’ve sown early: peas, turnips, radishes, broccoli raab, and others are sprouting. But nothing says the gardening season is here like my patch of homegrown asparagus taking off!

asparagus2013

Granted, a few shoots breaking through the soil doesn’t qualify as “taking off,” but it’s an exciting time of the year in the home garden.
Asparagus is really easy to grow. You just need the space, and the plants practically do the rest. Space them about a foot apart, and before you know it, you will have a vast network of tasty stalks sprouting through the soil every spring. They are so much better than anything you can buy in a supermarket.
In the start of the growing season, the stalks don’t even make it into the house. I cut them and just eat them straight out of the garden. Eventually, they make the move to the kitchen, where I love to simply place them on a baking sheet and drizzle a little olive oil over them. Salt and pepper…and then in a 400-degree oven until they’ve caramelized.
Midway through the season, I have so much asparagus that I just don’t know what to do with them all. My friends don’t want anymore and I can’t bear to throw them into the compost pile. So I pickle them…a really easy process that ensures I’ve got delicious asparagus year-round.

PICKLED ASPARAGUS
Ingredients:
Several bunches of asparagus spears
2 cups white vinegar
1 cup cider vinegar
1 1/2 cups sugar
3 cups water
20 peppercorns
Garlic cloves, peeled
Salt (1 teaspoon per quart-sized Mason jar. Use less for smaller jars.)
Bring vinegar, water, sugar and peppercorns to a boil.
Trim bottom of asparagus spears so that spears are just slightly shorter than the height of the quart-sized Mason jar you will use. Or cut into pieces that will fit smaller jars.
Pack jars as tightly as you can with asparagus spears. (They will shrink when processed.) Add garlic clove and 1 teaspoon of salt to every quart-sized Mason jar…less for smaller jars.
Fill jars with vinegar mixture and seal.
Process jars for 10 minutes. Let cool before placing in refrigerator.
 WHY DOES YOUR PEE SMELL WHEN YOU EAT ASPARAGUS?Asparagus contains a sulfur compound called mercaptan. It is also found in onions, garlic, rotten eggs, and in the secretions of skunks. The signature smell occurs when this substance is broken down in your digestive system. Not all people have the gene for the enzyme that breaks down mercaptan, so some of you can eat all the asparagus you want without stinking up the place. One study published in the British Journal of Clinical Pharmacology found that only 46 percent of British people tested produced the odor while 100 percent of French people tested did. (It has to do with your DNA.)

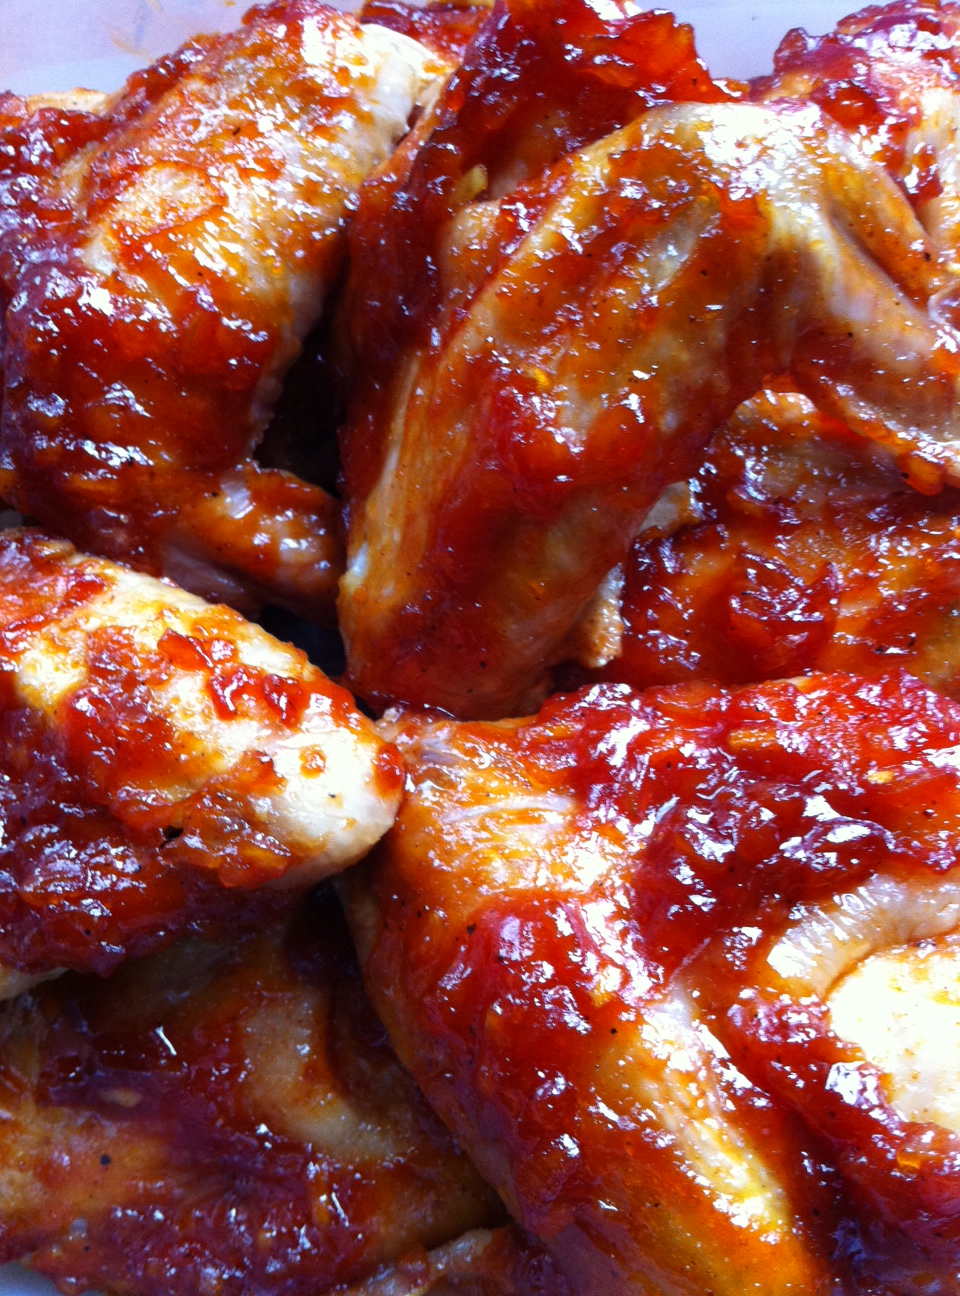
Through years of tireless experimentation, I’ve come up with a barbecue sauce that I feel is the best I’ve ever had. Granted, everybody has their favorites, but this one kicks ass. I prefer a slightly sweet and tangy barbecue sauce,  so unless I’m making a classic pulled pork sandwich, I usually avoid vinegar-based sauces. It works well with pork, but especially well with chicken.

What makes this sauce special is the citrus. I originally used lemon juice for this recipe and it was good. Lime juice was better. Adding lime zest: even better than that. I tried orange juice and zest: a little too sweet. Meyer lemon: very good. But the Big Daddy of ’em all: grapefruit. I was craving my barbecue sauce one day and only had a grapefruit in the fridge. I thought: how bad could this be? Turned out to be the perfect foil to the sweetness of the brown sugar and ketchup.

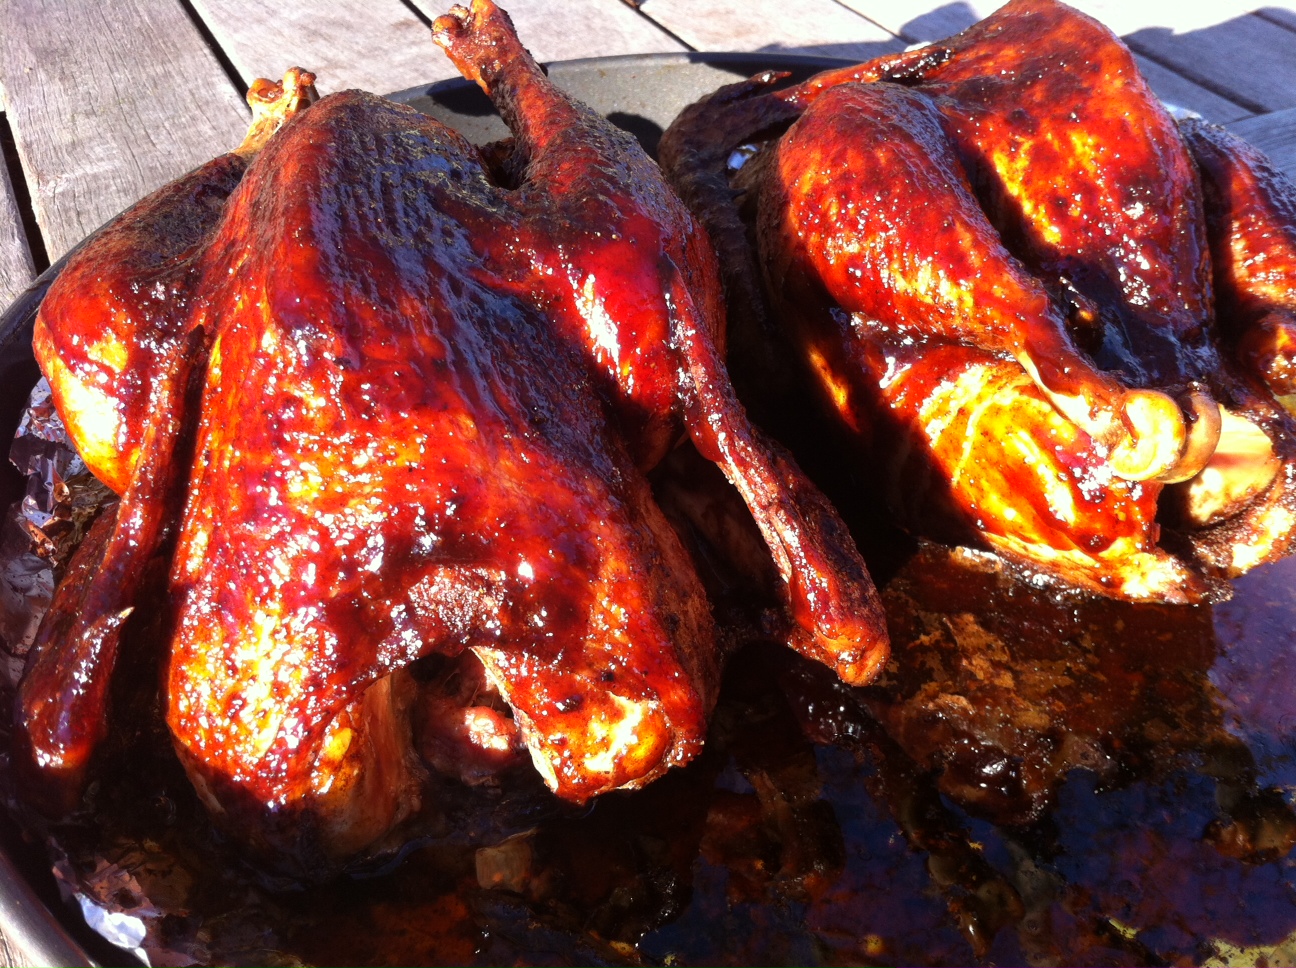
Try this sauce on your next batch of chicken wings or even a whole bird. Cook the bird almost all the way through, brushing the sauce on for the last 20 minutes so that the sugars don’t burn. Then just try to stop eating it!

Chix BBQ


ALZ GRAPEFRUIT BARBECUE SAUCE


Ingredients:

1 cup ketchup

1/2 cup firmly packed brown sugar

Juice and zest of 1 grapefruit

3 tablespoons unsalted butter

1/4 cup dried onion flakes

1 teaspoon cayenne pepper sauce, like Frank’s Red Hot

1 teaspoon Worcestershire sauce

1 teaspoon granulated garlic

1/4 teaspoon black pepper

(no salt)


Combine all ingredients in a sauce pan. Bring to a boil and then simmer for about 30 minutes on low, or until slightly thickened.


A BLT EPIPHANY

Posted: March 23, 2013 in bacon, beef, Food, Recipes, tomatoes, Uncategorized

There are very few sandwiches more perfect than the BLT, and I would be a fool to try to improve on it. Freshly toasted bread, a slathering of mayo (Hellman’s only, of course), crisp lettuce, juicy sliced tomato, and my own homemade bacon (https://livethelive.com/2012/12/01/makin-bacon/). What could be better?

I recently tried my hand at smoking and slow-roasting a huge slab of grass-fed beef brisket, and it came out beautifully. Rich and smoky, there was far too much of it for a mere mortal like myself to polish it off, even if I ate it for days in a row. So I cut the brisket into more manageable sized slabs, wrapped them and placed them in the freezer.

beef brisket

I took one of those slabs out of the freezer the other day, and noticed that, with the grain of the meat and fat, it resembled bacon. And then it dawned on me: I could slice it like thick-cut bacon, fry it in a pan, and make my own BLT with it: a Brisket, Lettuce and Tomato Sandwich!

steakon!

The end result was fantastic. Quite different than the infamous BLT, but a winner in its own right.

Alz BLT: Brisket, Lettuce and Tomato

Alz BLT: Brisket, Lettuce and Tomato

This was my most popular blog post of 2012. Thought I’d re-run it here this week…


Food magazines and cooking shows are pretty obvious places to be inspired by new recipes from common ingredients. But I’ve found inspiration from some strange places, including old TV sitcoms. I had some nice thick pork chops thawed, and I was trying to think of something new to do with them. The classic “pork chops and applesauce” episode of The Brady Bunch was on TV that afternoon. I looked in the pantry, found a small container of my daughter’s applesauce, and came up with this recipe.

The applesauce and honey creates a tasty crust.

pork chop 2
Ingredients:

2 nice, thick cut pastured pork chops
1 small tub (4oz) unsweetened apple sauce
1 tablespoon fresh sage, finely chopped

A few sprigs of fresh thyme–leaves only–finely chopped

1 teaspoon honey

1 teaspoon salt
1/2 teaspoon granulated garlic
1/4 teaspoon fresh cracked black pepper

In a small bowl, combine everything but the pork chops.

Smear this applesauce mix all over the pork chops, place in a non-reactive covered container in the fridge, and let it marinate overnight.

The next day, make sure all the gooey applesauce mix gets re-smeared on the chops. You want it nice and thick on the meat.

On the stove, heat an oven-proof pan. Use a little olive oil. Place the chops in the pan gooey side down, then re-smear with any leftover applesauce on what is now the top side. Let the first side sear to a golden brown before flipping the chops over. Once you’ve flipped the chops, place in a pre-heated 350-degree oven. Cook the pork chops until just pink. (It’s no longer necessary to cook pork to death like our parents used to do.)

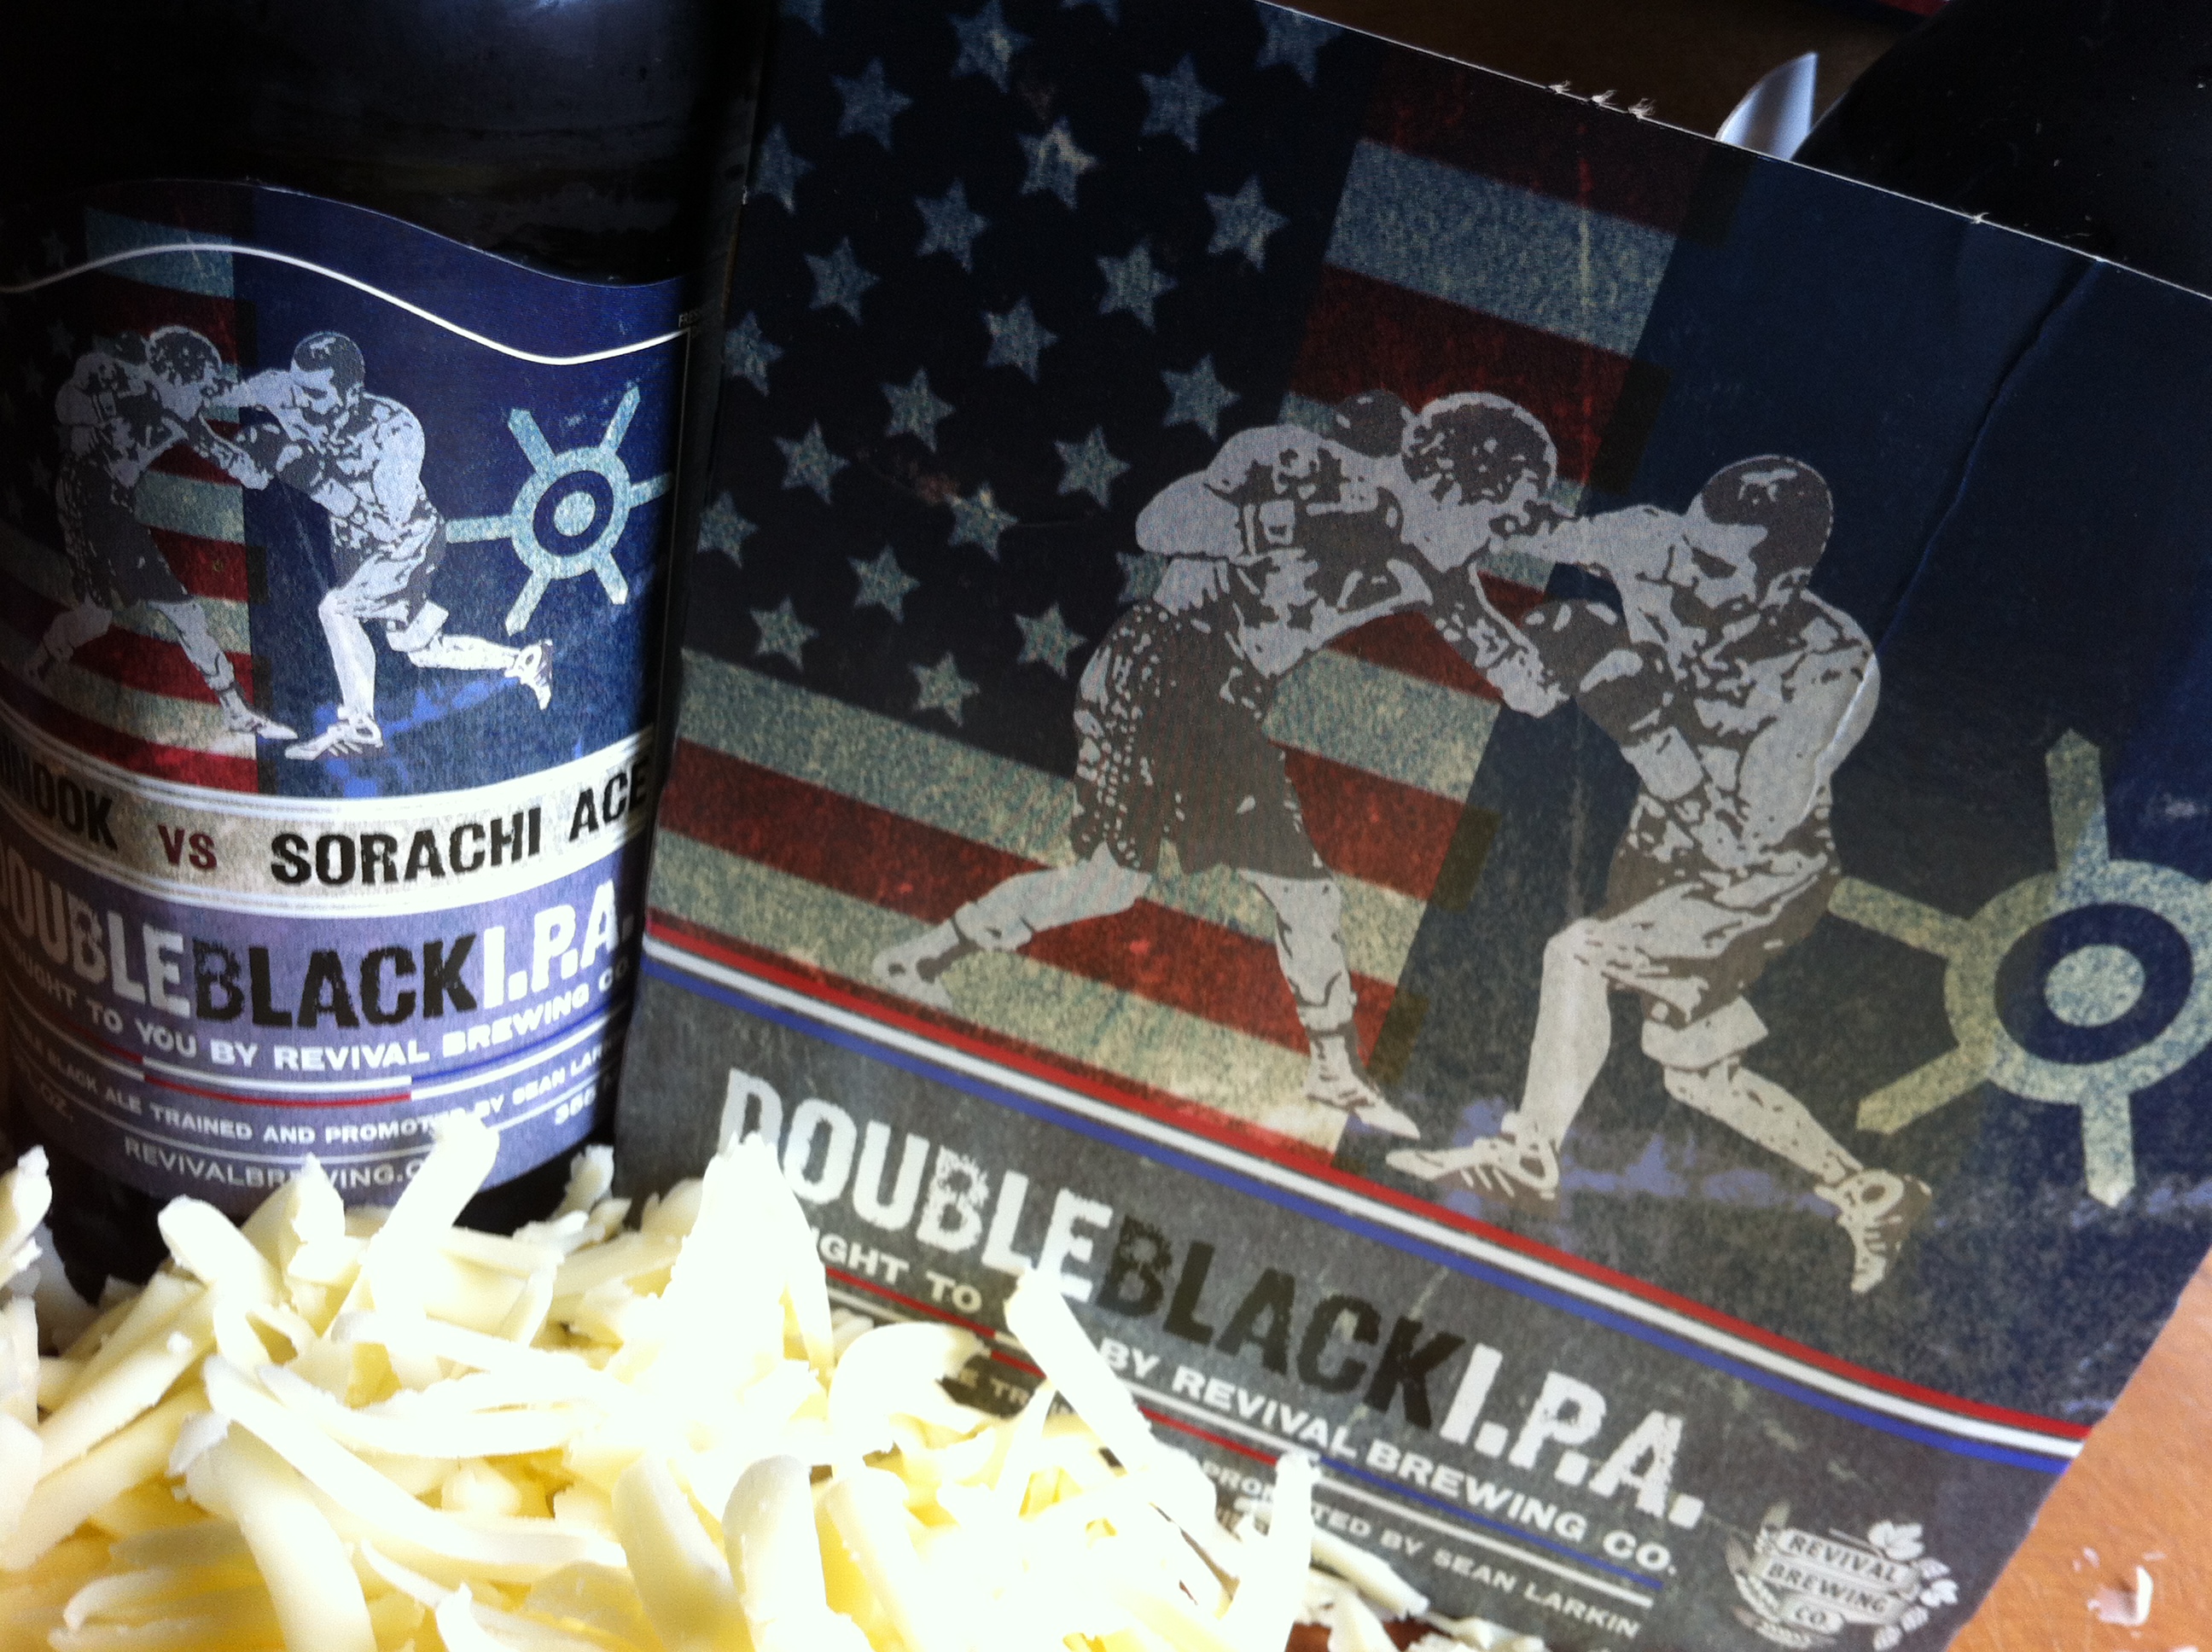
This is a great dish that was inspired by chef Jamie Oliver and his “Jamie at Home” cookbook. A couple of years ago, when I received a shipment of venison from my father-in-law, an avid hunter that lives in the Upper Peninsula of Michigan, I knew that although I could certainly use beef for this dish, it would be absolutely stellar with venison. And though the original recipe calls for Guinness, I knew that I couldn’t miss with my latest favorite local brew from my buddy Sean Larkin of Revival Brewing Co: his Double Black IPA…


beer pix

DOUBLE BLACK I.P.A. VENISON STEW WITH PUFF PASTRY


Ingredients:

Olive oil
3 red onions, peeled and chopped
3 cloves of garlic, peeled and chopped
3 Tablespoons butter, plus extra
3 carrots, peeled and chopped
3 celery stalks, trimmed and chopped
10 oz baby bella mushrooms, chopped
3 lbs venison, cut into 3/4″ cubes
A few sprigs of fresh rosemary, leaves picked and chopped
Sea salt and black pepper
2 bottles (24 oz) Revival Brewing Company Double Black IPA, with a swig for the cook
3 Tablespoons flour
12 oz freshly grated cheddar cheese
1 1/2 pounds store-bought puff pastry (all butter is best)
1 large egg, beaten


_DSC0404

Preheat the oven to 375.
In a large ovenproof pan, heat a few tablespoons of the olive oil. Add the onions and fry gently for about 10 minutes. Turn the heat up and add the garlic, butter, carrots, celery and mushrooms. Stir well, then add venison, rosemary, a pinch of salt and about a teaspoon of pepper.
Fry on high for about 4 minutes, then add the beer, making sure you take a swig for,luck! Stir in the flour and add just enough water to cover. Bring to a simmer, cover the pan with a lid or foil, and place in the preheated oven for about 1 1/2 hours.
Remove after 1 1/2 hours and stir. Put it back in the oven and cook another hour, until the meat is cooked and the stew is rich, dark and thick. If it’s still liquidy, place the pan on the stove top and reduce until the sauce thickens. (You don’t want a soupy stew or you’ll get soggy puff pastry later on.) Remove the pan from the heat and stir in half the cheese. Season with salt and pepper to taste and set aside to cool.
Depending on whether your puff pastry comes in sheets or a block, you’ll need to use a rolling pin to get it into sheets about 1/8″ thick. Butter a good-sized pie dish or an ovenproof terrine. Line the dish with the sheets of pastry, letting the pastry hang over the sides. Pour in the stew, even it out with a spatula, and add the rest of the grated cheese on top.
Use another 1/8″ thick sheet of pastry (or a couple if they’re not wide enough) to cover the top of the pie dish. Lightly crisscross the top with a knife, then fold over the overhanging pieces of pastry over the lid, making it look nice and rustic. Don’t cut or throw any of the pastry away! Use as much as you can, since everyone will want some.
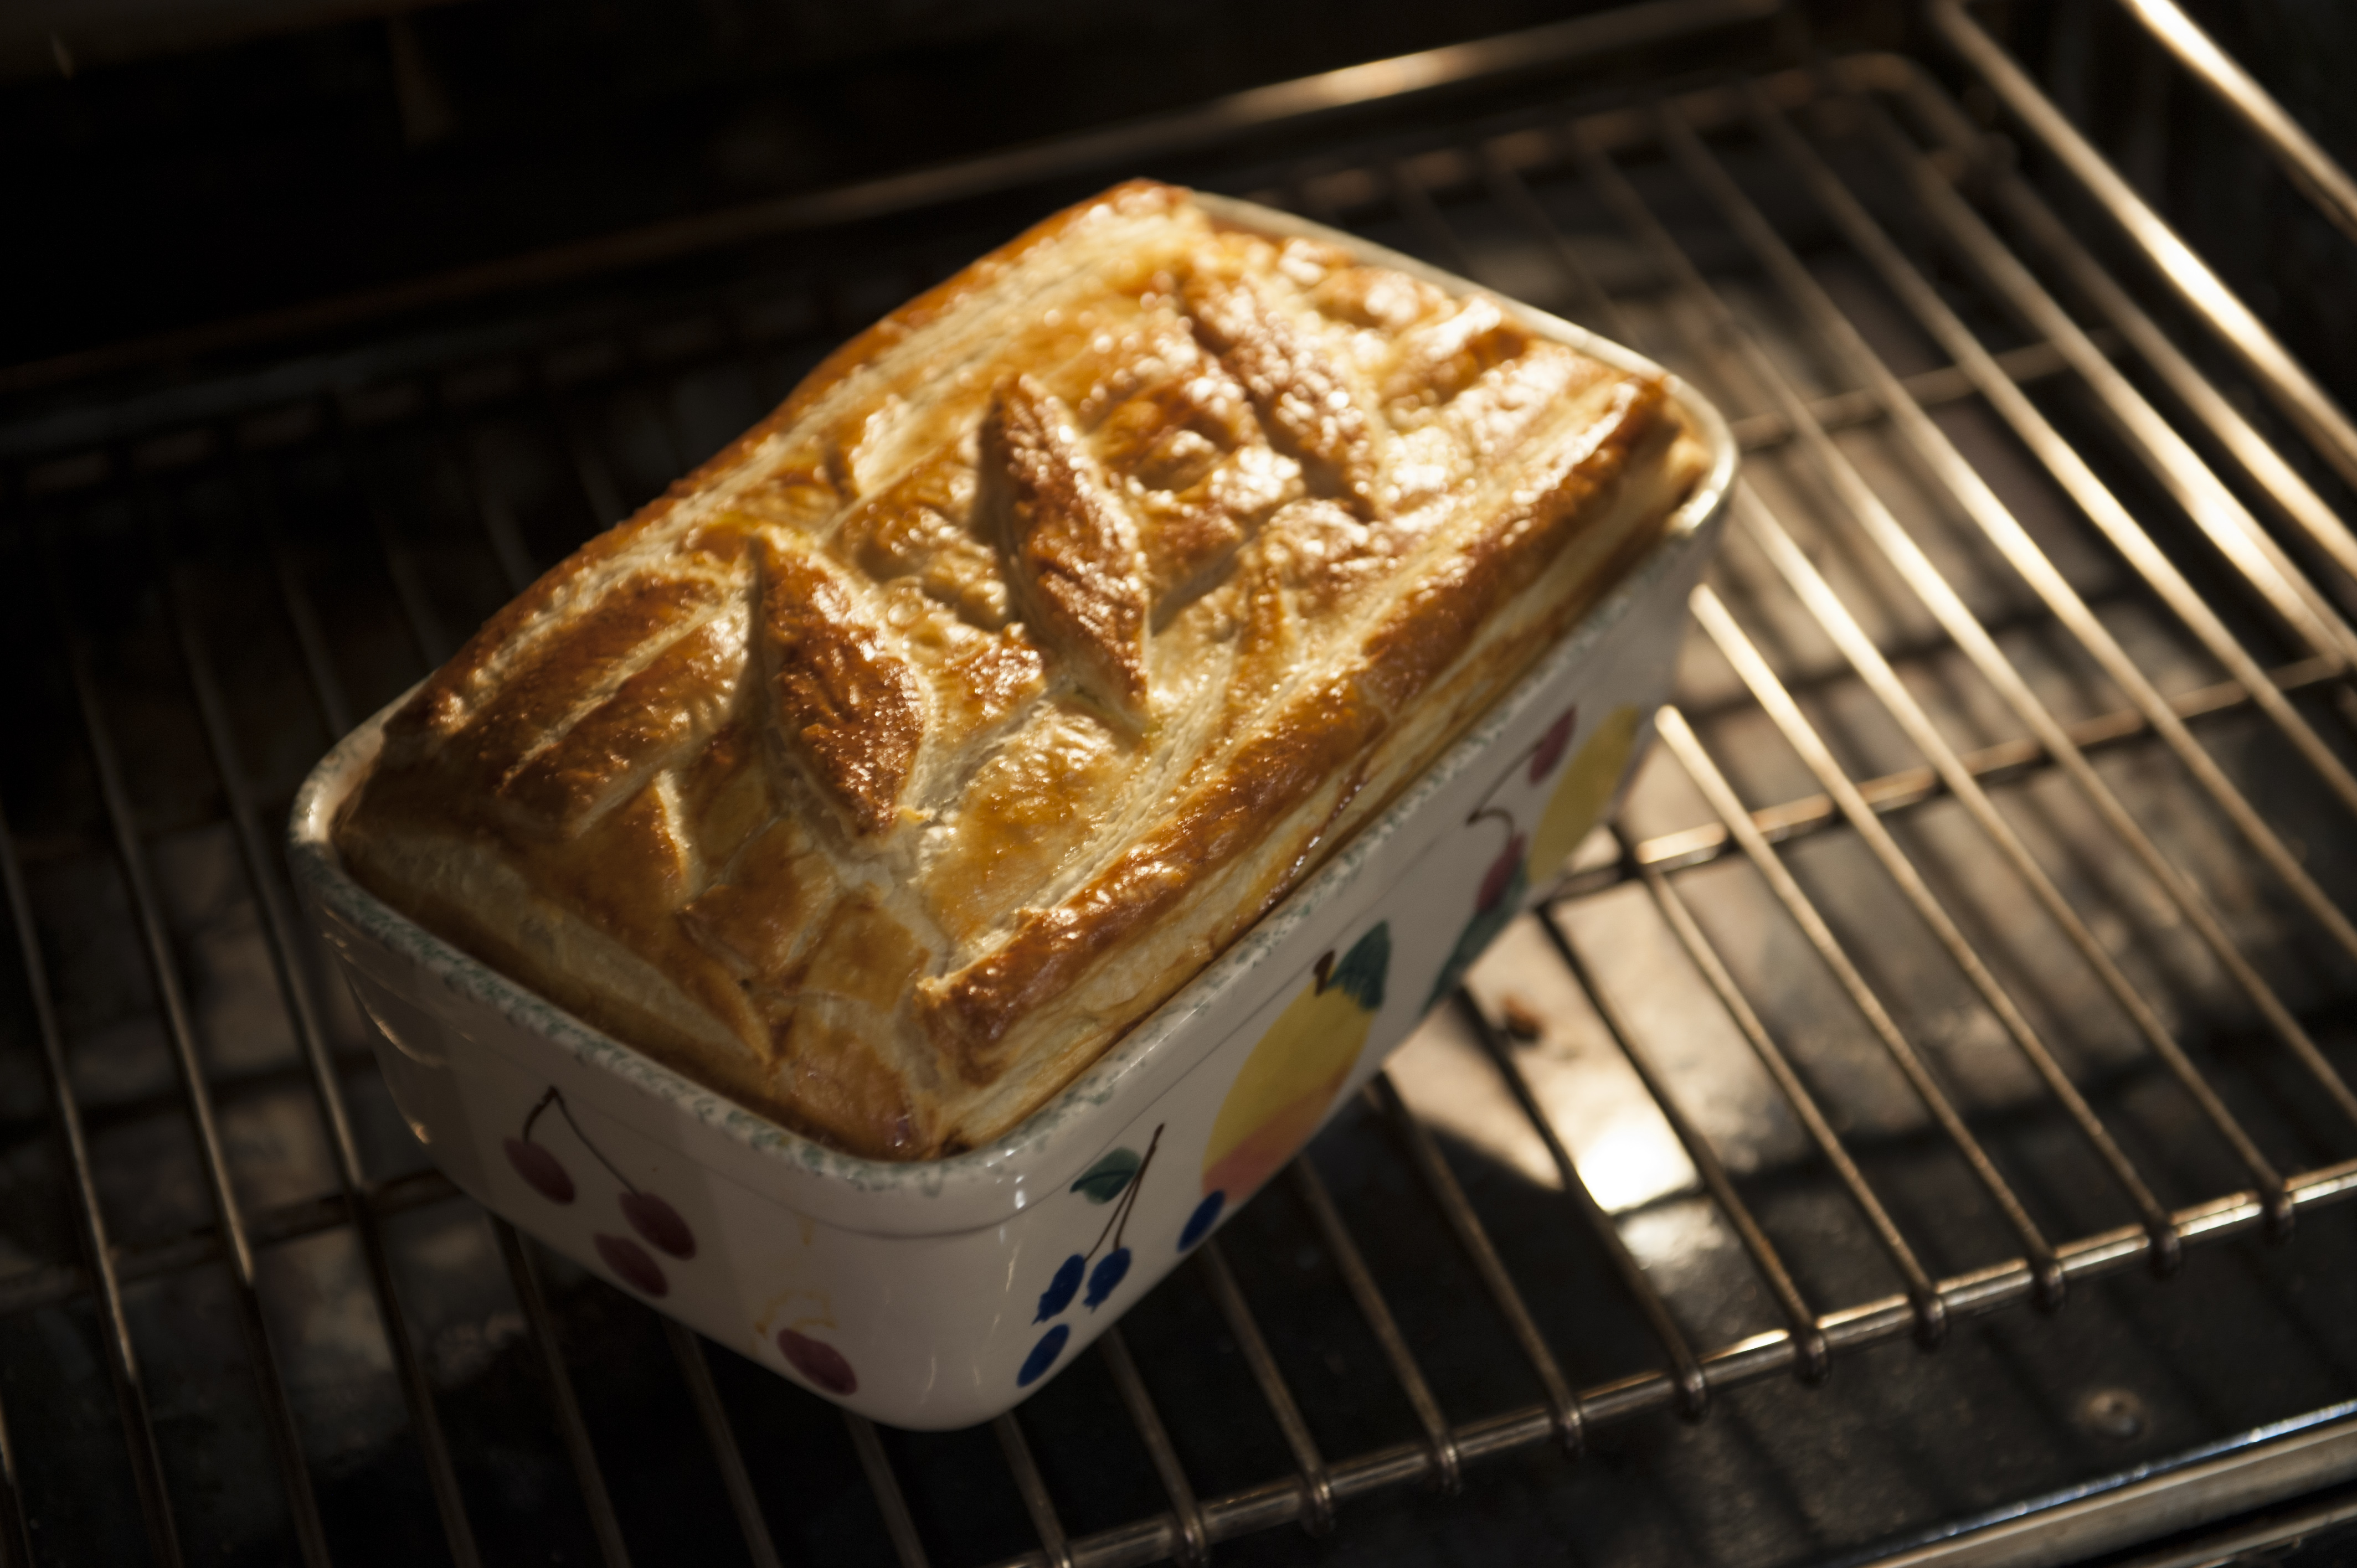
Brush the top with the beaten egg and then bake the pie on the bottom of the oven for about 45 minutes, until the pastry has cooked, and it’s beautifully puffed and golden.
Serve with a side of peas.

_DSC0418

HONEY GLAZED CHICKEN WINGS

Posted: February 17, 2013 in chicken, Recipes, wings
Tags: , , , ,

I can’t get enough of chicken, and I cook it at least a couple of times a week. So I have to keep coming up with new flavors to challenge my tastebuds as well as myself. Previous posts have included Cantonese Chicken (https://livethelive.com/2013/01/11/cantonese-chicken/), Asian-style chicken wings (https://livethelive.com/2012/11/01/asian-style-chicken-wings/), and oven fried chicken wings (https://livethelive.com/2012/12/05/oven-fried-chicken-wings/).

This time around, it’s a honey glaze with hints of ginger that couldn’t be simpler. Feel free to use any chicken parts you like. Even a whole roasted chicken would work with this recipe. And choosing the right bird, a pasture-raised chicken like the ones I get from my friends at FireFly Farms in Stonington, CT (http://www.facebook.com/pages/FireFly-Farms/242699329121278) makes all the difference.

honey glazed chicken


Ingredients


4 lbs chicken wings

1/2 cup honey

1/2 cup water

1/4 cup soy sauce

1/4 cup apple cider vinegar

2 Tablespoons sesame oil

1 teaspoon cayenne pepper sauce, like Frank’s Red Hot

1/2 teaspoon fresh ginger, minced

1/4 cup onion, minced

1 Tablespoon garlic, minced

1 cup chicken stock, preferably homemade


Thaw chicken wings and place in a Ziploc bag.

In a separate bowl, whisk together all the other ingredients, except chicken stock, to make a marinade. Pour this marinade into the Ziploc with the chicken and seal, squeezing the air out of the bag. Squish the bag around so that the marinade thoroughly covers all of the chicken wings. Place the bag in the fridge to marinate for about 4 hours, squishing it around every hour.

Preheat the oven to 325.

Carefully pour out the marinade into a saucepan, adding the chicken stock, and reduce until it becomes a thick, gooey glaze. Be careful not to burn the sugars in the honey. Honey can also foam up and overflow if you’re not watching it.

Remove the chicken pieces from the bag and place them on a baking sheet covered with non-stick aluminum foil. Bake for about 30 minutes.

The reduced marinade glaze should be ready right around the time the chicken has cooked for 30 minutes or so. Brush the glaze on to the chicken, and place back in the oven to cook 15 more minutes.


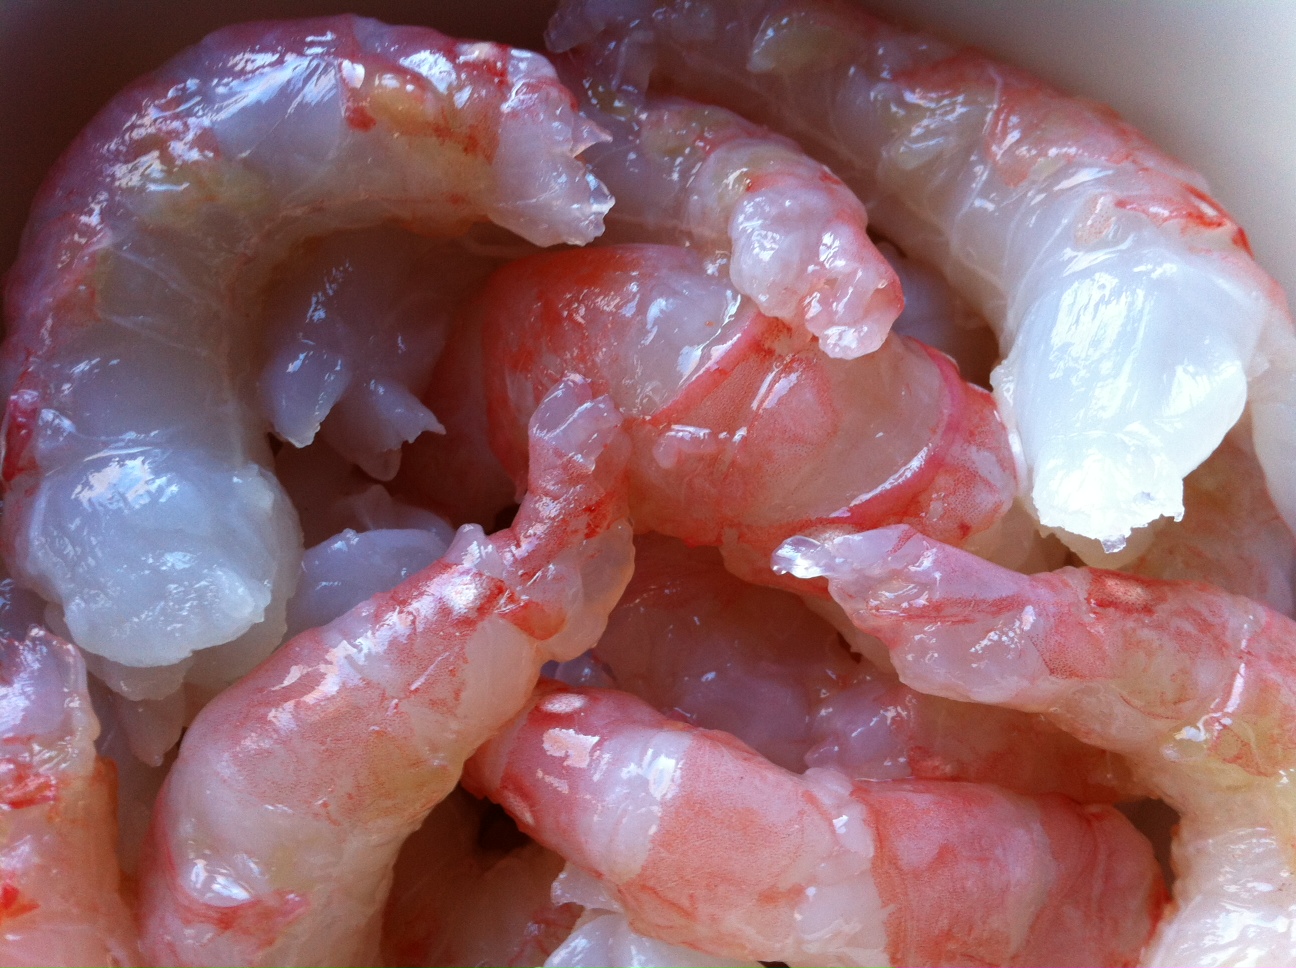
This is not your average shrimp! Found in the Pacific, from Southern California all the way up to Alaska, as well as Japan and Korea, these beauties, identified by the white spots on the sides of their first and fifth abdominal segments, live up to 11 years. And here’s the crazy part: each spot prawn (or spot shrimp) spawns once as a male and one or more time as a female!

prawns 1

Having read so much about them, I ordered a pound and decided that I would get full use of the shrimp by peeling them and making an intensely flavored sauce out of the shells.

Peeling and deveining was easy: the shells slipped right off the shrimp, and they were so beautifully clean, their were no veins to remove!

If you can’t get  hold of Wild Pacific spot prawns, shrimp or lobster will certainly do. Just remember to ask your fishmonger for wild caught American shrimp, and not that horrible farmed stuff from Asia. If he doesn’t have it, shop elsewhere.

prawns 2

INGREDIENTS…

1 lb pasta

For the stock:

1 lb. wild Pacific spot prawns, thawed, peeled, and deveined. Save shells and container water, if any.

1 Tablespoon extra virgin olive oil

1/2 carrot

1/2 celery stalk

1/4 onion

1 smashed clove garlic

4 whole peppercorns

2 teaspoons ketchup

1/2 sprig rosemary

1/2 sprig thyme

6 cups water


For the shrimp:

1/4 teaspoon salt

1/4 teaspoon freshly ground black pepper

1/4 teaspoon sugar

4 Tablespoons butter, room temperature

1 Tablespoon extra virgin olive oil


The final touch:

1 Tablespoon extra virgin olive oil

1 shallot, finely chopped

2 garlic cloves, pushed through a garlic press

2 Tablespoons butter, room temperature

1/8 cup fresh chives or scallions, finely chopped


COOKING INSTRUCTIONS…


For the stock:

Peel and devein shrimp. Keep peeled shrimp in the fridge, covered.

In a pot, heat the olive oil and add the carrot, celery, onion, garlic, peppercorns, ketchup, rosemary, thyme and shrimp shells. Saute for a few minutes to get the flavors going. Add container water, if any, and 6 cups water. Bring to a boil and let simmer for 2 hours.

Strain solids out and discard. Place stock in a smaller pot, and continue reducing until about 1 cup of the stock remains.

Boil pasta and remove from water before al dente stage. (It will cook more later.) Strain and set aside.


For the shrimp:

Combine salt, pepper and sugar with the prawns in a bowl and toss to coat them evenly.

In a large saute pan, heat the butter and olive oil on medium-high heat. Add the shrimp and cook until lightly caramelized and almost cooked all the way through. Do not overcook! set aside.


The final touch:

In the same large saute pan, heat 1 Tablespoon of olive oil and add the shallot. Saute for 1 minute, then add the garlic. Saute for 2 more minutes, then add some of the stock, the shrimp, the pasta, and the butter, and mix well. If dry, add more of the stock until the pasta is coated, but not dripping. Salt and pepper to taste. Garnish with the chives.

prawns 3

Serve immediately!


CANTONESE CHICKEN

Posted: January 11, 2013 in chicken, Food, Recipes, Uncategorized
Tags: , ,
Peking duck is one of my favorite treats, but there aren’t many Chinese restaurants in my area that prepare it really well. So when I can’t get to Chinatown in Boston or New York, I’m happy to settle with this recipe that I’ve adapted from one of my favorite cookbooks: “The Chinese Cookbook,” by former NY Times food editor and critic Craig Claiborne and Virginia Lee.
It isn’t Peking duck, but it sure is good! I prefer using a whole pasture-raised organic chicken from my good friends at Fire Fly Farms in Stonington, CT (www.fireflyfarmsllc.com)…but use what works best for you. This time around, I used two Barred Rock chickens, about 3 lbs each, instead of one larger bird.
 chix1
CANTONESE CHICKEN
Ingredients:
1 whole chicken, about 6 lbs.
1 Tablespoon Peanut oil
1 Tablespoon Soy sauce
6 Tablespoons Hoi Sin sauce
2 teaspoons Sesame Oil
4 teaspoons Chinese Five Spice powder
2 teaspoons Garlic Powder
2 teaspoons Salt
1/2 teaspoon Black Pepper
Remove all giblets from chicken. Rinse and pat dry.
Rub the soy sauce all over the chicken. Then rub the peanut oil all over the chicken.
Combine Chinese Five Spice, garlic powder, salt and pepper in a bowl. Season entire chicken, including inside the cavity, with this mixture.
Pre-heat oven to 350 degrees. Place chicken in a pan lined with aluminum foil (cleanup will be easier) and bake.
Meanwhile, combine hoi sin sauce and sesame oil in a small bowl. When chicken is about 15 minutes away from being done, reduce oven temp to 300, and brush chicken with hoi sin/sesame oil mixture. Cook another 15 minutes until chicken has a nice dark glaze…do not burn!
chix2
Let rest about 15 minutes before carving.