Archive for the ‘Rhode Island’ Category

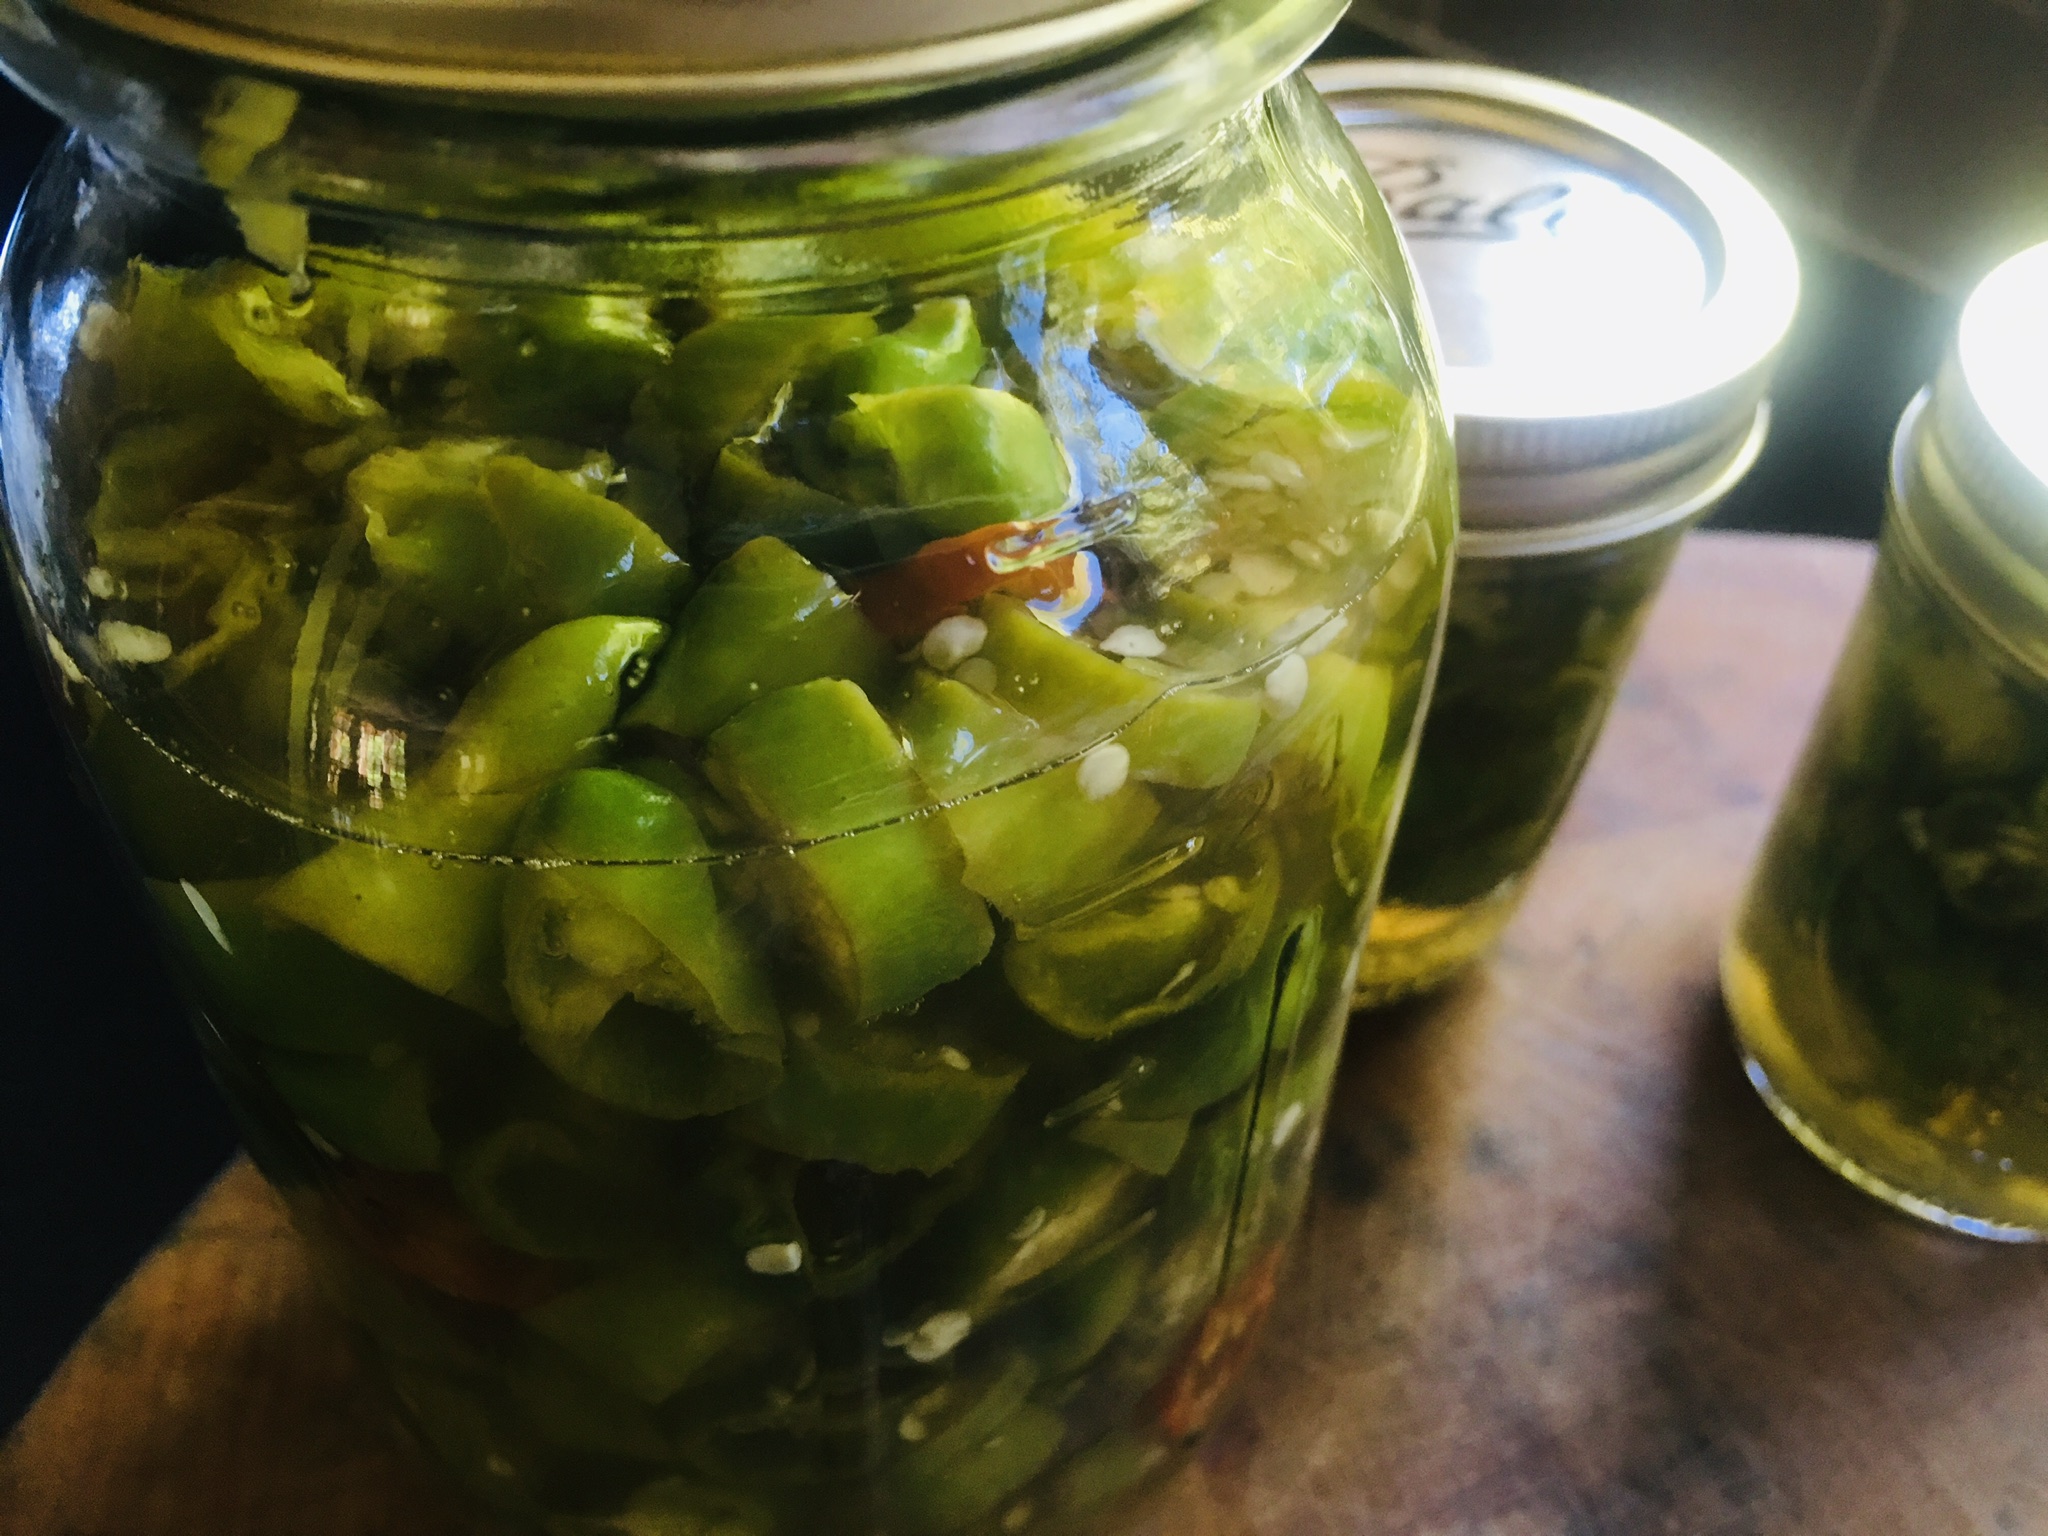
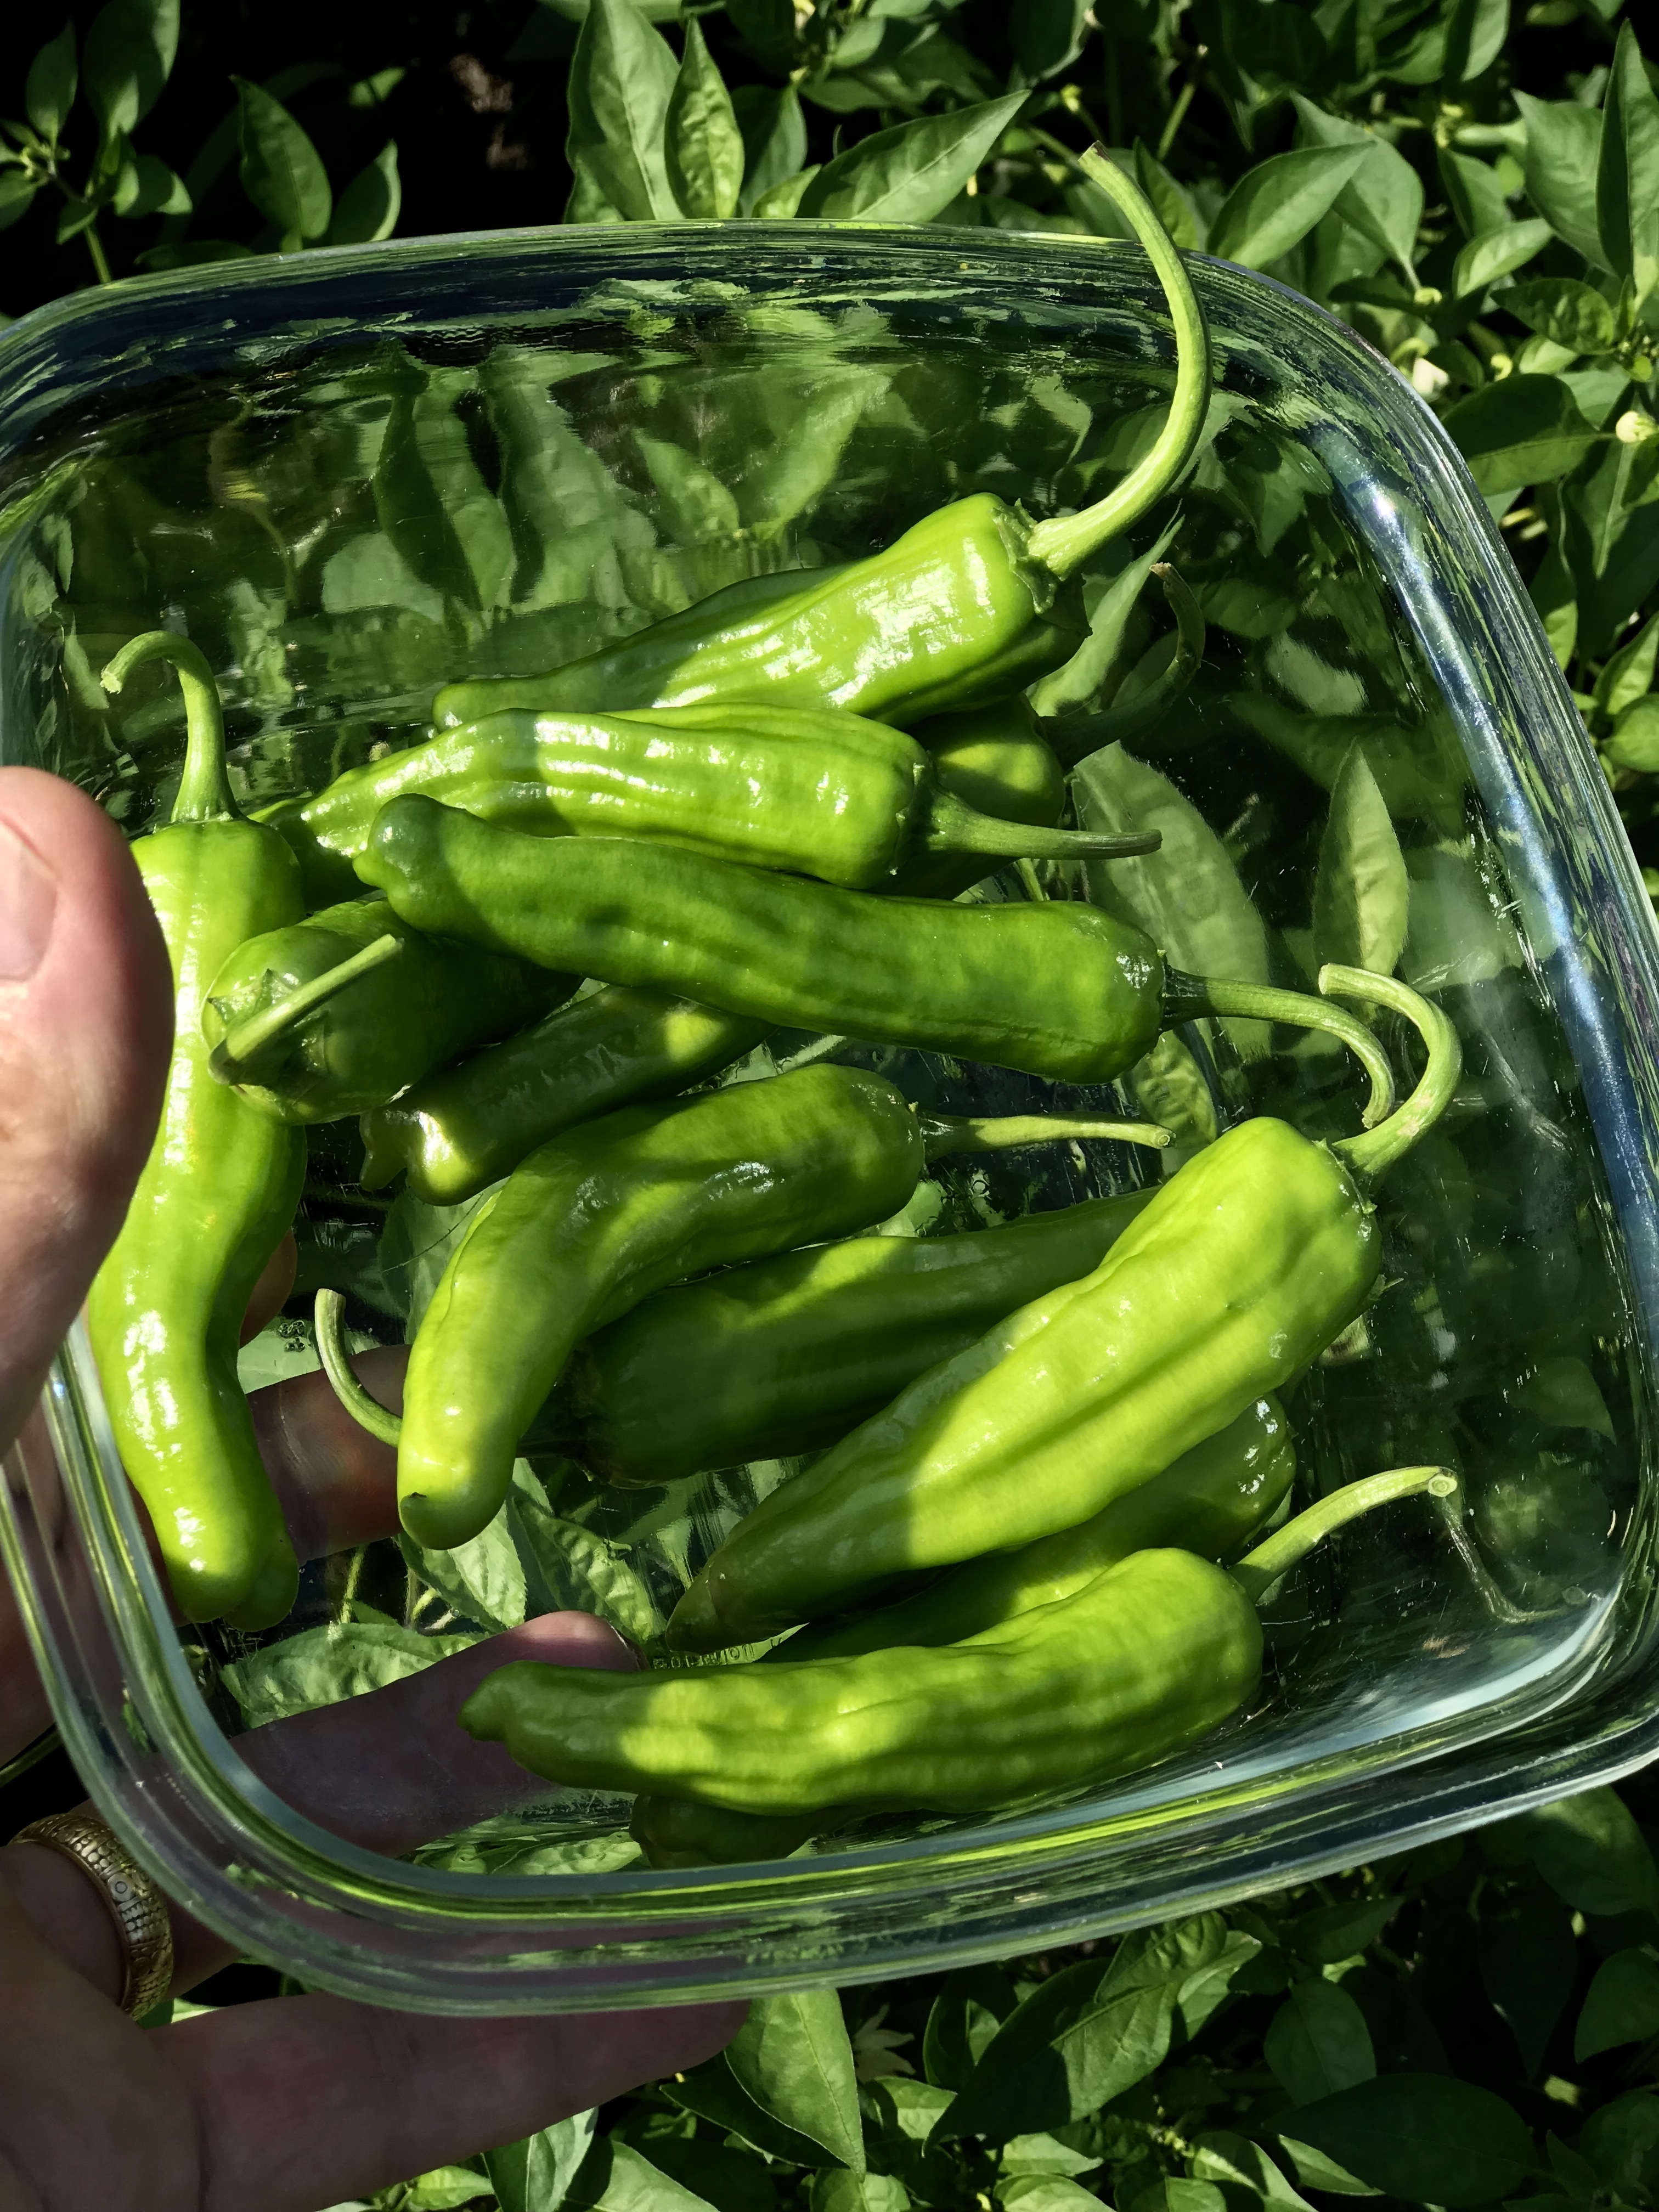
I had a ridiculous harvest of shishito peppers in my garden this year, all from a mere eight plants. They were so prolific, I ate blistered shishitos almost every day for weeks on end…and that was after I gave away pounds of them to friends.

I was at my wits’ end. The season was waining, but I had bags and bags of shishitos in my fridge. Then on Instagram, my friend Ron exclaimed: “Pickle them!”

I had no idea you could do that!


Pickling shishitos…why didn’t I think of this sooner?


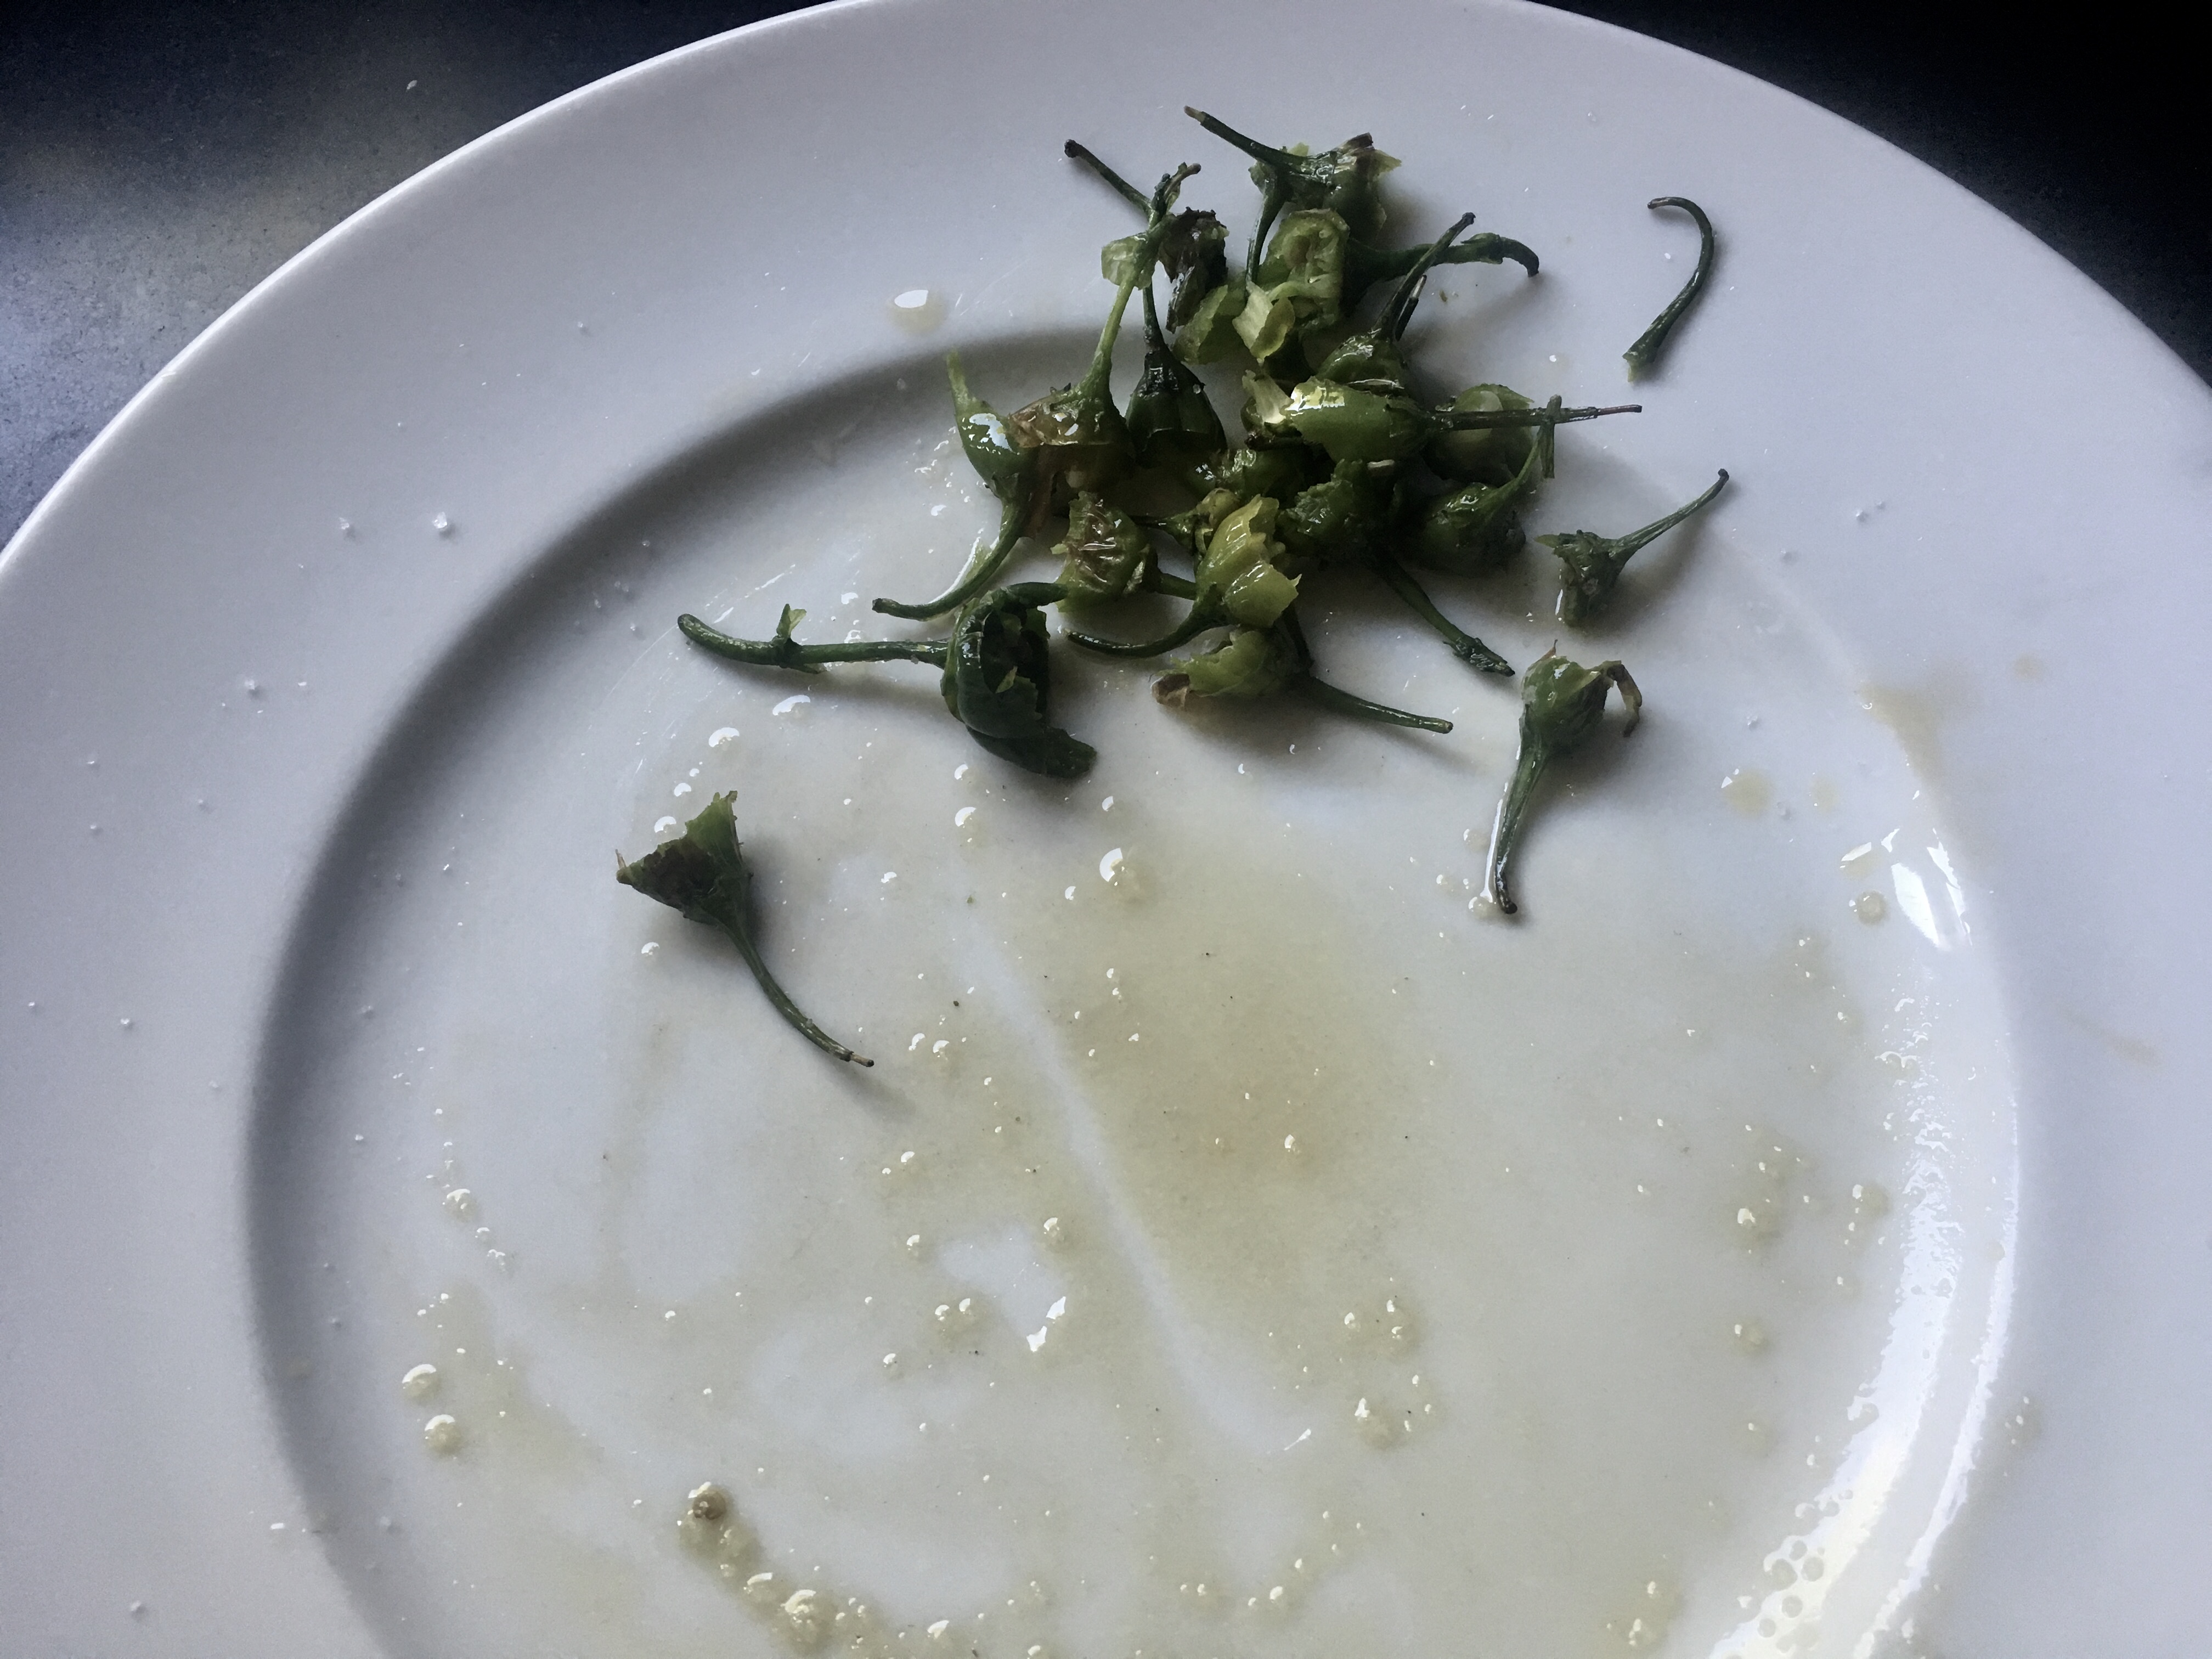
So, thanks, Ron. You saved the harvest! And by the way… While the pickling brine was boiling, I blistered and ate another batch of shishitos! (Needed to do something while I was waiting… )


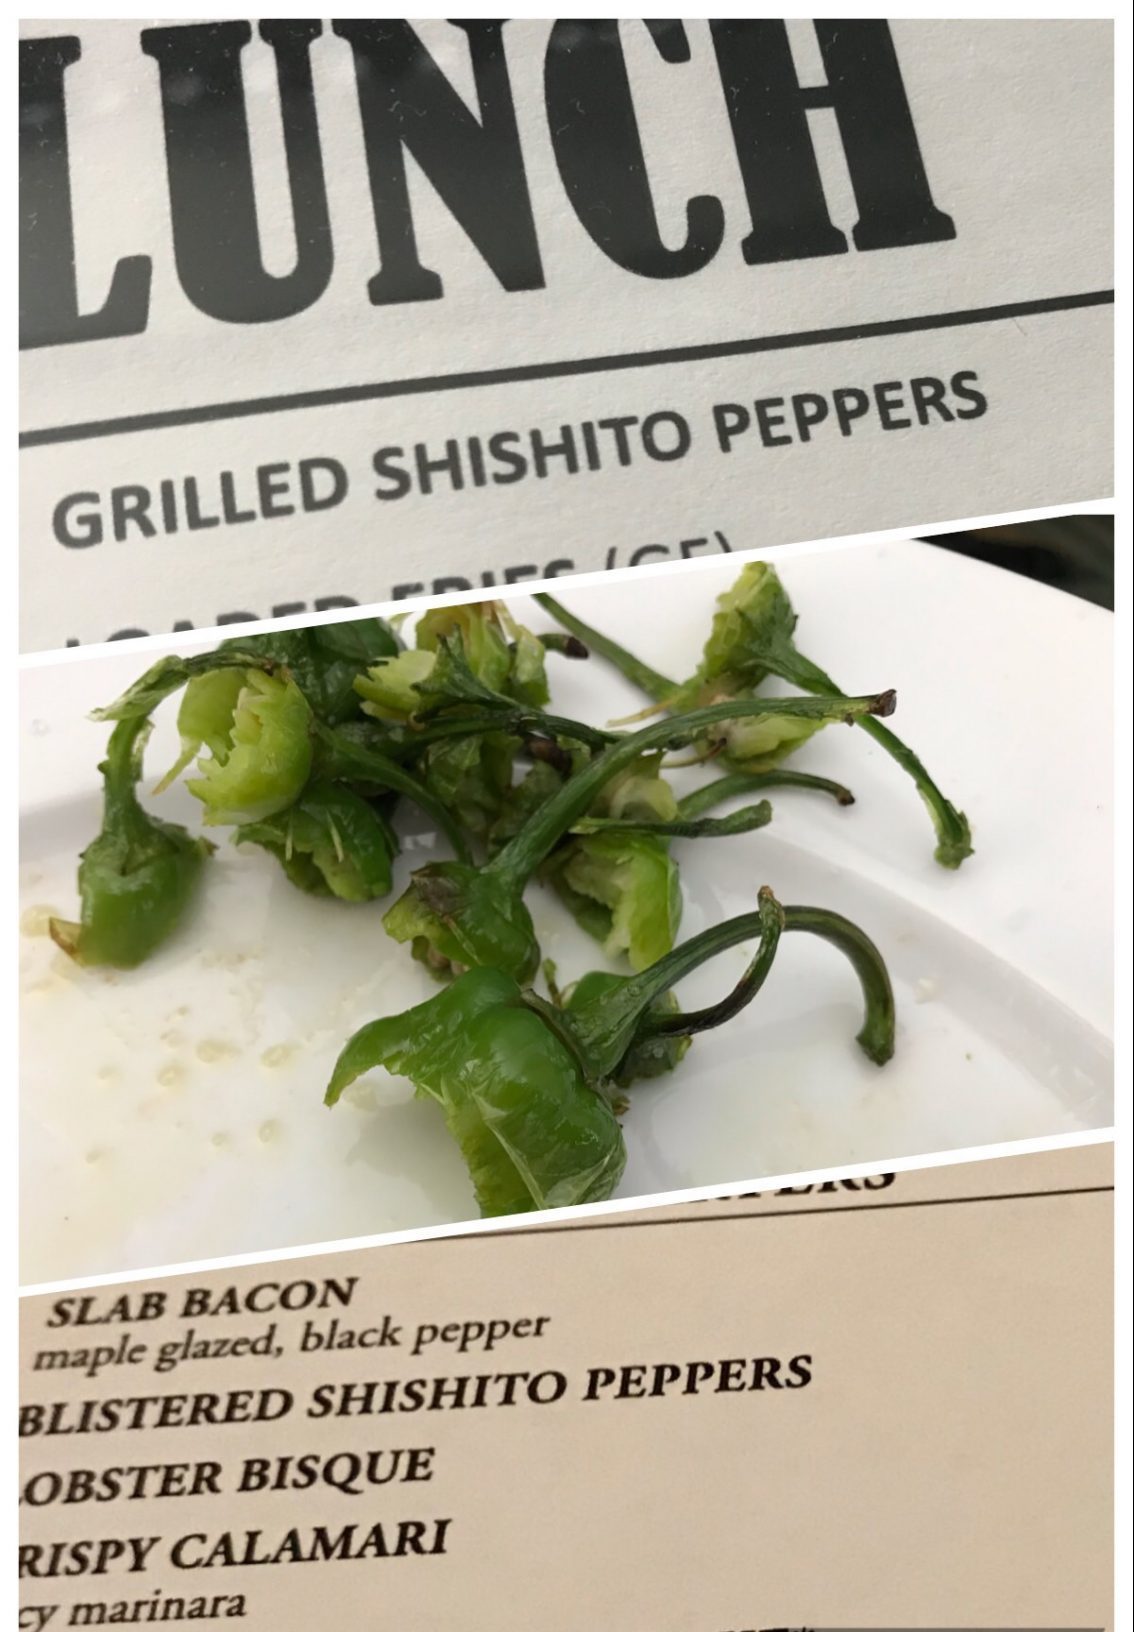
Blistered shishitos gone!


The original recipe for pickled shishitos suggested that I boil the pickling spices and then combine them with sliced shishitos. But I didn’t like the idea of having whole peppercorns and other spices getting stuck in my teeth. I wanted their flavor, but I didn’t want to bite into them whole. (If you’ve ever accidentally bitten into a peppercorn, you know what I mean.)

So I strained the brining liquid after boiling, and then combined it with the shishitos. I got all the flavor, and none of the grit.


I cut the stem ends off the shishitos, then sliced them into rings.


2 cups vinegar
2 cups water
4 garlic cloves
2 tablespoons sugar (I use organic cane sugar)
2 tablespoons pickling spices
1 tablespoon black peppercorns
2 teaspoons sea salt
1 pound shishito peppers, sliced into rings


Boil a couple of Mason jars in a large pot to clean them. Let them air dry completely.

In a saucepan over high heat, combine the vinegar, water, garlic cloves, sugar, pickling spices, black peppercorns, and sea salt. Bring it to a boil, then lower the heat to medium and let to boil for 5 to 8 minutes.

The take pickling liquid off the heat and strain it into a bowl. Discard the spices. Add the sliced shishitos into the pickling liquid, mixing well, and let it sit for 3 to 5 minutes.

Spoon the mixture into the Mason jars and seal them tightly. Let them cool to room temperature. (You should hear the lids of the Mason jars make a popping noise to seal properly.)

Once the peppers have cooled, place the jars in the fridge and let them sit in the fridge for a week or so until the flavors combine.


The pickled shishitos are great on salads, sandwiches, cheese platters, and anything else that needs a kick in the pants!


It seems like the popularity of shishito peppers has exploded overnight. Once a rare treat that I could only get on the menu at one of my favorite Boston restaurants, Toro, now they’re everywhere: farmers markets, bistro and pub menus, and of course…my own garden!

Shishito peppers are mostly mild…but you can get hold of a spicy one every 10 peppers or so…kind of a Russian pepper roulette!

Shishitos straight from the garden!

Shishitos are incredibly easy to grow…just like any other pepper. They love a full day’s worth of sun, and lots of fertilizer. If you have success growing tomatoes, shishitos should be on your list. Plus, they’re really quite prolific: it’s not uncommon to find a couple dozen peppers growing on each plant!

Shishitos are also easy to prepare, and take just minutes. Ideally, if you’ve already got a charcoal grill going, you’re almost there. Simply place the shishitos in a bowl and drizzle in a little olive oil. Toss the peppers to coat, and place them directly on the ashed-over coals of the fire. Work quickly turning them over with tongs. You want them to blister, but you don’t want them to burn! They’ll pop, deflate, and get soft. That’s when they’re ready. Simply place them on a serving plate, and sprinkle some really good sea salt (I like Fleur de Sel) over them while they’re still hot.

If you don’t have the time for a charcoal grill, you can still prepare delicious shishitos by placing them in a pan. Sprinkle in a little olive oil, and toss them around to coat them. Turn the burner on high, and cook the shishitos until they’re blistered, but not burned. Cook them on all sides, carefully flipping them over with tongs. Like on the charcoal, they will pop, deflate and get soft. Transfer them to a serving plate and sprinkle immediately with salt.

To enjoy shishitos, you simply grab them by the stem and bite!

Butter and cheese. Can anything be better?

It’s especially great when asparagus is in season, growing in my garden, like right now.

This is a great side dish with any main course like a big slab of meat, and has special meaning to me because my cousin first introduced me to asparagus with this recipe when I was just a kid. She passed away many years ago, but I think of her every time I make this simple but delicious dish.

You can use almost any grated “parmesan” cheese, but nothing beats real Parmigiano Reggiano that you freshly grate yourself. Whatever you use, please, just don’t use the junk that comes in a can.


image

1 lb. fresh asparagus spears
1 tablespoon unsalted butter
2 tablespoons extra virgin olive oil
3/4 cup grated Parmigiano Reggiano cheese
sea salt and freshly cracked black pepper


The easy way to trim an asparagus spear is to grab the thicker end between two fingers and bend it. It will snap at the point where the tough part ends and the softer, edible part begins. I toss the bottoms into my compost pile.

I heat the butter and oil together in a pan and then add the asparagus spears, cooking over medium heat for about 5 minutes, until al dente. (You don’t want them mushy.)

While the asparagus is still in the pan, I sprinkle the Parmigiano Reggiano on top, letting it melt a bit. I season with sea salt (I prefer Fleur de Sel) and freshly cracked black pepper.


A few years ago, we were invited to a very cool retro summer party: cocktails and appetizers from the 60’s, and everyone contributed to the music by bringing in their favorite songs on vinyl.

We were also asked to contribute to the apps, so I brought waffle chips with clam dip.


image

2 8-oz. packages cream cheese, softened
3 6-oz. cans of chopped clams, drained, liquid reserved from one can
1 tablespoon fresh lemon juice
2 teaspoons Worcestershire sauce
1/2 teaspoon salt
1/4 teaspoon black pepper

Combine all the ingredients, except the clam liquid, in a bowl and mix them well with a fork.

Add 1 tablespoon of the clam liquid and mix well. Keep adding the clam liquid until the dip reaches a consistency you like.

Serve with the potato chips.


image

I’ve had Clams Casino in many different forms. Back when I worked in Italian restaurants in New York, we would make a breadcrumb mixture, press it onto a freshly opened whole clam, and then place a small piece of bacon on top before it went into the oven. It was good, but the clam often stuck to the shell, and many people didn’t want to gulp down a whole clam like that.


Oyster knife (left) and a clam knife (right.) Different tools for different jobs.


When it was time for me to make my own recipe, I decided that I would chop the clams and mix them into the breadcrumb mix, so that every bite was the same.

2 tablespoons olive oil
1/3 cup finely chopped Vidalia or other sweet onion (about a 1/2 an onion)
2 garlic cloves, squeezed through a garlic press
1/3 cup dry white wine
1/3 cup unflavored bread crumbs
1 tablespoon fresh Italian parsley, finely chopped
1/2 teaspoon dried oregano
Freshly cracked black pepper
2 dozen medium sized clams
1/3 lb. bacon, cut in small squares to fit the clam shells
Heat the olive oil in a pan over medium heat. Add the onions, and sauté them until they’re translucent. Add the garlic, and cook for 10 seconds. Add the wine and simmer for a minute. Add the bread crumbs, and stir the mixture until it becomes thicker, like a paste. Add the parsley and oregano. Season with pepper. (There’s going to be plenty of salt in the clam juice and bacon, so no salt is needed.)

The bread crumb mixture.

Remove the pan from the heat and let it cool.
It’s time to open the clams. If you know how to do that, open them over a sieve with a bowl underneath so that the clam meats and juices are captured. Discard any broken shells, but save the good ones.
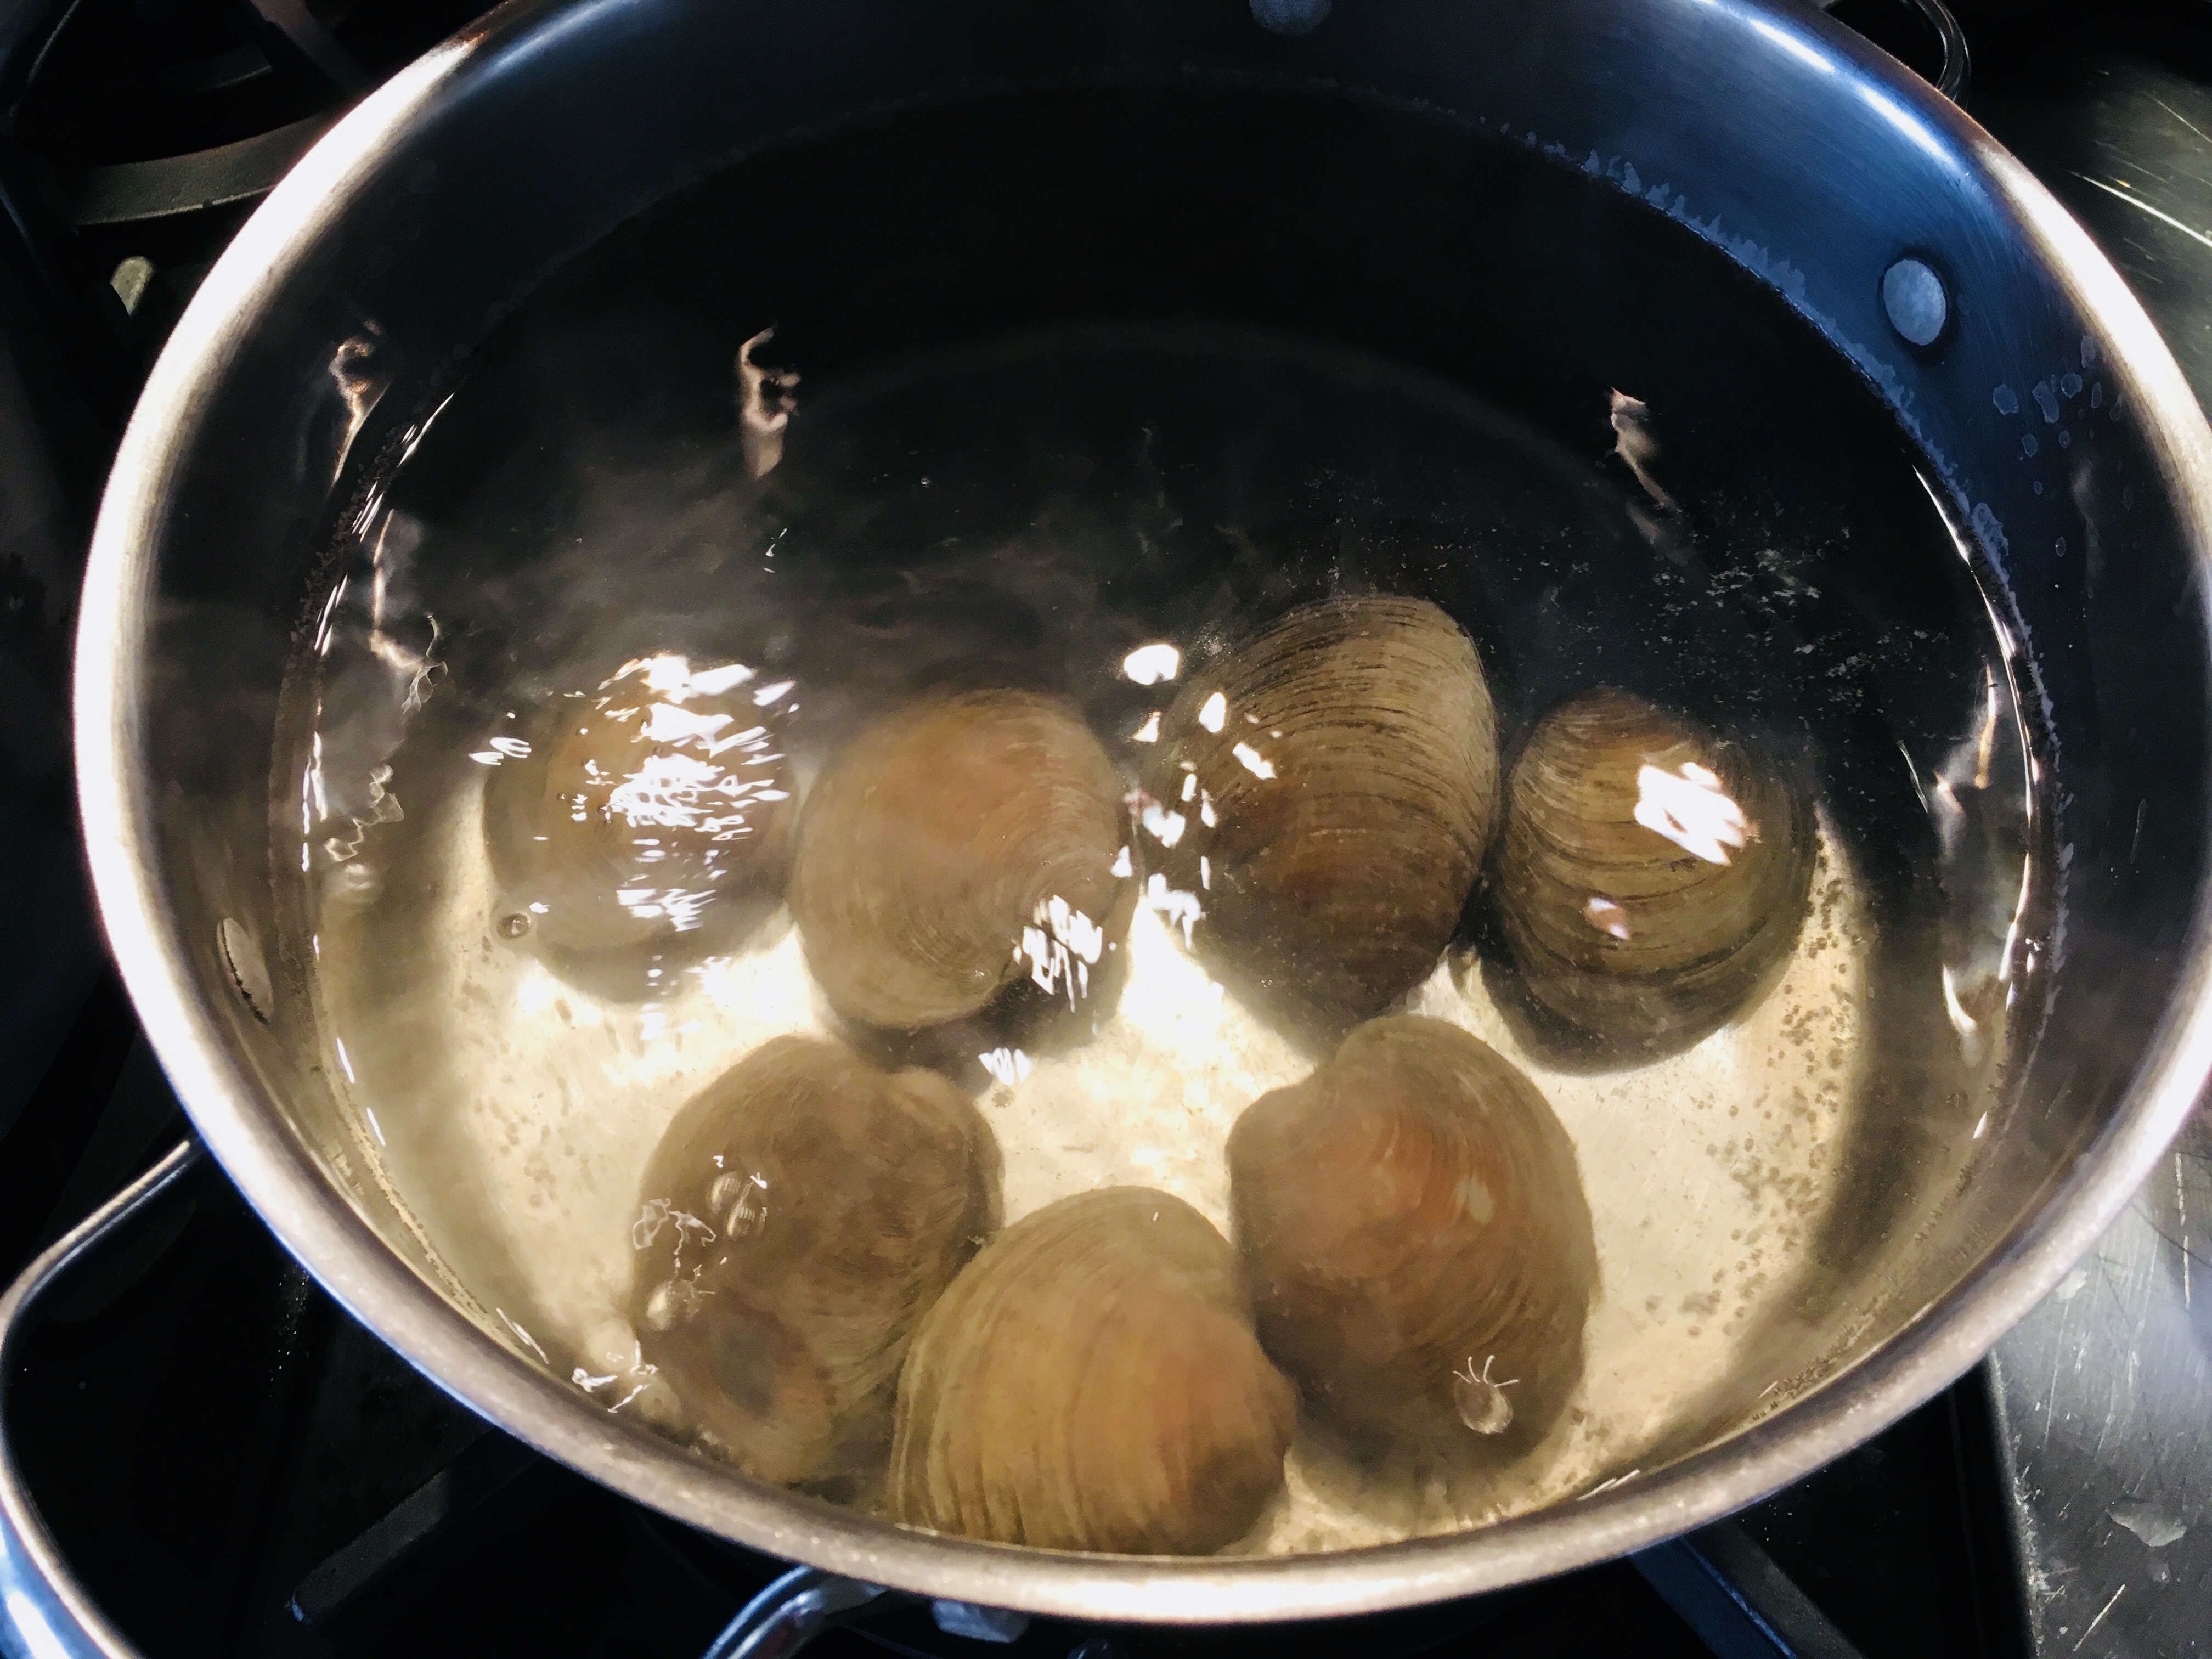
If you struggle with opening clams, this method makes it a little easier: Bring a large pot of water to boil, and drop the clams into it, about 10 at a time, for 30 seconds. Don’t let them open! Remove the clams with a slotted spoon and place them in a bowl to cool. Continue doing this in small batches until all the clams have been in the water. You’ll find this makes opening the clams much easier. Then proceed as above.
Once you’ve shucked all the clams, let the clam juice sit for a bit, so that any grit settles to the bottom of the bowl. Then pour off the clean clam juice and add it to your bread crumb mixture. (Don’t worry if it looks soggy at this point.)

Looking a little soggy, but that’s OK.

I like to hand chop the clam meats instead of using a food processor. You want tasty clam chunks, not too big, but not mush. Add the clams to the the bread crumb mix.
At this point, if the clam mix looks very soggy, simply add a little more bread crumb to dry it out.
Preheat the oven to 350 degrees.
Line a large baking sheet with foil. Separate the clam shell halves and wash them, making sure you don’t have any shell fragments left in the clam shell.  Fill them with the clam mixture, mounding them slightly, and placing each one on the baking sheet.

Clams and bacon…delicious!

Cut the bacon in small squares to fit the clam shells. Place a small piece of raw bacon on the top of each clam.
Bake until the clams are just cooked through, the topping is golden, and the bacon is cooked, about 30 minutes.

This makes a great appetizer, but it’s hard to just eat a few!

Chourico is as important to the Portuguese as bacon is to us Lithuanians. Here in Southern New England, they pronounce it “sha-rees,” not “chaw-reezo,” like you hear on TV!

I was joking with a friend the other day that if I won the lottery, I could buy a lifetime supply of chourico at my favorite store: Mello’s, in Fall River, Mass. His response was: “Is there such a thing as a lifetime supply of chourico?!”

Good point!

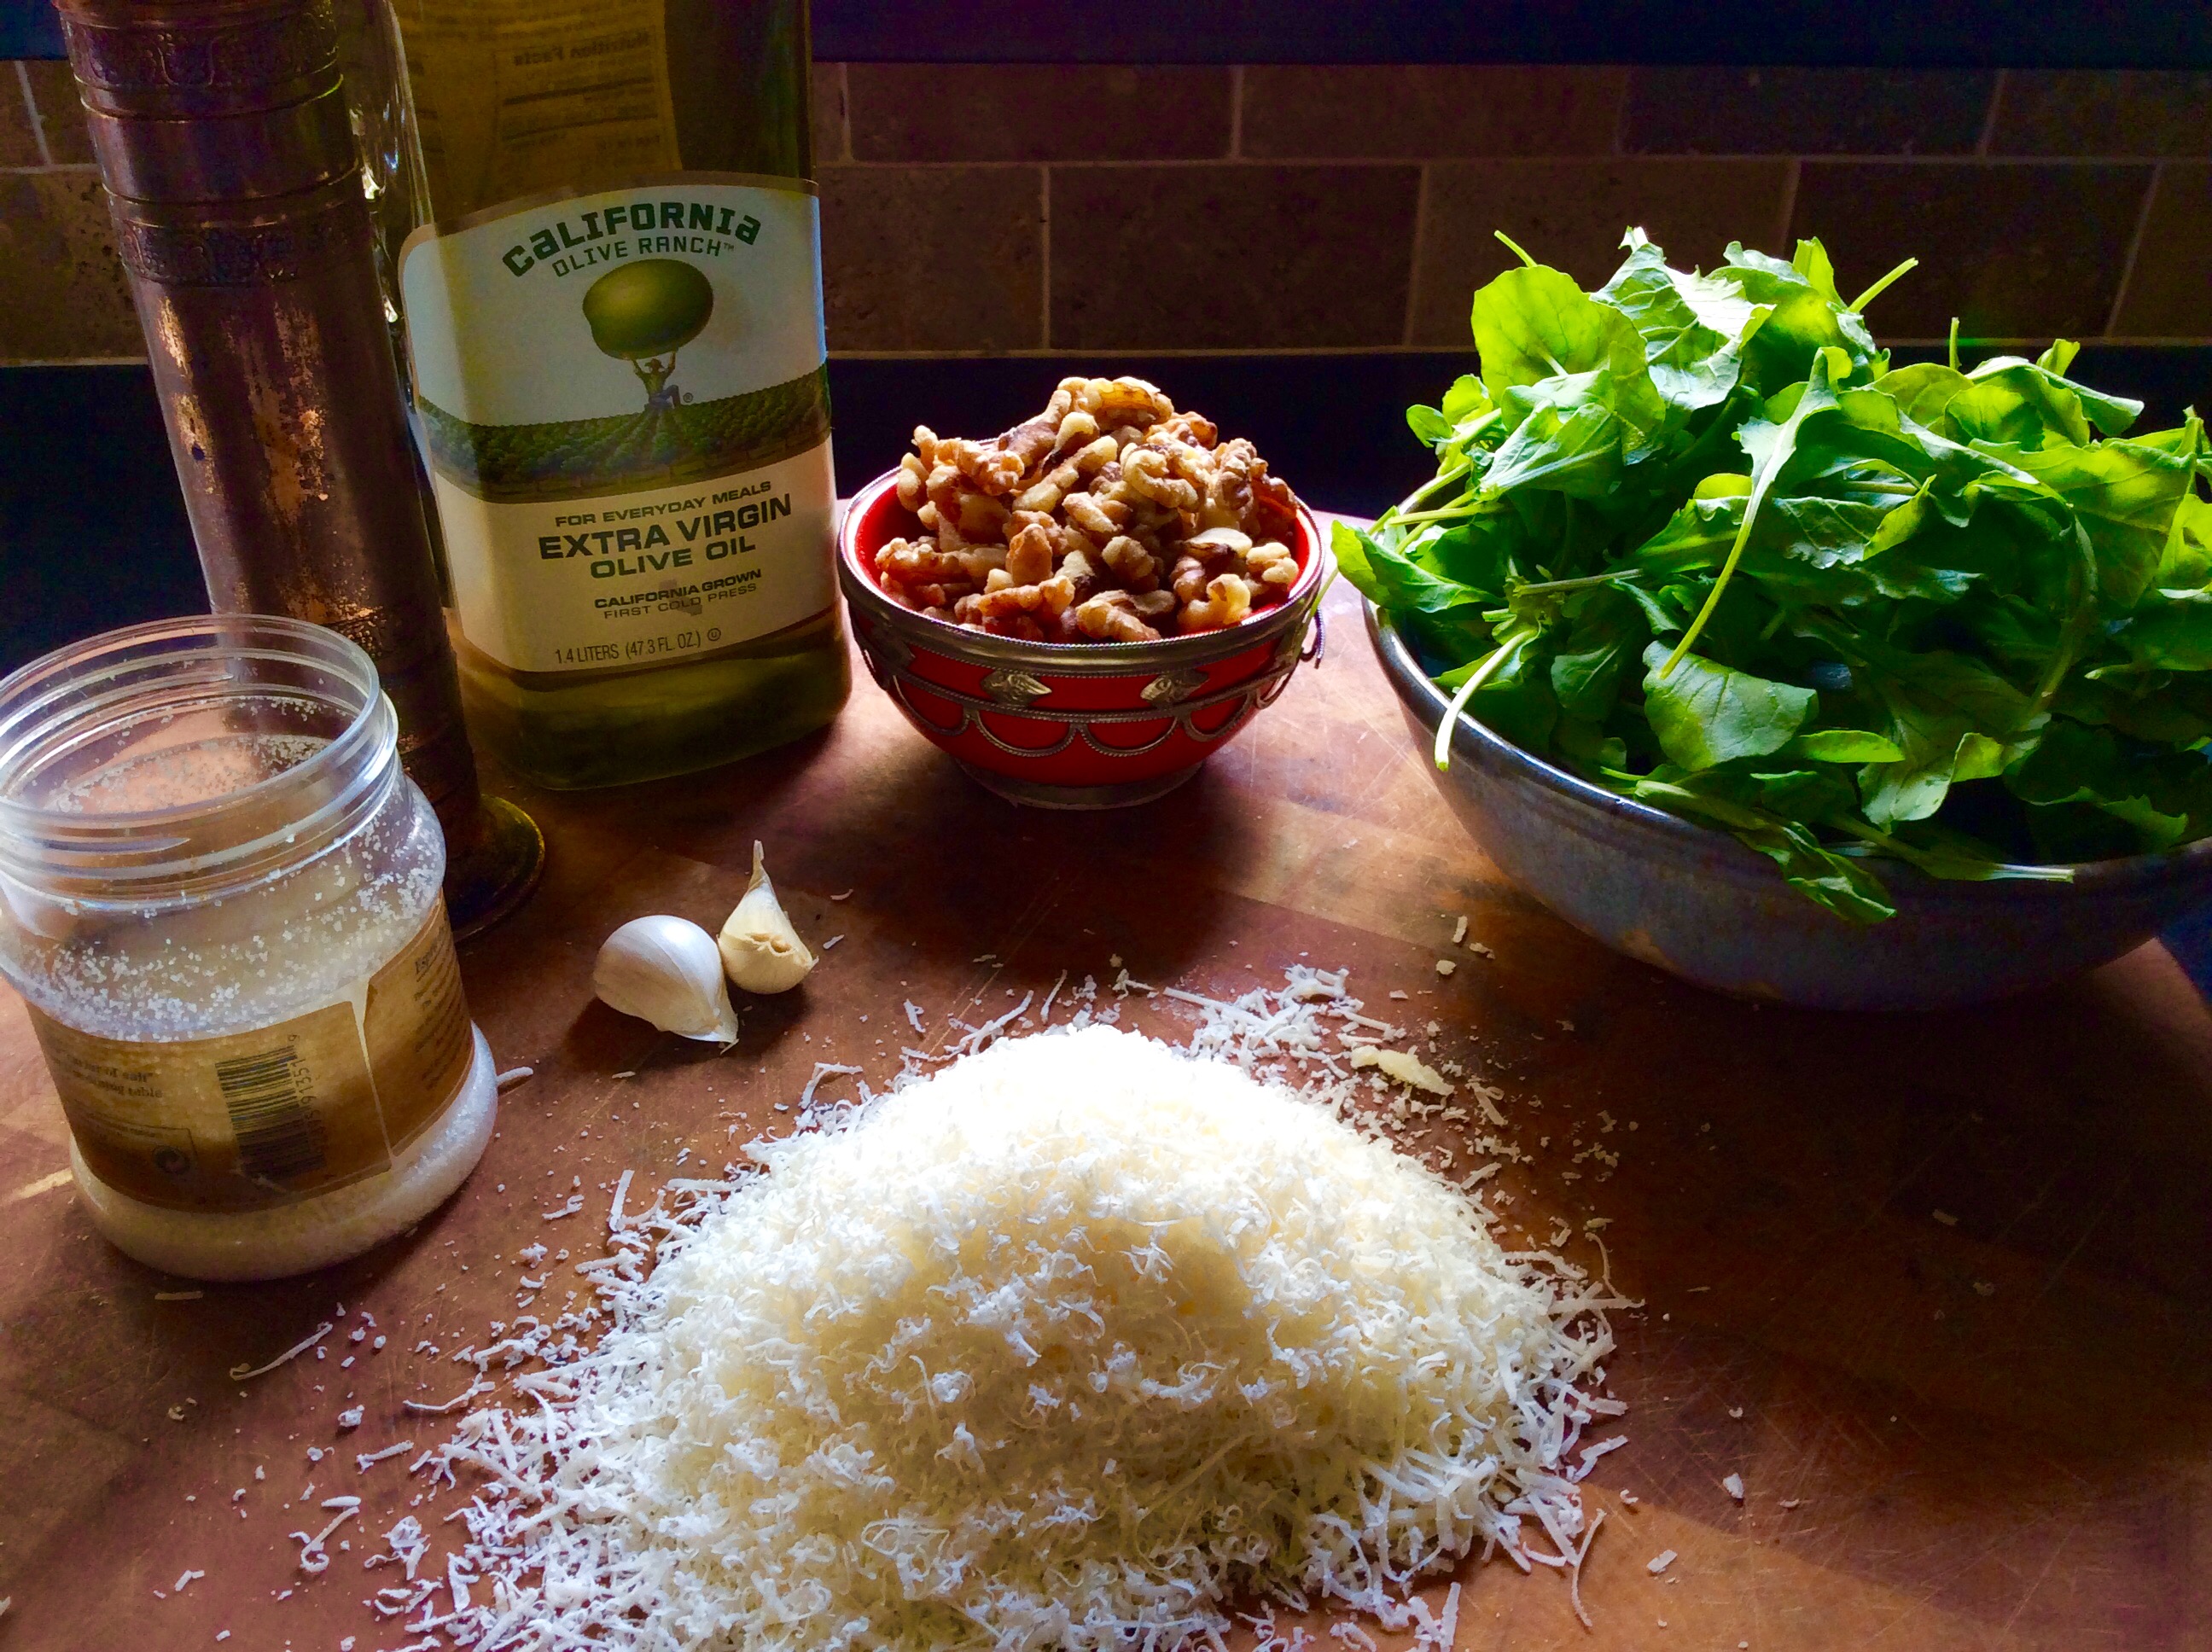
If you’ve had really great chourico, you’re always looking for new ways to include it in your cooking. Inspired by chef Chuck Hughe’s recipe, this is a great chourico appetizer that’s really easy to make. Whip up the arugula pesto ahead of time and keep it in the fridge. Then when guests come, just slice the chourico, sauté it in a pan until brown, and serve.


fullsizerender

3 cups fresh baby arugula
1/2 cup walnuts
1/2 cup olive oil
1 clove garlic
1 teaspoon salt
1/4 teaspoon pepper
1/2 cup + one tablespoon grated Parmigiano Reggiano
2 lbs. chourico, sliced into 1/2″ pieces

Combine the arugula, walnuts, olive oil, garlic, salt, pepper and the 1/2 cup of cheese in a food processor or blender and blend until smooth. Set the remaining tablespoon of cheese aside for garnishing later.


fullsizerender-1

Remove the casing from the chourico and slice it into 1/2″ thick pieces. Sauté the chourico slices in a pan until both sides are caramelized and golden.

Place the chourico on a plate, topping with some of the pesto. Sprinkle a touch of the grated cheese to garnish. Serve immediately, while the chourico is still hot!


fullsizerender-3

The definition of a consomme is: “a clear soup made with concentrated stock.” I might add “mind-blowing” to that sentence, especially with this recipe. The key to success– and this is crucial–is to use absolutely garden-fresh, in-season ingredients. If you try this with greenhouse or supermarket tomatoes, you’re just wasting your time.


FullSizeRender (9)

4 1/2 lbs. of fresh garden tomatoes (my favorite is the heirloom: Brandywine)
1 large bunch of fresh basil, leaves and stems
1 2-inch piece of fresh horseradish, peeled
1 clove of garlic, peeled
1 tablespoon white wine vinegar (I use Alessi)
2 oz. vodka (I use Tito’s)
sea salt and pepper

Remove the core of the tomatoes, but leave everything else, including seeds and skin.

Put all the tomatoes, basil, horseradish, garlic, vinegar and vodka in a blender or food processor. You might need to do this in batches if your equipment can’t handle it all.

Process until you get a kind of slush.

Line a mixing bowl with a double layer of cheesecloth and pour the tomato slush mixture into it. Gather up the corners of the cheesecloth carefully, and tie them securely so you can lift the bundle up by the knot. Hang the bundle from a hook over a clean bowl in the fridge so that it catches the liquid that drips out, and leave the whole thing in there overnight. The liquid that drips out will be clear.


Cheesecloth bundle dripping overnight in the fridge.

Cheesecloth bundle dripping overnight in the fridge.


To serve, chill bowls (or in this case: the sipping glasses) in the fridge. When you’re ready to serve, ladle out the consomme and garnish each with a tiny basil leaf. A drop of excellent quality olive oil is optional.


Synthetic cheesecloth apparatus. The real thing works better.

Synthetic cheesecloth apparatus. The real thing works better.


I tried using a synthetic cheesecloth for this recipe, and I found that it doesn’t filter out enough of the solids to make a clear consomme. You could use it along with real cheesecloth, just to use the stand, or just hang it all in real cheesecloth, as described in this recipe.

The price of lobster has skyrocketed. But sometimes, you can find a sale. That’s the time to treat yourself!

Nothing says summer here in New England like a lobster roll. It’s certainly easy to go to a clam shack or seafood restaurant to get one, but nothing beats making one yourself.


The lobster roll at one of my favorite restaurants: The Back Eddy in Westport, Massachusetts. Delicious and fresh. But it breaks one of my cardinal rules about lobster rolls. (Go to the bottom of the page.)


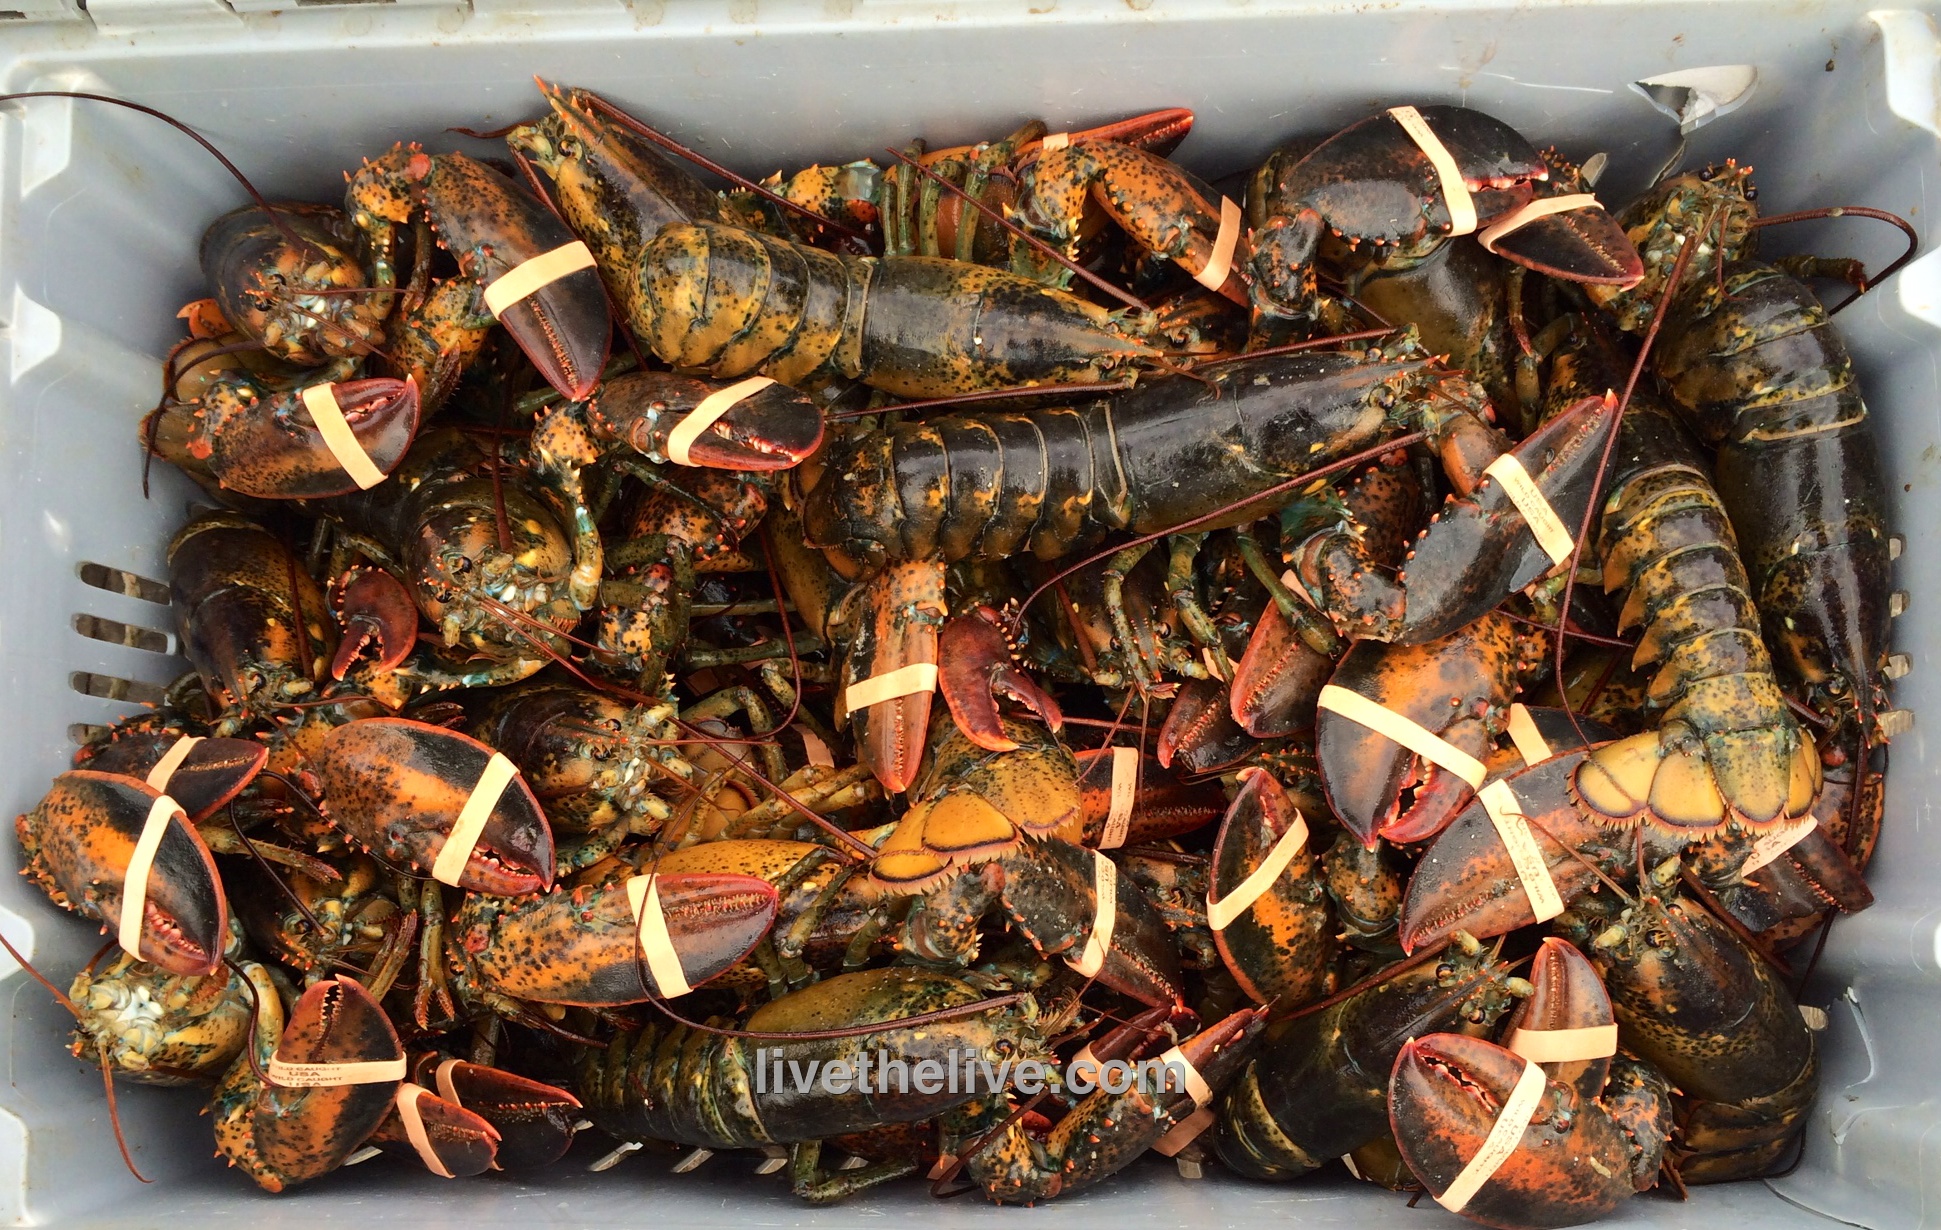
When I make my own lobster rolls, freshness is key. I always start with live lobsters.


A view of the Sakonnet River from the back of Gary's lobster boat, the Edna Mae

A view of the Sakonnet River, here in Rhode Island.


Once you’ve bought your live lobster, the next step is to cook it right. Some people steam and some people boil. I’ve always been a boiler myself. I fill a large pot half-way with water and add sea salt. I bring it to a rolling boil before the lobsters go in. And then I do the math…

I boil my lobsters for 10 minutes for the first pound. I add 3 minutes per pound for each additional pound thereafter. For example, a 2-pound lobster should boil for 13 minutes and a 1 1/2-pound lobster should boil for 11 1/2 minutes. And if I’m boiling more than one lobster, the same rule applies: 3 2-lb. lobsters = 6 pounds. So 10 minutes for the first pound, plus 3 minutes x 5 for each extra pound (that’s 15) for a total of 25 minutes. (These times are for hard shell lobsters. I reduce the boiling time by 3 minutes if I’m cooking soft-shell lobsters.)

Remember, you’re going by total weight of all the lobsters, because the more you have, the longer it takes the water to return to the boil once you put them in.

A lobster boil is where you really see what your stove is made of. If you’ve got gas, you should have no problem. But many modern electric stoves are absolutely awful when it comes to cranking out enough heat to boil large quantities of water quickly. If yours is like this, you might want to go with steaming instead of boiling.


Lobster catch LTL


A larger lobster is not always better. My uncle used to buy the largest lobster he could find, and it was impressive when he placed at the center of the dinner table. But the meat was like rubber. And personally, I felt bad for the old lobster that made it that far in life. His last days should’ve be in the ocean, not on a plate.

My maximum lobster size is 2 lbs. At that weight, you have the perfect ratio of meat-to-shell…with lots of delicious meat that is still sweet and tender.

After the lobsters have been removed from the pot and have cooled for a few minutes, I get to work: cracking the claws and tail and removing every bit of beautiful meat I can find. Lobster lovers will tell you that the legs have some meat in them and that the tomalley (the green liver and pancreas) and roe (eggs) are delicacies not to be missed. For the purpose of making lobster salad, I don’t use these parts. But I do save the tomalley and roe for a separate treat…and I save all the legs and cleaned empty shells for lobster stock.

Cleaning lobster legs is easy: simply remove all the legs from the body and place them flat on a cutting board. Grab a rolling pin, and one at a time, roll the pin over the lobster legs, starting at the claw end and working your way up. Like a tube of toothpaste, the meat will squeeze right out of the leg!


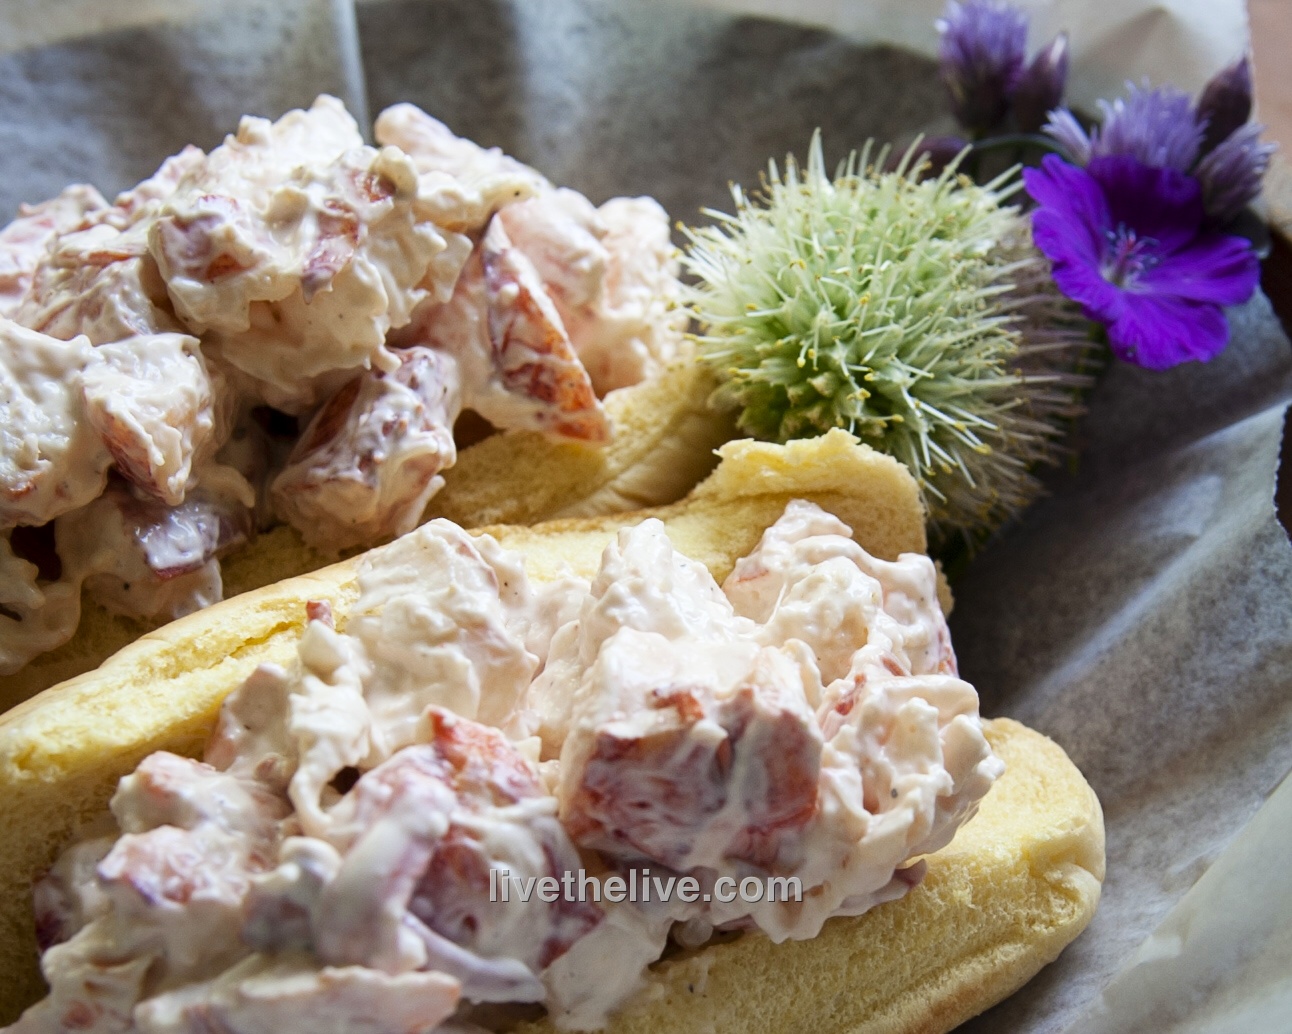
Lobster roll LTL


Now for the important stuff. What goes in a lobster roll, and more importantly, what doesn’t… I have very strong opinions in this matter.

First, there should NEVER be anything green in a lobster roll! No celery, no pickle, and it certainly shouldn’t be sitting on a bed of lettuce! Nothing should be crunchy in a lobster roll! The magic is in the texture of the perfectly cooked lobster meat. Don’t mess with it!

NO paprika or Old Bay seasoning!

A pinch of celery salt? Yes!

Mayonnaise? Only Hellman’s!

White pepper, not black, and just a touch.

Salt? A pinch of Fleur de Sel.

And the secret weapon to bring out all the flavors: the tiniest squeeze of fresh lemon juice…not enough to give it lemon flavor…just to brighten the taste.

As for the roll, you can’t go wrong with Martin’s potato long rolls: soft and squishy straight out of the bag, or for extra decadence: lightly grilled with a little melted salted butter brushed on.


Stuffies, or stuffed clams, are a very personal matter here in Southern New England. There are as many stuffies recipes as there are chowder recipes, and everyone thinks they’ve got the best one. Most stuffies that I’ve had in restaurants, like most meatballs I’ve had, have too much bread and not enough of the good stuff.

I use medium-sized clams for this recipe and not the traditional quahog, a large clam often used in chowders that I find to be too chewy. Dropping the clams in hot water in the beginning helps make opening the clams a lot easier.

Just 30 seconds in boiling water is all it takes.

This recipe requires quite a bit of fresh sage, which can be expensive at the supermarket. So I grow sage in my garden, using it throughout the season, then snipping as much as I can at the end of the growing season to store it in freezer bags for winter use. I’ll even measure out 1 1/4 cups of fresh sage leaves (what I need for each batch of stuffies), then place that amount in the freezer bag, so I don’t need to measure later.

Freezing the sage makes it easier to chop finely later on.

I use Portuguese chourico (since I live near Fall River and New Bedford, Massachusetts, the Portuguese capitals of America), and I think their flavor is best.

This recipe makes a lot of stuffies, but they freeze well so you can have them when you want.

This recipe is gluten-free…and you’ll never be able to tell the difference! But if that doesn’t matter to you, use toasted Portuguese bread instead of gluten-free bread.

I don’t like peppers in my stuffies (or my crab cakes), so I leave them out. But if you do, feel free to add them to the recipe.

stuffies

4 dozen medium neck clams
1.5 pounds chopped chourico, skin removed (I use Mello’s from Fall River, Mass.)
3 onions, finely chopped
3 tablespoons garlic, finely chopped
3 cups frozen or fresh corn kernels
3 cups toasted and coarsely ground bread (I use Udi’s Soft & Hearty Whole Grain bread to keep it gluten-free)
3/4 cup chopped fresh oregano (or 1 tablespoon dried)
1 1/4 cups chopped fresh sage (don’t use dried)
Salt and pepper
Butter
Sambal chili paste
Mayonnaise

In a large pot of boiling water, drop the clams in, about a dozen at a time. Remove them after about 30 seconds, before they open. Place them in a bowl to cool. Do this with all the clams.

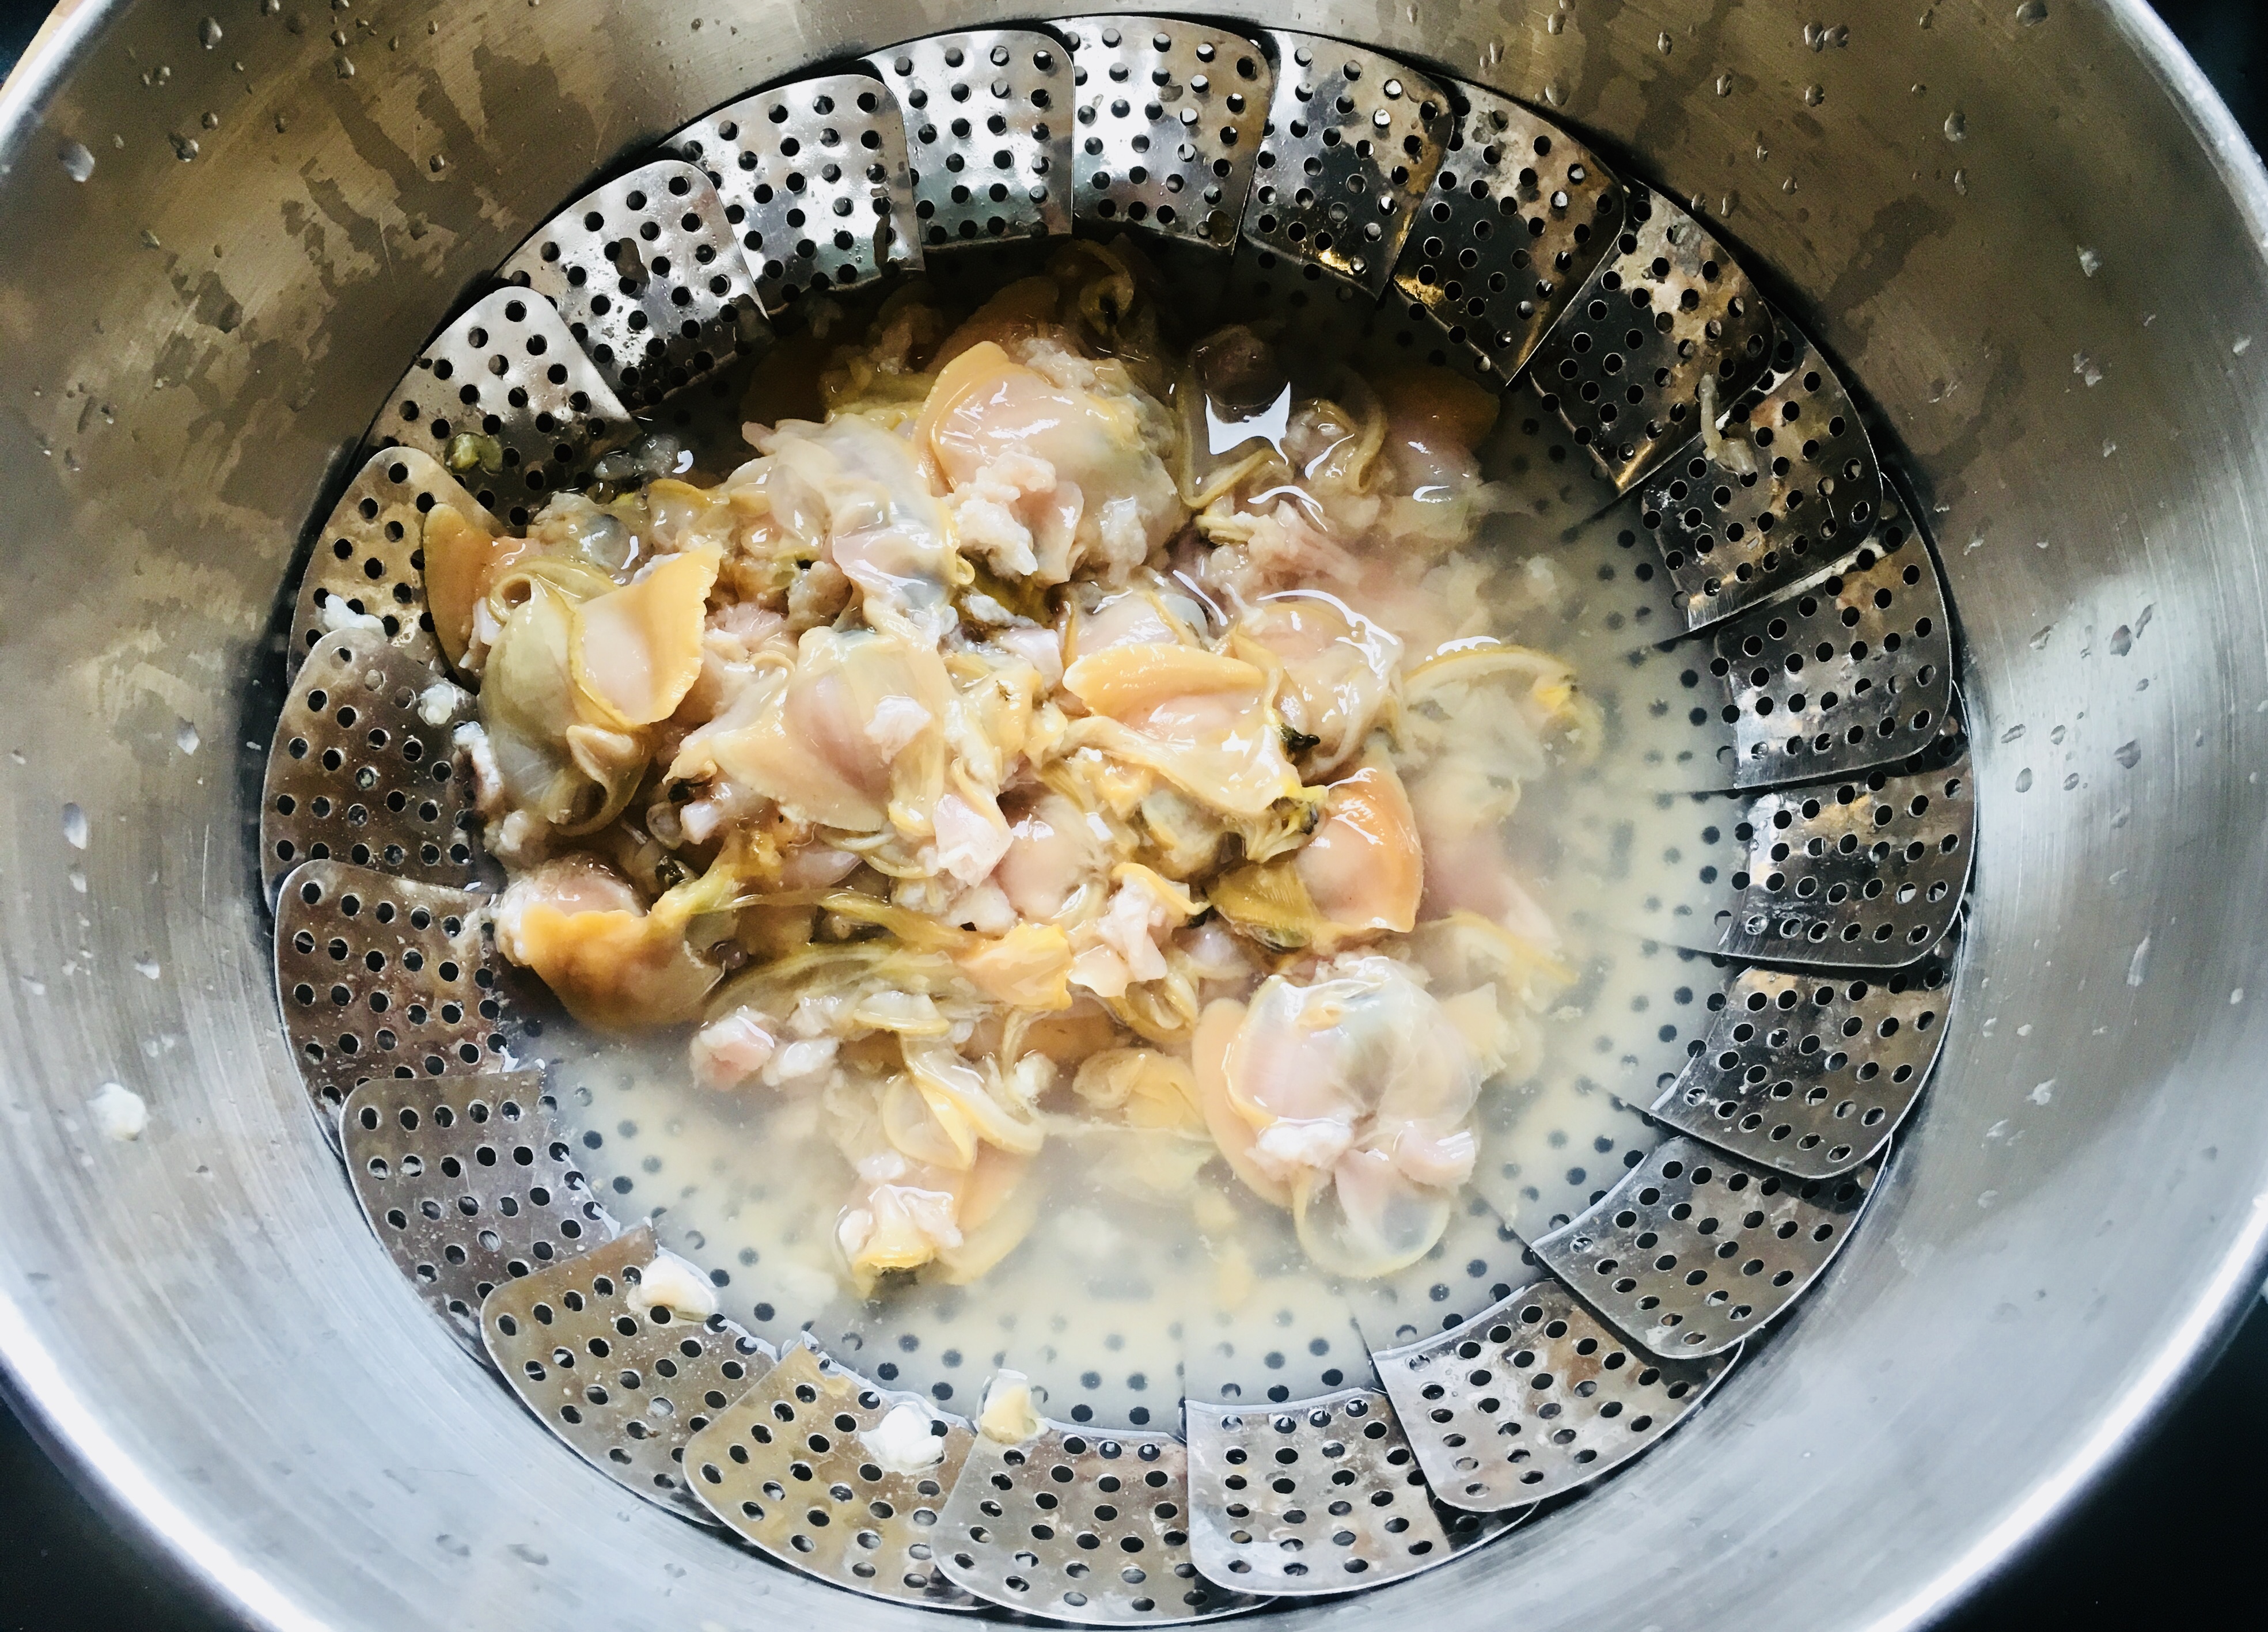
Open the clams with a clam knife over a bowl with a strainer, making sure you save all the liquid from the clams. Put the clam shells to the side. Throw away any broken shells, and wash the empty shell halves thoroughly, making sure there are no broken pieces.

I use a strainer to keep the sediment away from the clam meats.

Take the clam meat pieces out of the strainer, leaving the clam juice behind in the bowl. Move the clam meat to a cutting board or food processor and chop them to medium-fine. Set them aside.

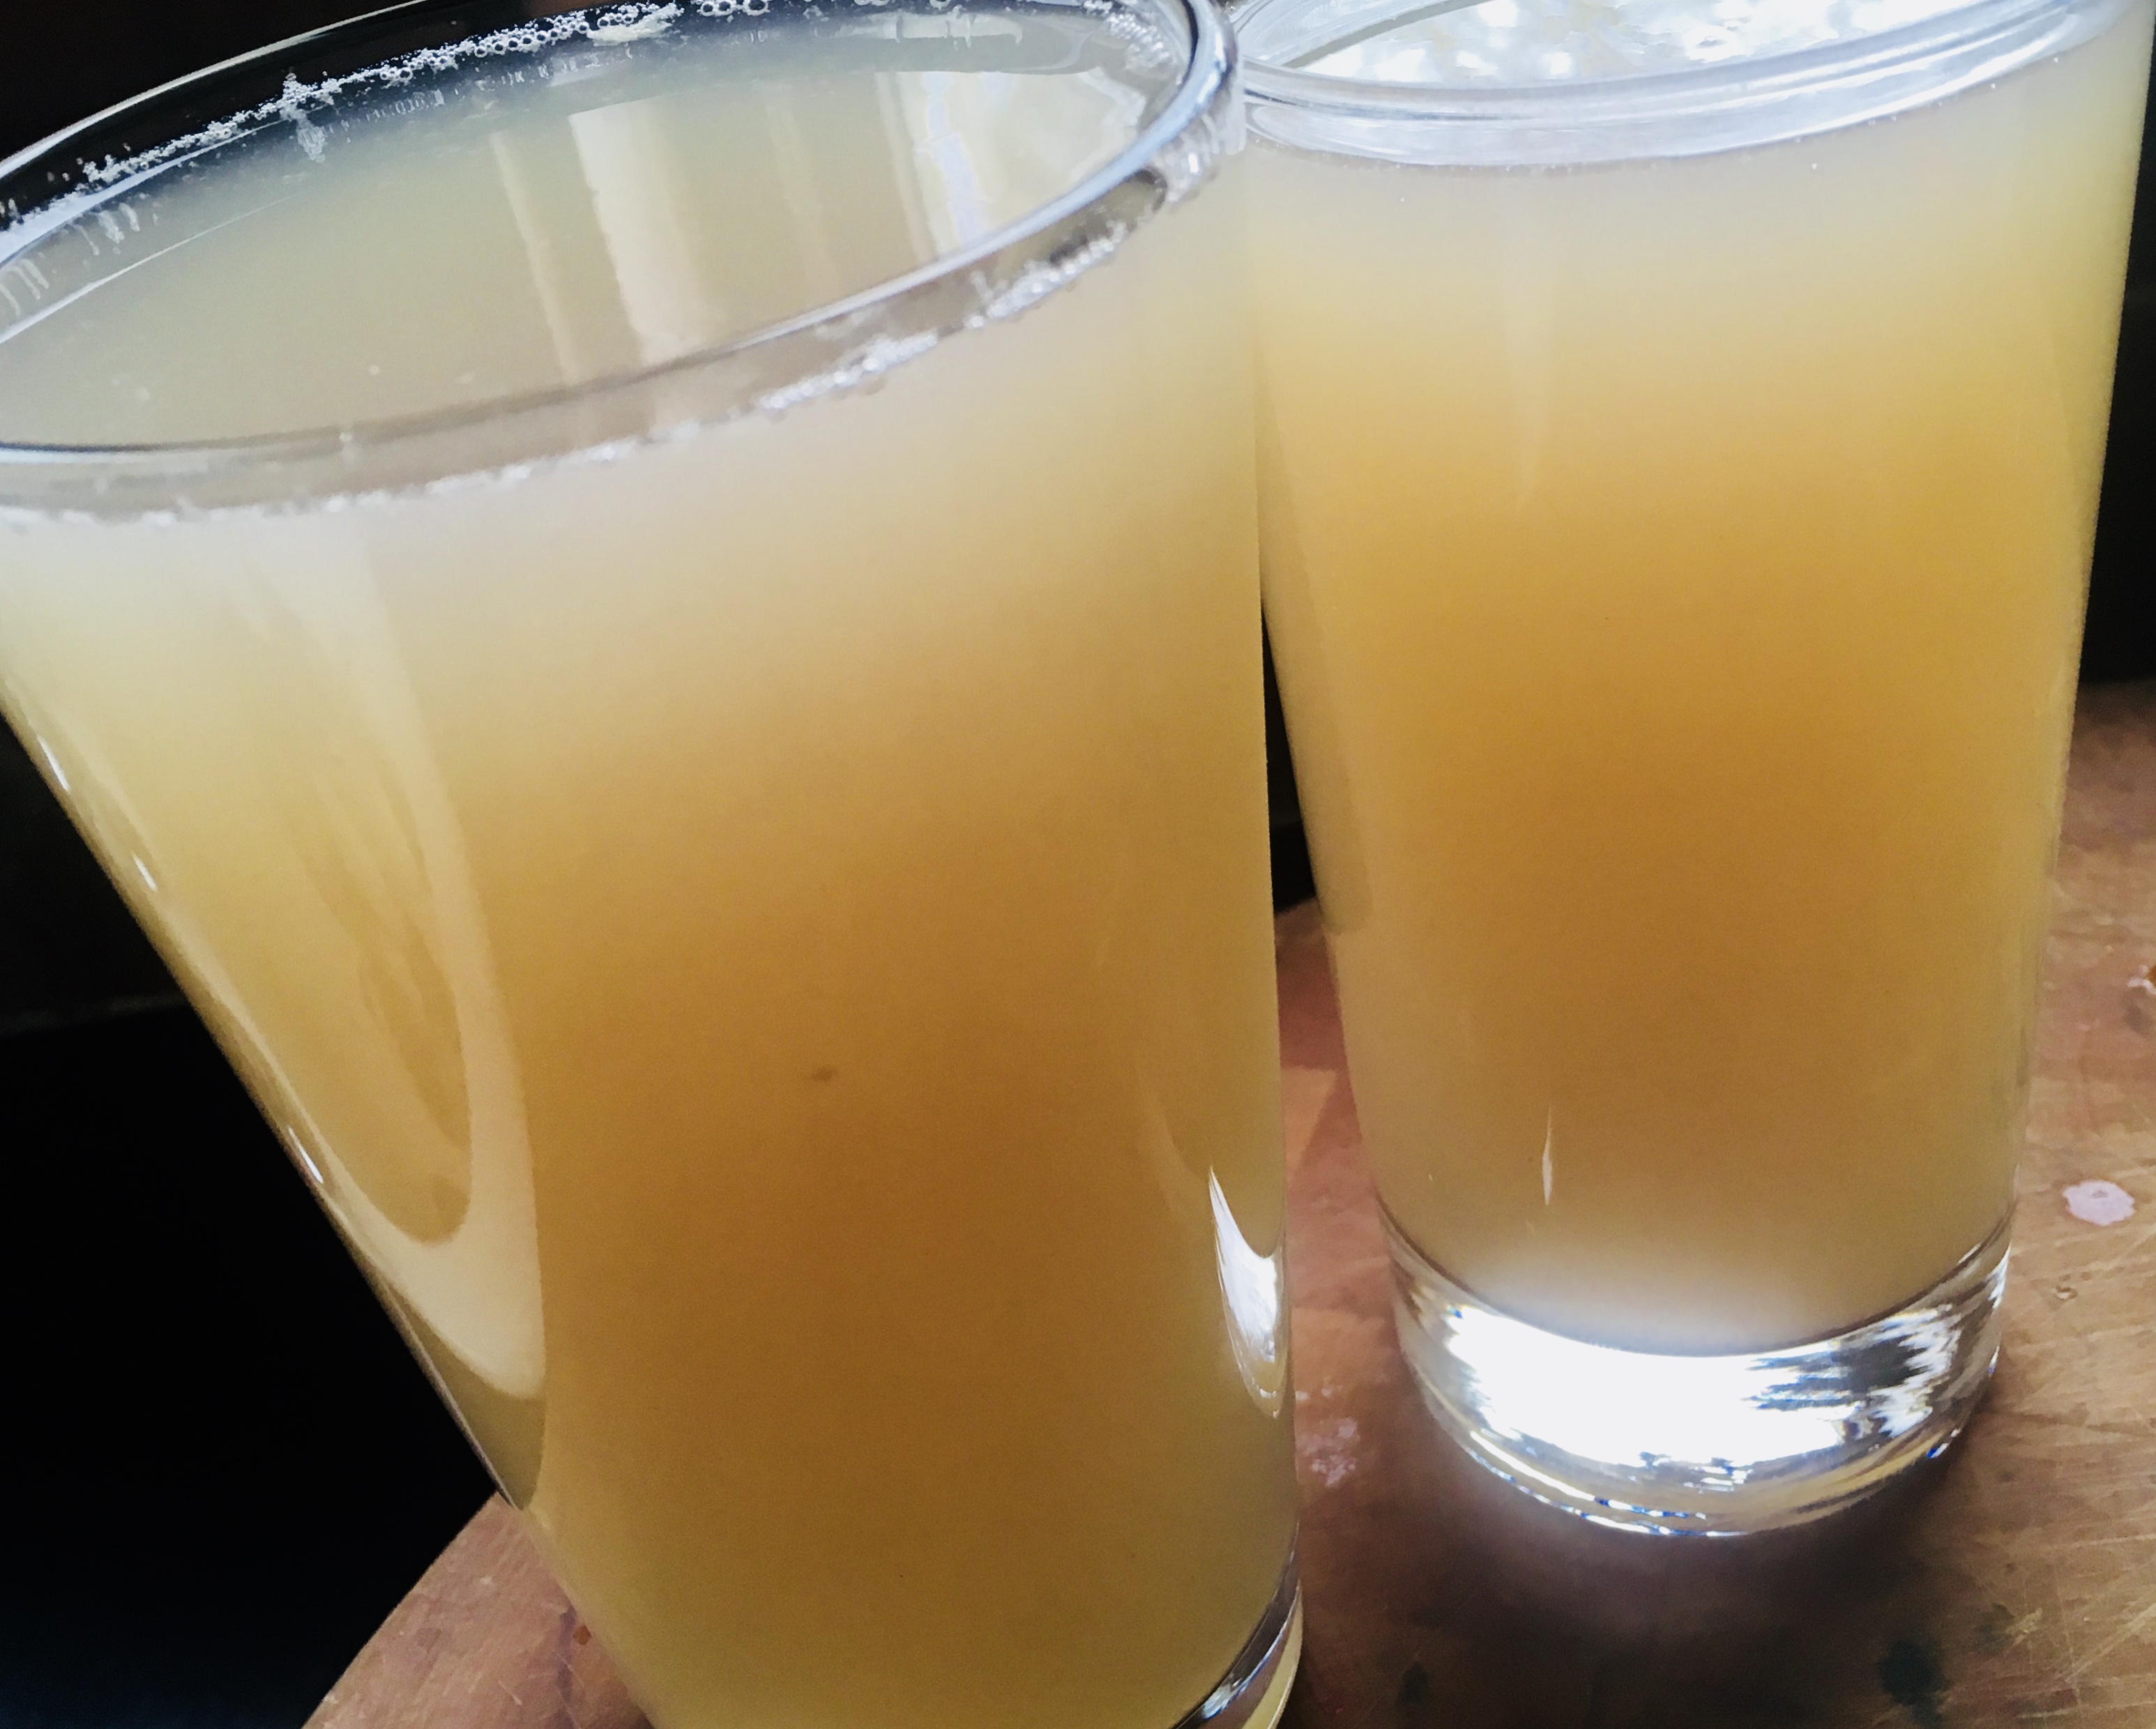
I pour the clam juices carefully from the bowl to tall drinking glasses, being careful not to let the sediment get in. Then, after some time, I pour off the clam juice from the glasses, leaving even more of the sediments behind. I find that the tall glasses make it easier to see the sediments, and maximize the amount of clam juice I get.

I let the clam juices sit in their tall glasses for a while, so that even more sediments get left behind.

In a large frying pan, add the olive oil, onions, and chourico and cook them on medium heat for a few minutes. Add the oregano and sage and cook a few more minutes. Add the corn and cook a few more minutes, a little more if the corn was frozen. Add the chopped clams and stir, cooking for a few more minutes. Add the breadcrumbs a little at a time until you have a nice balance of bread and other ingredients. Add the clam juice a little at a time as well, so that you can add all the breadcrumbs, but the mix isn’t runny. There’s lots of flavor in the clam juice, so use as much as you can! Season it all with salt and pepper.

Remove the pan from the heat and fill the empty clam shells with the stuffing.

At this point, you can freeze the clams. I put them on small sheet pans in the freezer until they harden, then I wrap them 6 at a time, and put them in freezer bags. Keep them frozen!

Ready for the freezer!

To make the aioli, mix the mayonnaise and Sambal in a bowl, to taste. Sambal is hot, so a little goes a long way. Keep it covered and refrigerated.

When you’re ready to bake, remove the clams from the freezer and place them on a sheet pan in a pre-heated 350 degree oven. Top each clam with a small ¼” square piece of butter. Bake them about 15 minutes, until the clams are sizzling and light brown. Top each with a small dab of aioli.

Butter and cheese. Can anything be better?

It’s especially great when asparagus is in season, growing in my garden, like right now.

This is a great side dish with any main course like a big slab of meat, and has special meaning to me because my cousin first introduced me to asparagus with this recipe when I was just a kid. She passed away many years ago, but I think of her every time I make this simple but delicious dish.

You can use almost any grated “parmesan” cheese, but nothing beats real Parmigiano Reggiano that you freshly grate yourself. Whatever you use, please, just don’t use the junk that comes in a can.


image

1 lb. fresh asparagus spears
1 tablespoon unsalted butter
2 tablespoons extra virgin olive oil
3/4 cup grated Parmigiano Reggiano cheese
sea salt and freshly cracked black pepper


The easy way to trim an asparagus spear is to grab the thicker end between two fingers and bend it. It will snap at the point where the tough part ends and the softer, edible part begins. I toss the bottoms into my compost pile.

I heat the butter and oil together in a pan and then add the asparagus spears, cooking over medium heat for about 5 minutes, until al dente. (You don’t want them mushy.)

While the asparagus is still in the pan, I sprinkle the Parmigiano Reggiano on top, letting it melt a bit. I season with sea salt (I prefer Fleur de Sel) and freshly cracked black pepper.