I recently spent a long weekend in P-Town with my wife and daughter…my wife enjoying an art conference while my daughter and I enjoyed the sunshine. We’d meet at the end of the day for dinner, and share our stories.
P-Town has a bit of a reputation…and I was told by some friends that after sundown, we should bring our 7-year-old daughter indoors if we wanted to avoid her asking a lot of uncomfortable questions. Well, there were no red leather chaps, no circus freaks. I’m sure that there are certain weekends that may be a bit less family friendly than others, but generally speaking, today’s Provincetown is not the same as the town I visited back when I lived on Cape Cod in the 80’s.
Families walk the main street, Commercial Street, late into the night. Shops, restaurants and galleries cater to all tourists and lifestyles. And why not? A small waterfront town like this relies on its very short summer season to make its money. Why turn people and their wallets away?
There are many restaurant choices in Provincetown, and if you’re looking for top-notch big city fine dining, you won’t find it here. However, there are many good restaurants with creative dishes. And there’s incredibly fresh simply presented seafood that is a staple in New England: clams, oysters, cod, halibut, tuna, and scallops.
VICTOR’S

Victors is a fun place. They serve tapas, and they make it very easy to share by dividing each plate beautifully and simply. The ingredients are fresh and the ideas are pretty good. Sometimes, though, they just don’t hit the mark. The fish taco with halibut was delicious. Duck sliders, however, were too salty. The Caesar salad came out in large, individual pieces of Romain lettuce, sprinkled with the Caesar ingredients on them. An interesting presentation, and again, easy to share. But not exactly what you want in a Caesar salad. Raw tuna Napoleons were good. The bar knows its cocktails and they serve them strong. Service is excellent. Basically, Victor’s is a perfect example of any Provincetown restaurant: good but not great. In a seasonal town, it is hard to maintain quality to the highest standards. But it’s a fun place to go to.
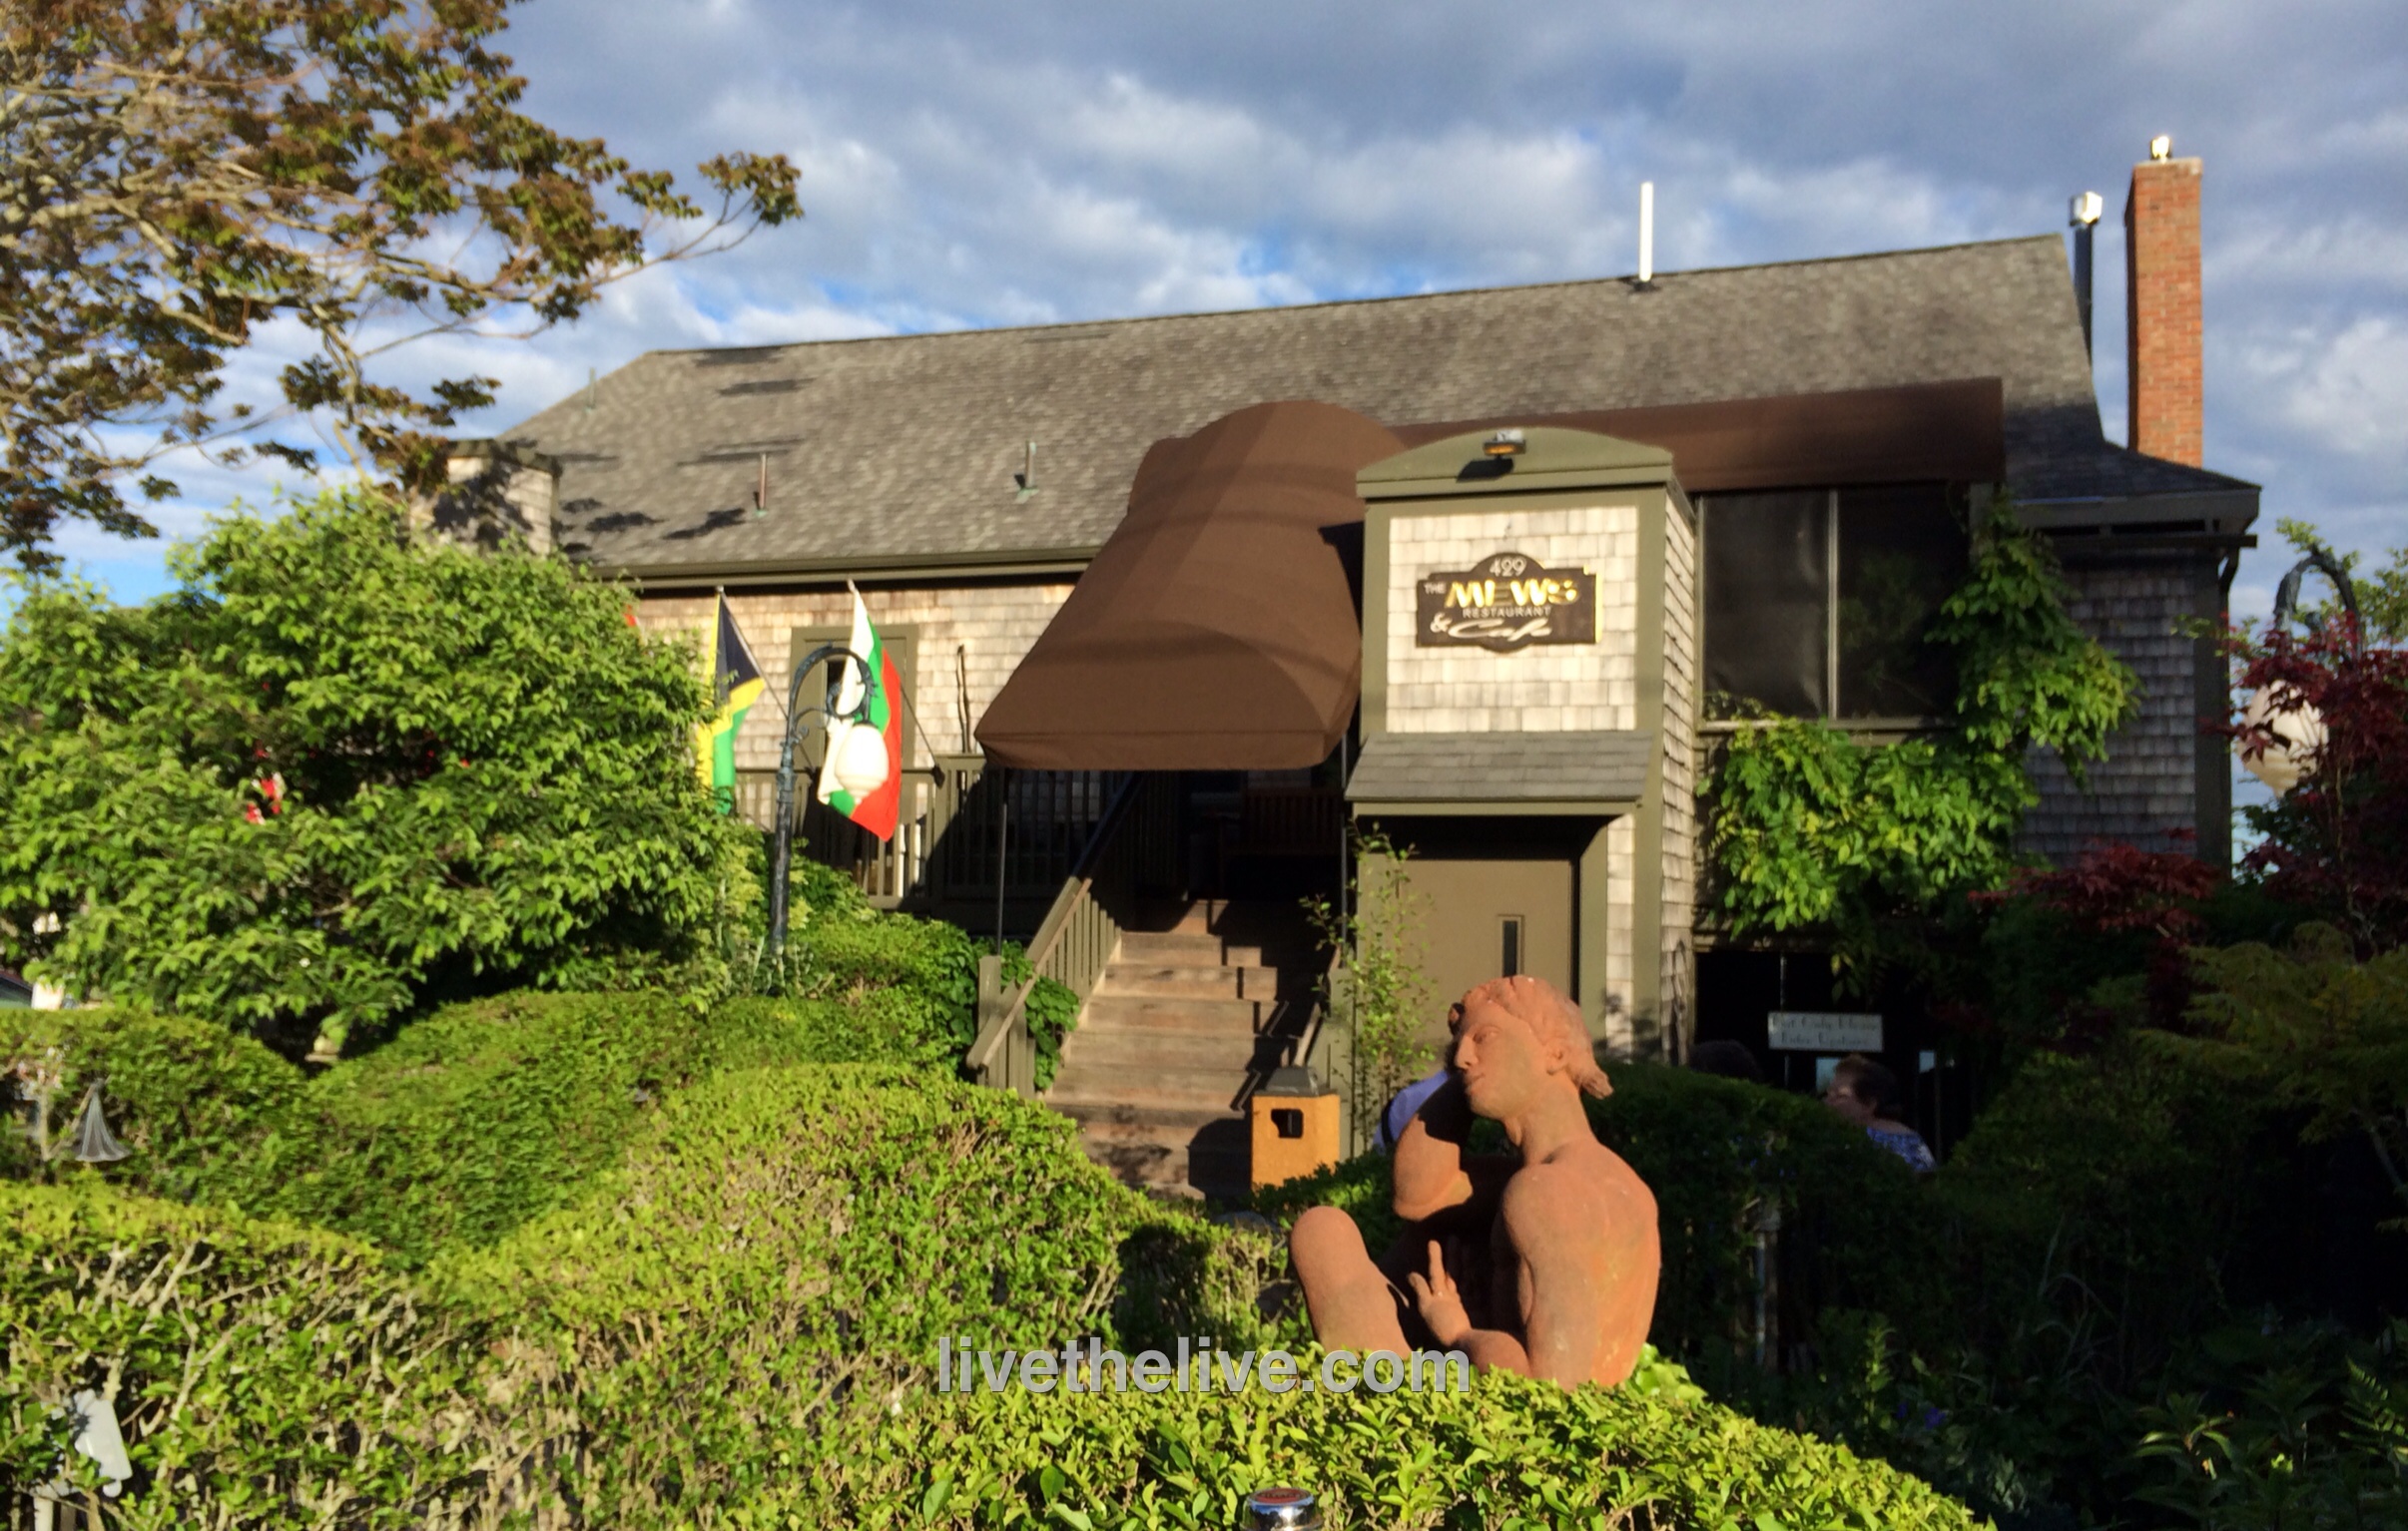
MEWS BAR & CAFE

When a bar boasts 300 vodkas from around the world, I need to check it out. And that I did! I always start with my signature Stoli Elit and then work my way from there. I asked for and received a written list of all the vodkas in stock and being Lithuanian, I was happy to see there was a Lithuanian vodka on the list. I challenged them to present the bottle to me, and it appeared within seconds! Naturally I had to have a drink with it. The bar staff was swamped but always courteous and service was excellent. The bar itself is old and funky and really a lot of fun. I will come back someday for the food, but this time it was all about the martinis. One cool feature was that the olives for my martini were on a skewer that hung on the outside of the glass, and not in the drink. Sort of like truck nuts for a martini. Funky and fun.

MAC’S PROVINCETOWN

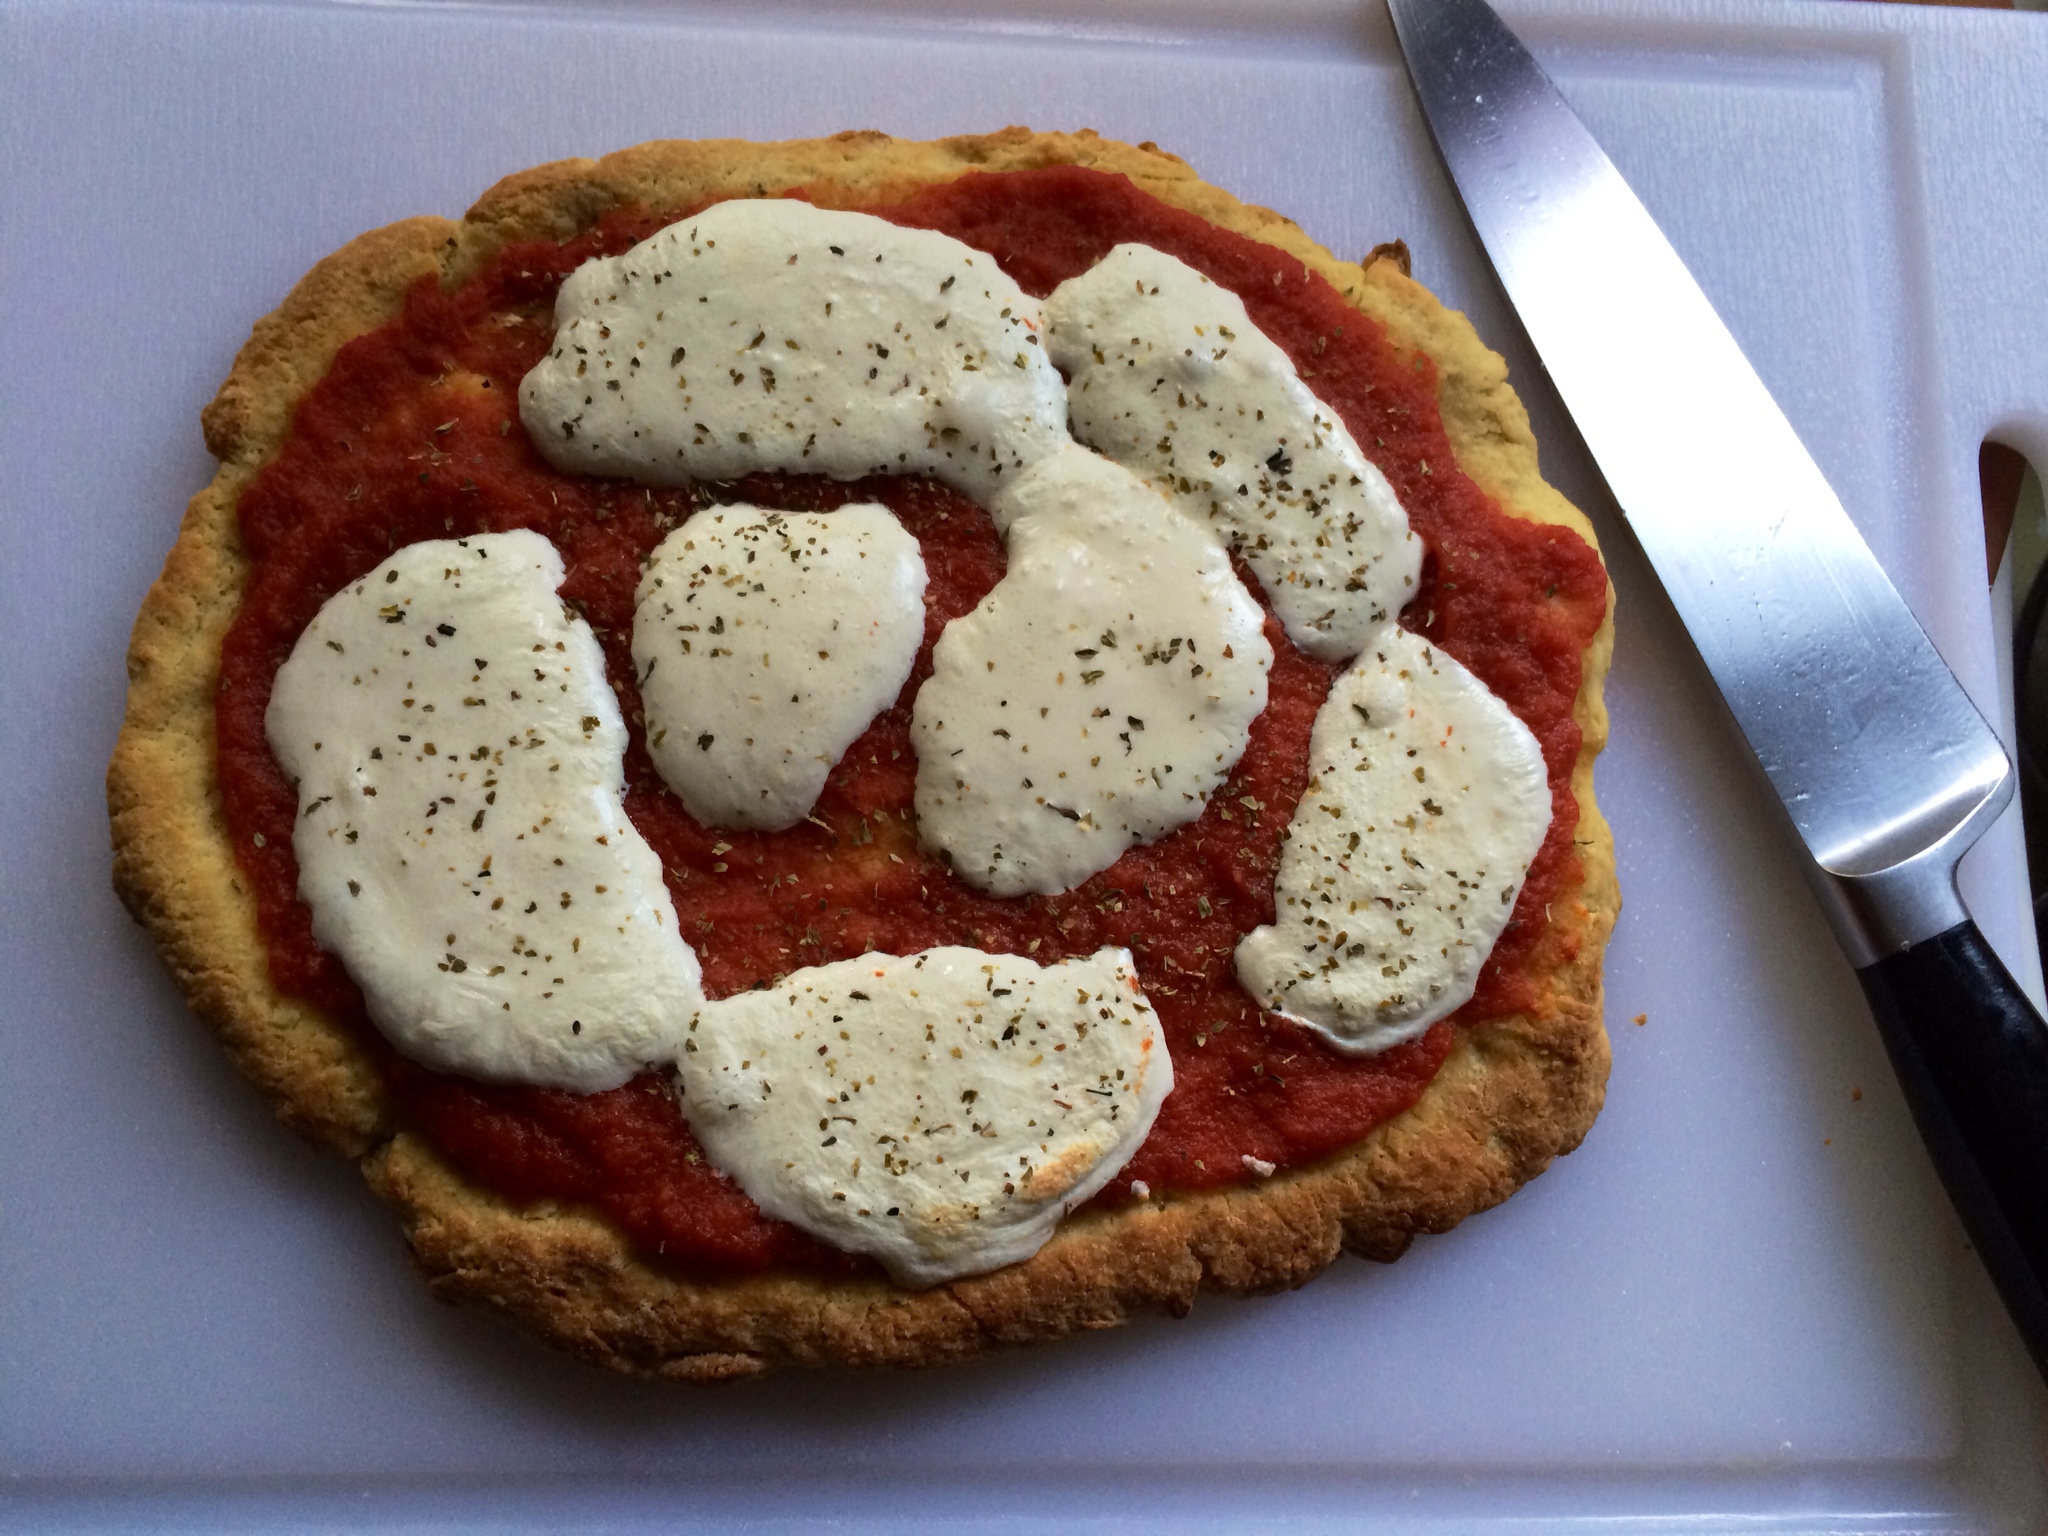
Mac’s does not have a great view of the water. It’s on a rather busy street that offers no scenery whatsoever. But what they lack in views, they make up for in fresh fish and delicious sushi! Everything we had was spectacular: the mini baked hand grenades (rice, shrimp, scallop, dynamite sauce and eel sauce) should not be missed. The sashimi–we had fresh halibut–was superb.

Sushi at Mac’s, including the Hand Grenades in the black dish
The broiled yellowtail collar, what they call “Hamachi Kama” in the big city, was the best I’ve ever had. We were there for lunch, so no big drinking going on. But a peek inside showed a beautiful, clean (new) space that could get hoppin’ on any given evening around the raw bar. And next door is their own seafood shop…probably the cleanest I’ve ever seen, selling impeccably fresh fish.

Broiled yellowtail collar
RED INN

The biggest disappointment on our trip.
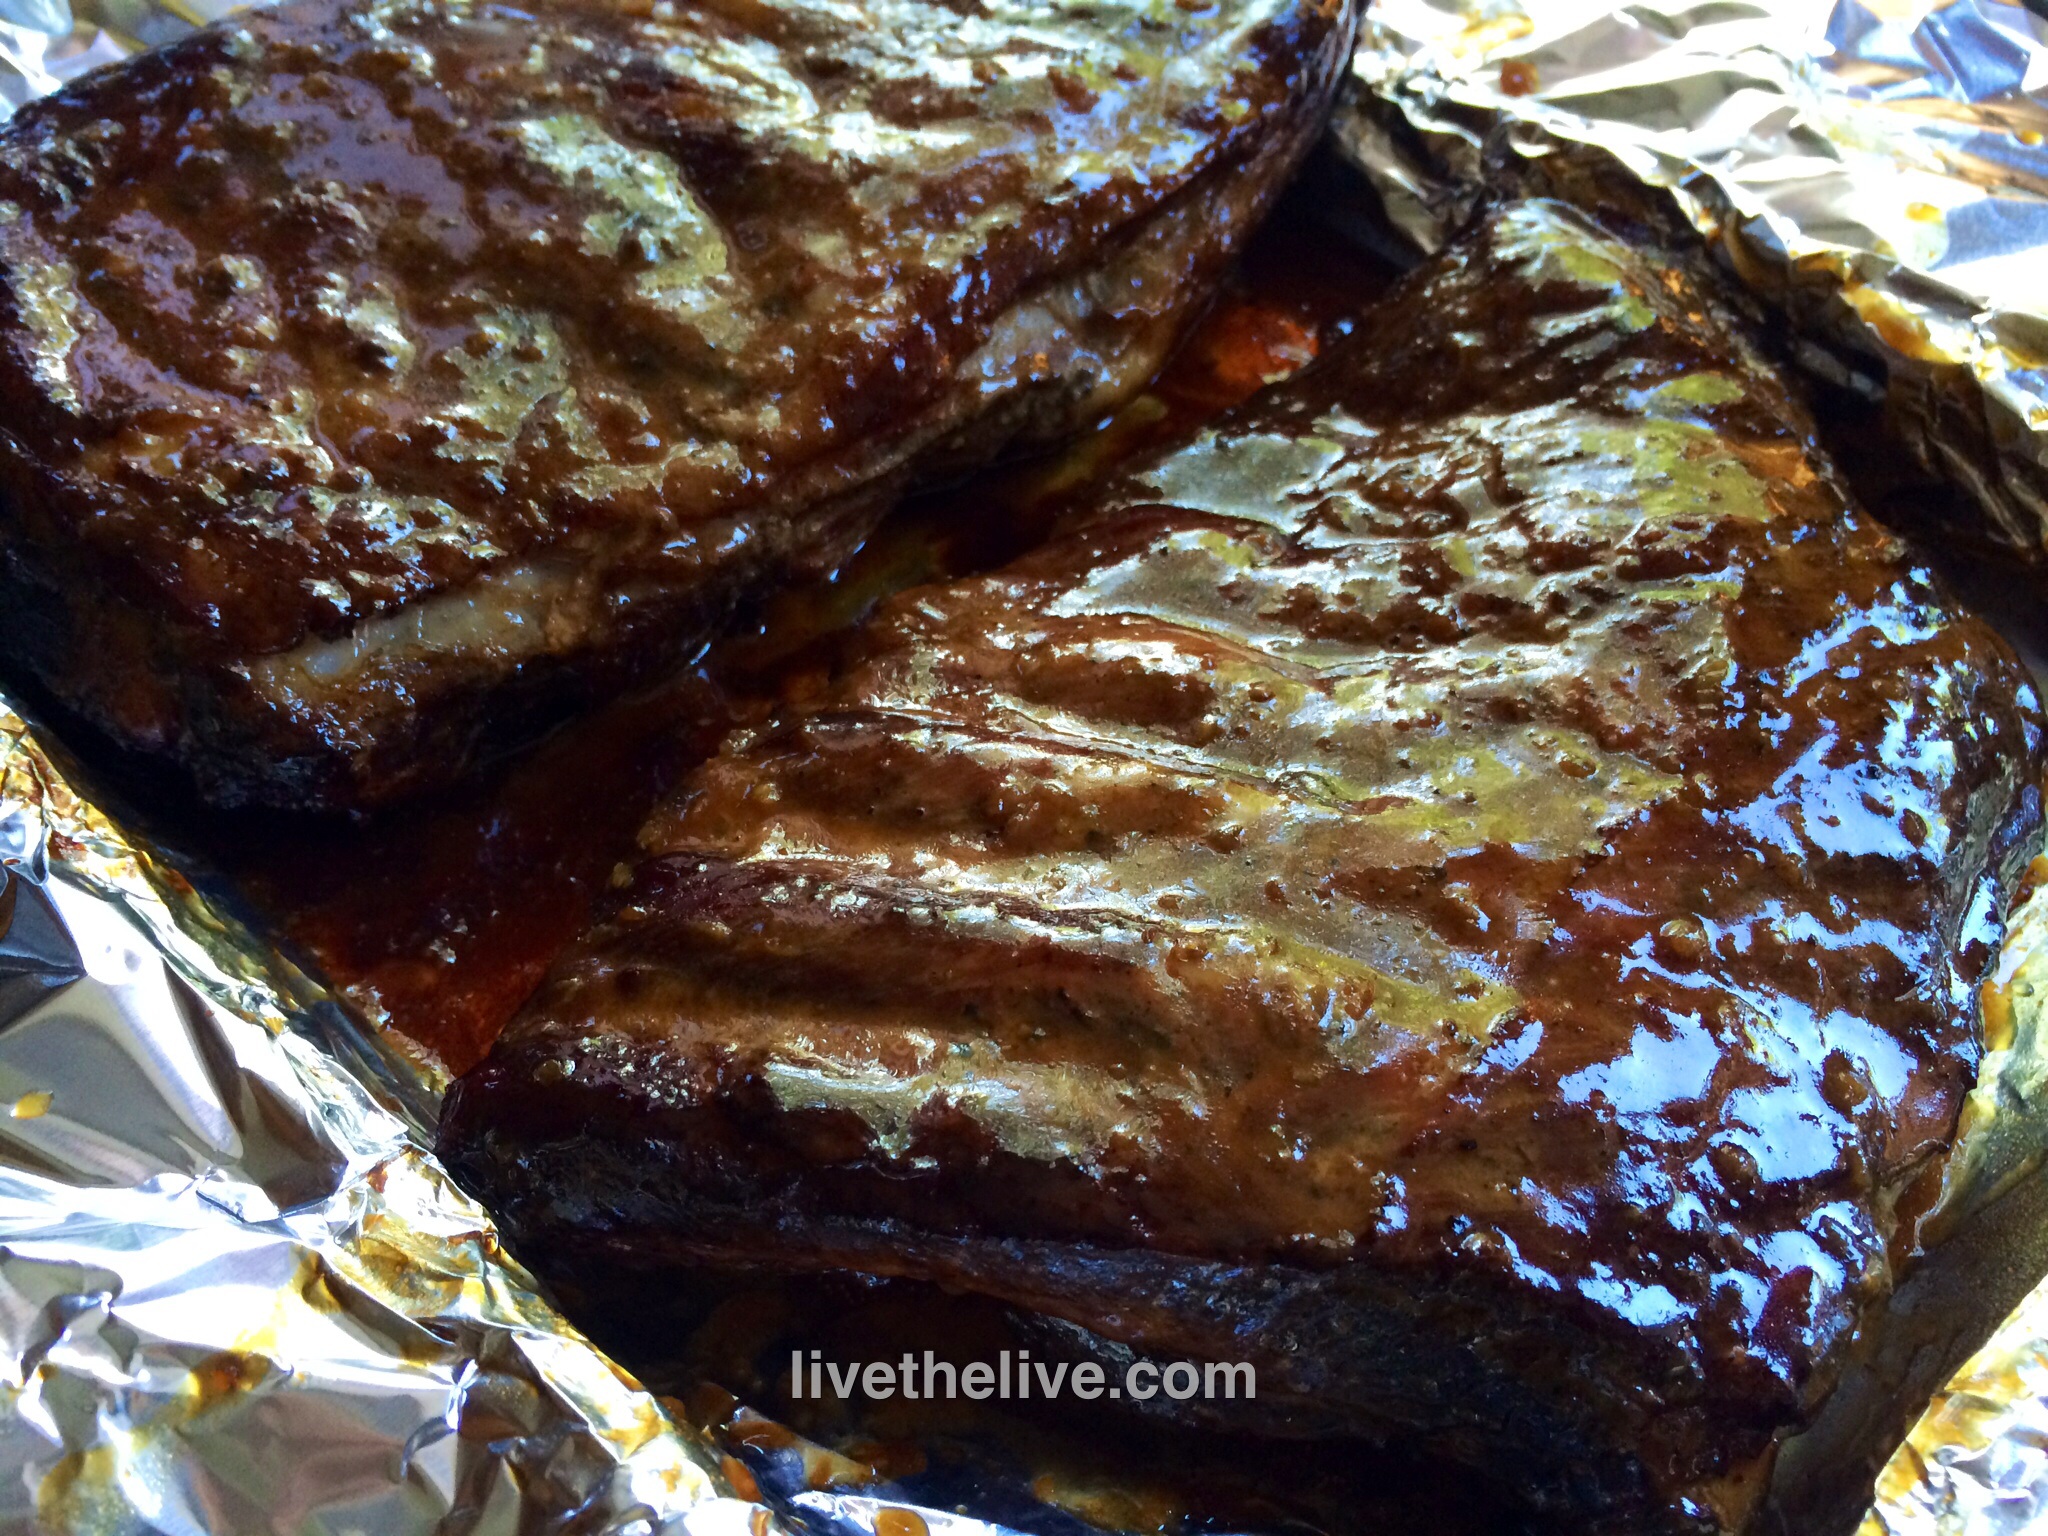
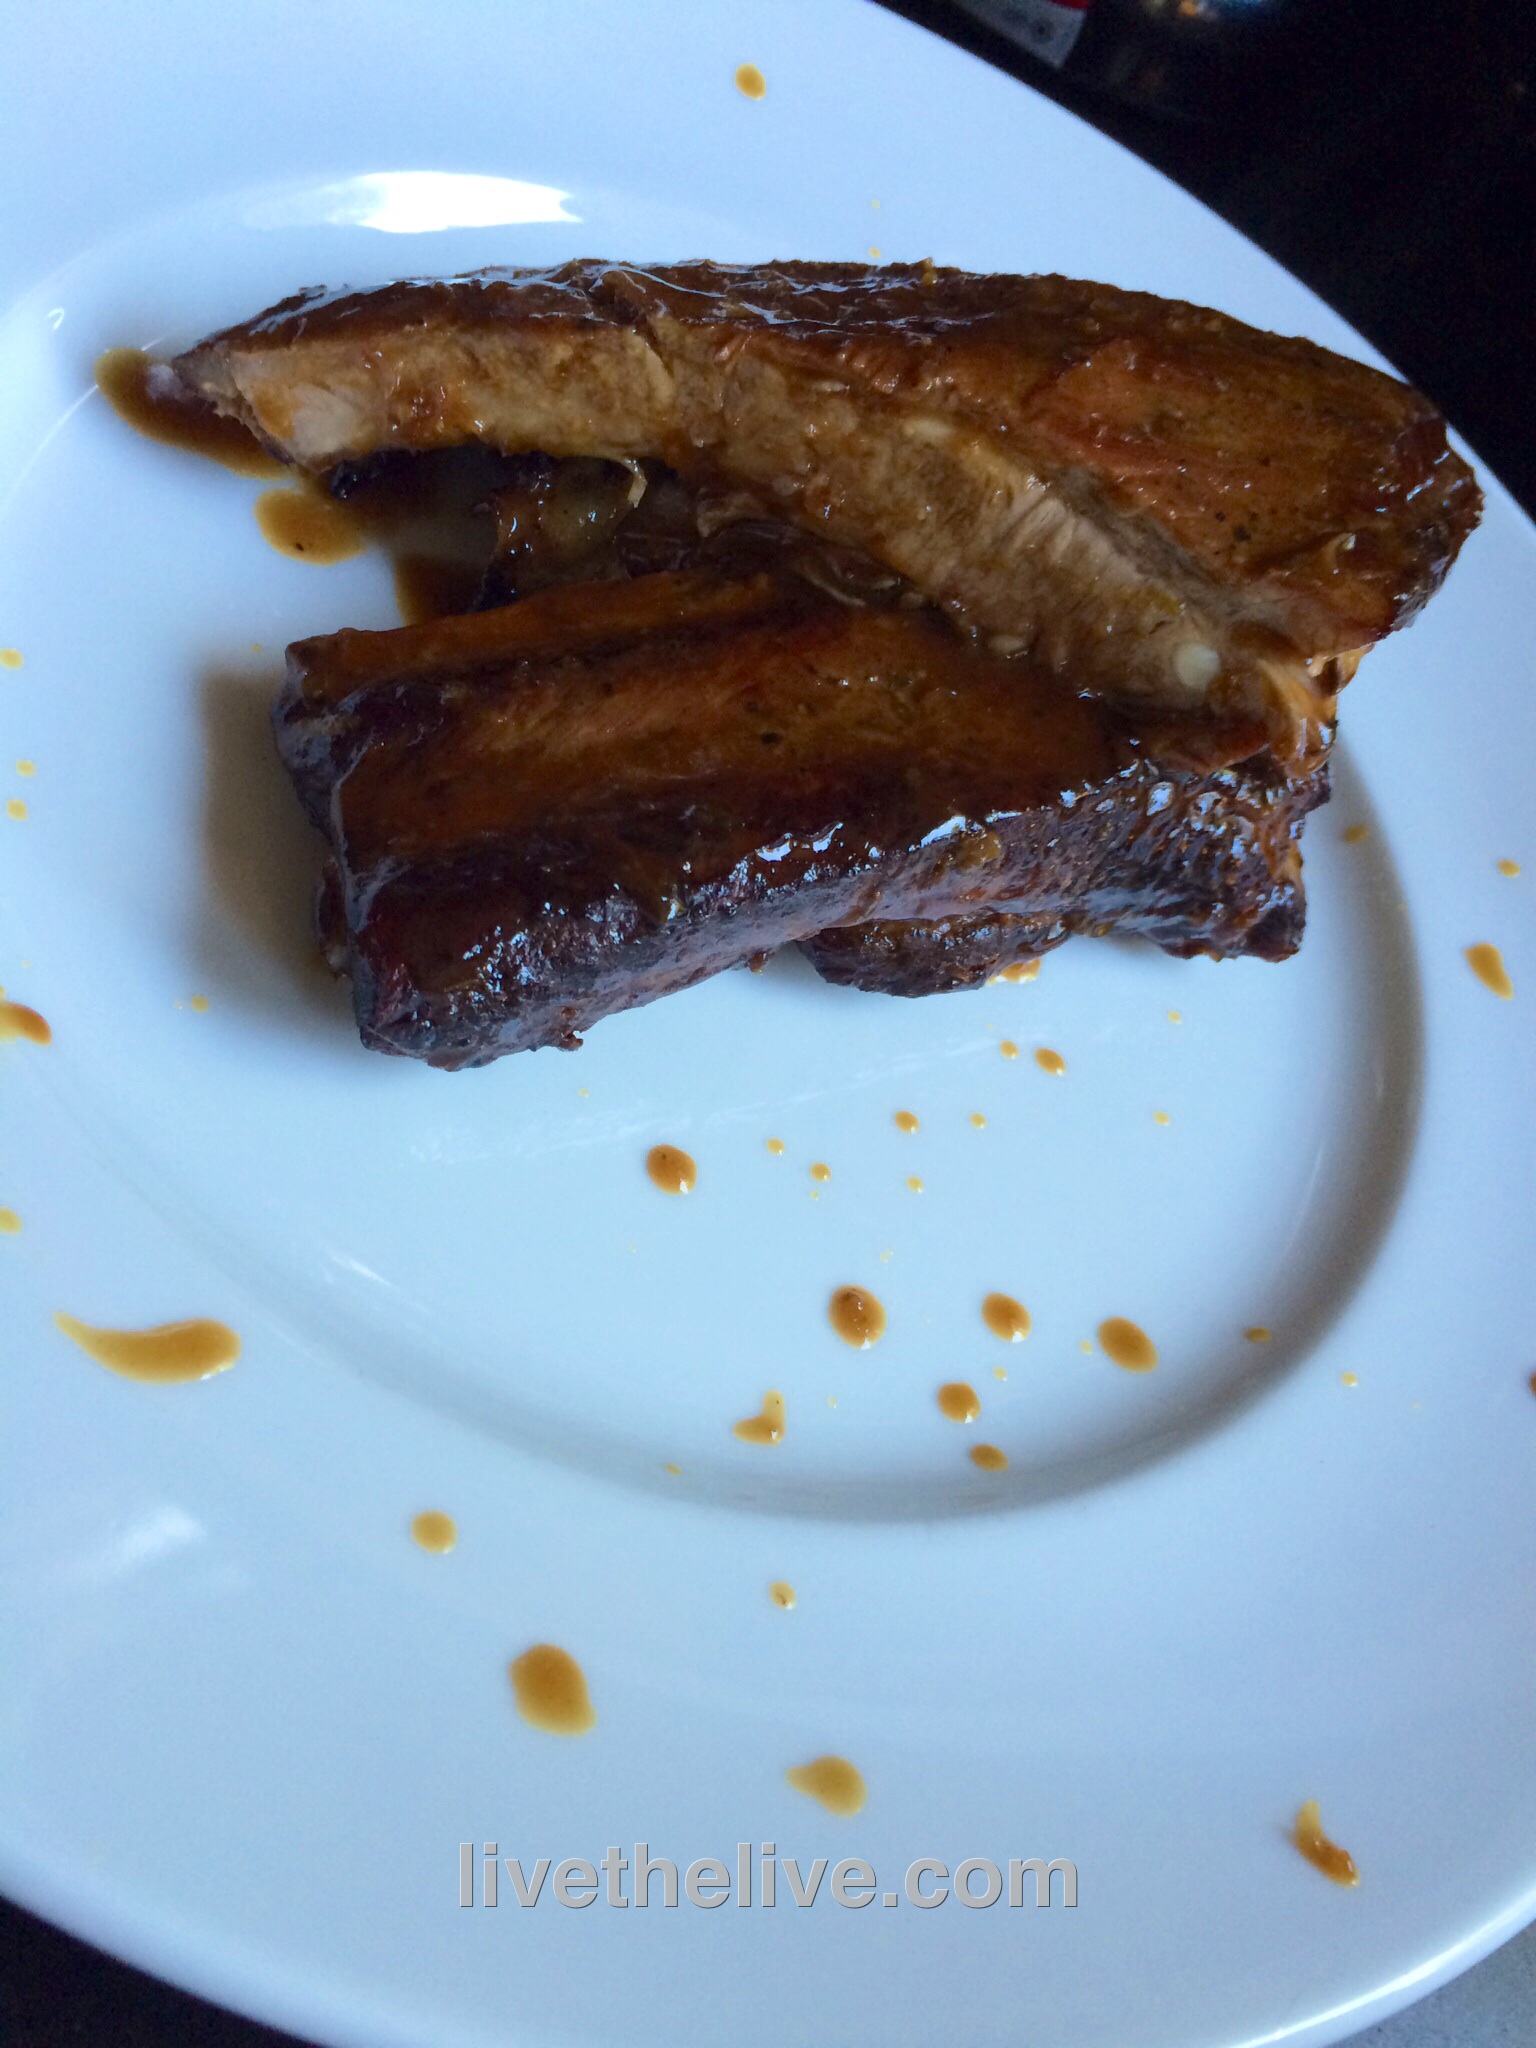
After my wife had a pretty good trout dinner at the Red Inn several nights before, we decided we would try again for a Friday night dinner. The place was crowded and it seemed that the wait staff was overwhelmed. Everything on the menu sounded good but all of it tasted like it had been cooked two days earlier and then just reheated before service. The bacon wrapped fried oysters that came with my Caesar salad were greasy, rubbery and cool. The avocado foam on my wife’s beet salad could’ve been anything… it had no flavor at all. The slow braised pork shank special lacked seasoning and it sat on top of a rather flavorless pile of grits. It seemed that the best dish on our table that night was the Kobe beef sliders our daughter had ordered. (And was it really Kobe? I think not, since it can only come from Japan and it’s really expensive. I’m guessing it was Wagyu, the American version of Kobe. Mislabeled menu.)
EDWIGE

Our best dining experience of the weekend.
The soup of the day was an unlikely and fantastic mushroom and lobster soup. We thought the lobster would be lost with the intensity of the mushroom stock, but it was a delicious balance of flavors…really addictive! The tuna tartare was equally excellent. A main course bowl of seafood in a coconut sauce again showed a delicate hand by the chef and was delicious. And a flank steak was moist and tender, despite it being cooked beyond medium when I asked for medium-rare, set on top of a mound of irresistible wasabi mashed potatoes.

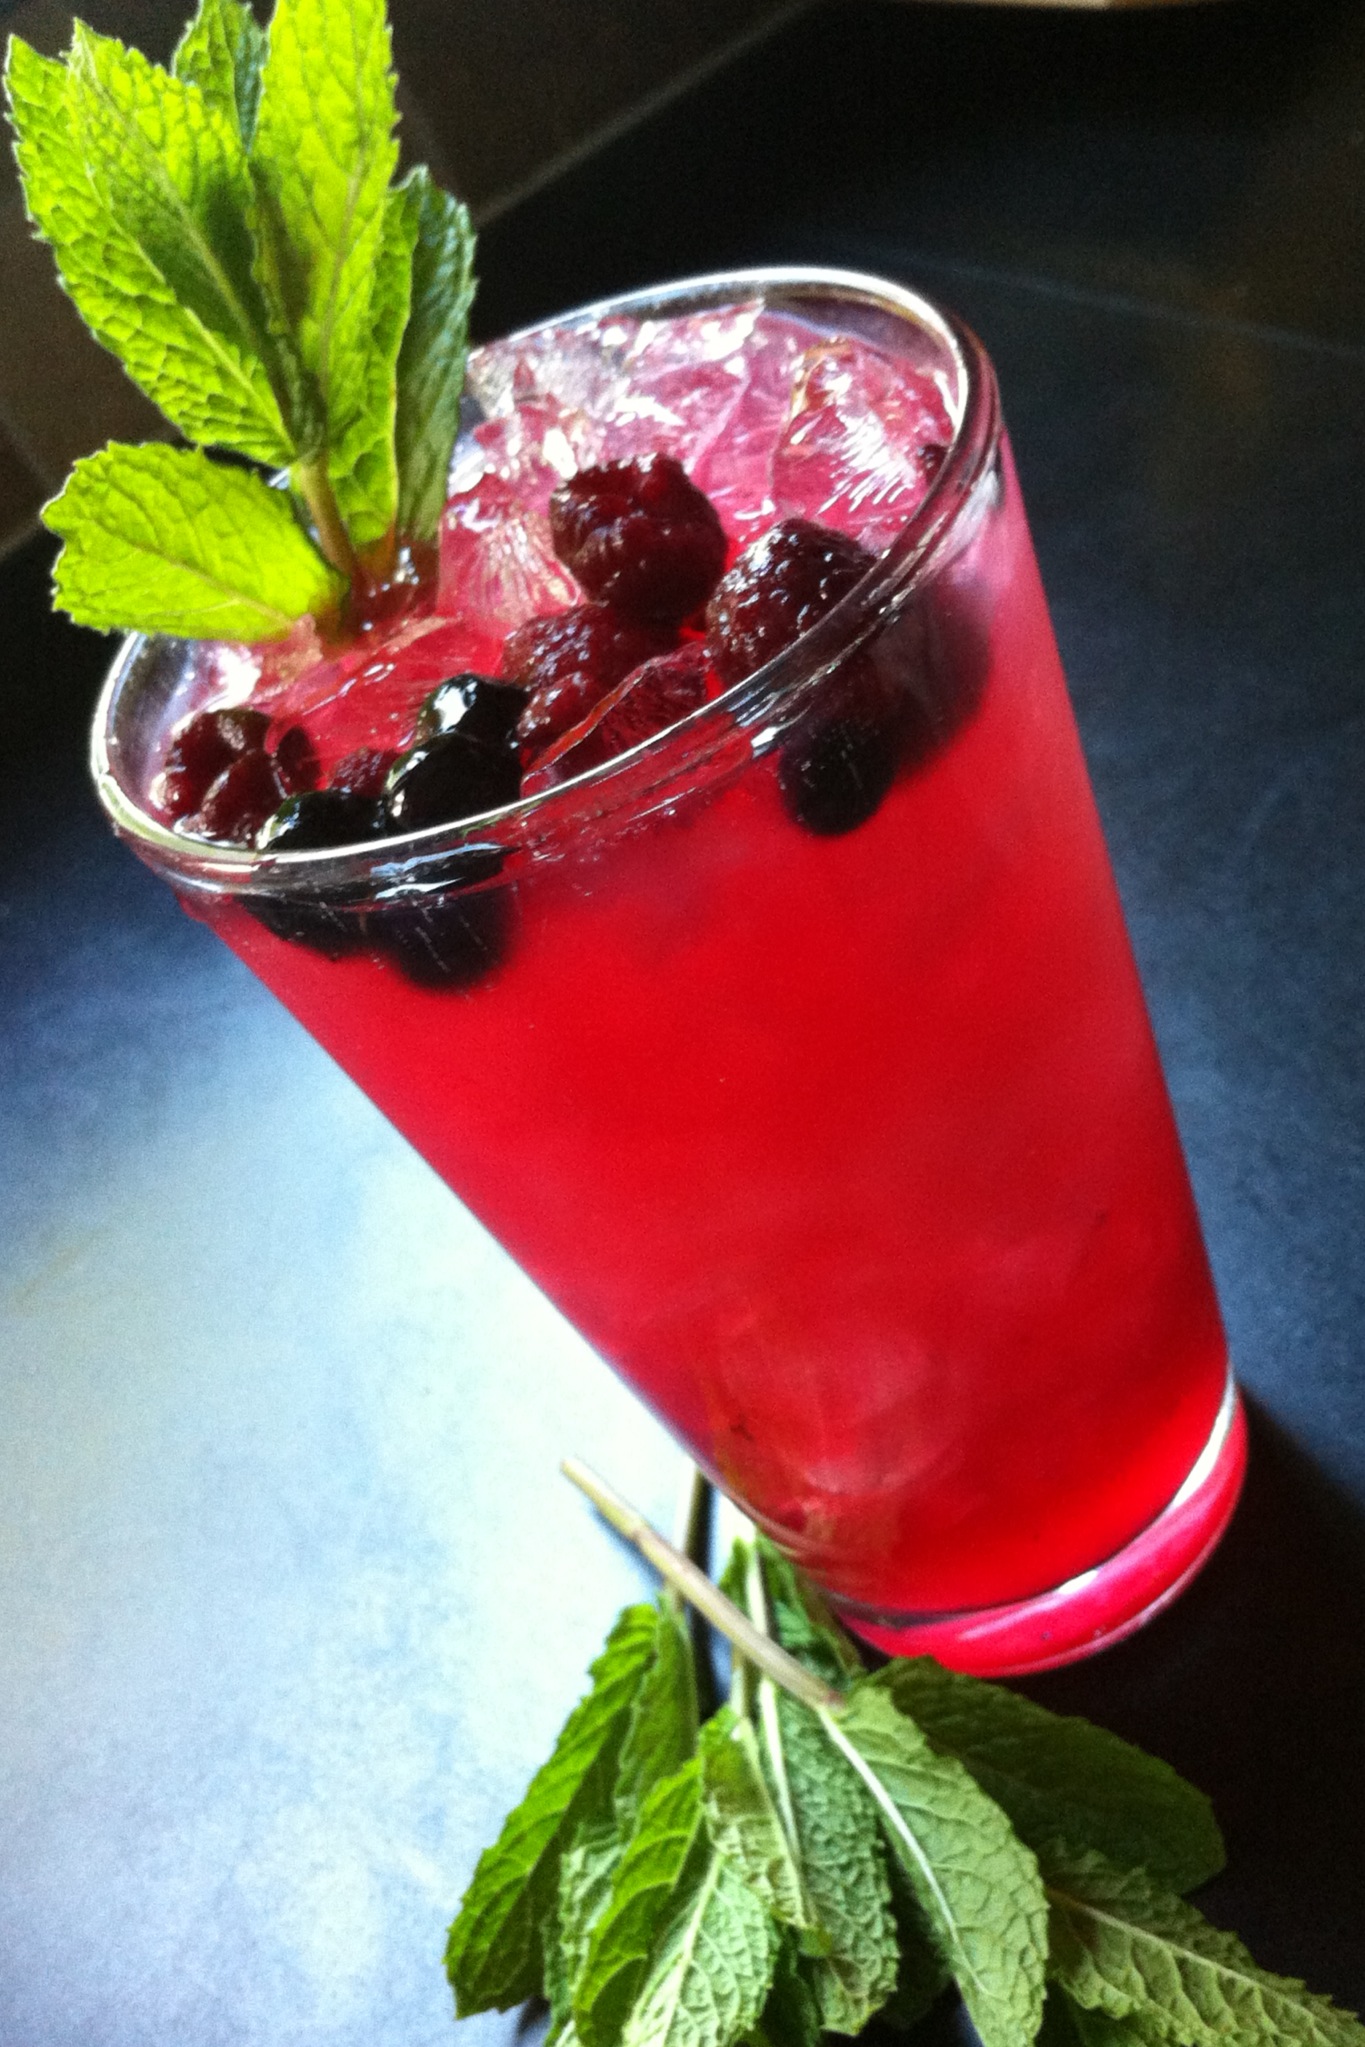
Infused vodkas that later infused me.
Cocktails are serious…and there’s a choice of house-infused vodkas at the bar: pineapple, ginger, cranberry, pepper. A bit of an issue with the wine list…but it’s an issue with every wine list we’ve seen in every restaurant we’ve been to in P-Town. Looks like one distributor has all the rights to wine in this town, so the lists are the same from place to place. Kinda sucks.
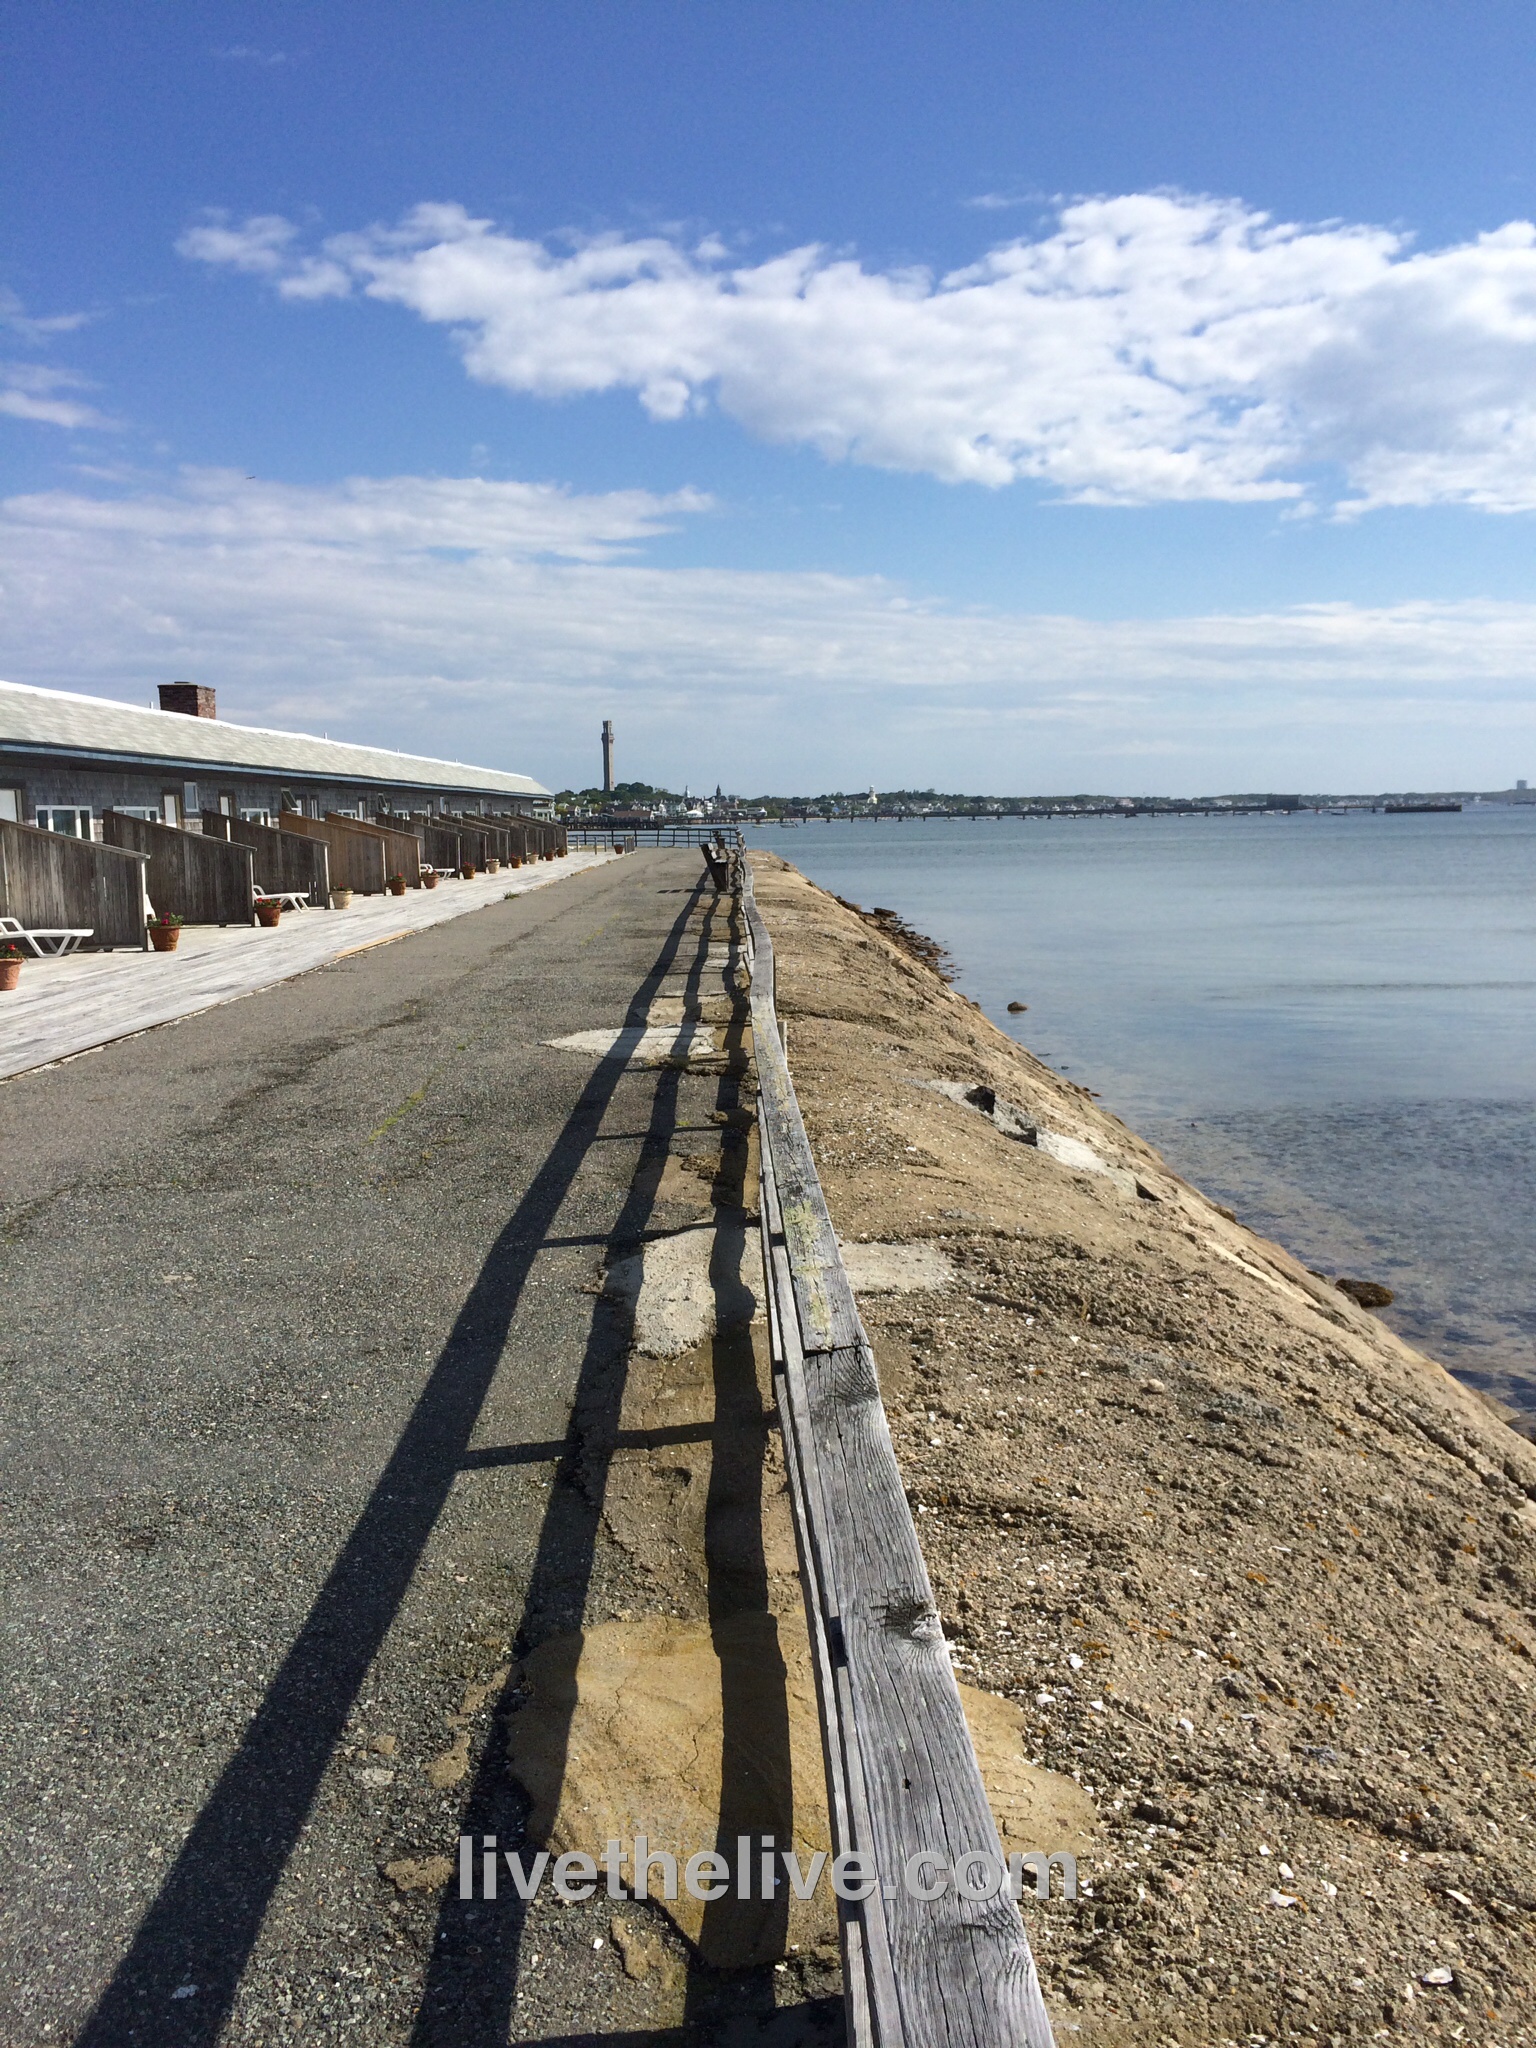
THE PROVINCETOWN INN

The view of town outside our room
This is an old resort that has taken a beating over the years. The rooms aren’t fancy, but they are clean. And you absolutely cannot beat the location and the views: right at the end of Commercial Street and right on the water! Considering this is a town where you don’t come to stay indoors a lot, the rooms are perfectly fine. We stayed in the Captains Suite A, which had a full kitchen, and though we didn’t cook meals here, it was nice to hard boil an egg in the morning and keep our snacks in a full-sized refrigerator. They have a private beach (nothing fancy) and a swimming pool (very nice.)
SURF CLUB RESTAURANT AND BAR
One look at the place and you know this is no fancy dining establishment. But the cocktails are strong and the food is fresh. It’s right on MacMillan wharf, so you can grab a bite, like we did, right after your whale watch trip. Great kids’ menu. I had the broiled seafood platter and it was a fresh as it could be.
DOLPHIN WHALE WATCH

A fleet of beautifully maintained boats with professional crews and expert naturalists to narrate your trip. Indoor areas with snacks as well as plenty of seats out in the sunshine, and great views from anywhere on the boat. I’m sure the boats get crowded in season, but we went before the season really kicked in and had a great time. We saw 12 humpback whales over the course of 3 hours…some very close to the boat! There are other whale watch companies out of the Cape, but this is the one to go with. Highly recommended. http://www.whalewatch.com

RACE POINT BEACH, HERRING COVE BEACH
Huge expanses of sand. Beautiful dunes. You can spot whales out in the distance.Two great beaches that shouldn’t be missed. In season, they do charge a $15 parking fee.