I was minding my own business, watching an episode of “Diners, Drive-Ins and Dives” on Food Network. Guy Fieri went from a barbecue joint to an Italian restaurant. Pulled pork at the BBQ place, arancini at the Italian. Then it hit me….
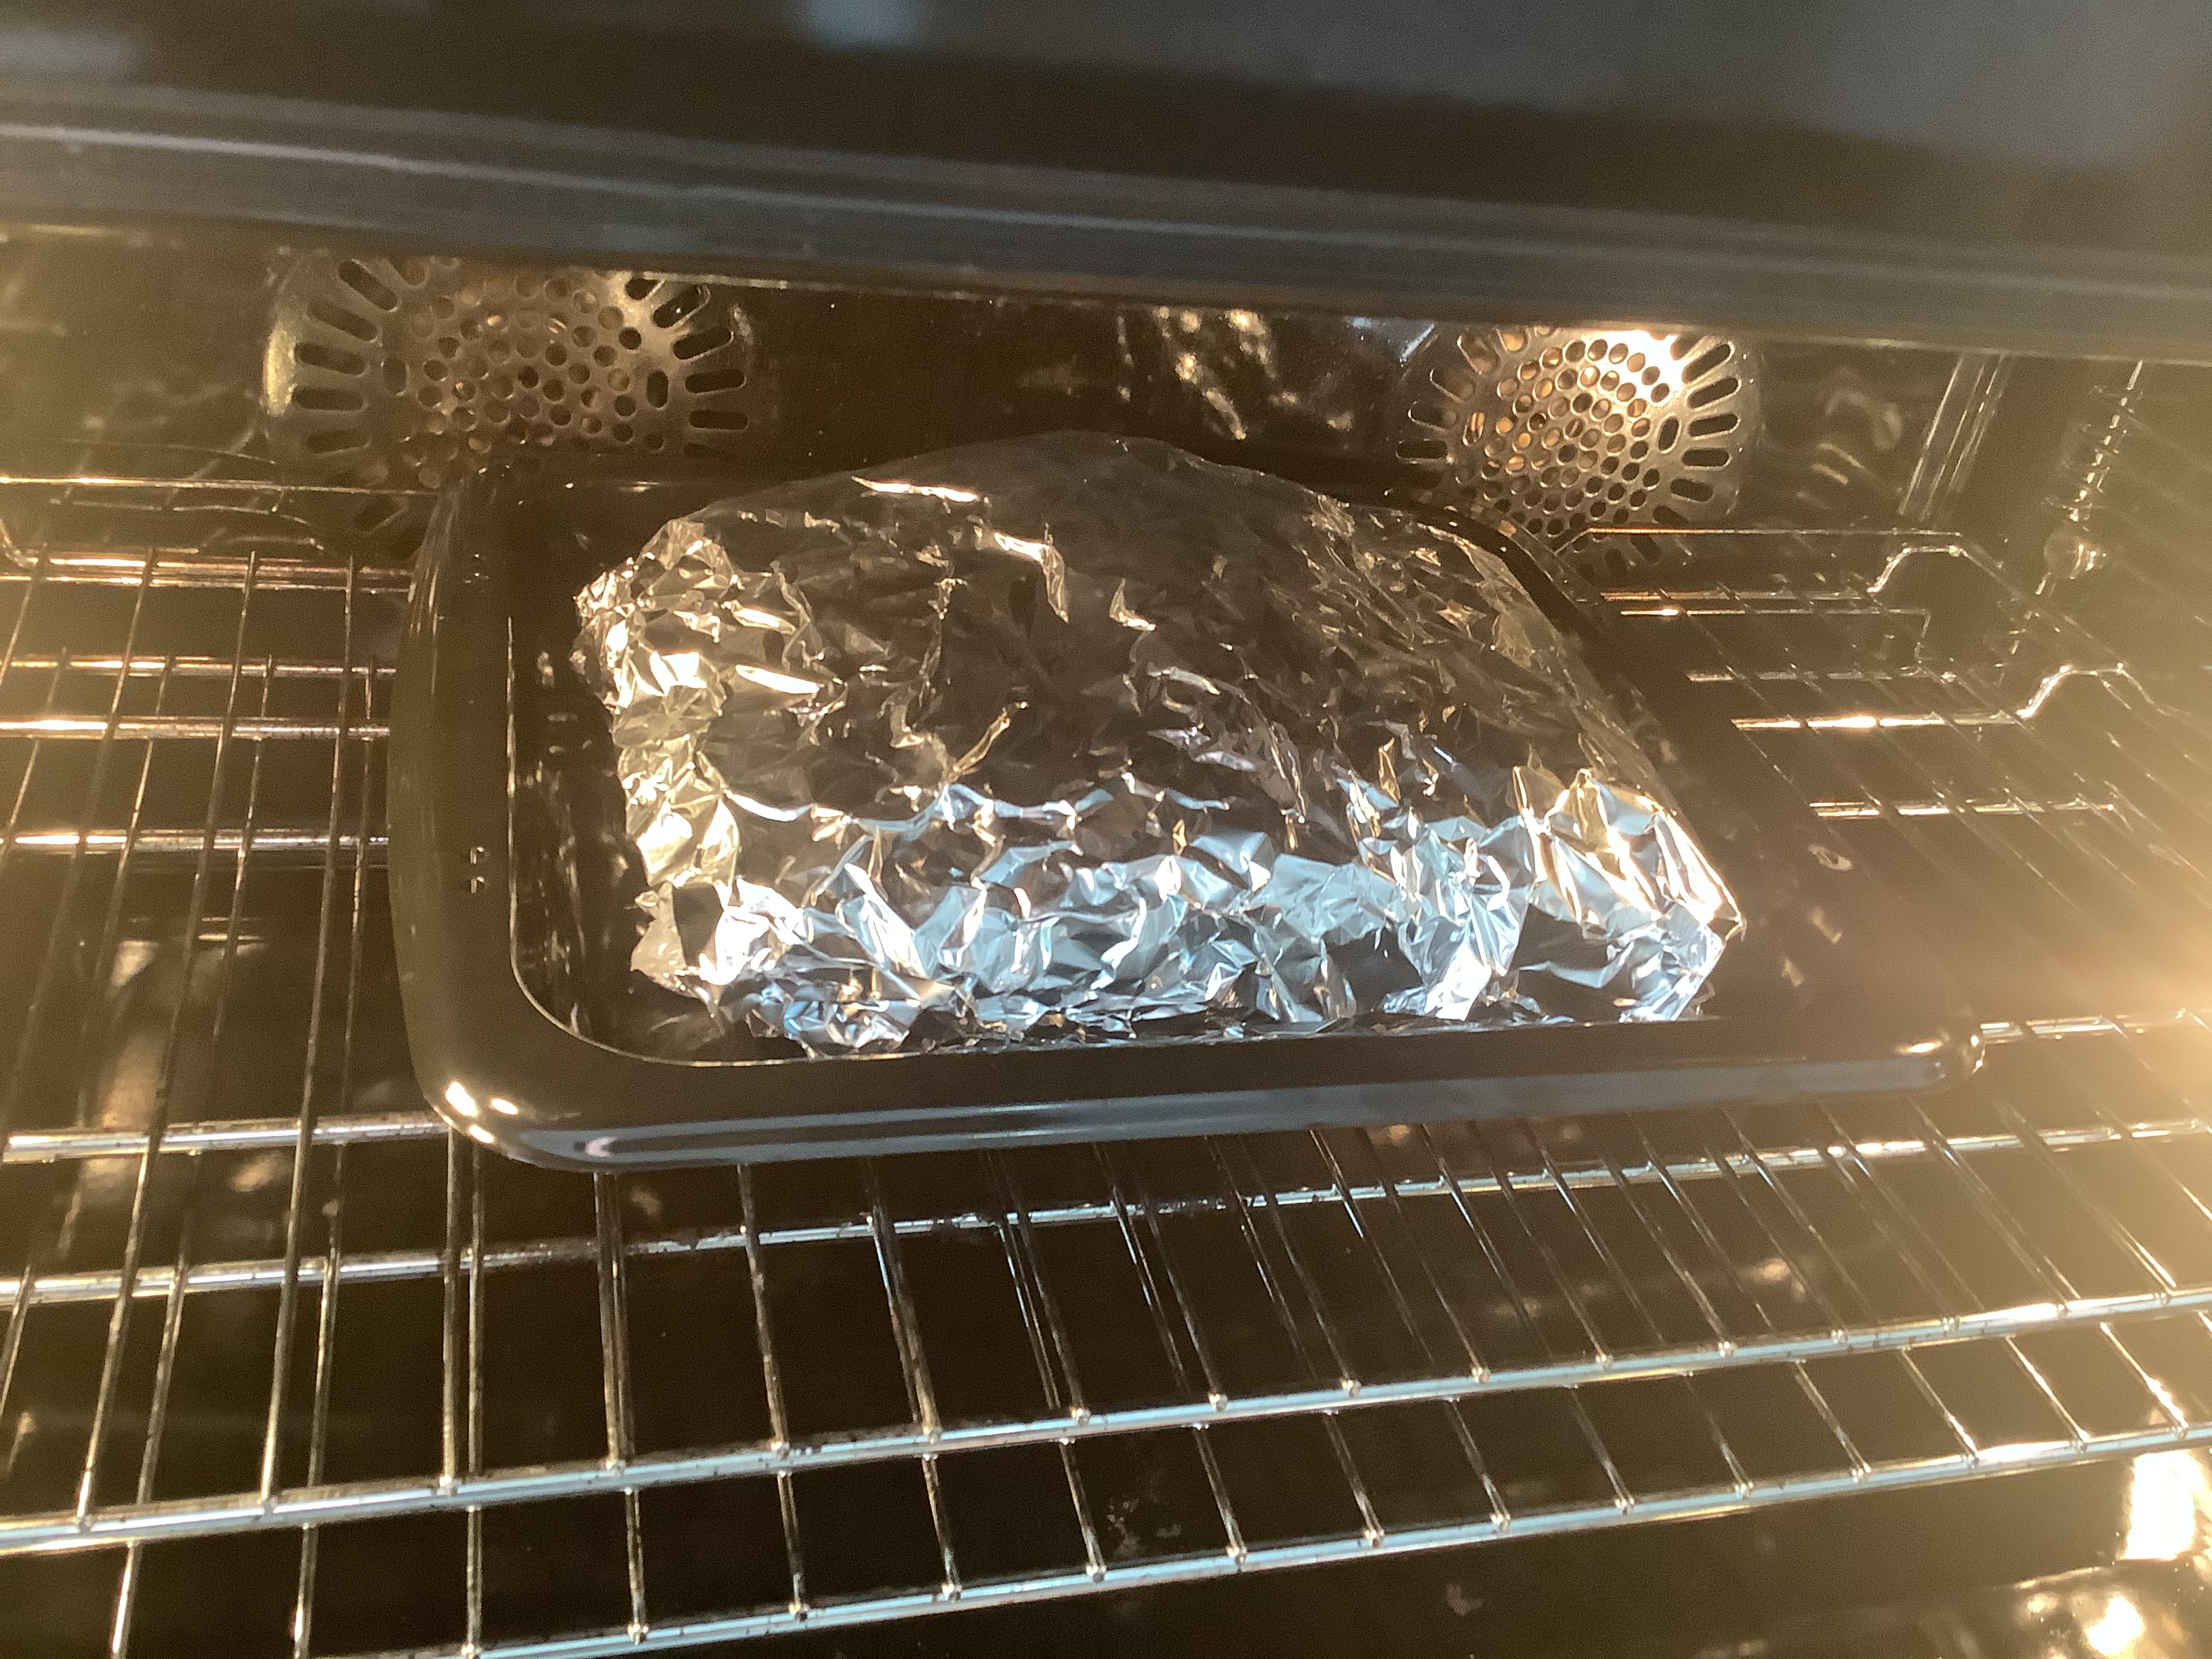
It just so happened that I had slow-roasted a pork shoulder that day. It just so happened that I had an opened box of Arborio rice I wanted to use up. It just so happened that I had several containers of homemade chicken stock in the freezer, an open bottle of white wine in the fridge, already opened packages of mozzarella and Parmigiano Reggiano, and a small container of ricotta. And I just made a batch of tomato sauce from my garden tomatoes.
I mean, come on! This recipe practically wrote itself!

First, I made the risotto. There were 3 cups of Arborio rice left in the package, so I used it all up…
2 tablespoons olive oil
3 cups Arborio rice
2/3 cup dry white wine
10 cups (or so) homemade chicken broth
1/2 cup grated Parmigiano Reggiano
I brought the chicken broth to a low simmer in a saucepan.
In a large skillet, I warmed the olive oil and rice over medium heat for a few minutes.
I added the wine and sautéed for another minute or two, until it had been absorbed.
I added the hot broth to the rice about a half-cup at a time, stirring until the broth absorbed completely each time before doing more.
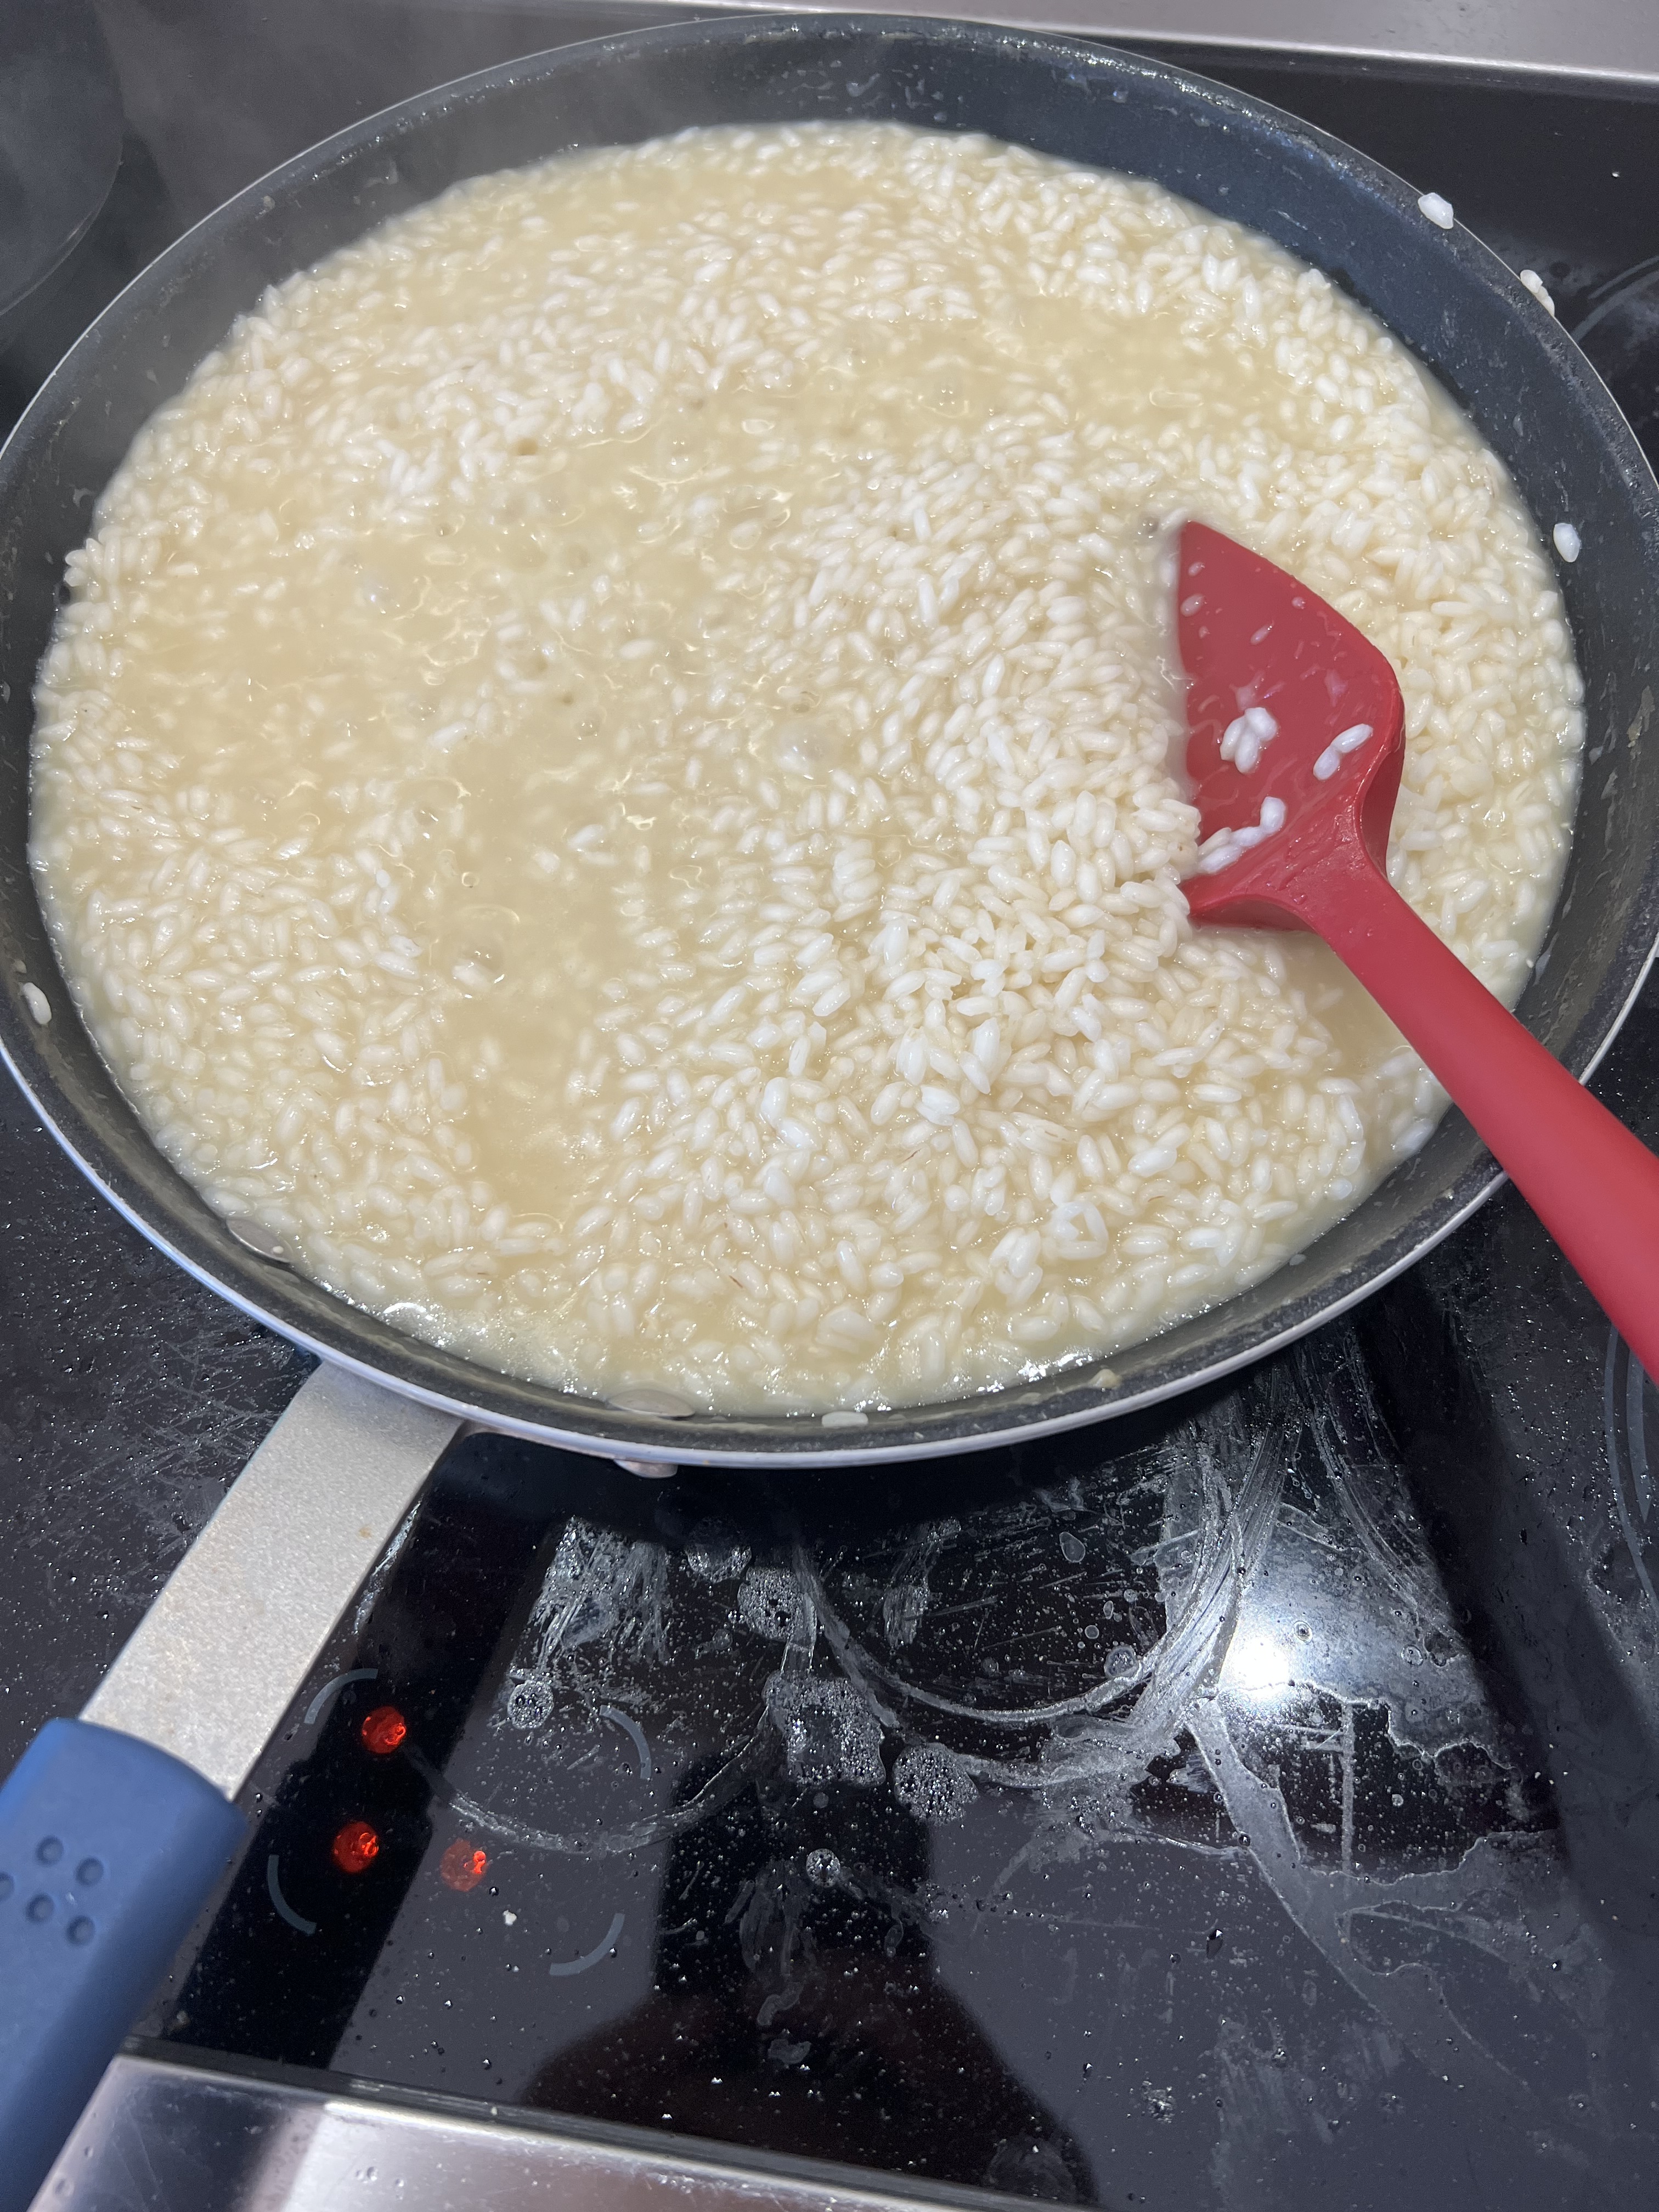
I continued adding the broth a half-cup at a time and stirring until it was fully absorbed and the rice was Al dente and creamy, not mushy. This usually takes about 20 minutes…and you don’t always have to use up all the broth.
I removed the pan from the heat, and stirred in the Parmigiano Reggiano.
I set it aside and let it cool.
In a saucepan, I warmed the tomato sauce up.
Meanwhile, I chopped the mozzarella up into small cubes, a little bigger than a 1/4″ square.
I took the pork out of the fridge, and finely chopped up about a pound of it. I didn’t know if I would need that much, but it was a good start. I added about a 1/2 cup of ricotta cheese to it, mixing well, making it into a paste.
Using a scoop, I made small meatballs out of the pork mixture, pushing a cube of mozzarella into each one before rolling it into a little meatball.
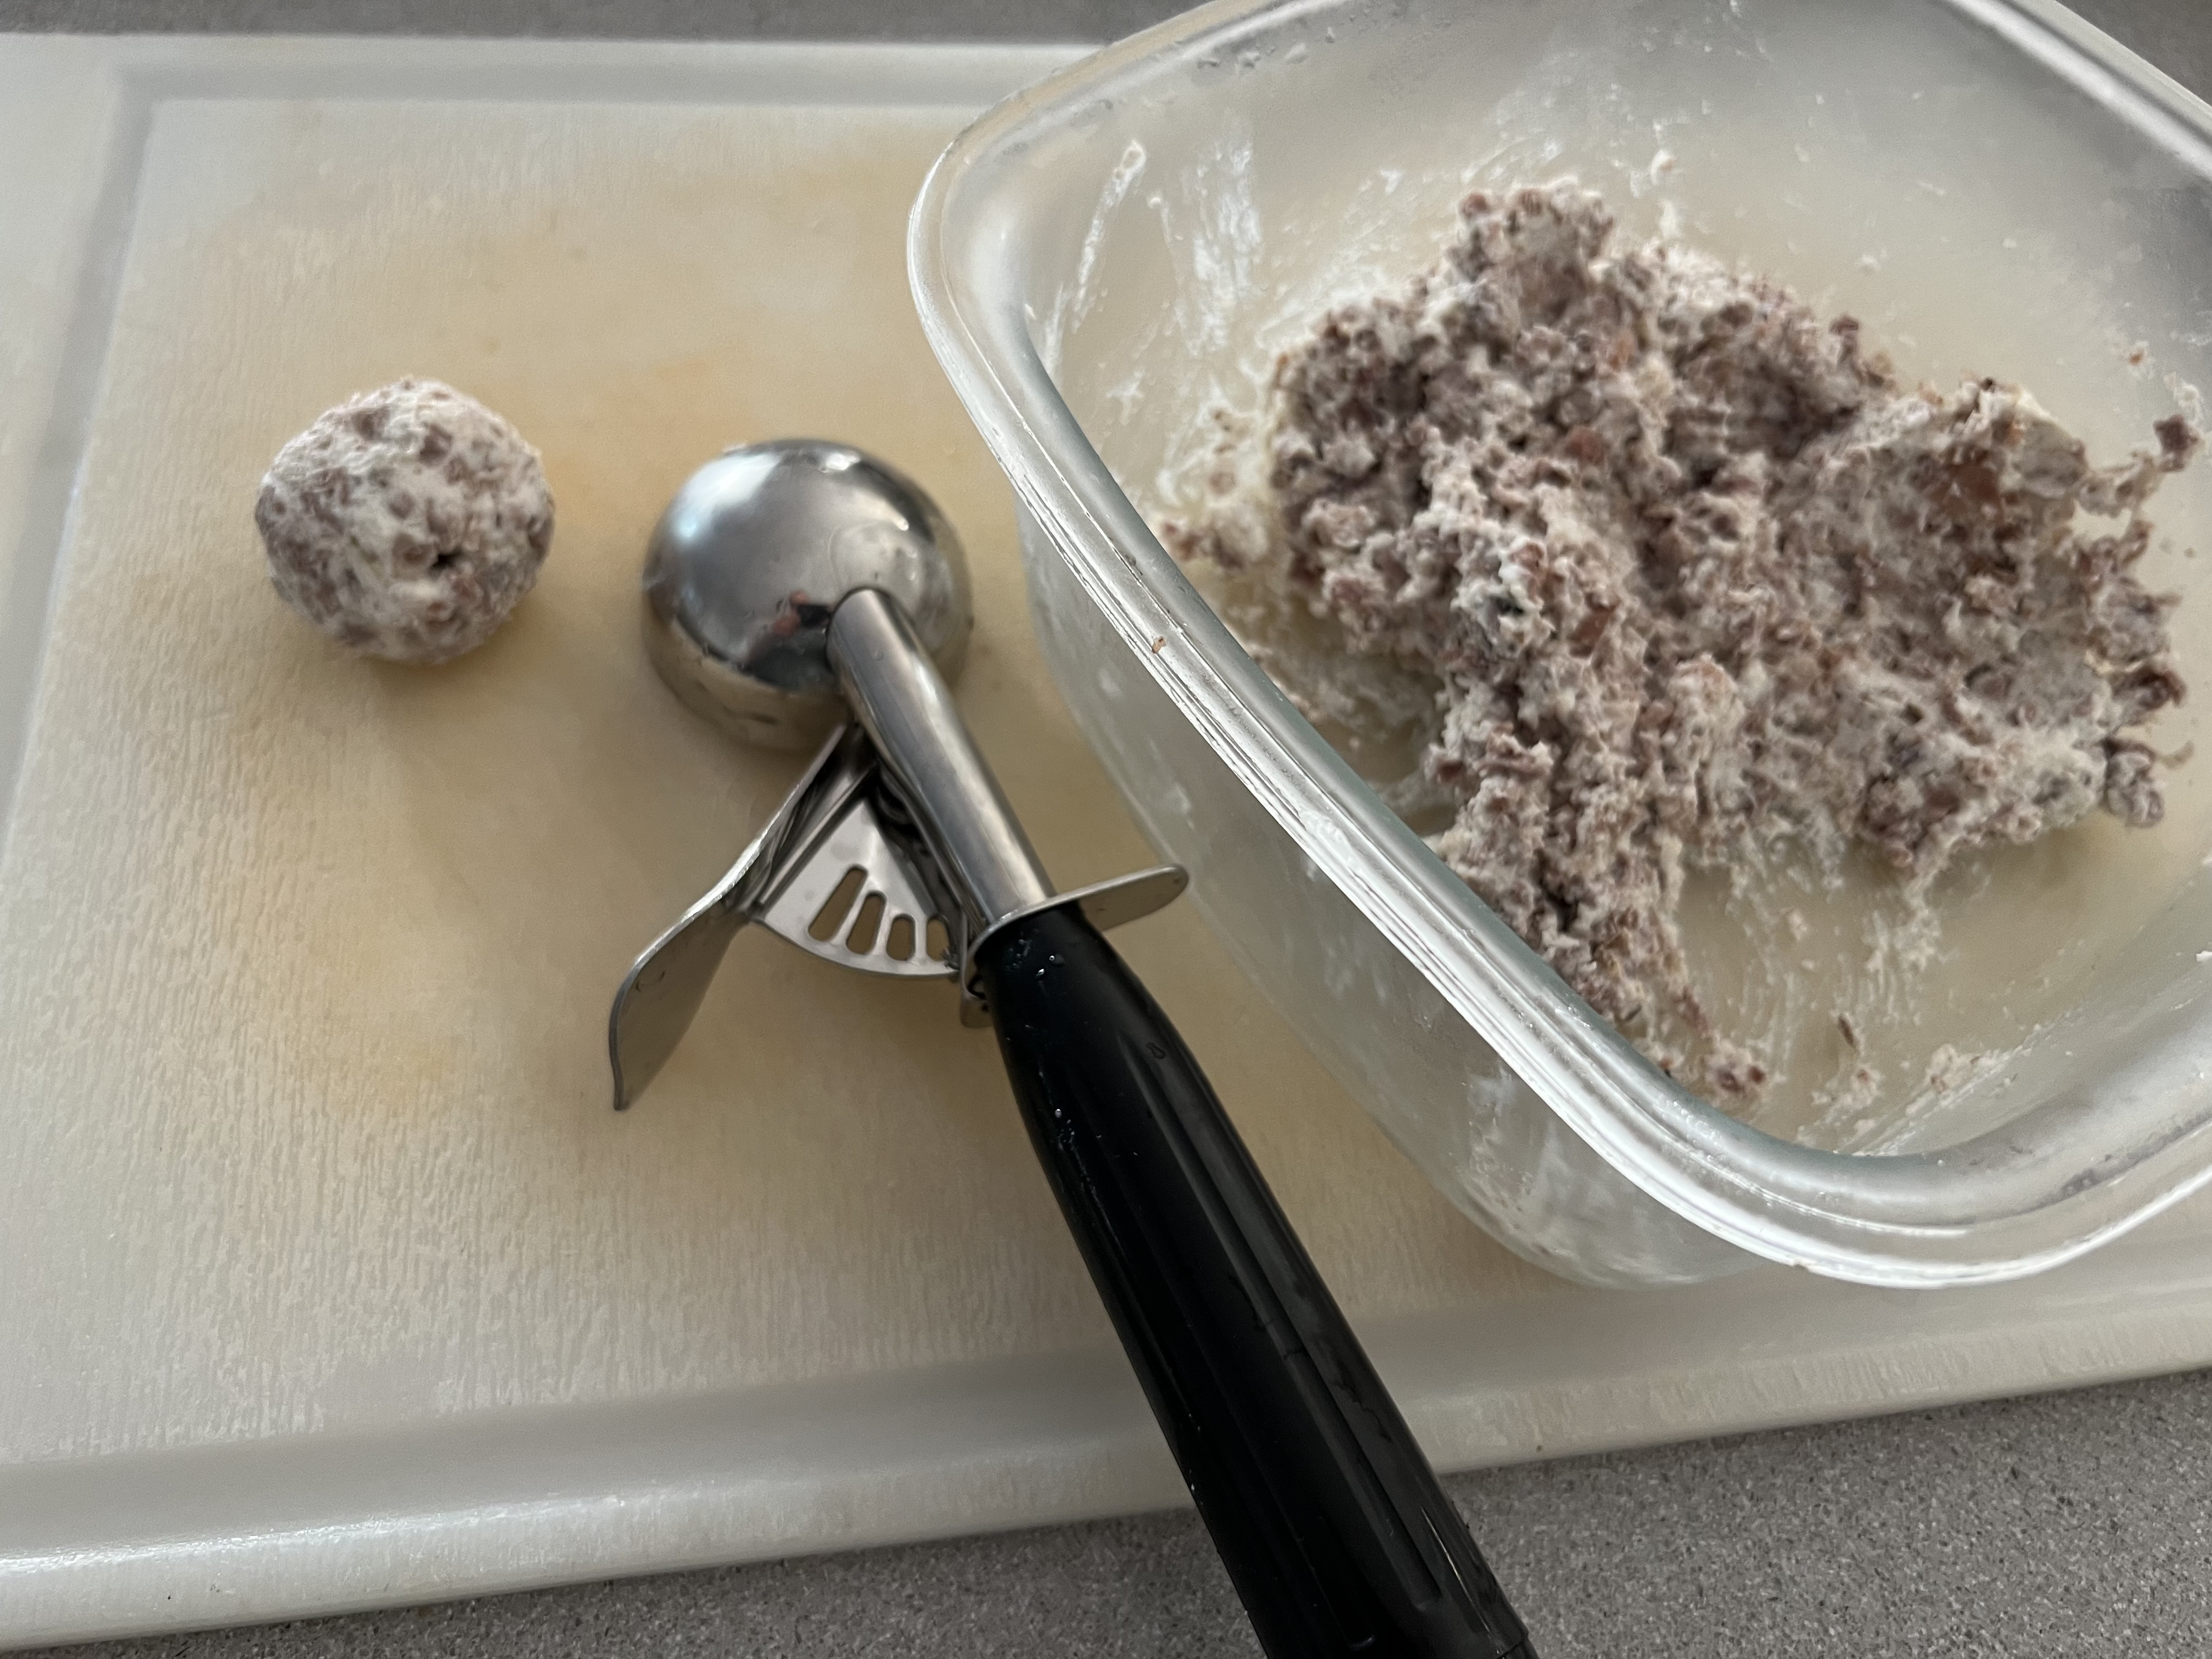
Then, scooping up some of the cooled risotto with my hands, I molded it around the meatball, forming a larger rice ball, setting aside on a tray.

I used plain gluten-free breadcrumbs in this recipe to keep it GF, but regular breadcrumbs are just fine. I like to make my own breadcrumbs by toasting GF bread and then putting it in a food processor. This gets it to a crumbly stage. If I want it fine, I move the breadcrumbs to a blender to grind it down to almost a powder, first adding oregano, parsley, basil, salt, pepper, granulated garlic and granulated onion, then blending well.
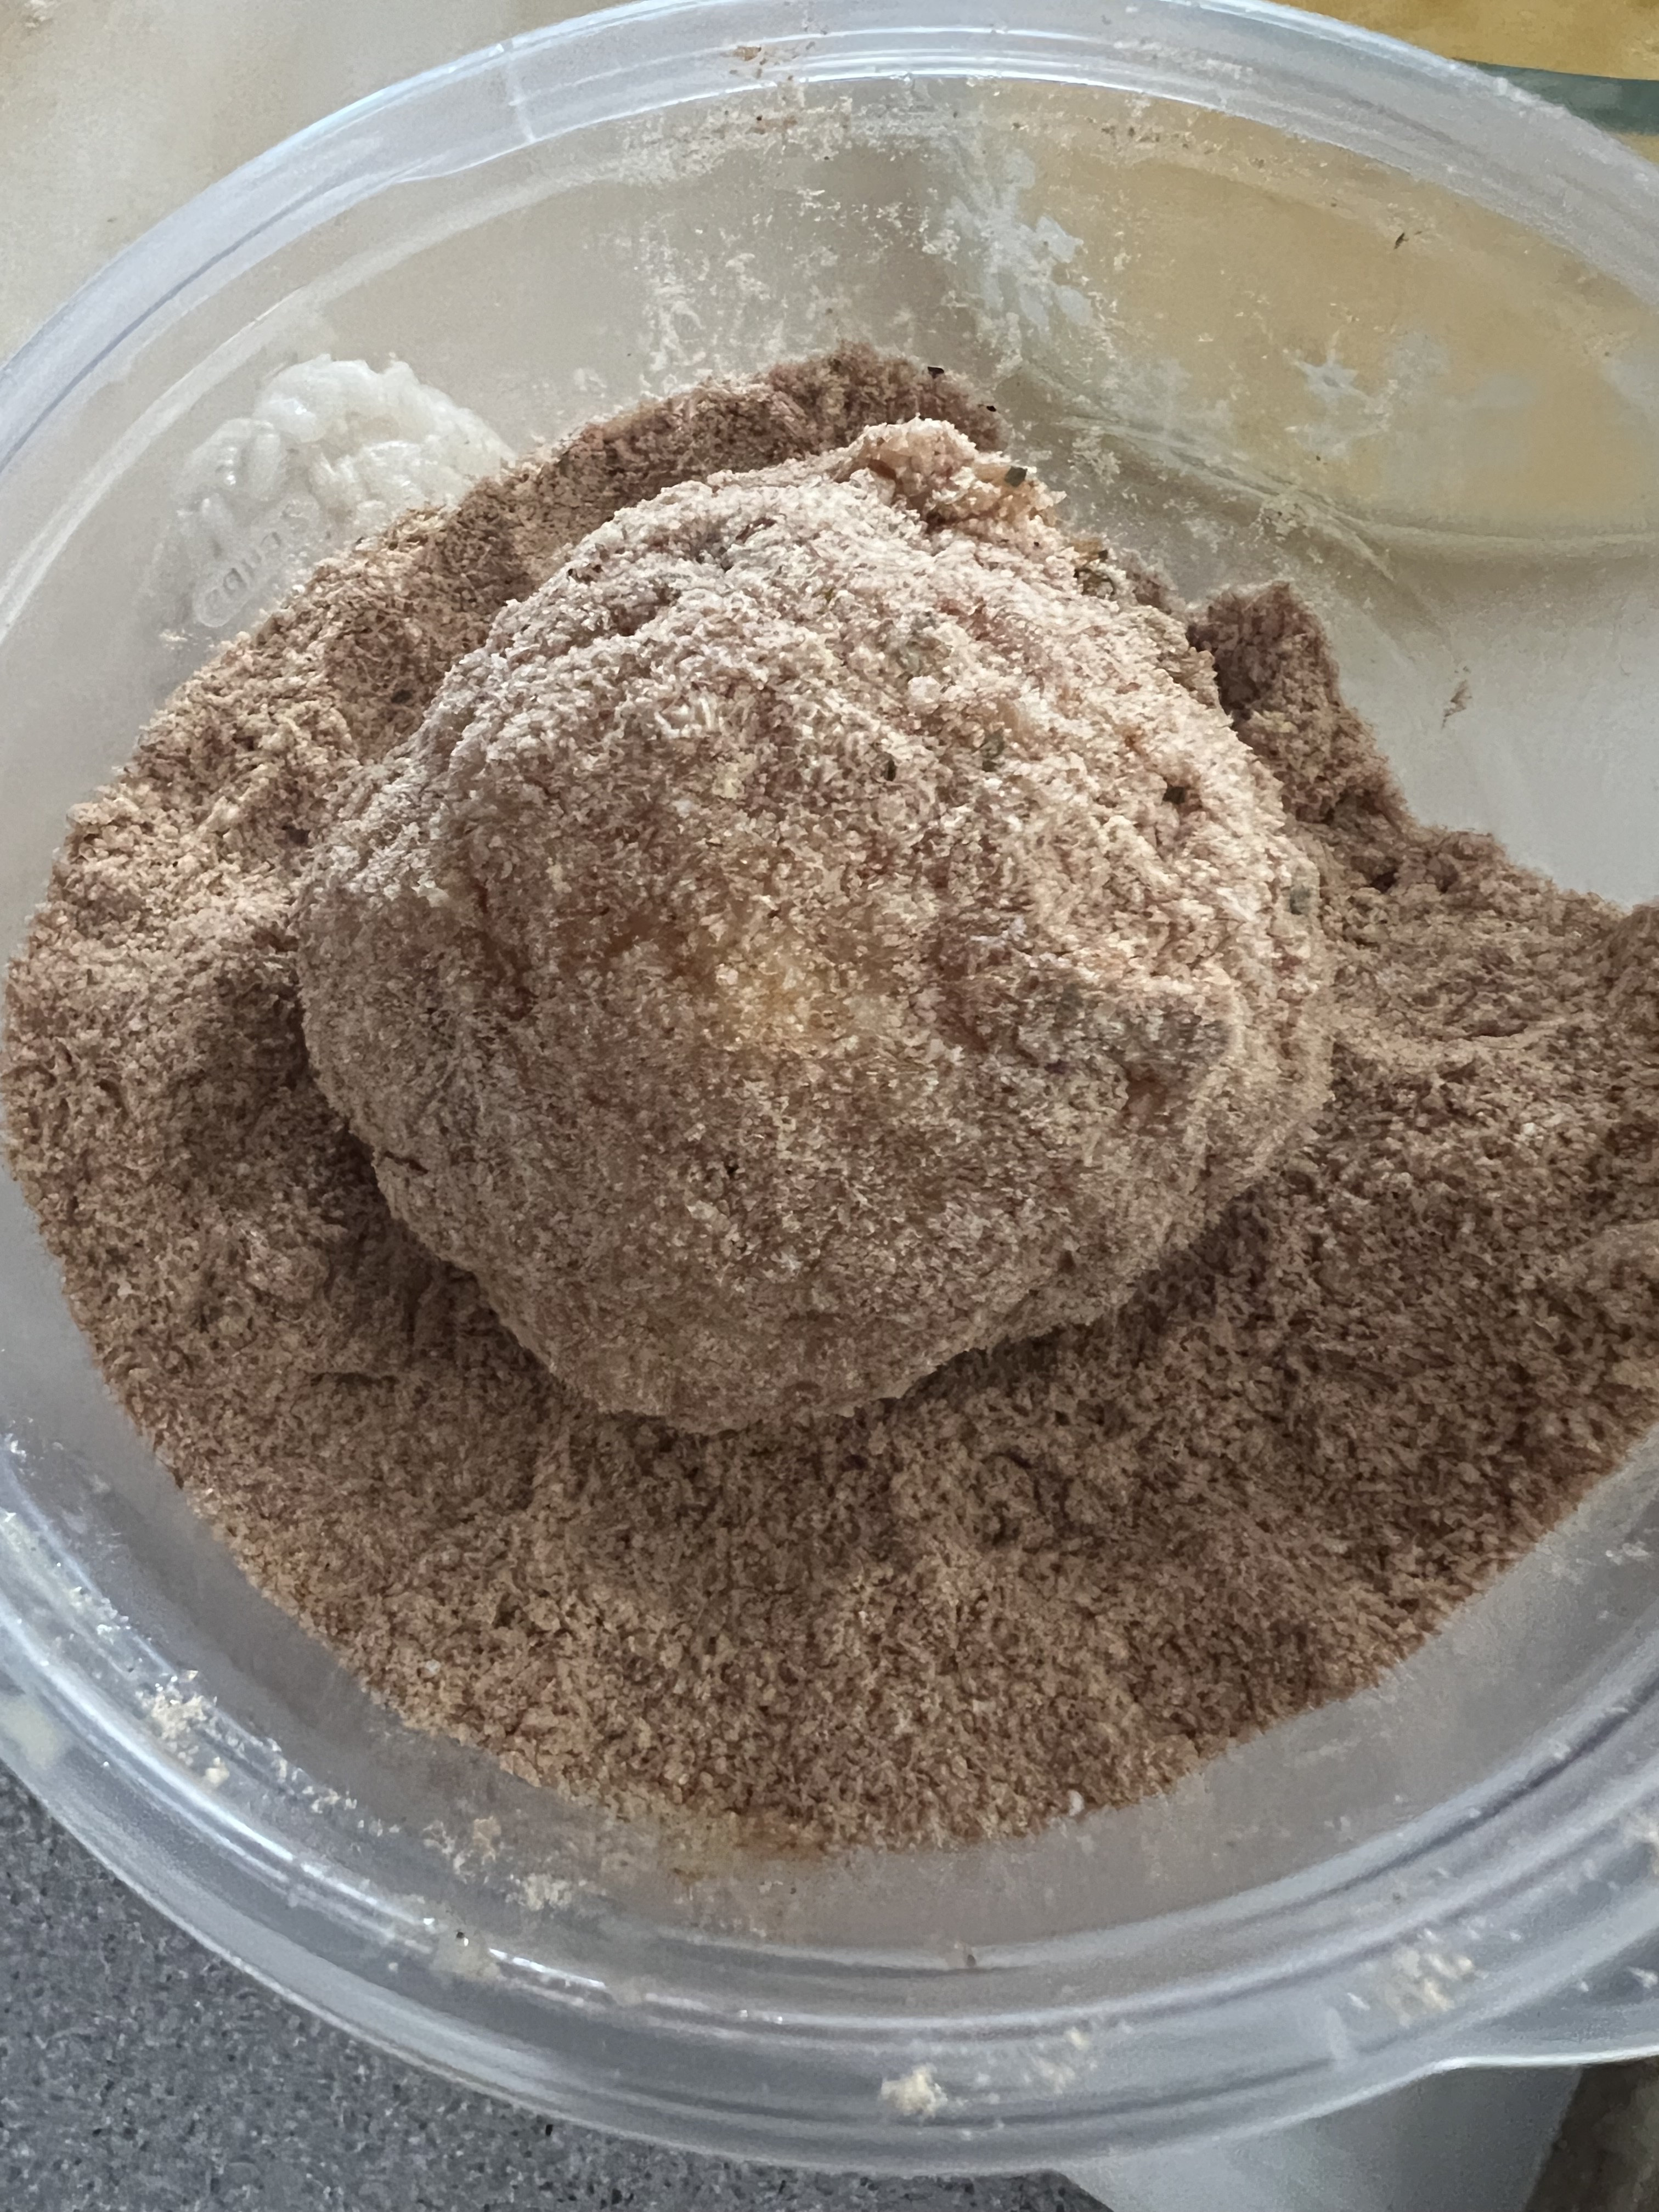
With the oil in my fryer hot and ready to go at 350 degrees, I roll each rice ball in the egg, and then the seasoned breadcrumbs.
Then I place them gently in the fryer, being careful not to overcrowd them.
I fry them until they’re golden brown.
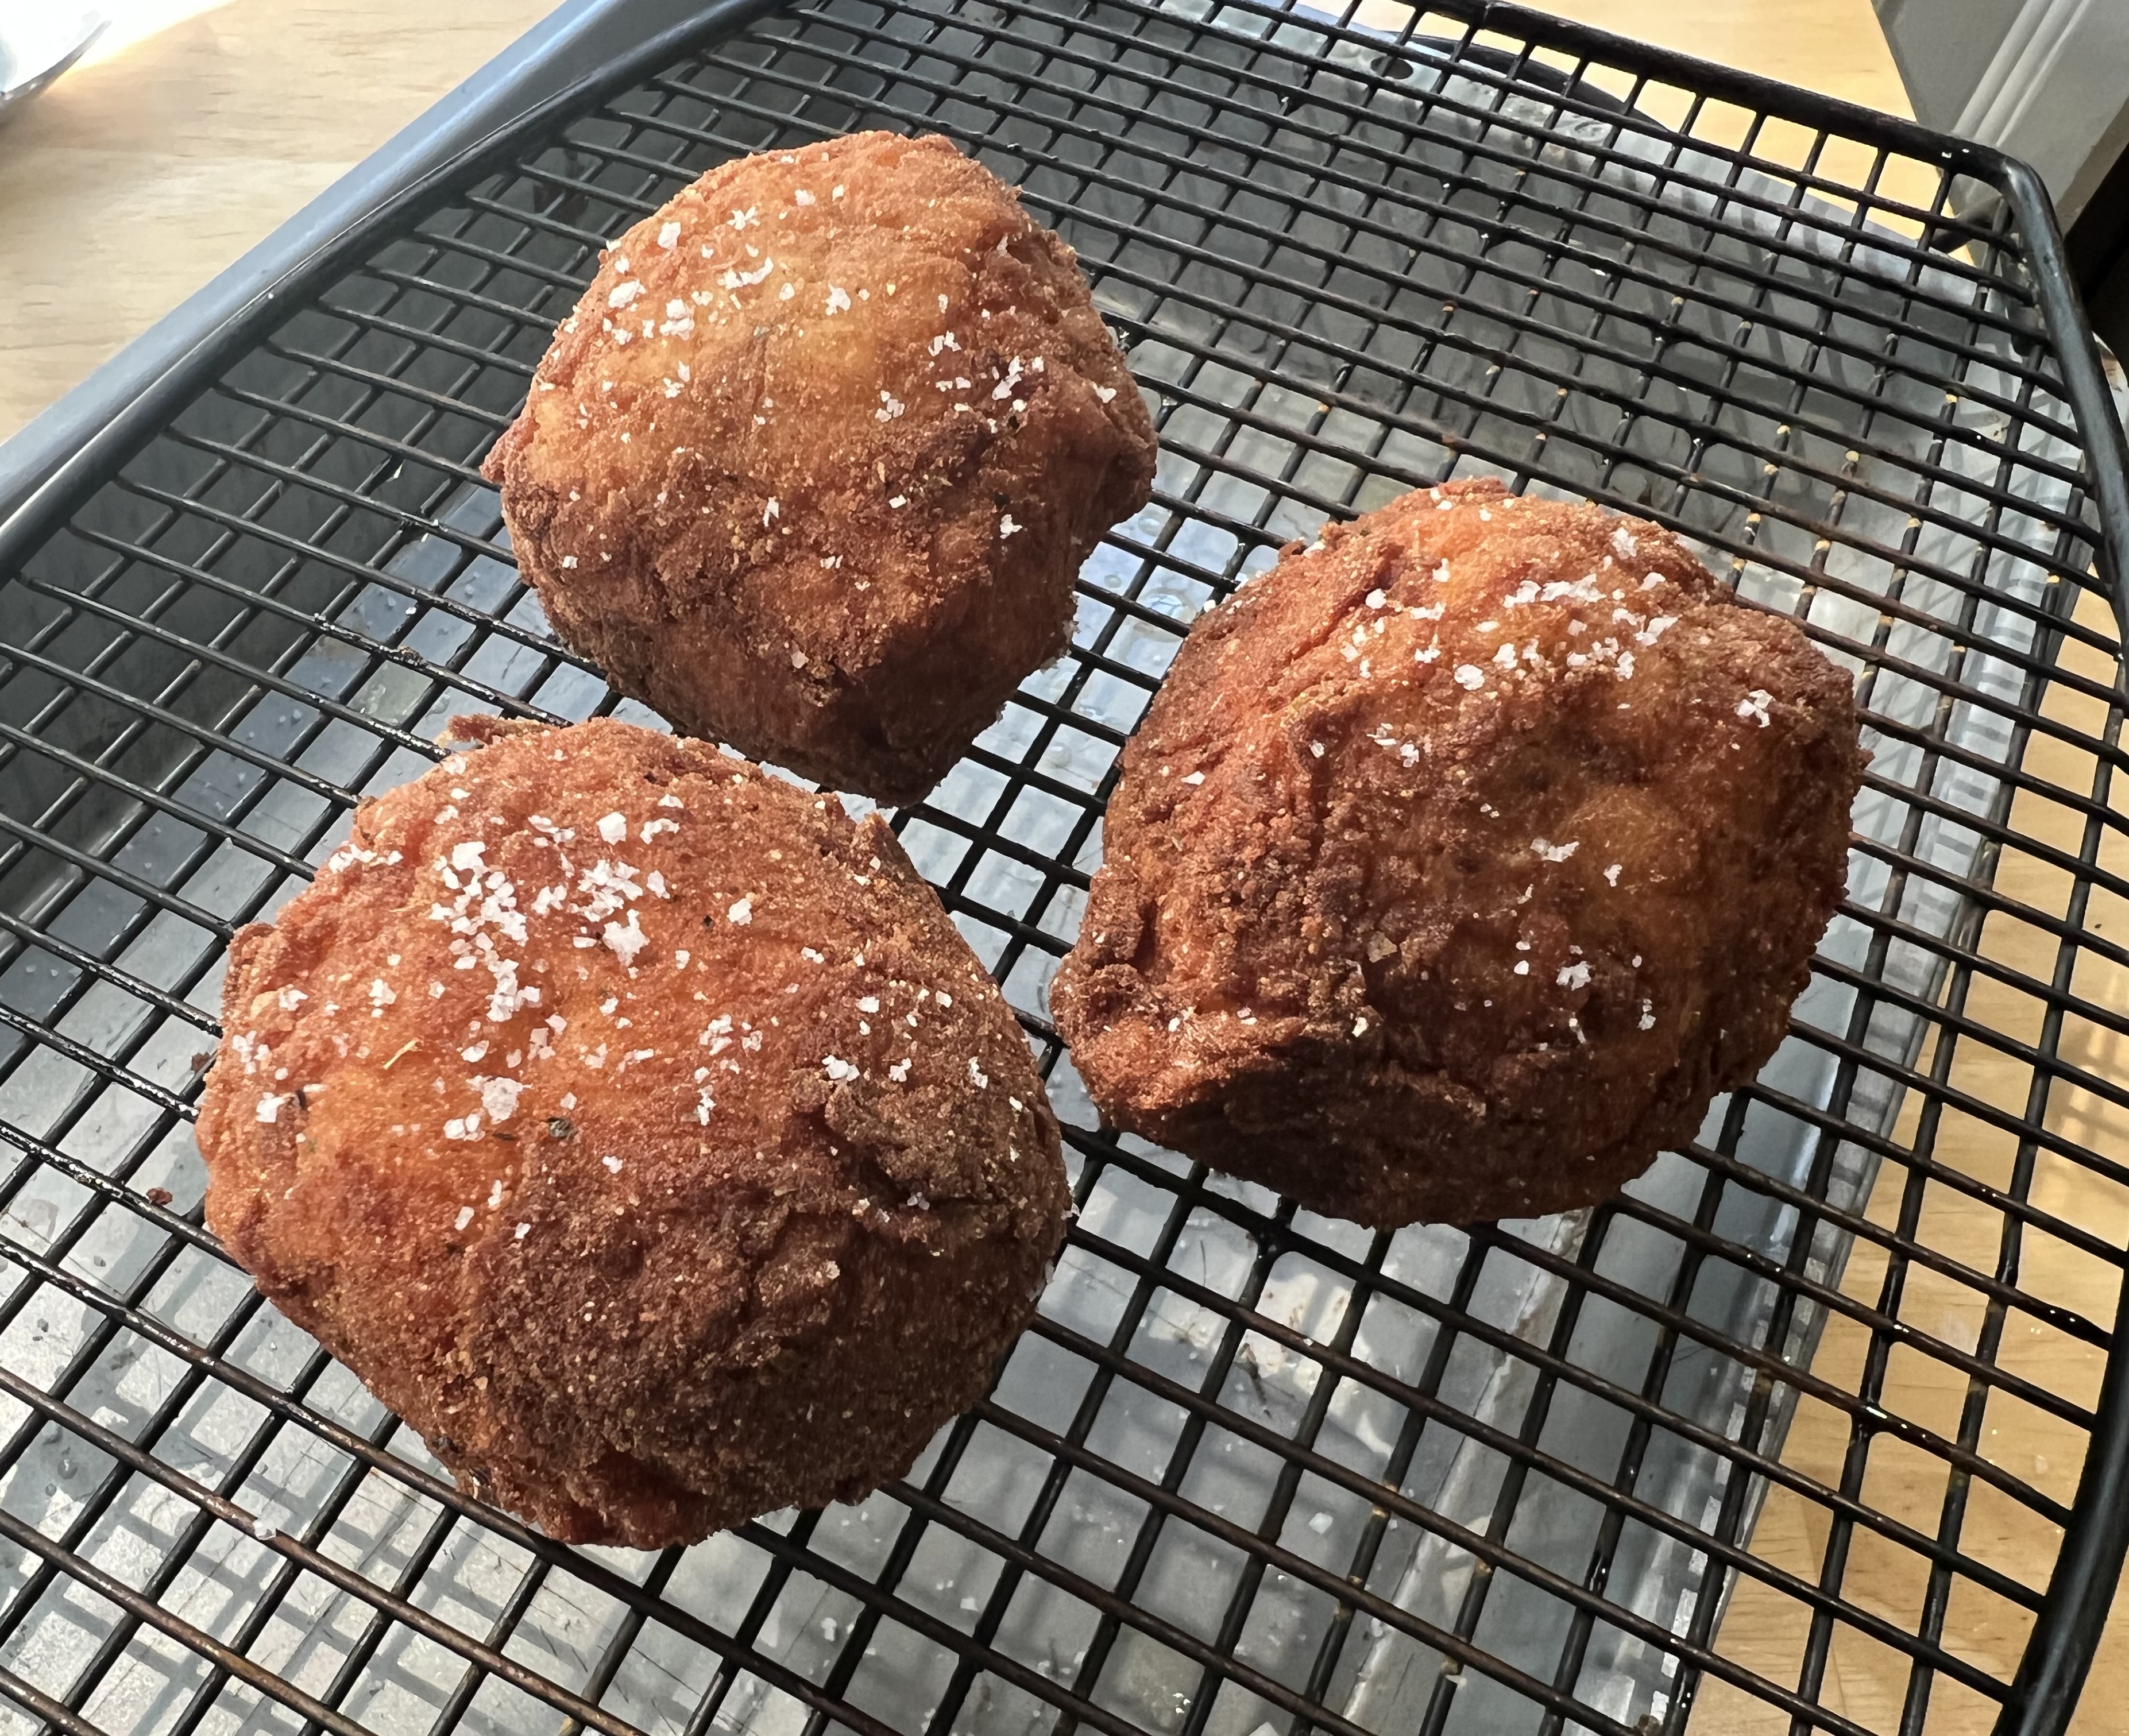
I place the fried arancini on a wire rack to cool, sprinkling them with sea salt while they’re still hot.