Julia Child was my first guide for many of the dishes that I still make today. My Mom and I would watch “The French Chef” on WNET, Channel 13, our PBS station back home in New York. Later, I’d start buying Julia’s cookbooks, and I was lucky enough to not only interview her, but meet her just a few years before she passed away. She was a lovely, down-to-earth lady, and someone I’ll never forget.
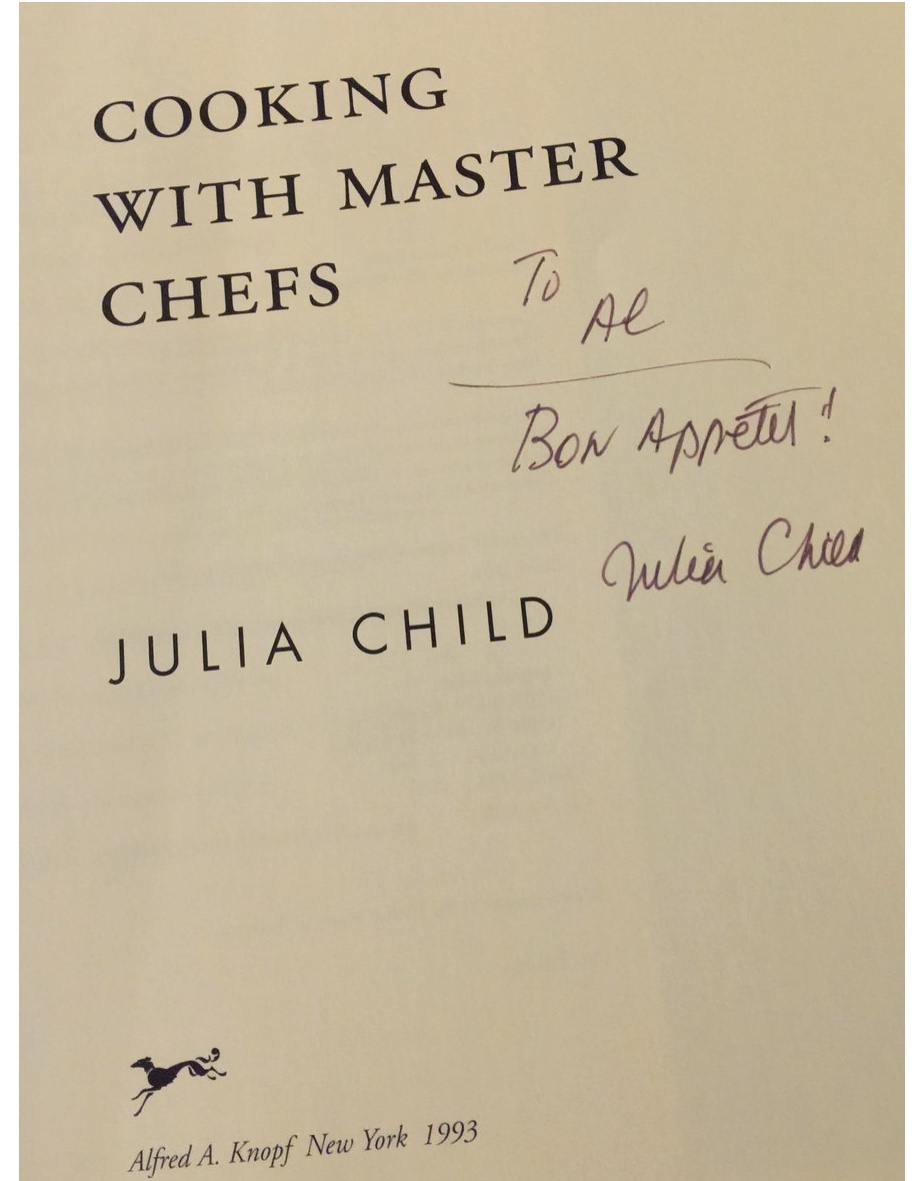
The classic rustic galette was the first dessert I learned how to bake, straight from the pages of “Baking with Julia.” I generally stayed away from desserts because they required a lot of exact measurements, and that just wasn’t my style of cooking. So when I saw that this rustic galette required none of those things, and yet tasted absolutely delicious, I realized I had found my dessert! And the galette was versatile: I could use whatever ripe fruit I could get my hands on, so it became a dessert that changed with the seasons.
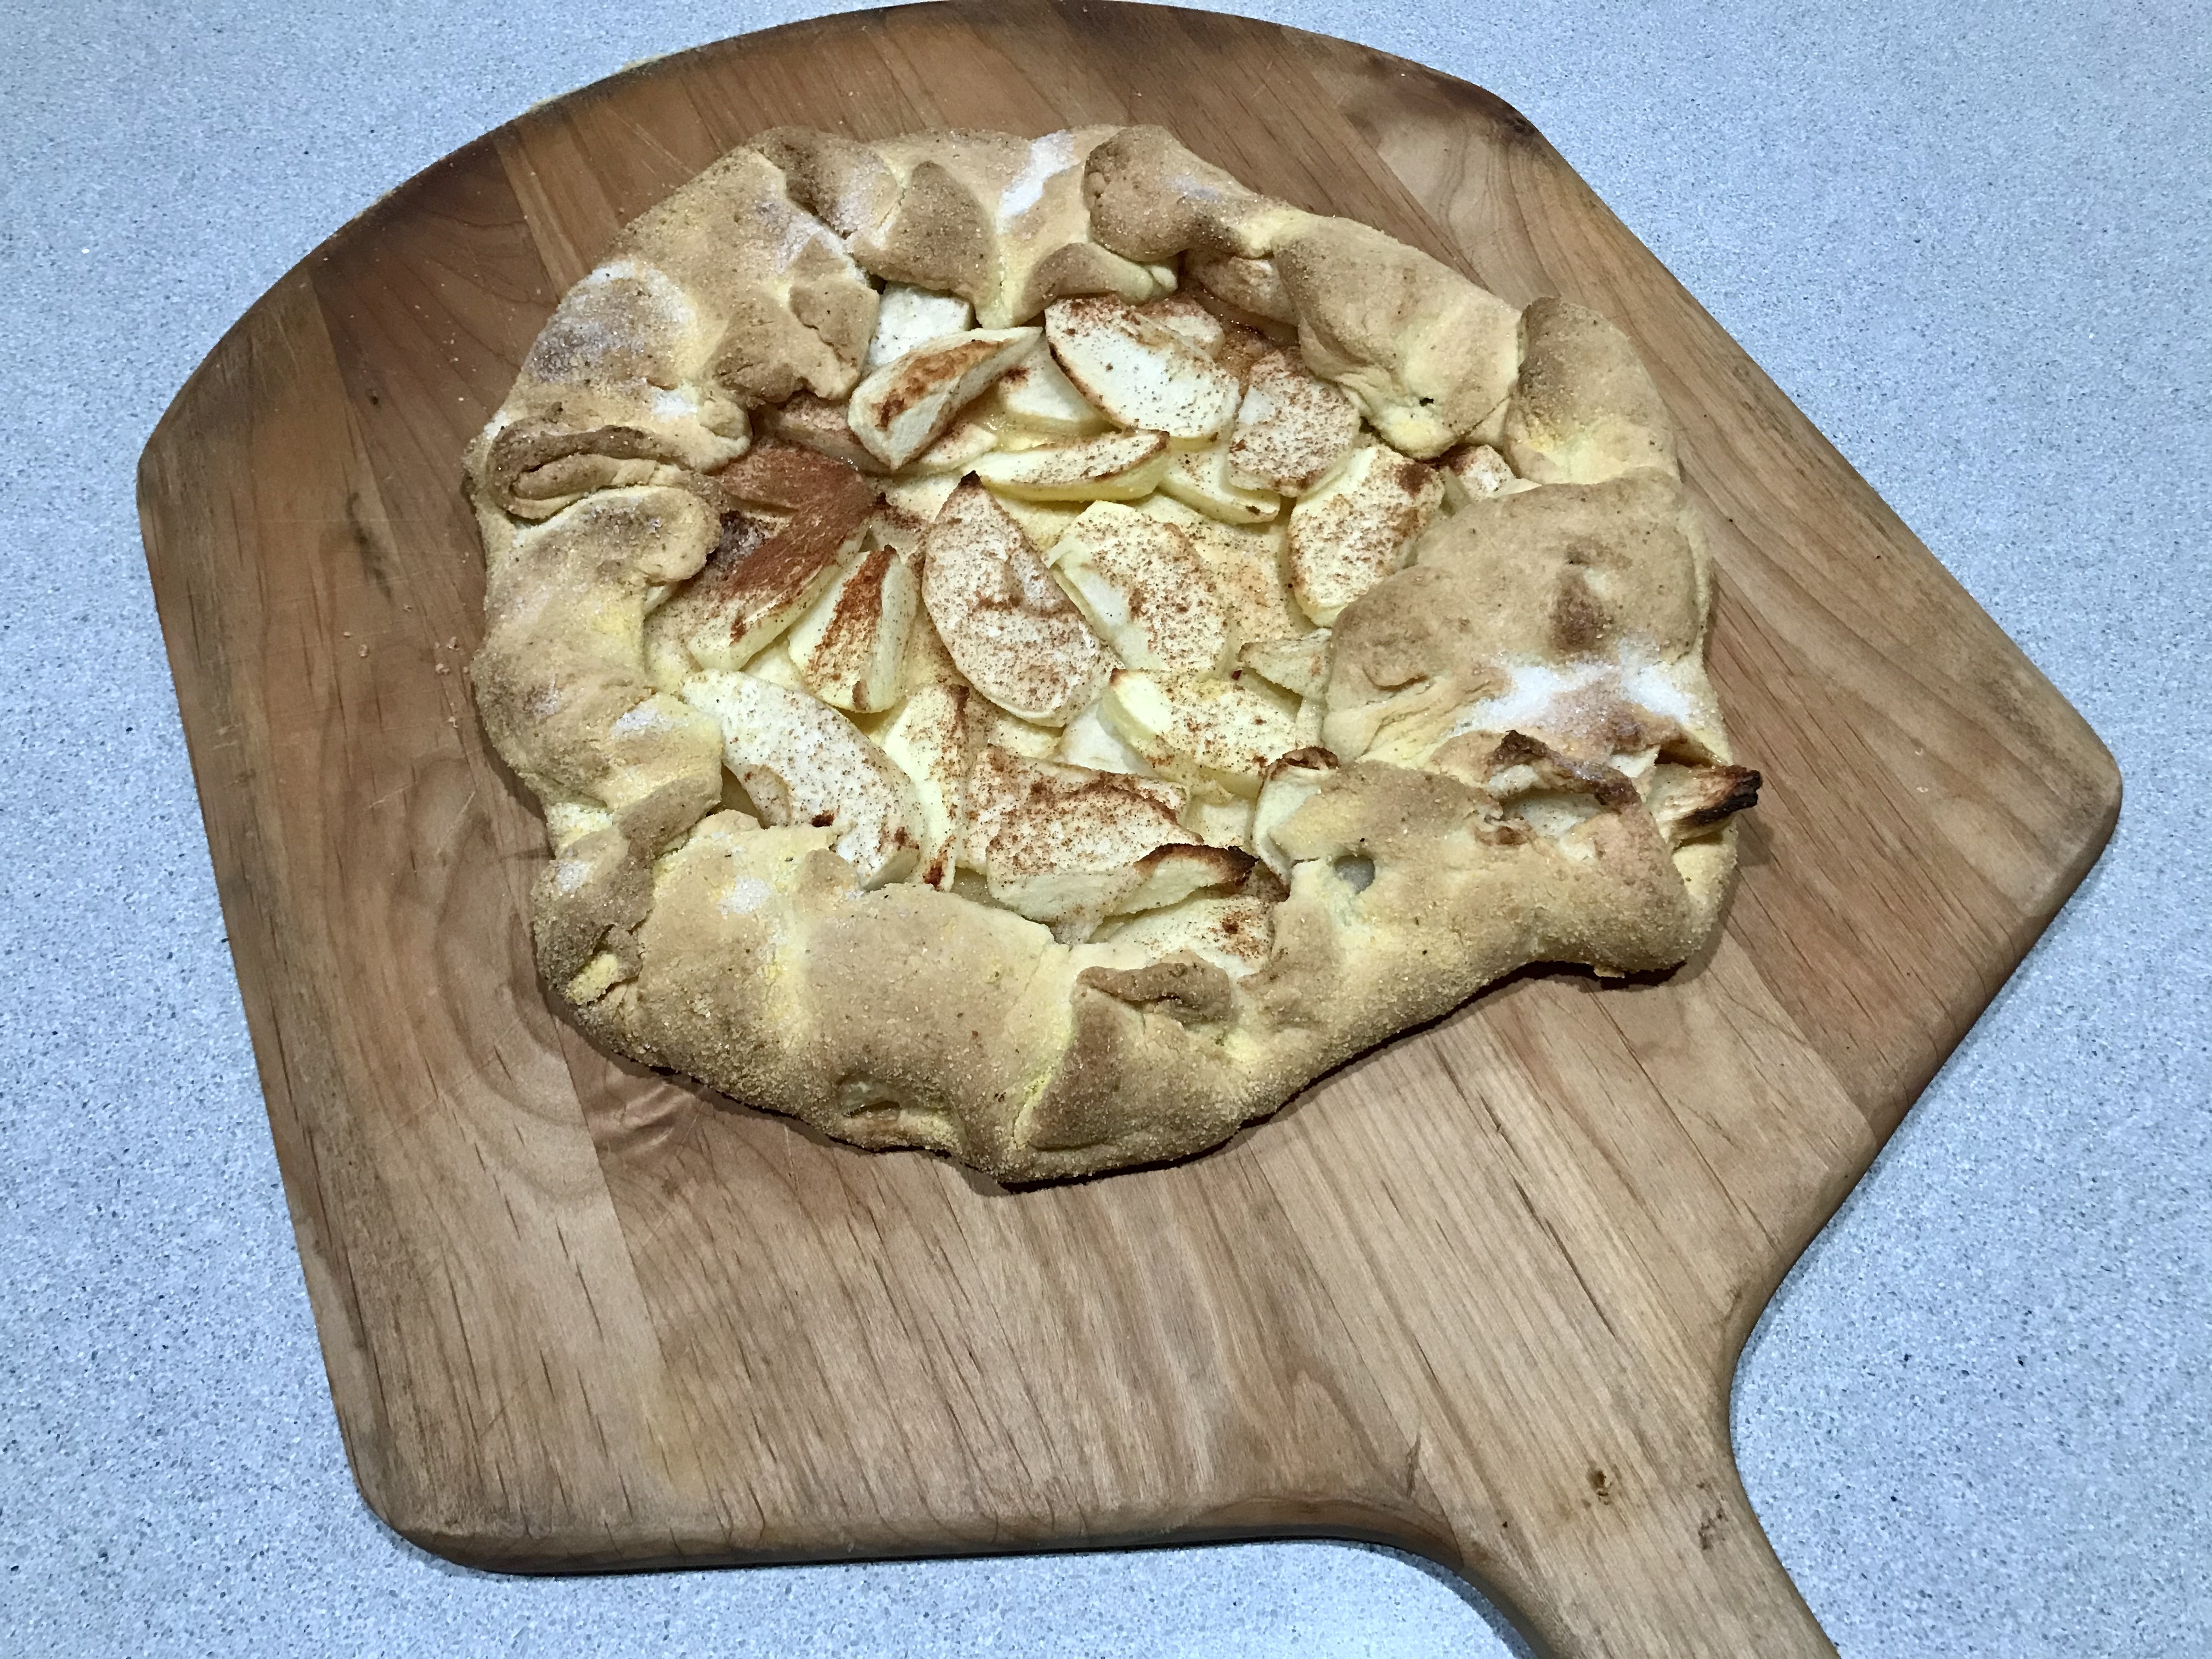
Making one large galette, I found that using my pizza peel was a great way to slide it in and out of the oven easily.
3 tablespoons sour cream
1/3 cup ice water
1 cup all-purpose flour
1/4 cup yellow cornmeal
1 teaspoon sugar
1/2 teaspoon salt
7 tablespoons cold unsalted butter, cut into about 8 pieces
1 1/2 cups mixed fresh berries or cut-up peeled fruit (I used apples)
1 tablespoon plus 1 teaspoon sugar
1 tablespoon cold, unsalted butter
I stirred the sour cream and 1/3 cup ice water together in a bowl and set it aside.
I put the flour, cornmeal, sugar, and salt in the bowl of a food processor fitted with the metal blade and pulsed it to combine.
I dropped the butter pieces into the processor and pulsed 8 to 10 times, or until the mixture was speckled with pieces of butter about the size of a pea. Then, with the machine running, I added the sour cream mixture and processed just until the dough formed soft, moist curds.
The original recipe says to divide the dough in half, pressing each into a disk. This time, I chose to make one large disc, which I wrapped and chilled in the fridge overnight.
I positioned a rack in the lower third of the oven, slid in my pizza stone, and pre-heated the oven to 400.
I spread the apples (or whatever fruit is desired) over the dough, leaving a 2 to 3-inch border. I sprinkled 1 tablespoon of the sugar over the fruit. (A pinch of cinnamon with the apples didn’t hurt, too!) I cut the butter into slivers and scattered it onto the fruit. I carefully folded the uncovered border of the dough over the filling, allowing it to fold naturally onto itself as I lifted it and worked around the galette. It’s supposed to look rustic, so no sweat if it doesn’t look perfect.
Then I dipped a pastry brush in water, lightly brushing the edge of the crust with it, then sprinkling the remaining teaspoon of sugar onto the crust.
Because I chose to make one large galette, I dusted my trusty pizza peel with corn flour, and built the galette on that, sliding it onto the pizza stone that I heated up in my 400-degree oven.

I baked the galette for 35 to 40 minutes, until it was golden and crisp. I moved the baking sheet to a cooling rack and let the galette cool for 10 minutes. I like to serve it warm with fresh whipped cream on the side.
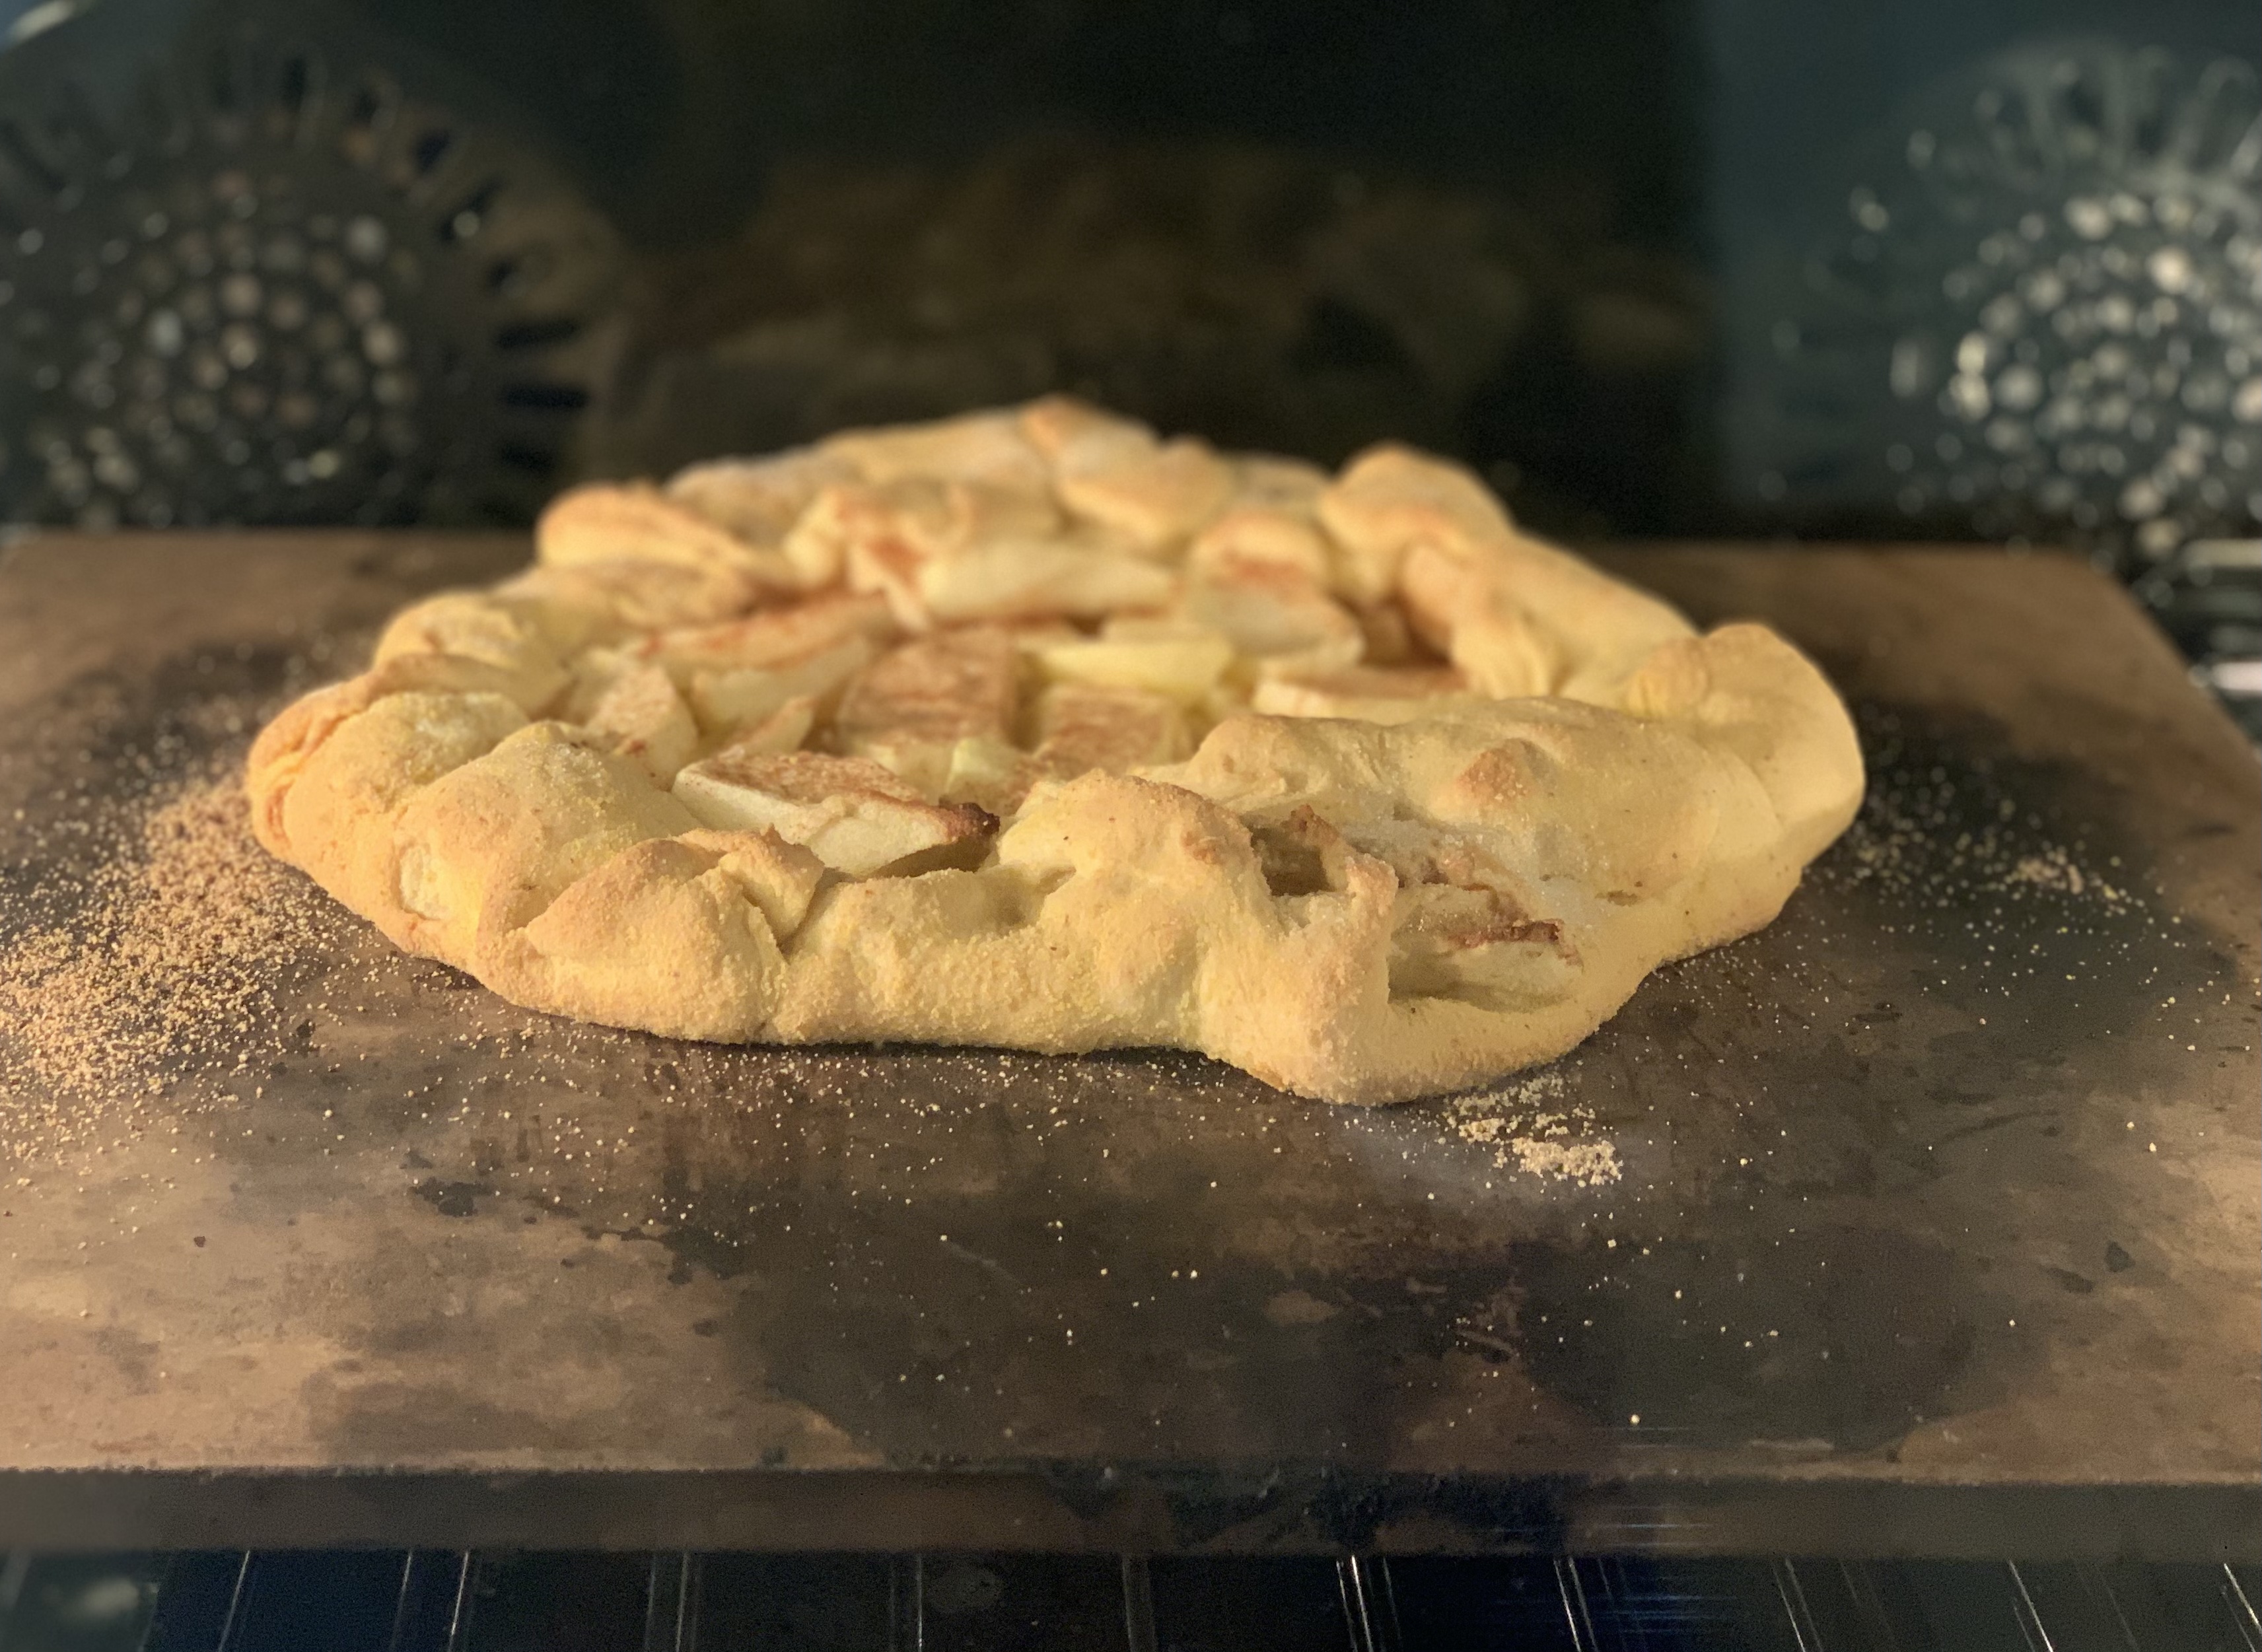
Baking on the pizza stone.
TIP: I’ve found that despite keeping the butter cold and using ice water, sometimes my dough doesn’t want to cooperate, and I don’t get the pea-sized curds when I’ve added the butter to the processor. Also, when I add the sour cream/water mixture, I often don’t get that ball of dough I’m hoping for.
No worries: I simply scrape the dough out of the processor bowl onto a floured surface, and I knead it gently into a disc. It will be really floppy and mushy sometimes. That’s OK. I just wrap it in plastic and place it in the fridge overnight.
The next day, the dough has firmed up, and I can roll it flat with a rolling pin on a well-floured surface to keep it from sticking. That’s why I like the pizza peel idea so much: I dust it really well with corn meal, which acts like little ball-bearings, build the galette right on top of it. The corn meal keeps the surface slippery so the dough slides right off the peel and into the oven.