Posts Tagged ‘food’

We recently invited our closest friends, neighbors and family members to our home to celebrate life after my wife’s last year of health issues. (We are grateful the prognosis is good!) We called it our FLY party (F*ck Last Year!) and it was a huge success.
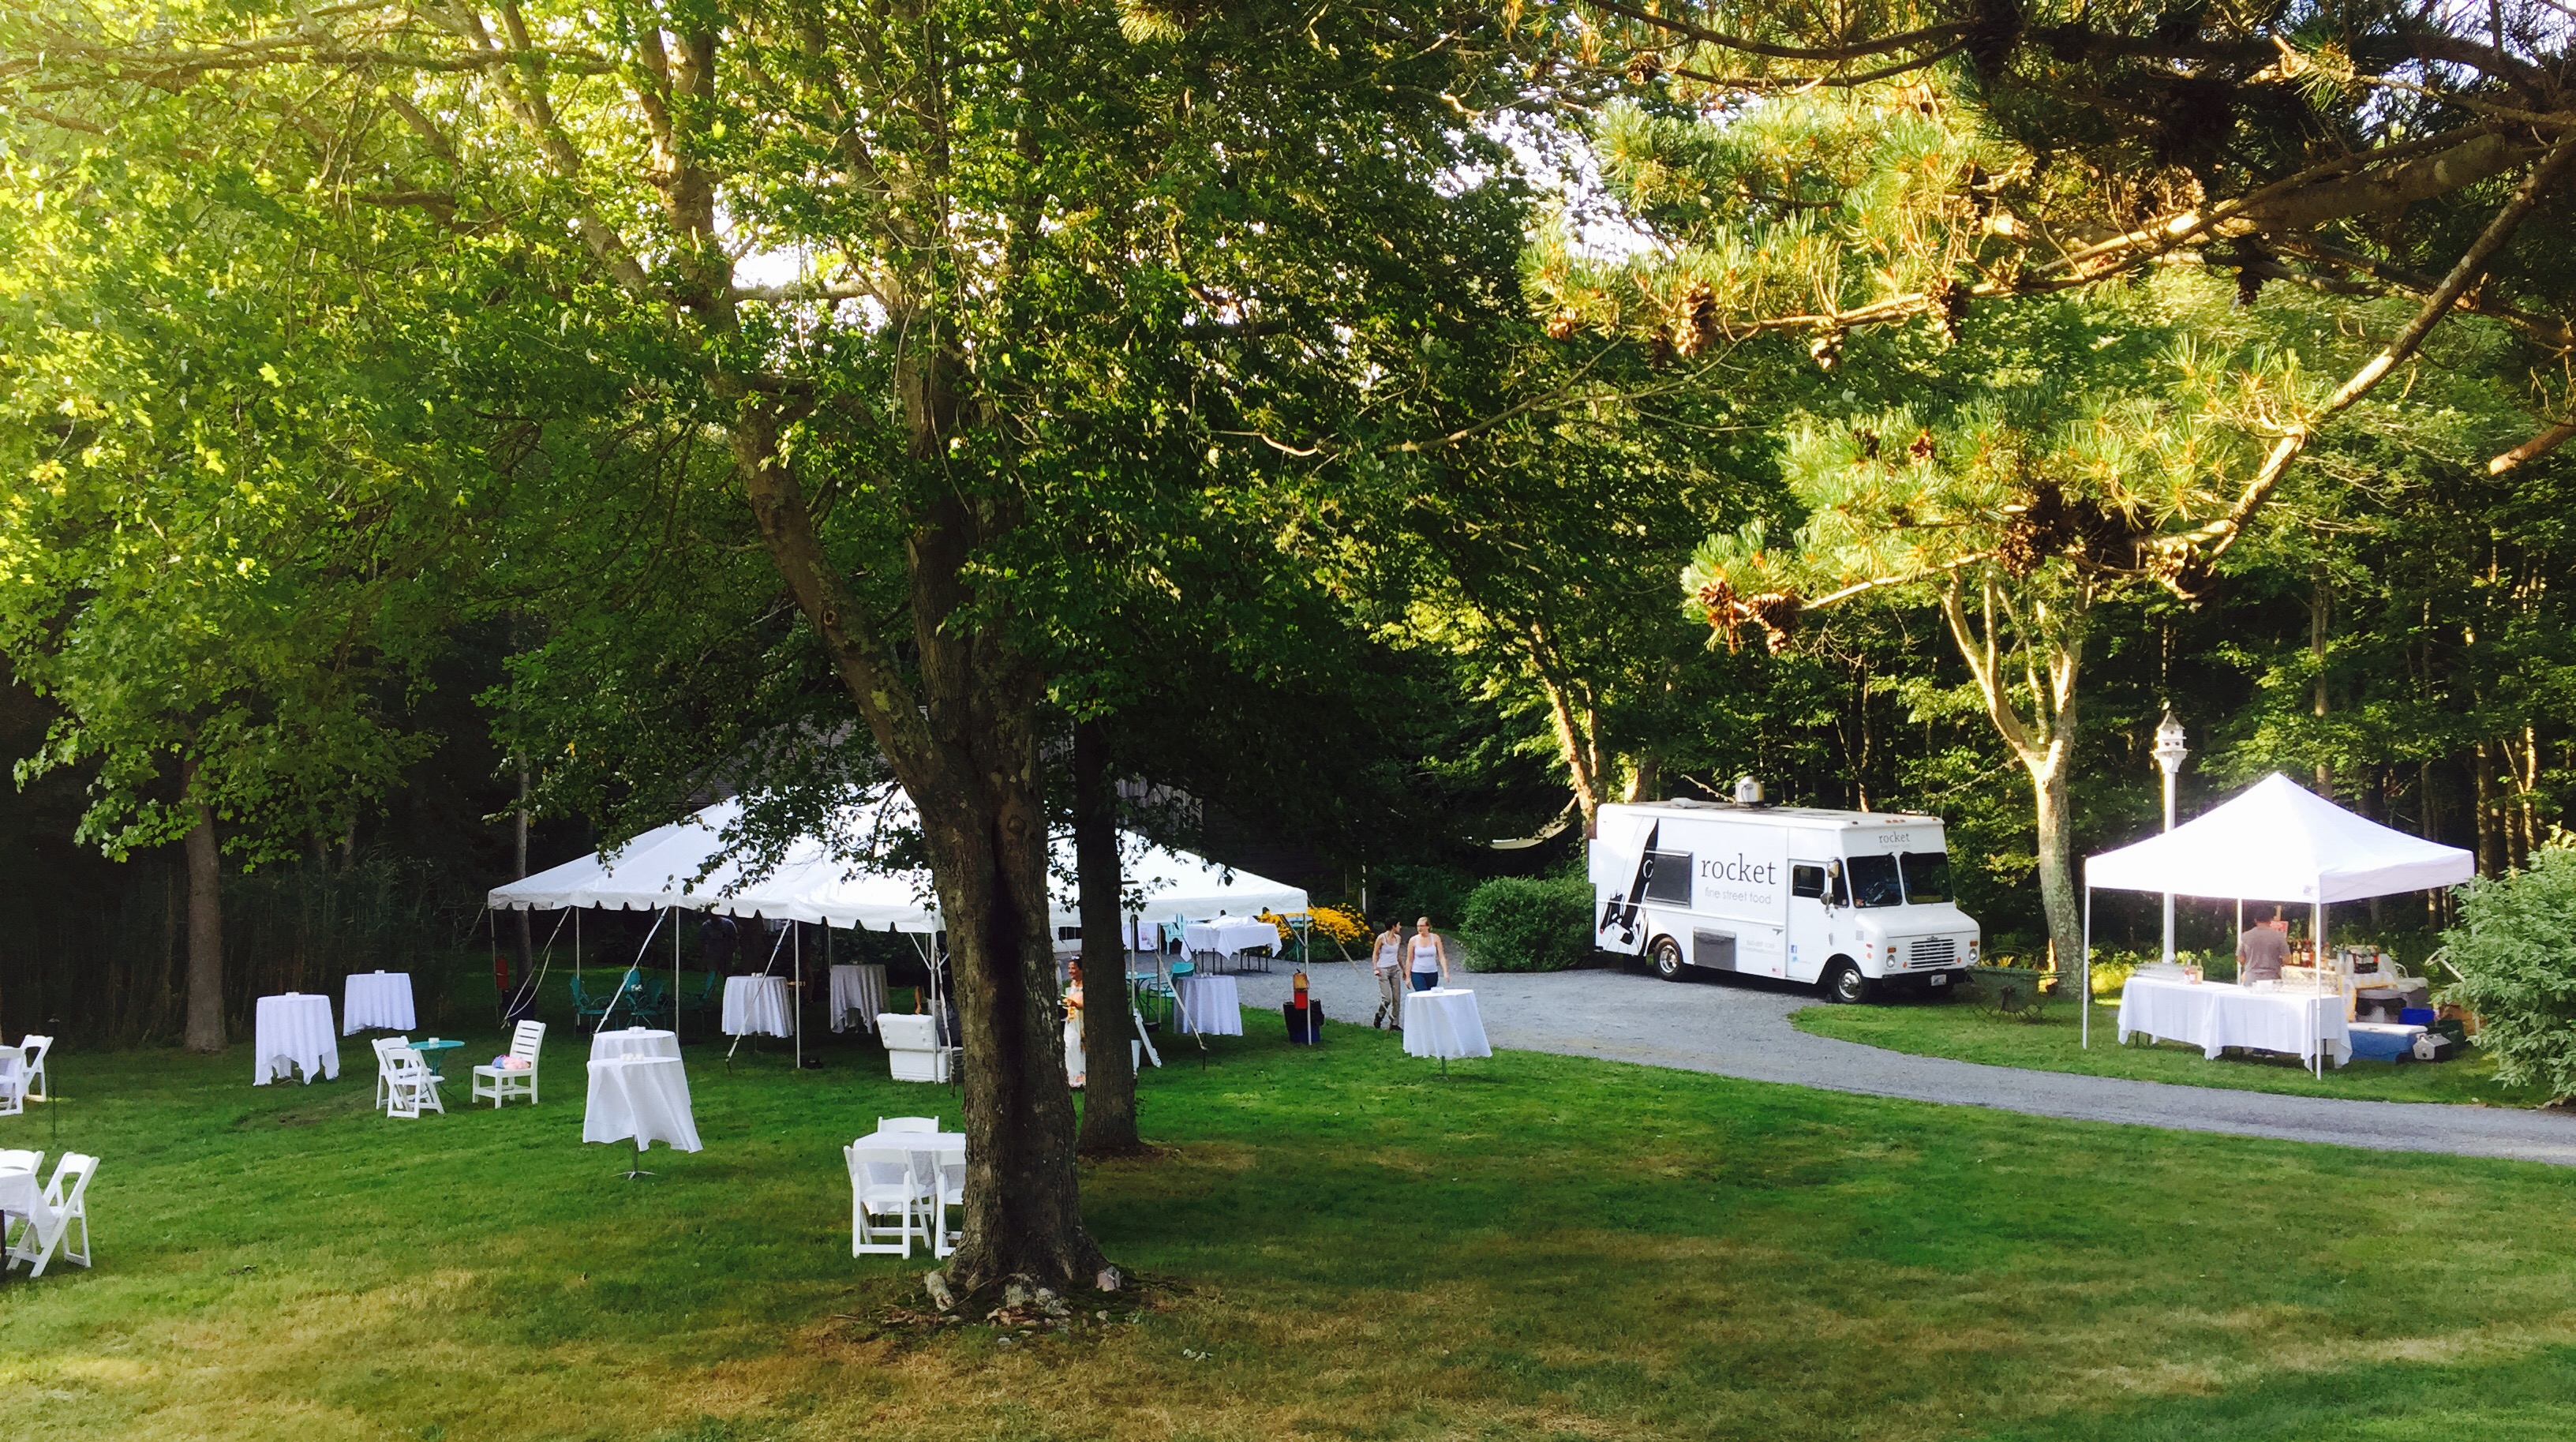
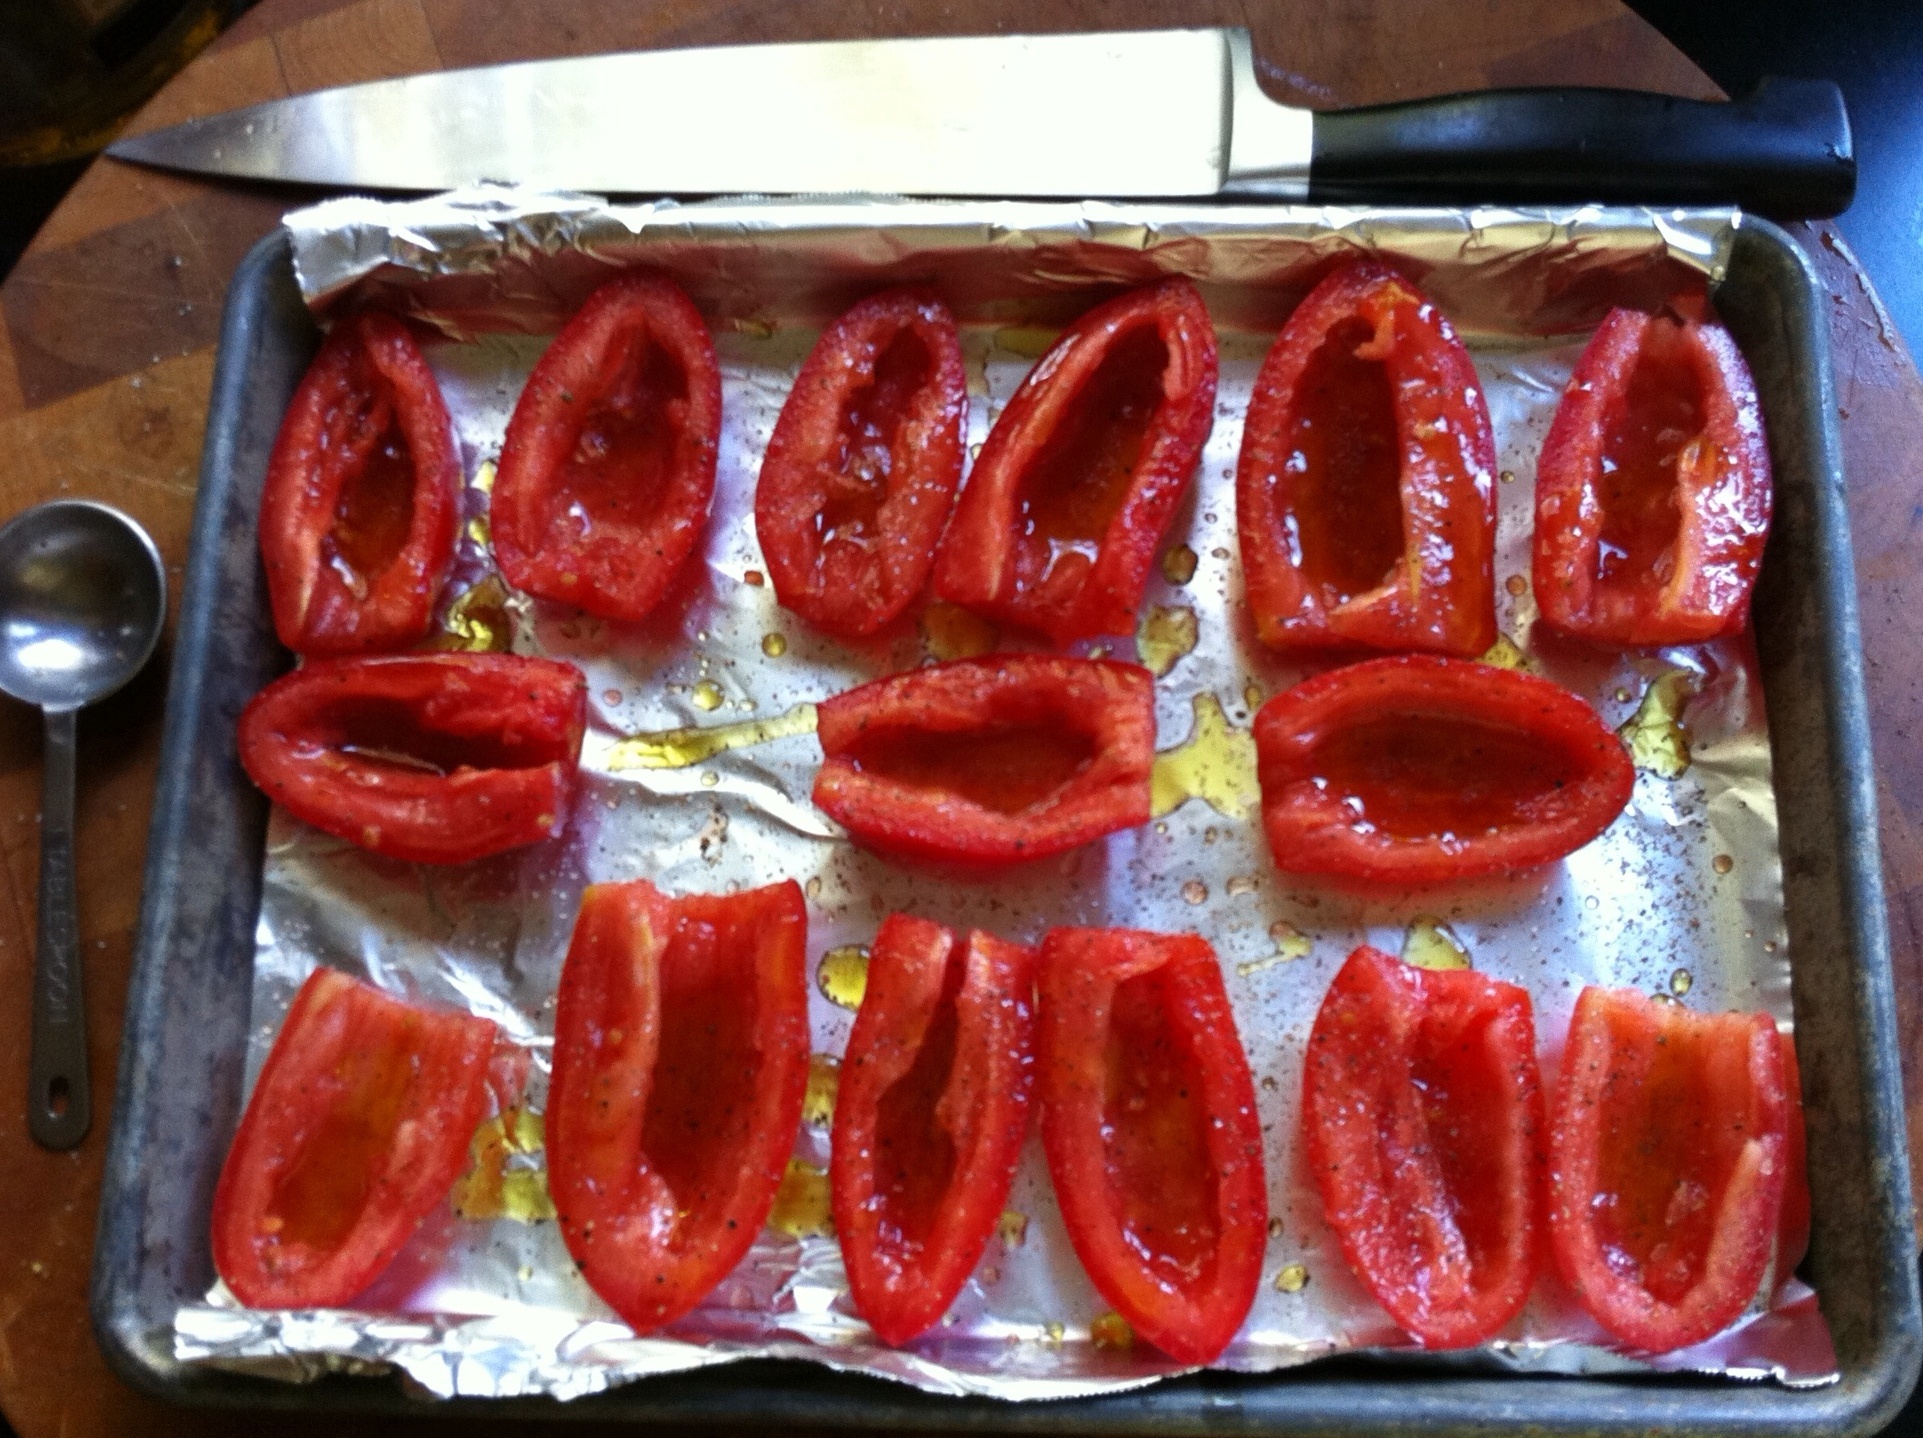
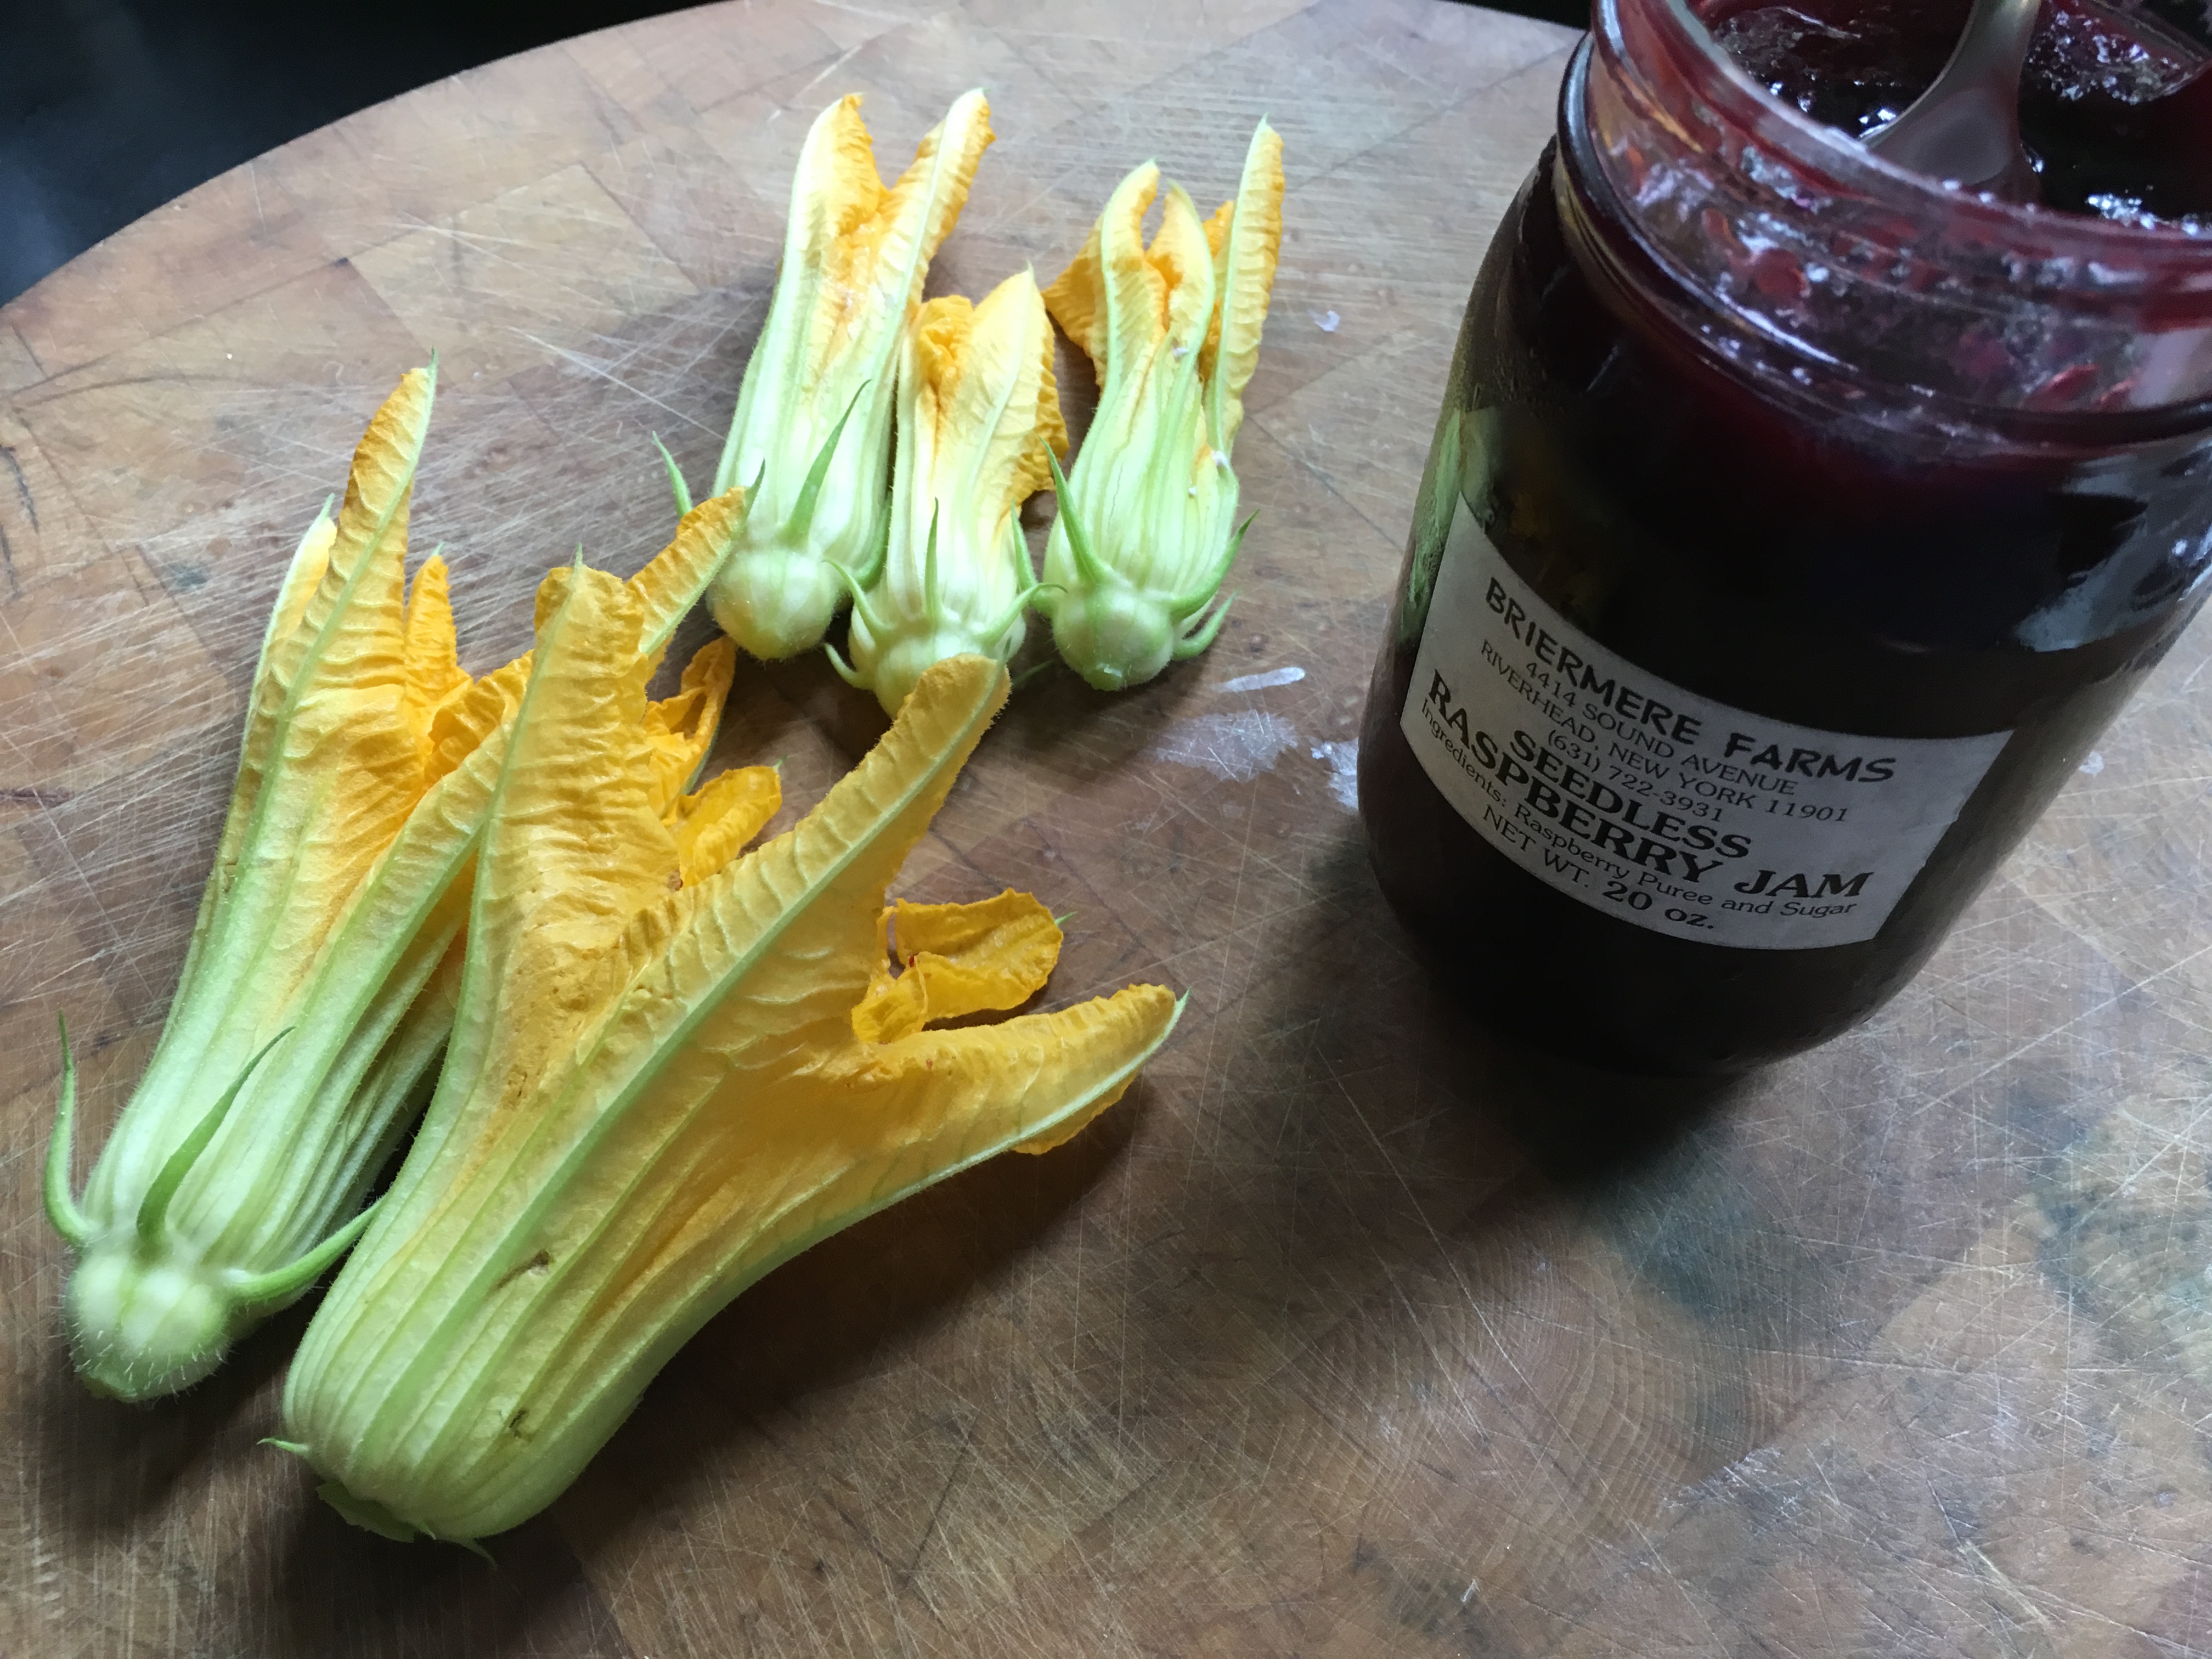
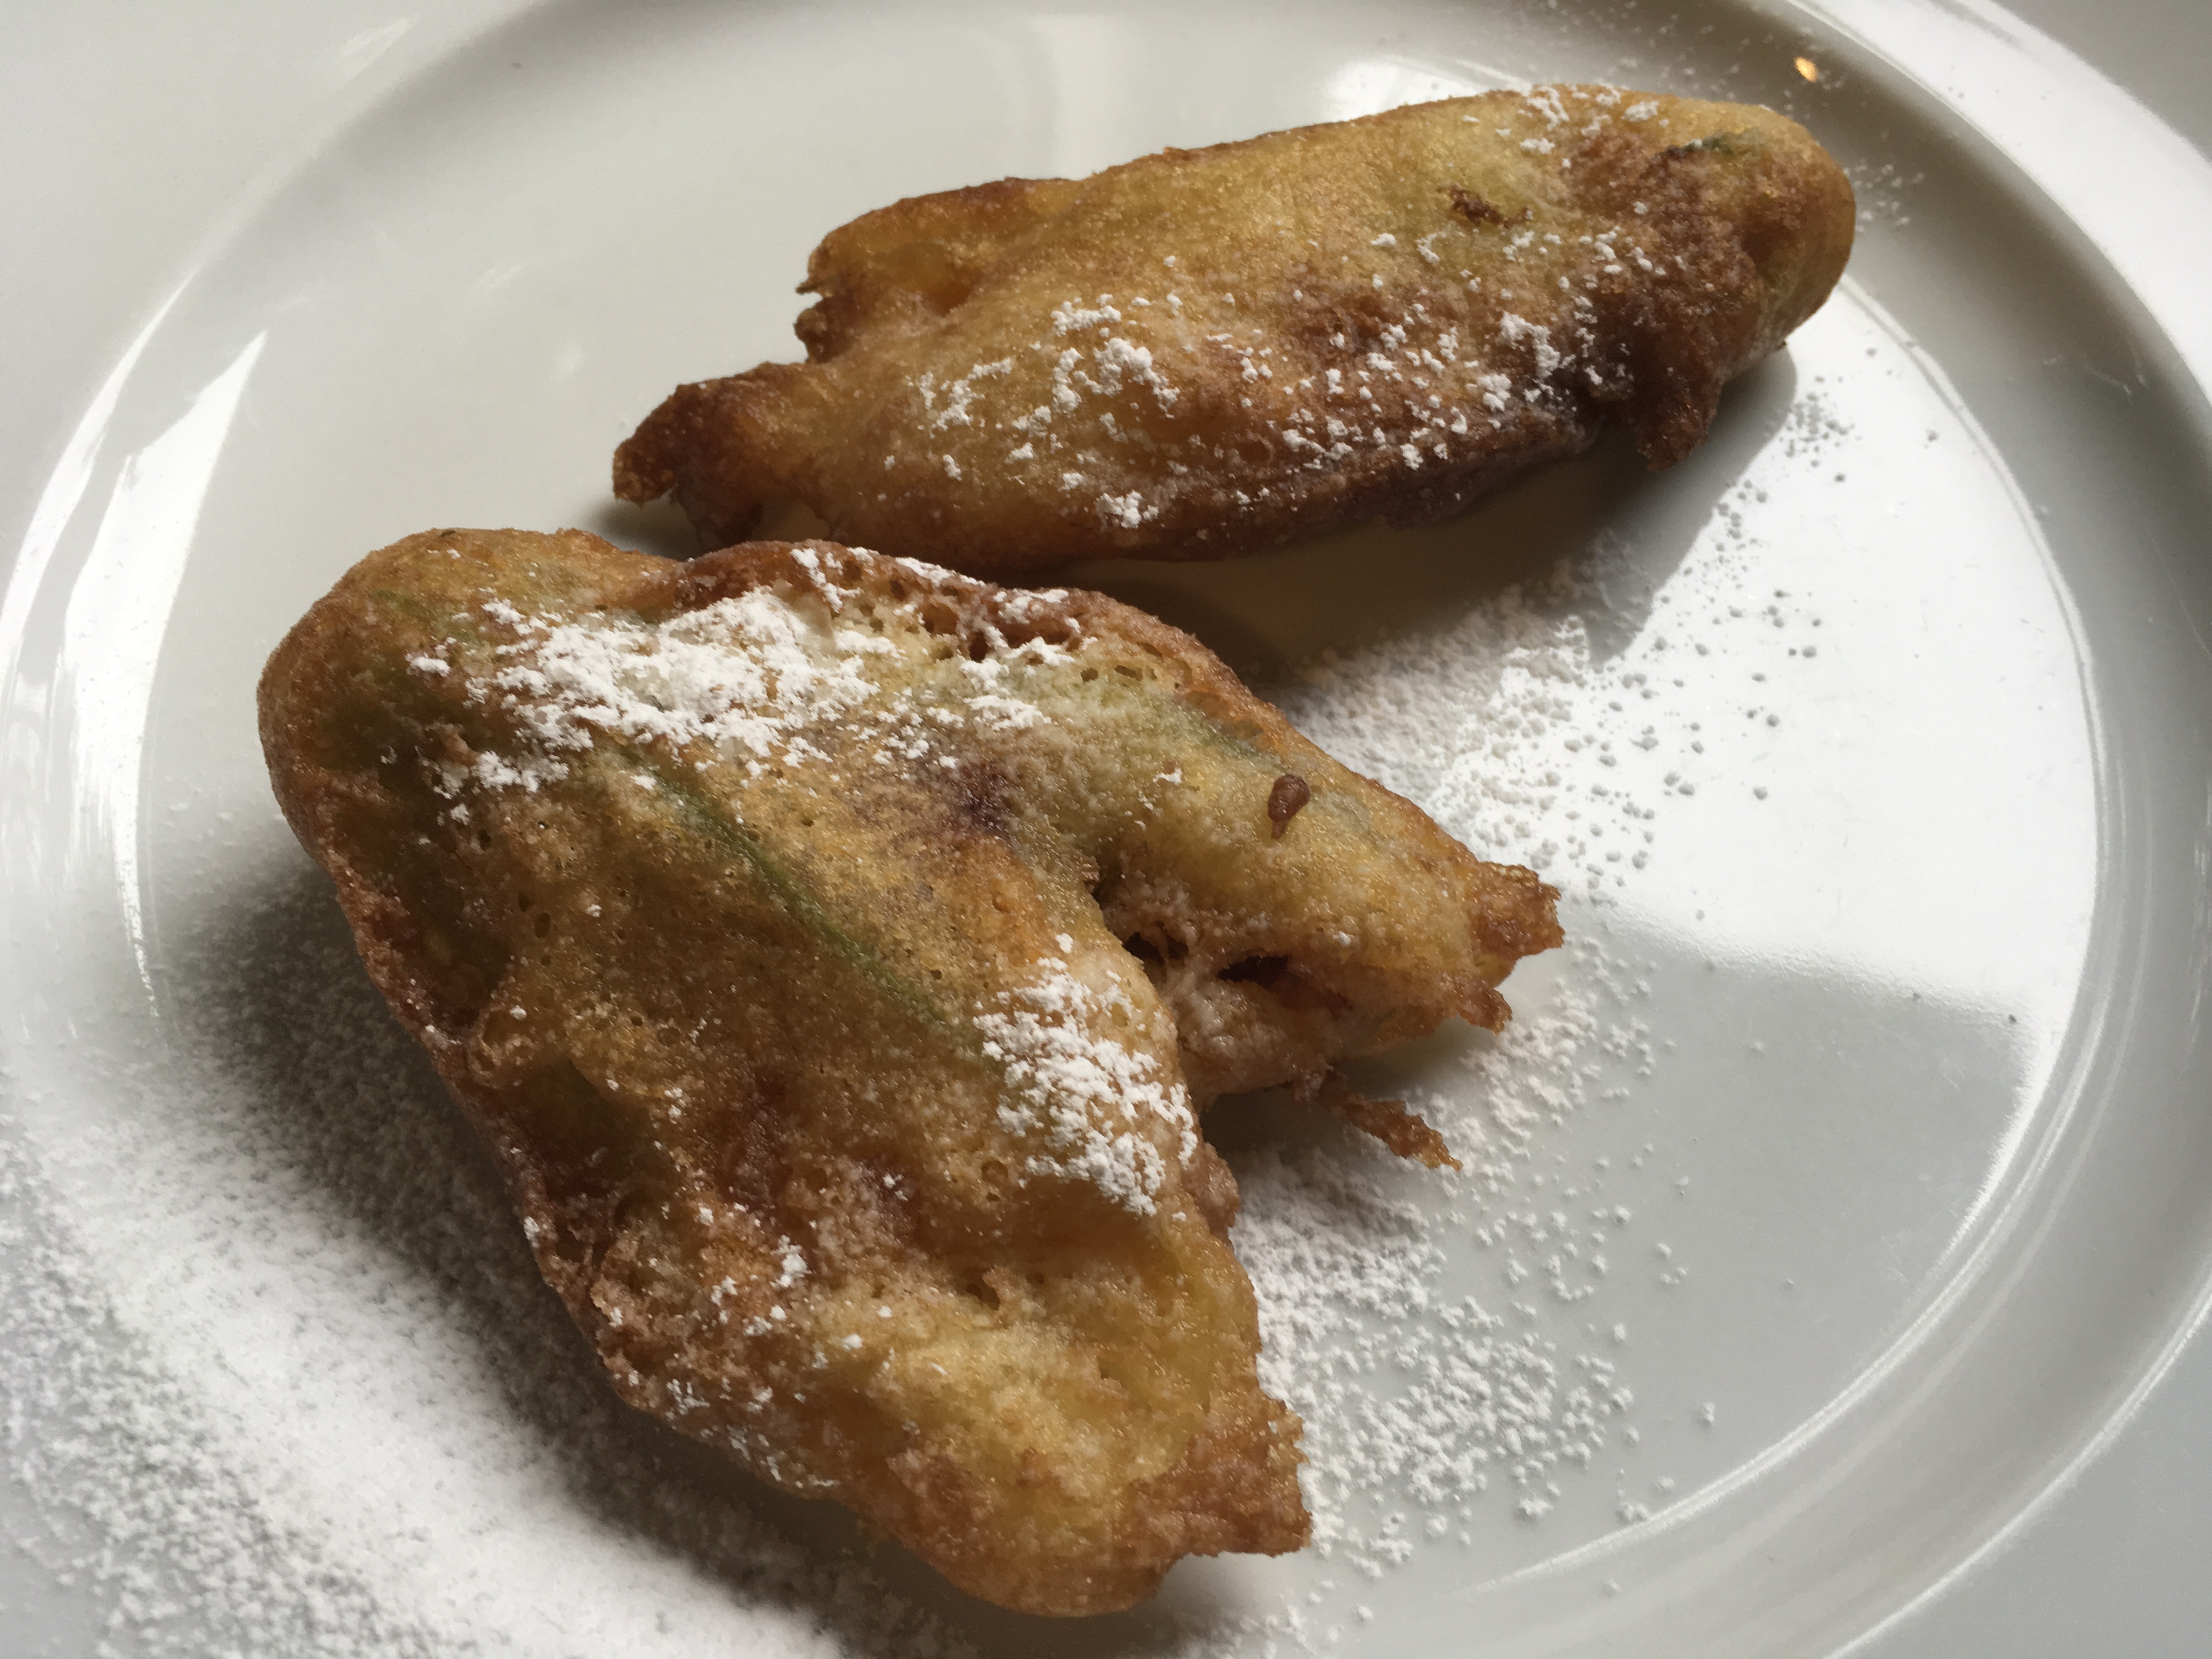
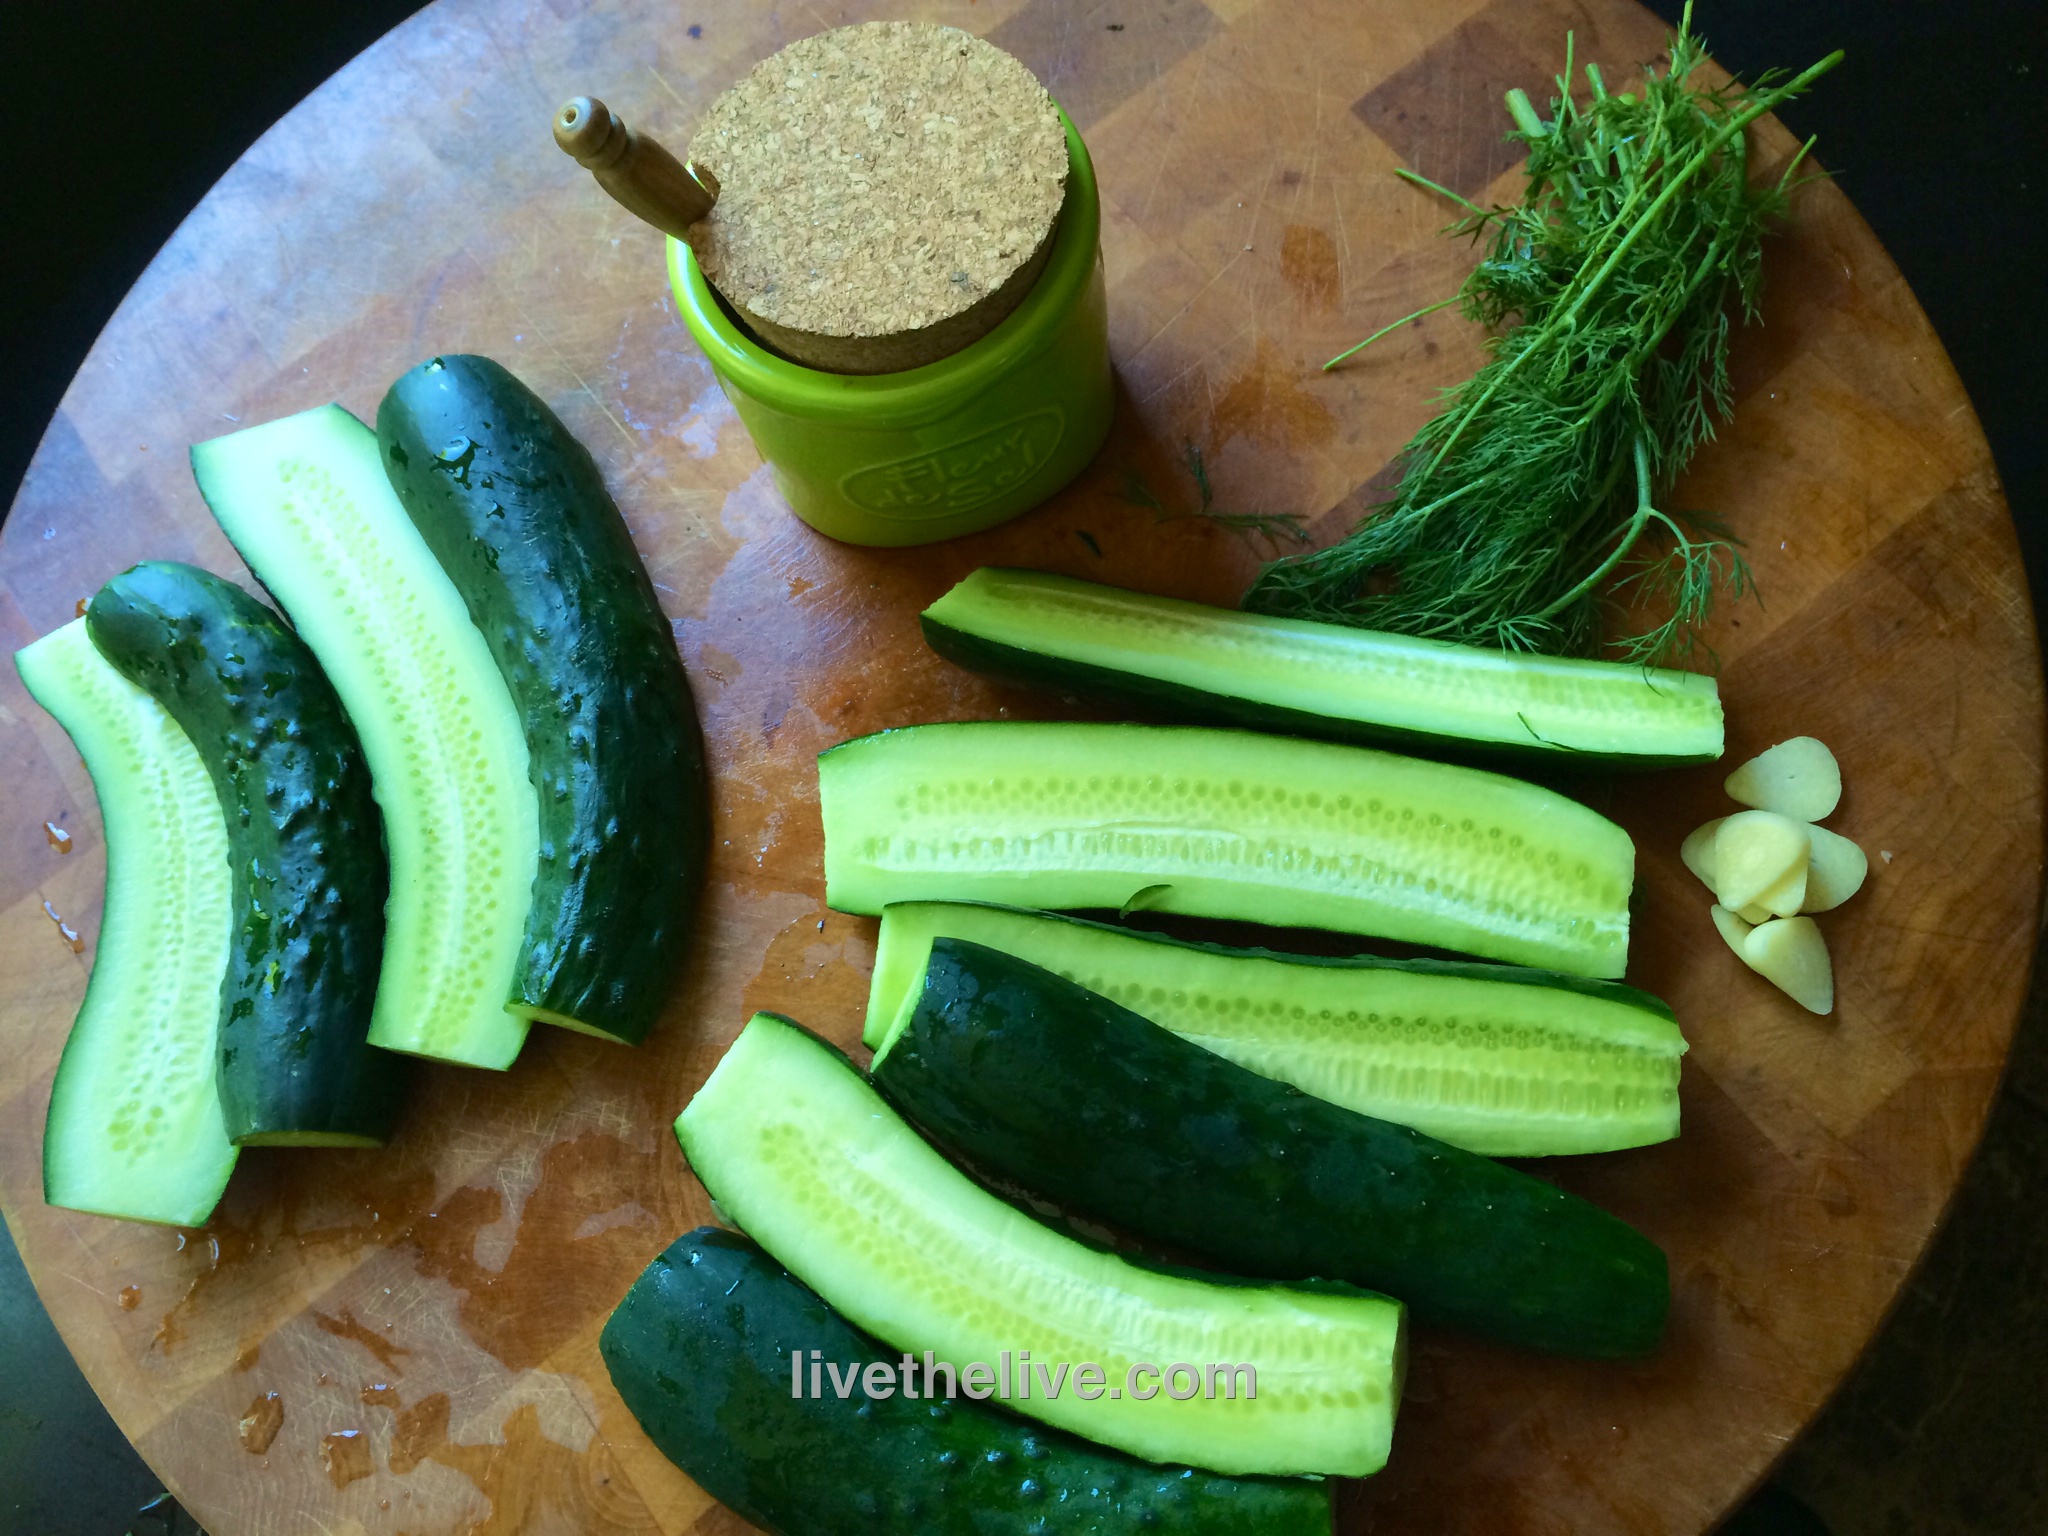
Pre-party prep!

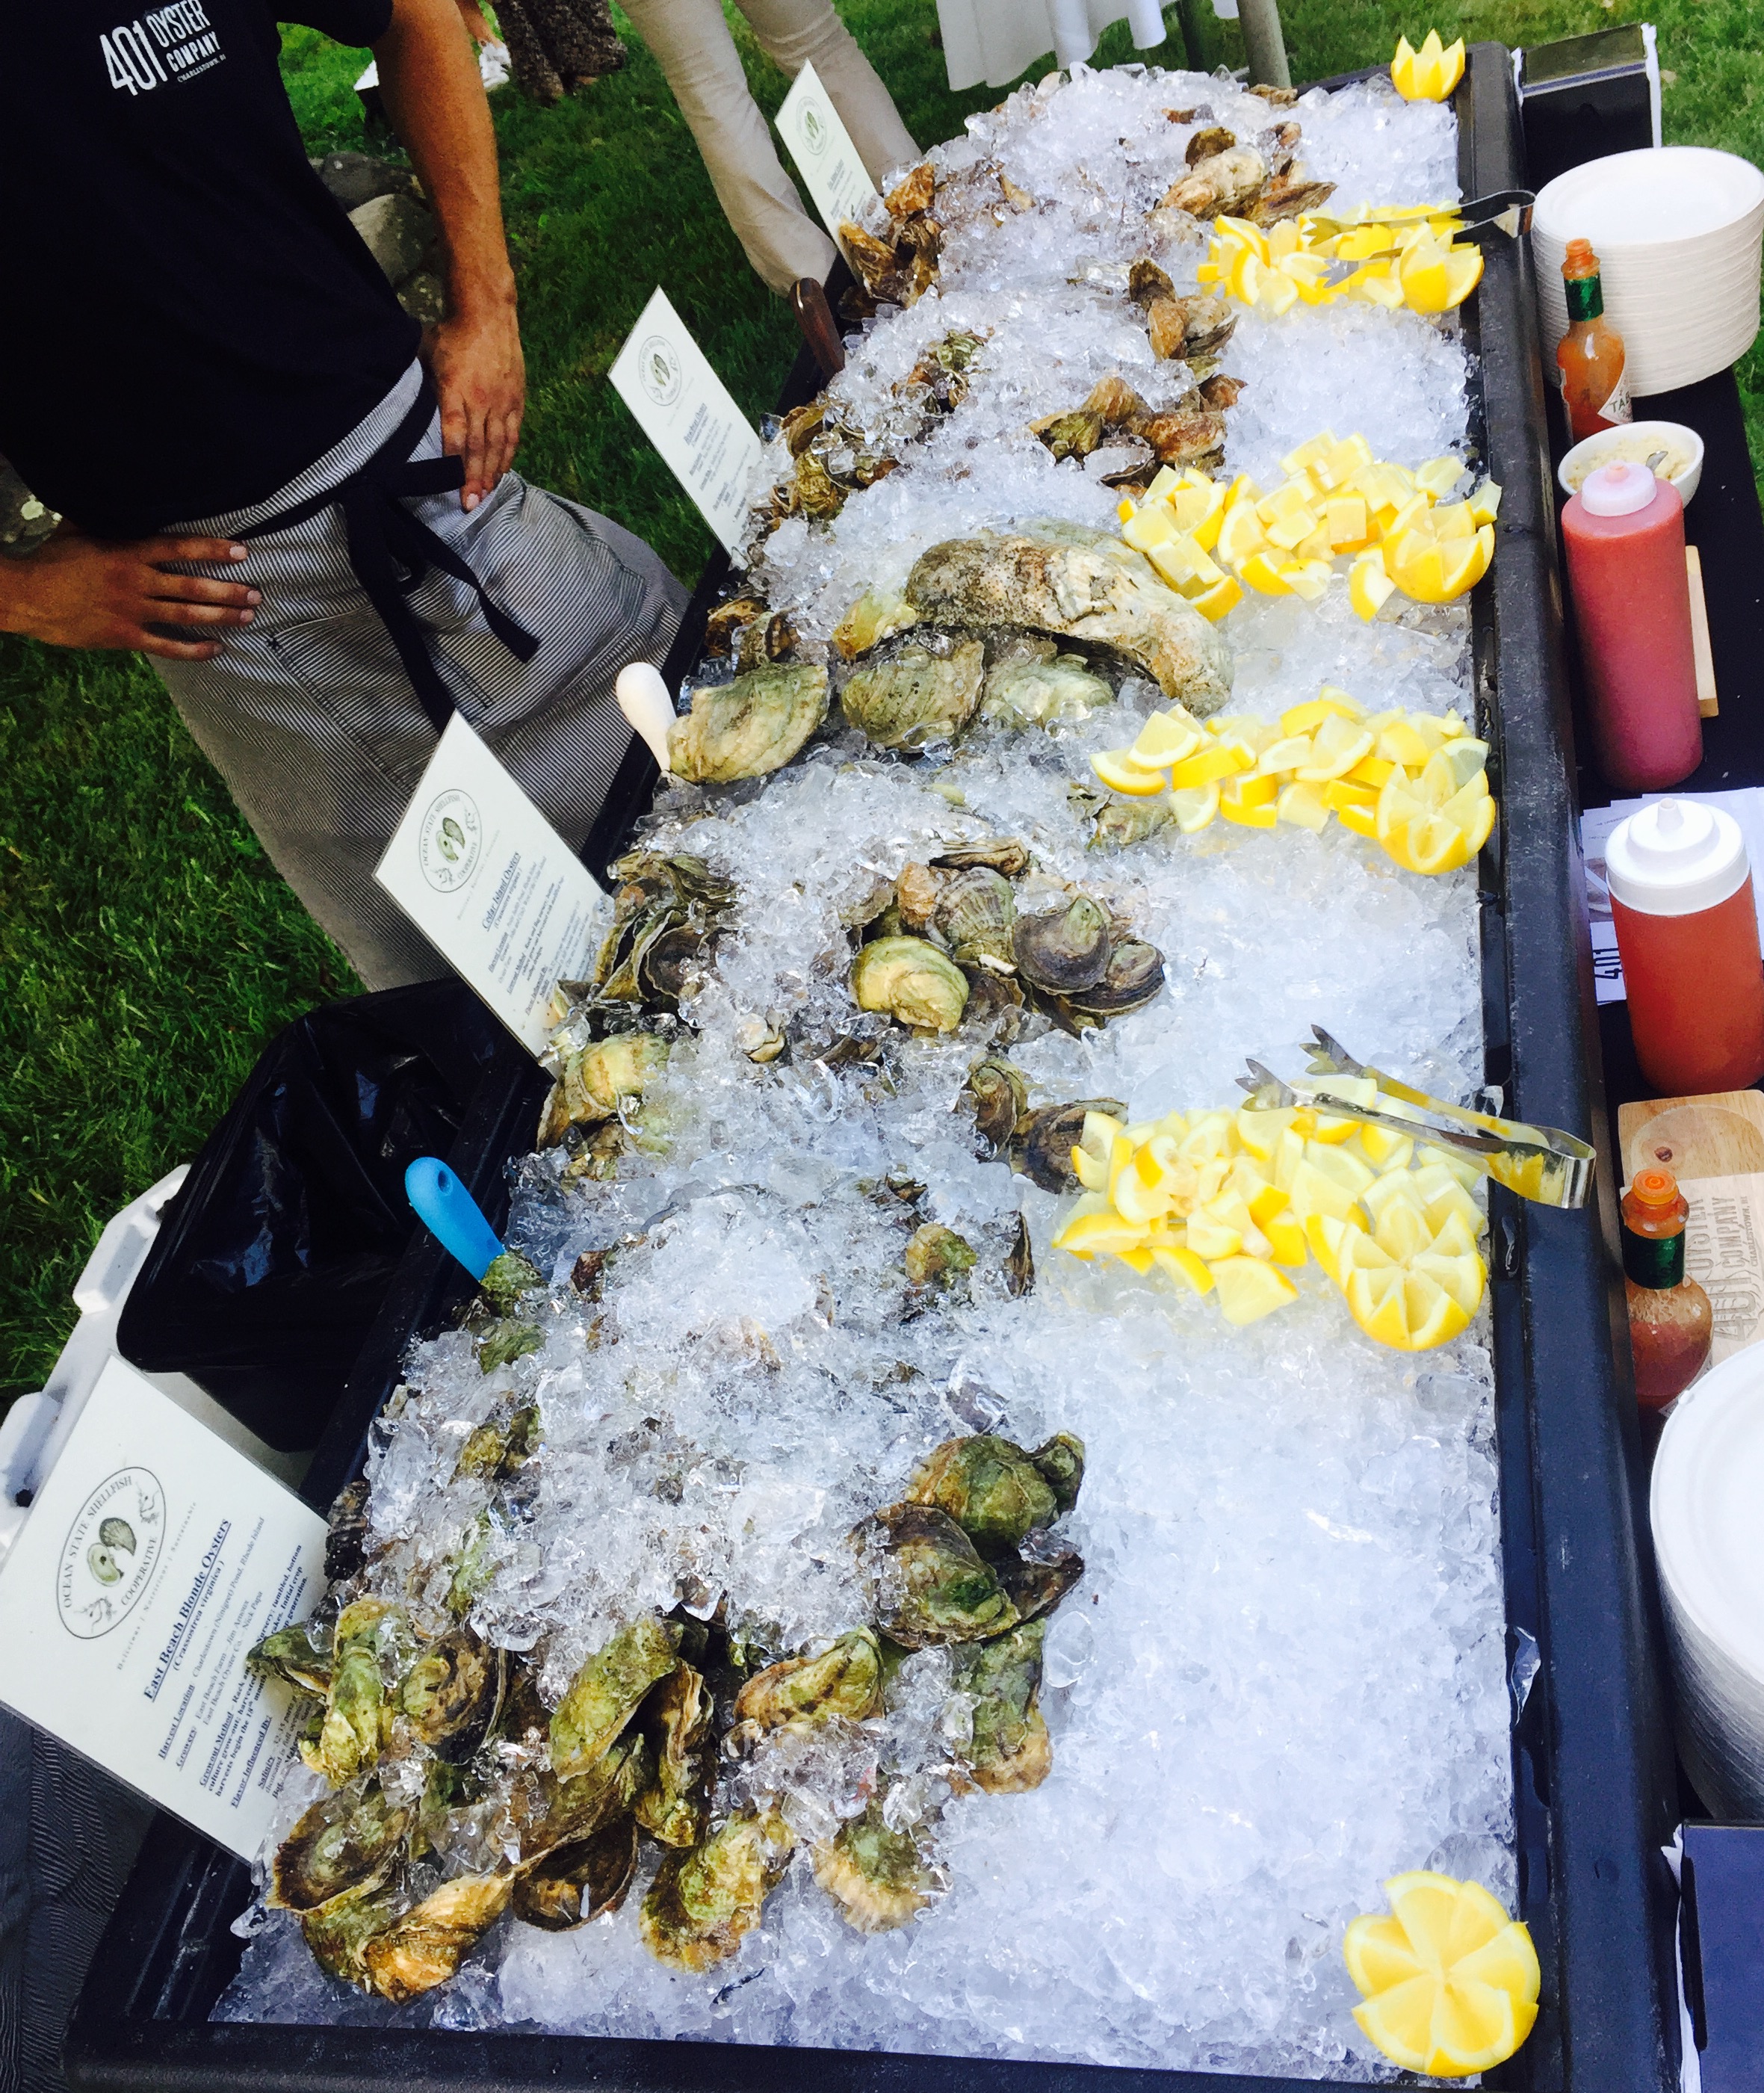
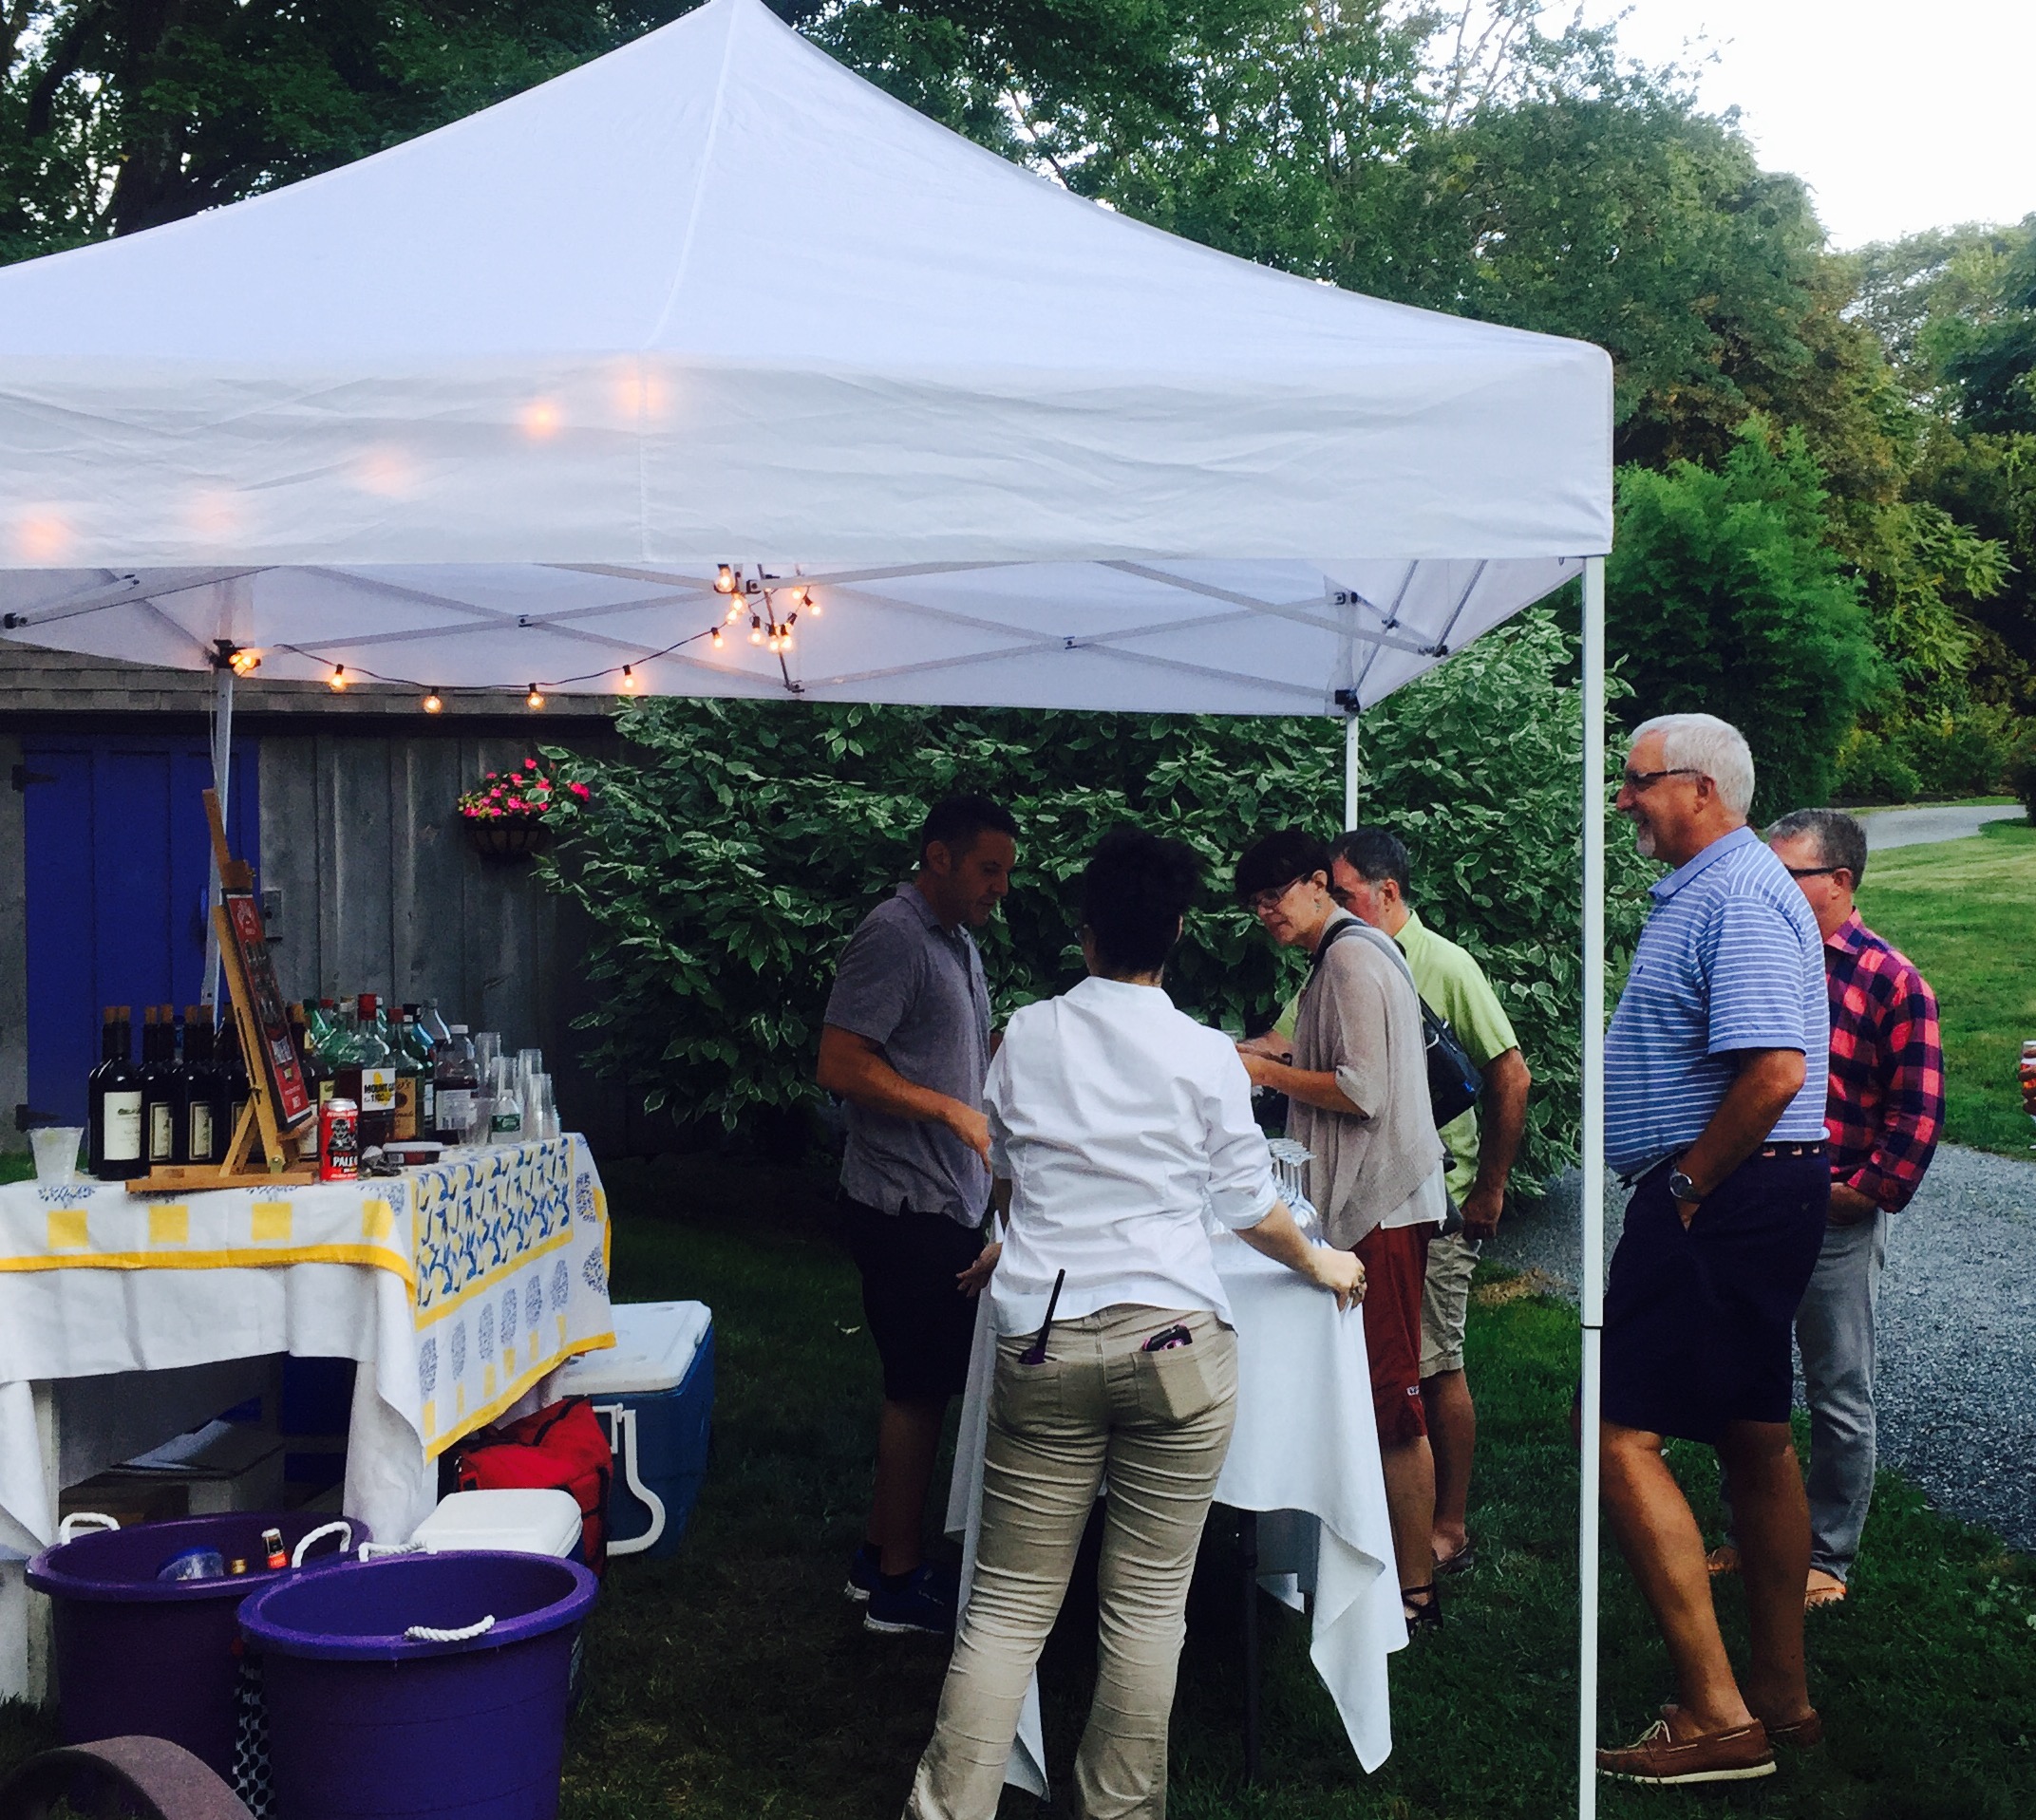
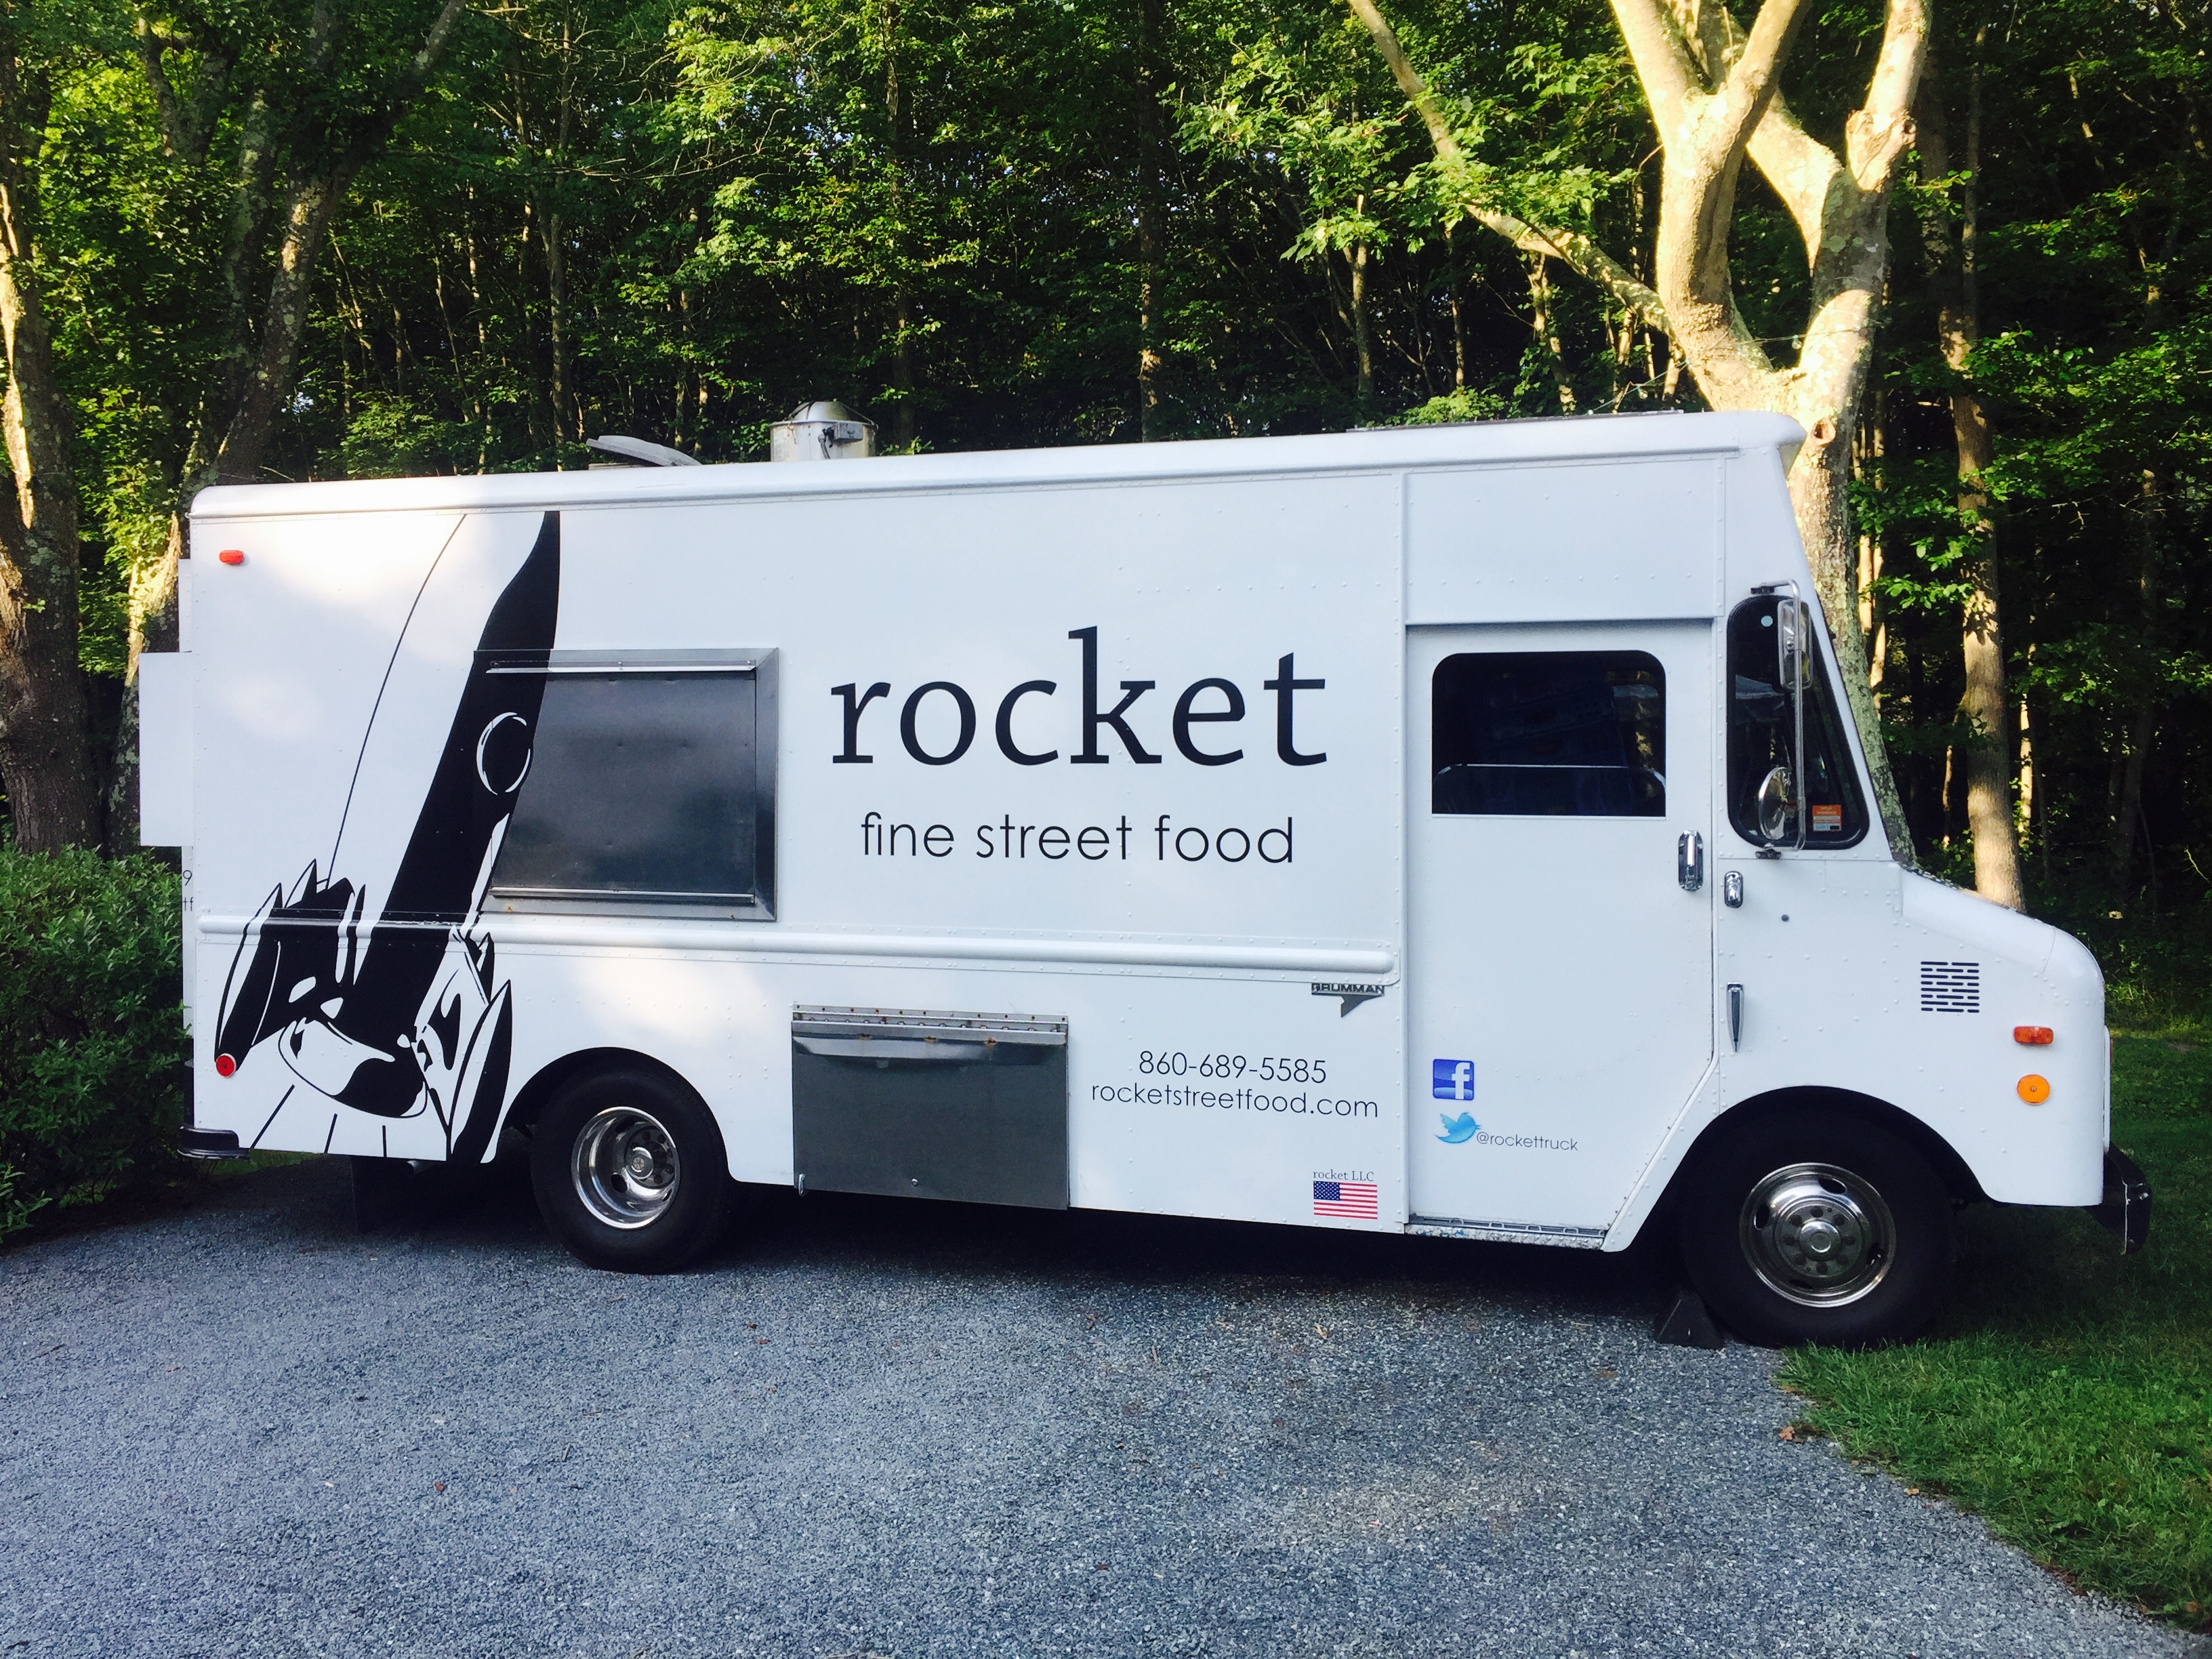
We went all-out this time, taking our “usual” 100-person summer party to the next level, renting a large tent and tables…hiring a staff to serve food and drinks and clear the tables and park cars…hiring a bartender…enlisting the culinary services of Rocket Fine Street Food of Providence and bringing in the best shucking oysters in Rhode Island with 401 Catering and Events.

Unlike past years, where I would spend all day cooking a few appetizers and ran around cleaning the yard all night–barely chatting with the very friends I’ve invited–this time, we coughed up the extra cash to hire people to do the work, allowing us to actually be part of the party!

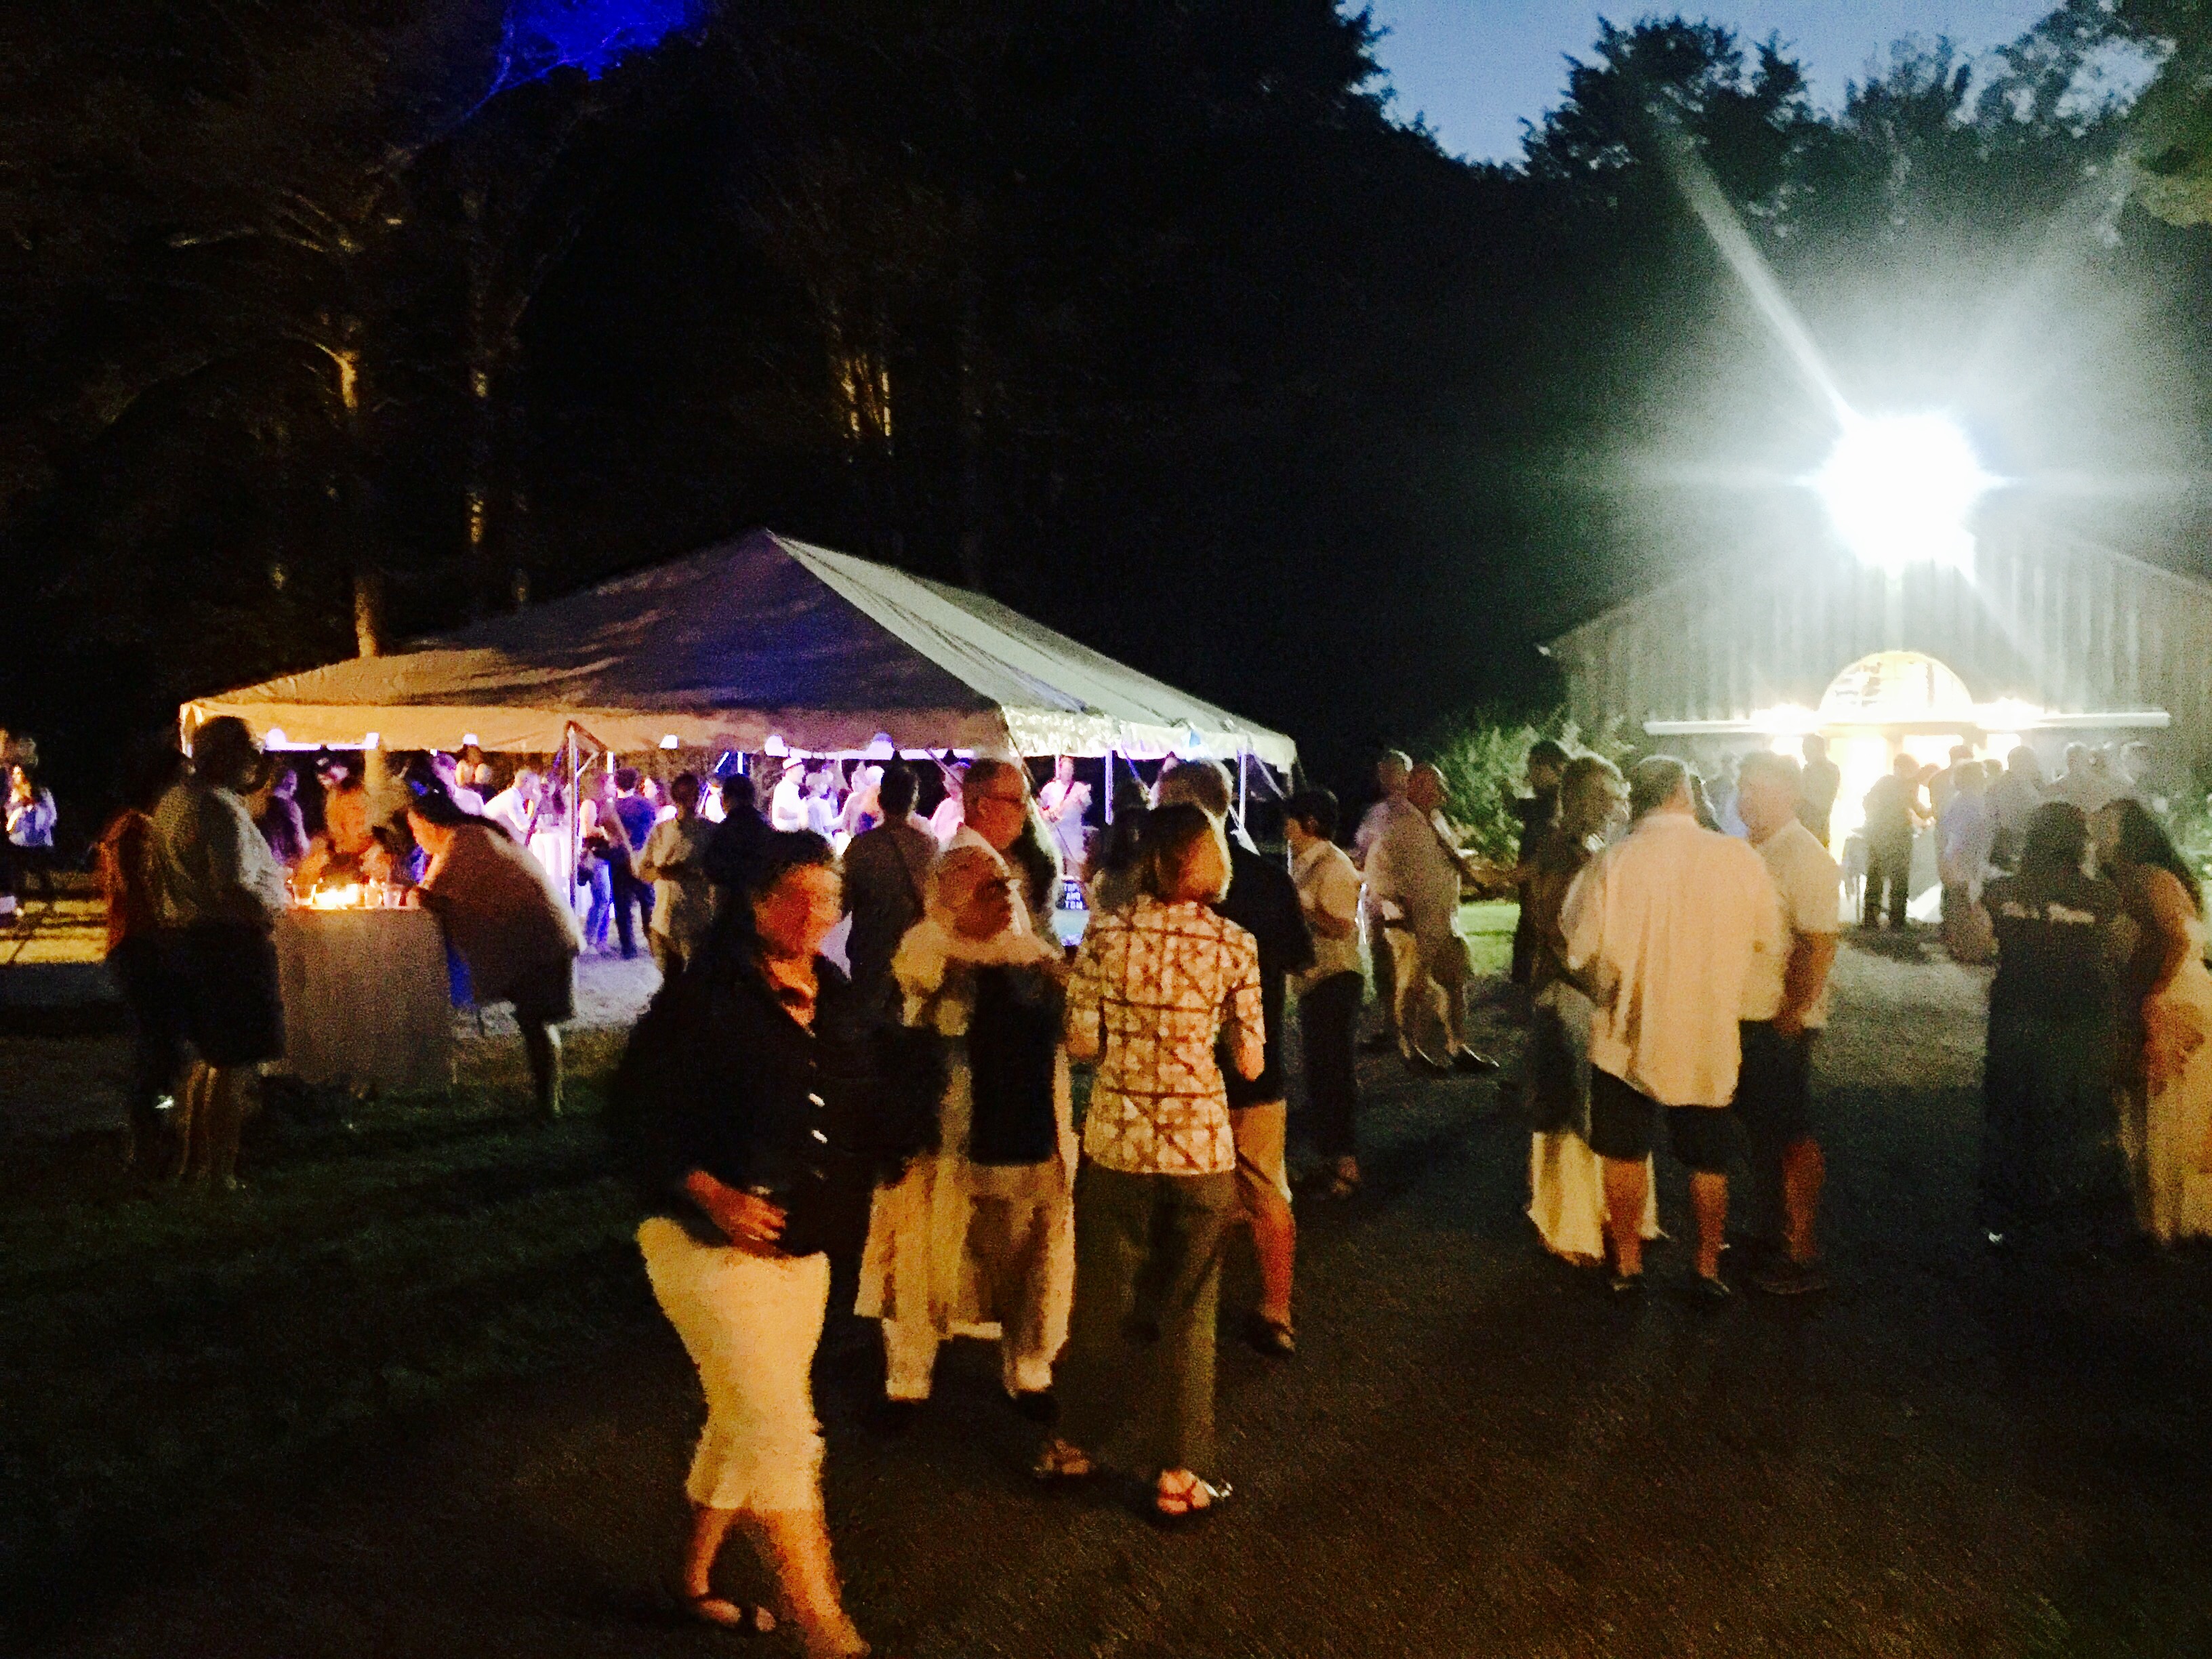
What a fun night! Great food and drink…great friends.

If you’re in Providence, look for the Rocket truck! Go to their website (www.rocketstreetfood.com) and check out where they’ll be on their calendar. It’s worth the effort.

If you’ve got a big event, and are looking for the best Rhode Island oysters, go with the guys that supply the best east coast restaurants with the best the Ocean State has to offer. No gig is too big! Max, Brian and their staff are professional and truly some of the nicest guys you’ll ever meet. and they’re passionate about the quality of their oysters! Start here: www.401catering.com.


The definition of a consomme is: “a clear soup made with concentrated stock.” I might add “mind-blowing” to that sentence, especially with this recipe. The key to success– and this is crucial–is to use absolutely garden-fresh, in-season ingredients. If you try this with greenhouse or supermarket tomatoes, you’re just wasting your time.

FullSizeRender (9)

4 1/2 lbs. of fresh garden tomatoes (my favorite is the heirloom: Brandywine)
1 large bunch of fresh basil, leaves and stems
1 2-inch piece of fresh horseradish, peeled
1 clove of garlic, peeled
1 tablespoon white wine vinegar (I use Alessi)
2 oz. vodka (I use Tito’s)
sea salt and pepper


Remove the core of the tomatoes, but leave everything else, including seeds and skin.

Put all the tomatoes, basil, horseradish, garlic, vinegar and vodka in a blender or food processor. You might need to do this in batches if your equipment can’t handle it all.

Process until you get a kind of slush.

Line a mixing bowl with a double layer of cheesecloth and pour the tomato slush mixture into it. Gather up the corners of the cheesecloth carefully, and tie them securely so you can lift the bundle up by the knot. Hang the bundle from a hook over a clean bowl in the fridge so that it catches the liquid that drips out, and leave the whole thing in there overnight. The liquid that drips out will be clear. (You can place an optional slice of beet in the bowl to add color, but I choose not to, because I think it changes the flavor.)

Cheesecloth bundle dripping overnight in the fridge.

Cheesecloth bundle dripping overnight in the fridge.

To serve, chill bowls (or in this case: the sipping glasses) in the fridge. When ready to serve, ladle out the consomme and garnish with a tiny basil leaf. A drop of excellent quality olive oil is optional.

Synthetic cheesecloth apparatus. The real thing works better.

Synthetic cheesecloth apparatus. The real thing works better.


I tried using a synthetic cheesecloth for this recipe, and I found that it doesn’t filter out enough of the solids to make a clear consomme. You could use it along with real cheesecloth, just to use the stand, or just hang it all in real cheesecloth, as described in this recipe.

Now’s the time to head to your local farm stand and pick up a bag of gorgeous plum tomatoes, before the season is gone! And this is what you do with them…

These are not sun-dried tomatoes. They’re better, because fresh plum tomatoes are still moist after roasting, with a bit of that magic tomato liquid in every cup! A great, simple platter to offer at parties.

Tomatoes before

Tomatoes before

12 to 18 halved, seeded plum tomatoes
1/4 cup extra virgin olive oil
2 tablespoons organic cane sugar
Freshly ground pepper
Fleur de Sel or sea salt

Pre-heat the oven to 250.

Line a baking sheet with foil and rub it lightly with olive oil.

Arrange halved and seeded tomatoes on it in a single layer, cut side up. Drizzle evenly with 1/4 cup olive oil, sprinkle with 2 tablespoons sugar, and season with pepper to taste.

Bake the tomatoes until they are still juicy but slightly wrinkled, about 3 hours. Transfer to a platter and let cool slightly.

Just before serving, sprinkle tomatoes with Fleur de Sel, and garnish if you like, with chopped parsley leaves, mint leaves, or basil.

Tomatoes after

Tomatoes after

Just because you’ve got a garden full of fresh veggies, it doesn’t mean you have to gorge on nothing but salads! Sometimes, a refreshing cocktail is just what you need after a long day of yard work. This one fits the bill!


4 fresh cucumbers, peeled and seeded
Small ice cubes
1 cup loosely packed fresh mint leaves
2 teaspoons granulated organic cane sugar
3 tablespoons fresh lime juice
1/2 cup vodka (I like Tito’s)
1 oz. orange liqueur (I like Cointreau)


Peel and seed the cucumbers. Coarsely chop them and then purée in a food processor until smooth. Strain through a fine sieve, pressing the solids to extract as much liquid as possible. Or, if you have one, use a juicer. Set the cucumber juice aside.

To a large glass pitcher, add the mint leaves, sugar and lime juice. Muddle the ingredients so that the mint leaves release their oils. Add 3/4 cup (at least) of the cucumber juice. Add the vodka and Cointreau. Muddle again briefly.

Fill tall drinking glasses with ice cubes. Strain the cocktail into glasses. Garnish with a cucumber spear or mint.

I had a pound of leftover lobster meat (I know, I know…how could you ever have leftover lobster?!) So I wrapped it tightly and kept it frozen. When I had a craving for crab cakes, I figured I’d try my recipe out with lobster instead. So good, I sprained my arm patting myself on the back!

lobstercake2


1 lb. cooked lobster meat (thawed, if frozen)
1 cup mayo (I like Hellman’s)
1/4 cup Dijon mustard (I like Maille)
3/4 cup saltine crackers or oyster crackers
1 to 2 teaspoons Old Bay seasoning
Olive oil

In a bowl, combine the mayo, mustard and the Old Bay Seasoning.

Chop the lobster into small pieces and add it to the mayo/mustard mix.

Pulse the crackers in a food processor until it resembles oatmeal. Add it to the bowl and gently combine the ingredients.

Form small patties. I use either a small beef slider mold or the lid from a small mouth Mason jar. I won’t kid you: it gets messy, but it’s worth it! Place the patties on a sheet pan lined with Reynold’s non-stick aluminum foil.

Place the sheet pan in the freezer for about 15 minutes to stiffen up the patties.

Heat some olive oil in a pan. Cook the patties on both sides until golden brown.

lobstercake1

I’ve seen a lot of recipes lately that feature barbecue sauces made with berries. I’m a fan of a sweeter barbecue sauce, so this was right up my alley! The first time I made it, I didn’t have any chicken or beef stock on hand, so I used veal bone broth, which was pretty intense. The flavor of the sauce was delicious, but a lighter stock allows the flavor of the berry flavor to come through better.

Edible art!


12 oz. jar of blackberry preserves
1 cup chicken or beef stock
1/2 cup ketchup
1/4 cup turbinado sugar
juice of 1/2 large lemon (or 1 small lemon)
2 tablespoons apple cider vinegar


Cooking ribs is a low and slow process, so start by cooking the ribs in a smoker at 250 degrees for about 4 hours. I like to use hickory wood when smoking pork. If you don’t have a smoker handy, you can simply place the ribs on a sheet pan in a 250-degree oven and bake for 4 hours.

While the ribs are cooking, combine all the ingredients in a sauce pan. Heat to a boil, then reduce it to a simmer and cook it for about 20 minutes, until slightly thickened.

After the ribs cook for 4 hours, baste them on both sides with the sauce, and wrap them in aluminum foil. Bake them in the foil–still at 250–for another hour.


Remember when the only sugar substitute available was saccharin? Those pink packets of Sweet ‘n’ Low were on every diner table…your only choice other than sugar…and the sweet ingredient in the world’s first diet soda: TAB.
sweeteners
It was a long time before another sweetener came along, and in the beginning, we all thought Nutrasweet was the answer to our prayers. Sales of Nutrasweet skyrocketed, and one of the most interesting facts to come out of that time was that despite Nutrasweet’s amazing sales, sales of sugar remained steady. People were buying Nutrasweet to make things even sweeter, without the guilt of sugar! Equal is the brand name for Nutrasweet, the artificial sweetener that contains aspartame. Aspartame can cause seizures in some people, namely phenylketonurics, and they’re being told to avoid it. It also has an overly-sweet unnatural taste.
Enter Splenda,  the brand name for sucralose, in the yellow packets. Sucralose is a sugar alcohol. It does not affect your blood sugar and it has no calories. But sucralose is not a natural product: it’s a total guys-in-white-lab-coats creation. Almost no aftertaste, but now there are claims that Splenda alters and even kills important flora in your gut.
OK, so how about that cute little Stevia leaf? The sweetener in the Stevia leaf is natural, and marketing makes it seem like it’s the only ingredient in products like Truvia. But the fact is that the Stevia extract is extremely potent, so they use a very small amount of it.  So to “bulk it up,” they add erythritol, which is another sugar alcohol. The only good thing about this is that erythritol is indeed naturally occurring, so Truvia can rightly claim to be a “natural” sweetener.
Sweetleaf, besides being a song by Black Sabbathis another all-natural sweetener that combines the extract of the Stevia leaf with a soluble vegetable fiber called inulin. Sweetleaf has zero calories and does not affect blood sugar.
But the inulin left a real nasty aftertaste that had me throwing a boxful of packets into the trash after one sip.
 
Sugar itself is not evil, and most people who watch what they eat can probably use it. But if you’re diabetic…or if you guzzle sodas, juices, and sports drinks…and eat packaged and processed foods that have tons of hidden sugar (aka high fructose corn syrup)…a sugar substitute may be a good move.
 

Generally speaking, I’m not a fan of many gluten-free desserts or snacks. They claim to be healthy by avoiding wheat, but then compensate for the lack of flavor and texture by overloading with bad fats, salt and sugar. This brownie/cake combo is the exception. It’s full of great flavor, which make me happy, and is gluten-free thanks to ground hazelnuts, which makes my wife (on a GF diet) happy.

When buying hazelnuts, the most important thing to remember is that the nuts are raw and of the best quality you can find. No surprise: Amazon is a great source for that.

image

9 oz. ground hazelnuts
5 1/2 oz. (2/3 cup) sugar
4 oz. (1 stick) unsalted butter
4 eggs
1 oz. cocoa powder
1 tablespoon baking powder
A double-batch bakes a bundt pan perfectly. Make extra: it freezes well!

A double-batch bakes a bundt pan perfectly. Make extra: it freezes well!


Pour the hazelnuts into a food processor and grind them as fine as you can. It won’t be powdery, like flour, but like tiny particles. Dump them into a separate bowl.

Back in the food processor bowl, add the sugar and butter and pulse until combined.  Crack the eggs in a separate bowl, and add them slowly to the sugar and butter, pulsing to mix in between each addition.

Pour the ground hazelnuts into the mixture a little at a time, pulsing after each addition. Add the cocoa powder and baking powder, straining them through a sieve to keep out lumps, and pulse again. Scrape down the sides of the bowl and give it all one last mix.

Pour the batter into a buttered pan and cook at 350 for 30 minutes. Use a deeper pan so that the brownies don’t overflow as they rise while baking.


I grow several varieties of squash and pumpkins in my garden every year, so I’ve got an overload of blossoms. But it was only recently, after my daughter had a taste of fried squash blossoms at a favorite restaurant, Plum Point Bistro in Saunderstown, RI, did she start asking me to prepare them at home.

At the restaurant, we were served a savory version, the blossoms stuffed with ricotta cheese, lightly battered, fried and served with a delicious tomato sauce.

At home, we went for a sweeter version for breakfast, using gluten-free pancake mix as the base, experimenting with two fillings: raspberry preserves or strawberry cream cheese.

Because we need to keep things gluten-free in our home, I simply followed the directions on the box of pancake mix, using fat-free milk instead of whole milk and a little less of the dry ingredients to make the batter thinner than I would use for regular pancakes. I use King Arthur Gluten-Free Pancake Mix, which requires adding an egg and melted butter to make a smooth, slightly sweet batter. I set that aside and let it rest for a few minutes.

Next, it’s off to the garden to snip a handful of squash blossoms. I prefer the ones that are open. They’re easier to stuff, but it’s also easier to spot the little critters that like to make themselves comfortable inside. I carefully snip the blossoms off the plant, then give them a light shake, which is enough to convince the bugs inside to fly out. It’s pretty cool to find a happy bee inside every blossom that I snip.


Other than making sure all foreign particles (and insects) have been removed from the blossoms, no other preparation is needed. I snip the stems right up to the blossom, and they’re ready to be stuffed.


Blossoms stuffed with strawberry cream cheese and the fantastic raspberry preserves from Briermere Farms on the North Fork of Long Island!


I heat a few inches of olive oil in a pan, then start the process: I stuff the blossoms, closing the flower petals around the stuffing, then carefully dip them in the pancake batter, and release them gently into the oil, flipping them as they fry, until they’re golden in color.


I drain them on paper towels, dust them with powdered sugar, and they’re ready to be enjoyed.


I don’t have the patience to boil Mason jars and lids and all that crap. But I love me my pickles, especially when this year’s garden is cranking out cucumbers in record numbers!

This is such an easy way to make great pickles, it’s almost unbelievable…and no water is needed! The salt extracts just enough moisture, like when curing meat, to make it work. This method works great if you want fresh pickles to eat immediately, but you’ll need to use the old-fashioned pickling methods if you want to keep them for longer periods of time.

pickles


6 fresh cucumbers
1 1/2 teaspoons sea salt (I like Fleur de Sel)
handful of fresh dill
1 clove garlic, thinly sliced


Get a large plastic bag.  Add the salt, dill and garlic and gently mix everything in the bag.

Cut the ends off the cucumbers and then slice them lengthwise, in half or in quarters. Add them to the bag and gently mix again, trying not to crush or squeeze the cucumbers.

Roll the plastic bag tightly, squeezing the air out of the bag, then zip it and place it in the fridge overnight. The pickles will be ready to eat the next day, but they’re even better after 48 hours.