Posts Tagged ‘GF’
HOME MADE BEEF AND VENISON JERKY
Posted: November 19, 2022 in beef, Carnivore!, Food, jerky, marinade, RecipesTags: beef, food, GF, gluten-free, jerky, marinade, recipes
1 tablespoon salt
LITHUANIAN KOLDUNAI (PIEROGIS)
Posted: January 28, 2022 in beef, Food, Recipes, UncategorizedTags: food, GF, gluten-free, koldunai, lithuanian, pierogi, recipes
Here’s the perfect food to make and eat during the big winter storm coming to our area in Southern New England this weekend…
I think I spent half of my childhood in the kitchen, watching my Mom and grandmother make koldūnai (kohl-doo-nayh), the Lithuanian version of a pierogi, by hand, at lightning speed. They would roll a simple dough into a log about 1″ in diameter, then cut it into 1″ pieces, twirling each piece between their fingers to make a flat pancake, filling each with a small spoonful of meat or mushrooms, then fold it over, crimping the edges to make a crescent-shaped dumpling. It blew my mind that they could crank out over a hundred of these little masterpieces in no time, placing them on a cookie sheet and freezing them until it was time to cook.
One of the main reasons why I prefer Lithuanian koldūnai over the basic Polish pierogi is the filling. For me, standard pierogi fillings like potatoes, cheese, and sauerkraut just don’t cut it. My Mom would mix ground beef with chopped onions sautéed in butter, a couple of eggs, and milk crackers soaked in milk. She’d add salt and pepper, then spoon that beautiful beef blend into her koldūnai.
The other delicious stuffing, usually reserved for special holidays like Christmas Eve and Easter, was made from mushrooms. Italy may lay claim to the porcini, but the fact of the matter is, Lithuania is porcini heaven. And when they’re dried and reconstituted, their incredible flavor is so intense, you don’t need many of them to flavor a large amount of regular button mushrooms. We’d get our dried boletes from relatives in Lithuania every year. Mom would place a handful in some boiling water and let them steep until they swelled up and could easily be chopped and added to the other mushrooms. She’d then pour the mushroom liquid into the pan as well, not wasting a bit of that magical porcini flavor. The mushrooms were simply sautéed in butter, cooled, then used to fill the koldūnai.
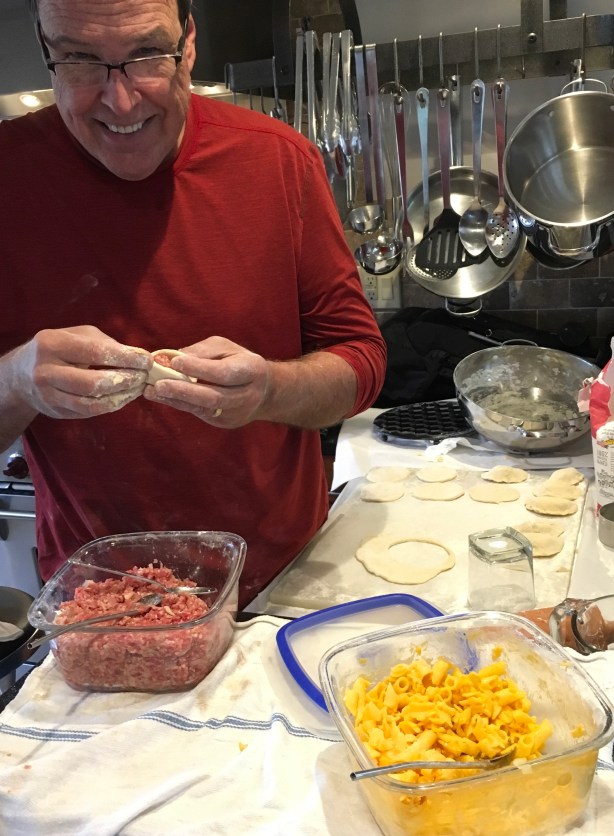
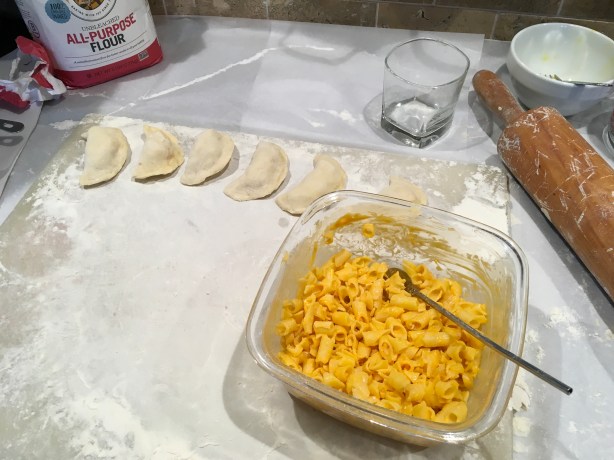
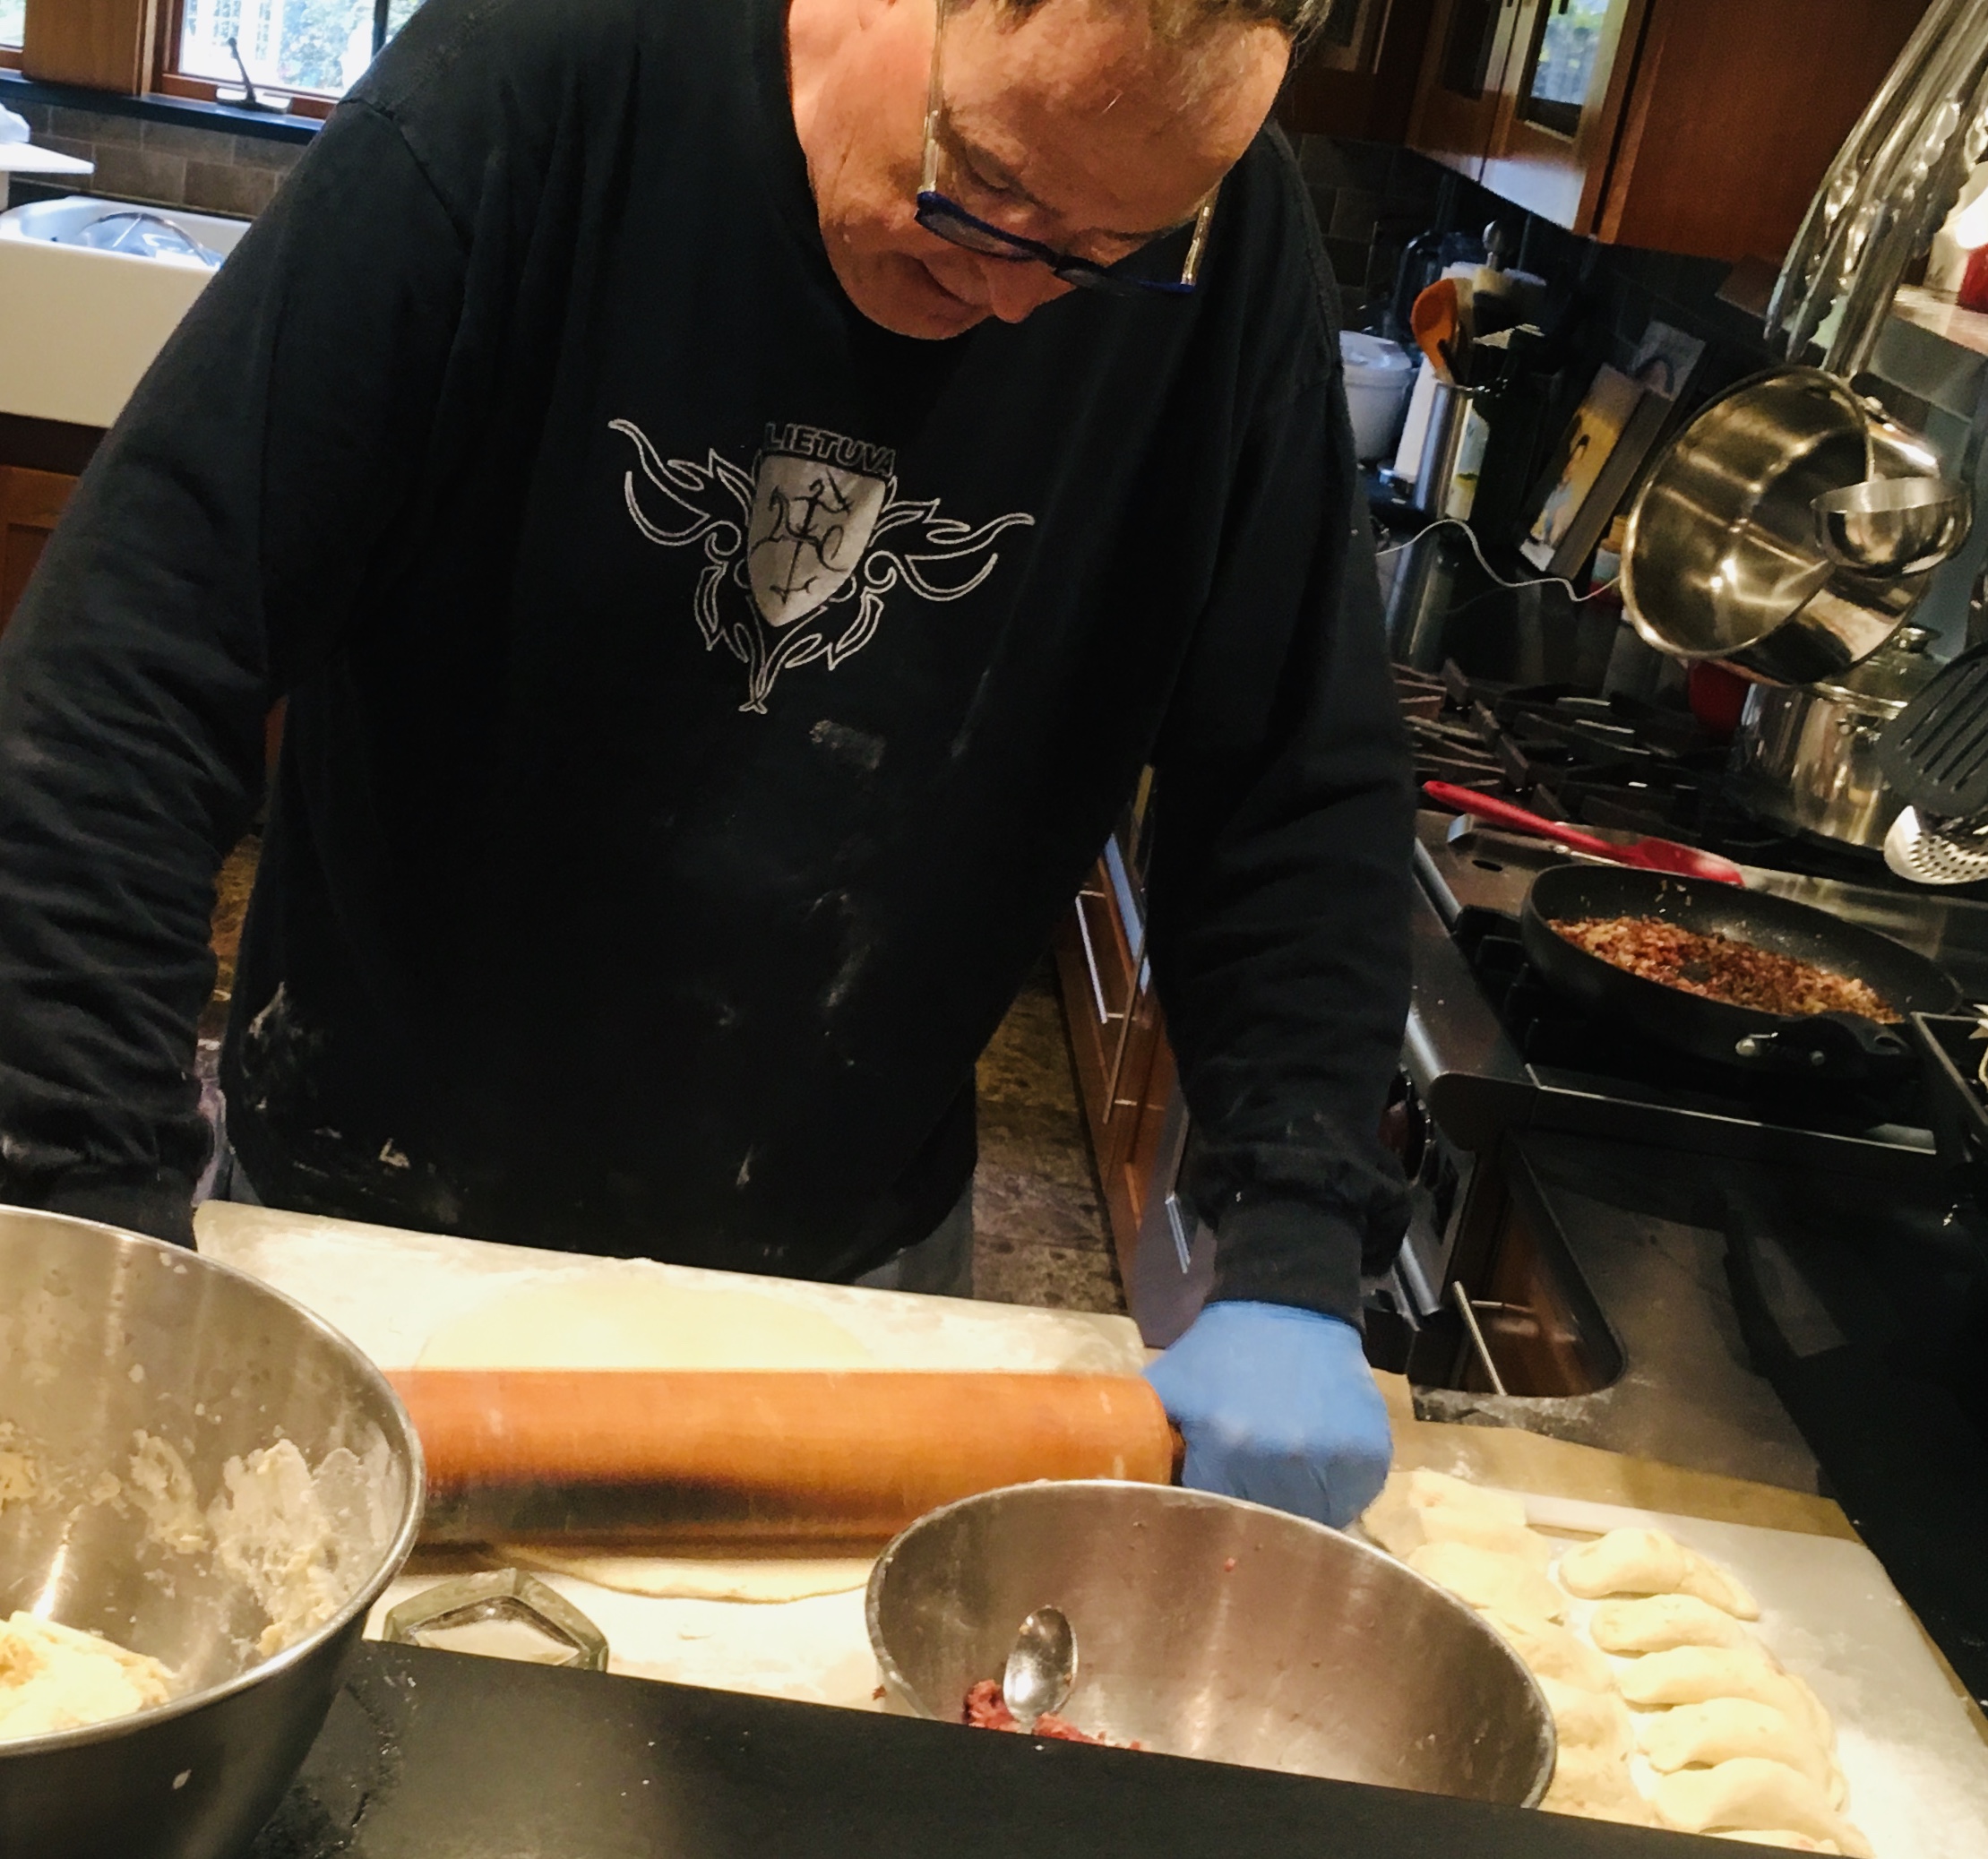
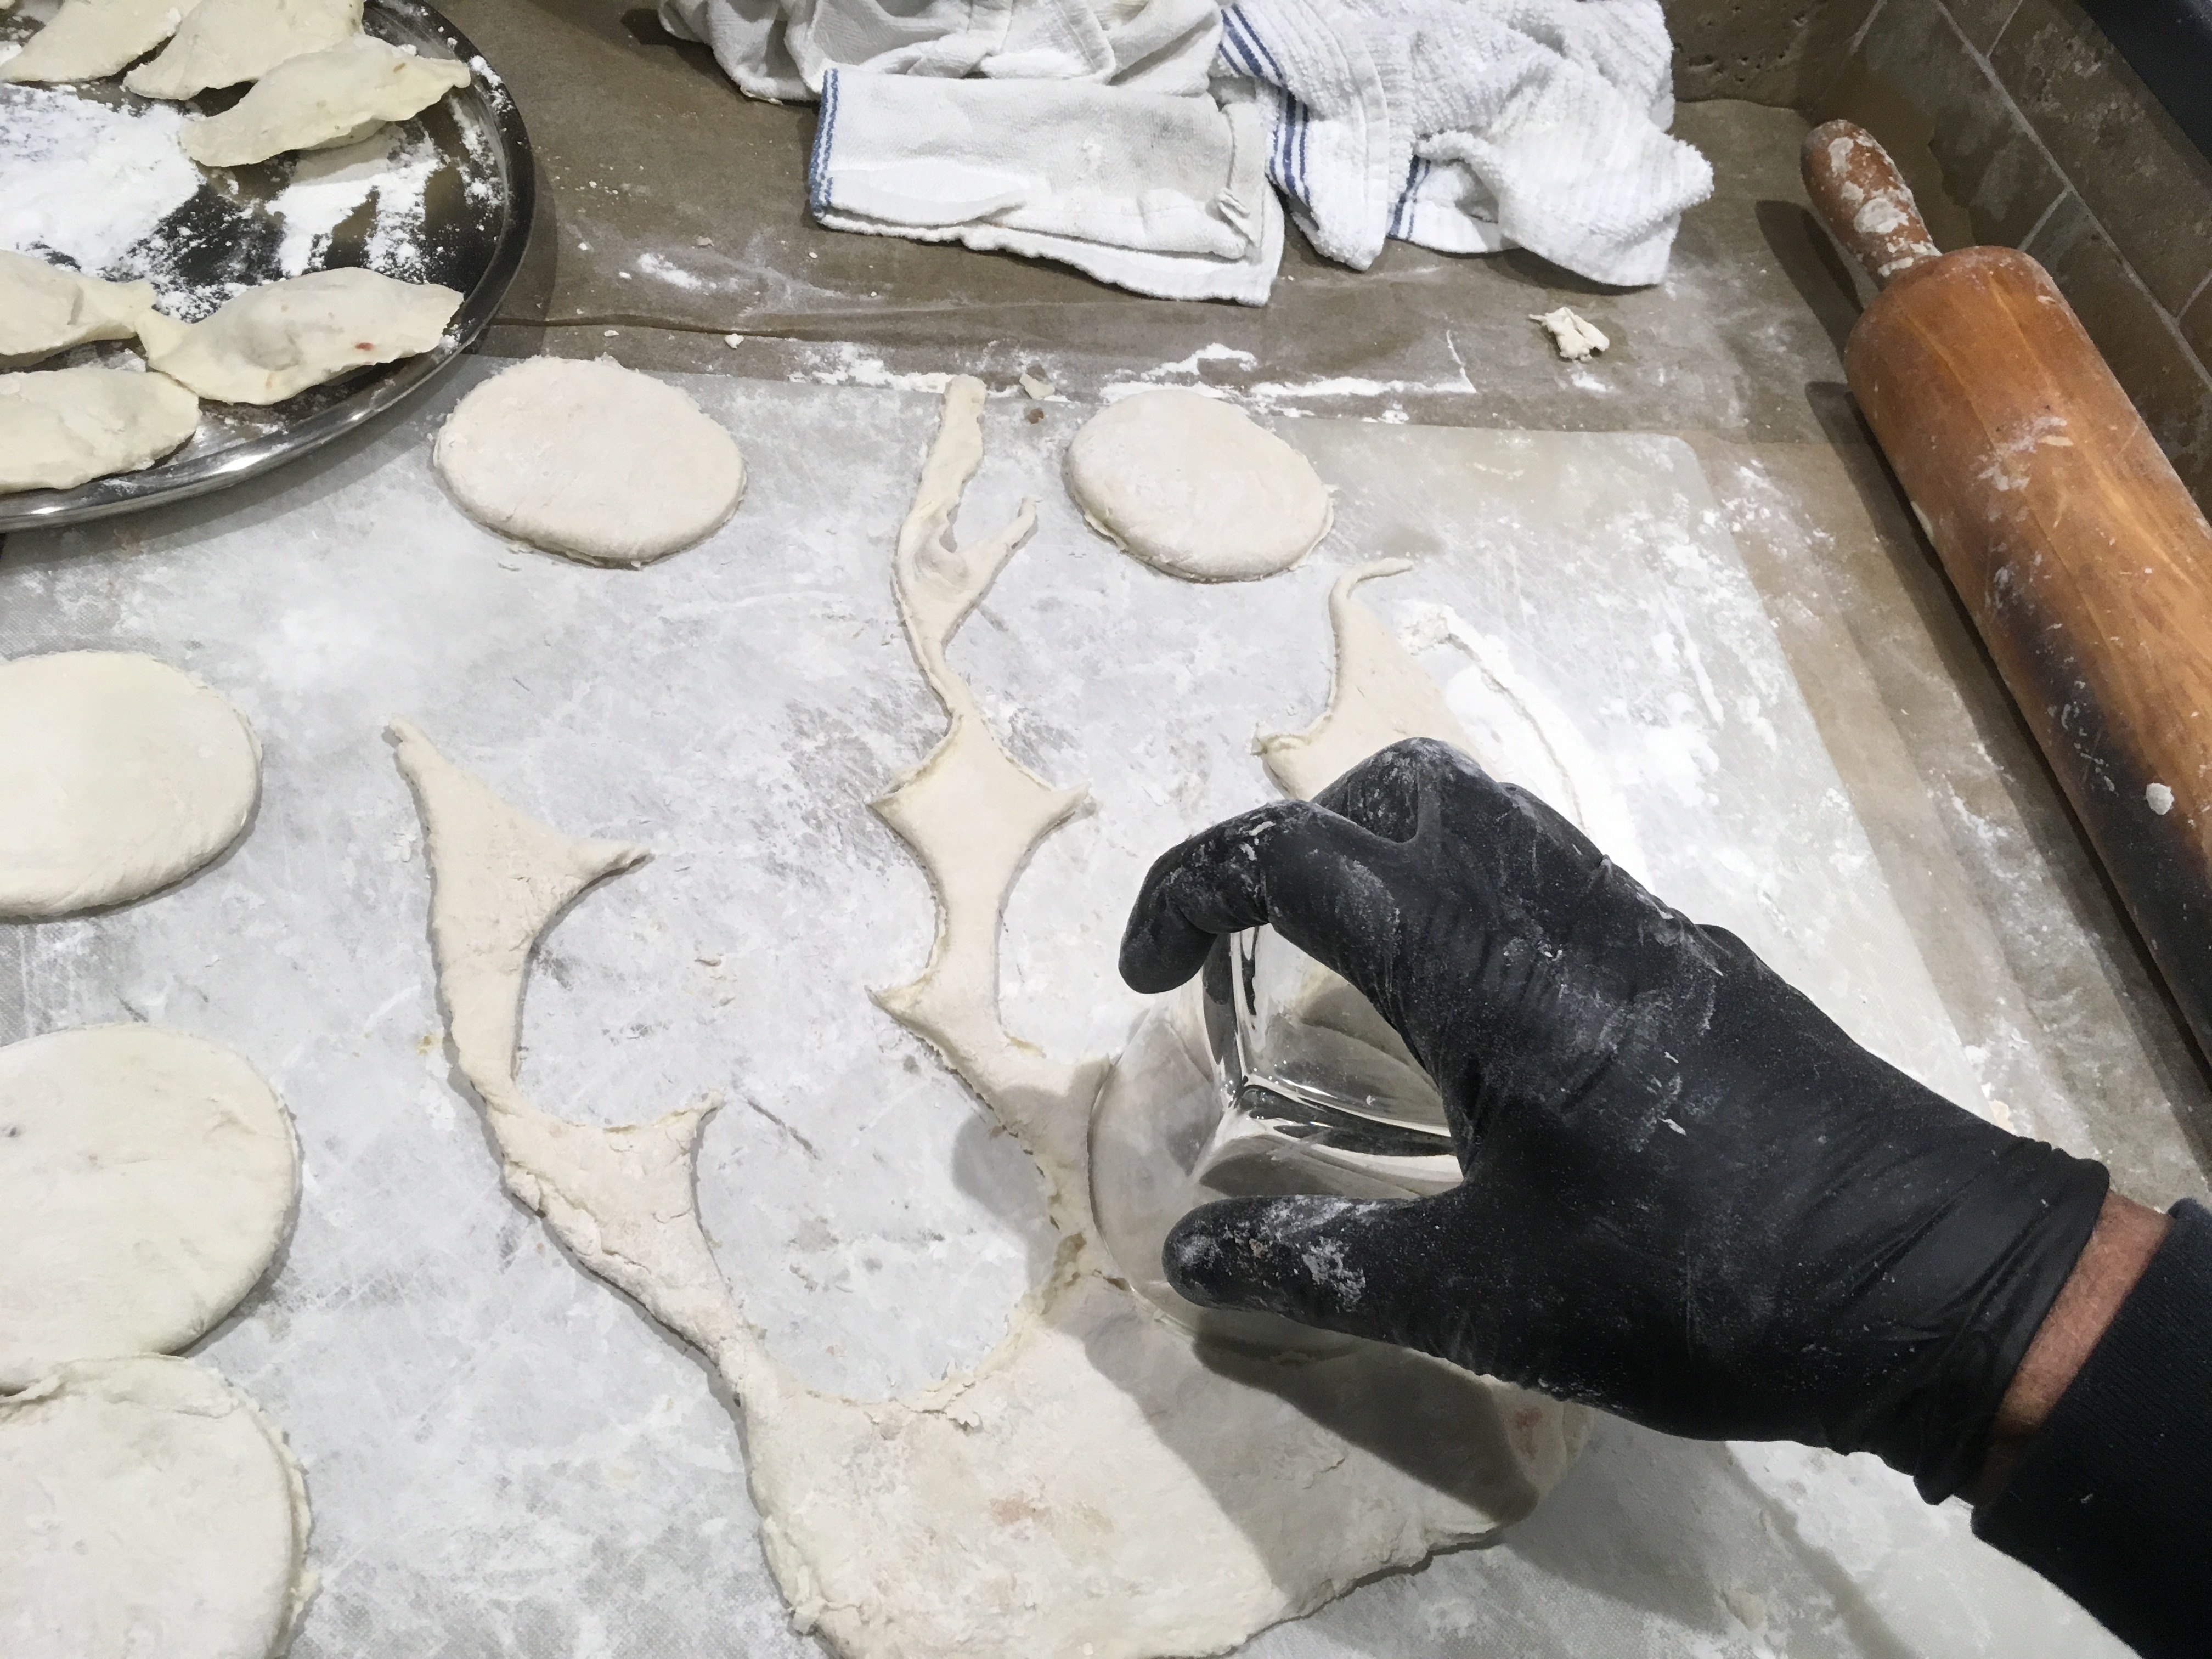
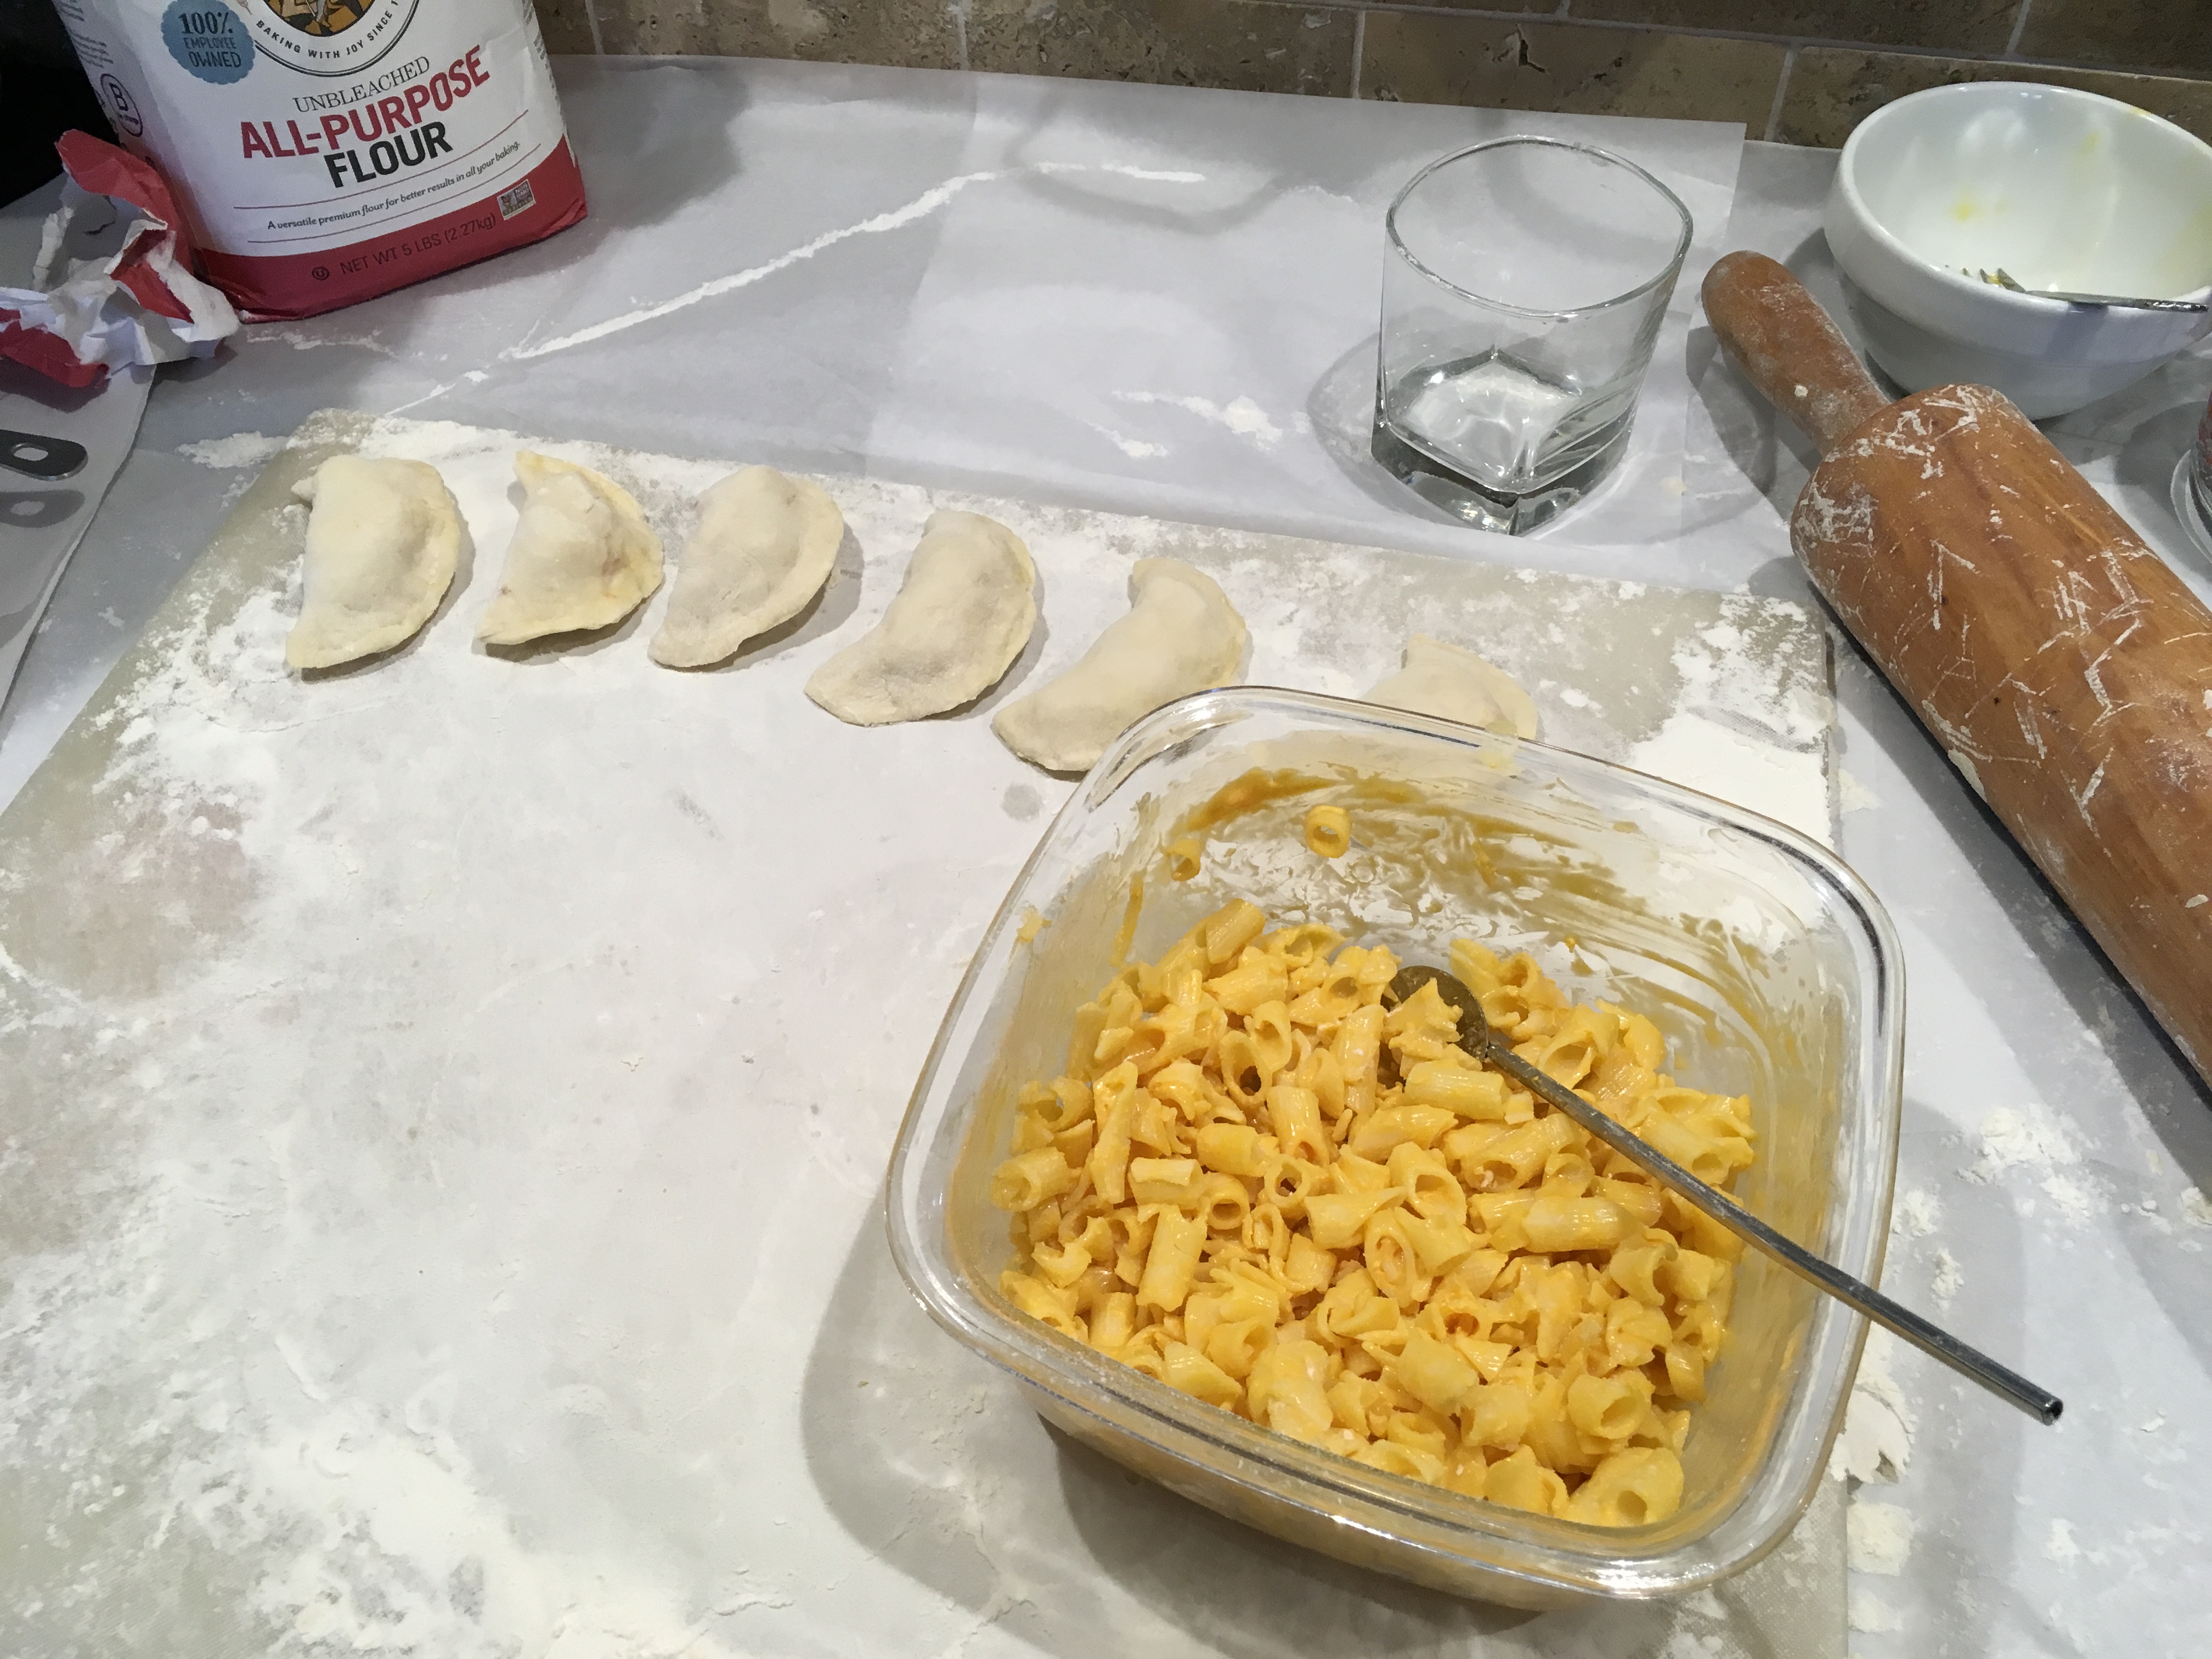
I found that my Mom’s log method was too much work. I roll the dough out into a sheet with a rolling pin, then cut circles with a glass. Yes, that’s mac-and-cheese up front!
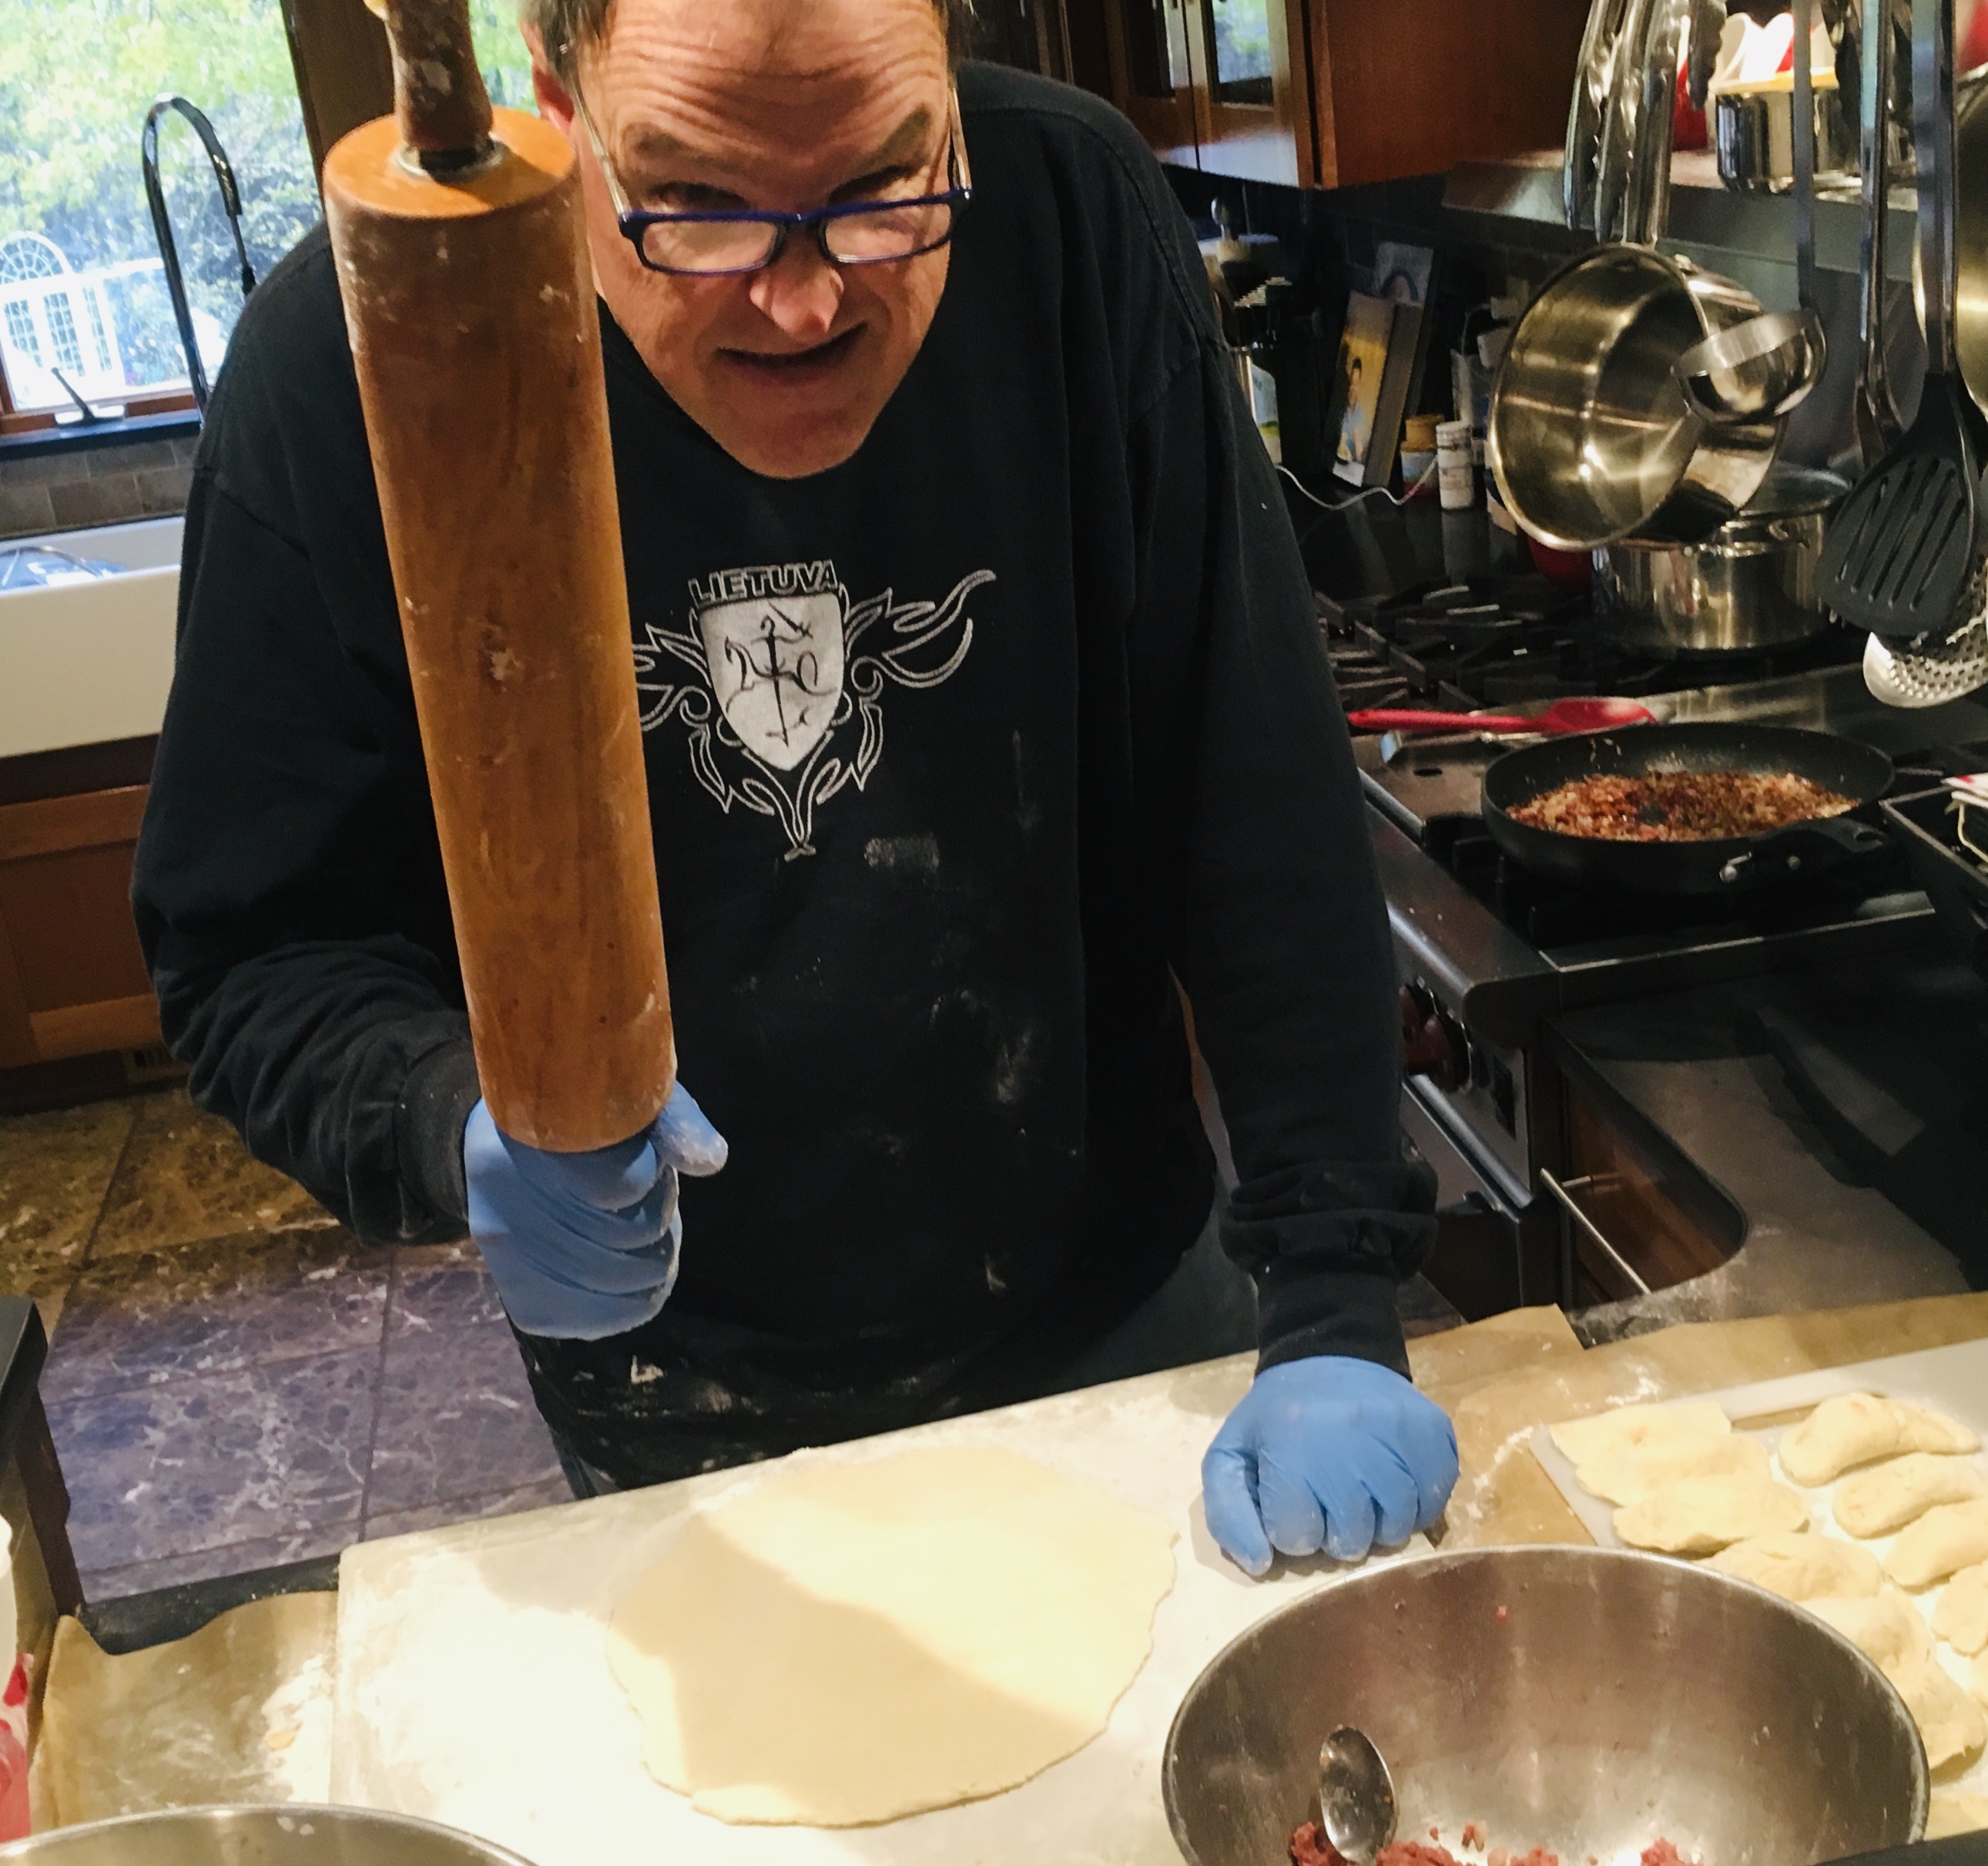
A few years ago, I decided it was time to try my hand at making koldūnai. As I recall, my Mom simply mixed water with flour to make the dough, kneaded it into a log, and off she went. I decided to go with the rolling pin and glass cutting method, because I found it to be a bit easier creating more uniform koldūnai.
The biggest challenges I had with making koldūnai was my own clumsiness and lack of experience. Once I got the hang of it, things moved along steadily, and it didn’t take long for me to make a decent batch–not all perfect, but not bad for a first try.
My recipe follows. If you’re on a gluten-free diet, have no fear! That recipe is at the bottom of the blog.
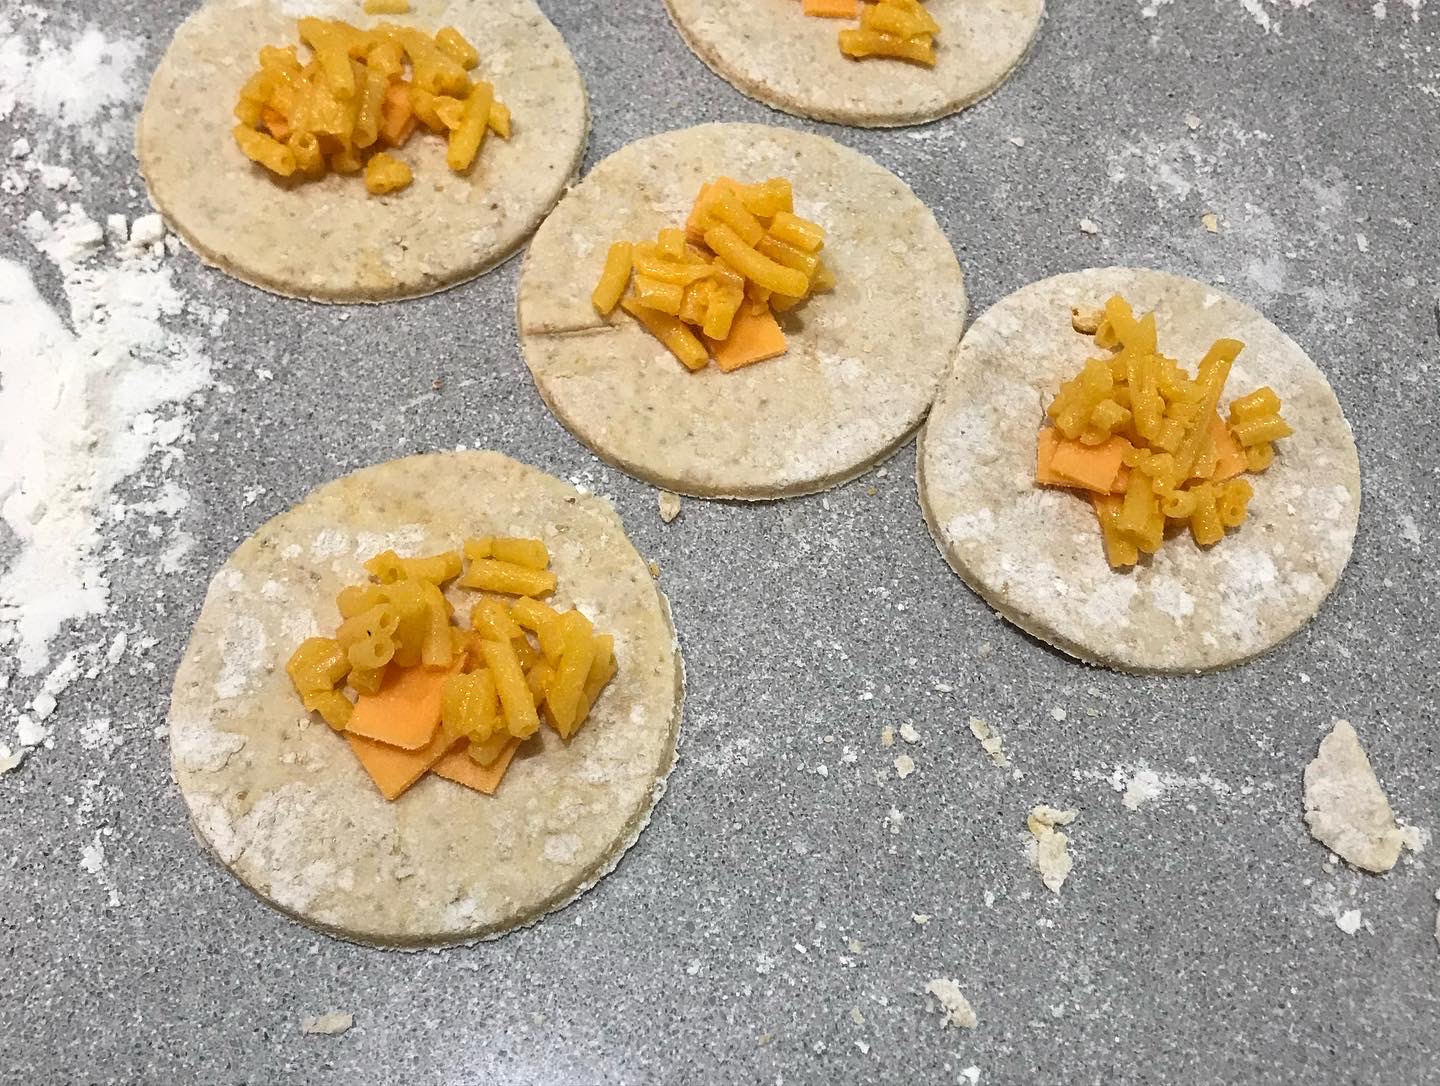
This time around, I made four kinds of koldūnai: traditional (ground beef as well as mushroom) and non-traditional (mac & cheese and pulled pork.) Patty’s Pierogis, a restaurant in nearby Fall River, Massachusetts, and featured on Food Network’s “Diners, Drive-Ins and Dives,” is where my daughter first had mac & cheese pierogis. She was instantly hooked and begs for them every year.
Here’s my beef recipe…
1/2 onion, finely chopped
1 pat of butter
1 lb. ground beef
1 egg
1/2 cup breadcrumbs
Finely chop the onion and sauté it in the butter until translucent. Let it cool, then add it to 1 lb. of thawed ground beef. Add the egg and the breadcrumbs. Season with salt and pepper. Mix the ingredients thoroughly and keep the meat in the fridge until you’re ready to use it.
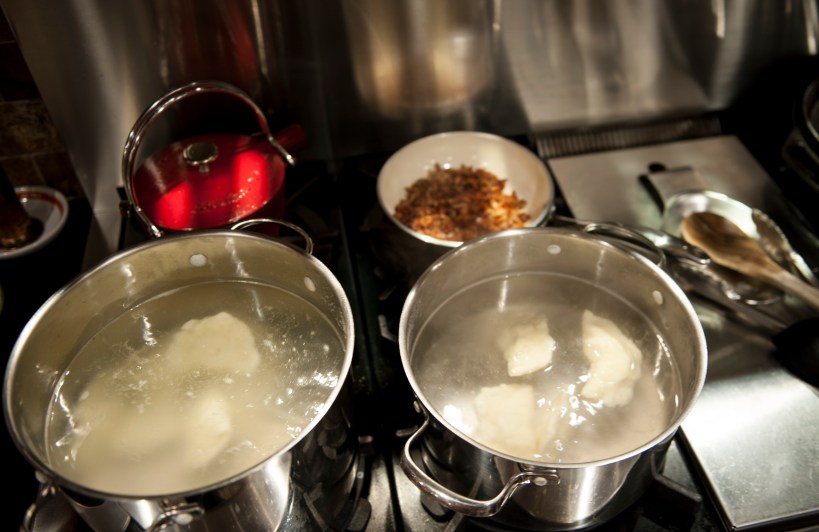
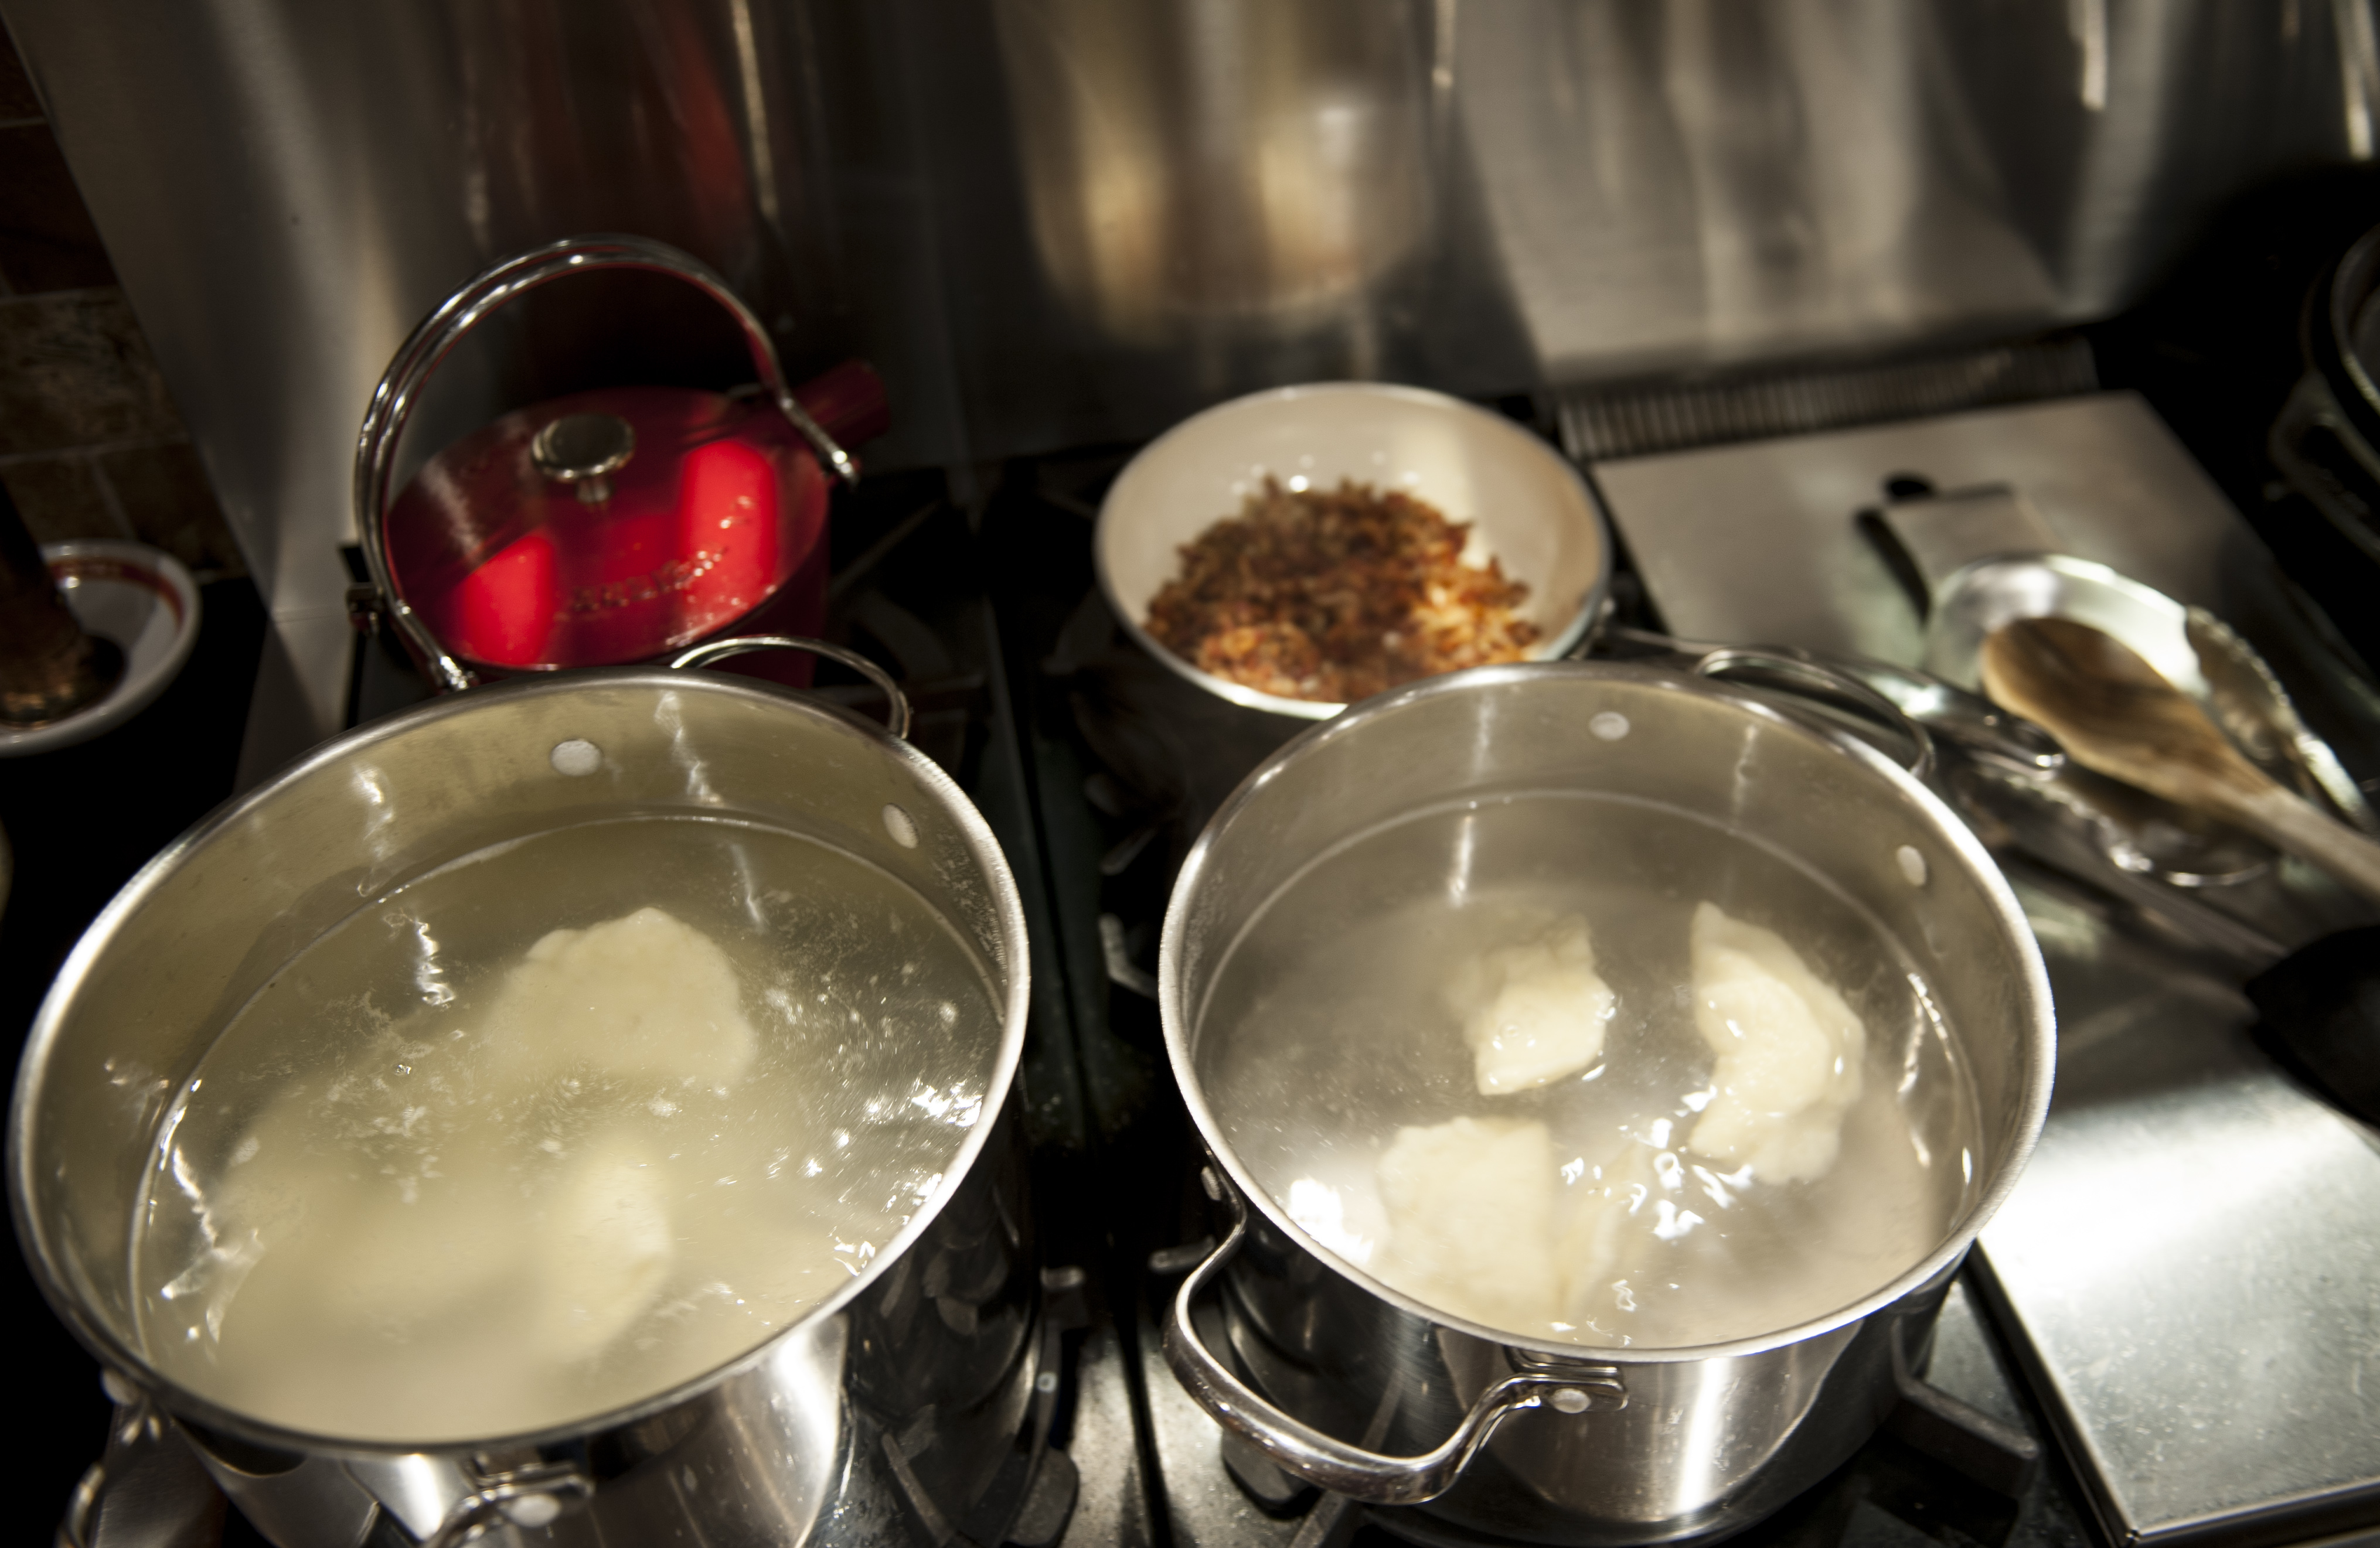
Two pots of boiling salted water: one for the meat-filled koldūnai, and one for the mac-and-cheese filled koldūnai…so I don’t get ’em mixed up!
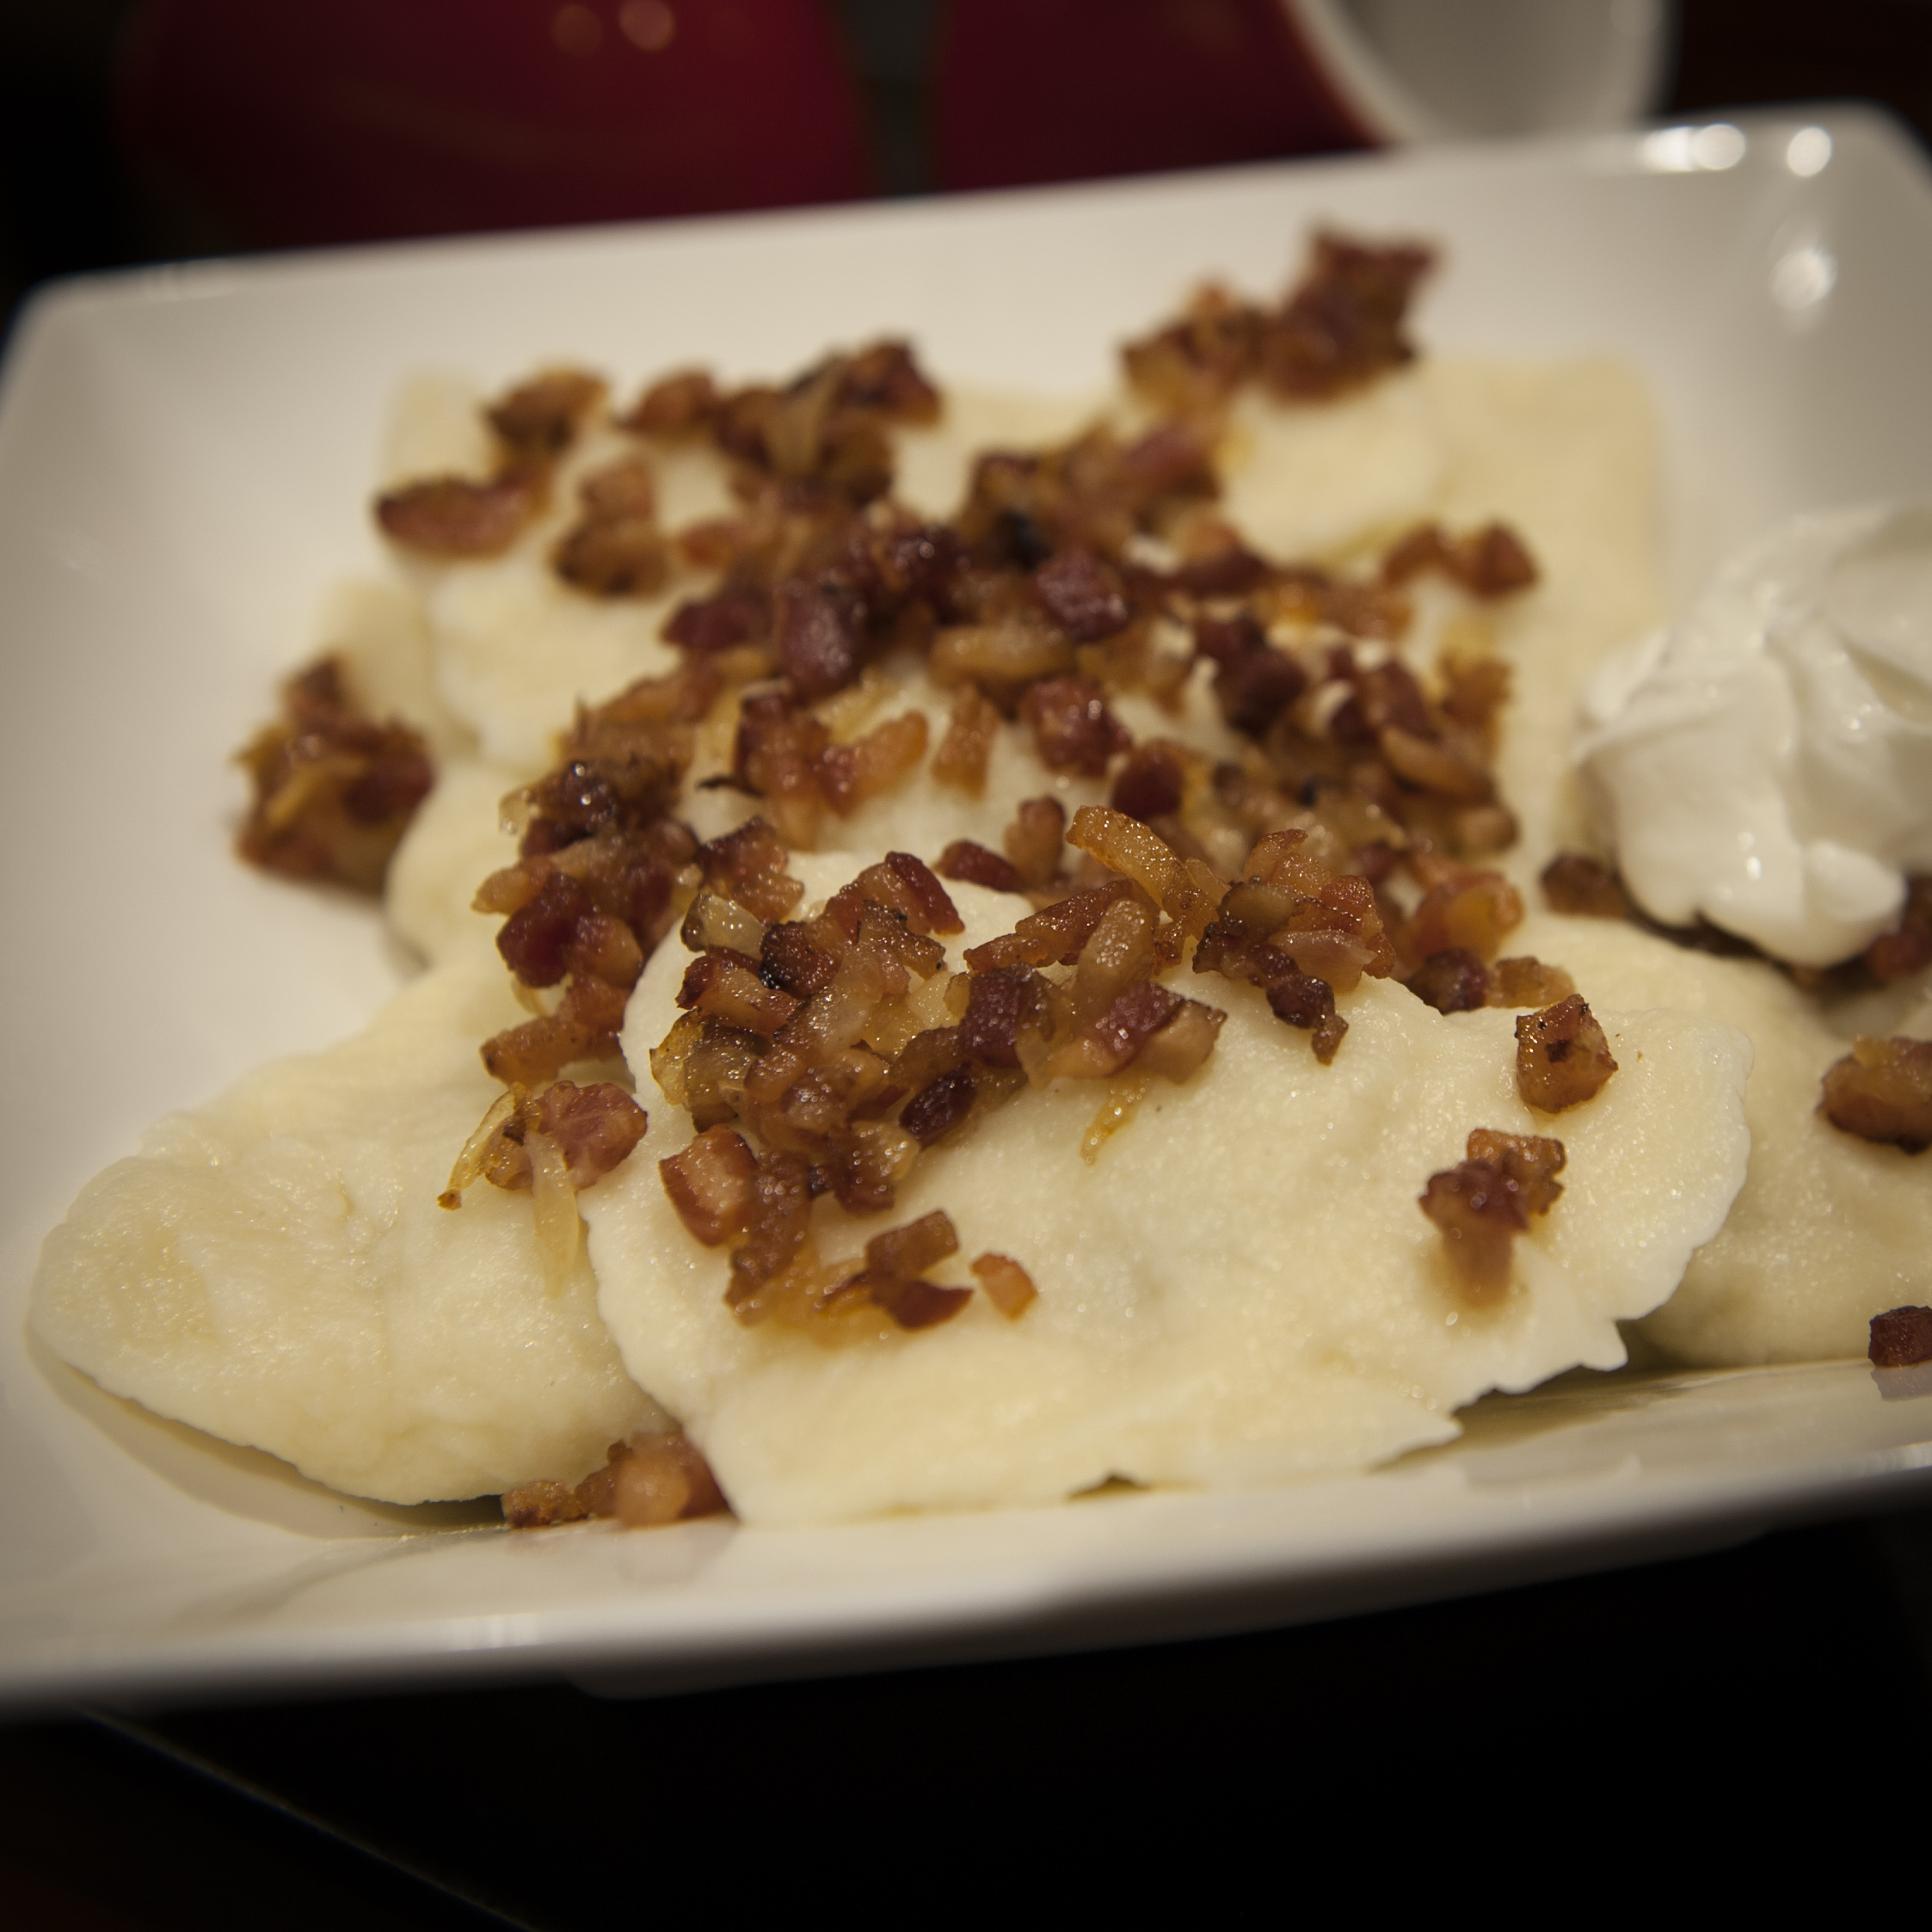
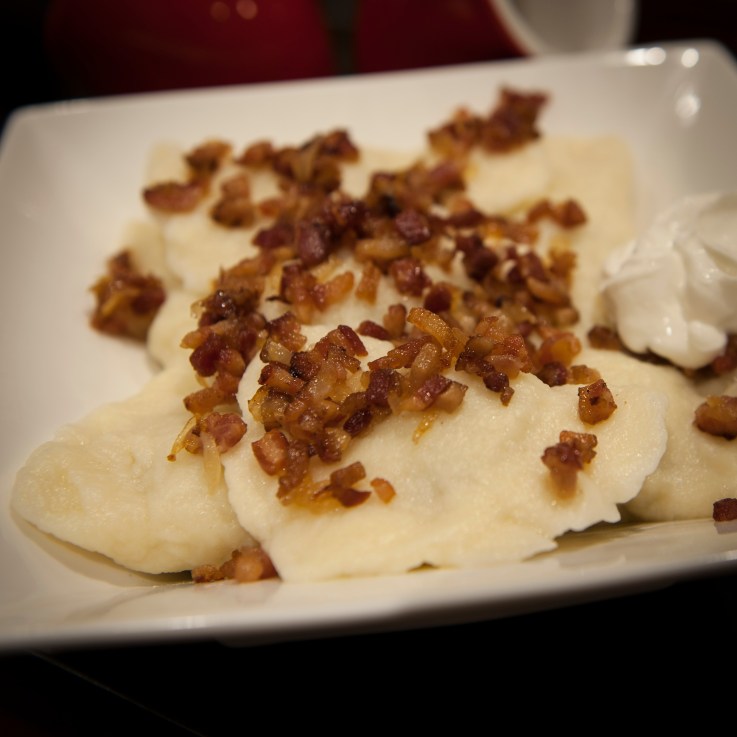
In my childhood home, you cannot possibly serve koldūnai without sour cream on the side and without spirgučiai (spir-guh-chay), chopped and fried bacon and onions, that are sprinkled on top.
1 lb. bacon, finely chopped
1 large onion, finely chopped
In a large pan, fry the chopped bacon until it’s almost crisp. Never drain the fat! Add the chopped onions and cook until they are soft. Set aside. (My Mom always kept a stash of spirgučiai in a container in the fridge, and sprinkled them on anything and everything.)
Making the dough is simple.
2 cups all-purpose flour
1 cup water
I don’t use salt in the dough because I boil the koldūnai in salted water later.
Combine the ingredients in a bowl, mixing with your hands. Keep adding flour in small amounts until the dough isn’t wet and sticky. When it forms a nice ball, remove it from the bowl and place it on a floured surface and knead it a bit more. Cut the ball into quarters, and work with these smaller pieces of dough.
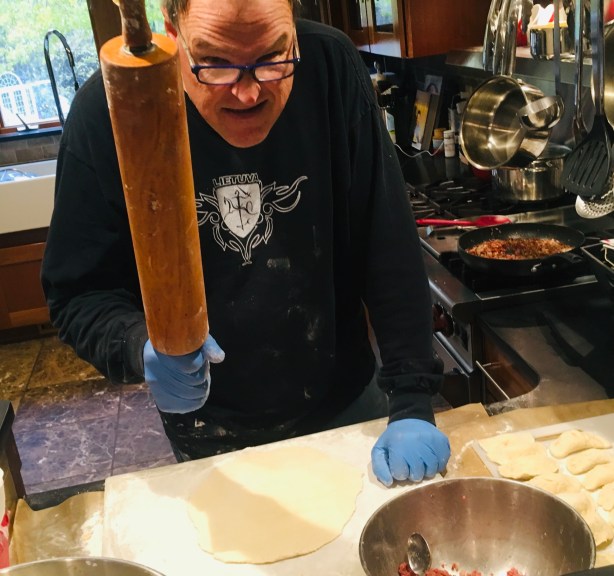
For the rolling-pin method, roll each quarter out until the dough is about 1/8″ thick. Cut circles out of the dough using a cookie cutter, rocks glass, or whatever else you have handy. Add about a teaspoonful of filling in the center of the dough (a melon baller works great), then fold the edges over and pinch them with your fingers. Flip it over and pinch again, making sure none of the filling seeps out. A tight edge means the koldūnai won’t break open when you put them in boiling water.

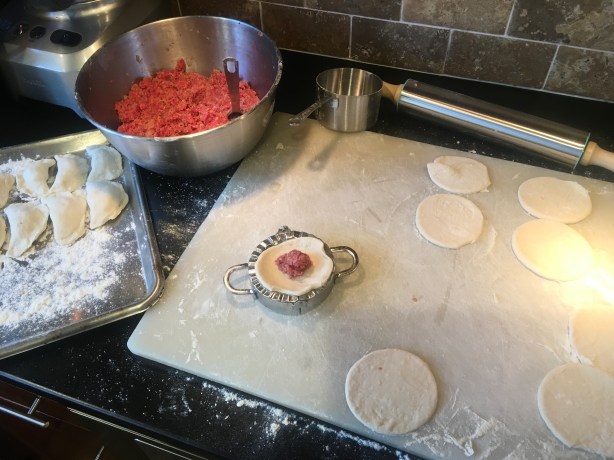
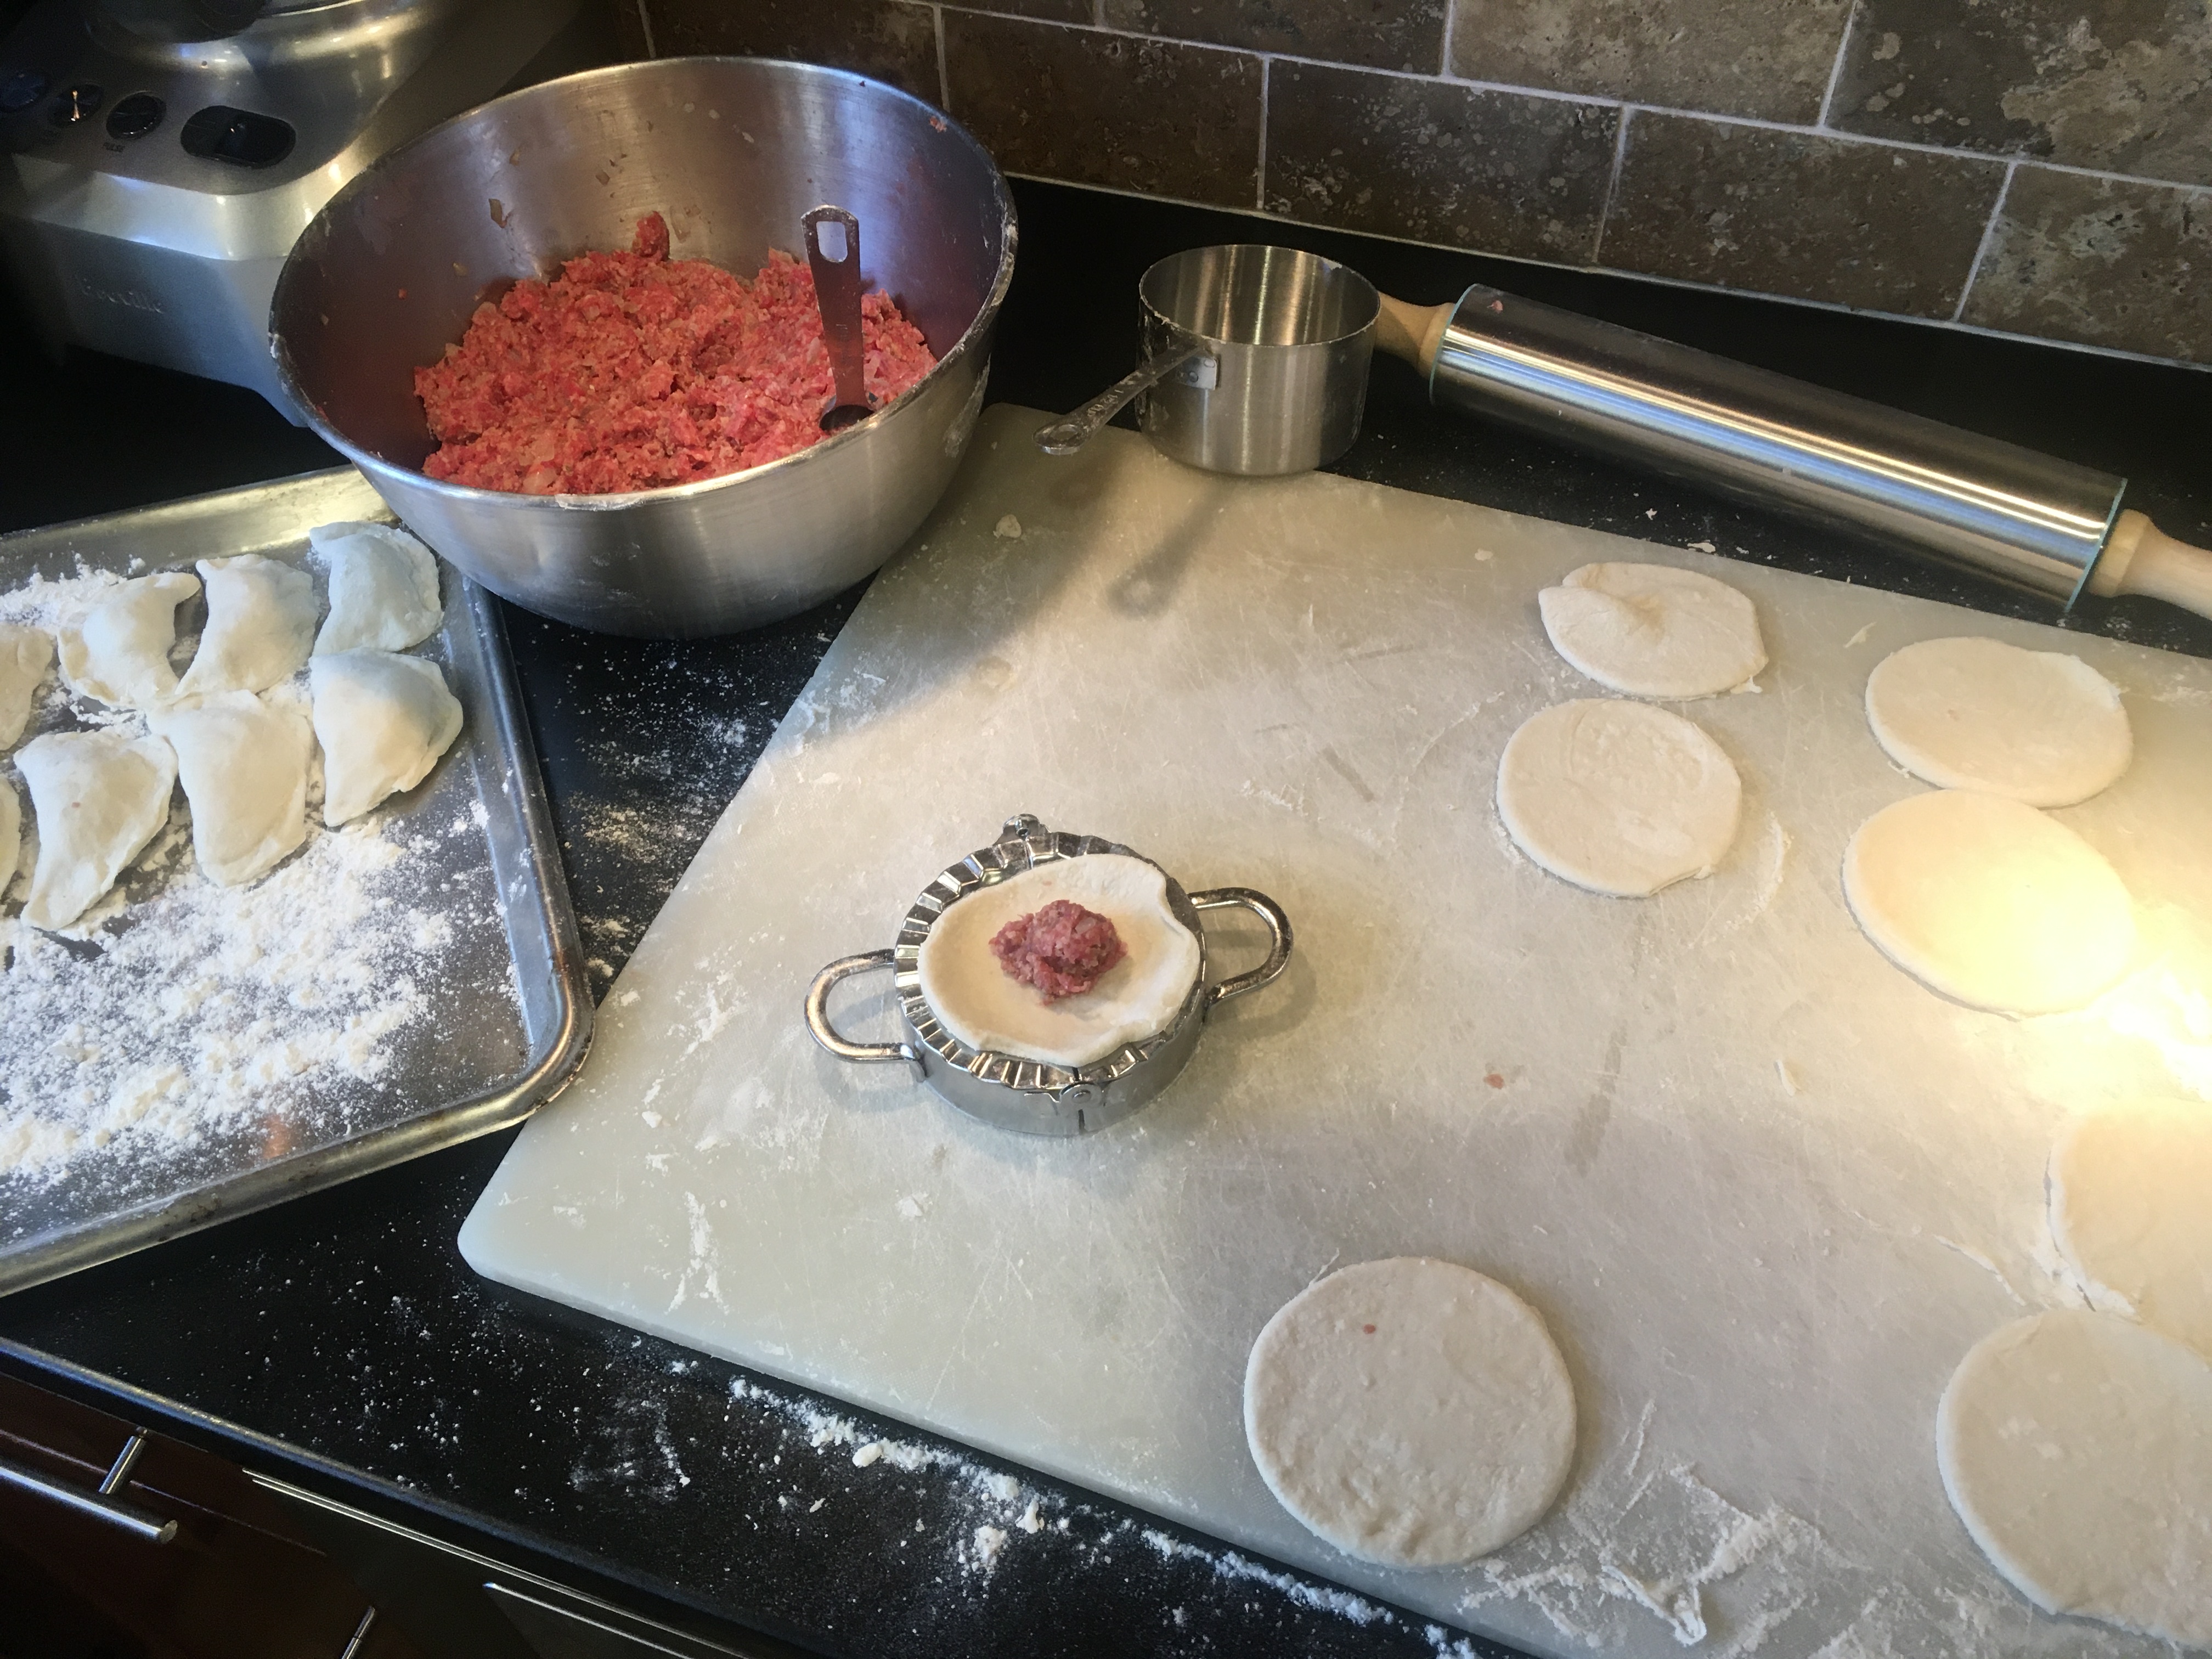
I recently discovered these “pierogi makers.” You lay the dough in them, add your filling, and then close them. They automatically crimp the edges for you. They work pretty well…sometimes.

I always double-check the crimped edges, because your koldūnai will fall apart in the boiling water if you don’t seal them well!
Place the koldūnai on a sheet pan dusted with flour, and when you’re done, place the sheet pan in the freezer.
Get a large pot of salted water boiling. Drop the koldūnai in gently, being careful not to overcrowd them. If the dough is thin, the koldūnai will be ready when they float up to the surface. A thicker dough will need longer cooking. The best way to know if they’re done is by taking one out, cutting it open and having a look (and taste!)
When plating, sprinkle generously with spirgučiai, and serve with sour cream on the side.
If you need to go gluten-free…good news! You can still have your koldūnai! The mushroom filling is already gluten-free. For the breadcrumbs in the beef filling, I take slices of Udi GF bread, toast them, and zap them in a food processor. Excellent breadcrumbs! And I use store-bought GF mac-and-cheese.
For the dough, this recipe works great. (Thanks to my sister, who shared it with me.)
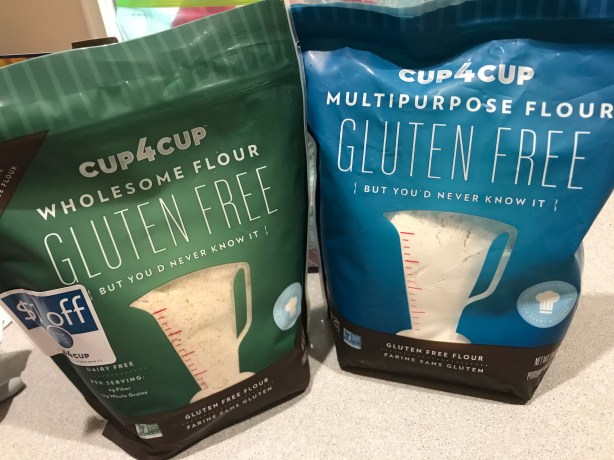
1 1/2 cups all-purpose gluten-free flour (I use Cup4Cup)
1 1/2 cups rice flour (I use Cup4Cup Wholesome Flour)
2 eggs
pinch of salt
water
Combine the flour and salt in a bowl. Add the eggs and mix. (I use my hands for this.) Slowly add water to the dough until it pulls from the sides of the bowl and makes a nice ball of dough. I cut the dough in half and use a well-floured rolling pin to roll it flat.
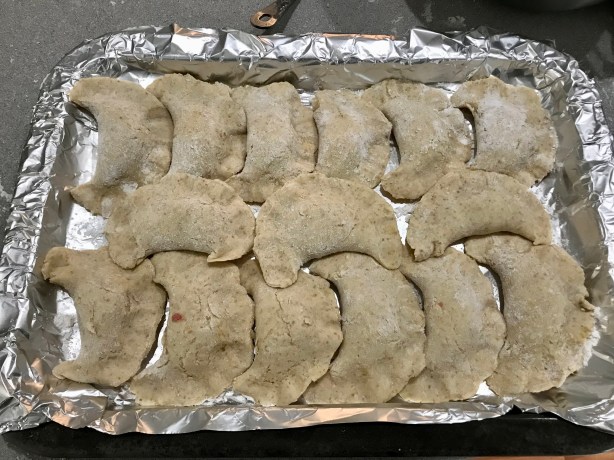
The finished product! The rice flour gives it a darker, grainier texture. A more rustic taste, but still delicious!
PERFECT BANANA BREAD: WITH OR WITHOUT THE GLUTEN
Posted: January 25, 2022 in breakfast, FoodTags: BAKING, BANANA, BREAD, food, GF, gluten-free, recipes
This is one of my favorites because it not only tastes amazing, it freezes really well.
My original banana bread recipe blog is featured directly below. It’s awesome. But if you follow a gluten-free lifestyle, no worries. My gluten-free version of the recipe, at the bottom of the page, is so good, you won’t miss the wheat!
The original recipe…
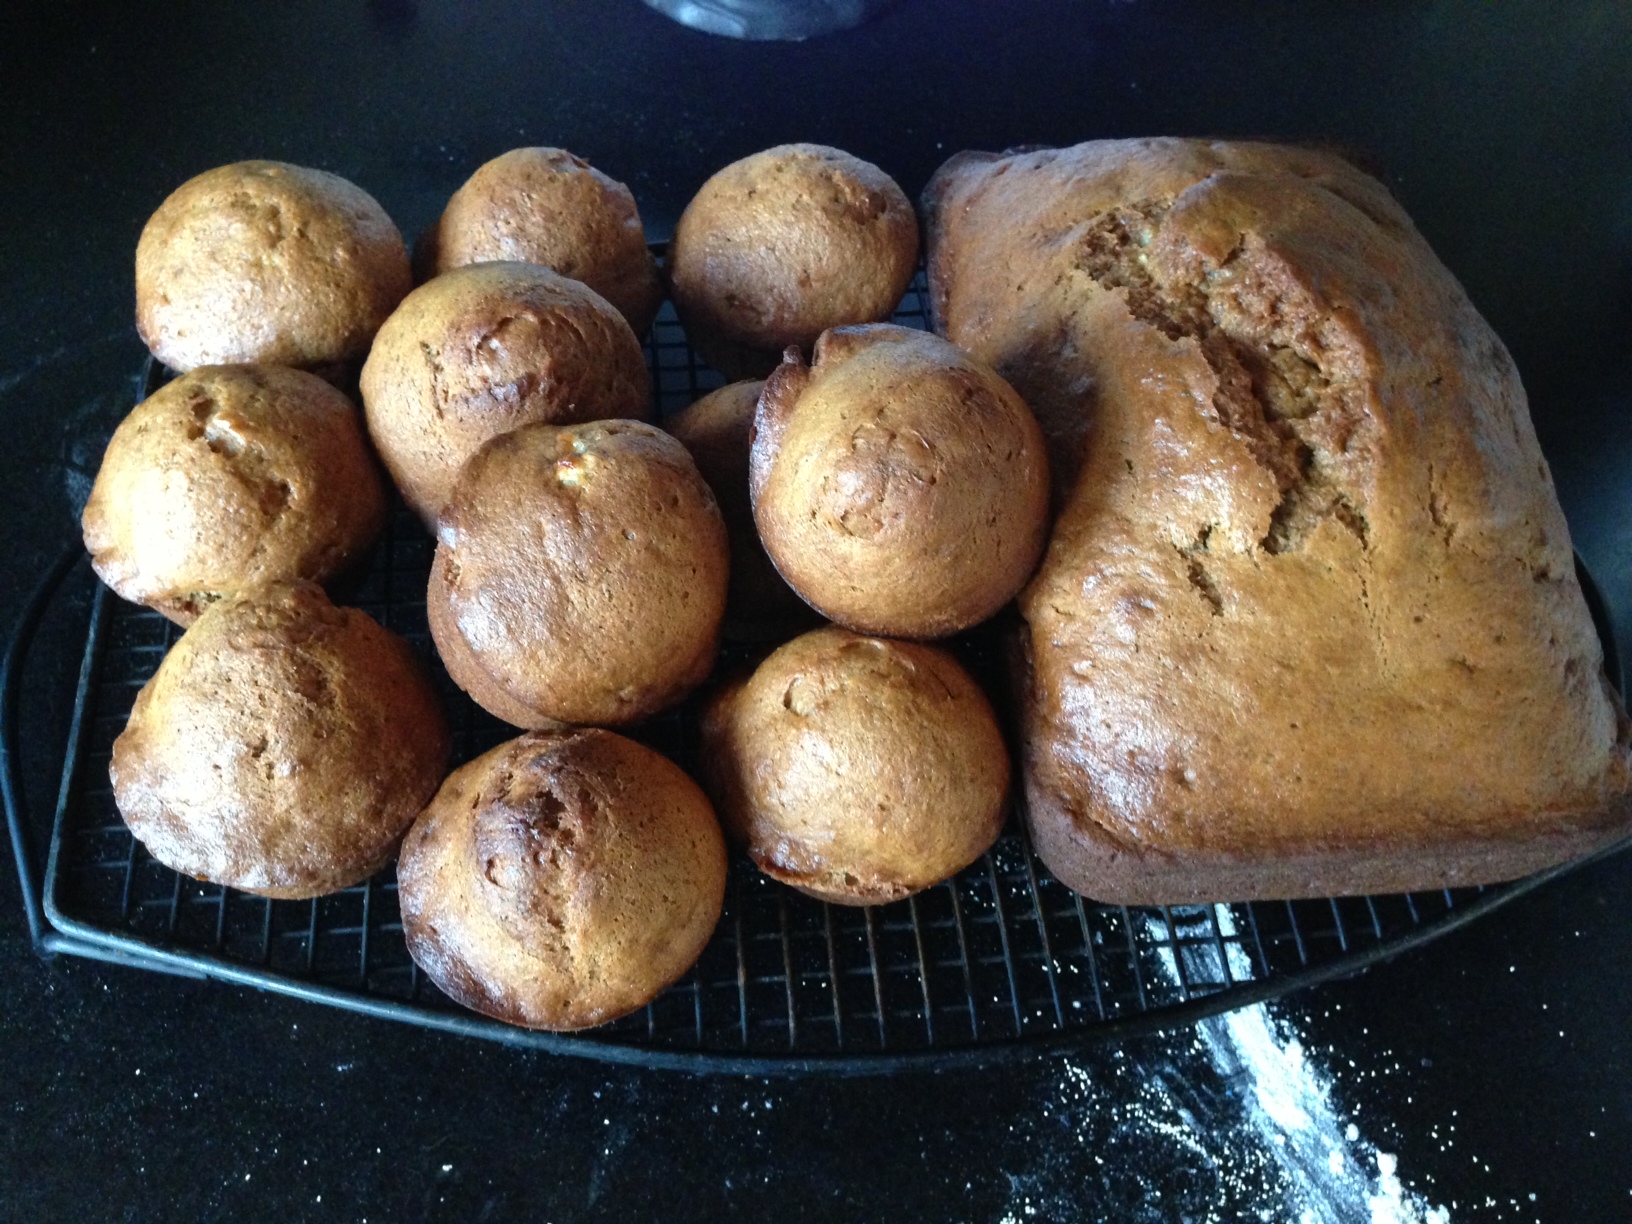
What makes this banana bread special is that it uses whole wheat flour…less sugar…and no artificial extracts that make most banana breads taste like crap. It relies on very ripe bananas to give it its wonderful natural flavor.
It’s not always easy to get bananas to ripen exactly when you’re trying to make your banana bread recipe. So I buy a large bunch of bananas and let them get very ripe at room temperature. I then take 5 at a time (for this recipe), peel them, and place the bananas in a Ziploc bag in the freezer. When it’s time to make banana bread, I just pull one of those Ziplocs out of the freezer, let it thaw, and mash with a potato masher.
Since Roundup is a very common herbicide used on wheat, and its cancer-causing characteristics are widely known by now, I always use organic wheat for my baking recipes.
I use organic cane sugar instead of regular sugar when I have it. I don’t use vegetable oils, especially not canola, so I use healthier avocado oil or olive oil. Eggs are pastured when I can get ’em. Bananas are organic. And I rub the pans with coconut oil or I use an olive oil cooking spray.
3 cups all-purpose flour
1/2 cup whole wheat flour
2 tsp baking soda
1/2 tsp salt
1 1/4 cup sugar
3/4 cup vegetable oil
2 eggs
5 medium-sized bananas, peeled and mashed
2 tsp real vanilla extract
Cooking spray
Pre-heat the oven to 350 degrees.
Combine the all-purpose flour, whole wheat flour, baking soda and salt in a medium bowl. Set it aside.
Combine the sugar and oil in a mixing bowl and mix at medium speed for 2 minutes. (I use the whisk attachment.) Add the eggs, one at a time. Beat until the mixture is light and lemon colored.
With the mixer running at low-speed, add the flour mixture alternately with the bananas, beginning and ending with the flour mixture. Blend well after each addition. Add the vanilla extract and blend some more to mix.
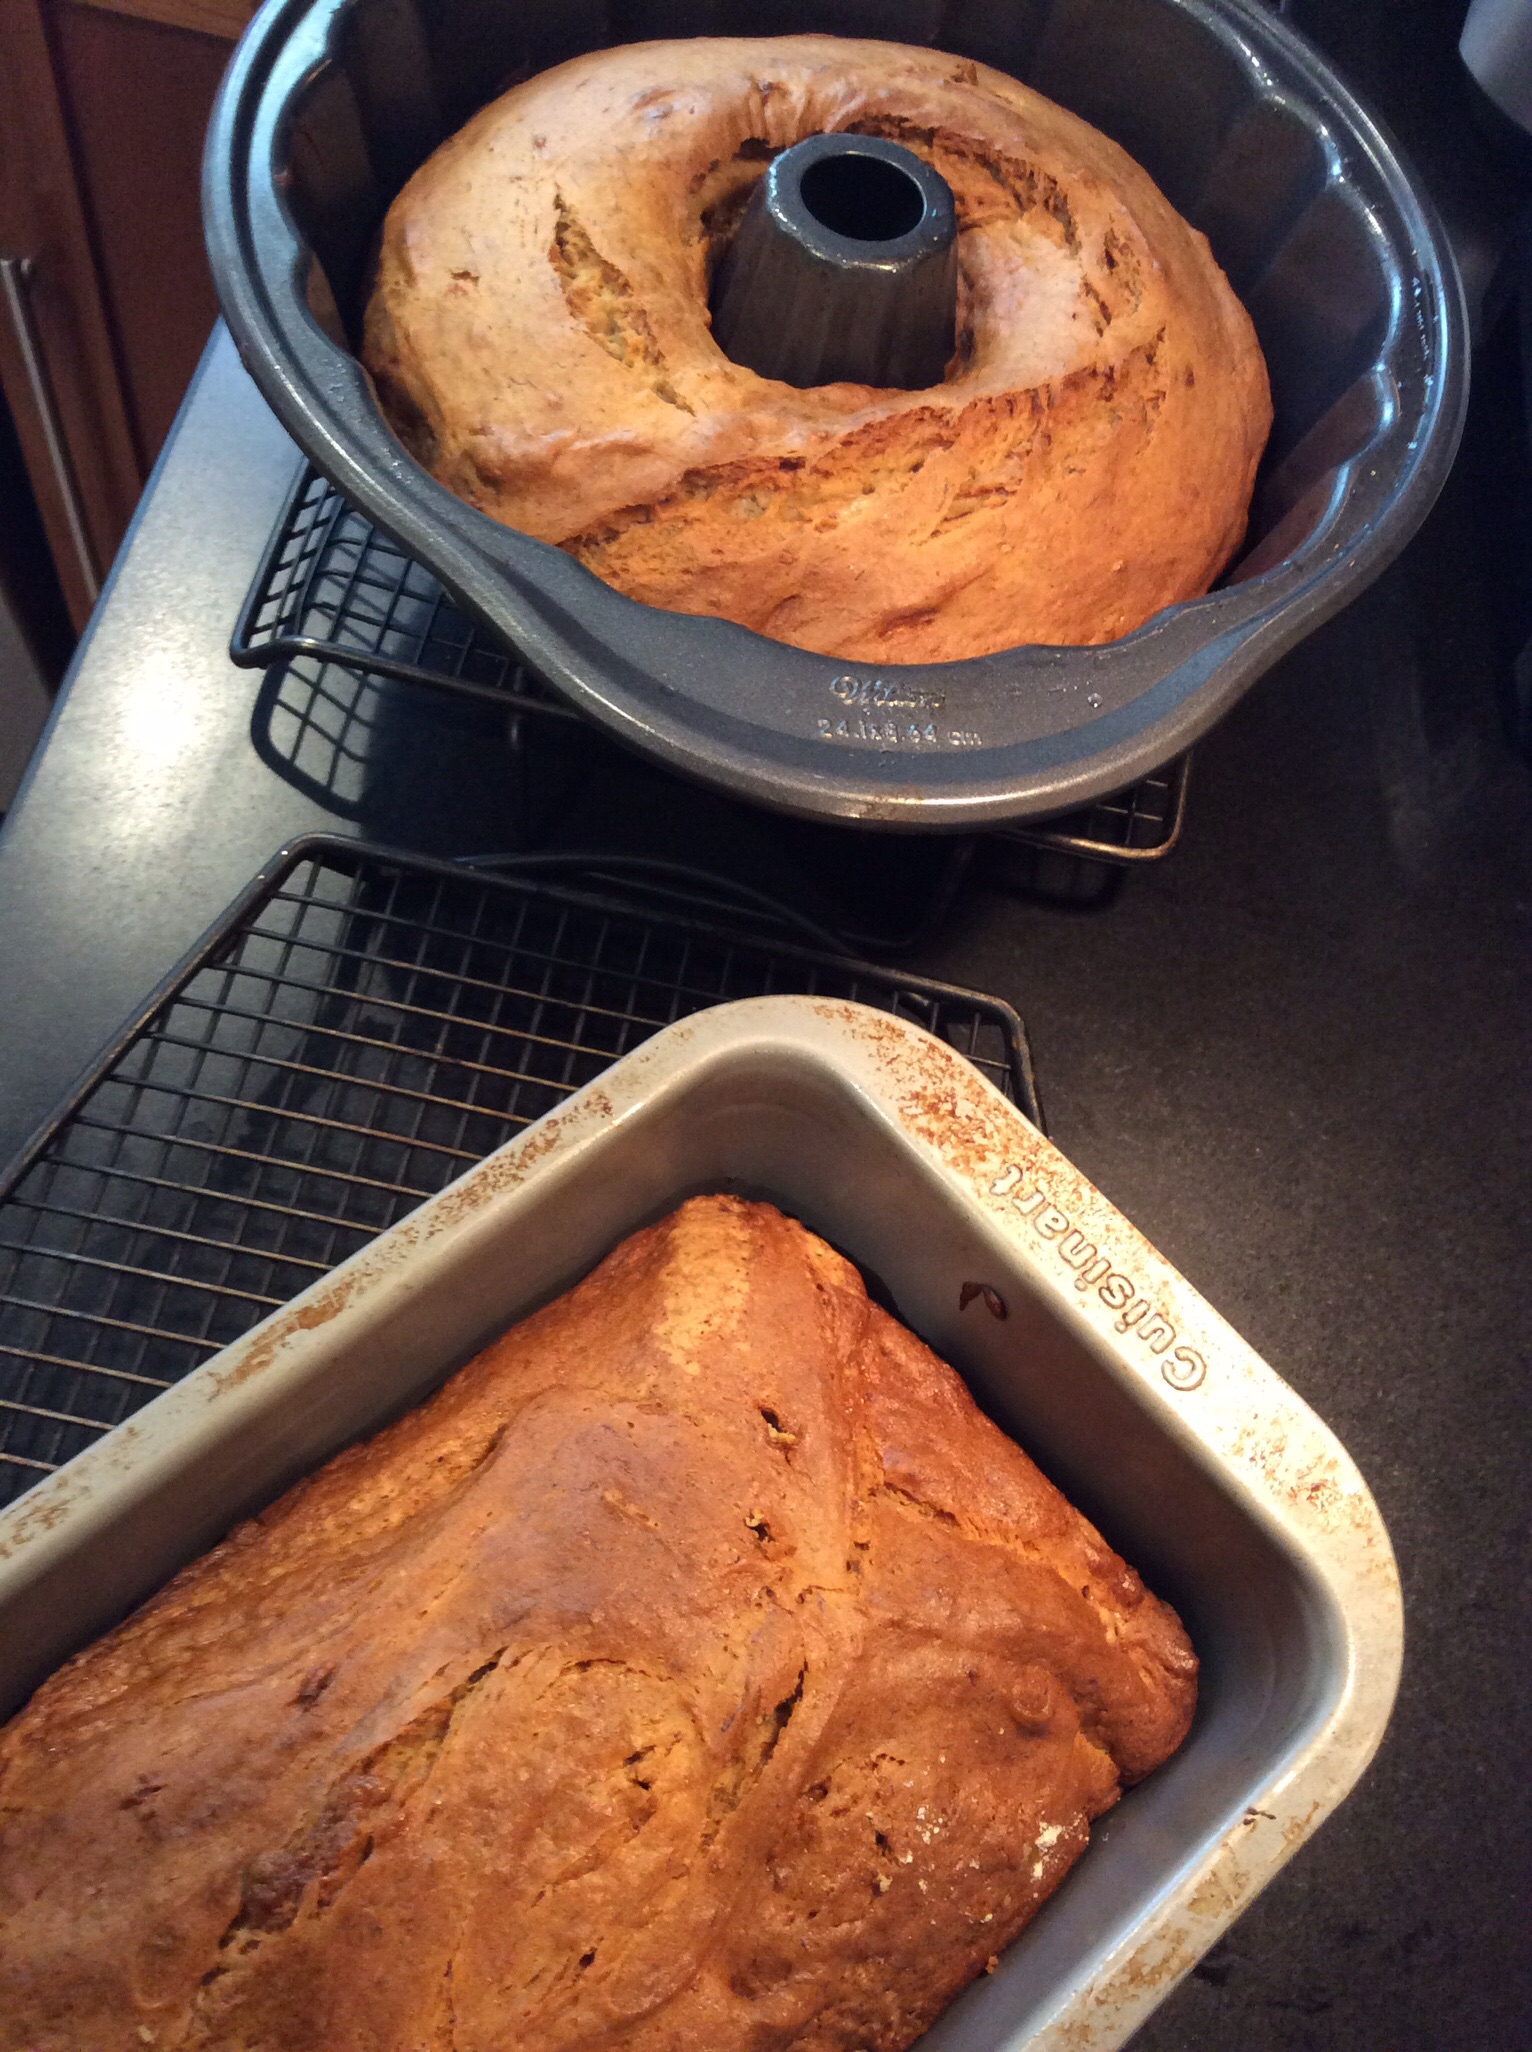
Pour the batter into 2 loaf pans that have been sprayed with cooking spray. Bake for 45 minutes or until a wooden pick inserted in the center comes out clean. Cool 15 minutes in the loaf pan on a wire rack. A bundt pan works as well.
Remove the loaves from the pans and let them cool completely on the wire rack before slicing.
The gluten-free recipe…
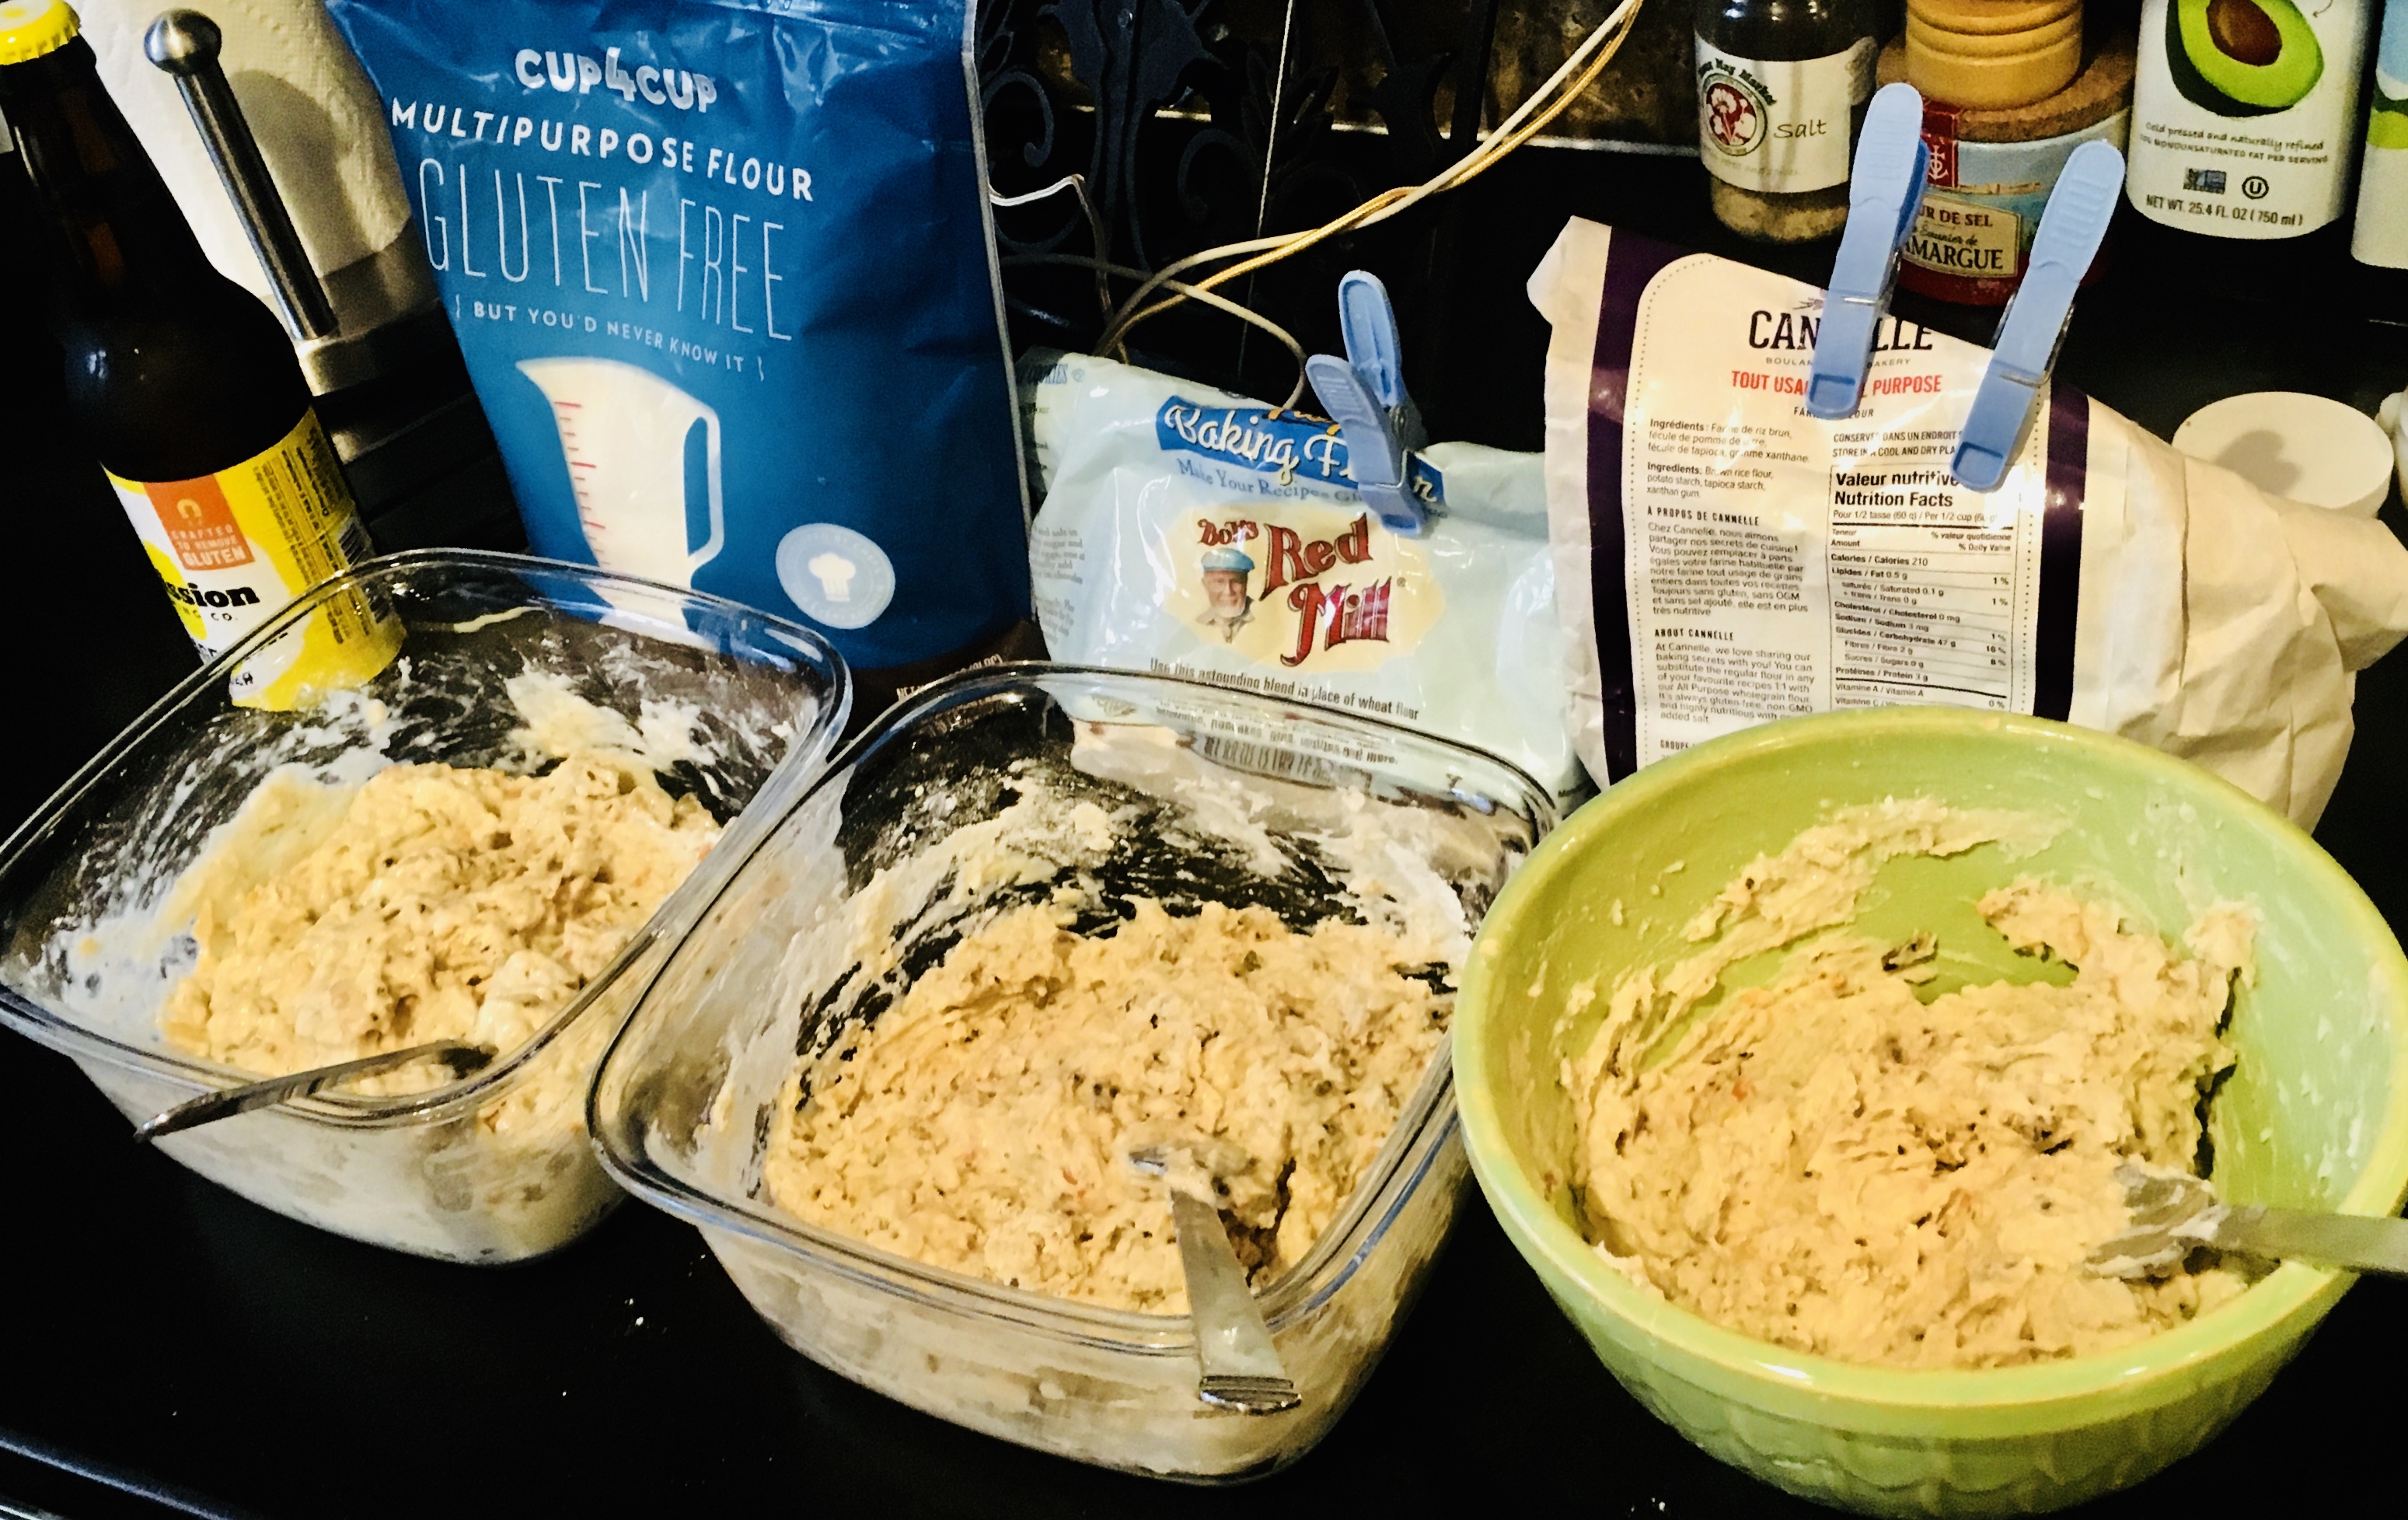
My go-to gluten-free flour is the brand called Cup 4 Cup. You can find it in most supermarkets. They also offer a more rustic version they call “Wholesome Flour,” which is made mostly of rice. I found that the two combined worked really well for a rustic, chewy texture much like whole wheat.
3 cups Cup4Cup all-purpose gluten-free flour
1 cup Cup4Cup Wholesome Flour
2 teaspoons baking soda
1/2 teaspoon salt
1 1/4 cup cane sugar
3/4 cup avocado or olive oil
2 eggs
5 medium-sized bananas, peeled and mashed
2 teaspoons real vanilla extract
coconut oil
Pre-heat the oven to 350 degrees.
Combine the flour, baking soda and salt in a bowl. Set aside.
Combine the sugar and oil in a mixing bowl and mix at medium speed for 2 minutes. (I use the whisk attachment.) Add the eggs, one at a time. Beat until the mixture is light and lemon colored.
With the mixer running at low-speed, add the flour mixture alternately with the bananas, beginning and ending with the flour mixture. Blend well after each addition. Add the vanilla extract and blend some more to mix.
Pour the batter into 2 loaf pans or one large bundt pan that have been rubbed with the coconut oil. Bake for 45–60 minutes or until a wooden toothpick inserted in the center comes out clean. Cool 15 minutes in the pan on a wire rack.
Remove the bread from the pan and let it cool completely on the wire rack before slicing.
Gluten-free and delicious!
THESE ARE THE BALLS!
Posted: December 31, 2021 in Food, Italian, Recipes, san marzano, tomatoesTags: food, GF, glutern-free, Italian, meatballs, pasta, recipes, spaghetti, tomato, tomato sauce
There’s something magical about a simple plate of spaghetti and meatballs. When my parents took me to an Italian restaurant as a child, a plate of spaghetti and meatballs made me feel like the luckiest kid on the planet. And even now, when I prepare a plate of spaghetti and meatballs for my daughter, she can’t wait to sit down at the dinner table.
Great meatballs start with great meat. I always use 80/20 grass-fed beef. I don’t use a ton of breadcrumbs as filler. And the tomato sauce is homemade as well, from canned tomatoes. I start with the sauce.
1 medium onion, finely chopped
2 cloves garlic, through a press
1/2 cup extra virgin olive oil
10 cups ground and peeled garden tomatoes…or 3 cans (28 oz.) tomatoes pureed in food processor
2 teaspoons each: dried oregano, basil and parsley
3/4 teaspoon each anise seed and fennel seed
1 1/2 teaspoons salt
1/2 teaspoon black pepper
2 bay leaves
1 small can (6 oz.) tomato paste
1 teaspoon sugar (optional)
Heat the olive oil in a large pot and add the onions. Cook until the onions are translucent, then add the garlic. Stir for 10 seconds.
Add the tomatoes and cook on high until the orange foam disappears, stirring frequently. Don’t let it burn.
Add the oregano, basil, parsley, anise seed, fennel seed, salt and pepper, bay leaves and tomato paste. Allow the sauce to just come to a boil so that the tomato paste reaches optimum thickening power.
Reduce the heat to a simmer and cook for at least an hour, until the sauce reaches the desired consistency. Stir often.
While the sauce is cooking, I start the meatballs…
2 lbs. grass-fed ground beef
1 cup plain breadcrumbs (gluten-free breadcrumbs work well, too)
2 tablespoons dried parsley
2 tablespoons dried oregano
1 tablespoon dried basil
1 tablespoon granulated garlic
1 tablespoon onion powder
1 teaspoon black pepper
2 teaspoons salt
2 eggs, cracked and scrambled
1/4 cup extra virgin olive oil
Mix all the ingredients, except the olive oil, thoroughly but gently in a large bowl. Don’t overwork it.
Make the meatballs.
Pour some olive oil a medium-hot pan (don’t let it burn), and place the meatballs in the pan, searing them on all sides until brown.
When the meatballs are nice and brown, place them into the pot of sauce, making sure they are covered. Pour all the little bits and the olive oil from the pan into the sauce as well! Great flavor there.
Cover the pot and cook the meatballs in the sauce on low for a few hours.
Serve the meatballs and sauce over your favorite pasta, and sprinkle with freshly grated Parmigiano Reggiano.
Making this dish gluten-free is easy: use gluten-free pasta and use GF breadcrumbs in the meatballs. I prefer to buy gluten-free loaves of bread, like Uni, toasting them, letting the slices cool, then tossing them in a food processor to make breadcrumbs. The flavor is as good as regular breadcrumbs, and way better than that pre-packaged stuff!
PUMPKIN PIE, CHEESECAKE, AND TIRAMISU…IN 1 GF DESSERT
Posted: November 29, 2021 in espresso, Food, RecipesTags: cheesecake, dessert, food, GF, gluten-free, pumpkin, recipes, Thanksgiving, tiramisu
Last Thanksgiving, I combined several traditional desserts in one: pumpkin pie, cheesecake, and tiramisu. The challenge was also to make it gluten-free. That was actually easier than it sounds.
Rather than using the traditional lady fingers you’d find in tiramisu, I used a gluten-free product that replaces graham crackers. And I served the dessert in individual bowls.
1 1/2 cups heavy whipping cream
2 packages (8 oz. each) cream cheese, softened
1 can (15 oz.) prepared pumpkin
3/4 cup milk
1/2 cup brown sugar, packed
4 teaspoons pumpkin or apple pie spice, divided
2 teaspoons vanilla extract, divided
1 cup strong brewed coffee, room temp ( I use espresso)
1 box (22 oz.) graham crackers or the gluten-free substitute
In a large bowl, whip the cream until soft peaks form. Set it aside.
In another large bowl, combine the cream cheese, pumpkin, milk, brown sugar, 2 teaspoons of the pumpkin spice, and 1 teaspoon of the vanilla. Beat with a mixer until well blended. Fold it gently into the whipped cream.
Pour the graham crackers into a food processor and process until you get very fine crumbs. Pour the crumbs into a bowl.
In a separate small bowl, combine the coffee and remaining pumpkin spice and vanilla. Pour the coffee mixture into the graham crackers a little at a time, and mix with a fork, until it resembles wet sand.
In each glass, alternately layer the pumpkin cream and the graham cracker mix. Serve with a little extra whipped cream on top, or with ice cream on the side.
HOME MADE BEEF JERKY
Posted: March 15, 2021 in beef, Carnivore!, Food, jerky, marinade, RecipesTags: beef, food, GF, gluten-free, jerky, marinade, recipes
1 tablespoon salt
1 1/2 tablespoons granulated garlic
1 teaspoon black pepper
1 teaspoon fresh minced peeled ginger
2/3 cup brown sugar
1 cup teriyaki sauce (I use La Choy)
1 cup soy sauce (I use La Choy)
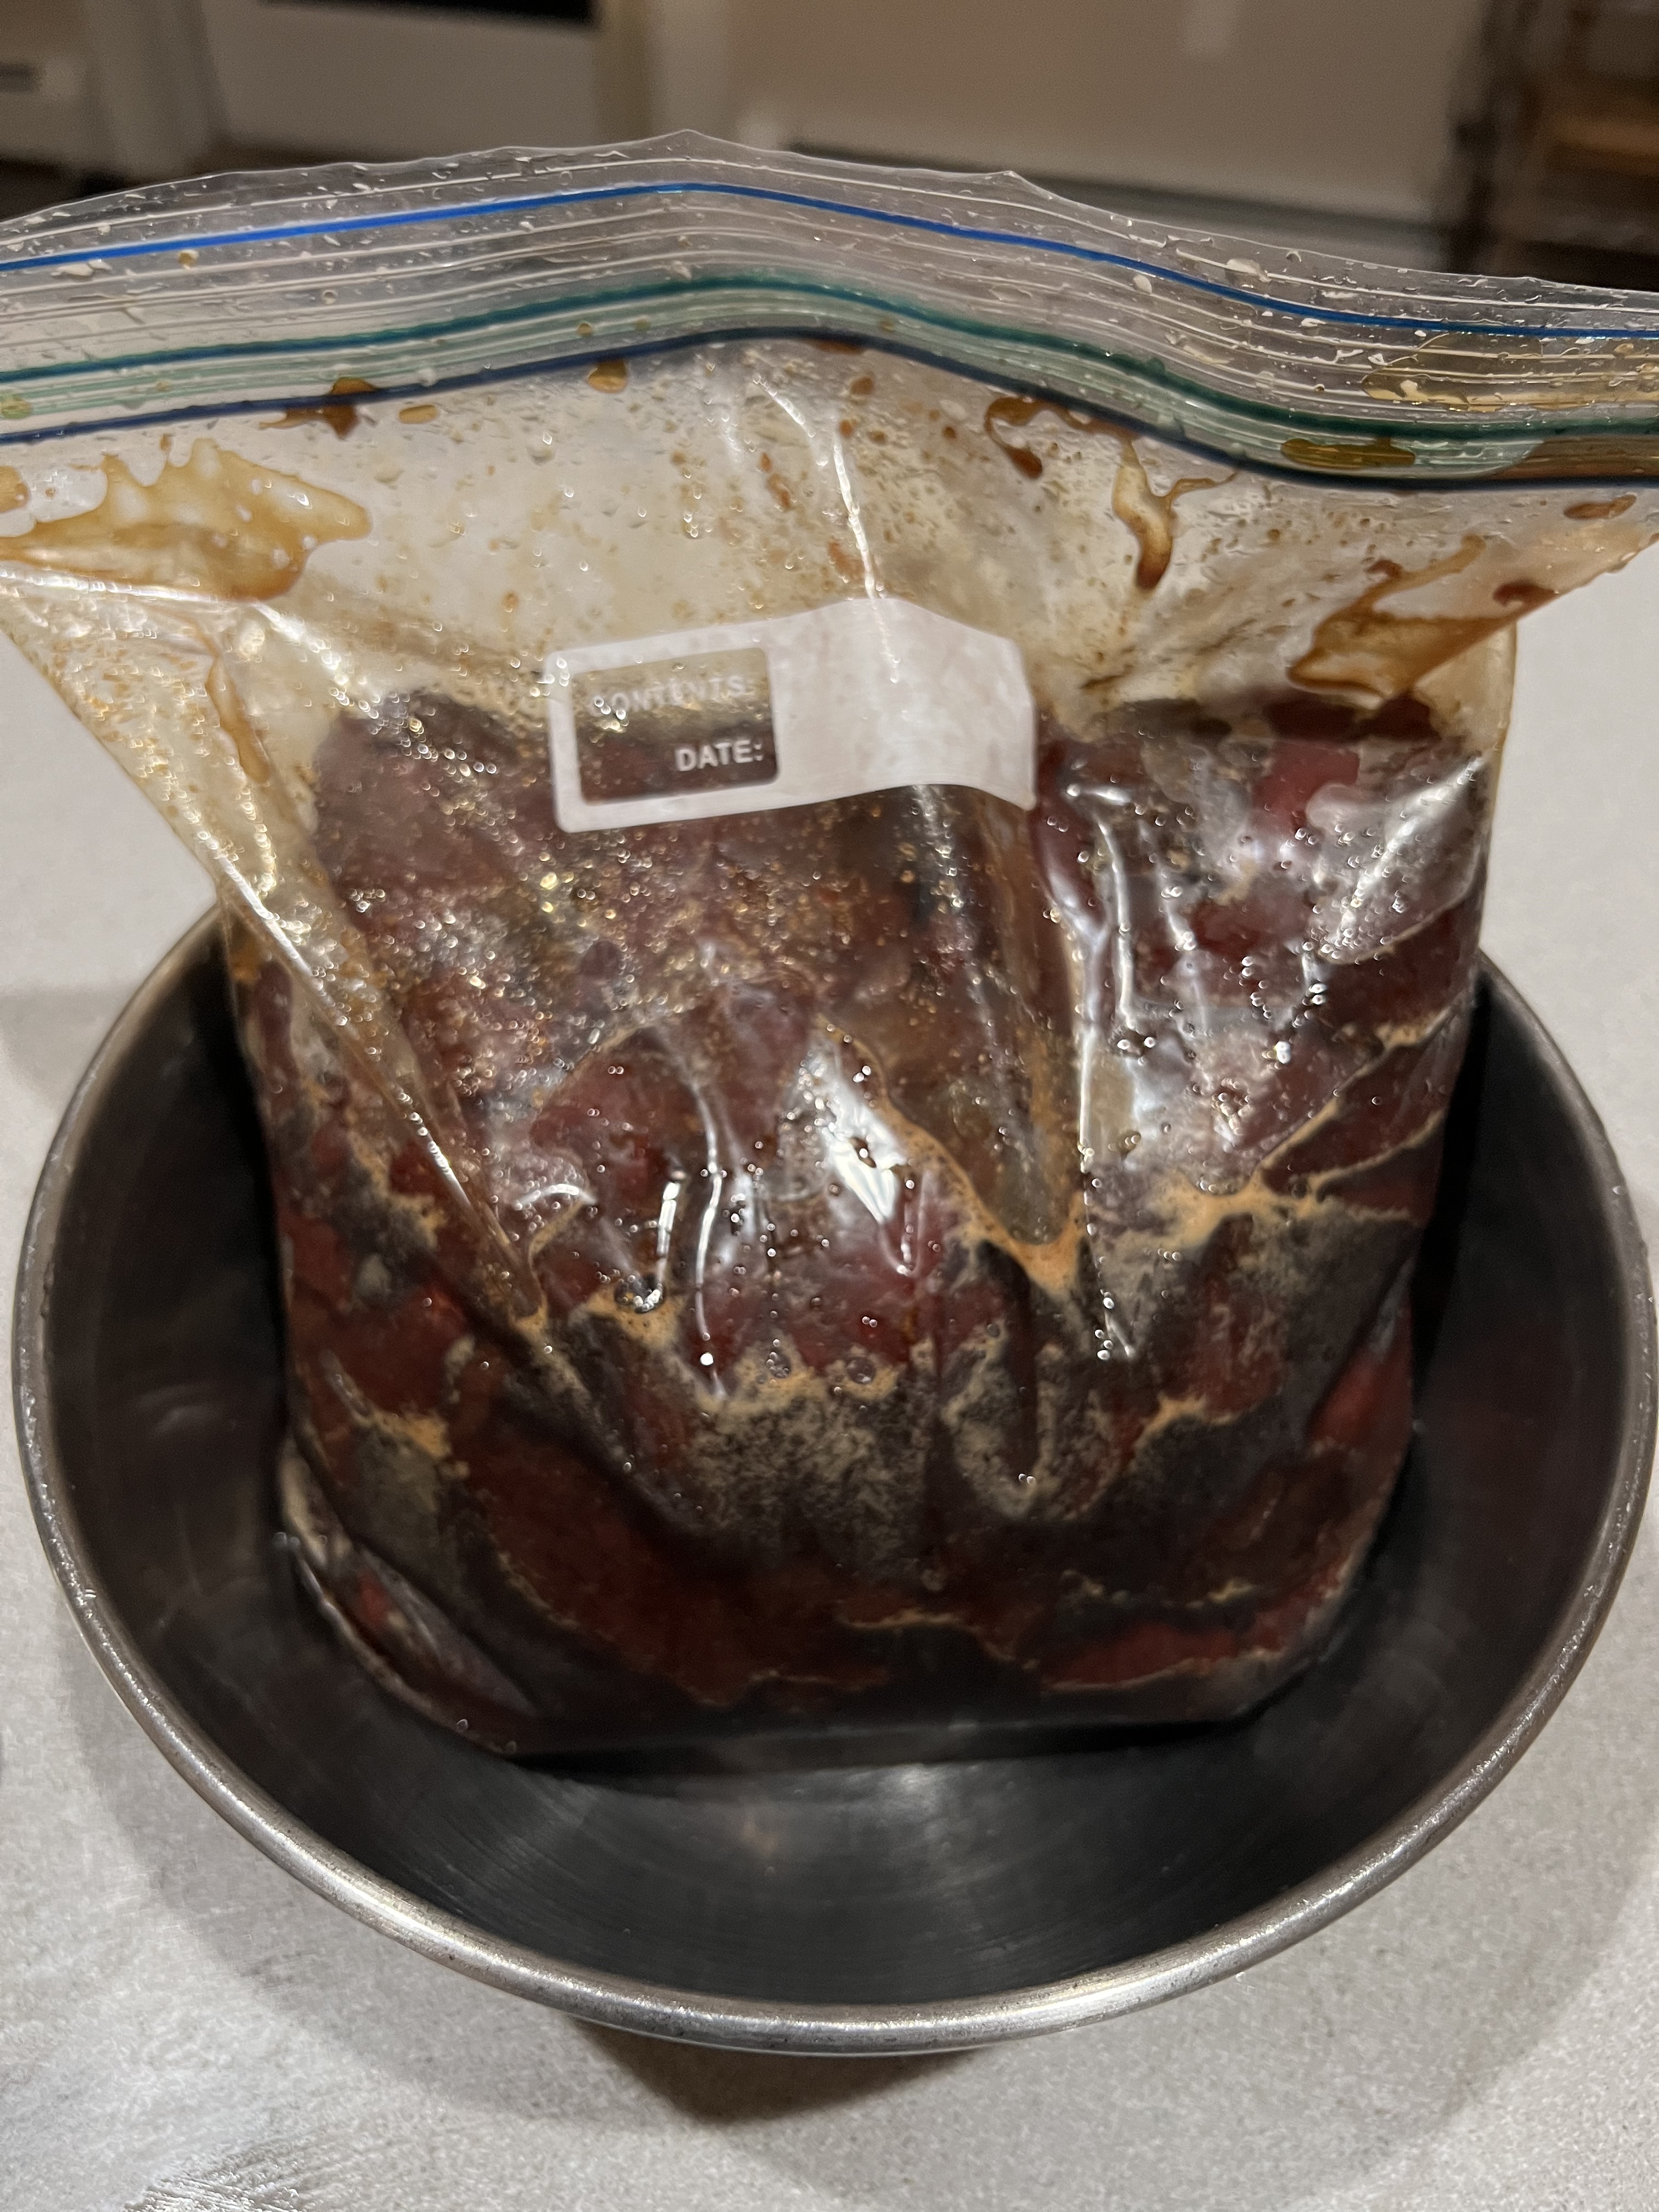
8 lbs. raw, lean beef, like London broil, cut into 1/4″ thick diagonal slices, against the grain of the meat
LITHUANIAN KOLDUNAI (PIEROGIS)
Posted: March 6, 2021 in beef, Food, Recipes, UncategorizedTags: food, GF, gluten-free, koldunai, lithuanian, pierogi, recipes
Back from a vacation down South, visiting some old friends. It was a blast, but nothing says “I’m home” like a favorite childhood dish I would eat as often as I could get my Mom and grandmother to make!
I think I spent half of my childhood in the kitchen, watching my Mom and grandmother make koldūnai (kohl-doo-nayh), the Lithuanian version of a pierogi, by hand, at lightning speed. They would roll a simple dough into a log about 1″ in diameter, then cut it into 1″ pieces, twirling each piece between their fingers to make a flat pancake, filling each with a small spoonful of meat or mushrooms, then fold it over, crimping the edges to make a crescent-shaped dumpling. It blew my mind that they could crank out over a hundred of these little masterpieces in no time, placing them on a cookie sheet and freezing them until it was time to cook.
One of the main reasons why I prefer Lithuanian koldūnai over the basic Polish pierogi is the filling. For me, standard pierogi fillings like potatoes, cheese, and sauerkraut just don’t cut it. My Mom would mix ground beef with chopped onions sautéed in butter, a couple of eggs, and milk crackers soaked in milk. She’d add salt and pepper, then spoon that mixture beautiful beef blend into her koldūnai.
The other delicious stuffing, usually reserved for special holidays like Christmas Eve and Easter, was made from mushrooms. Italy may lay claim to the porcini, but the fact of the matter is, Lithuania is porcini heaven. And when they’re dried and reconstituted, their incredible flavor is so intense, you don’t need many of them to flavor a large amount of regular button mushrooms. We’d get our dried boletes from relatives in Lithuania every year. Mom would place a handful in some boiling water and let them steep until they swelled up and could easily be chopped and added to the other mushrooms. She’d then pour the mushroom liquid into the pan as well, not wasting a bit of that magical porcini flavor. The mushrooms were simply sautéed in butter, cooled, then used to fill the koldūnai.

I found that my Mom’s log method was too much work. I roll the dough out into a sheet with a rolling pin, then cut circles with a glass. Yes, that’s mac-and-cheese up front!
A few years ago, I decided it was time to try my hand at making koldūnai. As I recall, my Mom simply mixed water with flour to make the dough, kneaded it into a log, and off she went. I decided to go with the rolling pin and glass cutting method, because I found it to be a bit easier creating more uniform koldūnai.
The biggest challenges I had with making koldūnai was my own clumsiness and lack of experience. Once I got the hang of it, things moved along steadily, and it didn’t take long for me to make a decent batch–not all perfect, but not bad for a first try.
This time around, I made four kinds of koldūnai: traditional (ground beef as well as mushroom) and non-traditional (mac & cheese and pulled pork.) Patty’s Pierogis, a restaurant in nearby Fall River, Massachusetts, and featured on Food Network’s “Diners, Drive-Ins and Dives,” is where my daughter first had mac & cheese pierogis. She was instantly hooked and begs for them every year.
Here’s my beef recipe…
1/2 onion, finely chopped
1 pat of butter
1 lb. ground beef
1 egg
1/2 cup breadcrumbs
Finely chop the onion and sauté it in the butter until translucent. Let it cool, then add it to 1 lb. of thawed ground beef. Add the egg and the breadcrumbs. Season with salt and pepper. Mix the ingredients thoroughly and keep the meat in the fridge until you’re ready to use it.

Two pots of boiling salted water: one for the meat-filled koldūnai, and one for the mac-and-cheese filled koldūnai…so I don’t get ’em mixed up!
In my childhood home, you cannot possibly serve koldūnai without sour cream on the side and without spirgučiai (spir-guh-chay), chopped and fried bacon and onions that are sprinkled on top.
1 lb. bacon, finely chopped
1 large onion, finely chopped
In a large pan, fry the chopped bacon until it’s almost crisp. Never drain the fat! Add the chopped onions and cook until they are soft. Set aside. (My Mom always kept a stash of spirgučiai in a container in the fridge, and sprinkled them on anything and everything.)
Making the dough is simple.
2 cups all-purpose flour
1 cup water
I don’t use salt in the dough because I boil the koldūnai in salted water later.
Combine the ingredients in a bowl, mixing with your hands. Keep adding flour in small amounts until the dough isn’t wet and sticky. When it forms a nice ball, remove it from the bowl and place it on a floured surface and knead it a bit more. Cut the ball into quarters, and work with these smaller pieces of dough.
For the rolling-pin method, roll each quarter out until the dough is about 1/8″ thick. Cut circles out of the dough using a cookie cutter, rocks glass, or whatever else you have handy. Add about a teaspoonful of filling in the center of the dough, then fold the edges over and pinch them with your fingers. Flip it over and pinch again, making sure none of the filling seeps out. A tight edge means the koldūnai won’t break open when you put them in boiling water.

I recently discovered these “pierogi makers.” You lay the dough in them, add your filling, and then close them. They automatically crimp the edges for you. They work pretty well…sometimes.

I always double-check the crimped edges, because your koldūnai will fall apart in the boiling water if you don’t seal them well!
Place the koldūnai on a sheet pan dusted with flour, and when you’re done, place the sheet pan in the freezer.
Get a large pot of salted water boiling. Drop the koldūnai in gently, being careful not to overcrowd them. If the dough is thin, the koldūnai will be ready when they float up to the surface. A thicker dough will need longer cooking. The best way to know if they’re done is by taking one out, cutting it open and having a look (and taste!)
When plating, sprinkle generously with spirgučiai, and serve with sour cream on the side.
By the way…I have tried making these with gluten-free flour, but with limited success.. The dough needs to have elasticity to stretch and seal properly, and it kept falling apart in my hands. But there are many GF flours out there, and one may just do the trick. If you need to be on a gluten-free diet, you can still enjoy koldūnai by using GF flour for the dough and GF breadcrumbs in the beef. (I buy a loaf of frozen Uni gluten-free bread, toast it, then pulse it in the food processor until crumbly. Works great and they taste great, too.)
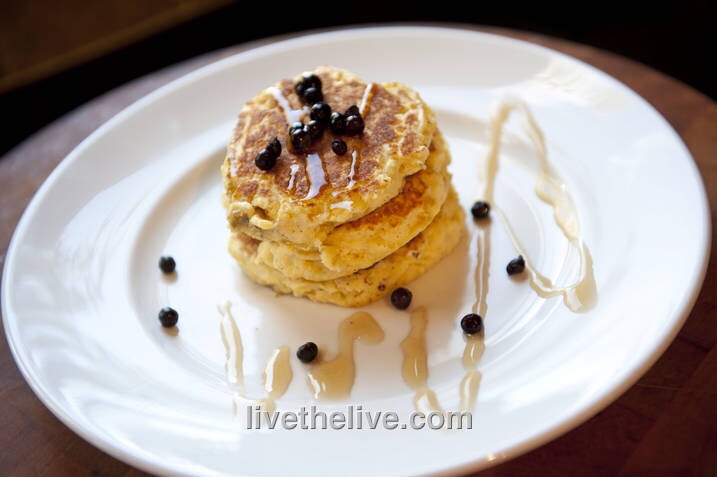
BLUEBERRY CORNMEAL BUTTERMILK PANCAKES WITH LEMON ZEST
Posted: January 24, 2021 in breakfast, buttermilk, Food, pancakes, RecipesTags: blueberry, breakfast, buttermilk, buttermilk pancakes, cormeal, food, GF, gluten-free, pancakes, recipes
1 cup all-purpose flour (or Cup 4 Cup original multi-purpose flour)
1 1/2 cups stone-ground yellow cornmeal
2 tablespoons organic cane sugar
2 teaspoons baking powder
1/2 teaspoon baking soda
1/2 teaspoon salt
2 cups buttermilk (or 1 1/2 cups milk and the juice of 1 large organic lemon)
zest of 1 organic lemon
1 large egg
3 tablespoons melted unsalted butter, slightly cooled
1–2 teaspoons avocado oil
1 cup fresh or frozen blueberries, preferably wild, rinsed and dried
A NOT-SO-CLASSIC GALETTE
Posted: December 26, 2020 in Food, RecipesTags: BAKING, dessert, food, fruit, galette, GF, gluten-free, Julia Child, recipes
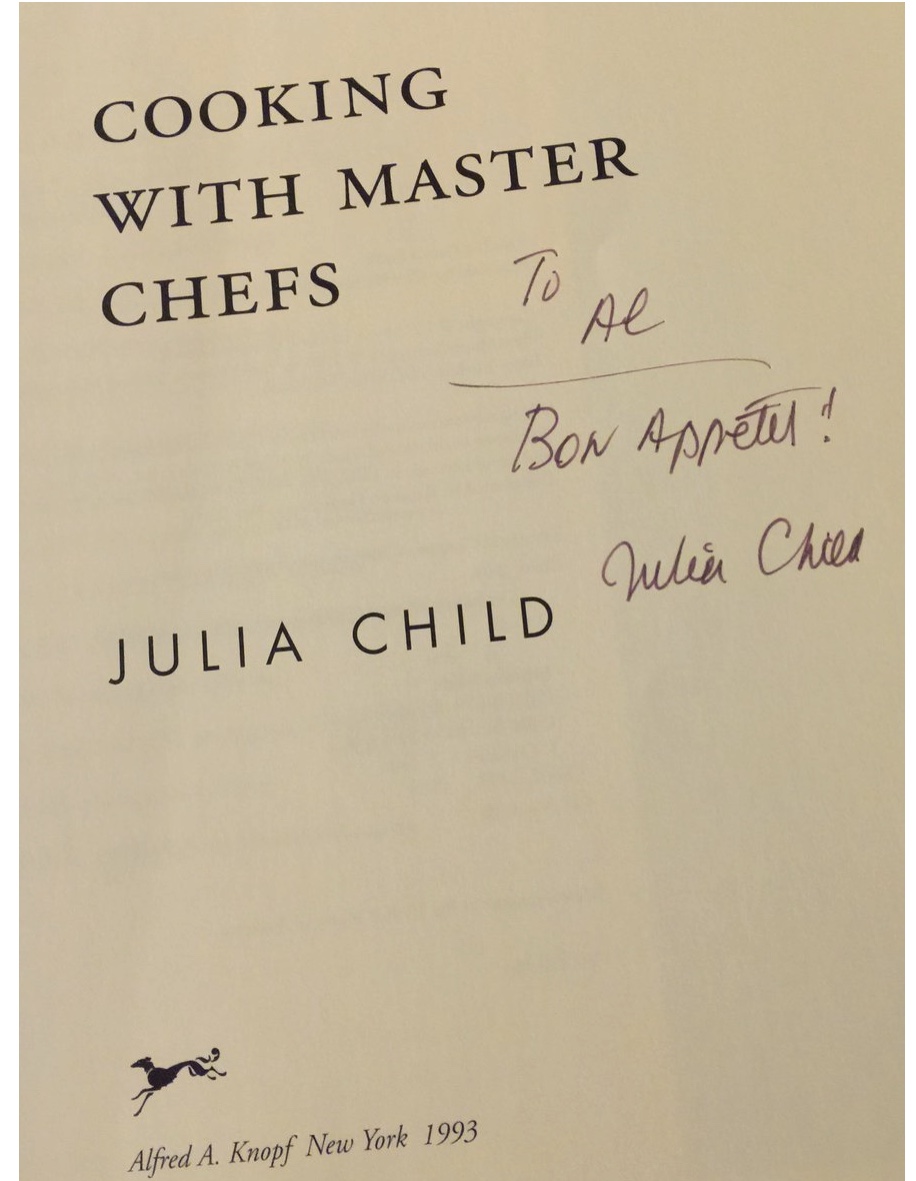
Julia Child was my first guide for many of the dishes that I still make today. My Mom and I would watch “The French Chef” on WNET, Channel 13, our PBS station back home in New York. Later, I’d start buying Julia’s cookbooks, and I was lucky enough to not only interview her, but meet her just a few years before she passed away. She was a lovely, down-to-earth lady, and someone I’ll never forget.
The classic rustic galette was the first dessert I learned how to bake, straight from the pages of “Baking with Julia.” I generally stayed away from desserts because they required a lot of exact measurements, and that just wasn’t my style of cooking. So when I saw that this rustic galette required none of those things, and yet tasted absolutely delicious, I realized I had found my dessert! And the galette was versatile: I could use whatever ripe fruit I could get my hands on, so it became a dessert that changed with the seasons.

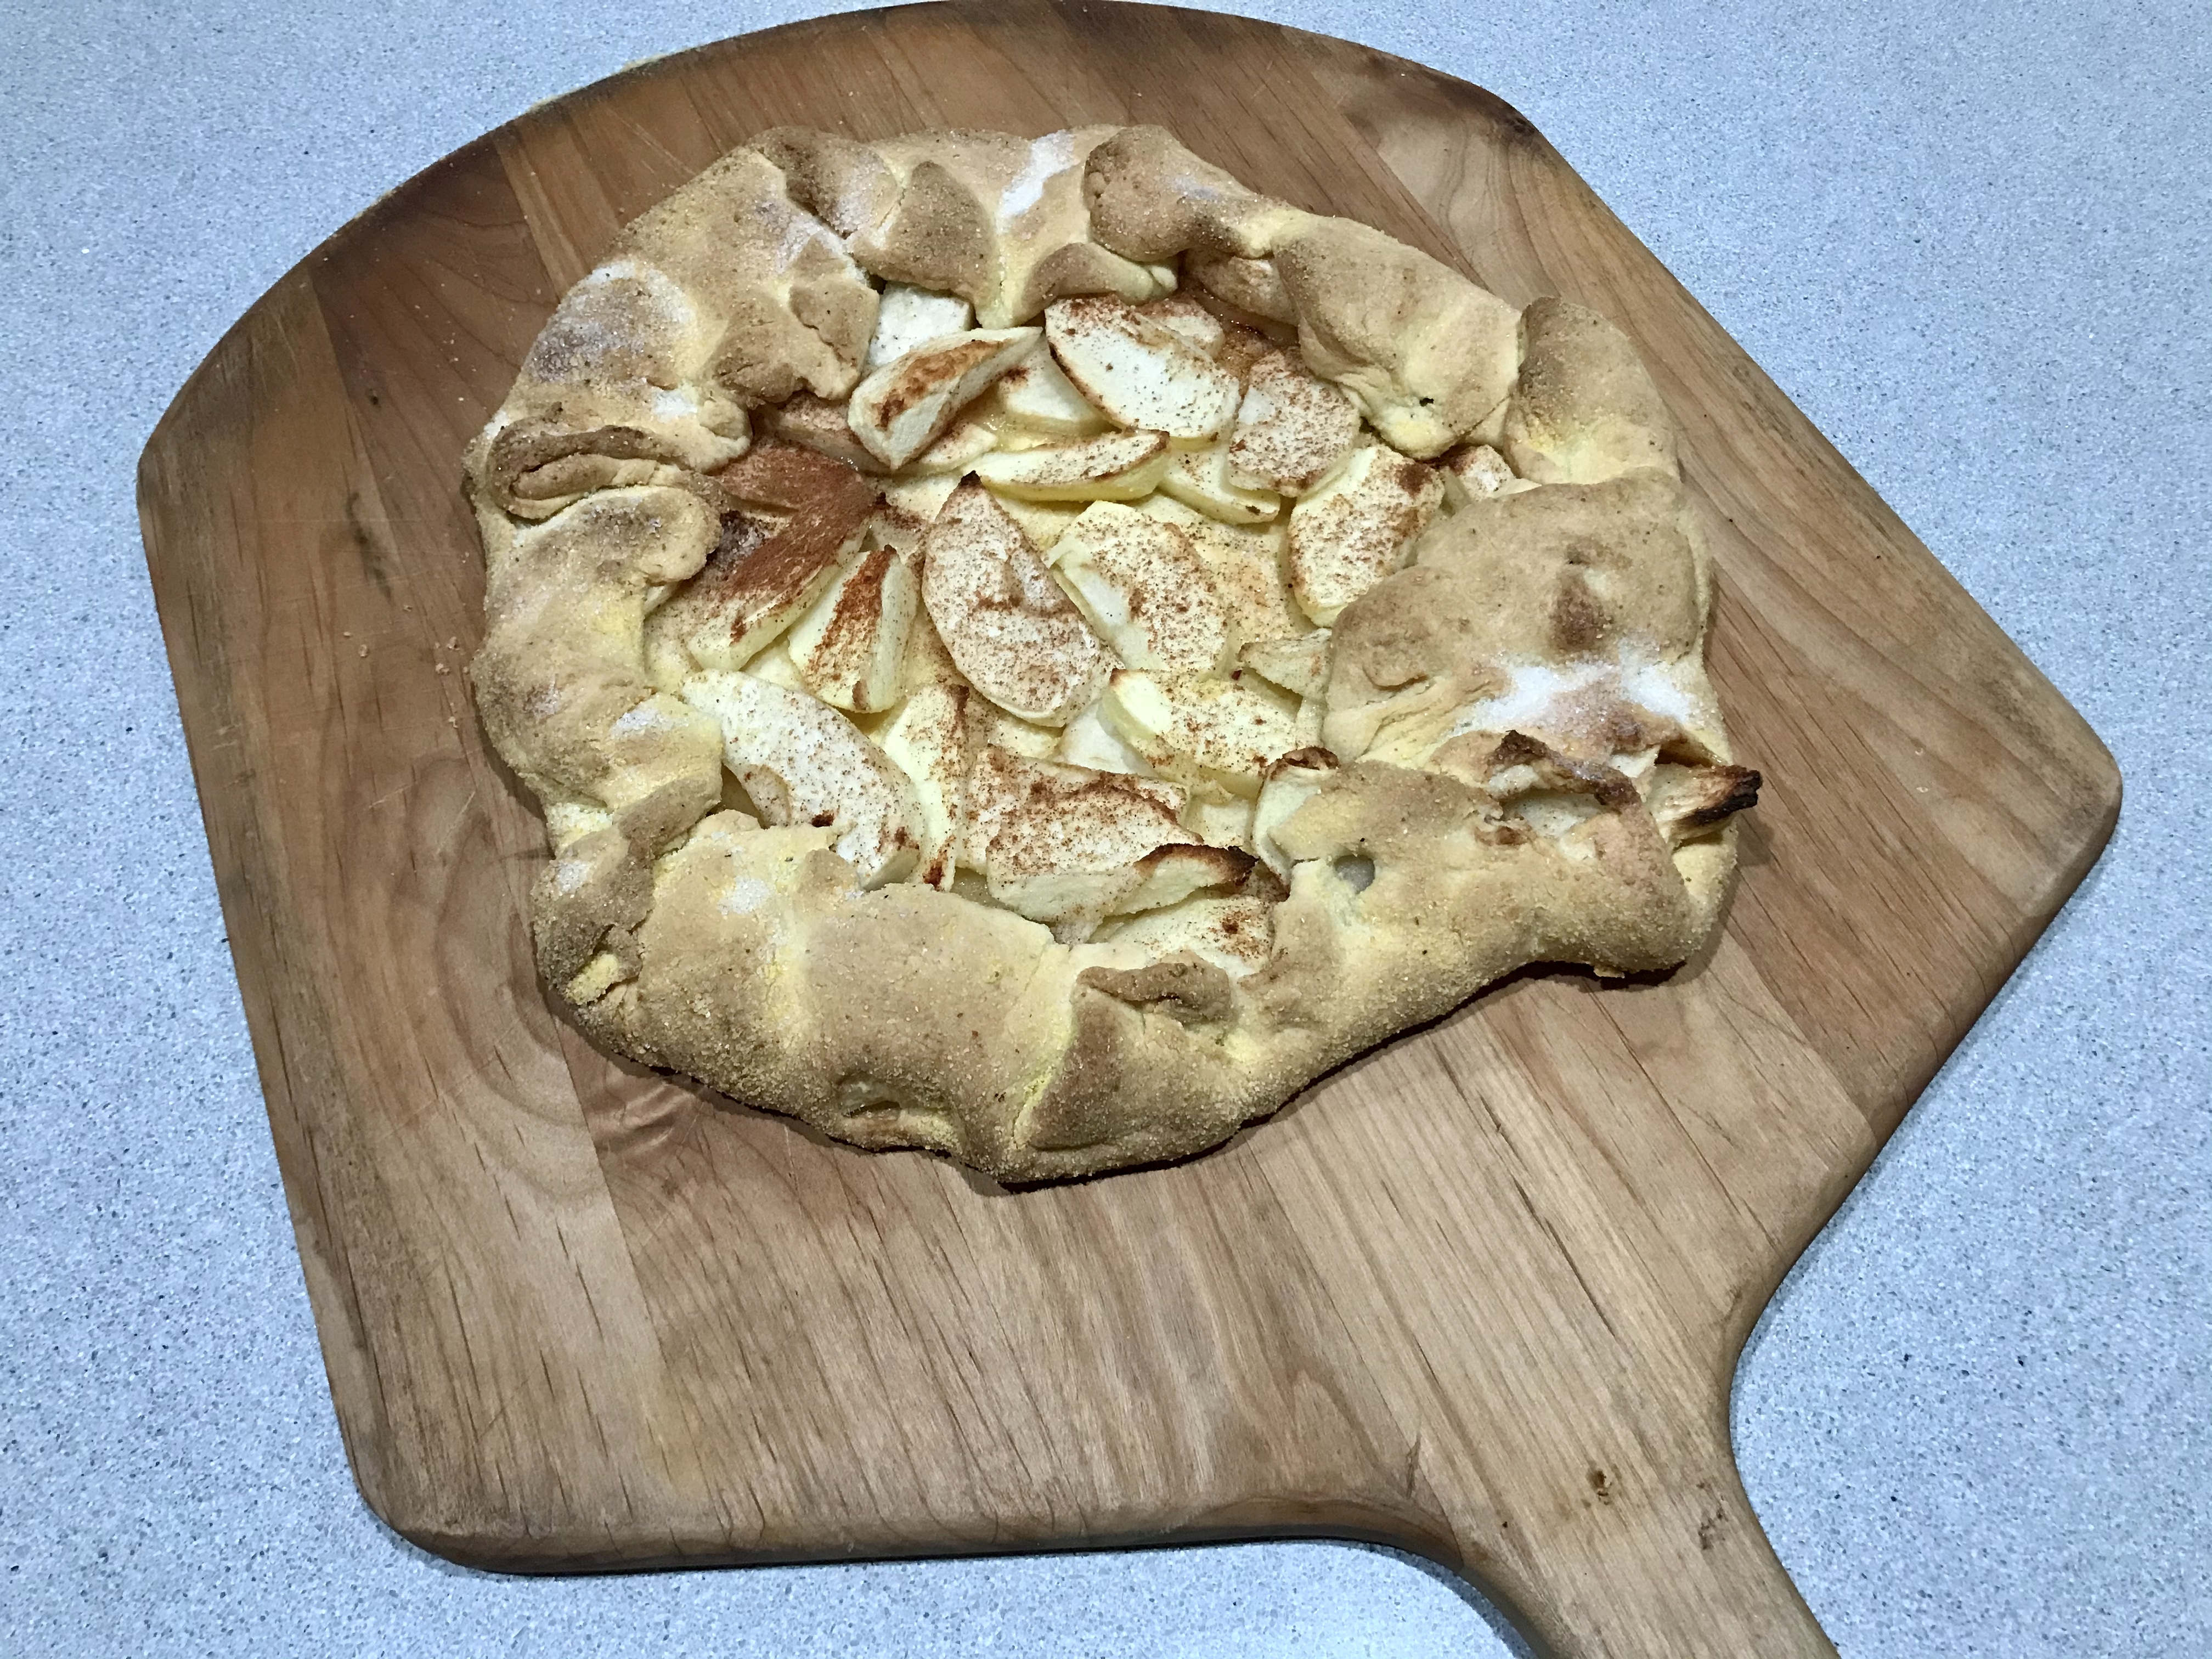
Making one large galette, I found that using my pizza peel was a great way to slide it in and out of the oven easily.
3 tablespoons sour cream
1/3 cup ice water
1 cup all-purpose flour
1/4 cup yellow cornmeal
1 teaspoon sugar
1/2 teaspoon salt
7 tablespoons cold unsalted butter, cut into about 8 pieces
1 1/2 cups mixed fresh berries or cut-up peeled fruit (I used apples)
1 tablespoon plus 1 teaspoon sugar
1 tablespoon cold, unsalted butter
I stirred the sour cream and 1/3 cup ice water together in a bowl and set it aside.
I put the flour, cornmeal, sugar, and salt in the bowl of a food processor fitted with the metal blade and pulsed it to combine.
I dropped the butter pieces into the processor and pulsed 8 to 10 times, or until the mixture was speckled with pieces of butter about the size of a pea. Then, with the machine running, I added the sour cream mixture and processed just until the dough formed soft, moist curds.
The original recipe says to divide the dough in half, pressing each into a disk. This time, I chose to make one large disc, which I wrapped and chilled in the fridge overnight.
I positioned a rack in the lower third of the oven, slid in my pizza stone, and pre-heated the oven to 400.
I spread the apples (or whatever fruit is desired) over the dough, leaving a 2 to 3-inch border. I sprinkled 1 tablespoon of the sugar over the fruit. (A pinch of cinnamon with the apples didn’t hurt, too!) I cut the butter into slivers and scattered it onto the fruit. I carefully folded the uncovered border of the dough over the filling, allowing it to fold naturally onto itself as I lifted it and worked around the galette. It’s supposed to look rustic, so no sweat if it doesn’t look perfect.
Then I dipped a pastry brush in water, lightly brushing the edge of the crust with it, then sprinkling the remaining teaspoon of sugar onto the crust.
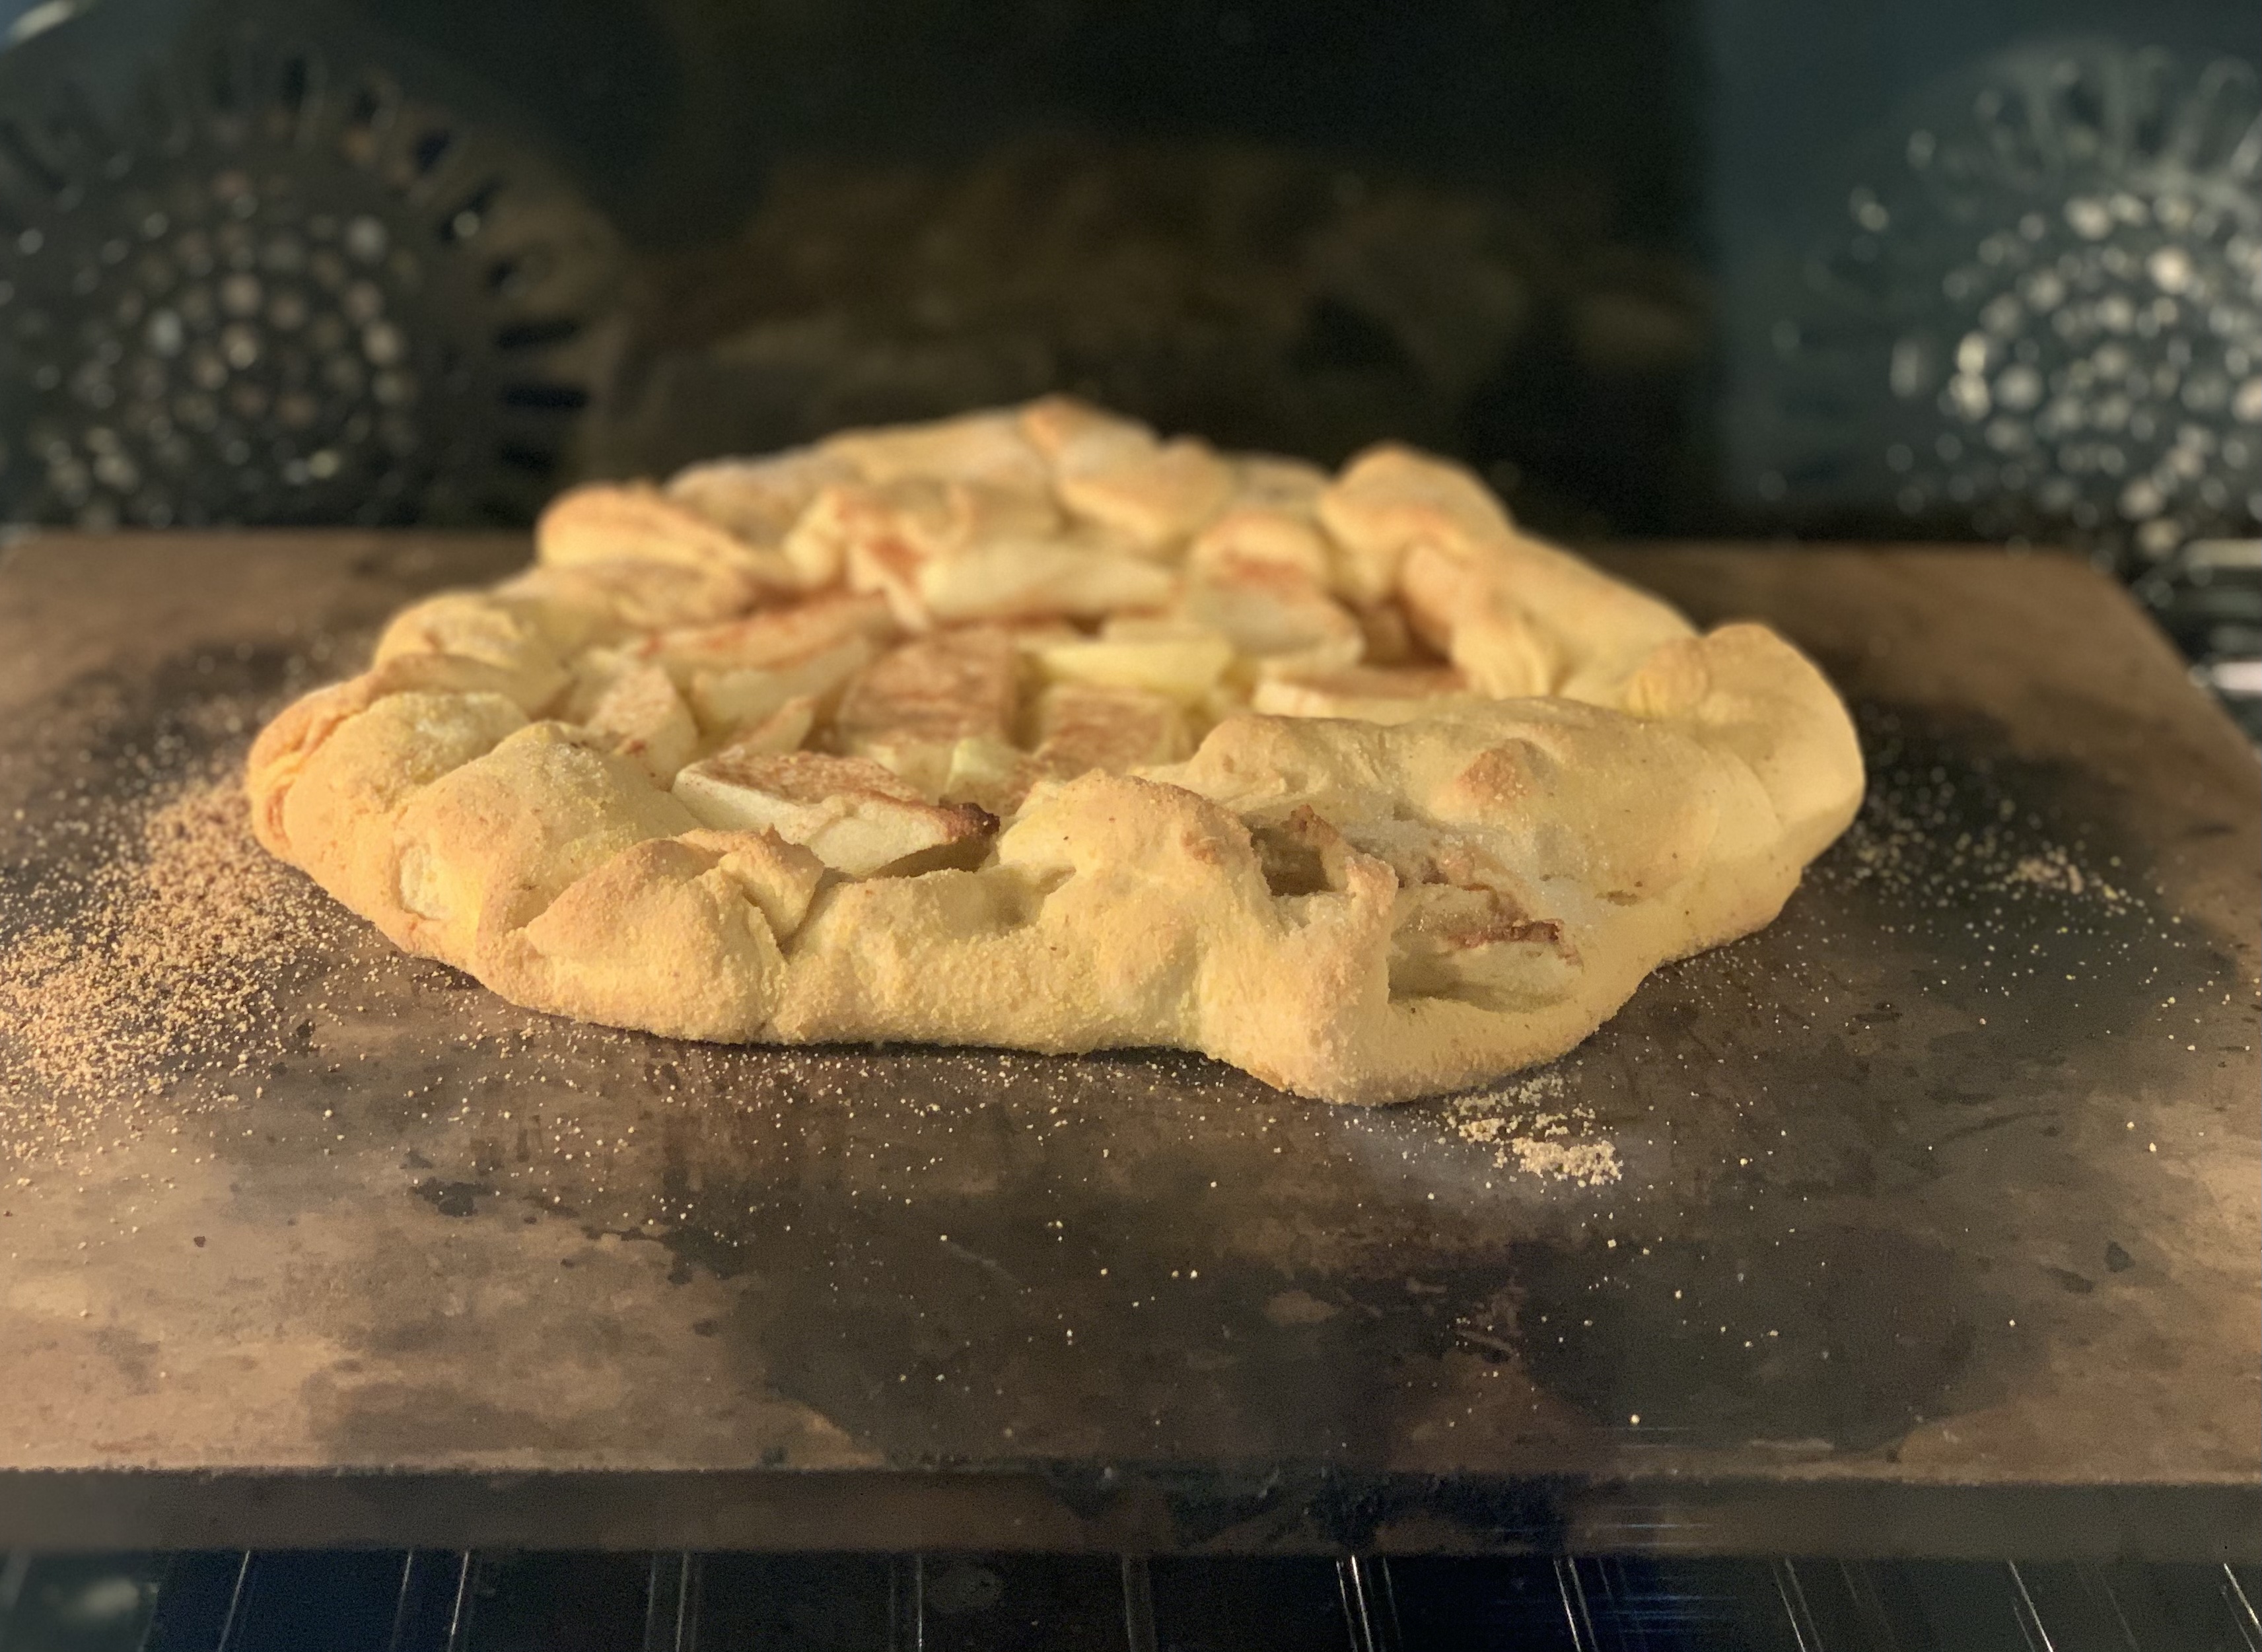
Because I chose to make one large galette, I dusted my trusty pizza peel with corn flour, and built the galette on that, sliding it onto the pizza stone that I heated up in my 400-degree oven.
I baked the galette for 35 to 40 minutes, until it was golden and crisp. I moved the baking sheet to a cooling rack and let the galette cool for 10 minutes. I like to serve it warm with fresh whipped cream on the side.
TIP: I’ve found that despite keeping the butter cold and using ice water, sometimes my dough doesn’t want to cooperate, and I don’t get the pea-sized curds when I’ve added the butter to the processor. Also, when I add the sour cream/water mixture, I often don’t get that ball of dough I’m hoping for.
No worries: I simply scrape the dough out of the processor bowl onto a floured surface, and I knead it gently into a disc. It will be really floppy and mushy sometimes. That’s OK. I just wrap it in plastic and place it in the fridge overnight.
The next day, the dough has firmed up, and I can roll it flat with a rolling pin on a well-floured surface to keep it from sticking. That’s why I like the pizza peel idea so much: I dust it really well with corn meal, which acts like little ball-bearings, build the galette right on top of it. The corn meal keeps the surface slippery so the dough slides right off the peel and into the oven.