Posts Tagged ‘gluten-free’

“WE NEED PIE”

Posted: December 9, 2015 in Food, Recipes
Tags: , , , , , , ,

Back in my younger days, when I could consume mass quantities of carbs without gaining a pound, I baked a wicked good apple pie, and I baked it often. While most apple pie bakers argued over which was better, a crust made with shortening or or one made with butter, my pie crust recipe used both.

These days, I don’t bake apple pies very often. I might bake a galette on occasion, but that’s about it. Besides dealing with the calories, I live in a house where I need to cook gluten-free because of my wife’s allergies, so things like pie were 86-ed off the menu.

Although I can find really good gluten-free flour (the brand I use is called “Cup 4 Cup”), it has its limitations. It’s great for dusting shrimp or fish before frying, or coating a pork chop before cooking, but the dough lacks elasticity, and never holds up well for pizza or pie crusts.

Brands of pre-made gluten-free products, however, are getting better. What once was only found in a gourmet store at a ridiculous price, is now found at the local supermarket at a reasonable price. Freschetta, the frozen pizza company, makes a gluten-free 4-cheese pizza that is absolutely delicious.

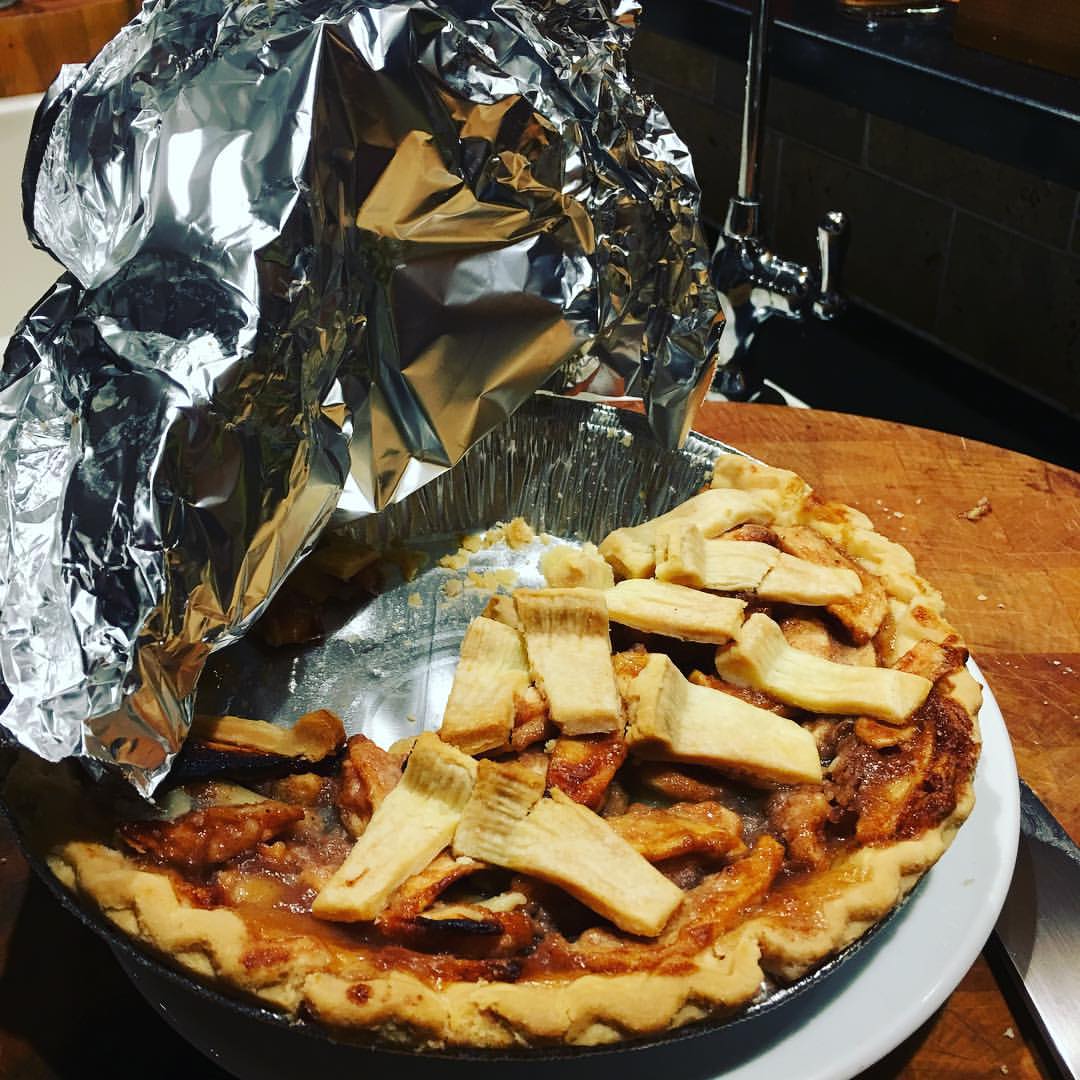
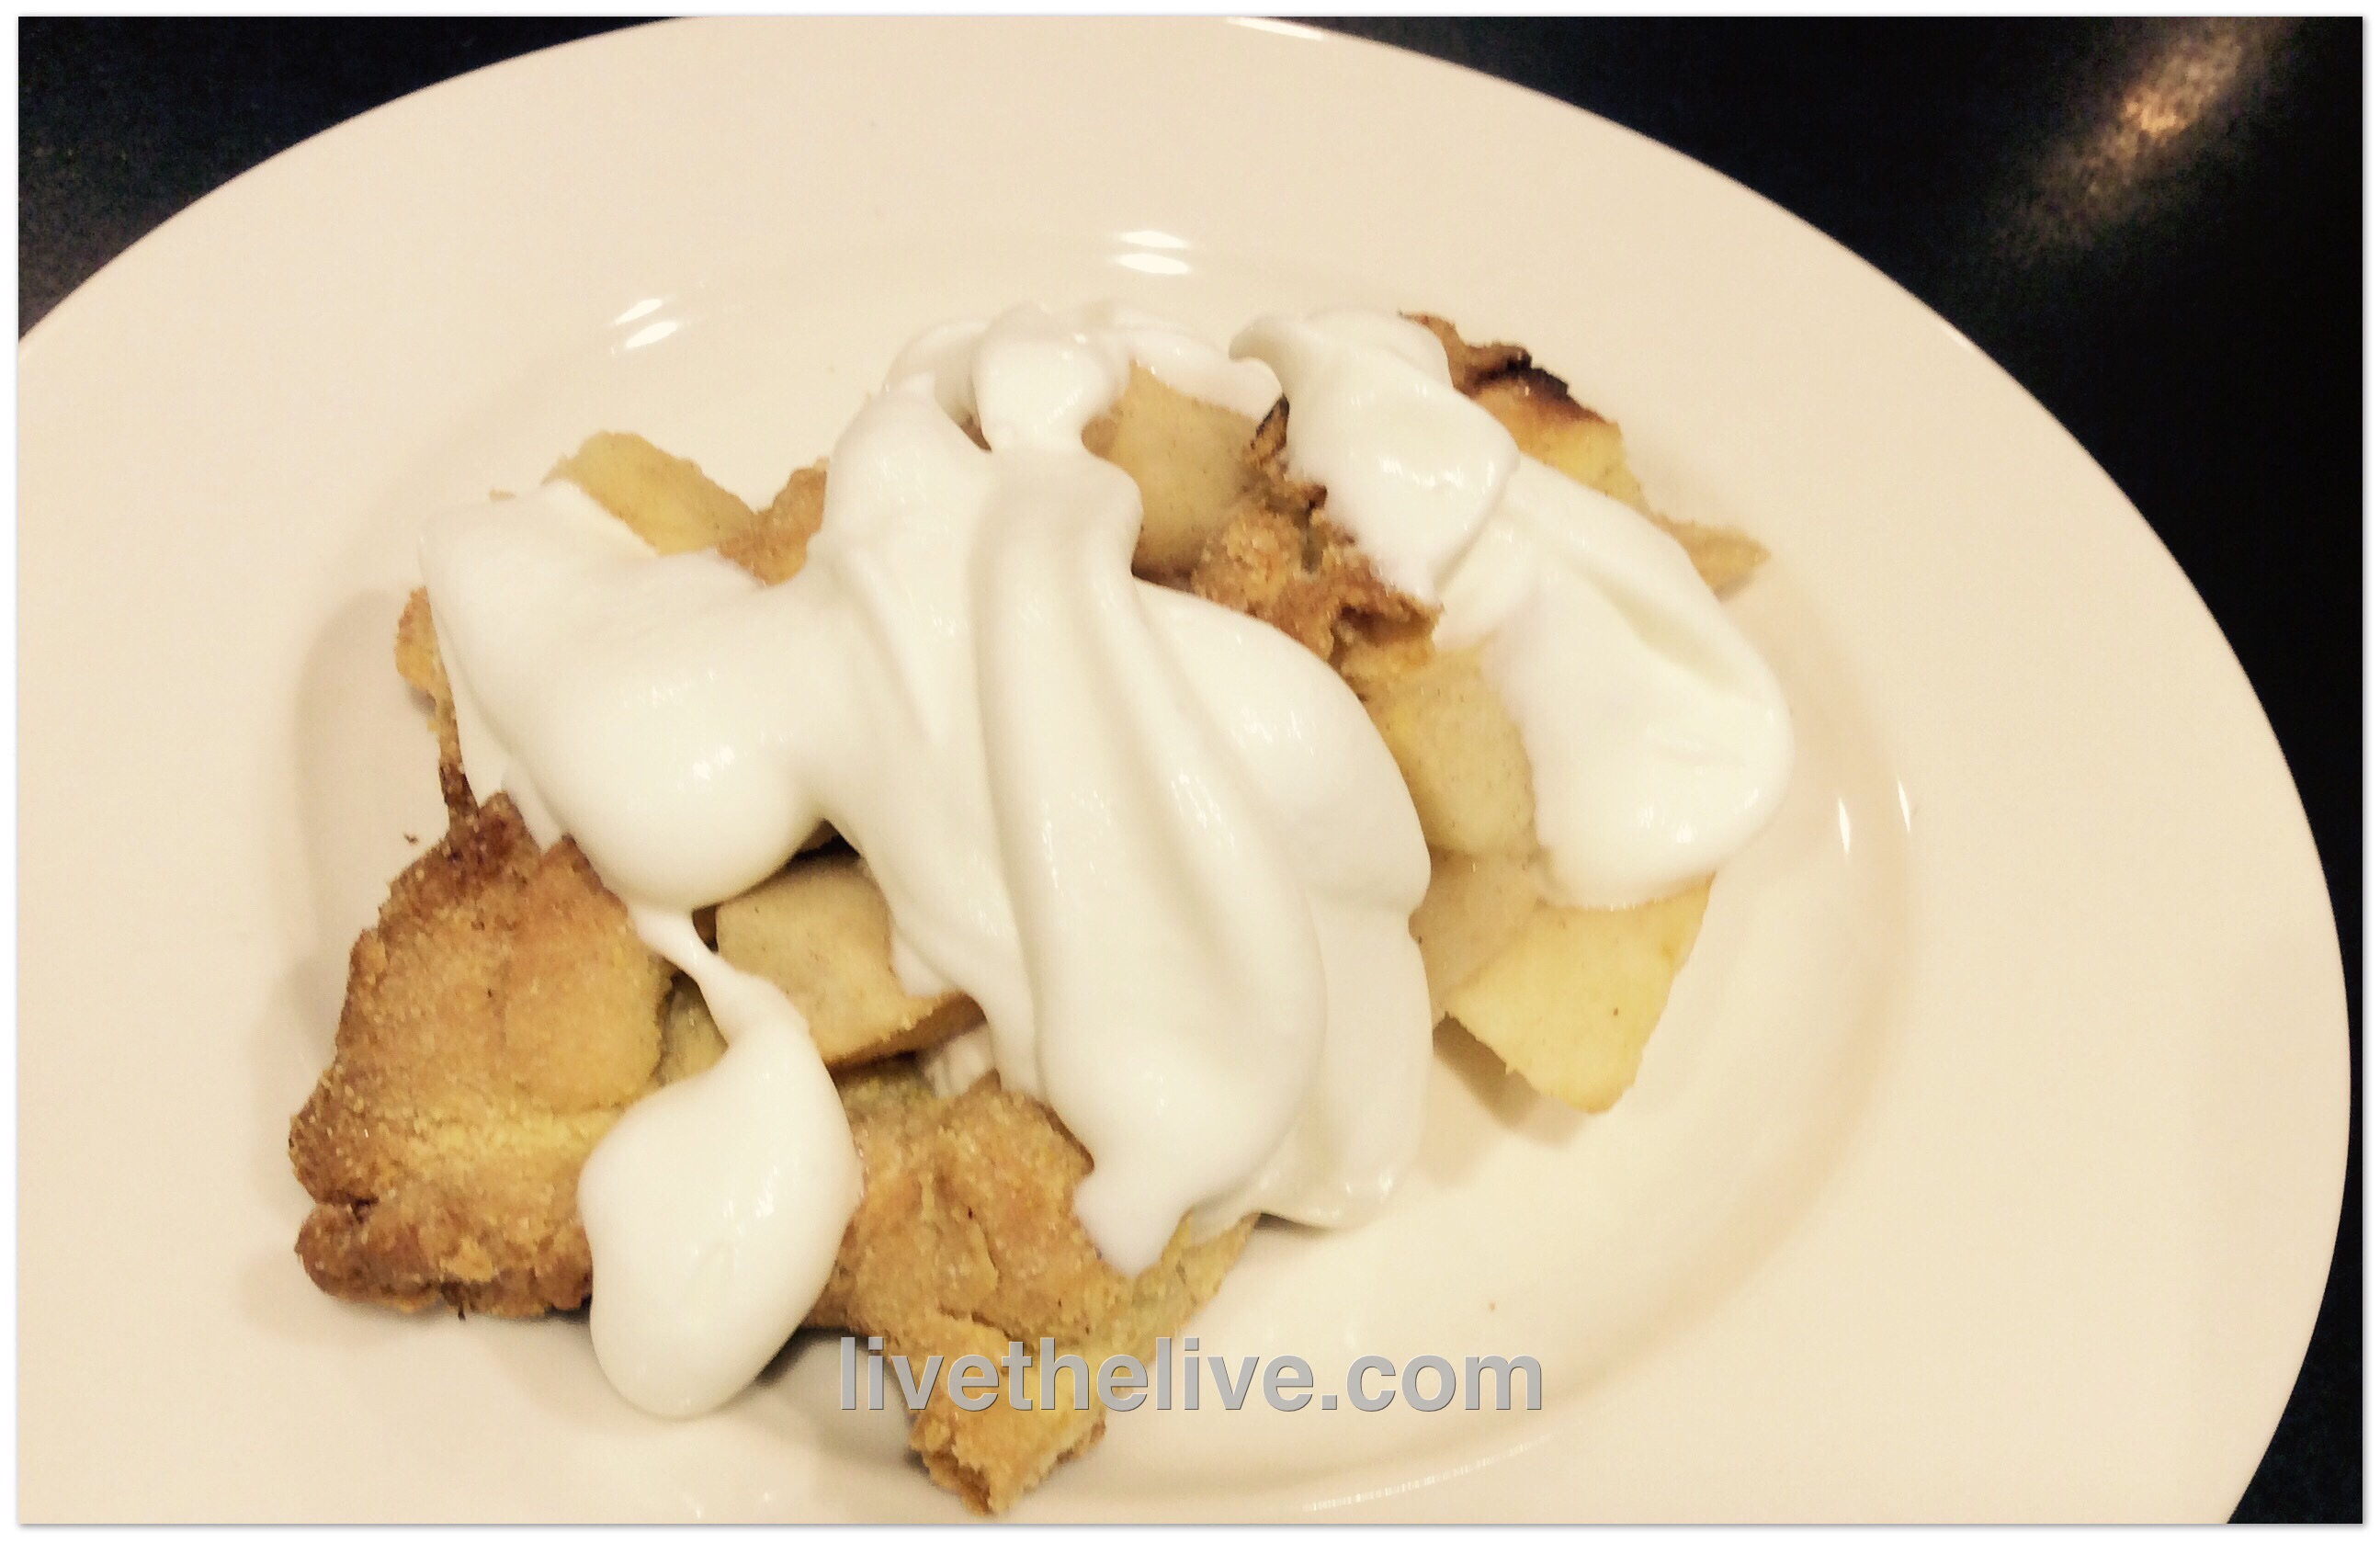
And the other day, I found a 2-pack of frozen GF pie crusts at Whole Foods. No way I couldn’t give that a try. I used one pie crust to hold the pie filling, and I sliced up the second one to decorate the top of the pie. Worked great.

Looks like apple pie is back on the menu!


FullSizeRender

pie dough
2 1/2 pounds apples: peeled, cored and sliced about 1/4″ thick (I like Gala)
1/2 cup sugar
3/4 teaspoon ground cinnamon
pinch of ground nutmeg
1/8 teaspoon ground allspice
3 heaping tablespoons all-purpose flour (I use GF)
4 tablespoons butter, cut into small pieces


Pre-heat the oven to 350.

Place the apple slices in a large bowl and add the sugar, cinnamon, nutmeg, allspice and flour. Mix well.

Pour the apple mixture into the pie plate that already has the pie crust in it. Dot the top of the apples with the butter and either seal the top with more dough, or decorate with whatever pattern of dough makes you happy. If you’re sealing the top with a full layer of dough, make sure you poke a few holes for steam to escape while cooking.

Place the pie on a cookie sheet (to catch any spills) and bake for 30 minutes, with foil wrapped around the edges of the crust to keep it from burning. Then remove the foil and bake about 30 minutes more, until the crust is golden.

12304212_10208013940245236_826204537007565530_o


This past Thanksgiving, I combined several traditional desserts in one: pumpkin pie, cheesecake, and tiramisu. The challenge was to make it gluten-free, since my wife is sensitive to gluten. Rather than using the traditional lady fingers used in tiramisu, I used a GF product that replaces graham crackers. And though it can be presented in a trifle bowl, I made individual servings.
image

1 1/2 cups heavy whipping cream
2 packages (8 oz. each) cream cheese, softened
1 can (15 oz.) prepared pumpkin
3/4 cup milk
1/2 cup brown sugar, packed
4 teaspoons pumpkin or apple pie spice, divided
2 teaspoons vanilla extract, divided
1 cup strong brewed coffee, room temp ( I use espresso)
1 box (22 oz.) graham crackers or gluten-free substitute

image

In a large bowl, whip the cream until soft peaks form. Set aside.
In another large bowl, combine the cream cheese, pumpkin, milk, brown sugar, 2 teaspoons pumpkin spice, and 1 teaspoon vanilla. Beat with a mixer until well blended. Fold gently into the whipped cream.
Pour the graham crackers into a food processor and process until you get very fine crumbs. Pour into a bowl.
In a separate small bowl, combine the coffee and remaining pumpkin spice and vanilla. Pour the coffee mixture into the graham crackers a little at a time, and mix with a fork, until it resembles wet sand.
In each glass, alternately layer the pumpkin cream and the graham cracker mix. Serve with a little extra whipped cream on top, or with ice cream on the side.

Crab is so delicious, but it’s not inexpensive. So a great crab cake is like a great lobster roll: mess with its wonderful flavor as little as possible. There’s no place for bell peppers or any veggies in my crab cakes. Five simple ingredients make the best crab cake you’ve ever had. I always buy wild-caught American seafood, and it’s easy to make this gluten-free as well.
FullSizeRender (7)
1 pound crab meat
1/3 cup oyster crackers (or GF rice crackers, see below)
1 teaspoon Old Bay seasoning
1/2 cup mayo/mustard blend

To make the mayo/mustard blend, combine 1 cup mayo to 1/4 cup mustard. I use Gulden’s mustard. Set aside.

Take the oyster crackers and pulse them in a food processor until it resembles oatmeal…not too fine.

In a bowl, gently mix all the ingredients. Use a 1/2 cup measure, lightly pack the crab mix into the measure with your hands, then pop them out and place on a baking sheet lined with non-stick aluminum foil. Pop them in the fridge for at least 15 minutes to set.

Pre-heat the oven to 350. Place the tray of crab cakes in the oven and bake for 25 minutes, until done.

Any leftover mayo/mustard works great as a tartar dipping sauce. Just finely chop some pickles, add a splash of Worcestershire and/or hot sauce, and mix with the mayo/mustard.

To make this recipe gluten-free, I use GF rice crackers (similar to Saltines in texture) and pulse them in a food processor until it resembles oatmeal.


My original banana bread recipe blog is featured directly below. It’s awesome. But my wife’s dietary needs required that I make some changes. My gluten-free version of the recipe, at the bottom of the page, is so good, you won’t miss the wheat!


The original recipe…

What makes this banana bread special is that it uses whole wheat flour…less sugar…and no artificial extracts that make most banana breads taste like crap. It relies on very ripe bananas to give it its wonderful natural flavor.
It’s not always easy to get bananas to ripen exactly when you’re trying to make your banana bread recipe. So here’s what I do: I by a large bunch of bananas and let them get very ripe at room temperature. I then take 5 at a time (for this recipe), peel them, and place the bananas in a Ziploc bag in the freezer. When it’s time to make banana bread, I just pull one of those Ziplocs out of the freezer, let it thaw, and mash with a potato masher.


Nana bread blog


3 cups all-purpose flour
1/2 cup whole wheat flour
2 tsp baking soda
1/2 tsp salt
1 1/4 cup sugar
3/4 cup vegetable oil
2 eggs
5 medium-sized bananas, peeled and mashed
2 tsp real vanilla extract
Cooking spray

Pre-heat the oven to 350 degrees.
Combine the all-purpose flour, whole wheat flour, baking soda and salt in a medium bowl. Set aside.
Combine the sugar and oil in a mixing bowl and mix at medium speed for 2 minutes. (I use the whisk attachment.) Add the eggs, one at a time. Beat until the mixture is light and lemon colored.
With the mixer running at low speed, add the flour mixture alternately with the bananas, beginning and ending with the flour mixture. Blend well after each addition. Add the vanilla extract and blend some more to mix.
Pour the batter into 2 loaf pans that have been sprayed with cooking spray. Bake for 45 minutes or until a wooden pick inserted in the center comes out clean. Cool 15 minutes in the loaf pan on a wire rack.
Remove from the pan and let it cool completely on the wire rack before slicing.

image


The gluten-free recipe…

Wow…things have changed since I made the original recipe!  First, the flour: My go-to gluten-free flour is the brand called Cup 4 Cup. You can find it in most supermarkets. I only use this flour in this recipe.

image

If you want a slightly more “rustic” flavor, you can substitute 1/2 a cup of corn meal for 1/2 a cup of the flour. I now use organic cane sugar instead of regular sugar. I no longer use vegetable oil, especially not canola, so I use healthier avocado oil. Eggs are pastured when I can get ’em. Bananas are organic. And I rub the pans with coconut oil instead of using cooking spray.

image

4 cups gluten-free flour
2 teaspoons baking soda
1/2 teaspoon salt
1 1/4 cup organic cane sugar
3/4 cup avocado oil
2 eggs
5 medium-sized bananas, peeled and mashed
2 teaspoons real vanilla extract
coconut oil


Pre-heat the oven to 350 degrees.
Combine the flour, baking soda and salt in a bowl. Set aside.
Combine the sugar and oil in a mixing bowl and mix at medium speed for 2 minutes. (I use the whisk attachment.) Add the eggs, one at a time. Beat until the mixture is light and lemon colored.
With the mixer running at low speed, add the flour mixture alternately with the bananas, beginning and ending with the flour mixture. Blend well after each addition. Add the vanilla extract and blend some more to mix.
Pour the batter into 2 loaf pans that have been rubbed with the coconut oil. Bake for 45 minutes or until a wooden toothpick inserted in the center comes out clean. Cool 15 minutes in the loaf pan on a wire rack.
Remove from the pan and let it cool completely on the wire rack before slicing.

Hoisin sauce goes great with every Asian-inspired dish I make. But since my wife needs to eat only gluten-free products, finding GF hoisin is not easy. And when I did find it online, it was ridiculously expensive. So it was time to make it myself. The recipe requires gluten-free soy sauce, which is easily found in any supermarket under the La Choy brand. You can also use Japanese Tamari sauce instead of soy sauce, but read the label: some tamari sauces do contain wheat. (The San-J brand is gluten-free.)

If you do a side-by-side taste test with jarred hoisin, you’ll find that this tastes quite different. But if you use it in your favorite Asian recipe, you’ll see that it works beautifully.

image

4 tablespoons GF soy sauce
2 teaspoons natural creamy peanut butter
1 tablespoon honey
2 teaspoons rice vinegar
1/4 teaspoon granulated garlic
2 teaspoon sesame oil
1/4 teaspoon Sambal chili paste


Combine all the ingredients in a food processor and mix thoroughly, stopping and scraping down the sides of the bowl to incorporate all the ingredients. Keep it in a tightly sealed container, refrigerated.

image

For the dish above…

1 1/2 lbs. boneless country-style pork ribs, cut into pieces
2 tablespoons corn starch
coconut oil
1 onion, peeled and diced
1 summer squash, diced
2 scallions, chopped (green and white parts)
2 heads of broccoli, washed and chopped into individual florets
hoisin recipe (above)

Once you’ve cut the pork into inch-long pieces, place it in a bowl and toss with the corn starch until it’s coated.

Heat a pan til hot. Add a tablespoon or 2 of the coconut oil and then the pork. Cook until the pork has browned on all sides and has cooked through. Scrape the pork out into a bowl and put the pan back on the stove, setting the heat to medium. Add another tablespoon of the coconut oil and saute the onions until translucent. Add the squash and saute for a few minutes until softened. Add the scallions and saute a couple of minutes more. Add the broccoli, tossing the pan ingredients to combine, and then spoon out about 2 tablespoons of the hoisin sauce into the pan, mixing well.

Add the pork and any juices in the bowl back into the pan and toss to combine. Taste carefully to check for seasoning. Add more hoisin if needed. Don’t add too much or it will be too salty.

Serve over rice, if desired.

This is our family’s favorite pancake recipe, but the need to go gluten-free for my wife meant a change in the ingredients. Fortunately, my favorite go-to all-purpose flour, “Cup 4 Cup,” worked so well in this recipe, there was no difference in taste or texture.
 image
1 cup all-purpose flour (or Cup 4 Cup original multi-purpose flour)
1 1/2 cups stone-ground yellow cornmeal
2 tablespoons organic cane sugar
2 teaspoons baking powder
1/2 teaspoon baking soda
1/2 teaspoon salt
2 cups buttermilk (or 1 1/2 cups milk and the juice of 1 large lemon)
zest of 1 organic lemon
1 large egg
3 tablespoons melted unsalted butter, slightly cooled
1–2 teaspoons avocado oil
1 cup fresh or frozen blueberries, preferably wild, rinsed and dried
Whisk the flour, corn meal, sugar, baking powder, baking soda, and salt in a medium bowl
to combine.
In a separate bowl, whisk the egg, lemon zest, and melted butter into the buttermilk to combine.
Make a well in the center of the dry ingredients in the bowl. Pour in the milk mixture and
whisk very gently until just combined. Do not over mix. A few lumps are OK.
Heat non-stick skillet over medium heat. Add 1 teaspoon of oil and use a brush to coat the skillet
bottom evenly. Pour 1/4 cup of the batter into 3 spots on the skillet. Sprinkle 1 tablespoon of the
blueberries over each pancake. Cook the pancakes until large bubbles begin to appear,
about 1 1/2 to 2 minutes. Using a thin, wide spatula, flip the pancakes and cook until they’re golden
brown on the other side, 1 to 1 1/2 minutes longer.
Chow down immediately!
image

Generally speaking, I’m not a fan of many gluten-free desserts or snacks, because they claim to be healthy by avoiding wheat, then compensate for the lack of flavor and texture by overloading with bad fats, salt and sugar. These brownies, which have more of a cake texture than a brownie, are the exception. Thanks to our friend, Linda, who brought these over one night, and got us addicted!

image

9 oz. ground hazelnuts
5 1/2 oz. (2/3 cup) sugar
8 oz. (1 stick) unsalted butter
4 eggs
1 oz. cocoa powder
1 tablespoon baking powder


If you’re using whole hazelnuts, pour them into the food processor and grind them into a powder. Pour the ground hazelnuts into a separate bowl.

Back in the food processor bowl, add the sugar and butter and pulse until combined.  Crack the eggs in a separate bowl, and add them slowly to the sugar and butter, pulsing to mix in between each addition.

Pour the ground hazelnuts into the mixture a little at a time, pulsing after each addition. Add the cocoa powder, straining  through a sieve to keep out lumps, and pulse again. Add the baking powder and  pulse again. Scrape down the sides of the bowl and give it all one last mix.

Pour into a buttered pan and cook at 350 for 30 minutes. Use a deeper pan so that the brownies don’t overflow as they rise while baking.


Julia Child was my first guide for many of the go-to dishes that I still make today. My Mom and I would watch “The French Chef” on WNET, Channel 13, our PBS station back home in New York.  Later, I’d start buying Julia’s cookbooks, and I was lucky enough to not only interview her, but meet her just a few years before she passed away. She was a lovely, down-to-earth lady, and someone I’ll never forget.

The classic rustic galette was the first dessert I learned how to bake, straight from the pages of “Baking with Julia.” I generally stayed away from desserts because cooking them required a lot of exact measurements, and that just wasn’t my style of cooking. So when I saw that this rustic galette required none of those things, and yet tasted absolutely delicious, I realized I had found my dessert! And the galette was versatile: I could use whatever ripe fruit I could get my hands on, so it became a dessert that changed with the seasons.

With my wife’s dietary needs changing, I decided I’d attempt a gluten-free version of the classic galette. The original recipe for the galette dough was one that I could make a couple of days ahead of time, wrap in plastic and keep in the fridge. Then it was simply a matter of bringing the dough back to room temperature before I rolled it out, added the filling, and put it in the oven.

Gluten-free doughs, however, are a bit more high-maintenance. I found that making the dough ahead of time was not an option. I’d remove the dough from the fridge, only to have it fall apart in my hands, with the consistency of Play-Doh. I was still able to form it into a round shape, but it had no elasticity and it just crumbled in my hands.

I used apples, and couldn't even fold the dough over the sides because it kept crumbling. Despite the fact that it wasn't too pretty, it tasted great!

I used apples, and couldn’t even fold the dough over the sides because it kept crumbling. Despite the fact that it wasn’t too pretty, it tasted great!

So now I make the dough right before I want to use it. You can make the dough by hand, but I use a food processor.


For the dough:

3 tablespoons sour cream

1/3 cup ice water

1 cup all-purpose flour (I use gluten-free)

1/4 cup yellow cornmeal

1 teaspoon sugar

1/2 teaspoon salt

7 tablespoons cold unsalted butter, cut into about 8 pieces


Everything looks better when you cover it with whipped cream!

Everything looks better when you cover it with whipped cream!

For the berries: (per galette)

1 1/2 cups mixed fresh berries or cut-up peeled fruit (I used apples)

1 tablespoon plus 1 teaspoon sugar

1 tablespoon cold, unsalted butter


Stir the sour cream and 1/3 cup ice water together in a bowl and set aside.

Put the flour, cornmeal, sugar, and salt in the work bowl of the food processor fitted with the metal blade and pulse to combine.

Drop the butter pieces into the processor and pulse 8 to 10 times, or until the mixture is speckled with pieces of butter about the size of a pea. With the machine running, add the sour cream mixture and process just until the dough forms soft, moist curds. Don’t overdo it!

Remove the dough from the processor, divide it in half, and press each half into a disk. If you’re not using gluten-free flour, wrap the discs in plastic and chill for at least 2 hours.

If you’re  going gluten-free, line a baking sheet with parchment paper for each disc of dough. Put the dough on a lightly (GF) floured work surface and roll it into an 11-inch circle that’s about 1/8″ thick. Carefully transfer it to the prepared baking sheet. If it falls apart, just press it back together on the parchment. (It’ll still taste great!)


Position a rack in the lower third of the oven and pre-heat to 400.


Spread the berries over the dough, leaving a 2 to 3-inch border. Sprinkle 1 tablespoon of the sugar over the fruit. Cut the butter into slivers and scatter it onto the fruit. Fold the uncovered border of the dough over the filling, allowing it to fold naturally onto itself as you lift it and work around the galette. It’s supposed to look rustic, so don’t sweat it. Dip a pastry brush in water, lightly brush the edge of the crust with it, then sprinkle the remaining teaspoon of sugar onto the crust.

Bake the galette for 35 to 40 minutes, until it’s golden and crisp. Move the baking sheet to a cooling rack and let the galette cool for 10 minutes. Serve warm or at room temp. Use a pizza wheel or sharp knife to cut into slices.


A little whipped cream never hurts!


I always thought that spaghetti squash was a sort of “gimmick” vegetable. Who really ate this thing? I mean, if I wanted squash, I’d just buy a zucchini, chop it up and cook it. Why do I need a food that resembles another food I like?

Well, the answer to that question came to me when I could no longer eat the other food: pasta, because I was on a low-carb, no-carb diet. I was making meatballs and I was craving pasta. So I grabbed a couple of spaghetti squash at the store.

Cooking them certainly was easy. I washed them, cut them in half, and removed the seeds and membrane stuff with a spoon. I flipped them onto their backs, skin side down, and drizzled some extra virgin olive oil on them. A little sea salt and pepper, and then I flipped them back down, skin side up, on a sheet pan lined with non-stick aluminum foil. Into a pre-heated 350 degree oven for 30–40 minutes. When they were soft to the touch, I removed the sheet pan from the oven, flipped them back over again, and let them cool to room temperature. Then I simply spooned out the flesh, and it came out in strands, like spaghetti.

image

While the squash roasted in the oven, I made the meatballs. My wife is on a gluten-free diet, so I used gluten-free bread crumbs. The carb count of GF bread crumbs is about the same as regular bread crumbs, around 75 carbs per cup. I used 1 cup to make 25 meatballs, so they had about 3 carbs a piece. Not super low carb, but not awful.

Here’s how it went down…

image

For the balls…

1 lb. pastured ground veal
1 lb. ground grass-fed beef
1 cup GF breadcrumbs
2 eggs, cracked and scrambled

2 tablespoons dried parsley

2 tablespoons dried oregano

1 tablespoon dried basil

1 tablespoon granulated garlic

1 tablespoon granulated onion

1 teaspoon black pepper

2 teaspoons salt


Mix all the ingredients in a large bowl and form into meatballs. Place them in a hot pan with 1/4 cup of extra virgin olive oil. Cook until the meatballs are browned on all sides.


For the sauce…

2 cans (28 oz.) of tomatoes, pureed

olive oil

1/2 onion, finely chopped

1 tablespoon dried parsley

1 tablespoon dried oregano

1 teaspoon dried basil

1 teaspoon granulated garlic

2 teaspoons salt

1/2 teaspoon fennel seeds

1/2 teaspoon anise seeds


In a large pot, saute the onions in a little olive oil until translucent. Add the pureed tomatoes and cook at medium heat until the foam disappears.

Add all the herbs and spices and mix well. Continue cooking on medium heat, lowering to a simmer if the sauce seems to be boiling too hard.

Add the meatballs to the sauce when the meatballs have been browned on all sides. Pour the entire contents of the meatball pan, including the olive oil and fat, into the tomato sauce pot.

Make sure all the meatballs are covered with the sauce. Place a lid on the pot, and simmer for at least an hour, until the meatballs are cooked all the way through.

image

To serve:

Scrape the spaghetti squash with a spoon and place a mound of it in the center of the serving dish. Top it with the meatballs and sauce. Grate some Parmigiano-Reggiano over the top, or do what I did this time, and cut a slab of mozzarella di bufala into small cubes and toss on top. A little sprinkle of oregano and olive oil for good measure on top.


Even the "breaded" pork chop makes this meal gluten-free. See below...

Even the “breaded” pork chop makes this meal gluten-free. See below…

Beet season is in full swing right now. They’re healthy and delicious…and they also store really well, so you can enjoy them all winter long. Combining them with quinoa, cheese and arugula makes a great salad that goes well with this pastured heritage pork chop.

To keep the meal gluten-free, I used all-purpose gluten-free flour to dust the chop after I dipped it in egg. Then I seasoned it with garlic salt, pepper, and some freshly minced sage and rosemary. I seared it in a hot pan with organic canola oil, then finished cooking it in a 350-degree oven.


Ingredients for the beet salad:

1/2 lb beets, cooked and sliced
2 cups cooked quinoa
1/2 cup extra virgin olive oil
1/2 cup red wine vinegar
1 teaspoon sugar
1/2 clove garlic, through a press
1/2 teaspoon salt
1/4 teaspoon ground black pepper
1 scallion, finely minced
2 cups baby arugula
5 ounces feta cheese, crumbled

Prepare quinoa according to package instructions. I like to substitute half of the water with homemade chicken stock.

While the quinoa is cooking, combine olive oil, vinegar, sugar, garlic, salt and pepper in a separate bowl.

Once the quinoa has cooked, place it in a bowl and add half of the dressing, mixing gently with a fork to fluff up the quinoa. Place in the fridge to cool completely.

I like to use the product LoveMyBeets, where they come fully cooked and peeled, ready to slice. Slice the beets and place them in the bowl of quinoa. Add the scallions, arugula and cheese. Mix well.

When the mixture has cooled down, taste and add more of the dressing if needed.