Posts Tagged ‘pork’

The Saturday before Labor Day is traditionally considered to be International Bacon Day. So that makes it September 5th this year.

Let’s face it: there are few foods as magical as bacon. Add bacon to just about any dish you’re preparing, and it elevates it to incredible new heights of flavor. The BLT is possibly the greatest food combination ever invented: just a few simple, fresh ingredients, when placed together, transforming into one of the most amazing sandwiches on planet Earth.

I buy my bacon on-line from Burger’s Smokehouse, a family-run business in Missouri that not only sells some great bacon (get the thick-sliced country bacon—my favorite), but also smoked turkeys, ham and more.

But I also make my own.

Bacon comes from the pork belly. One of the places I buy pork bellies is from my friends at Fire Fly Farms in Stonington, CT (www.fireflyfarmsllc.com). I follow the simple curing techniques outlined in “Charcuterie,” a great book written by Michael Ruhlman and Brian Polcyn.

To cure bacon, all you really need is salt and sugar, and what they in the curing biz call “pink salt,” which is not to be confused with salt that happens to be pink, like Himalayan salt you would find in a gourmet store. Pink salt is bright pink—to let you know that this is special salt that should only be used in small quantities for curing. The reason for that is because it has nitrites. Nitrites delay the spoilage of the meat, and help keep the flavors of spices and smoke. They also keep the meat nice and pink instead of an unappetizing gray. That’s good. But nitrites can break down into nitrosamines, which have been known to cause cancer in lab animals. But let’s face it: you would need to eat a ton of cured meat to really worry about this.

To make the basic dry cure:

1/2 lb. kosher salt
1/2 cup light brown sugar
1 teaspoon coarsely ground black pepper
1 ounce (5 teaspoons) pink salt
optional ingredients: garlic, onion

Mix the ingredients well. An important note: all Kosher salts do not all weigh the same, so go by the weight and not a cup measurement.

Once you rub the pork belly with the basic dry cure, place it in a Ziploc bag, squeeze the air out of it, and seal it tightly. Place it in the fridge for a couple of weeks, flipping it over every few days to let gravity do its work. You’ll see that the salt will draw moisture out of the meat and form a brine. This brine will continue to cure your pork belly, so leave it in there.
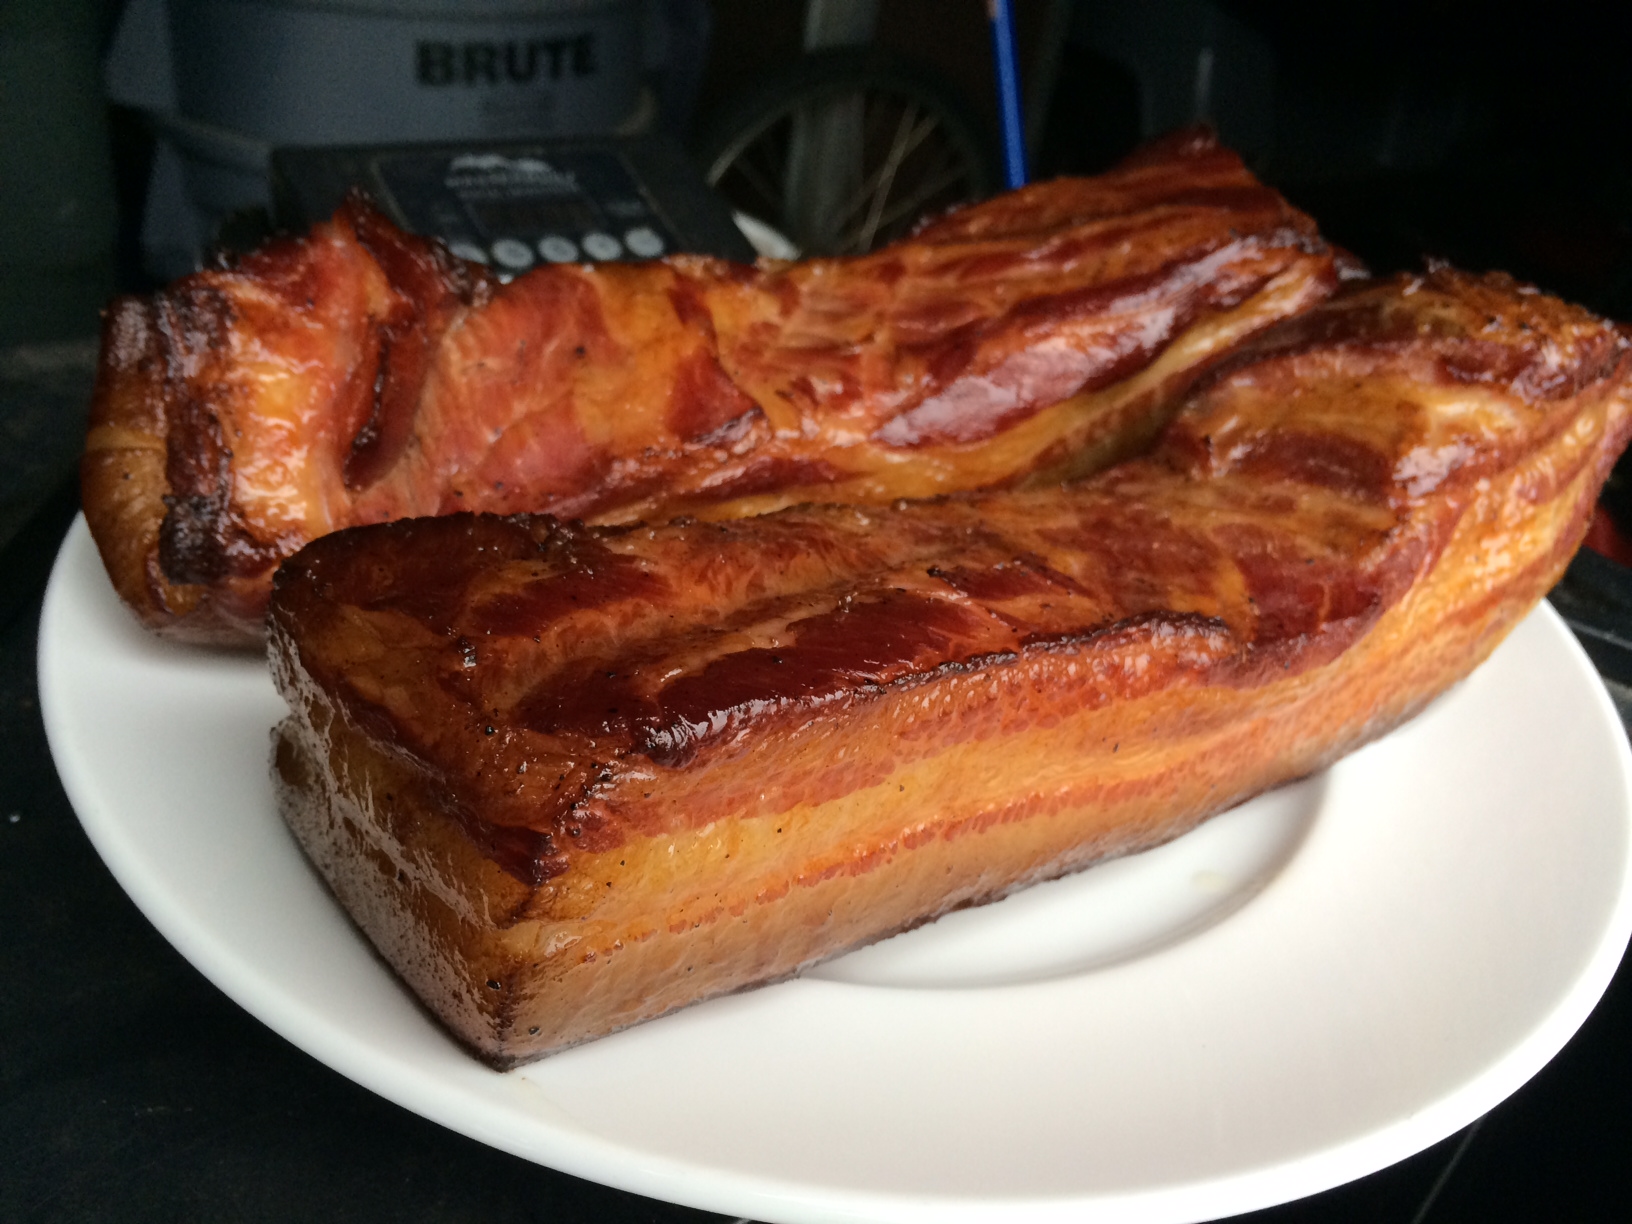
Once the pork belly has been cured, wash the brine off the meat, pat it dry with paper towels. Now it’s time to cook. You can simply cook the pork belly at 200 degrees for about 2 hours, until the internal temperature reaches 160 degrees, or place the pork belly in a smoker, cooking it at 250 degrees for 1 hour, then adding hickory chips and smoking it at 250 degrees for another hour. I use my digital smoker to do this.


Bellies in the smoker

Bellies in the smoker.


Smoked bacon

Smoked bacon

That’s it. You have achieved bacon!

The reward is so worth the effort. That first slice you cut off your bacon and toss in a pan to lightly fry for a few moments will be the best bite you’ve ever had in your life!
And if you’re making one slab of bacon, why not make it three or four? It freezes well. And…you will eat it. You know you will!
Frying in the pan!

Frying in the pan!

When I used to go to my favorite barbecue place and asked for a pulled pork sandwich, I didn’t realize just how much work went into making it. Now I make my own, and I have a whole lotta new respect for those barbecue folks…


pulled pork

First, I get the pork butt. I buy a heritage breed, like Berkshire (also known as Kurobuta), from a farm that humanely raises them. That’s better for the pig and also better for my family.

Going to a supermarket for pork is what many people do, and the names of the cuts of meat can be a bit confusing. Despite its name, pork butt is not from the back-end of the pig. It’s the shoulder. And the pork butt (or pork shoulder) picnic is a lower cut of the same area. These cuts can also go by: Boston shoulder roast, Boston butt, Boston roast, shoulder butt, and shoulder-blade roast. Whatever the name, these are all nicely marbled hunks of pork that usually weigh in anywhere from 6 to 8 lbs, and are easy to find. Bone-in is for purists…boneless if you’re not.

Once I’ve got my slab, I need to season it. I’ve found that a simple rub is the best way to go for the sauce I’m going to use later.

1/4 cup kosher salt
1/4 cup black pepper
1/4 cup paprika
¼ cup brown sugar
1 tablespoon granulated garlic
1 tablespoon onion powder

Place all the ingredients in a jar with a lid and shake it up to blend.

Once I’ve made the rub, I generously sprinkle it all over the pork, and rub it in really well. I have a digital smoker at home, which lets me cook and smoke my pork butt all in one place. I place it on a rack, put a drip tray underneath it to catch the grease, and set the smoker for 225 degrees. I cook the pork for about 6 hours, and then I add hickory chips to the smoker and smoke the butt for another 2 hours. The marbled fat in the pork butt slowly melts over time and the pork becomes incredibly tender and flavorful.

I remove the pork butt from the smoker and let it rest, covered with aluminum foil, for at least 20 minutes before pulling the meat apart with a couple of forks, shredding it into beautiful meaty bits.

While the pork is cooking and smoking, there’s plenty of time to make two other very important parts of this recipe: the sauce and the cole slaw.

saucey

2 cups ketchup
3/4 cup water
6 tablespoons cider vinegar
6 tablespoons white vinegar
6 tablespoons brown sugar
3 tablespoons Worcestershire sauce
1 tablespoon chili powder
2 teaspoons salt
2 teaspoons black pepper
1 1/2 teaspoons cumin

Mix all the ingredients in a saucepan and simmer until the flavors have blended, about 20 minutes. Remove from heat and cool to room temp. If you store it in an airtight container in the fridge, it’ll stay good for a few months.


COLE SLAW

My cole slaw recipe uses pickle juice. Just a splash from your favorite jar of pickles is all you need.

1 package of cole slaw veggies
splash of pickle juice
1/4 cup mayonnaise (more to taste)
teaspoon celery seed (not salt)
salt and pepper

There are no real specific measurements for cole slaw, because I’ve found that some people like it dry, others wet…some peppery, some not. Play around with it and make it your own. I prefer a more mayonnaise-y cole slaw, and usually err on the wet side.

In a bowl, combine all the ingredients. Cover with plastic wrap and chill. When ready to use, re-mix, and taste for seasoning before using.


OK…time to make that sandwich!

Drizzle the barbecue sauce on the pulled pork and mix well…trying not to over-sauce the pork! Take a nice amount of pork and place it on a freshly baked bun. Place the cole slaw right on top if you prefer the Carolina method, or on the side if not.

Whether you decide to go through all this trouble to make pulled pork or not, just remember that if you’re at a barbecue joint, someone else did. Whatever you pay for that pulled pork sandwich is a bargain!

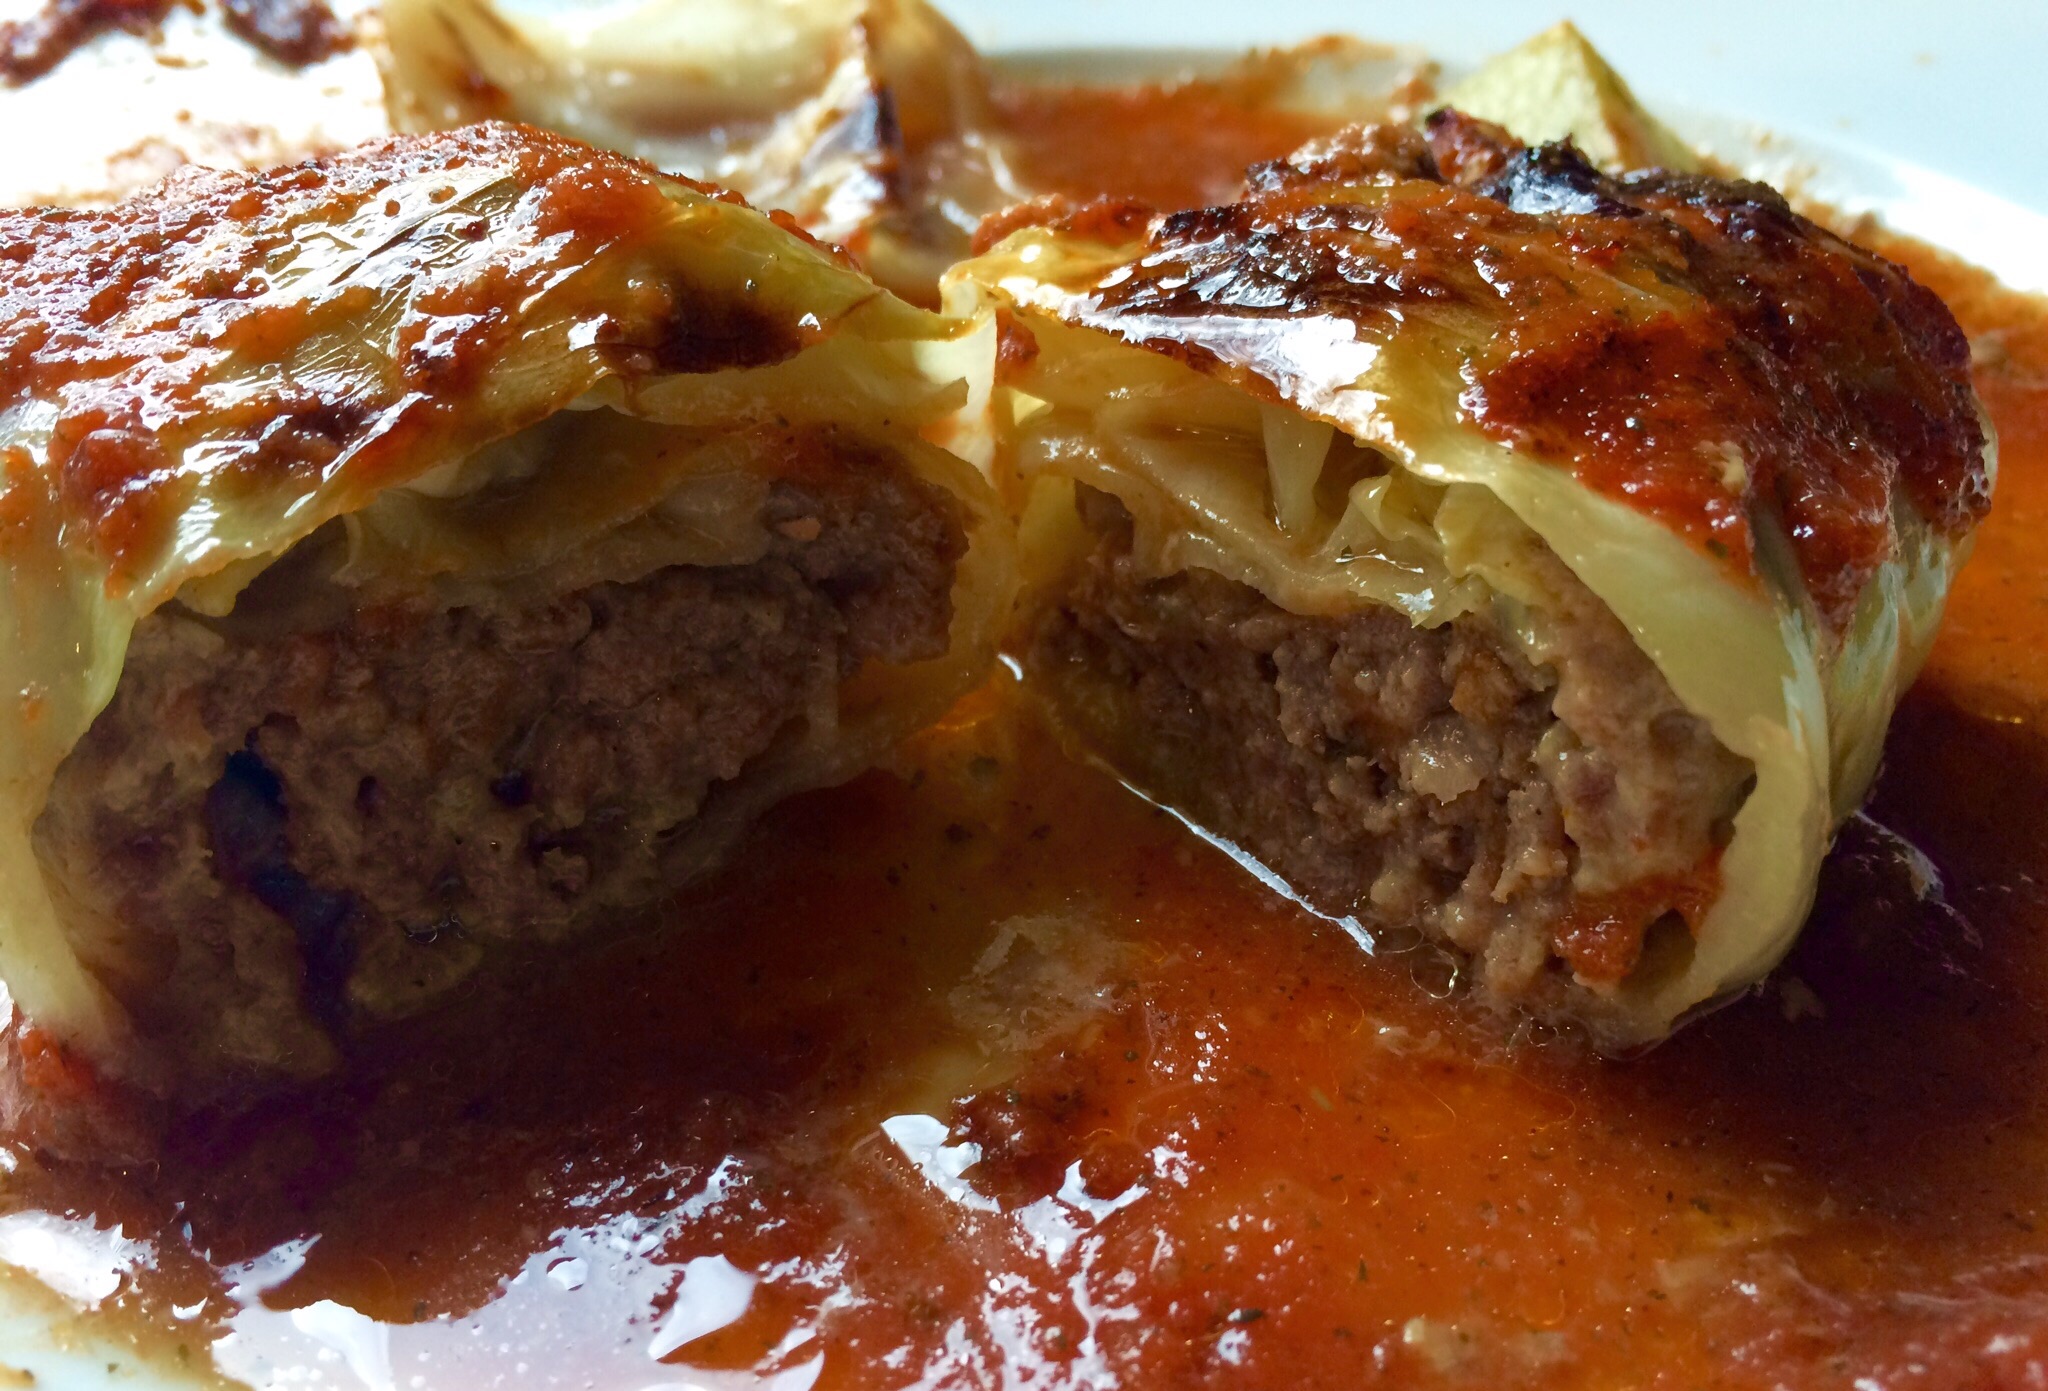
If there’s a dish that my Mom made all the time, but I didn’t appreciate until I got older, this is it. Stuffed cabbage, cabbage rolls, or balandėliai, as we say in Lithuanian, was a staple in our home and one of my Dad’s favorite foods. 

I had seen my Mom make these beauties so often in my childhood, I didn’t even need to check online recipes out for guidance. That doesn’t mean I make them exactly like Mom, but my version came out pretty damn good. I think Mom would be proud.

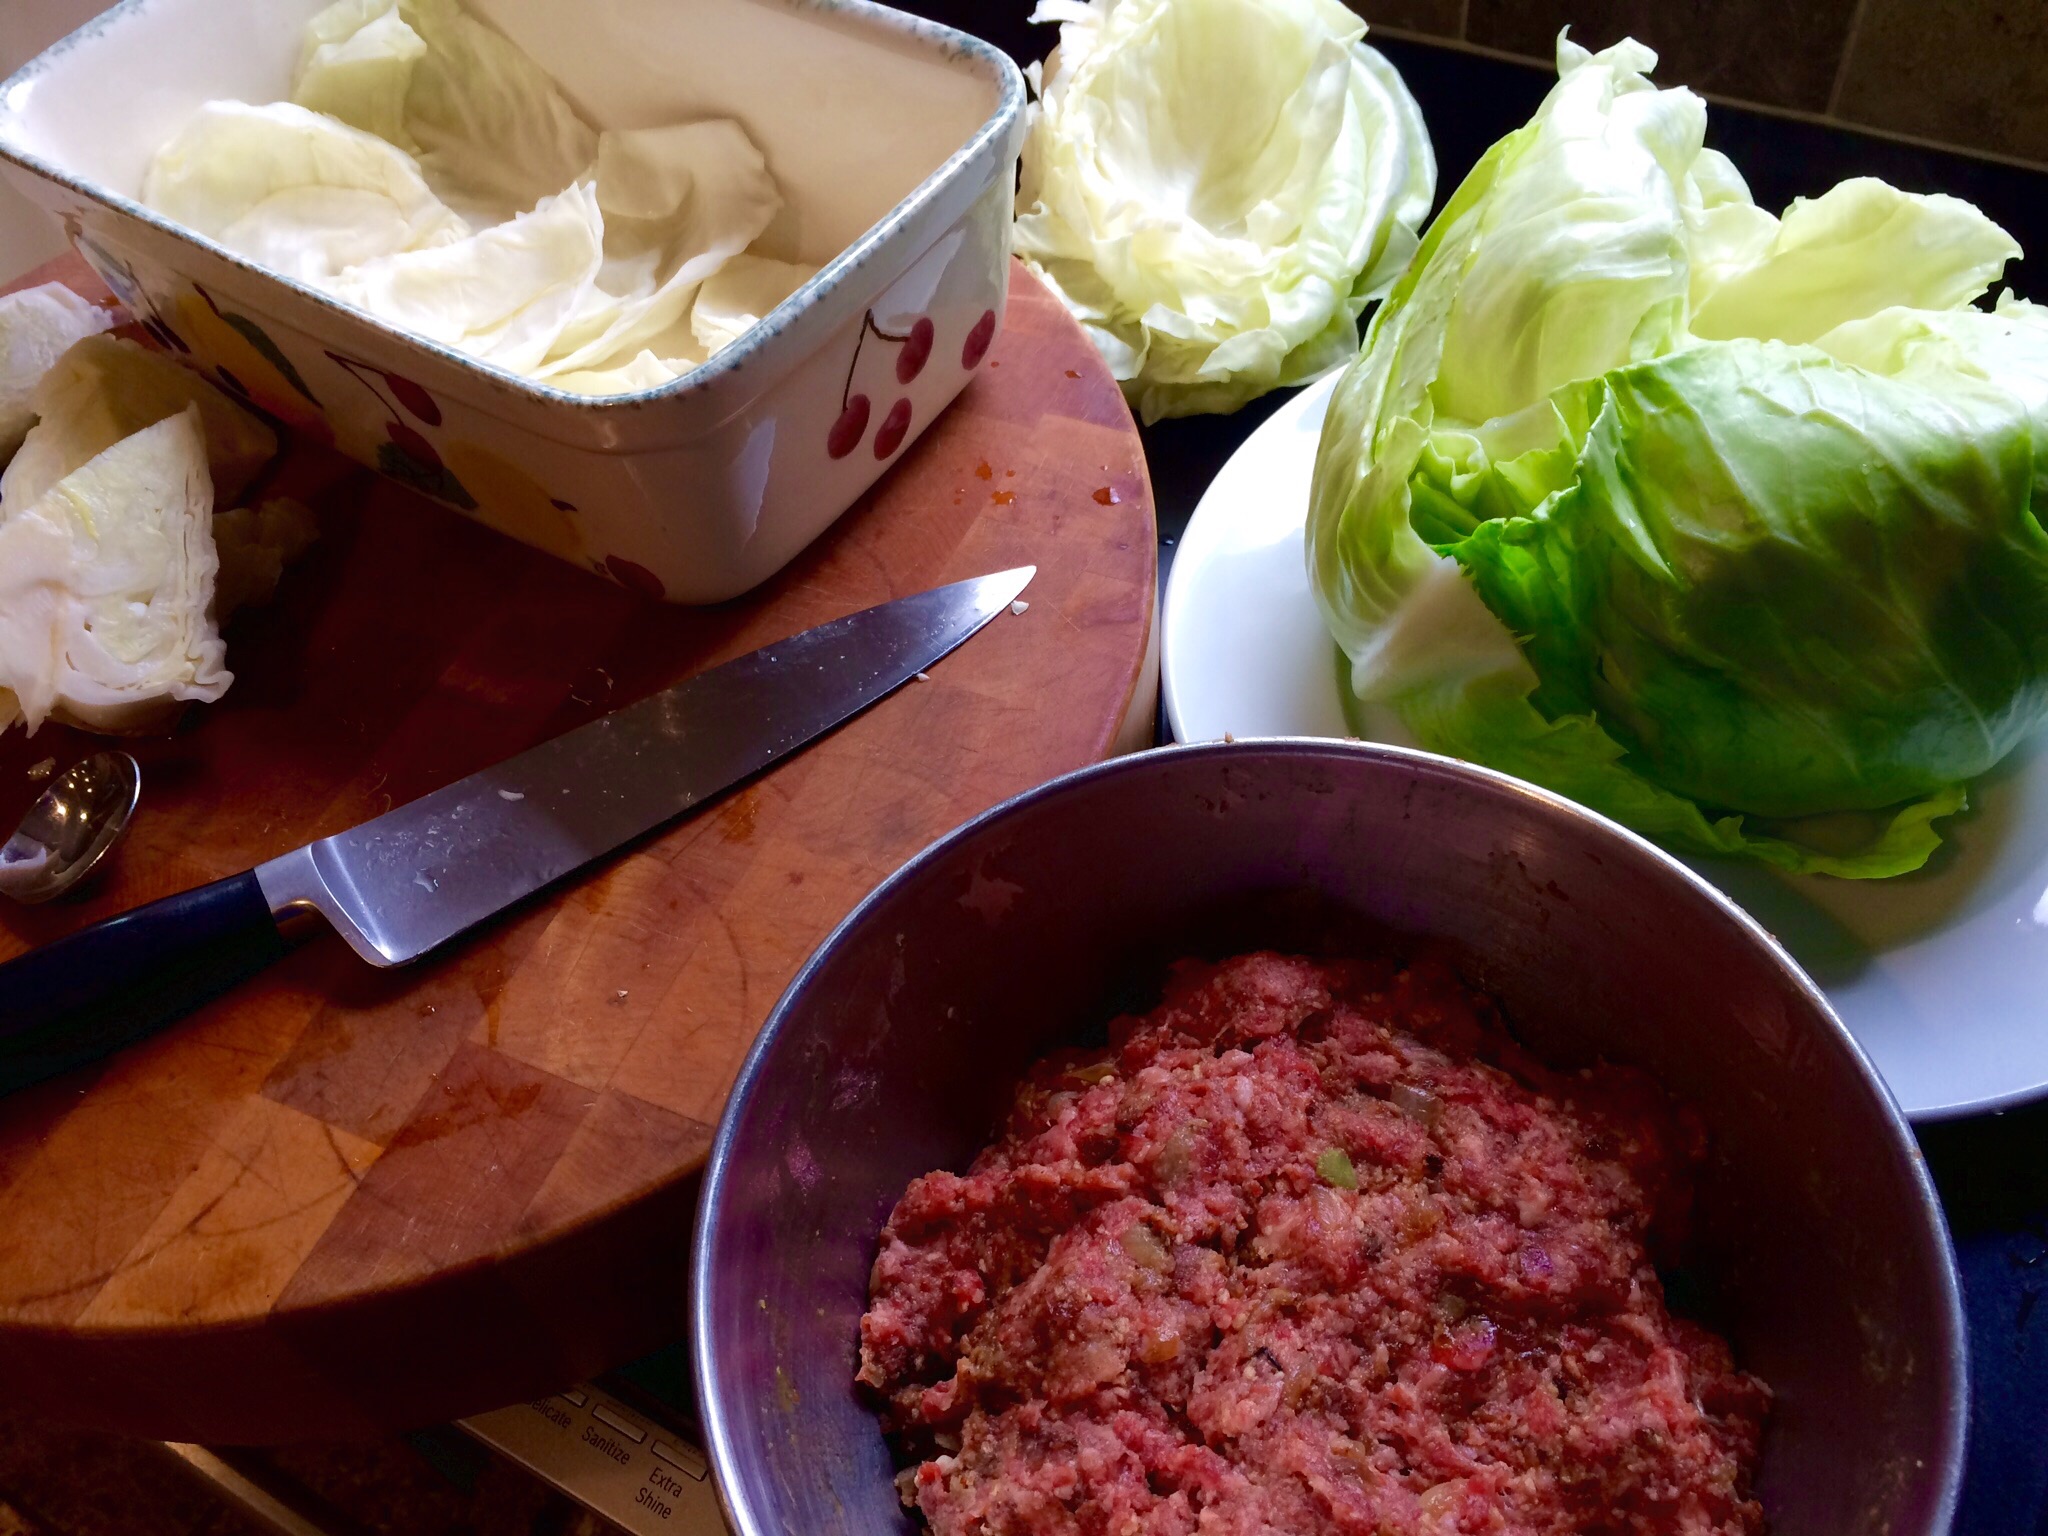
image

4 strips of bacon, chopped
1 yellow onion, finely chopped
1 teaspoon salt
1/2 teaspoon pepper
1/2 teaspoon granulated garlic
1 lb. ground grass-fed beef
1 lb. ground pastured pork
1/2 cup breadcrumbs
2 eggs
1 large head cabbage
1 pint homemade chicken stock
750 mg diced tomatoes (1 Pomi container)
1 teaspoon thyme
1 teaspoon salt
1/2 teaspoon pepper
1/4 teaspoon granulated garlic
1/4 teaspoon granulated onion

Chop the bacon into small pieces and fry them until crisp. Finely chop the onion, and add it to the bacon in the pan, cooking until the onions are translucent. Add the salt, pepper and garlic. Mix well, and remove from the heat. Let it cool to room temperature.

In a large bowl, combine the beef, pork, breadcrumbs, eggs, and cooled bacon and onion mixture. Place in the fridge to firm up.

Let a large pot of salted water come to a boil. Core the cabbage, leaving the leaves whole, and carefully immerse the head of cabbage into the hot water. Little by little, the outermost leaves of the cabbage will come off the head, and you can remove them with tongs, so you don’t burn yourself with the hot water. Set the leaves aside to cool, and continue doing this until you can no longer remove leaves from the remaining head of cabbage.

Remove the remaining head of cabbage from the hot water, and using your hands or a knife, break it into flat pieces. Line the bottom of a roasting pan with the pieces. These will keep the stuffed cabbage from burning and sticking to the bottom.

Time to roll the stuffed cabbage. Take the meat out of the fridge. Lay a cabbage leaf flat on the counter, and add some of the meat mixture inside. Roll the cabbage around the meat, folding the sides in as you go, much like a burrito. You might need to slice away the thickest part of the leaf stem to make rolling easier. Lay the stuffed cabbage in the roasting pan on top of the leftover cabbage pieces. (Unlike Mom, I don’t use toothpicks to hold the stuffed cabbage rolls together.)

image

Continue stuffing and rolling the cabbage leaves until you’ve got a pan full of them, shoulder-to-shoulder.

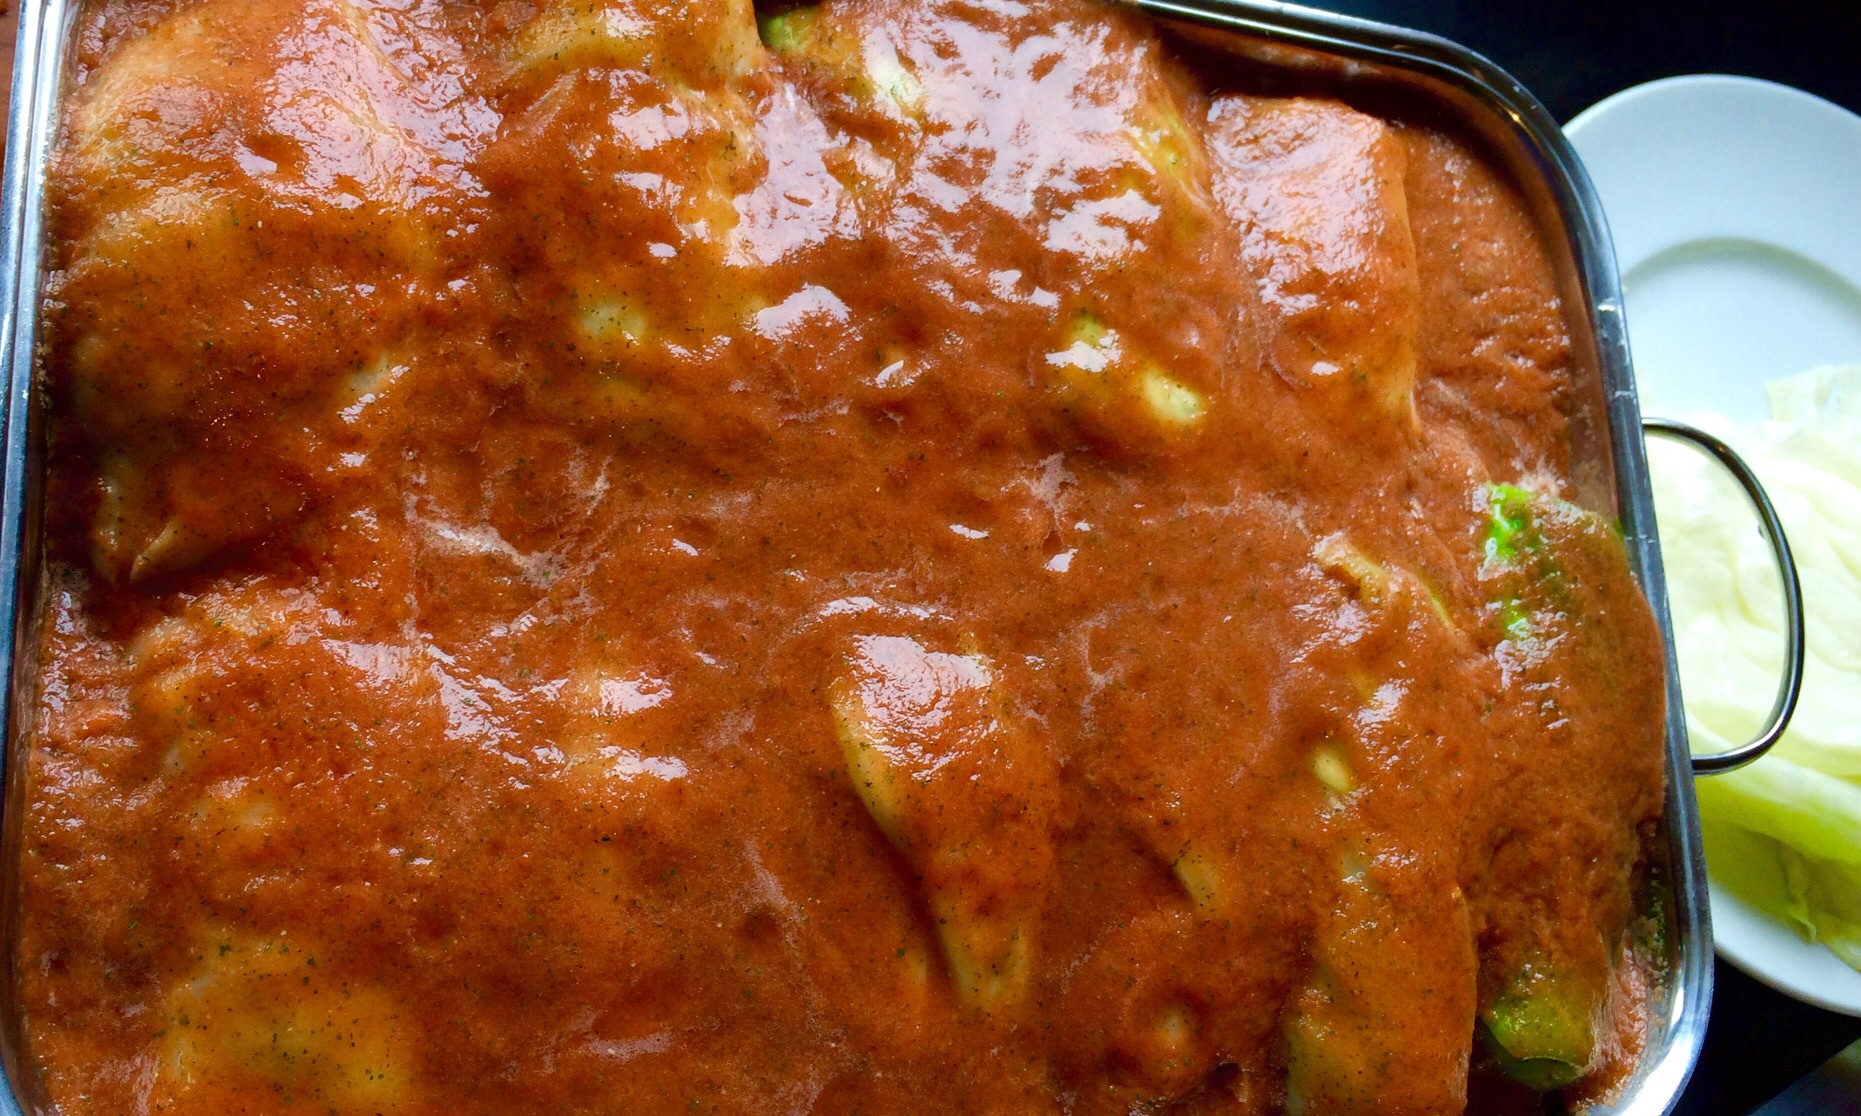
In a blender, combine the chicken stock, diced tomatoes, thyme, salt, pepper, garlic and onion. Pour this mixture over the top of the cabbage rolls in the roasting pan, covering them.

image

If you have leftover cabbage, you can place another layer of them on top. Otherwise, cover the roasting pan with foil and place in a pre-heated 350 degree oven. Cook for an hour.

image

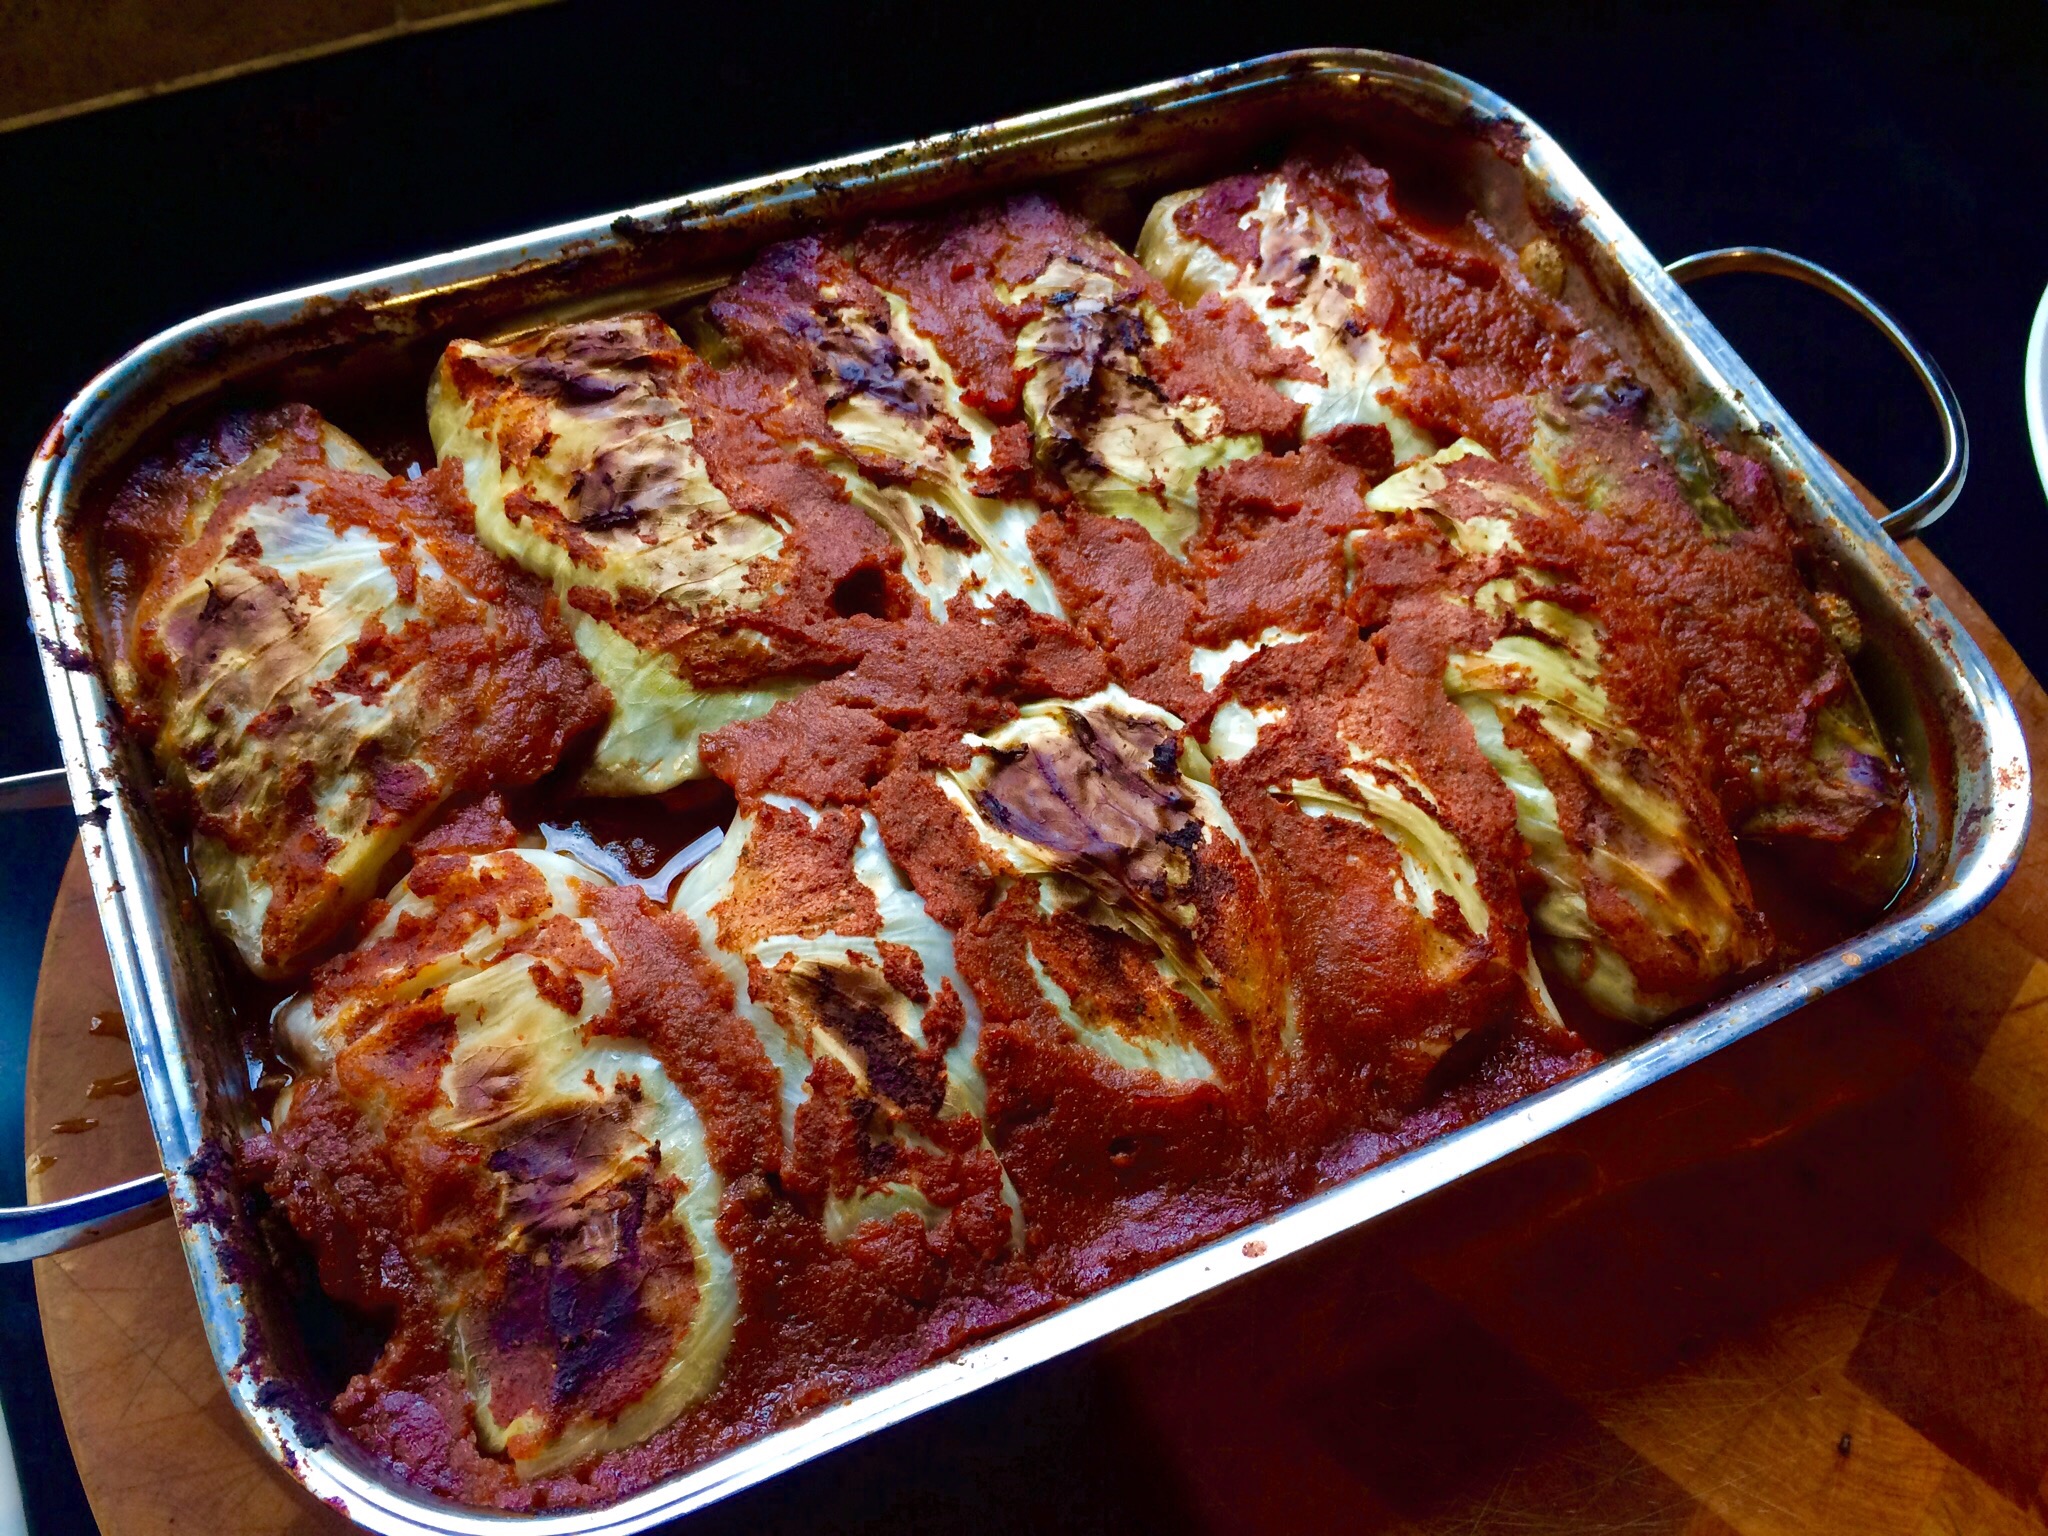
After an hour, remove the foil and cook further for another 45–60 minutes.

image


Sausage is something most home cooks don’t even try because of the amount of work it needs. You need to grind meat in perfect proportions. You need to keep everything on ice. You need to stuff the sausage meat into casings. It’s a big hassle, requiring some special equipment and a lot of time. And the clean-up is a pain.

Here’s an easy method I can slap together in minutes. I use ground pastured Berkshire pork for this, but any good quality ground pork will do.

FullSizeRender (1)

1 lb. ground pork
1 teaspoon salt
1/2 teaspoon pepper
1/4 teaspoon sage
1/4 teaspoon rosemary
1/4 teaspoon thyme
1 egg
avocado oil or pork fat


Combine all the ingredients in a bowl and mix well. Place the bowl in the fridge for at least 15 minutes to let the meat rest.

If you’re not sure of the seasonings, break a little piece of the sausage off and fry it in a pan to taste it. If you like what you have, fry away. If not, season the meat before making patties.

Heat a pan over medium-high heat and swirl a little oil or pork fat to coat. Form the sausage meat into 2-inch patties and place them in the pan, cooking them all the way through, about 4 minutes a side, until they’re golden brown on both sides.

MEATLOAF

Posted: March 24, 2015 in bacon, beef, Carnivore!, Food, pork, Recipes
Tags: , , , , ,

Few dishes scream out “comfort food” to me like meatloaf. My Mom’s meatloaf was awesome, and she’d cut a huge slab of it onto my plate, with fantastic butter-loaded Pennsylvania Dutch egg noodles on the side. I couldn’t stop eating it.

I never thought of making meatloaf when I moved away, because it gave my Mom something special to make for me when I came home to visit. She was thrilled that there was a dish she could make that I would devour every time, without hesitation. (The others were her roasted lamb and Lithuanian pierogis called koldūnai (kol-doon-ay).

But now that my Mom has moved into an assisted living facility where she can’t cook, I’ve had to take meatloaf matters into my own hands. I never got my Mom’s exact recipe. But I had an idea of what went into it, and so I gave it a shot.

The standard mix for meatloaf is one-third each ground beef, pork and veal. I went 50-50 on the beef and pork instead. And instead of layering slices of bacon on top as many people do, I used pre-cooked bacon that I chopped up and put inside the loaf.

image


1 lb. ground beef
1 lb. ground pork
1 packet Lipton onion soup mix
1/2 cup breadcrumbs
1/4 cup ketchup
4 strips of cooked bacon, chopped
2 eggs

Combine ingredients, form into a loaf and place in a loaf pan. Bake at 350 for about an hour.


If you’re not a fan of packaged ingredients like the Lipton onion soup mix, use this:

1 yellow onion, minced

1 teaspoon salt

1/2 teaspoon pepper

1/2 teaspoon garlic powder


Saute the onion in a little oil or pork fat until translucent. Let it cool, then mix in the salt, pepper and garlic. Add this mix to the other ingredients above.

The “paste” used in this dish is really more like a citrusy pesto that you smear all over the meat before cooking, preferably the day before. The citrus flavors work really well with the pork, and the initial high-heat cooking really gets the fat crispy and delicious.

image

Ingredients:

1 pork loin, about 8 lbs. (I use Berkshire pork)


zest of 2 oranges

zest of 1 lemon

1 tablespoon fresh rosemary, chopped

1 tablespoon fresh sage, chopped

1 tablespoon Kosher salt

2 teaspoons black pepper

3 cloves garlic, through a press

1/4 cup olive oil


In a food processor bowl, combine the orange and lemon zest, the rosemary, sage, salt and pepper, and garlic. Pulse the processor just to mix, then turn it on and add the olive oil slowly, in a stream, until you get what resembles an oily pesto.

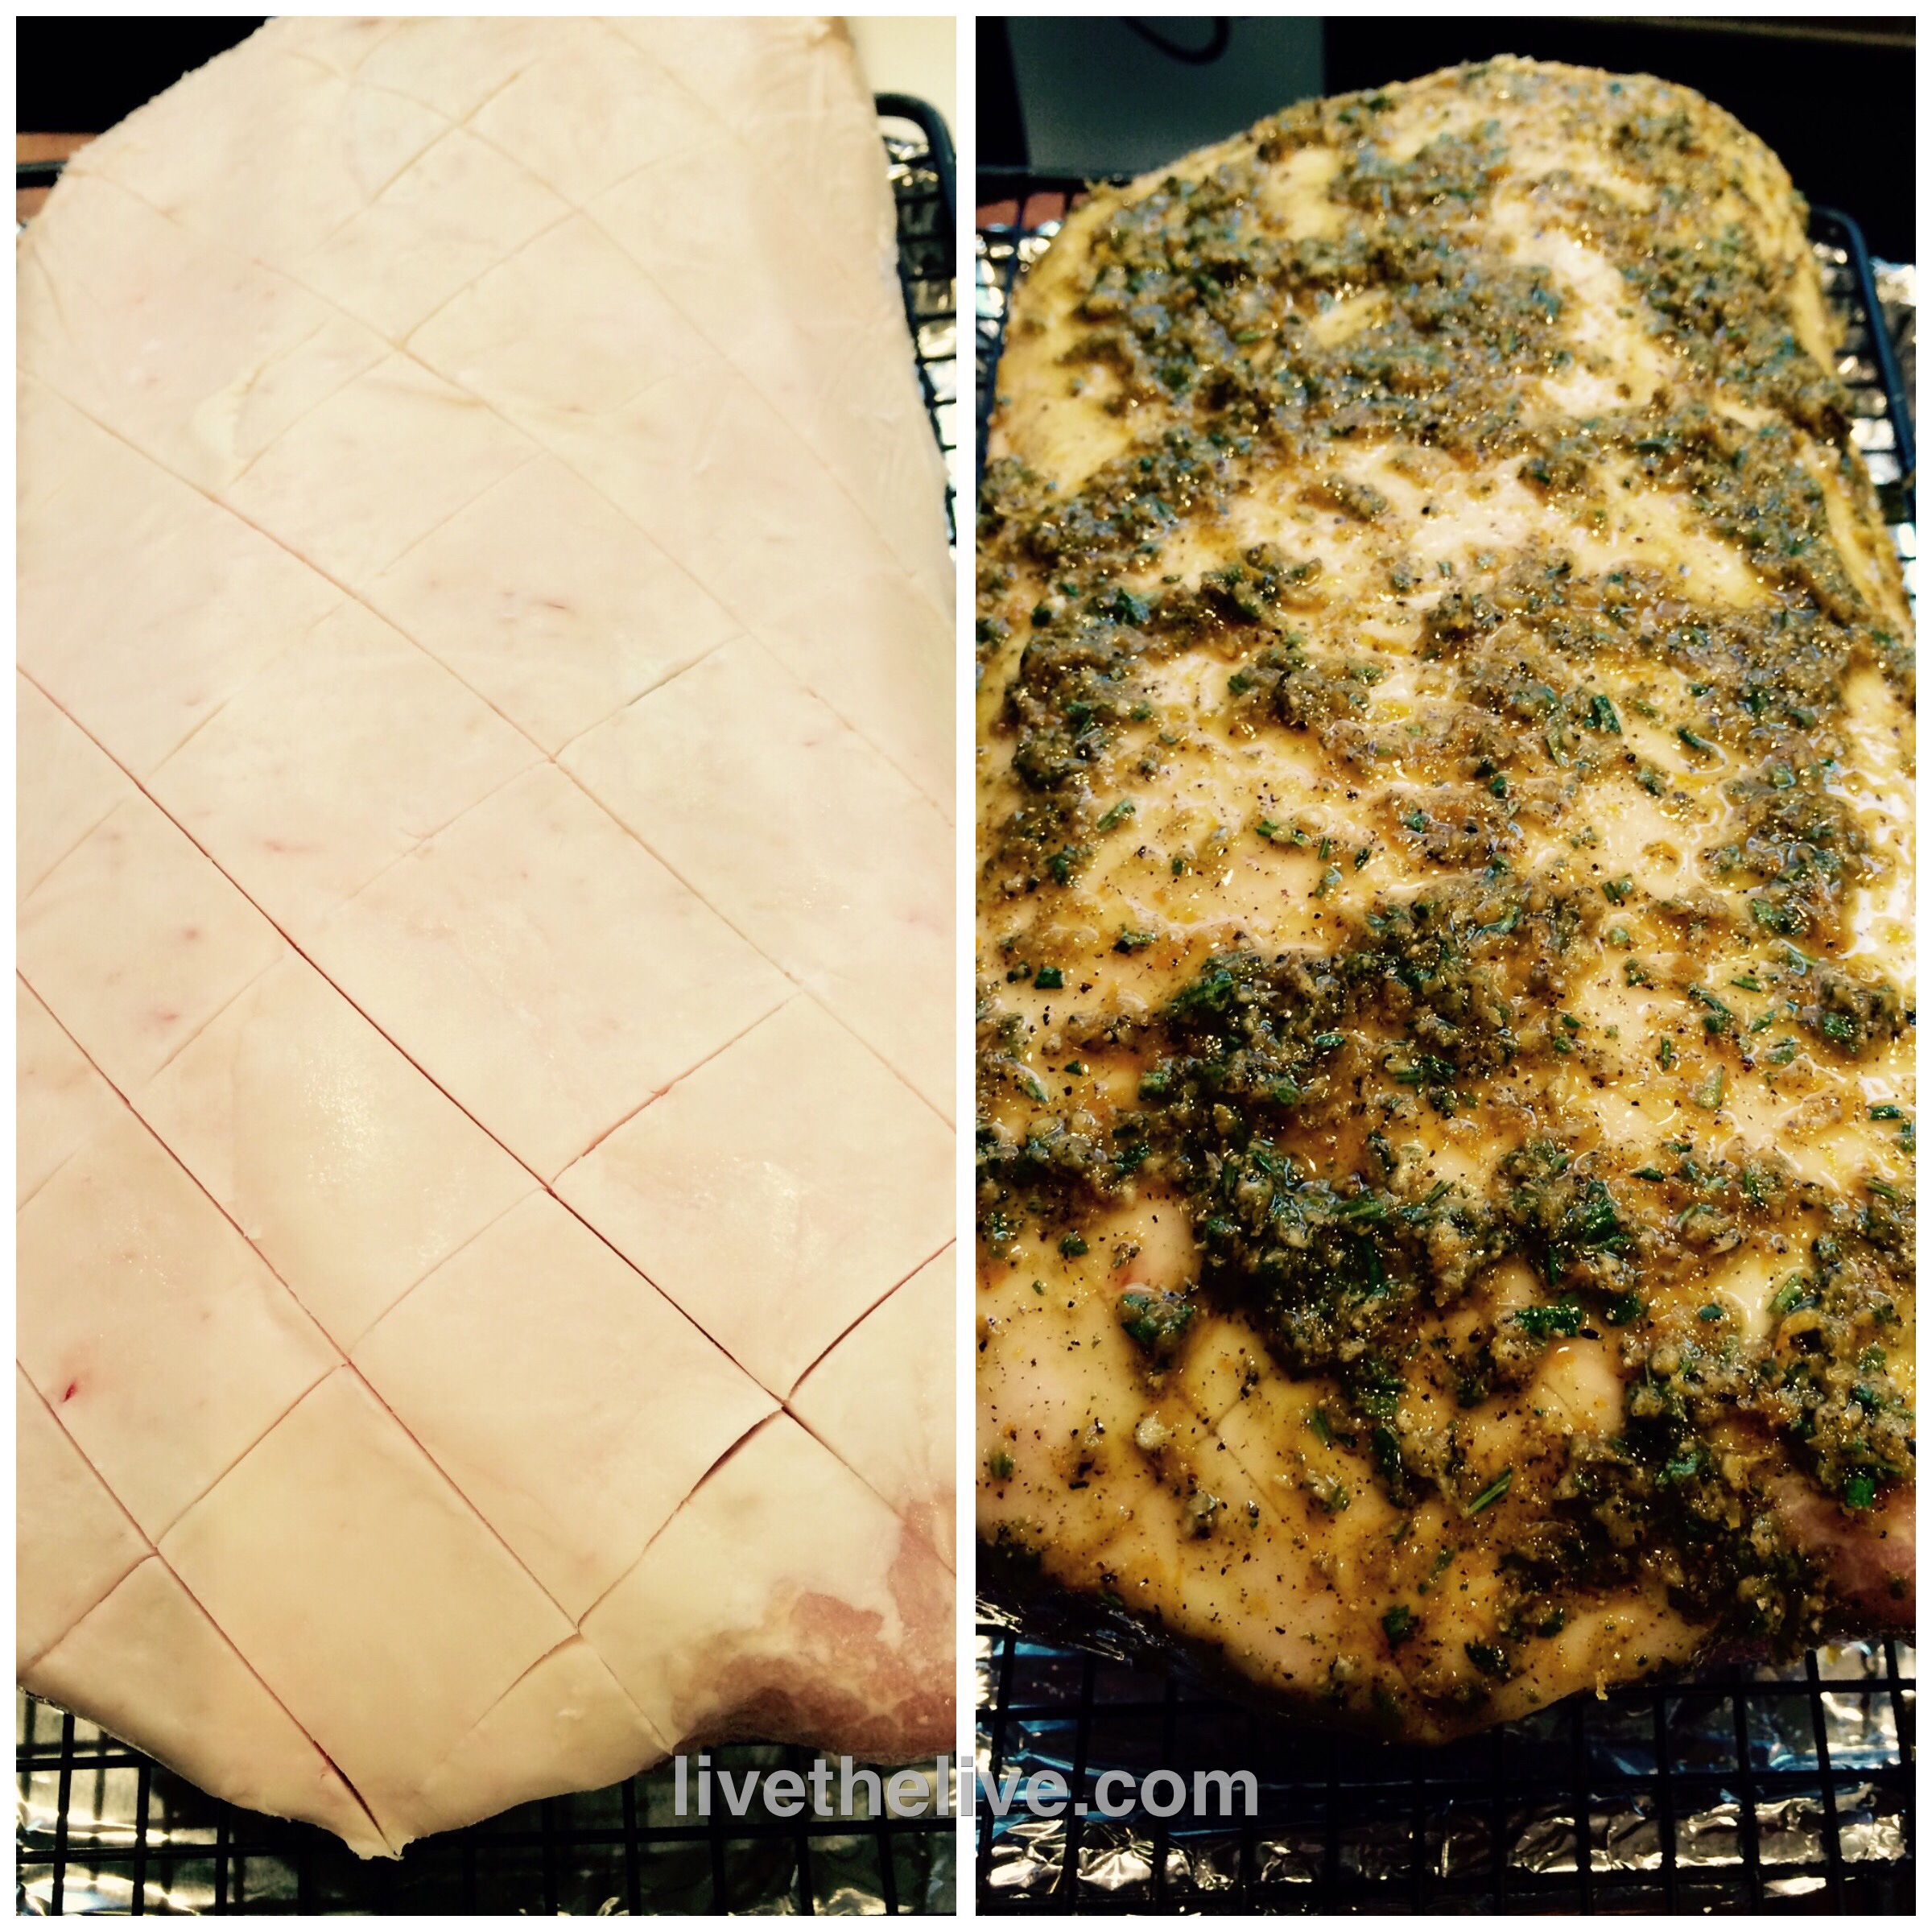
Score the fatty side of the pork loin with a knife in a diamond pattern. Rub the paste on all sides of the pork, but especially into the cracks of the fatty side.

Lay the loin down on a rack, raised off a sheet pan, fatty side up. Place it in the fridge, unwrapped, overnight.

The next day, about an hour before cooking, remove the loin from the fridge and let it come back to room temperature.

Pre-heat the oven to 450 degrees.

Bake the pork loin at 450 for 20 minutes, then cut the heat to 350 and cook until the pork reaches a temperature of 140 degrees (light pink). Let it rest for 15 minutes before serving.

image

There are few carbs in this preparation, because I use just the zest of the citrus and not the juice.

GMO’s, SIMPLIFIED

Posted: February 2, 2015 in beef, Carnivore!, chicken, Food, pork
Tags: , , , , ,

I think many of those that don’t think GMO’s are a bad deal probably don’t really understand the situation.

My friends at FireFly Farms in Stonington, Connecticut (www.fireflyfarmsllc.com), understand GMO’s better than most. They raise heritage breeds of pork, pastured chickens, and rare cattle. They are family owned and certified humane. You should follow them on Facebook.

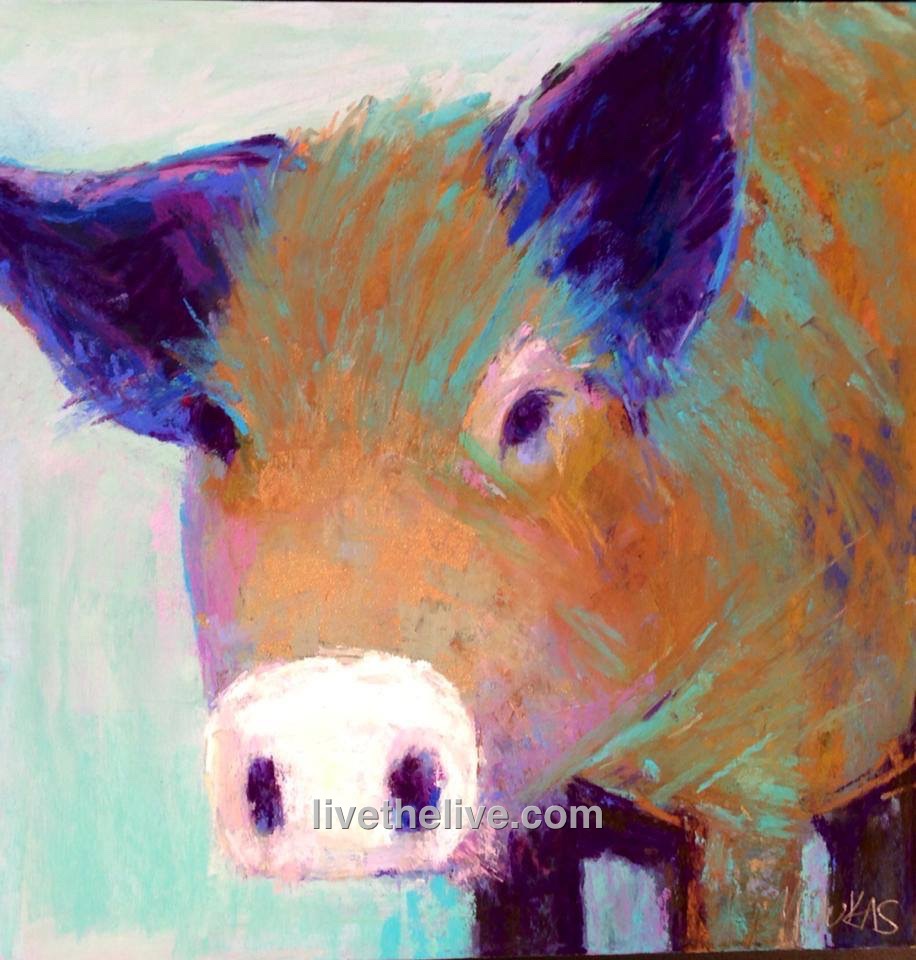
Max Mule, by Kelly Milukas

Max Mule, by Kelly Milukas

This was a recent post on FireFly owner Van Brown’s Facebook page. I’m reprinting with his permission. It’s simple and to the point.

Hi everyone.

I have been thinking about the debate on GMO’s and labeling.

A lot.

Let’s imagine a world where there are two types of pudding cups.

The Blue Pudding Cup definitely will not hurt your kid.

The corporation that makes The Red Pudding Cup states that all the negative tests about The Red Pudding Cup are wrong and they have made lots of tests themselves showing that The Red Pudding cup is okay.

You know The Blue Pudding Cup is safe. There are tests both ways, remembering that many of the tests were funded by The Red Pudding Cup Corporation, so the best you can know is The Red Pudding Cup pudding will probably not hurt your kid. At least according to The Red Pudding Cup Corporation.

You know one pudding cup is okay for your children. You have to have a question about the other pudding cup.

Which pudding cup would you buy to feed to your child?

One last thought?

Would it be okay for The Red Pudding cup to put their pudding into a Blue Pudding Cup so no one would know which type of pudding they are feeding their children… your children?
Van

I was going to post my “deflated meatballs” recipe, but I decided to go with a classic for the big game! No need to freeze my butt off outdoors for these amazing ribs. I can stay in the kitchen. As the glaze cooks down, it gets sticky, gooey and delicious.
 image
For the marinade:
 ¾ cup soy sauce
 1/4 cup hoisin sauce
Other ingredients:
5 lbs pork ribs
Zest and juice of 1 lemon
2 whole star anise
2 cinnamon sticks (3”)
1/2 cup honey
4 cups chicken broth
Mix the soy sauce and the hoisin in a bowl, and set aside. These are the marinade ingredients.
If the ribs are large, cut them into individual pieces. If smaller, cluster 2 or 3 ribs together. Place in a large pot. Cover with water and bring to a boil. Boil for 5 minutes. Drain.
Place the ribs on a sheet pan lined with non-stick aluminum foil or with a rack and coat with the marinade. Let them sit for 10 minutes.
Pre-heat the oven to 350 degrees. Bake the ribs in sheet pan for 30 minutes.
While the ribs are baking, start the sauce in a large non-stick pan or pot: combine the lemon zest and juice, star anise, cinnamon sticks, honey and chicken broth. Bring it to a boil, then reduce it to a simmer.
When the ribs have finished baking, add them to the sauce pot and simmer (covered) for at least 15 minutes or until the rib meat is tender.
Turn the heat on high, uncover the pot and cook until the sauce is reduced to a glaze that coats the ribs. Reduce the heat as the sauce thickens to avoid the sugars in honey from burning. When the ribs are sticky and gooey, they’re ready!


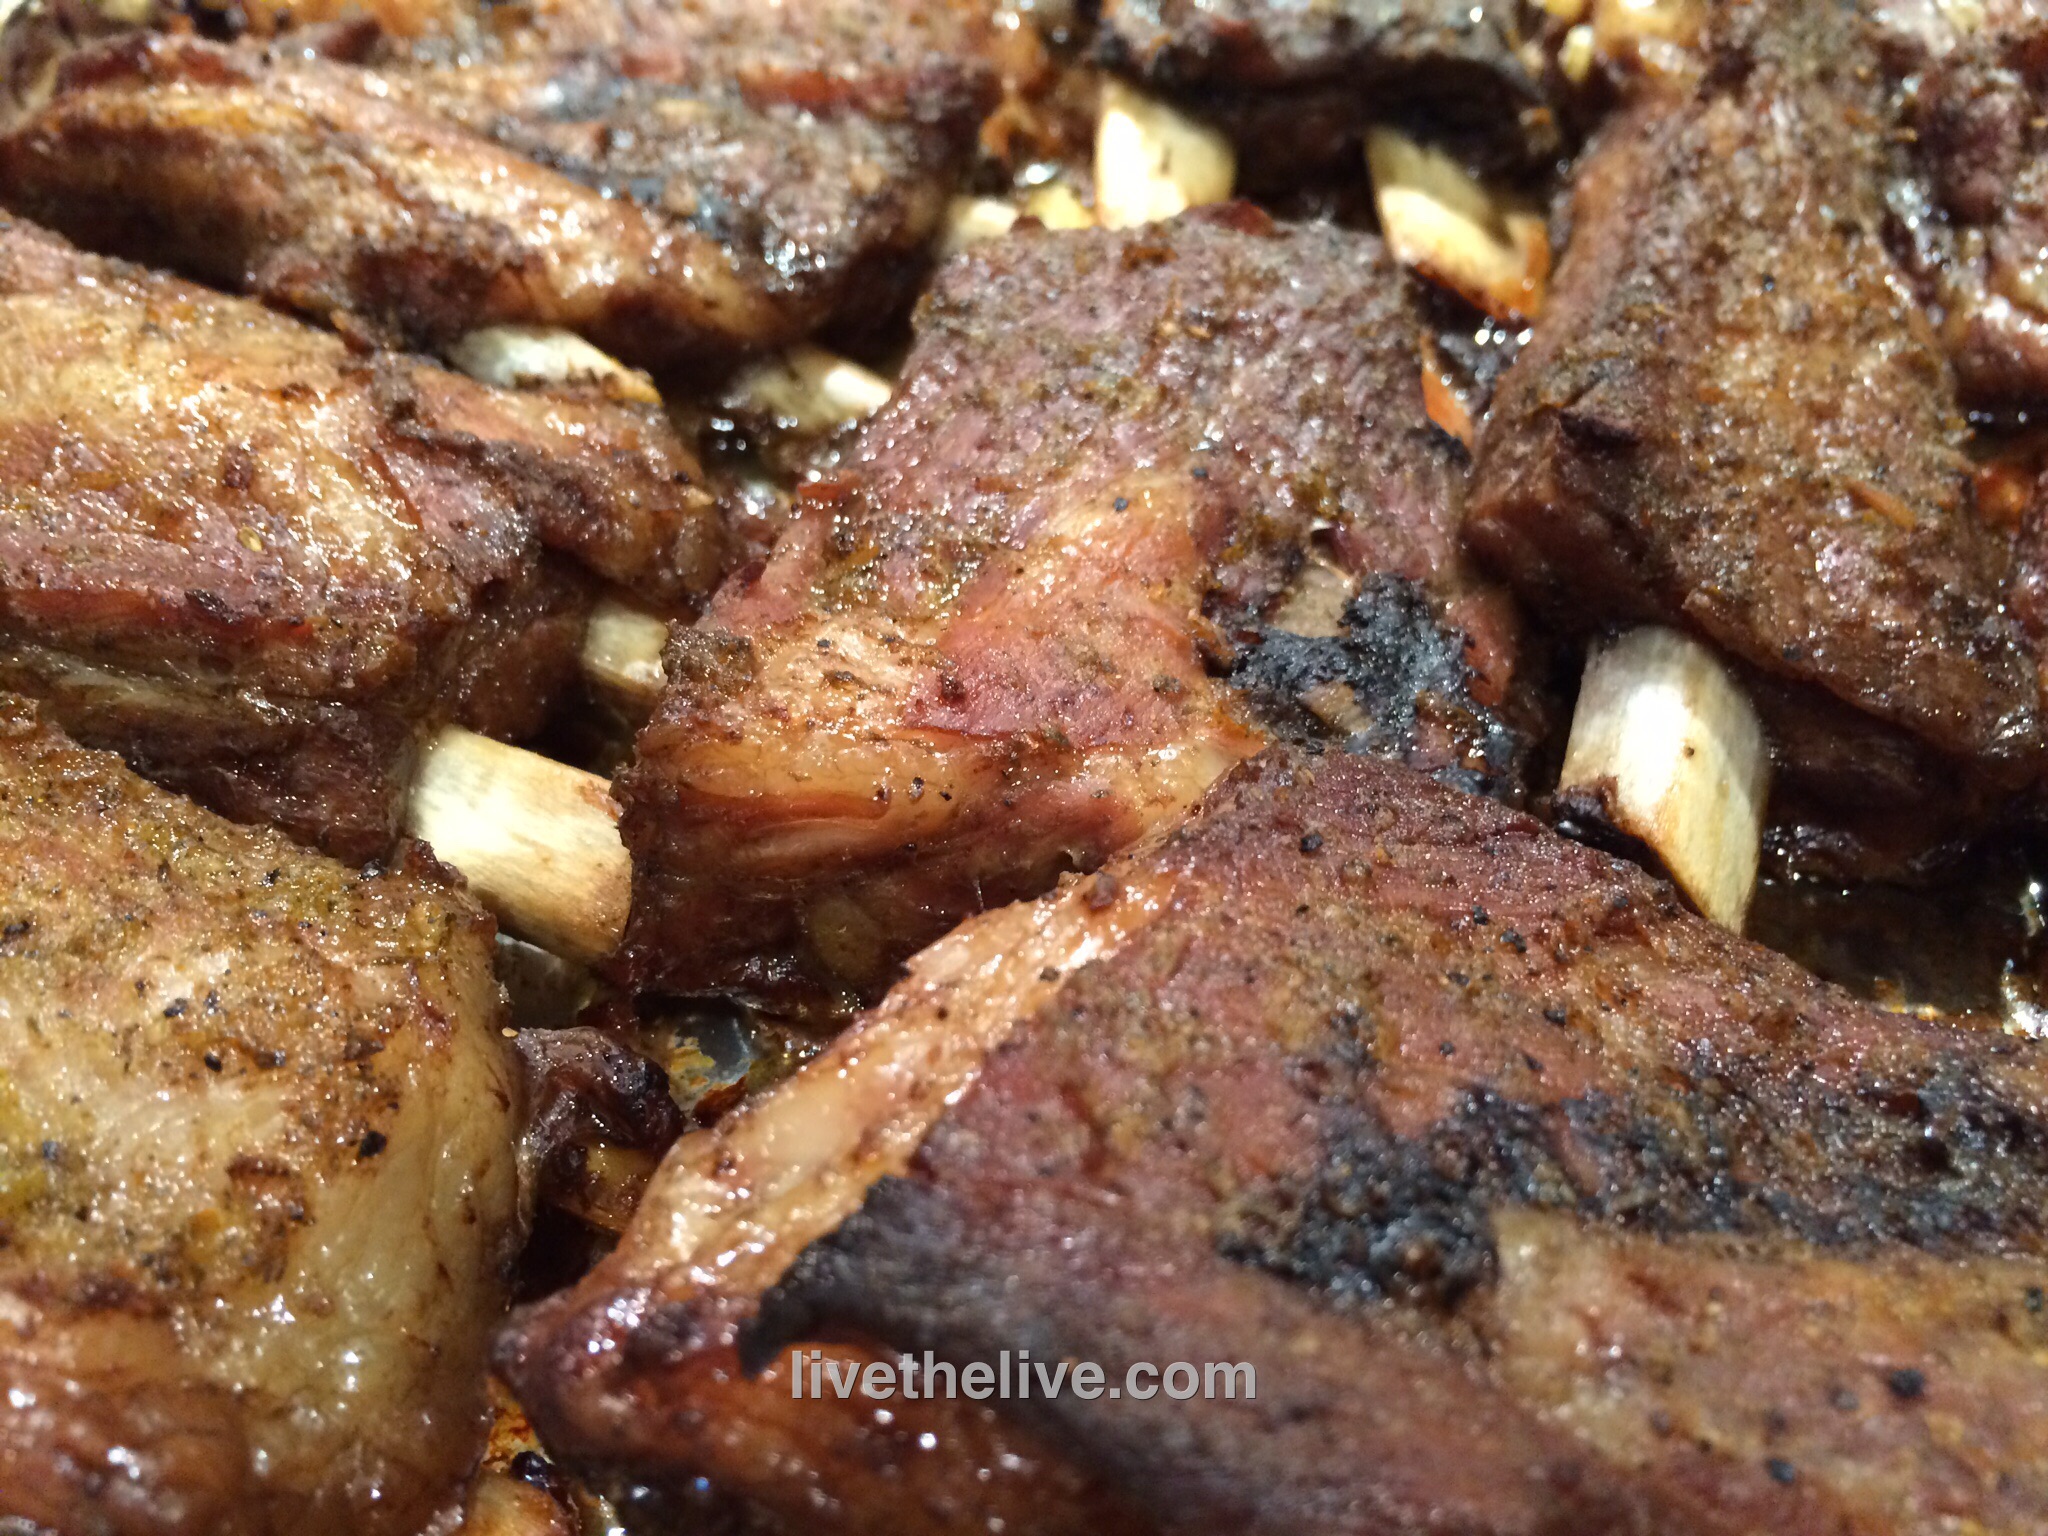
On my low-carb/no carb diet, I can enjoy pork, chicken, beef…any carnivorous delight I choose. What makes them bad for me is the rub and sauce that I put on them, which usually has a good amount of sugar. So I came up this alternate pork rib dry rub recipe.

I used the juice of two oranges in this recipe, but it’s mainly in the marinade which is later poured off. With 5 pounds of ribs, I think the carb intake is minimal. Using the orange zest adds extra citrus flavor.

image

Zest and juice of 2 oranges

1 teaspoon black pepper

3 tablespoons seasoned salt

2 tablespoons good quality (not the expensive stuff) balsamic vinegar

5 lbs. Berkshire pork ribs (I like the St Louis style)


In one bowl, combine the zest of 2 oranges, 1 teaspoon of black pepper, 3 tablespoons of seasoned salt. Combine so that the zest dries out. Set aside.

Cut the ribs into smaller pieces. I like making double-rib cuts and not single. Place all the ribs in a large Ziploc bag.

In another bowl, combine the juice of the 2 oranges (about 1 cup) and 2 tablespoons good quality balsamic vinegar. Mix the two well then pour into the Ziploc bag with the ribs to marinate for at least a couple of hours at room temperature, or in the fridge overnight.

Pre-heat the oven to 450°.

Line a sheet pan with aluminum foil with extra over the sides. Remove the marinated ribs from the bag and lay them down on the foil, trying to keep them in one layer.

Sprinkle both sides of the ribs with the orange zest, salt and pepper seasoning. Rub it into the ribs well. Fold the foil over, wrapping the ribs tightly.

Placed the sheet pan with the ribs in the oven and cook at 450° for 30 minutes. Then reduce the oven temperature to 325.

Cook for 2 hours more, then open up the foil and cook another hour.


Of course, if you’re not on a low carb diet, feel free to slather these bad boys with your favorite sauce. My grapefruit barbecue sauce would work well with these: http://wp.me/p1c1Nl-qX

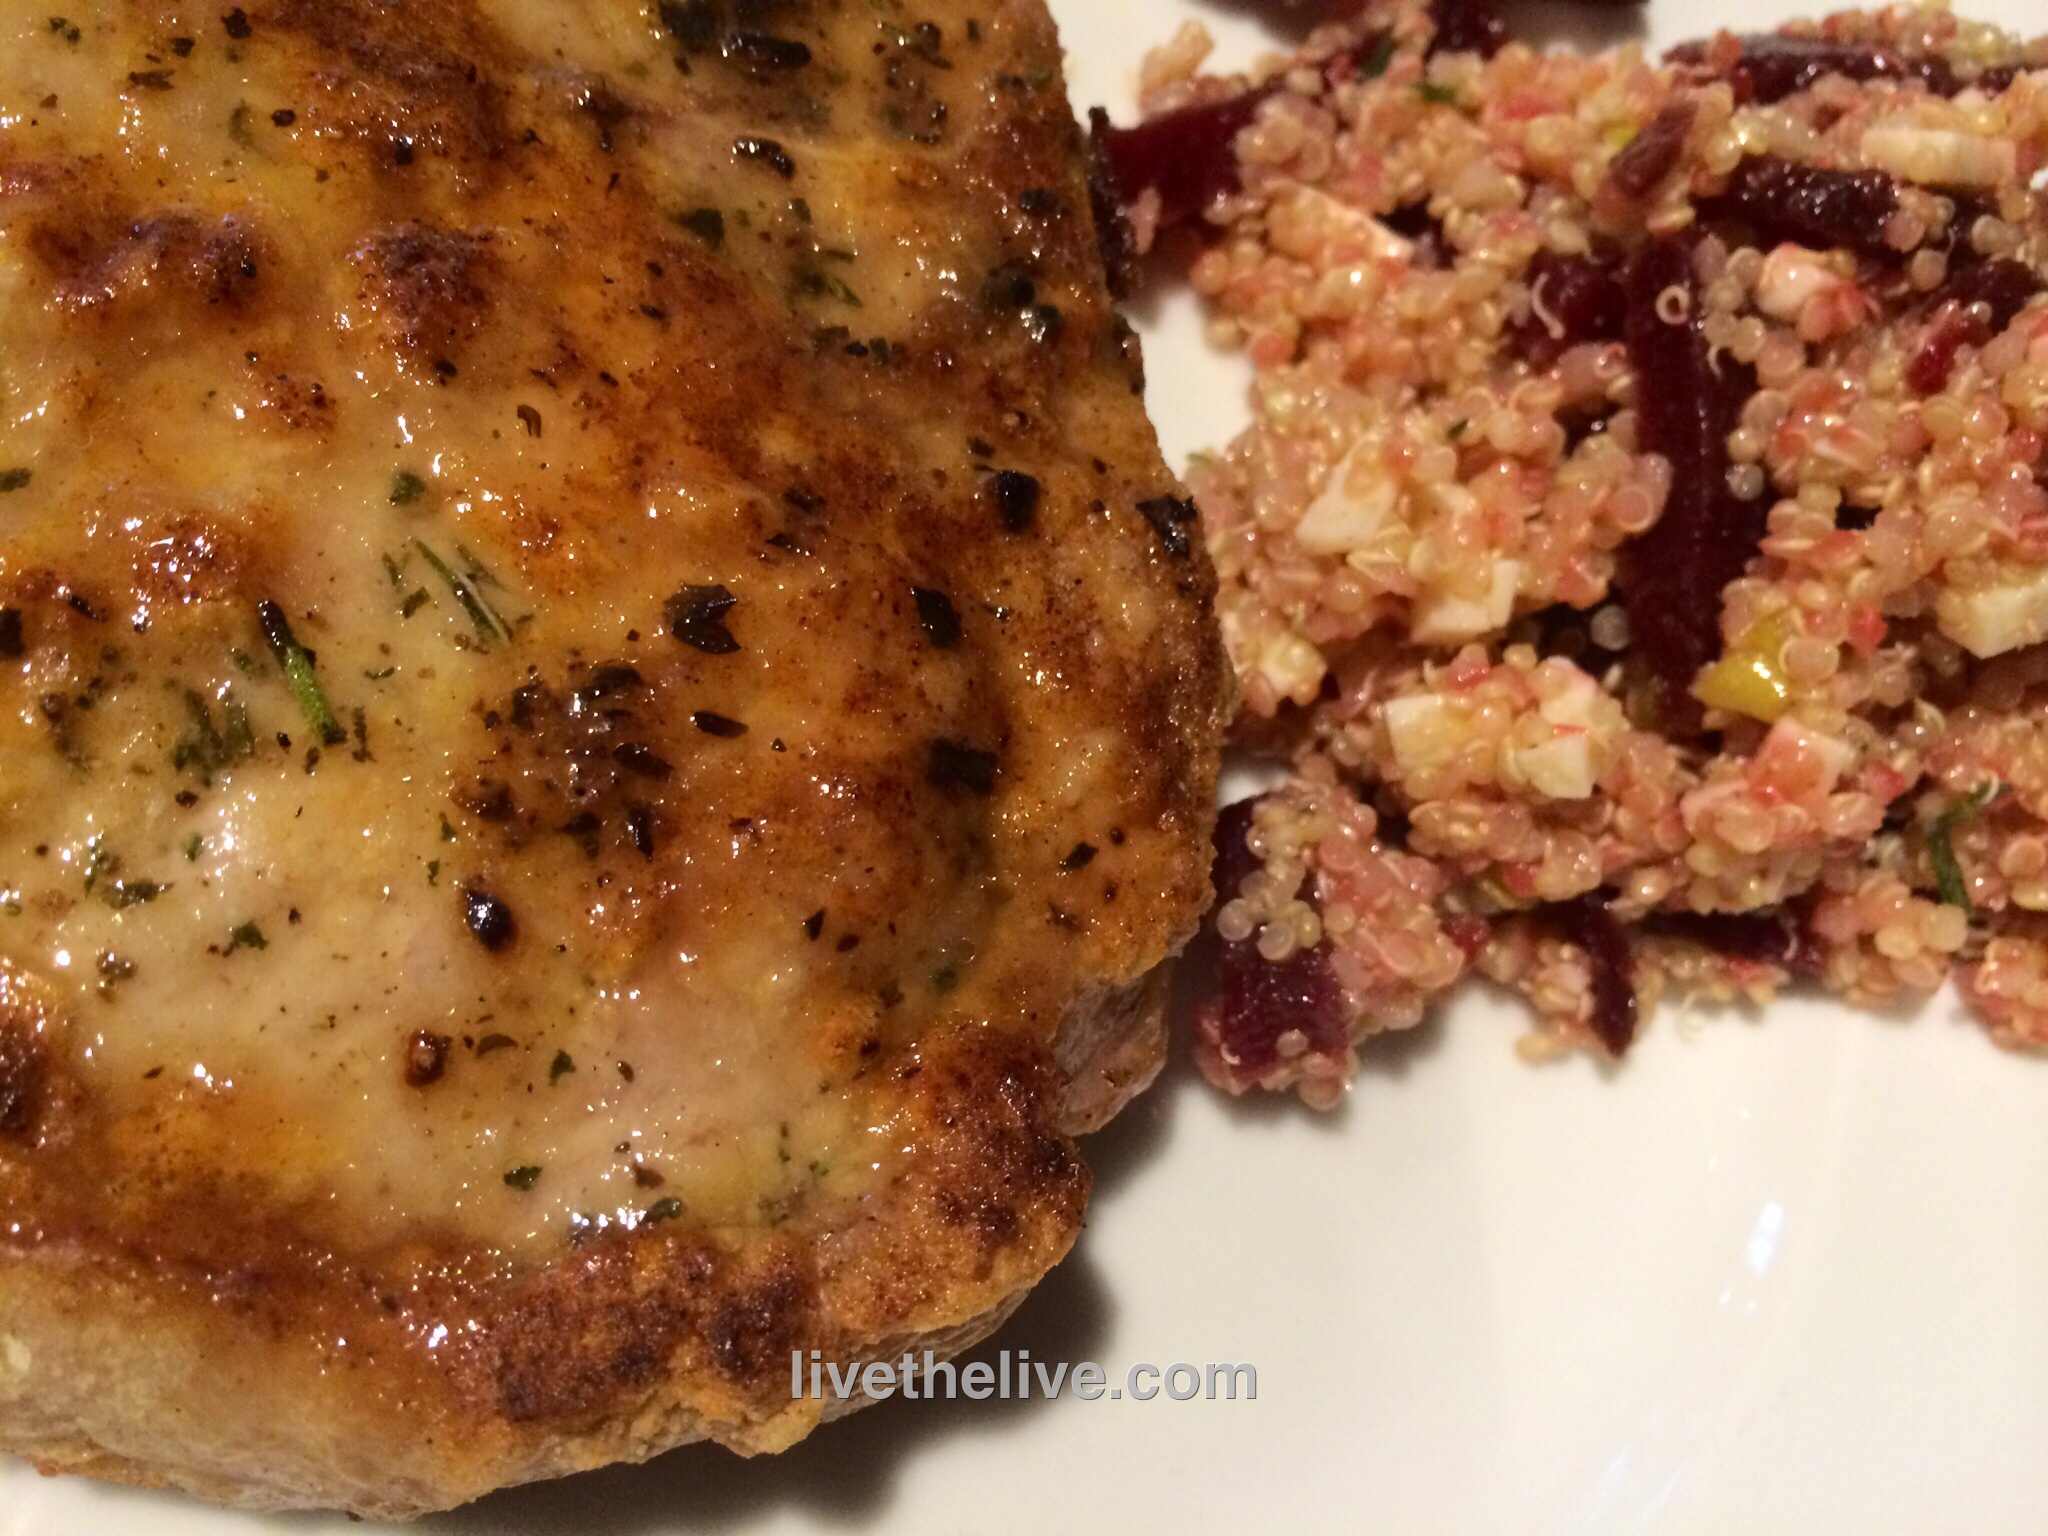
Even the "breaded" pork chop makes this meal gluten-free. See below...

Even the “breaded” pork chop makes this meal gluten-free. See below…

Beet season is in full swing right now. They’re healthy and delicious…and they also store really well, so you can enjoy them all winter long. Combining them with quinoa, cheese and arugula makes a great salad that goes well with this pastured heritage pork chop.

To keep the meal gluten-free, I used all-purpose gluten-free flour to dust the chop after I dipped it in egg. Then I seasoned it with garlic salt, pepper, and some freshly minced sage and rosemary. I seared it in a hot pan with organic canola oil, then finished cooking it in a 350-degree oven.


Ingredients for the beet salad:

1/2 lb beets, cooked and sliced
2 cups cooked quinoa
1/2 cup extra virgin olive oil
1/2 cup red wine vinegar
1 teaspoon sugar
1/2 clove garlic, through a press
1/2 teaspoon salt
1/4 teaspoon ground black pepper
1 scallion, finely minced
2 cups baby arugula
5 ounces feta cheese, crumbled

Prepare quinoa according to package instructions. I like to substitute half of the water with homemade chicken stock.

While the quinoa is cooking, combine olive oil, vinegar, sugar, garlic, salt and pepper in a separate bowl.

Once the quinoa has cooked, place it in a bowl and add half of the dressing, mixing gently with a fork to fluff up the quinoa. Place in the fridge to cool completely.

I like to use the product LoveMyBeets, where they come fully cooked and peeled, ready to slice. Slice the beets and place them in the bowl of quinoa. Add the scallions, arugula and cheese. Mix well.

When the mixture has cooled down, taste and add more of the dressing if needed.