Author Archive

The heat of the summer always has me craving a cold beet soup my Mom made…

It’s interesting that an Eastern European country that is as far north as Newfoundland has one of the most refreshing cold summer soups of any country in Europe. It’s a cold beet soup called Šaltibarščiai (pronounced shul-tih barsh-chay) and it’s classic Lithuanian cooking at its best.

No summer was complete without my Mom’s Šaltibarščiai on the table, and my Dad always insisted on eating it with boiled potatoes on the side.

There are many different variations of this soup. For example, many Lithuanians today use keffir instead of buttermilk. My Mom always insisted buttermilk tastes better, and I have to agree.


securedownload


1 quart buttermilk
4 hard-boiled eggs, peeled and chopped
3 cucumbers, peeled, seeded and chopped
8 beets, cooked, peeled and chopped
1 tablespoon finely chopped fresh dill
1 scallion, finely chopped, greens only
salt
a pile of boiled potatoes (optional)


Pour the buttermilk into a large bowl. If it’s very thick, you can dilute it a bit with fresh water.

Peel and chop the eggs and toss them in the bowl. Peel, seed and chop the cukes…then into the bowl.

I love Love Beets, hermetically sealed cooked and peeled beets, ready to use, available in most supermarkets. (In the old days, my Mom would simply use canned beets.) I open a couple of packs of Love Beets, pouring the beet juice into the bowl. I chop the beets and add them as well.

Grab some fresh dill and chop it finely. Add it to the bowl. Finely chop the greens of one or two scallions and sprinkle some salt on them. Rub the salt into the scallions, mashing them a bit, softening them. Then add them to the bowl.

Stir everything together, put a lid on the bowl, and let it chill in the fridge for a few hours.

Remove it from the fridge, stir, and season with more salt if needed before serving.


Really refreshing!


Does anyone remember Art Ginsburg, also known as Mr. Food? His syndicated segments appeared on the news for almost 10 years. I met him back in 1993, and he was quite the self-promoter…but a really nice guy. Art passed away many years ago, but I still have his old cookbooks, and his simple but perfect pesto recipe has been my guide for decades.
We eat a ton of pesto at home. Most of the time, it’s simply mixed with pasta. But we stir it into tomato sauce and smear it on grilled chicken or beef as well.
Basil is the main ingredient in classic Italian pesto, and it’s growing rapidly under the summer sun in my garden right now. And that’s key to great pesto: when Mother Nature says the basil’s ready, be sure you have all the other ingredients and get to work!

Basil, ready to be picked.

Besides the fact that it simply tastes bad, the problem with store-bought pesto is that it’s expensive. Although homemade pesto isn’t cheap, you can still save a lot of money by making it yourself.
Some of my tips for saving money: buy good quality ingredients in bulk. My go-to olive oil is one from Tunisia called Terra Delyssa. It delicious, and can be found in large, affordable bottles at most supermarkets. I have one rule of thumb with olive oil: always buy a bottle from one source–one country.  Don’t go for the blends.
There’s been a rash of articles about already-grated parmesan cheese that is 50% cellulose (wood) fiber. Stay away from that junk and buy yourself a nice chunk of the real deal: Parmigiano-Reggiano. Grate it yourself and taste the difference!
The most expensive (and questionable) ingredient in basic pesto is pine nuts. If you look on the back of the package (and you always should!) you’ll see that most pine nuts come from China. I don’t buy any food products from China…period. So sourcing “safe” pine nuts can be difficult. The Italian or Turkish pine nuts can be extremely expensive. Some from Siberia less so, but still questionable, in my mind. Sadly, it’s gotten to the point where I really had to start looking for an alternative to pine nuts.

They say they’re grown in New Mexico. I found them last year, but can’t find them anymore.

One of the reasons you want real pine nuts and not some look-alike from China is something called “pine mouth” or “pine nut mouth.” A small percentage of people experience a reaction after eating pine nuts that makes their mouth taste like metal–imagine putting a handful of pennies in your mouth–and the taste stays in their mouths for a couple of weeks, ruining their taste buds for the foods they love. (Eventually, it wears off.) Some scientists say you get “pine mouth” by eating counterfeit pine nuts–varieties like those from China that are not the same species. Others say that you can get the reaction even from real pine nuts. Research on this continues, but all the more reason not to buy any foods from China and other questionable countries.

Real Italian pine nuts. Notice the elongated shape, versus a rounder one for inferior nuts. But at $15+ per ounce, they’re crazy expensive!

There are alternatives to pine nuts, and you’ll find many pesto recipes that substitute with almonds or pistachios. I think those nuts change the taste of the pesto, plus they have a skin that leaves a gritty residue, which I don’t like. So I don’t use them. Macadamia nuts are a good substitute. They’re less expensive than pine nuts and usually come from Hawaii. But after much experimentation, I’ve found that the best and cheapest substitute for pine nuts is walnuts. They’re available everywhere, and none of my family or friends have noticed a change of the pesto’s flavor.
So here’s my sure-fire pesto recipe. I make massive amounts of it, store it in plastic storage containers with a tightly sealing screw-top lid, and put them in the deep freeze. They last all year, and thaw out easily.
2 cups fresh basil, packed down a little
1 cup grated Parmesan cheese (preferably Parmigiano-Reggiano)
1/2 cup real Italian pine nuts (or walnuts)
1 cup extra virgin olive oil
2 garlic cloves, crushed
1 teaspoon Kosher salt
When measuring the basil, I pick dry leaves from the garden and place them in a measuring cup, lightly packing them until I get 2 cups. (More is better than less!) Then I remove them from the measuring cup and wash them, tossing them in a salad spinner to dry. Then they go into the food processor. (If you wash them before measuring, they will pack much more tightly, and you won’t get the correct amount.)
Add the other ingredients in the food processor with the basil and let it rip!
 
The color and fragrance of freshly-made pesto is hard to beat! For me, a bowl of pasta with pesto is real comfort food.

CLASSIC PASTA WITH BOTTARGA

Posted: June 21, 2023 in Uncategorized

Bottarga is a classic Italian ingredient. It’s a fish roe pouch–usually from grey mullet, sometimes tuna–that has been salted, cured, and dried. If you’re a fan of anchovies or squid ink, you’ll enjoy the softer expression of salty fishiness that bottarga offers.

Very often, bottarga comes in a chunk, and you have to grate it yourself. But I received a packet of already grated bottarga as a gift, and I went online to find the most simple preparation I could find to highlight the flavors, not hide them.

The ingredients sounded perfect, and it didn’t hurt that I had them all at home: pasta, olive oil, garlic, lemon, parsley, red pepper flakes, and of course, the bottarga.

This recipe is technically 3 servings, but I ate the whole darn thing the first time I made it!

It doesn’t hurt to have a small kitchen digital scale for this, since measurements are most accurate in grams.

1 oz (30g) grated bottarga
1/4 cup (60ml) extra virgin olive oil
1 garlic clove
Red pepper flakes, a large pinch
Kosher salt
6 oz (170g) spaghetti or other long pasta
1/4 cup (8g) loosely packed parsley
1 1/2 teaspoons (8ml) fresh lemon juice
Zest of 1/2 lemon

Grate the bottarga if you bought it as a lobe, and set it aside.

In a large skillet, combine the oil and garlic. Cook over medium heat, turning the garlic occasionally, until it’s deep brown on both sides, about 5 minutes. Remove the garlic from the skillet and discard it. (Or eat it!)

Add the red pepper flakes and continue to cook, stirring for about 30 seconds, until fragrant.

Remove the skillet from the heat and add all of the grated bottarga, and stir it until it’s well combined with the olive oil.

Meanwhile, bring a pot of salted water to a boil and cook the pasta to just before al dente. You want it firm. Just before the pasta is ready, transfer 1/4 cup of the pasta water to the skillet with the olive oil/bottarga mixture and stir it to combine.

Using tongs, transfer the pasta to the skillet.

Rapidly stir the pasta in the skillet until it has mixed with the olive oil mixture and it has emulsified into a nice sauce. Add more pasta water if needed.

Add the parsley, lemon juice and zest, and stir to combine. Season with salt to taste.

As recently as a couple of years ago, I had never heard of beef flap. But I purchased one from Slanker’s, a distributor of grass-fed beef out in Texas, and it’s become one of my favorite cuts of beef.

You won’t find beef flap in most supermarkets…at least I haven’t been able to find it…so online ordering may be one of the only ways to give it a try.

Beef flap is also known as bottom sirloin butt, and it comes from a part of the cow where flank steak comes from, only farther back. So it has its similarities to flank.

Beef flap is wonderfully marbled and is fantastic for a variety of dishes, including fajitas, stirfrying, or just enjoying it grilled.

I’ve marinated beef flap in many different ways, with Asian flavors and classic American BBQ spices, but one of my favorite ways is to give it a marinade that is similar to Italian dressing.

Some folks actually use bottled Italian dressing to marinate meat, but I prefer to make my own.

Olive oil
White wine vinegar
Salt
Pepper
Granulated garlic
Granulated onion
Dried oregano

Combine these ingredients in the proportions that you like in a bowl, mixing thoroughly.

I like to trim the beef flap, removing any silver skin that might be on it, and cutting it into pieces that are about 4” square and 1/4” thick. If the meat is too thick, I slice it lengthwise in half, to make a thinner cut. I place all the beef in a Ziploc bag, pour the marinade in, squeeze the air out of the bag and then seal it tightly.

I squish the bag all around to make sure that the marinade makes contact with all the meat, and I place the bag in the fridge overnight. (I usually put it in a bowl or tray, just to avoid any accidental spillage.)

The next day, I remove the meat from the fridge and let it come to room temperature before I cook it on a hot hardwood charcoal grill.

Beef flap cooks quickly on the grill, especially if you like it medium-rare, but because it has that fat marbling, it still stays juicy even if you like it well done.

And if you can’t get outside, a hot cast iron grill on the kitchen stove works just as well!

Happy Father’s Day!

I’ve always loved Manhattans and Negronis…two different cocktails, yet similar in certain respects. Both use sweet vermouth. Both have a touch of bitterness: Manhattans will often include a few dashes of angostura bitters, where a Negroni gets its bitterness from Campari. So when I visited Food Network chef Geoffrey Zakarian’s The Lambs Club restaurant in NYC many years ago, and tasted my first Boulevardier, I was instantly hooked.

Loosely translated, a boulevardier is a “man about town.”

The cocktail was created by Erskine Gwynne, the publisher of “Boulevardier,” a magazine for expats living in Paris in the 1920s. It’s basically a Negroni with whiskey instead of gin.

My personal preference for whiskey is bourbon, and one of my favorite bourbons to mix with is the very affordable 1792 Small Batch, though Buffalo Trace is another great choice. And for sweet vermouth, nothing beats the grandaddy of them all: Carpano’s Antica Formula.

I was just reading an interview with food blogger and cocktail expert, David Lebovitz, in the Wall Street Journal, and he mentioned the Boulevardier as one of his favorite cocktails. I hadn’t had one in ages, and started digging in my bar inventory. Bourbon is something I always have…but I also found Campari and an unopened small bottle of Antica Formula. I was all set!

Be very careful, especially with the vermouth. If you stray and buy some cheap brand, the drink will resemble nothing even close to what it could truly be!


Eagle Rare is a great choice for bourbon as well, but its prices have skyrocketed recently.

Many recipes go for the classic 1:1:1 ratio, like you’d find in a Negroni. Others boost the bourbon to 1.5 ounces. But I actually prefer a 2:1:1 ratio.

2 oz. bourbon or whiskey
1 oz. Campari
1 oz. sweet vermouth (Antica Formula preferred)


Add some ice to a cocktail shaker. Add the ingredients and stir. Strain into a rocks glass with a large cube.

Some add a twist of lemon or orange. Others, a maraschino cherry. I like it as is.


Perfection.


1792 Small Batch bourbon: Everyone has their favorite bourbon, and I really enjoy this one, because it mixes well and, at about $40 a bottle, is very affordable. Made by the Buffalo Trace distillery, who can pretty much do no wrong. (Which is why I also recommend Buffalo Trace bourbon itself.)

Campari: A liqueur, invented in 1860 by Gaspare Campari, considered an aperitif. Its alcohol content depends on the country it’s sold in. It’s unique bitter flavor is obtained from the infusion of herbs and fruit in alcohol and water.

Carpano Antica Formula: First invented in 1786 in Turin by Antonio Benedetto Carpano, it has survived in its original recipe thanks to the Fratelli Branca Distillerie. It costs more than the typical 5-buck bottle of vermouth, because it’s simply the best you can get. Buy it once and you’ll never buy another sweet vermouth again.


When it comes to new dinner dishes, my daughter and I often look on line for inspiration. She found a recipe that featured gnocchi and prosciutto in a garlicky cream sauce with a splash of truffle oil. We came up with two similar dishes based on our individual preferences.

I had cured my own guanciale a while ago, and I had a few slabs of it in the freezer, so we decided we’d use that as our salty pork instead of the prosciutto. And we weren’t in the mood for gnocchi, so we went to the local market and found frozen raviolis from Venda, a well-known shop in Providence’s Federal Hill (our little Italy.) My daughter went the cheese ravioli route…I opted for porcini mushroom raviolis.

We boiled 2 separate pots of salted water for the raviolis, and we had 2 separate pans to make our cream sauces. They started basically the same, but ended up different and delicious in their own ways.

Like many first time recipes, it’s not about measurements. It’s about the ingredients. As long as you’re familiar with what goes in, add as much or as little of it as you like.

Ava’s dish: Cheese ravioli with a Parmesan garlic cream sauce with guanciale, chicken breast, peas and truffle oil.

Package of cheese ravioli
1/2 head of roasted garlic
4 oz chopped guanciale
Light cream or half-and-half
Chopped fresh parsley
Parmigiano Reggiano, freshly grated
Chicken breast pieces, fully cooked
Frozen peas
Truffle oil
Fleur de Sel

My dish: Porcini ravioli with a Parmesan garlic cream sauce with guanciale, chicken breast, peas and porcini mushrooms.


Package of porcini ravioli
1/2 head roasted garlic
4 oz chopped guanciale
Light cream or half-and-half
Chopped fresh parsley
Parmigiano Reggiano, freshly grated
Chicken breast pieces, already cooked
Frozen peas
Dried porcini mushrooms, rehydrated and chopped
Reserved porcini liquid, strained and reduced
Fleur de Sel

Both dishes: I start by roasting an entire head of garlic. I slice the top off of it, drizzle some olive oil on it, and wrap it in foil, placing it in a 350 degree oven for 45 minutes to an hour. I unwrap it and let it cool a bit so it’s easier to handle.

In a pan, I heat up some olive oil and cook the chicken breast, which I cut into 1/2” pieces that I seasoned with salt and pepper. I stir the pieces in the pan constantly until they’re cooked all the way through. I set the chicken aside.

I start the 2 pots of salted water for the raviolis over high heat.

My dish: I rehydrate some dried porcini mushrooms in hot water. I chop the mushrooms up and set them aside. I strain the liquid, and reduce it to 1/2 cup or so.

I put the 2 pans on medium heat, adding a little olive oil, and then cooking the guanciale until it’s crispy, but not burned. I remove the guanciale from the pans, but leave the fat.

I squeeze half of the roasted garlic head into each pan, stirring, and then add the cream. I sprinkle in the parsley and the cheese. I add the cooked chicken pieces. A little freshly cracked black pepper.


When the raviolis are even firmer than al dente, I remove them from the boiling water and place them in the individual pans, stirring well.

Ava’s dish: adding the cheese ravioli.

Ava’s dish: I add the peas, stirring to warm them up, and add back the guanciale. Truffle oil, to taste, at the end. When serving, I season at the very end with Fleur de Sel.

My dish: I add the peas, the mushrooms and the mushroom liquid, and let the sauce reduce until it thickens a bit. I add back the guanciale. When serving, I season at the very end with Fleur de Sel.

Adding the porcinis into the pan.
In go the porcini raviolis for my dish.
A little Fleur de Sel.
Both dishes were delicious!

One of the most incredible dishes I’ve had on the beautiful island of Santorini, Greece, is lobster with pasta. It’s one of those dishes that takes time to prepare, because the lobster sauce they make is a labor of love…time consuming, but so spectacular.


Cooked lobster LTL


To try to copy that lobster sauce we had in Santorini, I start with a kick-ass lobster stock. It’s simple but flavorful:


clean, empty claws, tails and bodies from two 1-1/2 lb. lobsters (use the legs, too)
12 cups water
1/2 onion
3 celery stalks
1 carrot

Place all the ingredients in a large pot and set it on high heat. Crush the lobster shells (I use a potato masher!) Cook until the stock is reduced by half.

Strain the stock, discarding the lobster shells and veggies. Bring the stock back to the heat and reduce it until all you have left is 1 cup of intense stock.


Pasta with lobster sauce

Now that you have the stock, you can make the sauce!


1/2 onion, finely chopped
1 garlic clove, finely chopped
pinch of Italian red pepper flakes
1 teaspoon parsley
extra virgin olive oil
1/2 cup lobster stock
1/4 cup San Marzano tomato sauce (see below)
splash of white wine (I use an un-oaked Chardonnay)
salt and pepper
1/2 lb. cooked pasta (firmer than al dente)

Add some olive oil to a pan and sauté the onions until translucent. Season with salt and pepper. Add the garlic and cook for 10 seconds. Add the red pepper flakes and parsley.

Add 1/4 cup of the lobster stock and let it cook, reducing it by half. Add the other 1/4 cup of lobster stock and then the tomato sauce. Let it cook for a couple of minutes and add the white wine. Cook for a few minutes more, to cook out the alcohol.

Cook the pasta and drain it even before it reaches the al dente stage. Place the pasta in the pan with the sauce, heating and coating it thoroughly. Serve immediately, with or without the lobster meat.


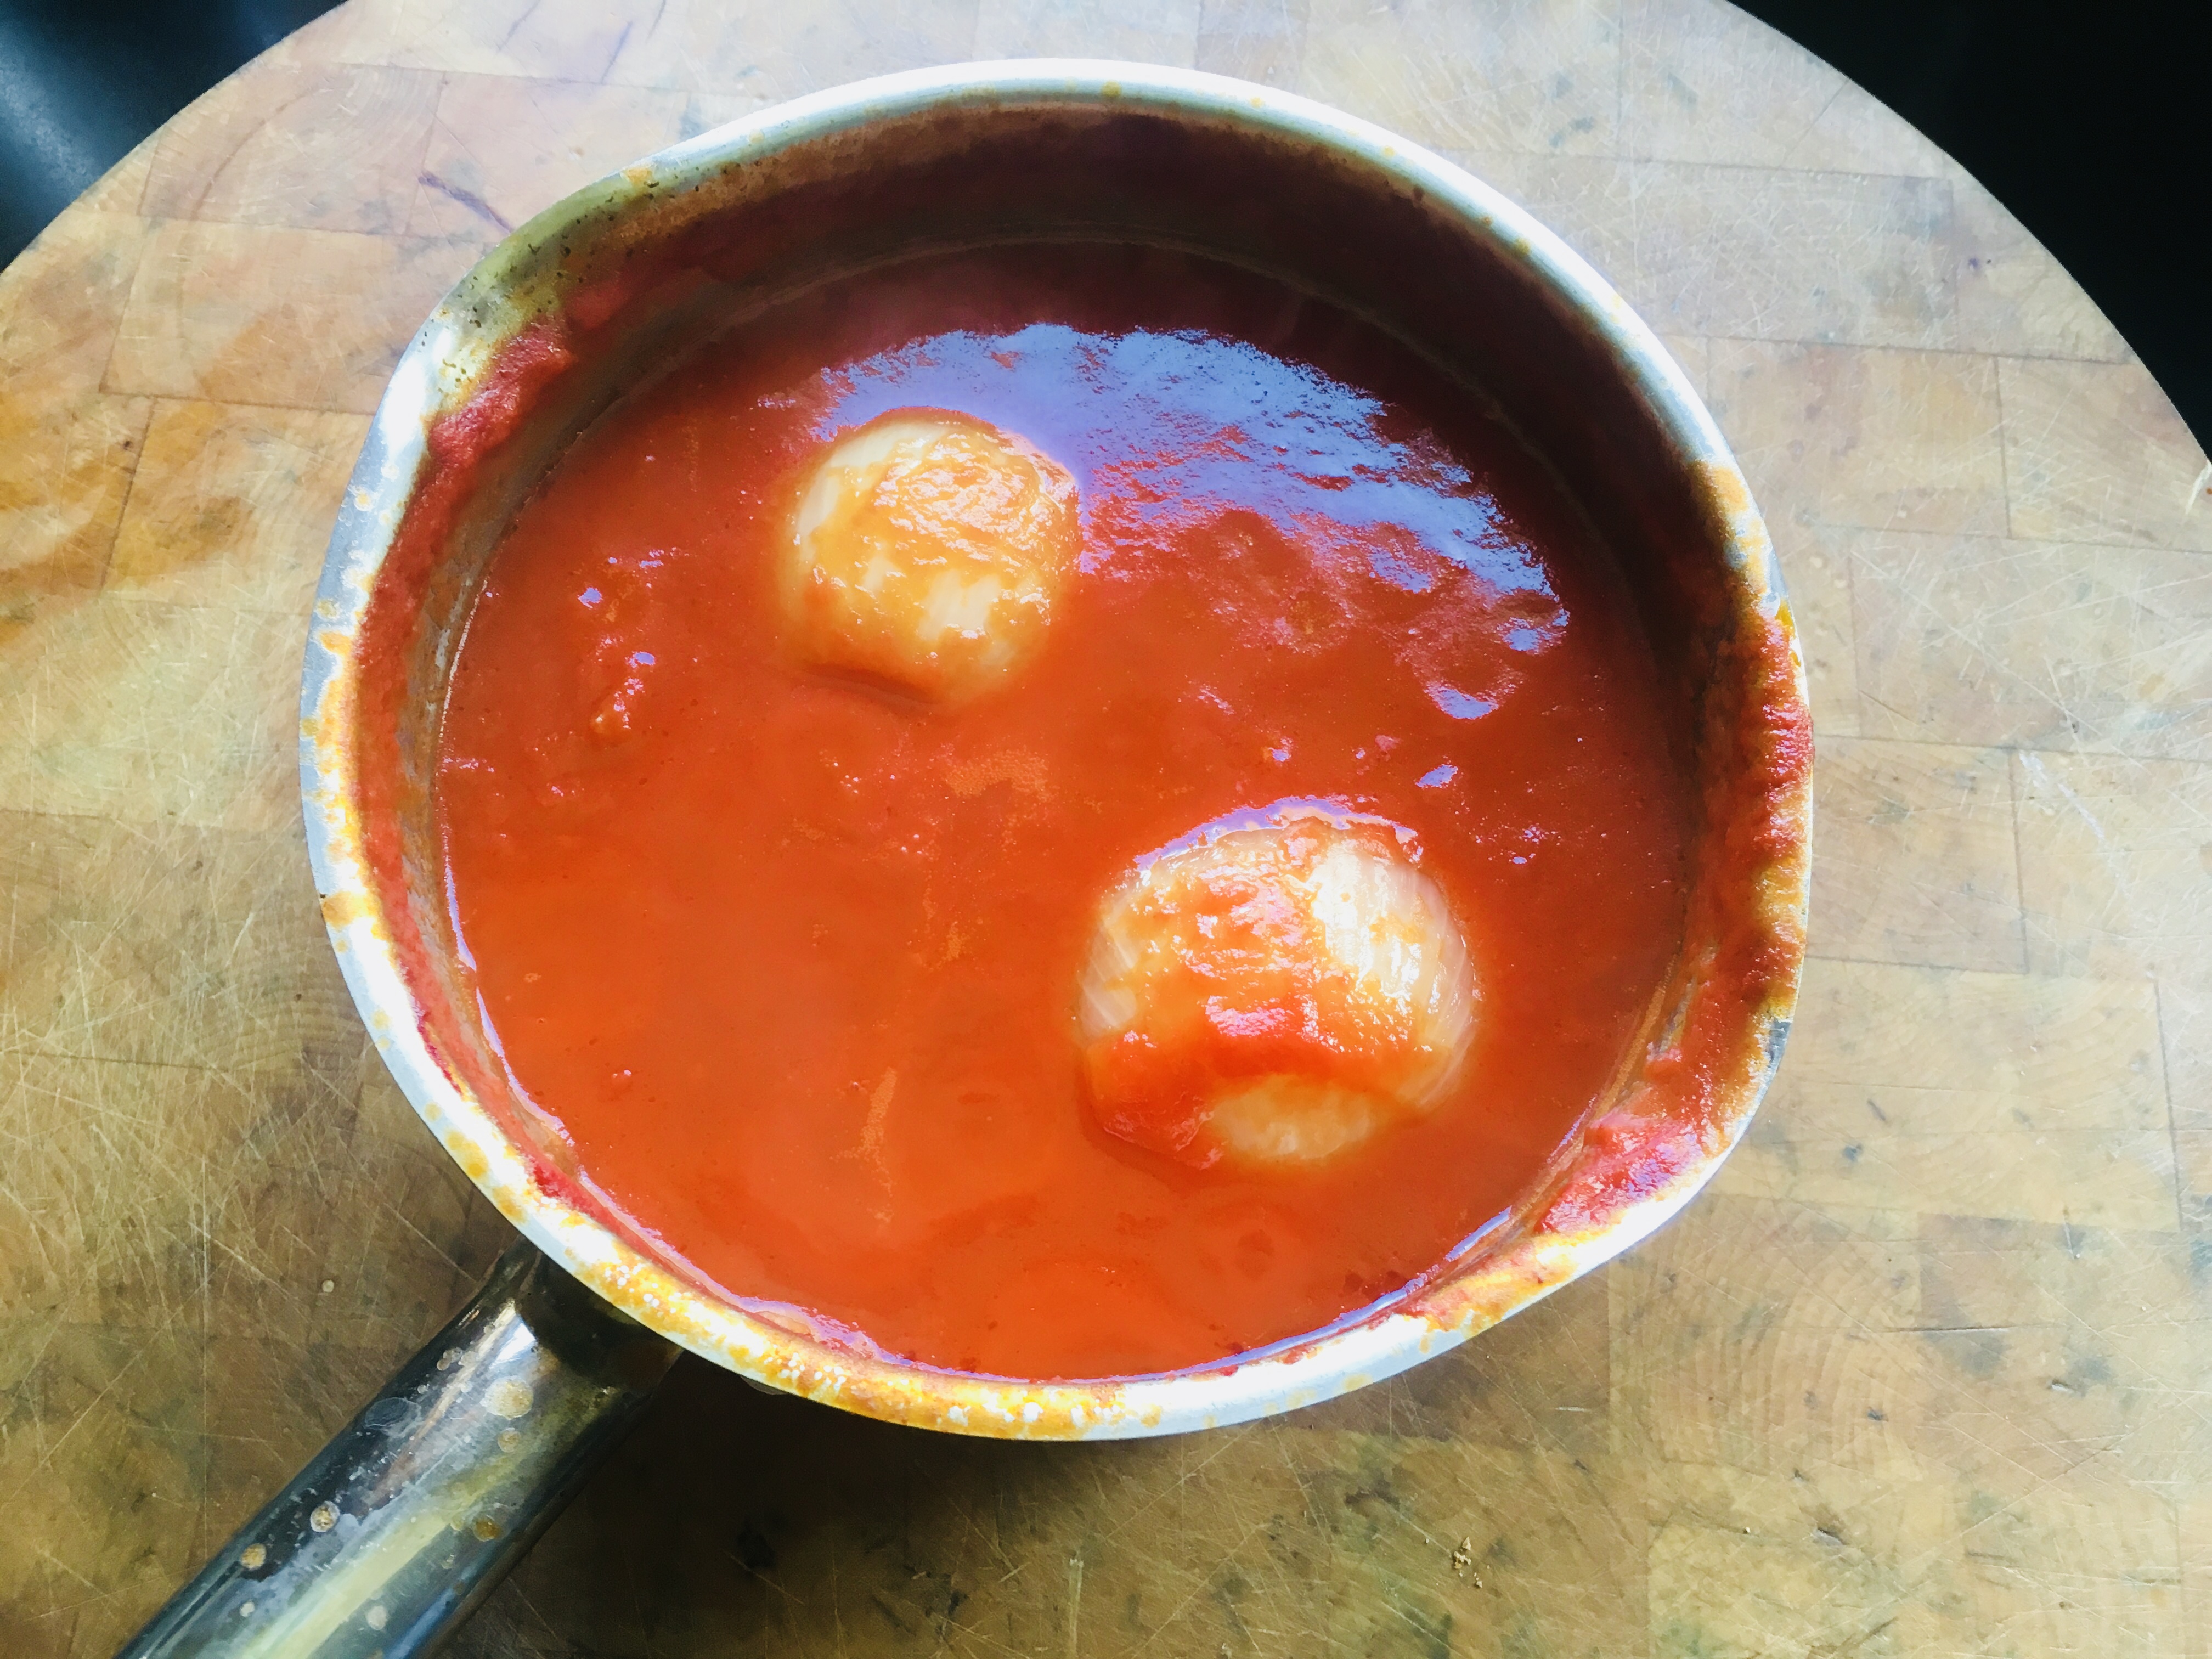
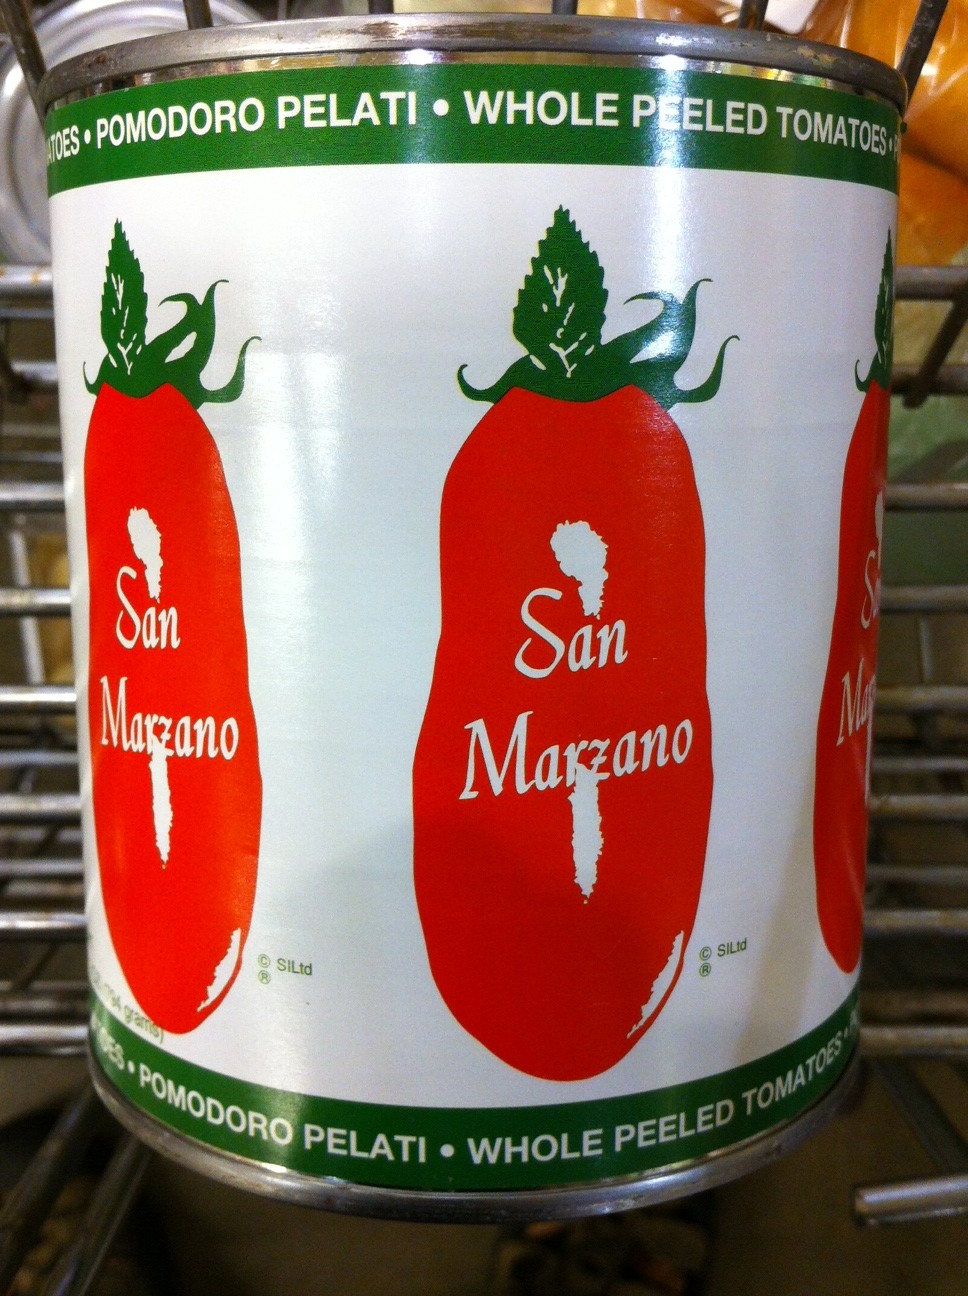
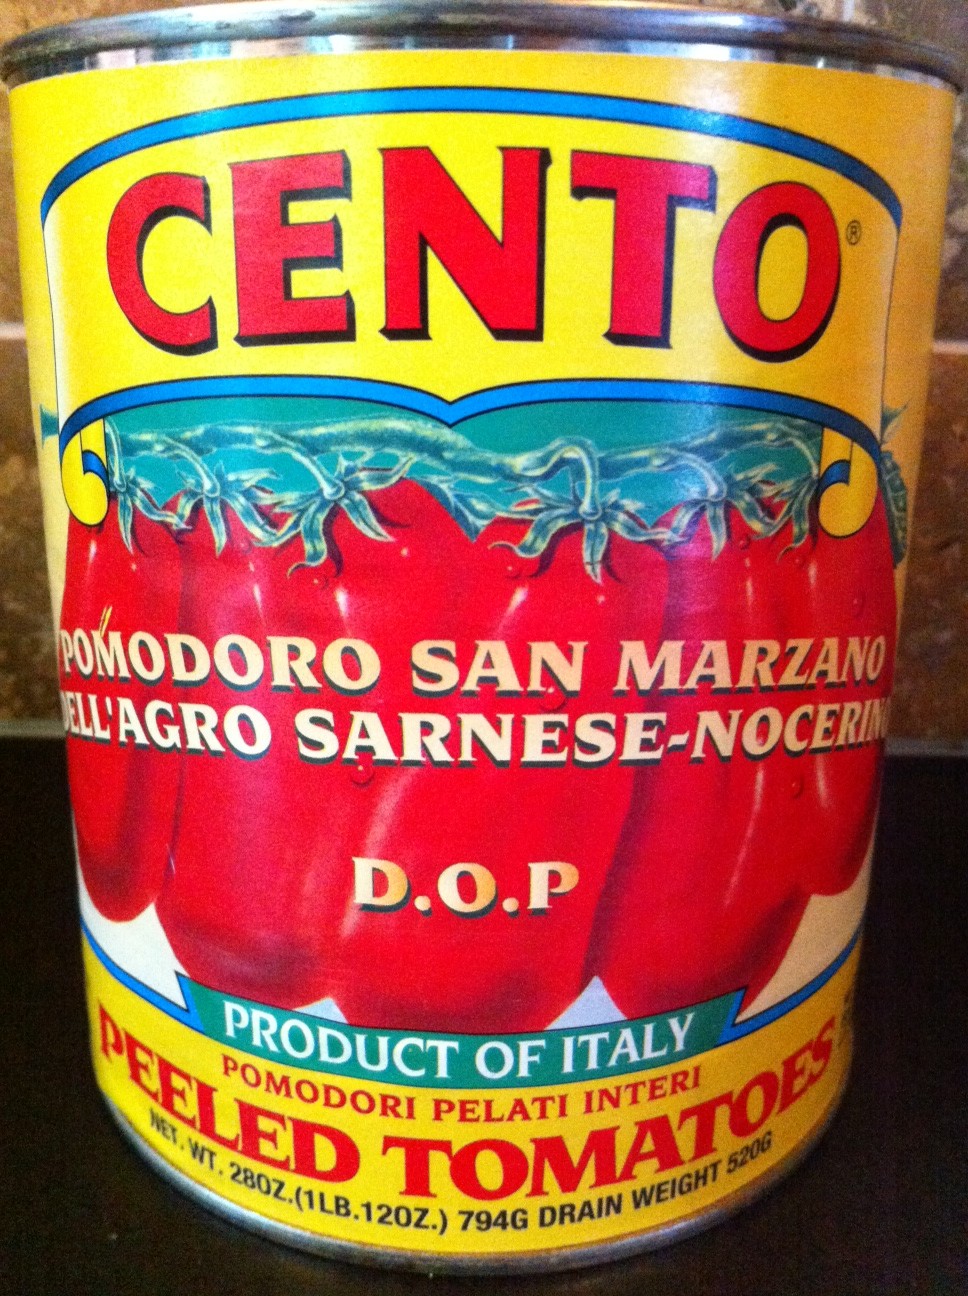
For the San Marzano tomato sauce: I pour a can of San Marzano tomatoes  into a food processor or blender and blend until I get sauce. Pour it into a pan and reduce it over medium heat by half, until the sauce has thickened. Then use it in this recipe.

BARBECUE SAUCE DU JOUR

Posted: June 6, 2023 in Uncategorized

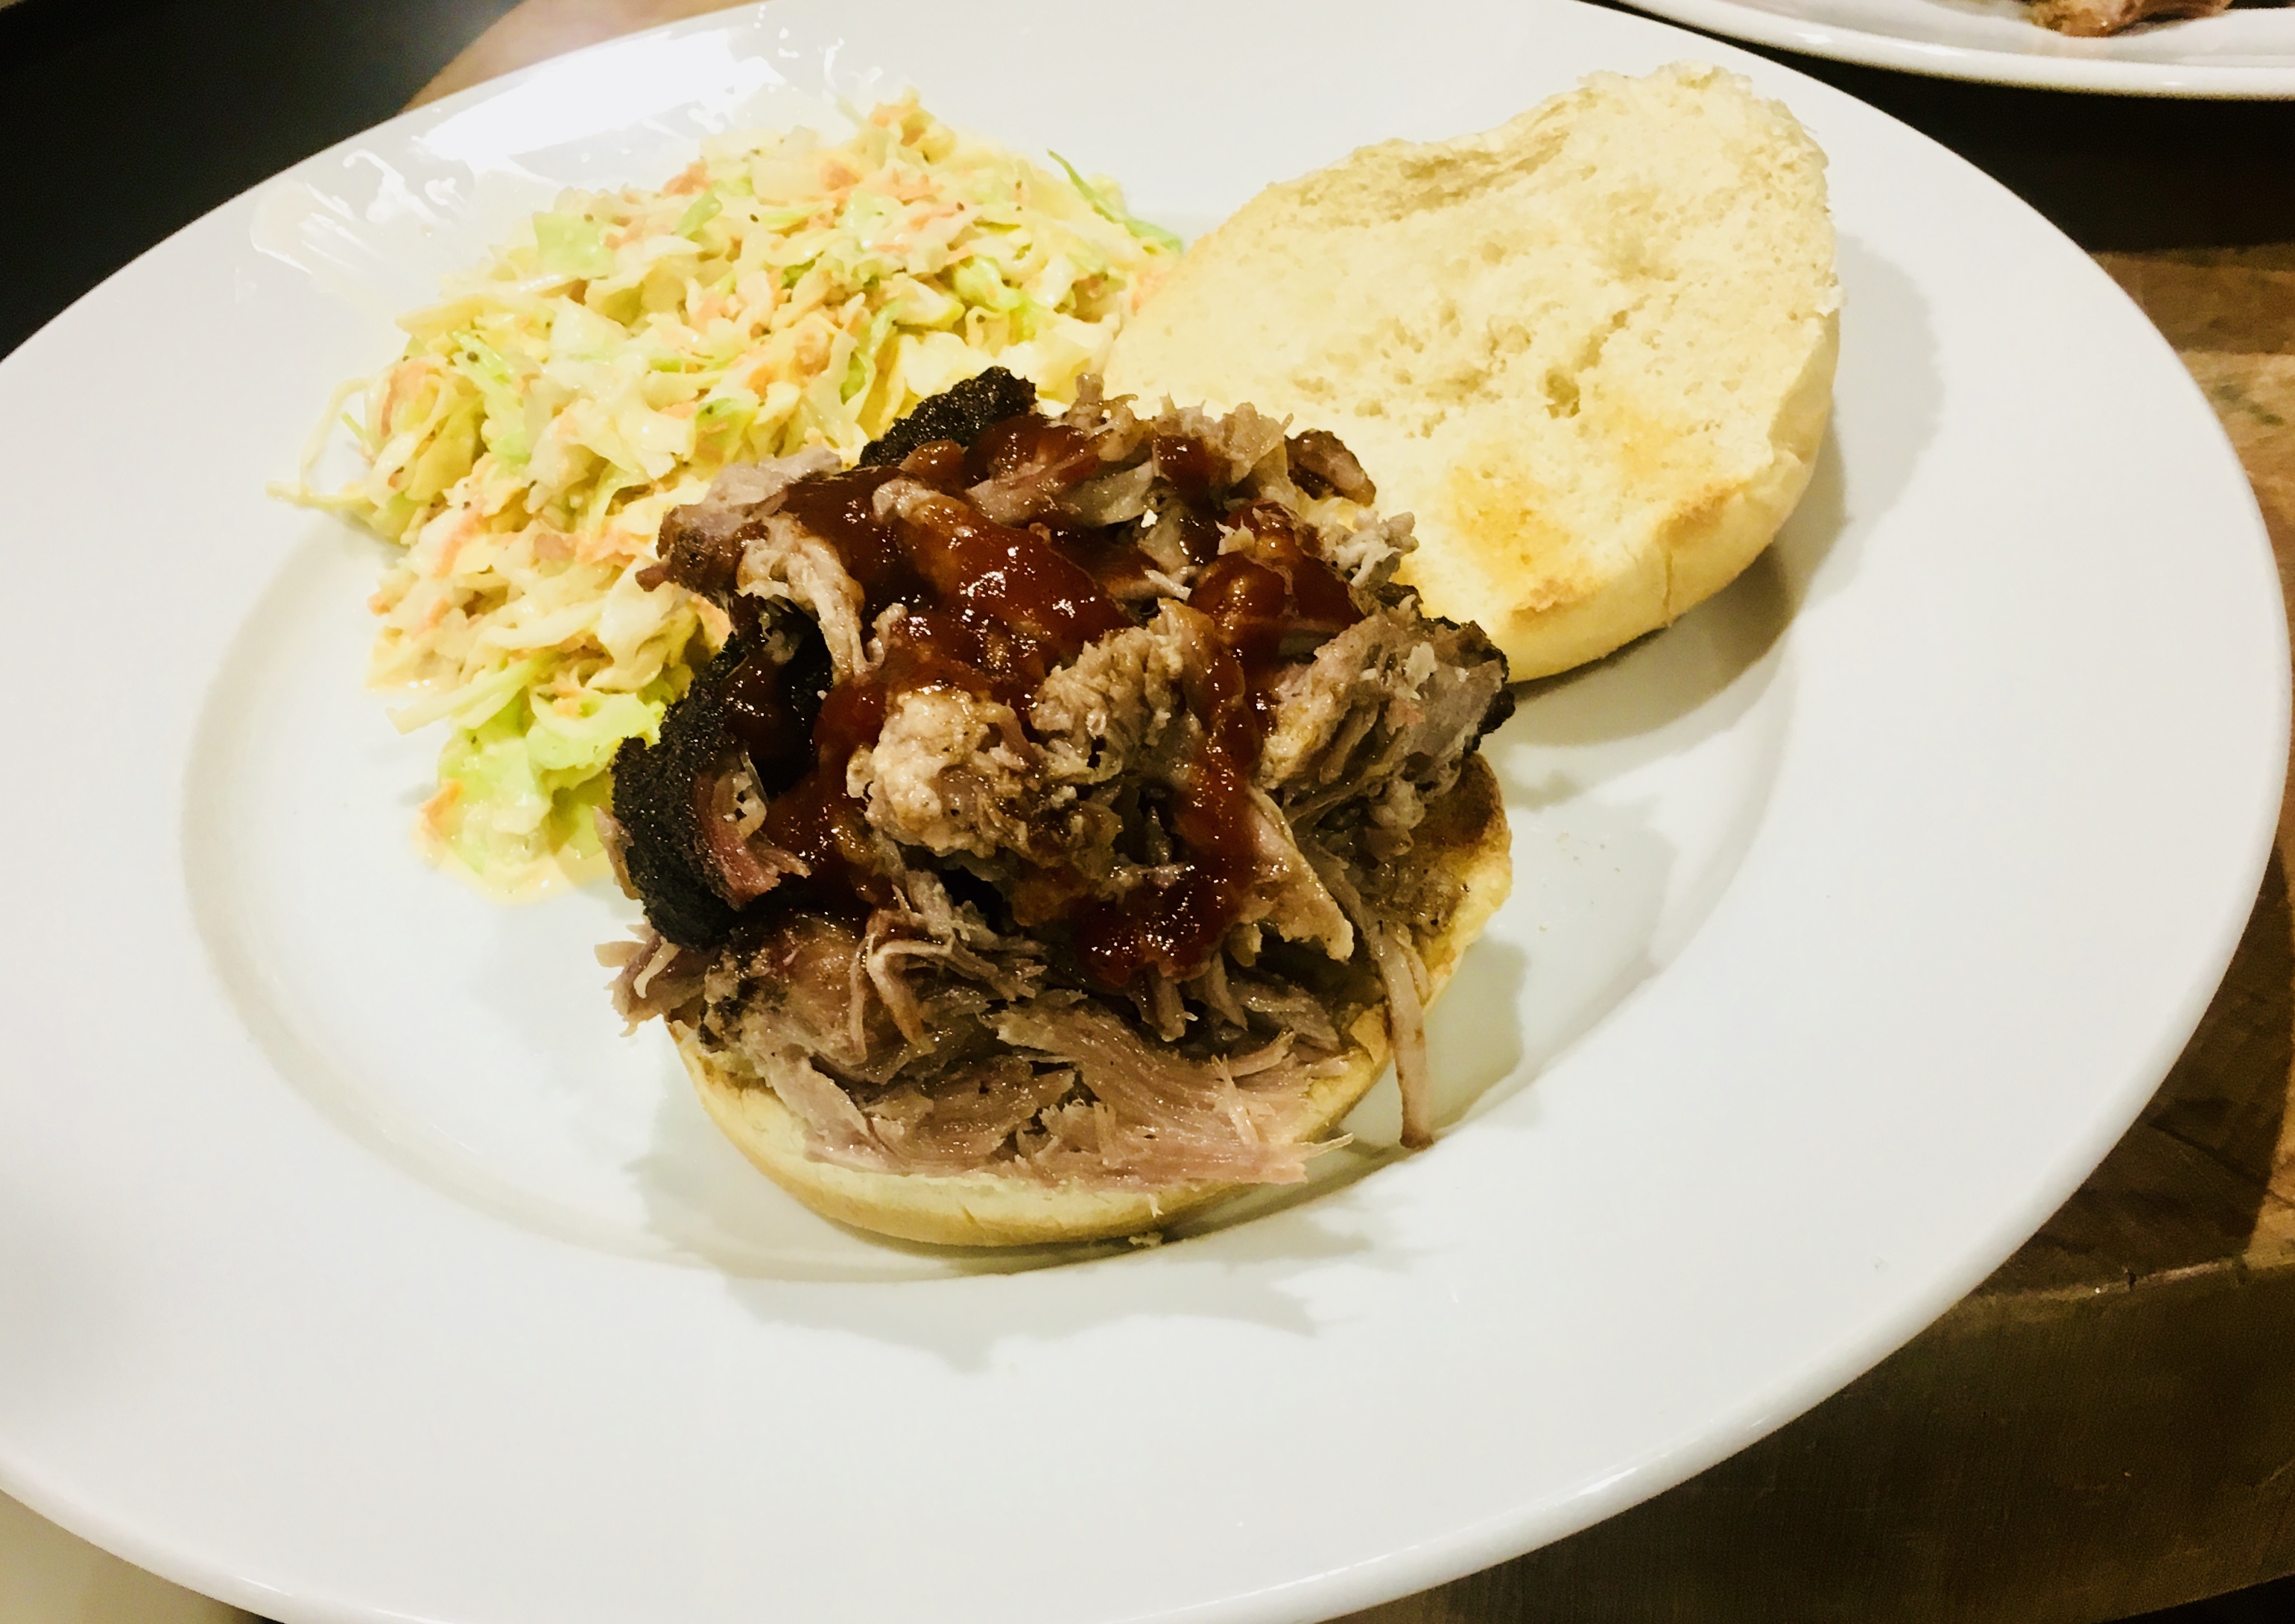
I’ve probably got a dozen really great barbecue sauce recipes. But these days, it seems I’m always gravitating toward this one. It’s sharp and vinegar-based so it has that acidic kick, and goes great with beef and chicken, but especially pork.

I’ve used this sauce when making tacos with ground beef, pulled pork, ribs, and grilled chicken, as well as a whole roasted bird. Lip-smackin’ good!

Let’s make it…

2 cups ketchup
3/4 cup water
6 tablespoons cider vinegar
6 tablespoons white vinegar
6 tablespoons brown sugar
3 tablespoons Worcestershire sauce
1 tablespoon chili powder
2 teaspoons Kosher salt
2 teaspoons black pepper
2 teaspoons cumin

Mix all the ingredients in a saucepan, and bring it to a boil. Then lower the heat to a simmer and cook until until the flavors have blended and it has thickened a bit–about 20 minutes.

If you store it in an airtight container in the fridge, it will keep for weeks.

Great on ribs!

THE BEST GLUTEN-FREE PIZZA

Posted: June 3, 2023 in Uncategorized

With gluten-sensitive people in my family, I have always been on the hunt for the best gluten-free pizza crust recipe. I’ve tried everything from ready-made crusts with cauliflower, to a variety of gluten-free flour recipes. But I finally found a gluten-free pizza crust that tastes–and smells– like real pizza should!

In some ways, I guess I shouldn’t be surprised that the gluten-free flour comes from an Italian company based in Naples that has been making regular 00 pizza flour since 1924. The company is Caputo, and they are the standard when it comes to pizza flour.

What sets the Caputo gluten-free flour apart from all the others that I’ve used in the past is that the main ingredient is gluten-free wheat starch, a slightly controversial ingredient. Only a trace of gluten remains after the removal process, so it’s considered gluten-free, and those with gluten sensitivities, even those with Celiac, can use it. Those with a wheat allergy (not the same as a gluten allergy) should still stay away (or check with their doctor) because wheat starch is, after all, a wheat product.

But what a difference the wheat starch makes in flavor and texture!

As it turns out, the makers of my Ooni pizza oven also recommend this flour for making gluten-free pizzas.

There are several versions of this recipe, so I took what makes sense to me from all of them, and created my own.

Accurate measurements are important, so I use a kitchen scale to weigh out everything. I got a really inexpensive one on Amazon, and it has become an essential tool in my kitchen. It’s totally worth the investment.


540g Caputo Fioreglut Gluten Free Flour
430g warm water, about 110 degrees
17g salt
10g instant dry yeast
15g olive oil

Place the flour in the bowl of a stand mixer. Add the salt and mix it into the flour.

Pour the water into a Pyrex measuring cup and place it in the microwave for 60 seconds on high. How much longer it will need after that will depend on your microwave oven, so measure the temperature carefully. You want the water to be no more than 110 degrees, or you’ll kill the yeast.

Pour the yeast into the warm water and stir. Add a pinch of sugar (optional) to feed the yeast. It should foam up in 5 to 10 minutes.

Connect the dough hook to the mixing bowl and set it on slower speed.

When the yeast has foamed up, add the olive oil to it, and then pour everything into the mixing bowl.

Increase the speed of the mixer and let it run for 5 to 10 minutes, making sure it grabs all the flour that might be clinging to the sides of the bowl.

When the dough has combined, stop the mixer and remove the dough hook. Cover the bowl in plastic wrap and let the dough rest in a warm area for 1 to 2 hours.

I’ve had my KitchenAid mixer forever. It’s a beast, and I wouldn’t trade for any of the mixers out there!

When the dough has roughly doubled in size, divide it into 2 equal portions, rolling them into balls. It may collapse on you, but that’s normal. Dust your hands with flour to keep it from sticking.

Place the 2 dough balls into a well-floured airtight tray (individual bowls covered with plastic wrap work well, too) and let them rise again for at least an hour. You can let it go up to 5 hours, if needed.

Pre-heat your oven (whether it’s in your kitchen or outdoors) to its highest temperature. If using the kitchen oven, invest in a pizza stone. It goes into a cold oven and needs time to heat up.

Grab your pizza peel and flour it liberally. Take a ball of dough out of the container and place it on the peel. Rather than stretching it and tossing it like regular pizza dough, you need to be gentle with gluten-free dough, so simply press down on it with your fingertips, stretching it out as you go. Form a higher edge for the crust, if you like. If you push down too hard, or stretch too much, it will tear, so be careful.

When the dough is stretched to a 1/4” thickness, pick up the pizza peel and give it a gentle shake to make sure the dough isn’t sticking to the peel. (If it is, carefully lift up one side of the dough and toss some flour under it. Do the same on the other side, then test-shake the dough again.)

Put the toppings on the dough only when you know it’s not sticking to the peel!

The standard pizza margarita is great, but one of my favorites was this one…

2 tablespoons unsalted butter
2 tablespoons gluten-free flour
1/2 cup heavy cream
4 oz mozzarella, grated
4 oz prosciutto
Fresh baby arugula
Parmigiano Reggiano, shaved slices


The bottom layer of the toppings is a béchamel sauce. In a saucepan, melt the butter. Add the flour and whisk until it’s combined. Keep whisking, and add the heavy cream. When it thickens, take it off the heat and set it aside. If it’s too thick, just add a little water to it and whisk again.

To build the pizza, stretch out the dough on the peel, making sure it doesn’t stick to it. Spread the bechamel sauce over the dough, stopping at the edges, just like you would tomato sauce. Sprinkle the mozzarella cheese on top. Slide the pizza into the oven and bake it until golden brown. (In the case of gluten-free dough, it’s better to bake it a bit more than a bit less.)

As soon as you pull the pizza out of the oven, scatter the prosciutto over the top of the hot pie, then sprinkle the arugula on top of that. Finally, top with the slices of shaved Parmigiano Reggiano.

I was craving comfort food, and I didn’t want to go to the store, so I looked in the pantry and fridge for tasty ingredients, and went this route. There are many similar versions of this dish out there, using different cuts of chicken–or a whole bird cut up. I just happened to find a great deal on organic drumsticks at the store, so I went with that. But you should use any cut of chicken that is your favorite.


It takes about an hour to prepare this dish from start to finish, so it’s something you could even cook on a weeknight…and it’s certainly easy enough to double the recipe if guests are coming over.


It starts in the pan!


Traditionally, this is cooked in a large cast iron skillet, started on the stovetop, then placed in the oven. I choose to cook mine in a baking pan that fit my smaller convection oven, so I started everything on the stovetop, then made the transfer to the baking pan.


Now that the chicken has seared, we start the veggies.


If I’m on a diet, calories matter. Chicken drumsticks aren’t all that bad in the calorie count: about 100 calories for a medium-sized drumstick (whatever medium is)…and that’s with the skin on. No need to get into exact gram weight measurements here, but the real calories come later when you add a starch to the dish. It does go really well with pasta, rice or potatoes. (My choice would be fresh Italian bread to really sop up the sauce!) But alas…I had none of those. Just a salad on the side.

I go with organic ingredients whenever possible, especially kale, which is on the “Dirty Dozen” produce list almost every year. It gets sprayed a lot.


If sodium is not a problem for you, add more olives!


3–4 lbs. organic, pastured chicken drumsticks (about 12 medium)
salt, pepper and paprika
olive oil
2 small yellow onions, finely chopped
2 cloves garlic, squeezed through a press
1 teaspoon each: dried oregano, parsley, and thyme
1 tablespoon tomato paste
1 can (28 oz.) crushed tomatoes
1 cup chicken stock (homemade is best)
dry white wine (optional)
1/4 cup olives, sliced in half (I like green olives from Greece)
4 cups organic chopped kale (optional)

Pre-heat an oven to 350 degrees.

Season the chicken drumsticks with salt, pepper, and a bit of paprika.

Put a couple of tablespoons of olive oil in a hot pan. Add the chicken to the pan, and sear the drumsticks on all sides, getting them nice and brown. It’ll take about 10–15 minutes.

Remove the chicken pieces from the pan and add the chopped onions to the same pan. Let them cook for a few minutes until they’re translucent, then add the garlic. Let the garlic cook for about 10 seconds, then add the oregano, parsley, and thyme. Now add the tomato paste and stir it all around, cooking it for just a minute to caramelize it and give it more flavor.

Pour in the can of tomatoes and the chicken stock, stirring well. (A splash of wine is optional at this point.) Add the olives and let the sauce cook for a few minutes.


The sauce is all happy, and ready for the baking pan.


Pour the sauce into the baking pan. Add the chicken drumsticks to the pan, nestling them in the sauce. (I like to roll them around in it to cover all sides.)

Place the pan in the oven to cook.

After 30 minutes, remove the pan from the oven, and remove the drumsticks from the sauce, moving them onto a plate.


It looks like a lot of kale, but it withers down. Remember: go organic!


Take the kale and place it in the baking pan, tossing it around in the sauce. The sauce is hot, so the kale will start to wither and meld into the sauce in about a minute.


The kale’s withered down, and the chicken goes back in.

Now return the chicken drumsticks back to the baking pan, nestling them in the sauce again. Return the pan to the oven and bake for another 15 minutes. Turn the oven off and let the pan rest in the oven until you’re ready to serve.

Turn the oven off, but keep the door closed to keep the chicken warm.


Where’s that bread?…