Archive for the ‘Carnivore!’ Category

It’s been over a year since I posted this. Inspired by a recent conversation I had with a friend, I decided to share it again…

It’s never a healthy option to eat fast food. Michael Pollan said it best: “It’s not food if it arrived through the window of your car.”

A few years ago, a guy who claimed to be the nephew of Colonel Sanders, revealed the 11 secret herbs and spices that made KFC‘s original recipe chicken a worldwide success. He said he worked for his uncle for many years and had to make huge batches of the seasoning mix.

For me, KFC is like crack. Although I’m a big proponent of grass-fed this and pastured that, my kryptonite is KFC‘s original recipe chicken. There’s a KFC right next door to a local Home Depot in my area and my car literally drives itself to the pick-up window…I can’t help it. I justify the consumption of this heavenly grease by asking for no sides–no biscuit, no nothing. I get one breast and one thigh, and I drive off, steering my car with my knees as I indulge in my dirty secret, the hot grease dripping down my chin, a roll of paper towels at my side.

Making the KFC chicken recipe at home means I do have some control over product quality. I can use pastured or organic chicken. I can use clean oil. I don’t have the fancy pressure fryer they use at KFC, but I can use the healthier option of oven-frying. That means I fry my chicken in oil until golden brown, then finish the cooking process in the oven.

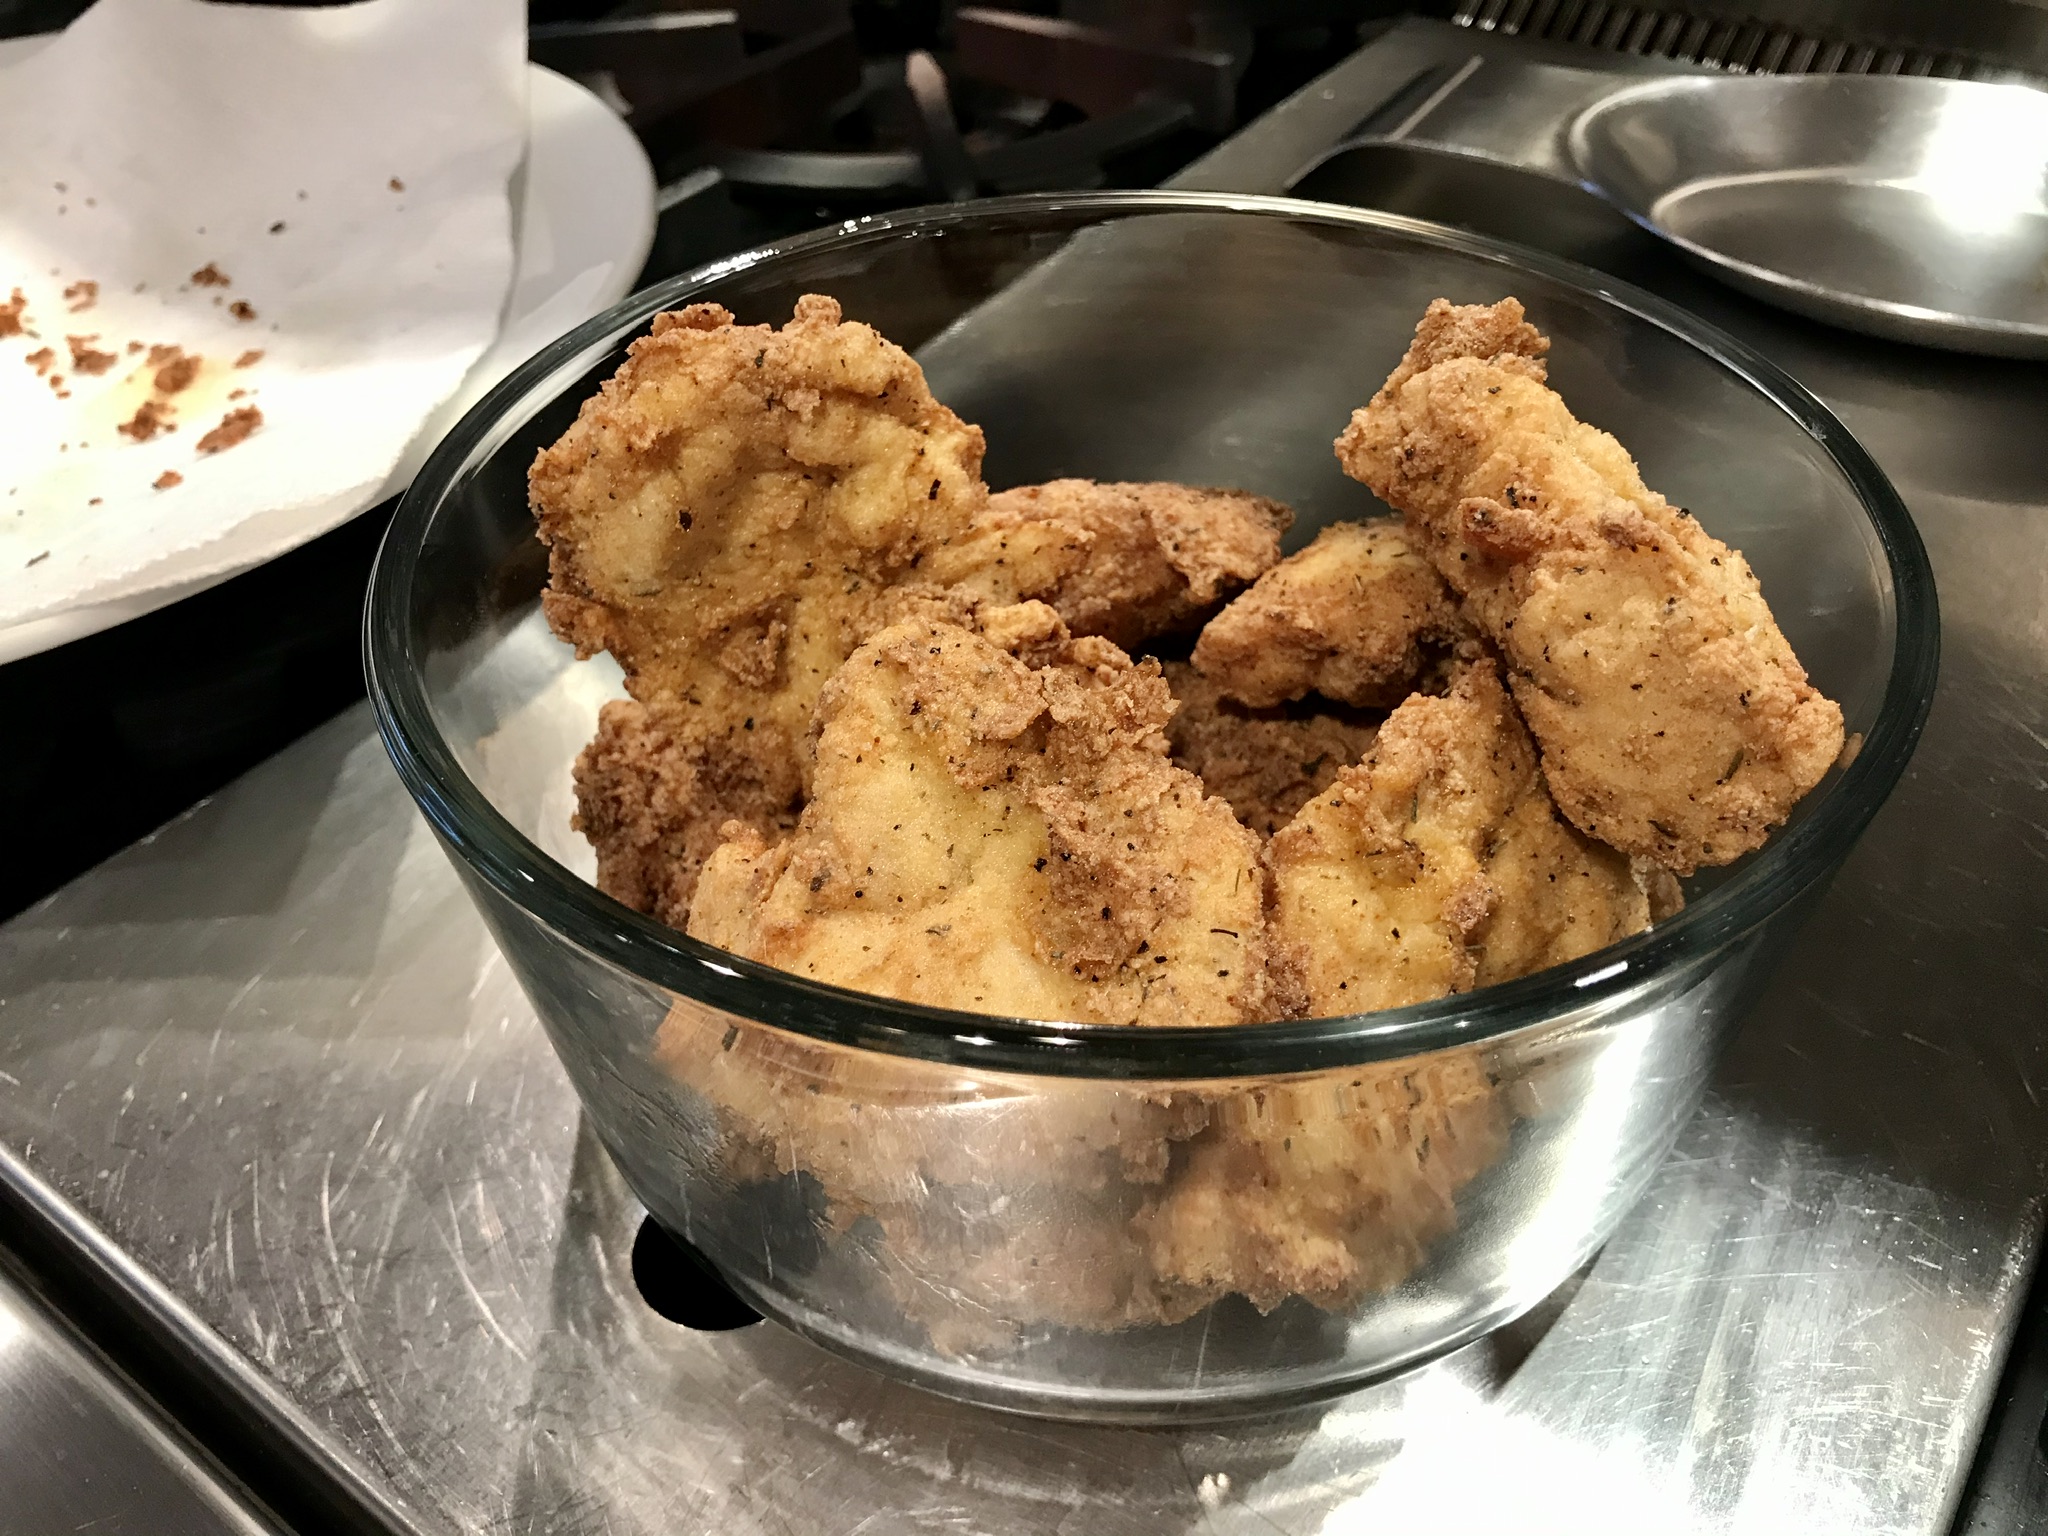
I have to say, the recipe really works! Maybe if I placed the real KFC side-by-side with my home-made chicken, I’d notice a big difference. But my brain said it was pretty damn close and absolutely delicious! If I could change one thing, I would use smaller chicken pieces next time. I used large pieces and the meat-to-breading ratio was off. Though it was mighty tasty, I was craving more breading per bite.

The recipe calls for all-purpose flour, but if you follow a gluten-free lifestyle, using Cup4Cup GF flour works just as well.

2 cups all-purpose flour
3 tablespoons paprika
1 tablespoon celery salt
1 tablespoon dried mustard
1 tablespoon garlic salt
1 tablespoon ground ginger
2 teaspoons black pepper
1/2 teaspoon white pepper
1 1/2 teaspoons thyme
1 1/2 teaspoons basil
1 1/2 teaspoons oregano
1 teaspoon salt
1 cup milk
1 egg
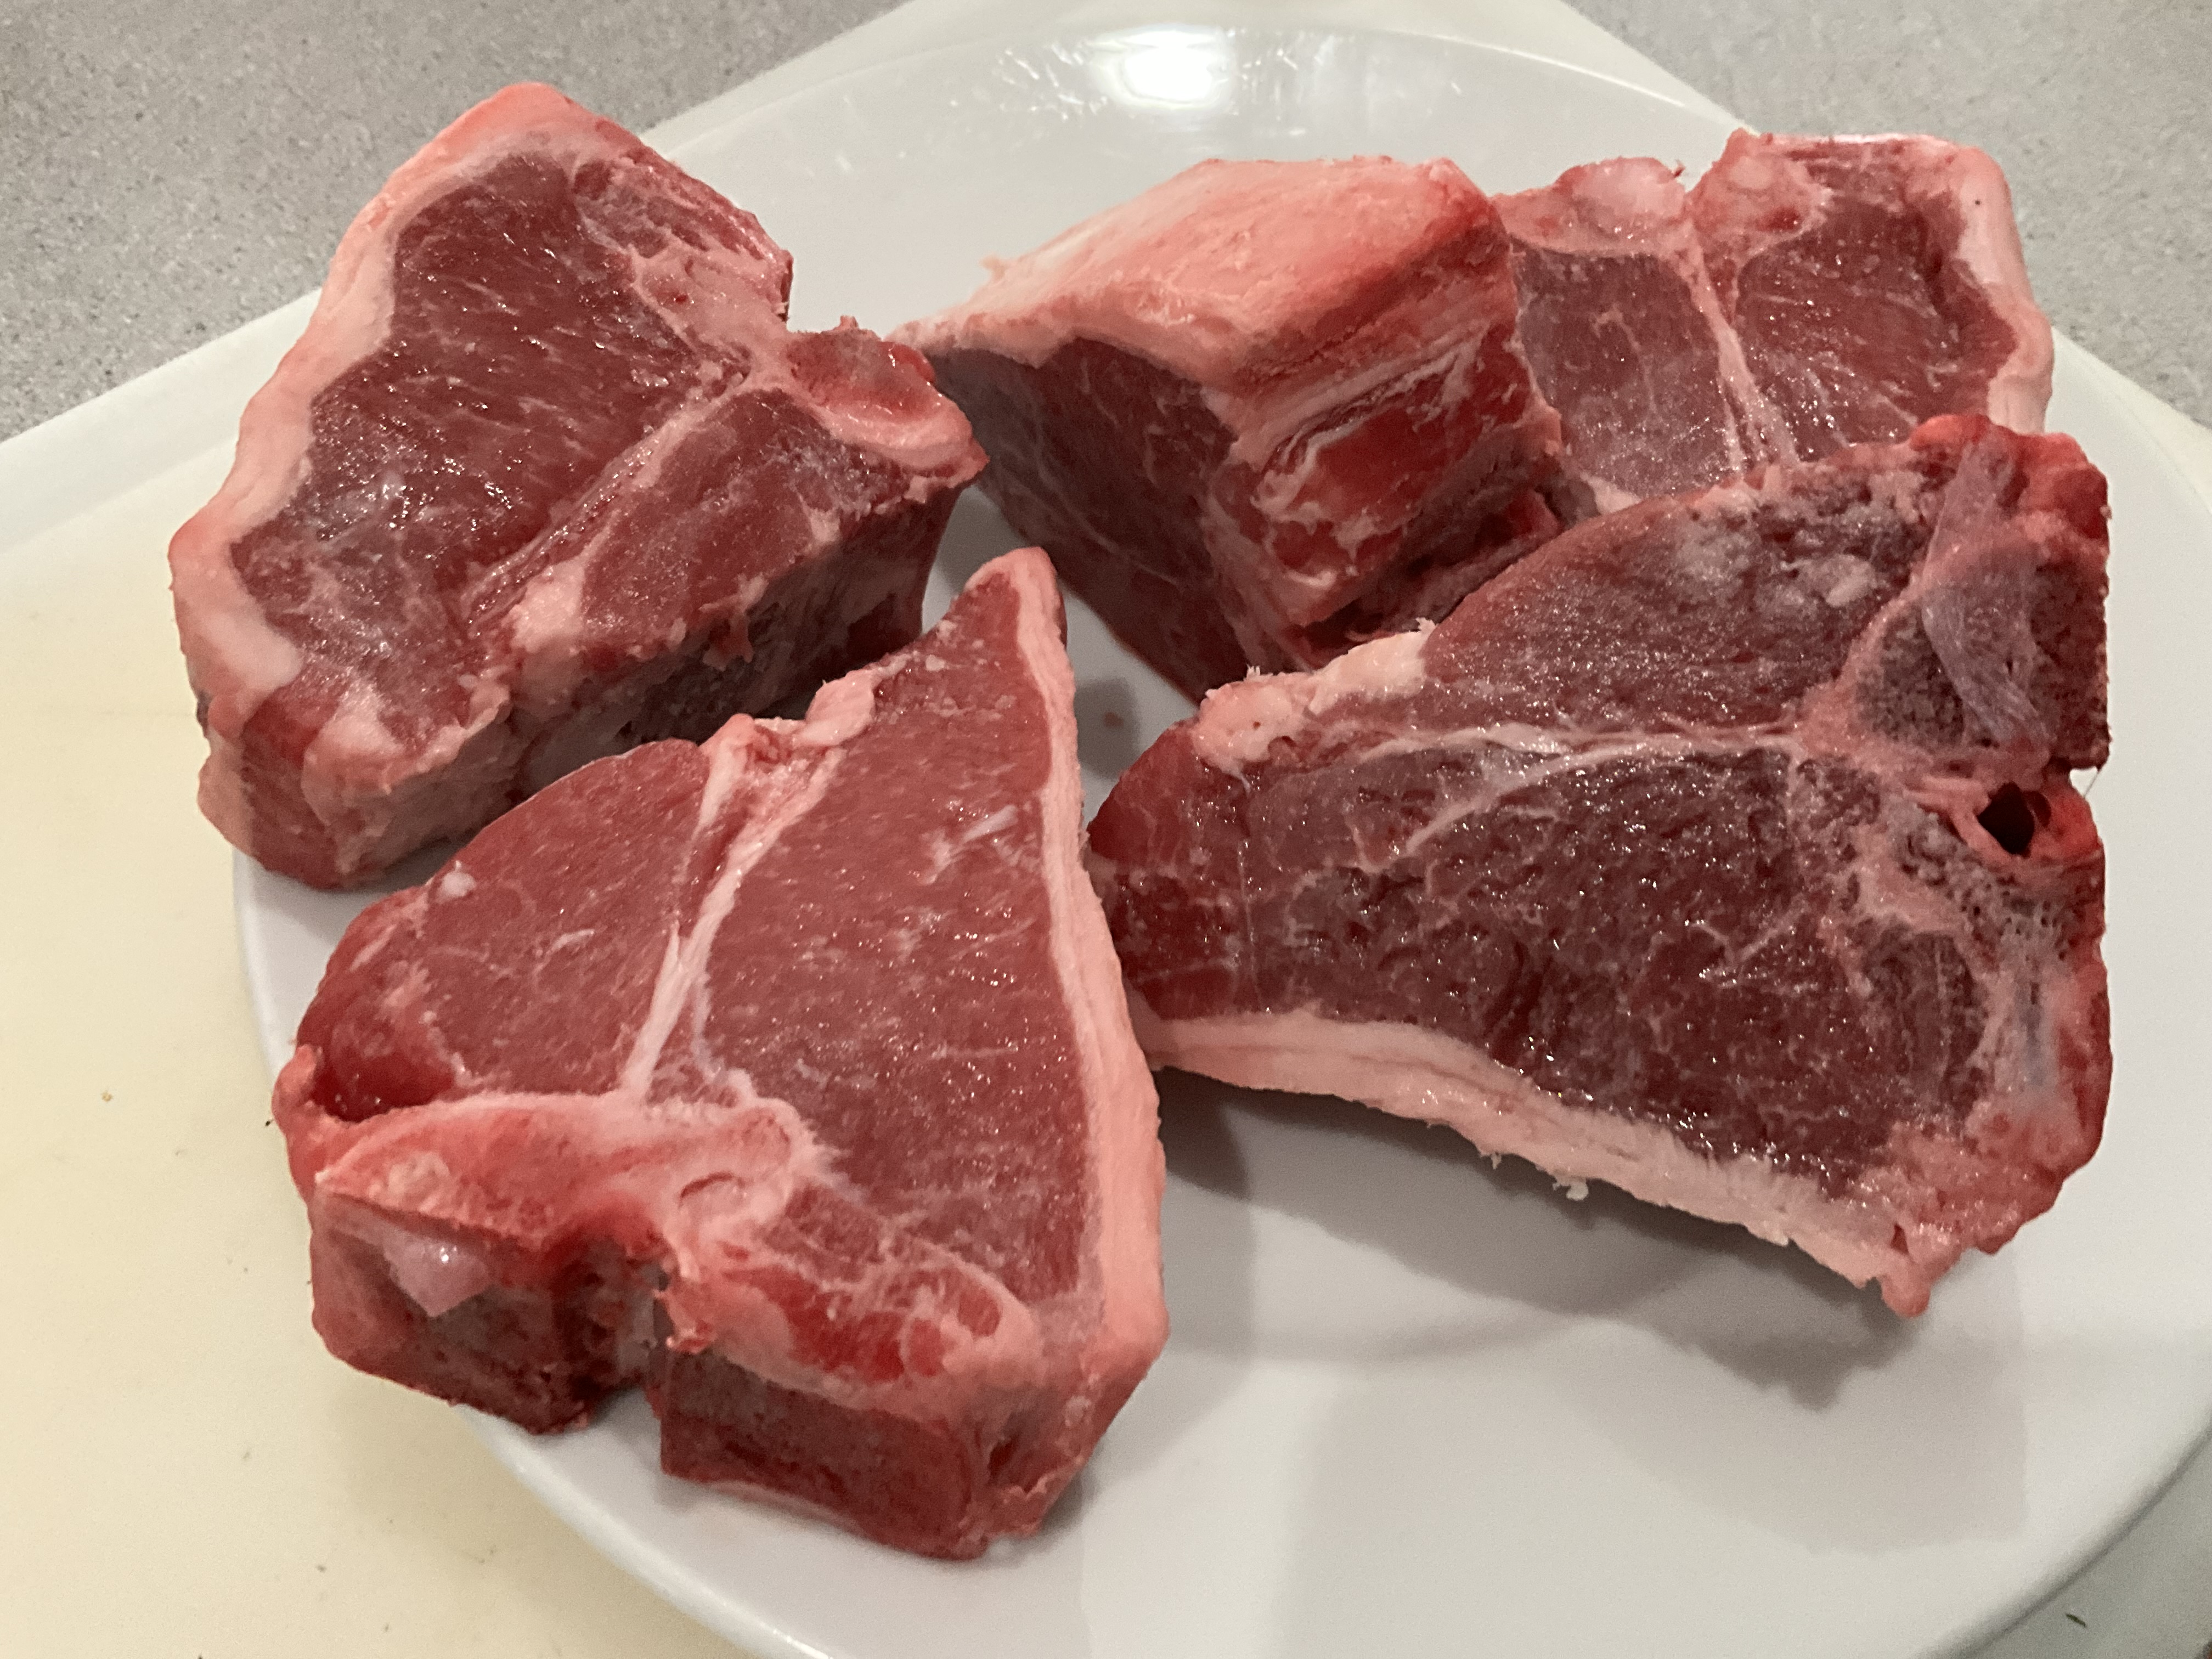
5 lbs. chicken pieces…your choice
oil, for frying

Combine the flour and the “11 herbs and spices” in a bowl. Mix well.

In another bowl, whisk together the milk and the egg. Add the chicken pieces to this bowl and let the chicken soak in it for 10 minutes.

Pre-heat the oven to 350 degrees.

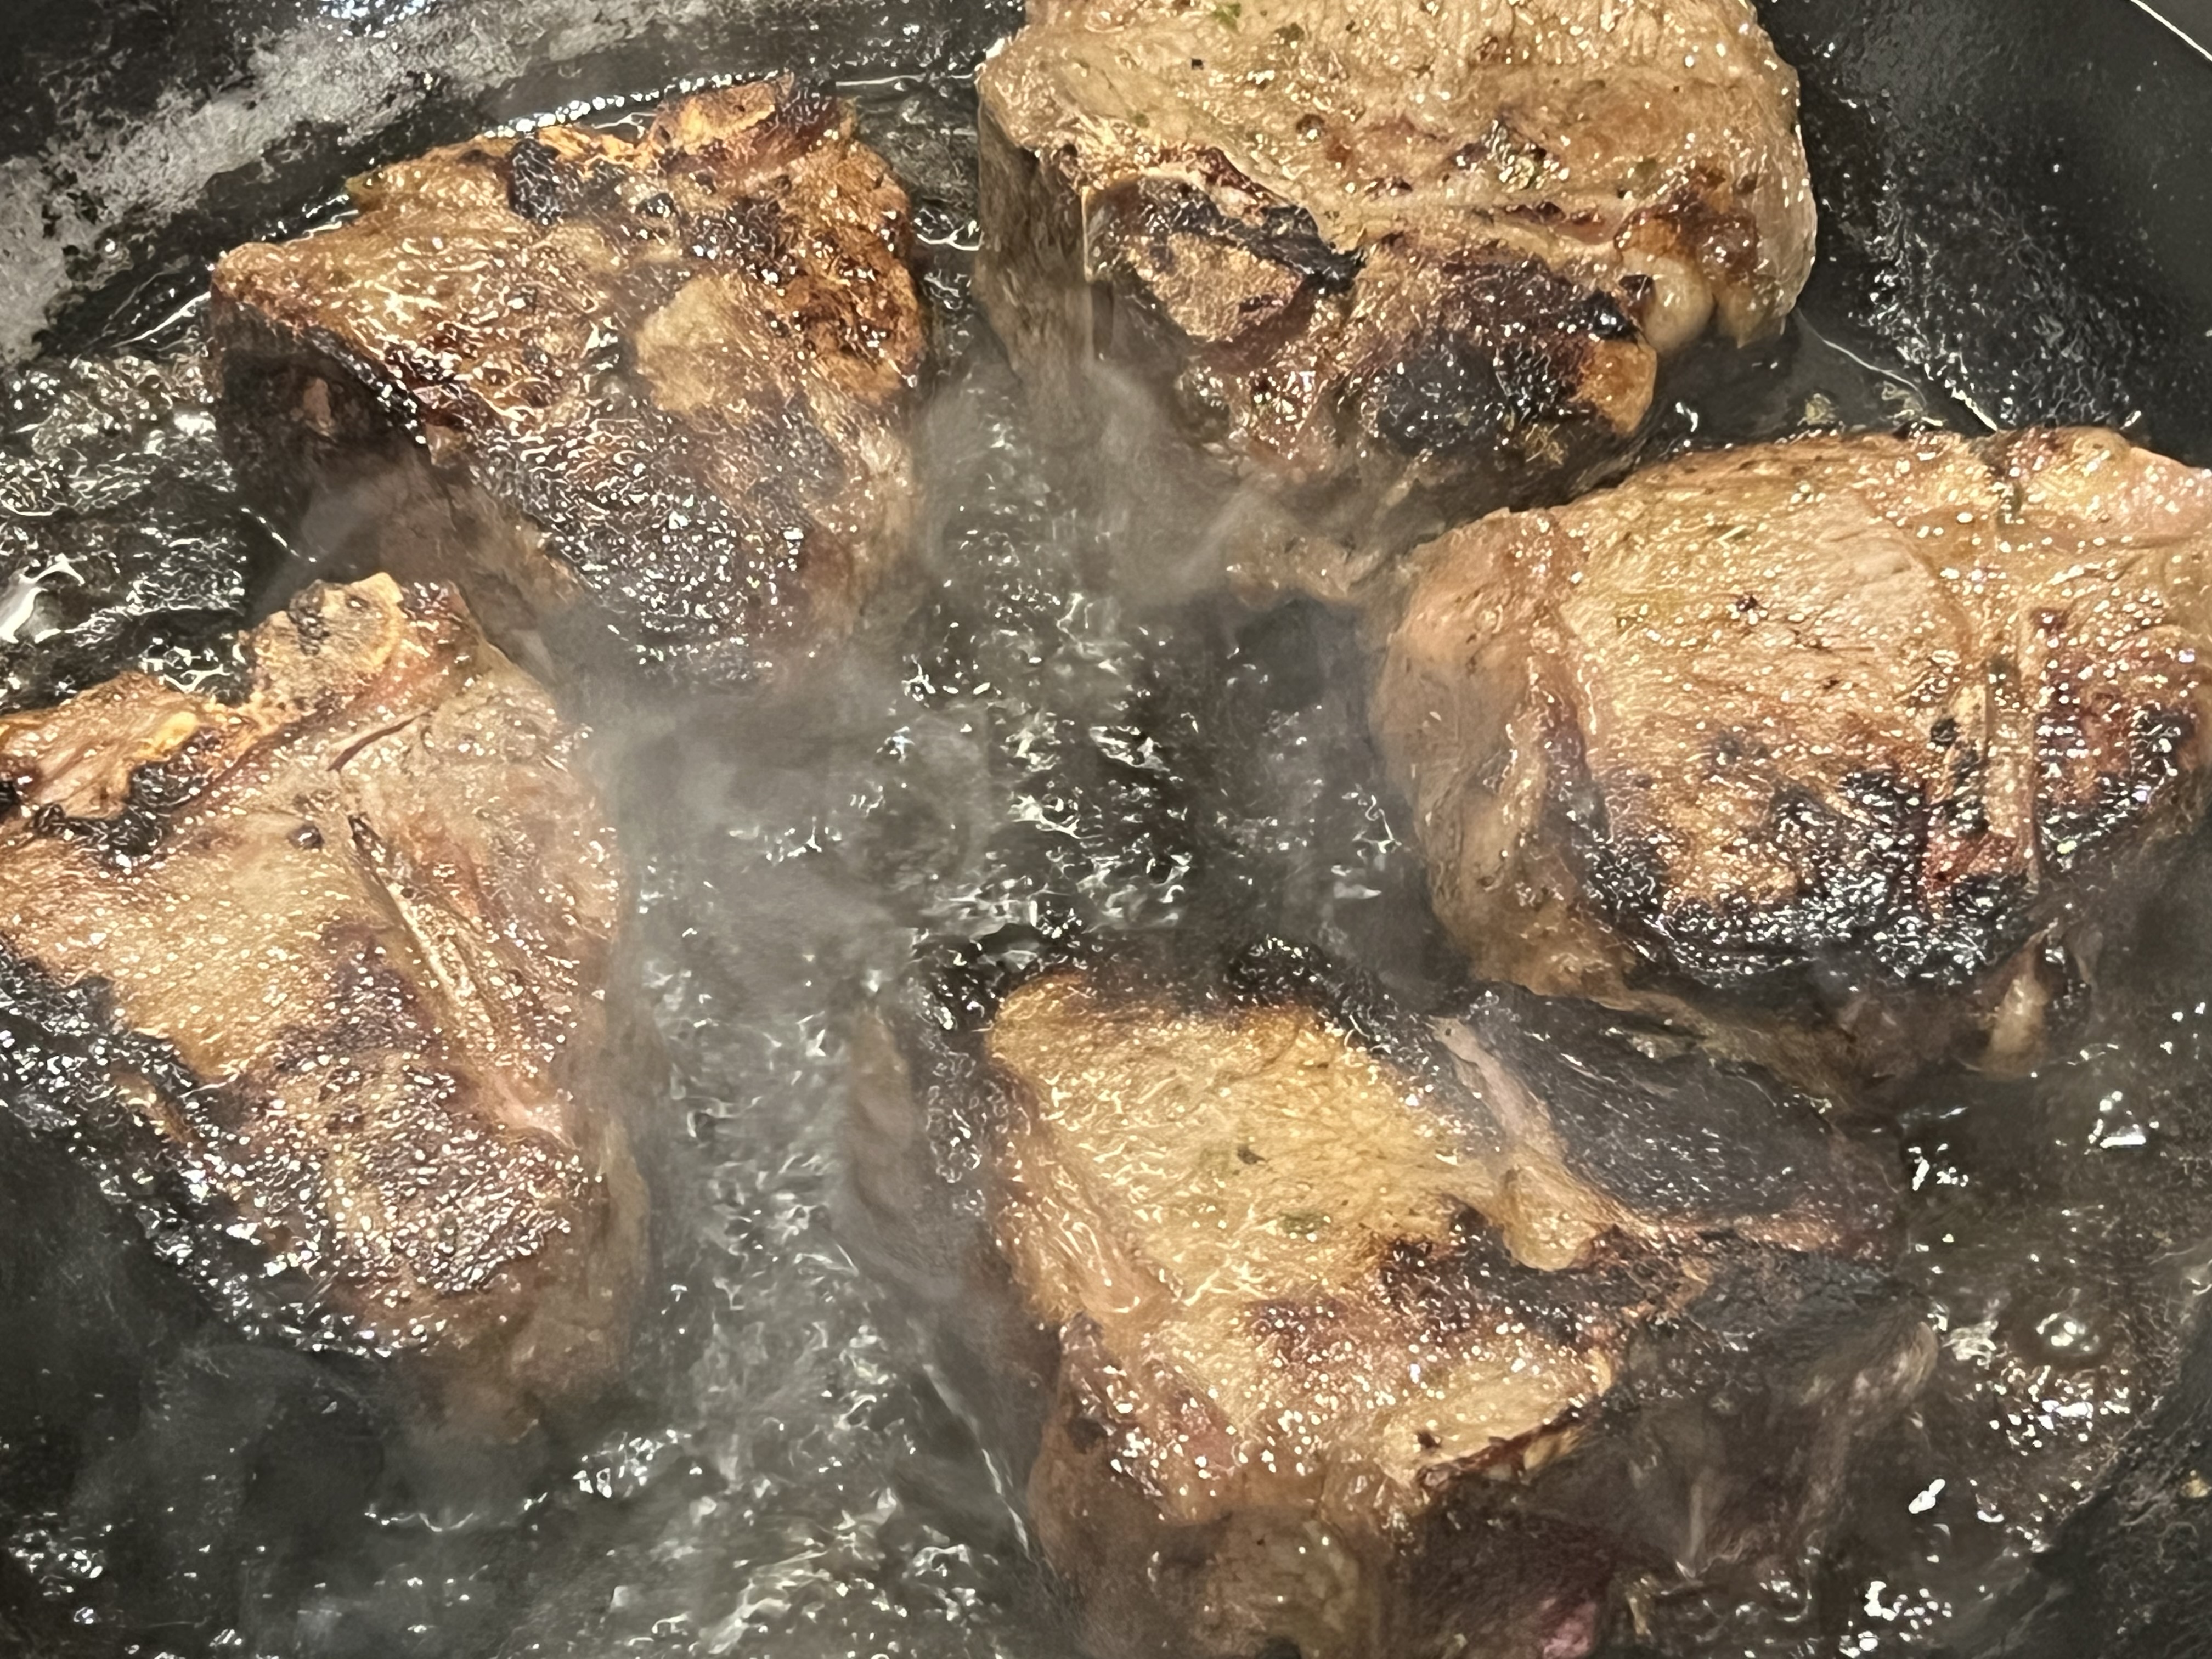
Pour a couple of inches of the oil into a pan with high sides and heat it to 340 degrees, using a thermometer. Don’t fill it with too much oil, because oil expands when hot and it could spill over.

Take the chicken pieces out of the milk and egg mixture and coat them with the seasoning mix one at a time, making sure you coat them well. Carefully place the chicken in the hot oil. Don’t overcrowd the pan…work in small batches. Too much chicken could cause the oil to spill over the top.

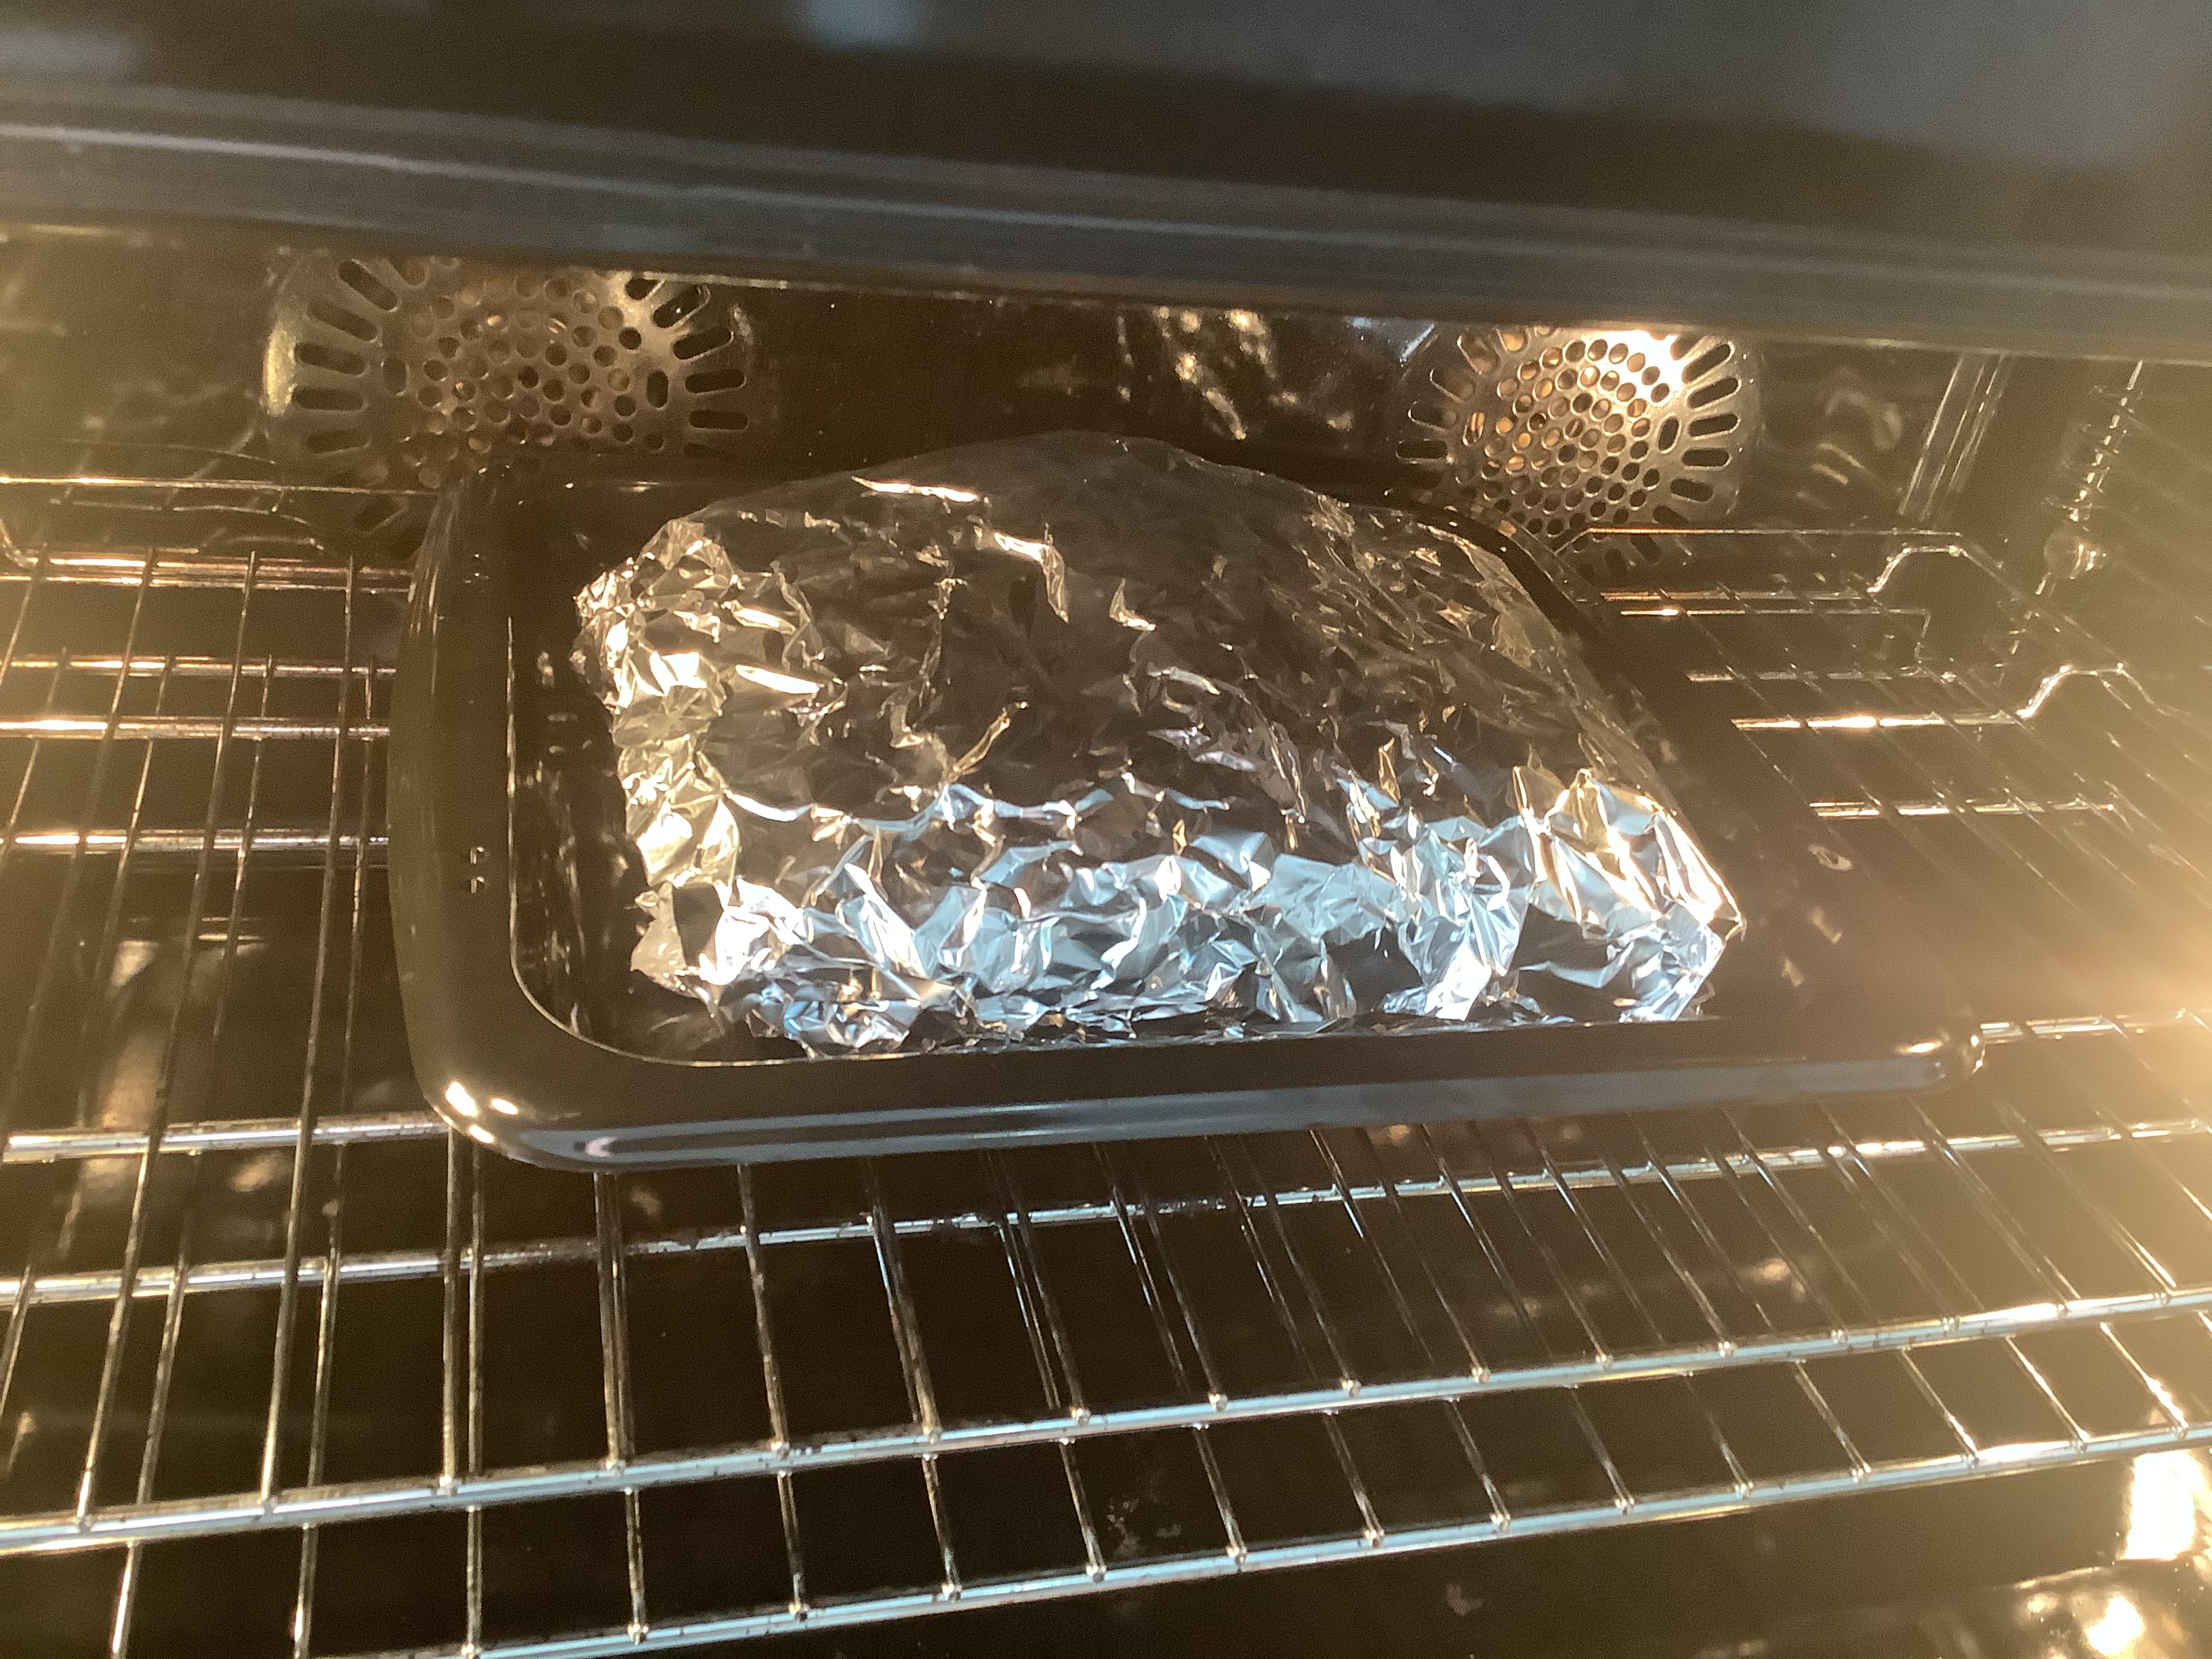
Fry the chicken pieces just until golden…no need to cook them all the way through. Place the pieces on a baking sheet lined with non-stick aluminum foil. When all the chicken has been fried, place the baking sheet in the oven and cook until the chicken pieces reach an internal temperature of at least 160 degrees.

Make a lot! Leftovers are great, and they re-heat really well in the oven! (Don’t use a microwave…the oven is best.)


I love these ribs. They’re one of the the first recipes I ever tried, and still one of my favorites. I’ll be making them again this weekend!
 
I like making these because you don’t need a grill or a smoker. They’re gooey, sweet and absolutely delicious!
 
 
 image
 
¾ cup soy sauce
 1/4 cup hoisin sauce
5 lbs. pork ribs
Zest and juice of 1 lemon
2 whole star anise
2 cinnamon sticks (3”)
1/2 cup honey
4 cups chicken broth
 
Mix the soy sauce and the hoisin in a bowl, and set it aside. These are the marinade ingredients.
 
If the ribs are large, cut them into individual pieces. If they’re smaller, cluster 2 or 3 ribs together. Place them in a large pot. Cover them with water and bring it to a boil. Boil for 5 minutes. Drain the water.
 
Place the warm ribs on a baking sheet lined with non-stick aluminum foil or with a rack and brush them with the marinade. Let them sit for 10 minutes.
 
Pre-heat the oven to 350 degrees. Bake the ribs on the baking sheet for 30 minutes.
 
While the ribs are baking, start the sauce in a large non-stick pan or pot that will hold all the ribs: combine the lemon zest and juice, star anise, cinnamon sticks, honey and chicken broth. Bring it to a boil, then reduce it to a simmer.
 
When the ribs have finished baking, add them to the sauce pot and simmer on low (covered) for at least 15 minutes or until the rib meat is tender.
 
Turn the heat on high, uncover the pot and cook until the sauce is reduced to a glaze that coats the ribs. Be sure to reduce the heat as the sauce thickens or the sugars in the honey will burn! When the ribs are sticky and gooey, they’re ready.
 
Substituting grapefruit for the lemon works really well. And I like to switch the honey for maple syrup! 


I missed posting my annual corned beef prep for St. Patty’s Day, but who says you have to only eat corned beef once a year? After all, corned beef isn’t really an authentic Irish dish.

The phrase “corned beef” was coined by the British. Although the Irish were known for their corned beef throughout Europe in the 17th century, beef was far too expensive for the Irish themselves to eat and all of it was exported to other countries. Owning a cow in Ireland was a sign of wealth, and the Irish used theirs for dairy products, not beef.

The Irish ate pork, and a lot of it, because it was cheap to raise pigs, and they traditionally prepared something like Canadian bacon to celebrate St. Patrick’s Day in Ireland.

In the 1900’s, when the Irish came to America, both beef and salt were more affordable, and the Irish, who lived in poor, tight-knit communities, often next to Jewish communities, bought much of their beef from Kosher butchers. And so many of the Irish learned how to corn their beef using Jewish techniques, but adding cabbage and potatoes to the mix. That’s what we have today.

It takes about 3 weeks to make corned beef. Doing it yourself is not difficult. It just takes time.

Corned beef has nothing to do with corn. ‘Corning’ is a technique for preserving raw meats for long periods by soaking it in a salt brine. This method was used in England before the days of commercial refrigeration. Back then, the large salt kernels used in the brine were called “corns.”

Brining is a time-honored way of preserving meat and it prevents bacteria from growing. Both pastrami and corned beef are made by this method. Both start with a brisket of beef. Corned beef is then cooked–usually boiled–and served. Pastrami is made when the brined meat is rubbed with more spices and then smoked to add extra flavor. So corned beef and pastrami are the same meat, just treated differently.

Saltpeter is an ingredient that has been used in brining beef for years. It adds the traditional pink coloring to the corned beef and pastrami meat, a bit more appetizing than the gray color it tends to have if you don’t use it.

Saltpeter can also contain carcinogens, so there’s always talk of avoiding it. It’s found in pink curing salt, which is used in small amounts during the curing process. (Not to be confused with Himalayan pink salt, which is just plain salt.) Since I only make my corned beef once a year, I’m OK with it either way. The general rule of thumb is only 1 teaspoon pink curing salt per 5 pounds of meat.

I get grass-fed brisket in 10-pound slabs, but use whatever size you find comfortable. Just don’t go too small, or the brine will make that tiny piece of meat extremely salty.


Brining the beef brisket

Brining the beef brisket

Step one: corned beef…

beef brisket (about 8-10 pounds)
2 teaspoons paprika
1/4 cup warm water
3 cloves of minced garlic
2 tablespoons sugar
1 tablespoon mixed pickling spices
3/4 cup salt
1 teaspoon pink curing salt (optional)
2 quarts water

Place the brisket in a large container made of non-reactive material, like glass or plastic.

In the 1/4 cup of warm water, dissolve the sugar, minced cloves, paprika and pickling spices.

Dissolve the 3/4 cup of salt (and optional teaspoon of pink curing salt) in the 2 quarts of water. Pour in the sugar/garlic/paprika/pickling spices mix and stir everything together. Pour the mixture over the meat in the container. Make sure the meat is totally beneath the surface of the liquid. (You may need to weigh it down to do this. I place a couple of plates on top, which pushes the meat down into the brine.) If there’s just not enough liquid, double the recipe, leaving out the pink salt the second time. Cover the container.

Refrigerate the container and its contents for 3 weeks, turning the meat once or twice per week. At the end of the third week, remove the container from the refrigerator and take out the meat. Soak the meat in several changes of fresh cold water over a period of 12 hours to remove the excess salt. I add ice to the water to keep the meat cold.

At this point, if you want corned beef, most people boil it.

I prefer to lay some aluminum foil down on a sheet pan. Then I coarsely chop carrots, onions, and celery, placing them in a single layer on the foil. Then I lay my brisket on top of the veggies, and wrap the meat tightly in the foil. I place the baking pan in a pre-heated 350 degree oven and cook for about 3 1/2 hours. (That’s for an 8-pound slab of meat. The cooking time will be less for a smaller cut.)

If you want to make pastrami, there are more steps to take…

Step two: making Pastrami…

pastrami

Brined and rinsed corned beef brisket from above recipe, patted dry with paper towels
1/4 cup Kosher salt
1/4 cup paprika
3 tablespoons coriander seeds
2 tablespoons black peppercorns
2 tablespoons yellow mustard seeds
1 tablespoon white peppercorns
3 tablespoons brown sugar
1 tablespoon granulated garlic

Combine the coriander seeds, black and white peppercorns and mustard seeds in a spice grinder and grind them coarsely. Place them in a bowl. Add the salt, paprika, brown sugar and granulated garlic. Mix well.

Rub the mix into the corned beef well, covering all sides.

Heat your smoker to 225 degrees and smoke the meat for several hours. (My wood of choice is always hickory.) When the internal temperature of the meat has reached 165 degrees, it’s done. It isn’t necessary to smoke pastrami as long as you would a regular brisket because the long brining time makes the meat more tender, and you’ll be steaming it next.

It is very important that absolutely everything that comes in contact with the meat is very clean. (This includes your hands.) Also, make very sure that every inch of the meat reaches the 165 degrees before it is removed from the smoker. The corned beef is now pastrami.

Delis that serve pastrami go one step further: they steam the meat so that it becomes incredibly tender and easy to slice. I place a baking pan with boiling water in the center of a 350° oven. I put a grate on top of it, placing the pastrami on top of the grate. Then I invert a bowl over the pastrami to keep the steam in. I will cook it this way for at least an hour to steam the meat before slicing and serving.

Fat Tuesday is coming up! This is a great recipe to cook up if you’ve got friends coming over for the Super Bowl. Let’s do some Cajun-style cookin’! Poo-yah! I garonteee!

I lived in Mobile, Alabama, back in the late 80’s, and if you asked the locals, they’d quickly tell you that Mardi Gras originated in Mobile, not New Orleans.

Joe Caine paraded through the streets of Mobile dressed in a Native American costume in 1868, and is credited for our current way of observing the Mardi Gras celebration. Of course, it’s hard not to think of New Orleans when you hear the phrase “Mardi Gras,” and I spent many a weekend on the streets and bars of the Crescent City back in the mid-80’s…actually was part of a Mardi Gras parade one year.

It was then that I fell in love with Cajun food, and needed to learn how to cook it. I bought cookbooks by two of the greats: Justin Wilson and Paul Prudhomme. I learned about layers of seasoning, and often I’d use those ideas in my own dishes.

When I moved to Rhode Island in 1990, I had yearly Mardi Gras parties at my house, and I cooked massive batches of these Cajun chicken breasts, using a spice mix I honed from my cooking experiments.

Double-dipping in the seasoned flour is a messy step, but it makes them extra crunchy and flavorful.

You can make this recipe gluten-free, simply by using a GF flour instead of the all-purpose flour.


fullsizerender-8

1 cup all-purpose flour
1 tablespoon salt
1 1/2 teaspoons sweet paprika
1 teaspoon granulated onion
1 teaspoon granulated garlic
1 teaspoon basil
1/2 teaspoon black pepper
1/2 teaspoon dried thyme
1/4 teaspoon white pepper
1/4 teaspoon cayenne pepper
2 pounds boneless, skinless chicken breast
4 eggs
oil for frying (I like using a high smoke point oil like avocado or grape seed)

Cut the chicken breasts into manageable pieces, about 3″ square. If they’re too thick, slice them horizontally to make two thinner breasts. You want them about 1/4″ thick. A piece of chicken that’s too thick won’t cook all the way through. Plus, you want more crunchy crust per bite…trust me!

Combine the flour, salt, paprika, onion, garlic, basil, black pepper, thyme, white pepper, and cayenne in a bowl. Mix well.

Separate the 4 eggs, scrambling 2 eggs in each of 2 separate bowls. This keeps the first bowl “clean” and not gummed up with flour. You’ll see what I mean once you start, because it’s a bit messy. So, crack 2 eggs in the first bowl and the other 2 eggs in the second bowl. Scramble them up and put the bowls on either side of the seasoned flour bowl.

Pre-heat a pan of oil or a fryer to 350 degrees.

Dip the chicken in the first egg bowl and then the seasoned flour mixture. Shake off the excess flour and dip the chicken in the second egg bowl, making sure the flour is covered by egg. Then dip the chicken back into the flour for a second coat. I like to bread all of my chicken pieces before I start frying them so that I can get my hands clean for the next step.

Carefully place the chicken in the pan. Don’t overcrowd the pan. Work in batches. Fry the chicken until it’s cooked all the way through and golden brown. Drain on a wire rack or paper towels.


Nothing like a hot, fresh batch!


If you need to feed a crowd, just double or triple the recipe. I used to make a 10x batch for my Mardi Gras parties!


These are addictive!

Few dishes scream out “comfort food” like meatloaf. My Mom’s meatloaf was awesome, and she’d cut a huge slab of it onto my plate, with fantastic butter-loaded Pennsylvania Dutch egg noodles on the side. I couldn’t stop eating it.

I never thought of making meatloaf when I moved away, because it gave my Mom something special to make for me when I came home to visit. She was thrilled that there was a dish she could make that I would devour every time, without hesitation. (The others were her roasted lamb and Lithuanian pierogis called koldūnai (kol-doon-ay).

But Mom has passed away years ago, so I’ve taken meatloaf matters into my own hands. I never got my Mom’s exact recipe. But I had an idea of what went into it, so I gave it a shot.

The standard mix for my Mom’s meatloaf was one-third each ground beef, pork and veal. I go 2/3’s beef and 1/3 pork instead, unless I can get my hands on humanely-raised veal from a farm down the road. My Mom used Lipton onion soup mix in her meatloaf. I chose to stay away from packaged ingredients which have chemicals and preservatives. And instead of layering slices of bacon on top as many people do, I fry and chop the bacon and mix it into the meat, giving my meatloaf delicious smokey bacon goodness in every bite!

To keep this dish gluten-free, I use GF breadcrumbs. I buy loaves of Udi’s frozen gluten-free bread, toast the bread slices, then put them in a food processor to make great-tasting bread crumbs that have all the flavor of regular bread crumbs, without the gluten.

image

4 strips bacon, fried and chopped
1 yellow onion, minced
1 teaspoon salt
1/2 teaspoon pepper
1/2 teaspoon granulated garlic
pork fat or olive oil
2 lbs. ground beef
1 lb. ground pork
1 cup breadcrumbs
1/2 cup ketchup
2 eggs

Fry the strips of bacon until crisp. Remove the bacon from the pan and chop it fine. Set it aside.

Keeping the rendered bacon fat in the pan, sauté the onion with it until translucent. Add the salt, pepper and garlic. Set the pan aside, letting it cool to room temperature.

In a bowl, combine the meat, bread crumbs, ketchup, bacon, eggs, and the sautéed onion mixture. Form it into a loaf and place it in a loaf pan. Bake at 350 for about an hour.

Delicious, caramelized meatloaf. Leftovers are always welcome!

Instead of opening a nasty can of Manwich or other similar product, the classic Sloppy Joe sandwich is easy enough to make from scratch.

My version takes on a Mexican twist (hence the name Sloppy José), using seasoned taco meat and a great barbecue sauce. Putting them together with a sprinkling of Mexican cheese on a bun with lettuce and tomato makes for one sloppy but delicious sandwich!


sloppy jose


For the barbecue sauce…

2 cups ketchup
3/4 cup water
6 tablespoons white vinegar
6 tablespoons apple cider vinegar
6 tablespoons brown sugar
3 tablespoons Worcestershire sauce
1 tablespoon chili powder
2 teaspoons salt
2 teaspoons black pepper
1 1/2 teaspoons cumin


Mix all the ingredients in a saucepan and simmer until the flavors have blended, about 20 minutes. Remove from the heat and cool to room temp. If you store it in an airtight container in the fridge, it’ll stay good for a few months.


For the seasoned taco meat…

1 teaspoon granulated garlic
1 teaspoon onion powder
1/4 teaspoon crushed pepper flakes
1 teaspoon dried Mexican oregano
1 teaspoon paprika
2 teaspoons ground cumin
1 teaspoon sea salt
1 teaspoon black pepper
1 Spanish onion, finely chopped
olive oil
2 lbs. grass-fed ground beef


Combine all the spice ingredients in a bowl.

Sauté the onions in a bit of olive oil until translucent. Add the beef and sauté until cooked, mixing in the spice mixture a little at a time until you’ve used it all.


For the sandwich…

Take some of the taco meat and place it in a small non-stick pan and heat it on medium. Squirt in as much of the barbecue sauce as you like, mixing thoroughly. Sprinkle some grated Mexican cheese on top. (I like Cotija, which is like a Mexican feta, but a bag of mixed cheeses works great, too.) Mix thoroughly, letting it all melt together into one warm, gooey mess. Throw it on a bun. Add lettuce, tomato, avocado slices, whatever you like!


I grill outdoors year-round, but this recipe works just as well indoors.

Many people are turned off by lamb because somewhere in their past, they had a horribly overcooked piece of meat that ruined it for them. Don’t be sheepish! Try lamb again!

If you think lamb is too “gamey,” buy American lamb over New Zealand or Australian lamb. Although the animals are mostly pasture-raised, most American lamb is larger and grain finished, which results in a milder flavor. Unfortunately, like with non grass-fed American beef, this also results in a larger, fattier animal, and a less healthy cut of meat.

I prefer 100% grass-fed lamb, and most of it comes from New Zealand. Having been to the country twice now, I can tell you that the quality is unmatched and the grasslands of New Zealand are the most beautiful I’ve ever seen. New Zealand lamb is smaller and is slaughtered at a younger age than American lamb, making it very tender. In New Zealand, as well as many other countries, only an animal under 12 months of age and without incisors can be called “lamb.” No such labeling is required in the United States.

I love the baby lamb chops that look like miniature porterhouse steaks. You can find them in any supermarket. Here’s an easy recipe that I first served at a party in my home for 40 people, many of whom claimed they didn’t like lamb or never had it before. By the end of dinner, the chops were gone!


lamb LTL


8 small lamb chops
½ cup olive oil
¼ cup balsamic vinegar
2 cloves garlic, through a garlic press
1 tablespoon fresh rosemary, chopped
1 tablespoon honey
2 teaspoons Dijon mustard
1 teaspoon dried oregano
Salt and pepper


Place the lamb meat in a plastic bag. In a bowl, combine all the other ingredients to make a marinade and pour it over the lamb. Seal the bag and squish it around so that the marinade reaches every part of the chops. I leave it at room temp if marinating for a few hours…or in the fridge if overnight.

Before cooking, take the lamb out of the fridge and let it come back to room temperature.

Pre-heat the outdoor grill. Cook the lamb until you reach an internal temperature of 145. Let it rest for 10 minutes before serving.

If you’re cooking indoors…

…place the lamb chops in a hot oven-proof pan (cast iron is always best) and sear it on all sides.


Then place the pan in a 350-degree oven to cook all the way through.


It’s National Bacon Day!

Let’s face it: there are few foods as magical as bacon. Add bacon to just about any dish you’re preparing, and it elevates it to incredible new heights of flavor. The BLT is possibly the greatest food combination ever invented: just a few simple, fresh ingredients, when placed together, transforming into one of the greatest sandwiches on planet Earth.

BLT wraps: home-cured and smoked bacon, local farmstead romaine, home garden tomatoes, always Hellman’s mayo.

If I’m buying bacon, I go on-line to Burger’s Smokehouse, a family run business in Missouri that has made great bacon for decades. The prices are good, and they include shipping. (www.smokehouse.com) I buy in quantity and freeze what I don’t need right away. My favorite is the thick-sliced country bacon “steaks.”

But nothings beats making your own.

Bacon comes from the pork belly, and they’re easy to find in any good butcher shop. But to get something a notch above, I’ll buy a heritage breed, like Berkshire pork, from Heritage Pork International. (www.heritagepork.com)  I follow the simple curing techniques outlined in “Charcuterie,” a great book written by Michael Ruhlman and Brian Polcyn.

To cure bacon, all you really need is salt and sugar, and what they in the curing biz call “pink salt,” which is not to be confused with salt that happens to be pink, like Himalayan salt you would find in a gourmet store. Pink salt is bright pink to let you know that it’s a special salt that should only be used in small quantities for curing. The reason is: nitrites. Nitrites delay the spoilage of the meat, and help keep the flavors of spices and smoke. They also keep the meat nice and pink instead of an unappetizing gray. That’s good. However, nitrites can break down into nitrosamines, which have been known to cause cancer in lab animals. But let’s face it: you would need to eat a ton of cured meat to really worry about this. (I buy uncured deli meats and hot dogs at the supermarket, because processed meats are a different story. But since I know exactly what goes into my own bacon, I’m not worried about the level of nitrites.)

To make the basic dry cure:

1/2 lb. kosher salt (I use Diamond Crystal Kosher salt)
1/2 cup light brown sugar or turbinado sugar
1 oz. pink curing salt

Mix the ingredients well. An important note: all salts do not all weigh the same, so go by the weight and not a cup measurement. (Morton’s Kosher salt, for example, is heavier than Diamond Crystal.) I keep this basic dry cure stored in my pantry, ready to use when I need it.

When it’s time to be makin’ the bacon, I combine this dry cure with other ingredients to make my bacon rub.

My bacon rub:

1/2 cup basic dry cure
1/2 cup brown sugar or turbinado sugar
1 tablespoon fresh cracked black pepper
1 tablespoon granulated garlic
1 tablespoon granulated onion

Mix these ingredients well (yes, there’s quite a bit of sugar there, but I like my bacon a little sweet!) Rub it generously all over the pork belly.

I have a large plastic container with a lid that fits one slab of pork belly perfectly. I place the belly inside it, put the lid on, and place the container in the fridge. The pork belly stays there for at least a couple of weeks, maybe three. I flip the belly every few days. You’ll see that the salt will draw moisture out of the meat and form a gooey brine. This brine will continue to cure your pork belly, so leave it in there. Just flip it, put the lid back on the container, and back in the fridge.

In two or three weeks, you’ll be able to tell the pork belly has cured because it feels firm. Wash the brine off the meat well with cold water, and pat it dry with paper towels. Place the belly in the fridge for an hour or so and it will develop a tackiness to the touch. This is a thin layer of proteins known as a pelicle, and it helps the smoke stick to the meat.

Now it’s time to cook. You can simply cook the pork belly (without smoking it) at 200 degrees for about 2 hours, until the internal temperature reaches 160 degrees. But this isn’t bacon…it’s pancetta.

I place the pork belly in my digital smoker, which allows me to set an exact temperature. I smoke it at 250 degrees for 2 hours, using hickory chips. Now it’s bacon.

Bellies in the smoker

Bellies in the smoker.

Smoked bacon

Beautiful bacon!

That’s it. You have achieved bacon!

The reward is so worth the effort. Just remember that you still need to slice the bacon and fry it. Don’t eat it straight out of the smoker. That first slice you cut off your bacon and toss in a pan to lightly fry for a few moments will be the best bite you’ve ever had in your life!
And if you’re making one slab of bacon, why not make it three or four? It freezes well. And…you will eat it. You know you will!

Frying in the pan!

Frying in the pan!

Winter is here. It’s time for some serious comfort food.

Years ago, when I received a shipment of venison from my father-in-law, an avid hunter that lives in the Upper Peninsula of Michigan, I knew that although I could certainly use beef for this dish, it would be absolutely stellar with venison. I’ve made it several times since then, with beef, venison, and lamb, with delicious results!


image

Olive oil
3 red onions, peeled and chopped
3 cloves of garlic, peeled and chopped
3 tablespoons butter, plus extra
3 carrots, peeled and chopped
3 celery stalks, trimmed and chopped
10 oz. baby bella mushrooms, chopped
3 lbs. venison (or beef or lamb), cut into 3/4″ cubes
A few sprigs of fresh rosemary, leaves picked and chopped
Salt and pepper
24 oz. of your favorite lager or stout
3 tablespoons flour
12 oz. freshly grated cheddar cheese
1 1/2 pounds store-bought puff pastry (all-butter is best)
1 large egg, beaten


Pre-heat the oven to 375.

In a large oven-proof pan, heat a few tablespoons of the olive oil. Add the onions and fry gently for about 10 minutes. Turn the heat up and add the garlic, butter, carrots, celery and mushrooms. Stir well, then add the venison, rosemary, and a teaspoon each of salt and pepper.

Sauté on high for about 4 minutes, then add the beer, making sure you take a swig for luck! Stir in the flour and add just enough water to cover. Bring it to a simmer, cover the pan with a lid or foil, and cook it in the pre-heated oven for about 1 1/2 hours.

Remove it from the oven after 1 1/2 hours and stir it a bit to combine all the flavors. Put it back in the oven (covered) and cook another hour, until the meat is cooked and the stew is rich, dark and thick. If it’s still liquidy, place the pan on the stove top and reduce it until the sauce thickens. (You don’t want a soupy stew or you’ll get soggy puff pastry later.) Remove the pan from the heat and stir in half the cheese. Taste it to see if it needs seasoning, but remember there’s more salt coming when you add the rest of the cheese. Set it aside to cool.

Depending on whether your puff pastry comes in sheets or a block, you’ll need to use a rolling-pin to get it into sheets about 1/8″ thick. Butter a good-sized pie dish or an oven-proof terrine, like the one in the photo above. Line the dish with the sheets of pastry, letting the pastry hang over the sides. Pour in the stew, even it out with a spatula, and add the rest of the grated cheese on top.

Use another 1/8″ thick sheet of pastry (or a couple if they’re not wide enough) to cover the top of the pie dish. Lightly crisscross the top with a knife, then fold over the overhanging pieces of pastry over the lid, making it look nice and rustic. Don’t cut or throw any of the extra pastry away! Find a way to use as much as you can, since everyone will want some.

Brush the top with the beaten egg and then bake the pie on the bottom of the oven for about 45 minutes, until the pastry has cooked, and it’s beautifully puffed and golden. Serve with a side of peas (and beer!)


This is a rich, delicious, and unusual surf-and-turf, using wild Texas boar (I got it as a gift from my buddy, Dr. Chezwick!) and locally caught Rhode Island scallops. Wild boar is an ingredient usually only found online, so substituting pork belly, which you can find at your local butcher shop, is a great alternative.


FullSizeRender (9)

For the pork belly…
3 lbs. fresh pork belly
salt and pepper
1–2 tablespoons leaf lard or olive oil
1 carrot, coarsely chopped
1 celery stalk, coarsely chopped
1 onion, roughly chopped
1 fennel bulb, quartered
2 sprigs fresh thyme
1 teaspoon black peppercorns
4 cups beef stock
1 cup hard cider or apple juice

Pre-heat the oven to 350.

Season the belly with salt and pepper. On medium-high heat, melt the leaf lard, then sear the meat on all sides in an oven-proof pot big enough to hold it in one layer. Add the carrot, celery, onion, fennel, thyme and peppercorns and continue cooking for another 5 minutes, until caramelized.

Add the beef stock and the cider. Cover the pot with a lid or seal it with aluminum foil, and braise the belly in the oven for 3 hours, until tender.

Remove the pot from the oven, carefully remove the pork belly, and put it on a plate. Cover it with foil. If you’re cooking earlier in the day, you can place the belly in the fridge at this point.

Strain the leftover braising liquid from the pot and discard the vegetables and thyme. Skim off the excess fat. If you’re starting this dish earlier in the day, you can put this liquid in the fridge and the fat will harden, making it easier to remove.


FullSizeRender (8)

For the glaze…
braising liquid, strained
1 tablespoon espresso
1 tablespoon honey

In a small saucepan, reduce the brazing liquid by half, then add the espresso and honey. Cook a few more minutes until the sauce thickens. When it coats the back of a spoon, it’s ready. Set it aside.

For the scallops…
Fresh scallops
salt and pepper

When you’re ready to serve, heat a pan on high heat with a little more leaf lard. Cut the belly into equal pieces and sear them on all sides for about a minute. Place the scallops in the same pan, seasoning with salt and pepper, and sear them on both sides, being careful not to overcook them.

To serve, place the belly on a plate. Top it with a scallop or two. Drizzle the glaze over the top. Season with Fleur de Sel or other finishing salt and serve it immediately.