Archive for the ‘Carnivore!’ Category

I get requests to publish my holiday recipes every year, so, with the countdown to Turkey Day already ticking, and all the Thanksgiving food magazine issues on the stands, let’s get it started…

No matter what method you prefer to cook your bird, brining it beforehand will make it so much tastier and juicier. You really need to try it…and it’s easy to do.

It’s basic high school science: the brine has a greater concentration of salt and water than the molecules of the protein (in this case, a turkey) that is soaking in it. By simple diffusion, the protein molecules suck up the salty water and keep it. When you cook the meat, some of the water evaporates, but the meat still has far more moisture in it than it would have without the brine soaking, and you get a moister, more delicious bird.

Some people use giant syringes to inject their turkeys with crazy solutions, but I think that the old way is still the best when it comes to brining. Get a big pot, fill it with the brine, and soak the bird in it. Done.

Here’s my tried-and-true turkey brining recipe. Once the brining is done, you can cook the turkey whatever way you like best. I use a method where I grill it inside a Weber grill with charcoal. It comes out smokey and absolutely amazing. I’ll have that info in my next blog.

You must brine a thawed bird, so use your favorite method to thaw your turkey so that it’s ready on Thanksgiving morning. Brining can take 4 to 6 hours, so start early!

For this recipe, you’ll need a large pot to boil the brine ingredients, and then a larger pot to hold the turkey submerged in the brine. I use a turkey no bigger than 15 lbs. for two main reasons: there are only 3 people in our family, and the Weber grill I will later use can’t handle anything bigger.


image

1 gallon of water
2 onions
3 carrots
3 stalks celery
1 cup Kosher salt (I use Diamond Crystal…see below)
1 tablespoon black peppercorns
1/2 cup light brown sugar
1 1/2 teaspoons whole allspice
4 bay leaves
1 gallon of ice water
14–15 lb turkey, thawed

Pour the first gallon of water in a large pot. Quarter the onions, carrots and celery (no need to peel them) and add them to the water. Add the salt, black peppercorns, brown sugar, allspice, and bay leaves. (I specify Diamond Crystal Kosher salt because all Kosher salt does not weigh the same! For example, Morton Kosher salt is much heavier for the same 1-cup measurement, so the brine will be saltier.)

Let the pot come to a boil for a few minutes. Remove it from the heat and let the brine cool down to room temperature.

Remove the giblets from the thawed turkey and place the bird in a container just big enough to hold it and 2 gallons of liquid.

Pour the now-cooled brine over the turkey, then pour in the gallon of ice water.

Make sure the turkey doesn’t float up by placing a plate on top. Put the turkey container in the fridge (or a cold garage or basement) for 4 to 6 hours, flipping the turkey over in the container halfway through.

After 4 to 6 hours, drain the turkey, rinsing off any spices that stuck to it, then pat it dry with paper towels. Now it’s ready to cook, using your favorite recipe.

If I’m brining a turkey for Thanksgiving, I do the brining in the morning and the turkey is ready to cook by early afternoon. And grilling it on a Weber grill only takes a couple of hours. It’s fast, requires no basting, and is absolutely delicious! That’s next time…

I have to give credit for this recipe where it’s due. A few years ago, we traveled to Washington, DC, and one of our best dining experiences was at the Blue Duck Tavern, a stunning restaurant matched by its unique and beautifully prepared plates. (Along with Chef Jose Andres’ restaurant Jaleo, it is the restaurant I recommend to any friends in the DC area, and one I would go back to in a heartbeat.)

One of the most memorable appetizers I enjoyed was the roasted beef bone marrow, which had a delicious pretzel crumble on top. The moment I had a taste, I knew that I would have to recreate this for myself at home.

The bone marrow plate at the Blue Duck Tavern in Washington, DC. (Enough garlic for ya?)

Bone marrow played an important role in the evolution of early man. Perhaps that’s why some of us still have that primitive craving for it.

Early man had small teeth and ate anything he could lay his hands on, especially meat. But he was no hunter. Attracted by circling vultures, he probably scavenged the leftovers from a big kill such as an antelope left in a tree by a leopard, or a large animal such as a wildebeest that had been slaughtered by lions.

Because meat is relatively easy to digest and rich in calories and nutrients, early man lost the need for the big intestines of apes and earlier hominids. This freed up energy for use by other organs. This surplus of energy seems to have been diverted to one organ in particular – the brain. But scavenging meat from under the noses of big cats is a risky business, so good scavengers needed to be smart. At this stage in our evolution, a big brain was associated with greater intellect. Big brains require lots of energy to operate: the human brain uses 20% of the body’s total energy production. The concentrated calories and nutrition found in meat was responsible for an increase in the brain size of early humans.

But around two million years ago, telltale cut marks on the surface of animal bones reveal that early humans were using crude stone tools to smash open the bones and extract the marrow. Stone tools allowed early man to get at a food source that no other creature was able to obtain – bone marrow. Bone marrow contains long chain fatty acids that are vital for brain growth and development. This helped further fuel the increase in brain size, allowing our ancestors to make more complex tools. Many historians believe that the blunt force required to break bones with tools to extract the bone marrow was a crucial ingredient in the development of the human hand, and the unique dexterity it has over that of apes.

Of course, these days, we can simply go to our butcher and ask them to slice some beef bones for us so that we can enjoy the marrow like our ancestors did. It’s much more civilized.

My box o’ frozen bones. I ordered about 25 lbs. of marrow bones from Slanker’s, a grass-fed beef farm in Texas.

They key to roasting marrow bones properly is to keep an eye on them. The bones can go from frozen solid to blazing hot in no time, and that means the marrow can go beyond its rich, gelatinous perfection into a puddle of fat at the bottom of your pan in mere moments.

3 lbs. beef marrow bones (I like them sliced lengthwise)
3/4 cup finely ground salted pretzel sticks
1 teaspoon dried parsley flakes
1 teaspoon granulated onion
1/2 teaspoon granulated garlic
1/4 teaspoon black pepper
olive oil

I keep the beef bones frozen, moving them to the fridge until I’m ready to roast them.

Pre-heat the oven to 450 degrees.

Grind them up!

Place a handful of salted pretzel sticks in a food processor, and pulse them until the pretzels are ground fine. When you’ve got 3/4 cup of ground pretzel powder, move it to a bowl and add the parsley, onion, garlic and black pepper. No salt is needed if the pretzels are salted.

Lay the bones flat on a baking pan. If they wobble, place them on a layer of coarse salt to hold them steady. Sprinkle the pretzel mix on the bones, a little drizzle of olive oil on top, and place them in the oven.

Now you watch…there’s that one point where they go from “not quite yet” to perfection to “Oops! Too much!” …so be careful!

Perfection!

Some toasted bread on the side is all you need!

If you’re cooking gluten-free, try Snyder’s of Hanover GF pretzels. They are awesome…you’ll never know the difference.

Let’s face it: there are few foods as magical as bacon. Add bacon to just about any dish you’re preparing, and it elevates it to incredible new heights of flavor. The BLT is possibly the greatest food combination ever invented: just a few simple, fresh ingredients, when placed together, transforming into one of the greatest sandwiches on planet Earth.


BLT wraps: home-cured and smoked bacon, local farmstead romaine, home garden tomatoes, always Hellman’s mayo.


If I’m buying bacon, I go on-line to Burger’s Smokehouse, a family run business in Missouri that has made great bacon for decades. The prices are good, and they include shipping. (www.smokehouse.com) I buy in quantity and freeze what I don’t need right away. My favorite is the thick-sliced country bacon “steaks.”

But nothings beats making your own.

Bacon comes from the pork belly, and they’re easy to find in any good butcher shop. But to get something a notch above, I’ll buy a heritage breed, like Berkshire pork, from Heritage Pork International. (www.heritagepork.com)  I follow the simple curing techniques outlined in “Charcuterie,” a great book written by Michael Ruhlman and Brian Polcyn.

To cure bacon, all you really need is salt and sugar, and what they in the curing biz call “pink salt,” which is not to be confused with salt that happens to be pink, like Himalayan salt you would find in a gourmet store. Pink salt is bright pink to let you know that it’s a special salt that should only be used in small quantities for curing. The reason is: nitrites. Nitrites delay the spoilage of the meat, and help keep the flavors of spices and smoke. They also keep the meat nice and pink instead of an unappetizing gray. That’s good. However, nitrites can break down into nitrosamines, which have been known to cause cancer in lab animals. But let’s face it: you would need to eat a ton of cured meat to really worry about this. (I buy uncured deli meats and hot dogs at the supermarket, because processed meats are a different story. But since I know exactly what goes into my own bacon, I’m not worried about the level of nitrites.)


To make the basic dry cure:

1/2 lb. kosher salt (I use Diamond Crystal Kosher salt)
1/2 cup light brown sugar or turbinado sugar
1 oz. pink curing salt

Mix the ingredients well. An important note: all salts do not all weigh the same, so go by the weight and not a cup measurement. (Morton’s Kosher salt, for example, is heavier than Diamond Crystal.) I keep this basic dry cure stored in my pantry, ready to use when I need it.

When it’s time to be makin’ the bacon, I combine this dry cure with other ingredients to make my bacon rub.


My bacon rub:

1/2 cup basic dry cure
1/2 cup brown sugar or turbinado sugar
1 tablespoon fresh cracked black pepper
1 tablespoon granulated garlic
1 tablespoon granulated onion


Mix these ingredients well (yes, there’s quite a bit of sugar there, but I like my bacon a little sweet!) Rub it generously all over the pork belly.

I have a large plastic container with a lid that fits one slab of pork belly perfectly. I place the belly inside it, put the lid on, and place the container in the fridge. The pork belly stays there for at least a couple of weeks, maybe three. I flip the belly every few days. You’ll see that the salt will draw moisture out of the meat and form a gooey brine. This brine will continue to cure your pork belly, so leave it in there. Just flip it, put the lid back on the container, and back in the fridge.

In two or three weeks, you’ll be able to tell the pork belly has cured because it feels firm. Wash the brine off the meat well with cold water, and pat it dry with paper towels. Place the belly in the fridge for an hour or so and it will develop a tackiness to the touch. This is a thin layer of proteins known as a pelicle, and it helps the smoke stick to the meat.

Now it’s time to cook. You can simply cook the pork belly (without smoking it) at 200 degrees for about 2 hours, until the internal temperature reaches 160 degrees. But this isn’t bacon…it’s pancetta.

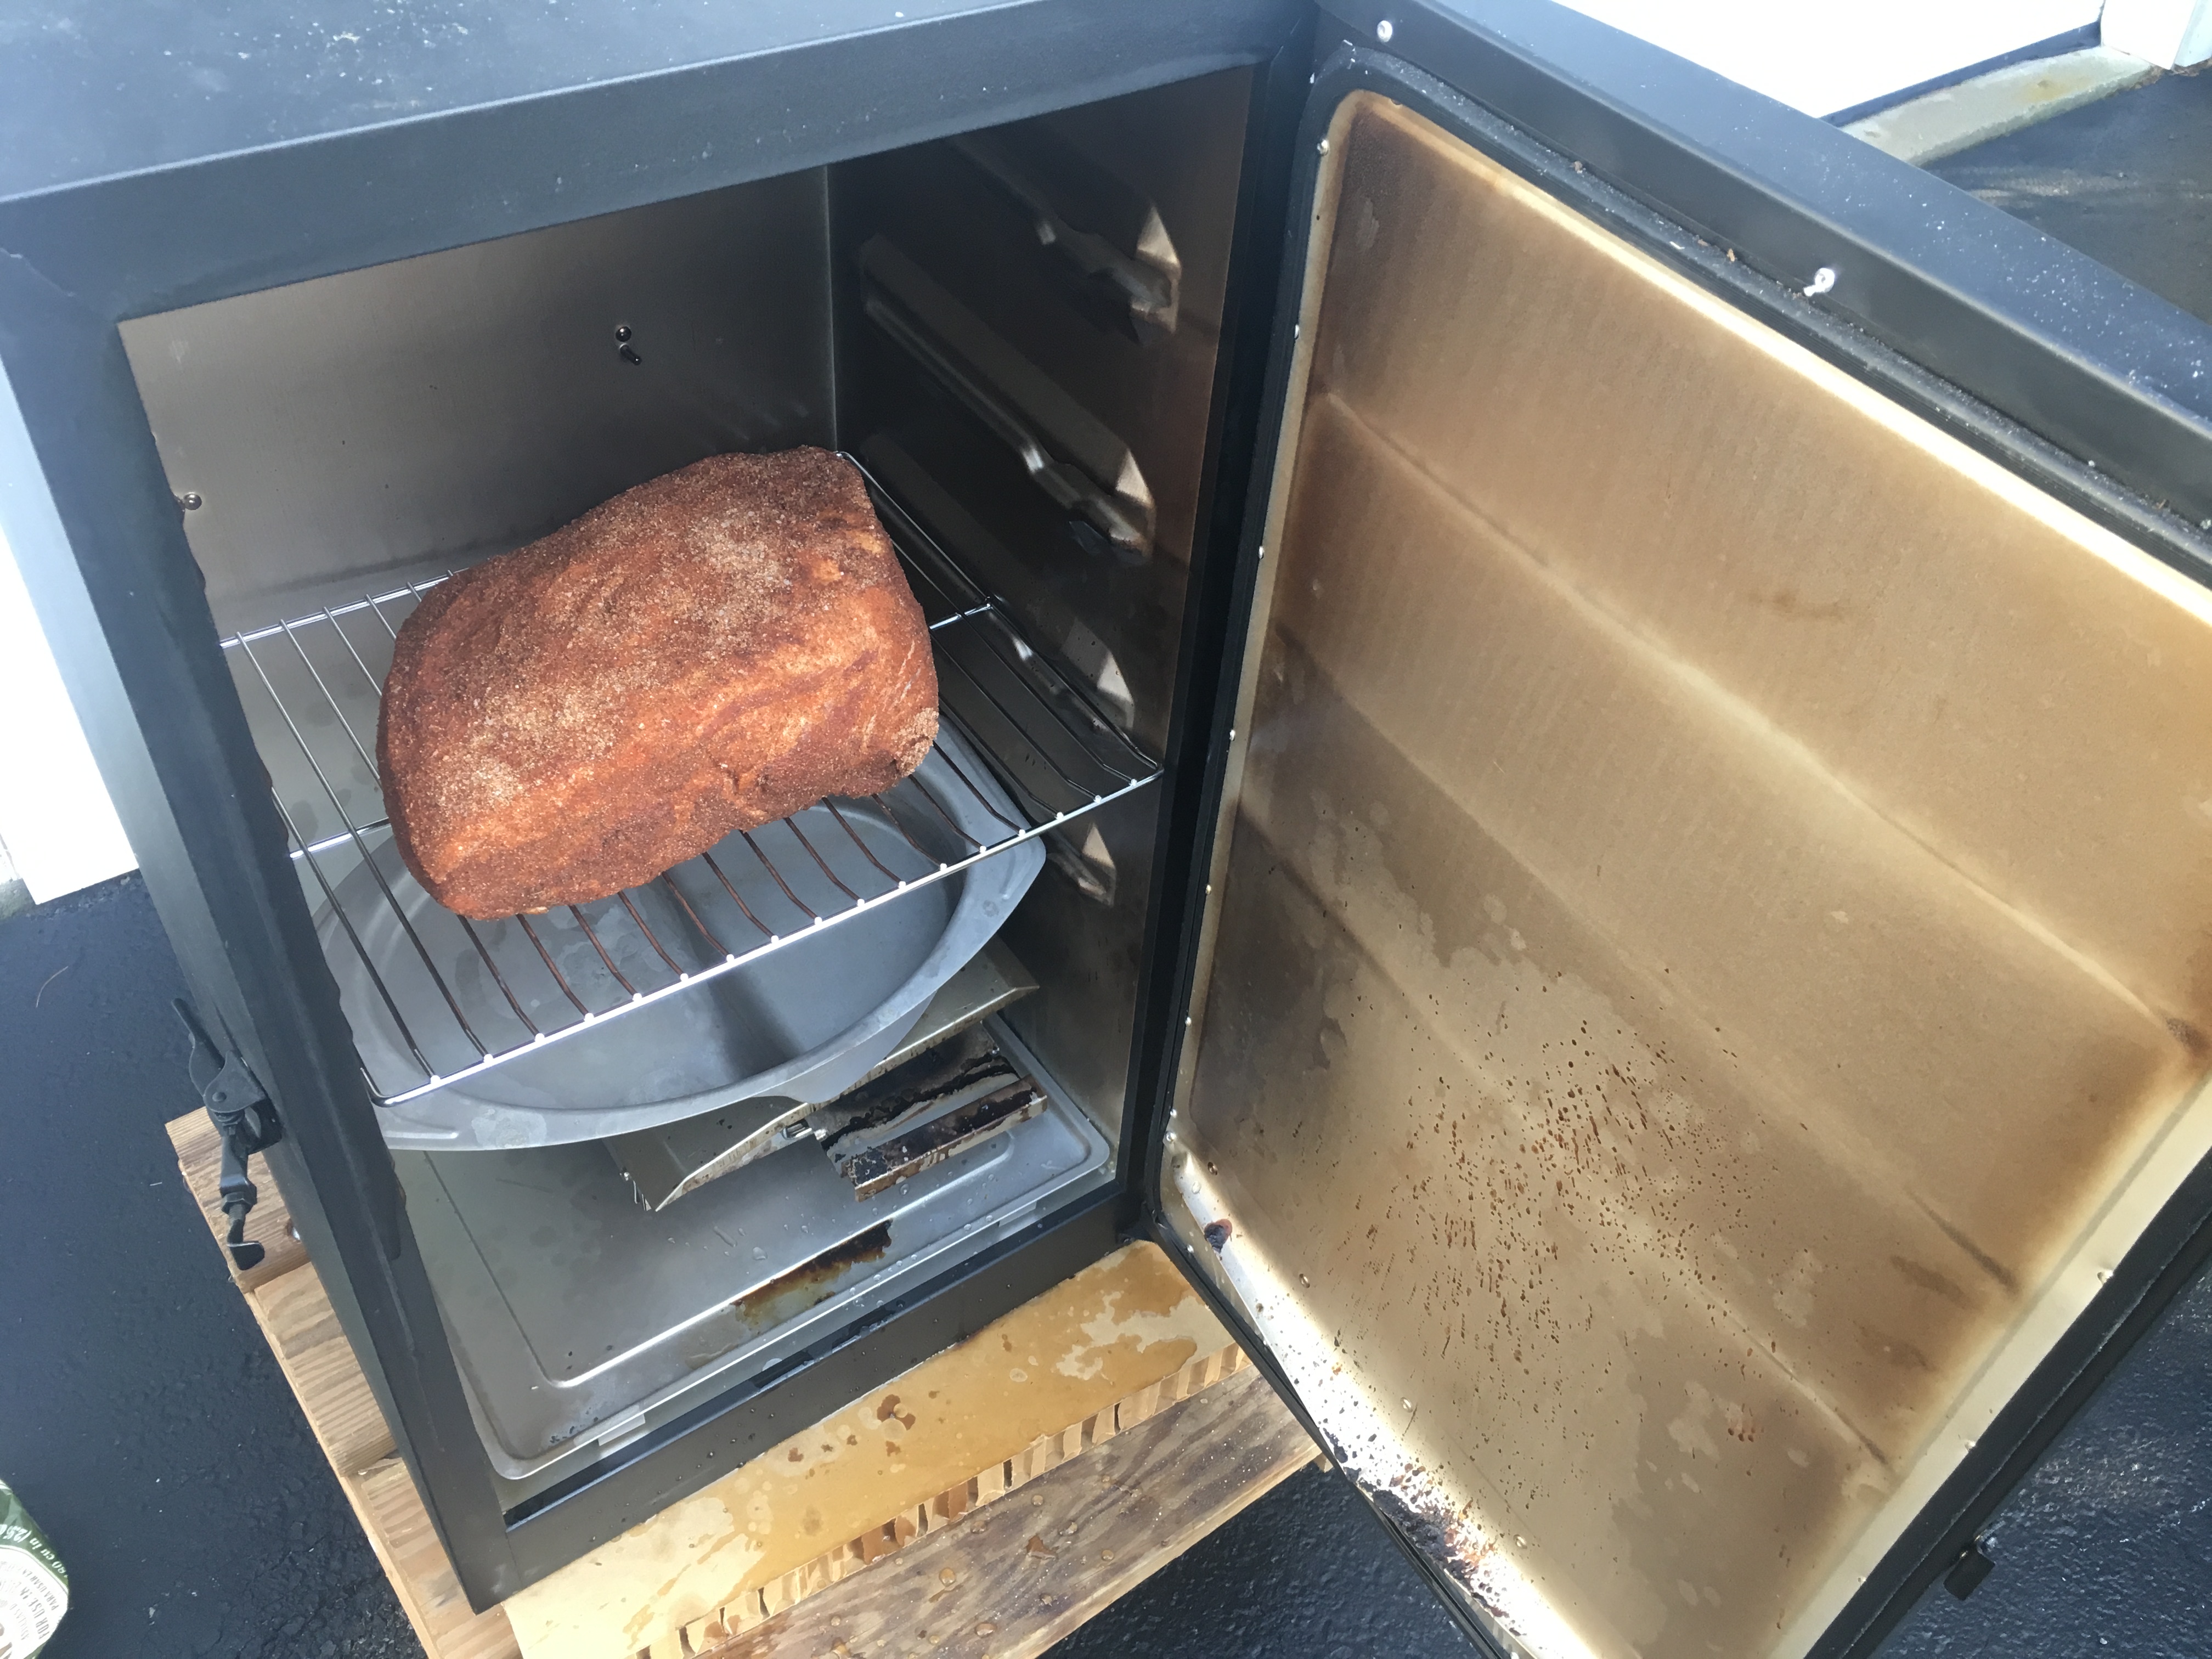
I place the pork belly in my digital smoker, which allows me to set an exact temperature. I smoke it at 250 degrees for 2 hours, using hickory chips. Now it’s bacon.


Bellies in the smoker

Bellies in the smoker.


Smoked bacon

Beautiful bacon!


That’s it. You have achieved bacon!

The reward is so worth the effort. Just remember that you still need to slice the bacon and fry it. Don’t eat it straight out of the smoker. That first slice you cut off your bacon and toss in a pan to lightly fry for a few moments will be the best bite you’ve ever had in your life!
And if you’re making one slab of bacon, why not make it three or four? It freezes well. And…you will eat it. You know you will!

Frying in the pan!

Frying in the pan!

Instead of opening a nasty can of Manwich or other similar product, the classic Sloppy Joe sandwich is easy enough to make from scratch.

My version takes on a Mexican twist (hence the name Sloppy José), using seasoned taco meat and a great barbecue sauce. Putting them together with a sprinkling of Mexican cheese on a bun with lettuce and tomato makes for one sloppy but delicious sandwich!

sloppy jose


For the barbecue sauce…

2 cups ketchup
3/4 cup water
6 tablespoons white vinegar
6 tablespoons apple cider vinegar
6 tablespoons brown sugar
3 tablespoons Worcestershire sauce
1 tablespoon chili powder
2 teaspoons salt
2 teaspoons black pepper
1 1/2 teaspoons cumin


Mix all the ingredients in a saucepan and simmer until the flavors have blended, about 20 minutes. Remove from the heat and cool to room temp. If you store it in an airtight container in the fridge, it’ll stay good for a few months.


For the seasoned taco meat…

1 teaspoon granulated garlic
1 teaspoon onion powder
1/4 teaspoon crushed pepper flakes
1 teaspoon dried Mexican oregano
1 teaspoon paprika
2 teaspoons ground cumin
1 teaspoon sea salt
1 teaspoon black pepper
1 Spanish onion, finely chopped
olive oil
2 lbs. grass-fed ground beef


Combine all the spice ingredients in a bowl.

Sauté the onions in a bit of olive oil until translucent. Add the beef and sauté until cooked, mixing in the spice mixture a little at a time until you’ve used it all.


For the sandwich…

Take some of the taco meat and place it in a small non-stick pan and heat it on medium. Squirt in as much of the barbecue sauce as you like, mixing thoroughly. Sprinkle some grated Mexican cheese on top. (I like Cotija, which is like a Mexican feta, but a bag of mixed cheeses works great, too.) Mix thoroughly, letting it all melt together into one warm, gooey mess. Throw it on a bun. Add lettuce, tomato, avocado slices, whatever you like!


Bulgogi is the name given to the most common form of Korean barbecue. Unlike the daeji bulgogi that I cooked in a previous blog, this one is not based on a chili sauce that can take the roof of your mouth right off.

I used chicken, though this would work with pork as well, and for the best flavor, it’s best to marinate the meat in the fridge overnight.


FullSizeRender (12)

2/3 cup soy sauce
1/2 cup chopped scallions
6 tablespoons sugar (I use organic cane sugar)
5 tablespoons fresh garlic, grated or through a garlic press
5 tablespoons sesame oil
1 tablespoon sesame seeds
1 teaspoon black pepper
5 lbs. chicken pieces (I use skin-on thighs)


Combine all the ingredients except for the chicken in a bowl and mix well.

Place the chicken pieces in a large Ziploc bag and pour the marinade in. Seal the bag well and squish it around to make sure the marinade makes contact with the chicken. Place the bag in a bowl (to prevent accidental leakage) and keep it in the fridge overnight. Squish the bag around every few hours to make sure the marinade does its job.

When you’re ready to cook the next day, pre-heat the oven to 350 and remove the bag from the fridge and let it come to room temperature. Place the chicken on a sheet pan (discard the remaining marinade) and bake it for an hour.

Light a hot grill and push the coals to one side of the grill. Place the chicken pieces on the cool side of the grill and close the lid, opening the vents. Every few minutes, turn the chicken pieces over so they get nice grill marks but don’t burn.


FullSizeRender (11)

I’ve always been fascinated by Korean barbecue. Every time I see it on TV or catch a recipe on an e-mail blast, my mouth waters and I say to myself that I’ve got to experience it some day. But the painful reality is: Korean barbecue can be really spicy…and I’m a total wuss.

Korean barbecue 101: Gogigui means “meat roast” in Korean, and it refers to the method of roasting beef, pork, chicken, and other meats. Meats can be marinated or not. Bulgogi is the name of the most common Korean barbecue. Meat is marinated with soy sauce, sugar, sesame oil, garlic and pepper, and then grilled. Galbi uses beef short ribs, and adds onions to the marinade. And the hot stuff is daeji bulgogi, because the marinade isn’t soy sauce-based, but based on the hot-n-spicy Korean chili paste known as gochujang.

All of the marinades looked delicious, but the hot one with gochujang would be my biggest challenge, so I decided to start there. I found a great recipe, and quickly realized that I would have to turn the heat way down if I was actually going to try to eat it! For example, the original recipe called for 2 tablespoons of white pepper. I totally left it out. And it called for a full cup of gochujang. Not only did I cut that part in half, I doubled many of the other non-spicy ingredients.

So is it authentic Korean barbecue? Probably not. But it’s my version of it. It’s got lots a flavor and still carries a bit of heat.

For gluten-free diets: finding GF hoisin and soy sauce is pretty easy these days. Look for the La Choy brand. But I haven’t been able to find gochujang that has a GF label.


image


3/4 cup ketchup
1/2 cup gochujang
1/2 cup hoisin sauce
1/2 cup honey
1/2 cup soy sauce
1/4 cup brown sugar
2 tablespoons freshly grated ginger
1 tablespoon freshly grated garlic (I use a garlic press)
1 tablespoon unseasoned rice vinegar
4 lbs. chicken pieces


Pre-heat the oven to 500 or its top temperature.

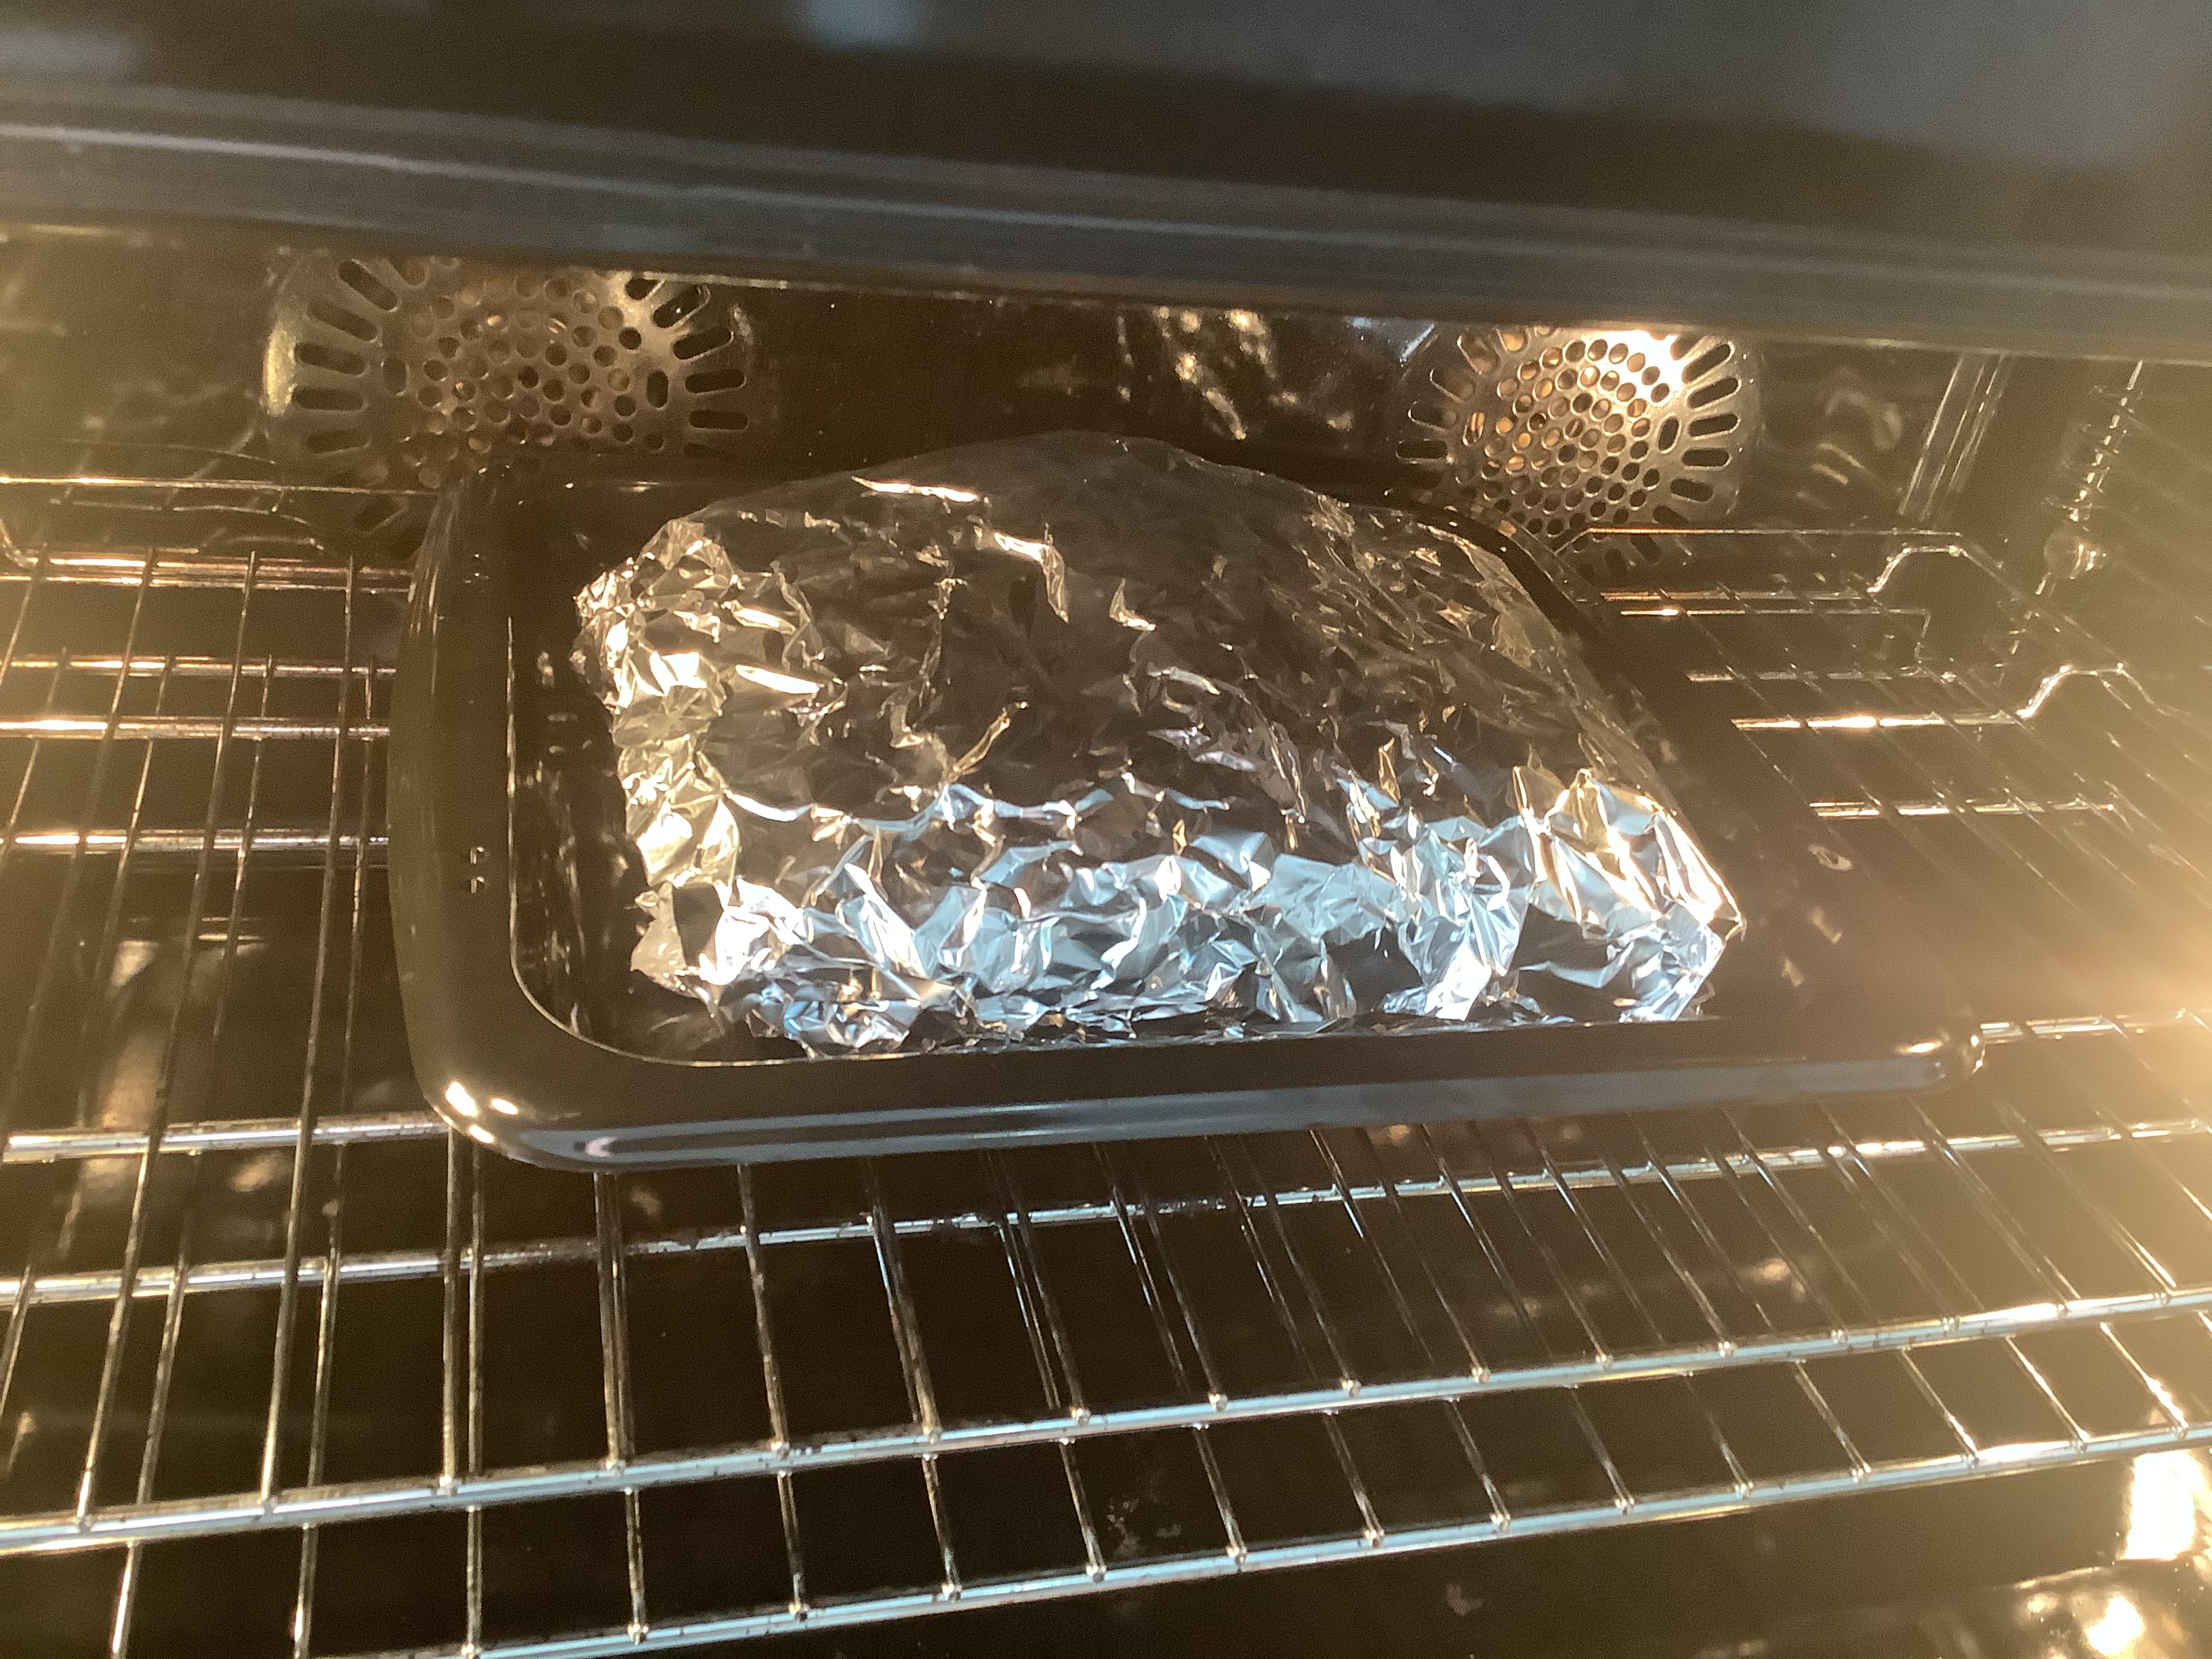
In a bowl, mix everything but the chicken pieces. Brush the sauce onto the chicken pieces, then wrap them in aluminum foil. (I like to tear a long piece of aluminum foil and lay it on top of a sheet pan. I place the chicken pieces on the foil, brush them with sauce on all sides, then fold the foil over the chicken, making one large pouch that holds all the meat.) Leave the pouch on the sheet pan and place it in the oven, then lower the oven temp to 350.

Cook the chicken for about an hour at 350, making sure it’s almost completely cooked. Juices should run clear, not bloody, when you poke it with a fork.

Start a hardwood fire on your grill. Push the coals to one side of the grill so you have a hot side and a cooler side with no coals underneath it. Place the chicken pieces on the cool side of the grill (if you put it on the hot side, it will stick and burn), brush with more sauce, and put the lid on the grill, making sure you have the vents open for air circulation.


image

See those 2 black bits in the foreground? That’s where the chicken stuck to the grill because I placed them over the hot coals. Don’t do that.

After a few minutes, lift the lid, flip the chicken pieces over, brush them with sauce again, and close the lid. Keep doing this until the chicken is nice and caramelized, with tasty grill marks.

If you want to serve some of the sauce on the side, it’s important to pour some of the sauce off and set it aside in the very beginning, so you’re not using the same sauce that the basting brush touched the raw chicken with.


Brining, the process of letting a hunk of protein soak in a salt solution for a few hours, is a great way to add flavor and moisture to any cut of meat. I brine chicken pieces for 3 hours before using a sweet and spicy rub. They can be grilled or roasted in the oven.

The first time tried this recipe, I used chicken wings. But later, I cut up a whole chicken, and found that parts is parts…every piece was delicious!


image

The brine…

1/2 cup Kosher salt
3 tablespoons light brown sugar
1 teaspoon whole black peppercorns
1 whole bay leaf
2 quarts water

Combine all the ingredients in a saucepan and heat until the sugar and salt dissolve. Remove from the heat, and let it cool to room temperature.


The rub…

1/4 cup light brown sugar
1/4 cup granulated sugar
1/4 cup sweet paprika
1 tablespoon Kosher salt
1 tablespoon granulated onion
2 teaspoons black pepper
1 teaspoon dried thyme
1 teaspoon dry mustard
1 teaspoon ground ginger
1 teaspoon cayenne pepper

Combine all the ingredients in a bowl.

If you have a baking pan like this, you can brine and then cook the chicken in one pan.

Place about 3 lbs. of chicken wings or parts in a baking pan, as above. Place it in the fridge for 3 hours. Pour in the cooled brine, making sure the pieces are submerged.

After 3 hours, remove the chicken from the brine and dry the pieces with paper towels. Discard the brine, and place the chicken pieces back in the empty baking pan.

Sprinkle the chicken pieces with 1/3 cup of the rub, rubbing it in to coat the chicken well. (Wearing disposable gloves makes this less messy.) Place the pan with the chicken in the fridge until you’re ready to cook.


About 30 minutes before cooking, remove the pan from the fridge and let the chicken come to room temperature.

Pre-heat the oven to 350 or light a grill.

Toss the chicken with some more of the rub, if you like.

Bake at 350 for 30–40 minutes or until they’re done, about 165 degrees.

If you’re grilling, cook the wings over medium heat, turning them frequently to prevent burning. Cook until the chicken reaches temperature of 165 degrees.


When it comes to grilling, lamb is often overlooked. Some folks think it tastes too gamey, which can be true with grass-fed lamb that comes from New Zealand or Australia. Although you can’t beat their strict quality standards, the flavor can be intense.

I don’t mind that intense lamb flavor in a chop, but when I make lamburgers, I like to mix ground beef with ground
lamb to give it a milder flavor. And when I cook them over hardwood charcoal, the flavor is outstanding! Even seared in a cast iron skillet and finished in the oven, these burgers are awesome.

1 lb. ground lamb
1 lb. ground beef
2 tablespoons
1/2 onion, minced
1 tablespoon Dijon mustard
1 teaspoon each fresh parsley, mint, and dill, finely chopped
1 teaspoon dried Greek oregano
1/2 teaspoon cumin
1 large clove garlic, squeezed through a garlic press
1 scallion, finely chopped, green part only
1/2 cup breadcrumbs
1 egg
1 teaspoon salt
1/2 teaspoon black pepper

Fresh herbs make the difference!

Heat the olive oil in a skillet over medium heat. Add the onion. Cook it until it’s translucent, about 6 minutes. Transfer the onion to a plate to cool.

In a bowl, mix the cooled onion, mustard, parsley, mint, dill, oregano, cumin, garlic, scallion, and salt and pepper.

In another bowl, combine the lamb with the beef, so they are mixed well. Then add the onion mix bowl to the meat and make sure all the ingredients are combined. Add the breadcrumbs and mix again. Then add the egg and mix one more time.

Form the meat into patties. Place them on a baking sheet covered with non-stick foil, and place the baking sheet in the fridge.

The indentation in the center of the patty keeps it from swelling up while cooking.

Don’t let the lamburgers get too cold in the fridge…just enough to firm the meat up a bit. If it gets too cold, give it a few minutes at room temp to warm up again.  Grill the burgers over hardwood charcoal until they are cooked to medium.

If you’re cooking indoors, heat some avocado oil in an oven-proof pan, preferably cast iron. Sear the burgers well on both sides, then place the pan in a 350-degree oven to finish cooking.

Extra meat is great for meatballs! Just freeze them for another time.

Place the burgers on buns, and smear the bun with the feta cheese dressing.

If the food is good, someone’s always watching!

My recipe for feta cheese dressing works really well with lamburgers. But it’s also great on a salad.

3/4 cup plain Greek yogurt
1  cup mayo
1 teaspoon Worcestershire sauce
1/2 teaspoon cayenne pepper sauce, like Franks Red Hot
1 teaspoon Dijon mustard
1/2 teaspoon granulated garlic
1/2 teaspoon salt
1/2 teaspoon ground black pepper
4–5 oz. crumbled feta cheese

Combine all the ingredients in a bowl. Mix well. Cover and refrigerate. If you can wait a day, it’s even better.

FullSizeRender (14)

Not a very complex idea. I just put the stuff that’s usually on the outside, on the inside of my burgers. Why? Why not?

If I’m making bacon cheeseburgers to bring to a barbecue, even if it’s on my back deck, instead of bringing a package of bacon and a package of cheese and a stack of burgers, I’ve got all the ingredients conveniently in the patties. And as the burgers cook, the fat from the bacon and the gooey cheese melt and combine with the burger meat to make a really tasty and moist burger.

I make 2 lbs. of burgers at a time, using grass-fed beef.

image

2 lbs. ground beef
1/2 cup sharp cheddar cheese, cut into 1/4″ cubes
1/2 lb. bacon, cooked crisp, cooled and crumbled
garlic salt
avocado oil or pork fat


In a bowl, combine the beef, the cheese and the bacon, mixing well so that all the ingredients are evenly incorporated.

Form the beef into 1/4 lb. patties. Refrigerate them until you’re ready to cook to firm them up.

Heat a cast iron skillet and add a drop of oil or pork fat. Place the burgers in the hot skillet to sear and sprinkle with the garlic salt. When browned, flip the burgers and place the skillet in a 350-degree oven to finish cooking.

image


I love chicken because it reheats really well for leftovers. When I make this recipe, I make a good amount to last me through the week. These sweet, spicy and sticky Thai-inspired chicken wings and drumsticks are just delicious!


6 lbs. chicken pieces
1 1/3 cups soy sauce
1 cup fresh cilantro
4 tablespoons canola or peanut oil
5 garlic cloves, roughly chopped
1 teaspoon white pepper
1 cup sugar
1/2 cup white vinegar
2 teaspoons red pepper flakes or crushed dried chiles
2 teaspoons salt

For the marinade, combine the soy sauce, cilantro, canola oil, garlic and white pepper in a food processor and let it run. Place the chicken pieces in a Ziploc bag and pour half of the marinade in. Save the other half for basting later. Seal the bag and let the chicken marinate in the fridge overnight, or at least a few hours at room temperature, squishing the bag around so that all the chicken gets marinated.

For the sauce: In a saucepan, combine the sugar, white vinegar, pepper flakes and salt. Bring it to a boil and make sure the sugar dissolves. Remove it from the heat and let it cool to room temperature.

After marinating, discard the used marinade in the Ziploc bag. Place the chicken pieces over a hot hardwood fire or bake them in an oven at 350, basting them with the leftover marinade until fully cooked. If the coal fire gets too hot, move the chicken to a cooler part of the grill to prevent burning. If using the oven, switch to the broiler at the end to give the chicken a nice char.

Serve the chicken pieces with the sweet pepper sauce drizzled on top.

thai chicken LTL