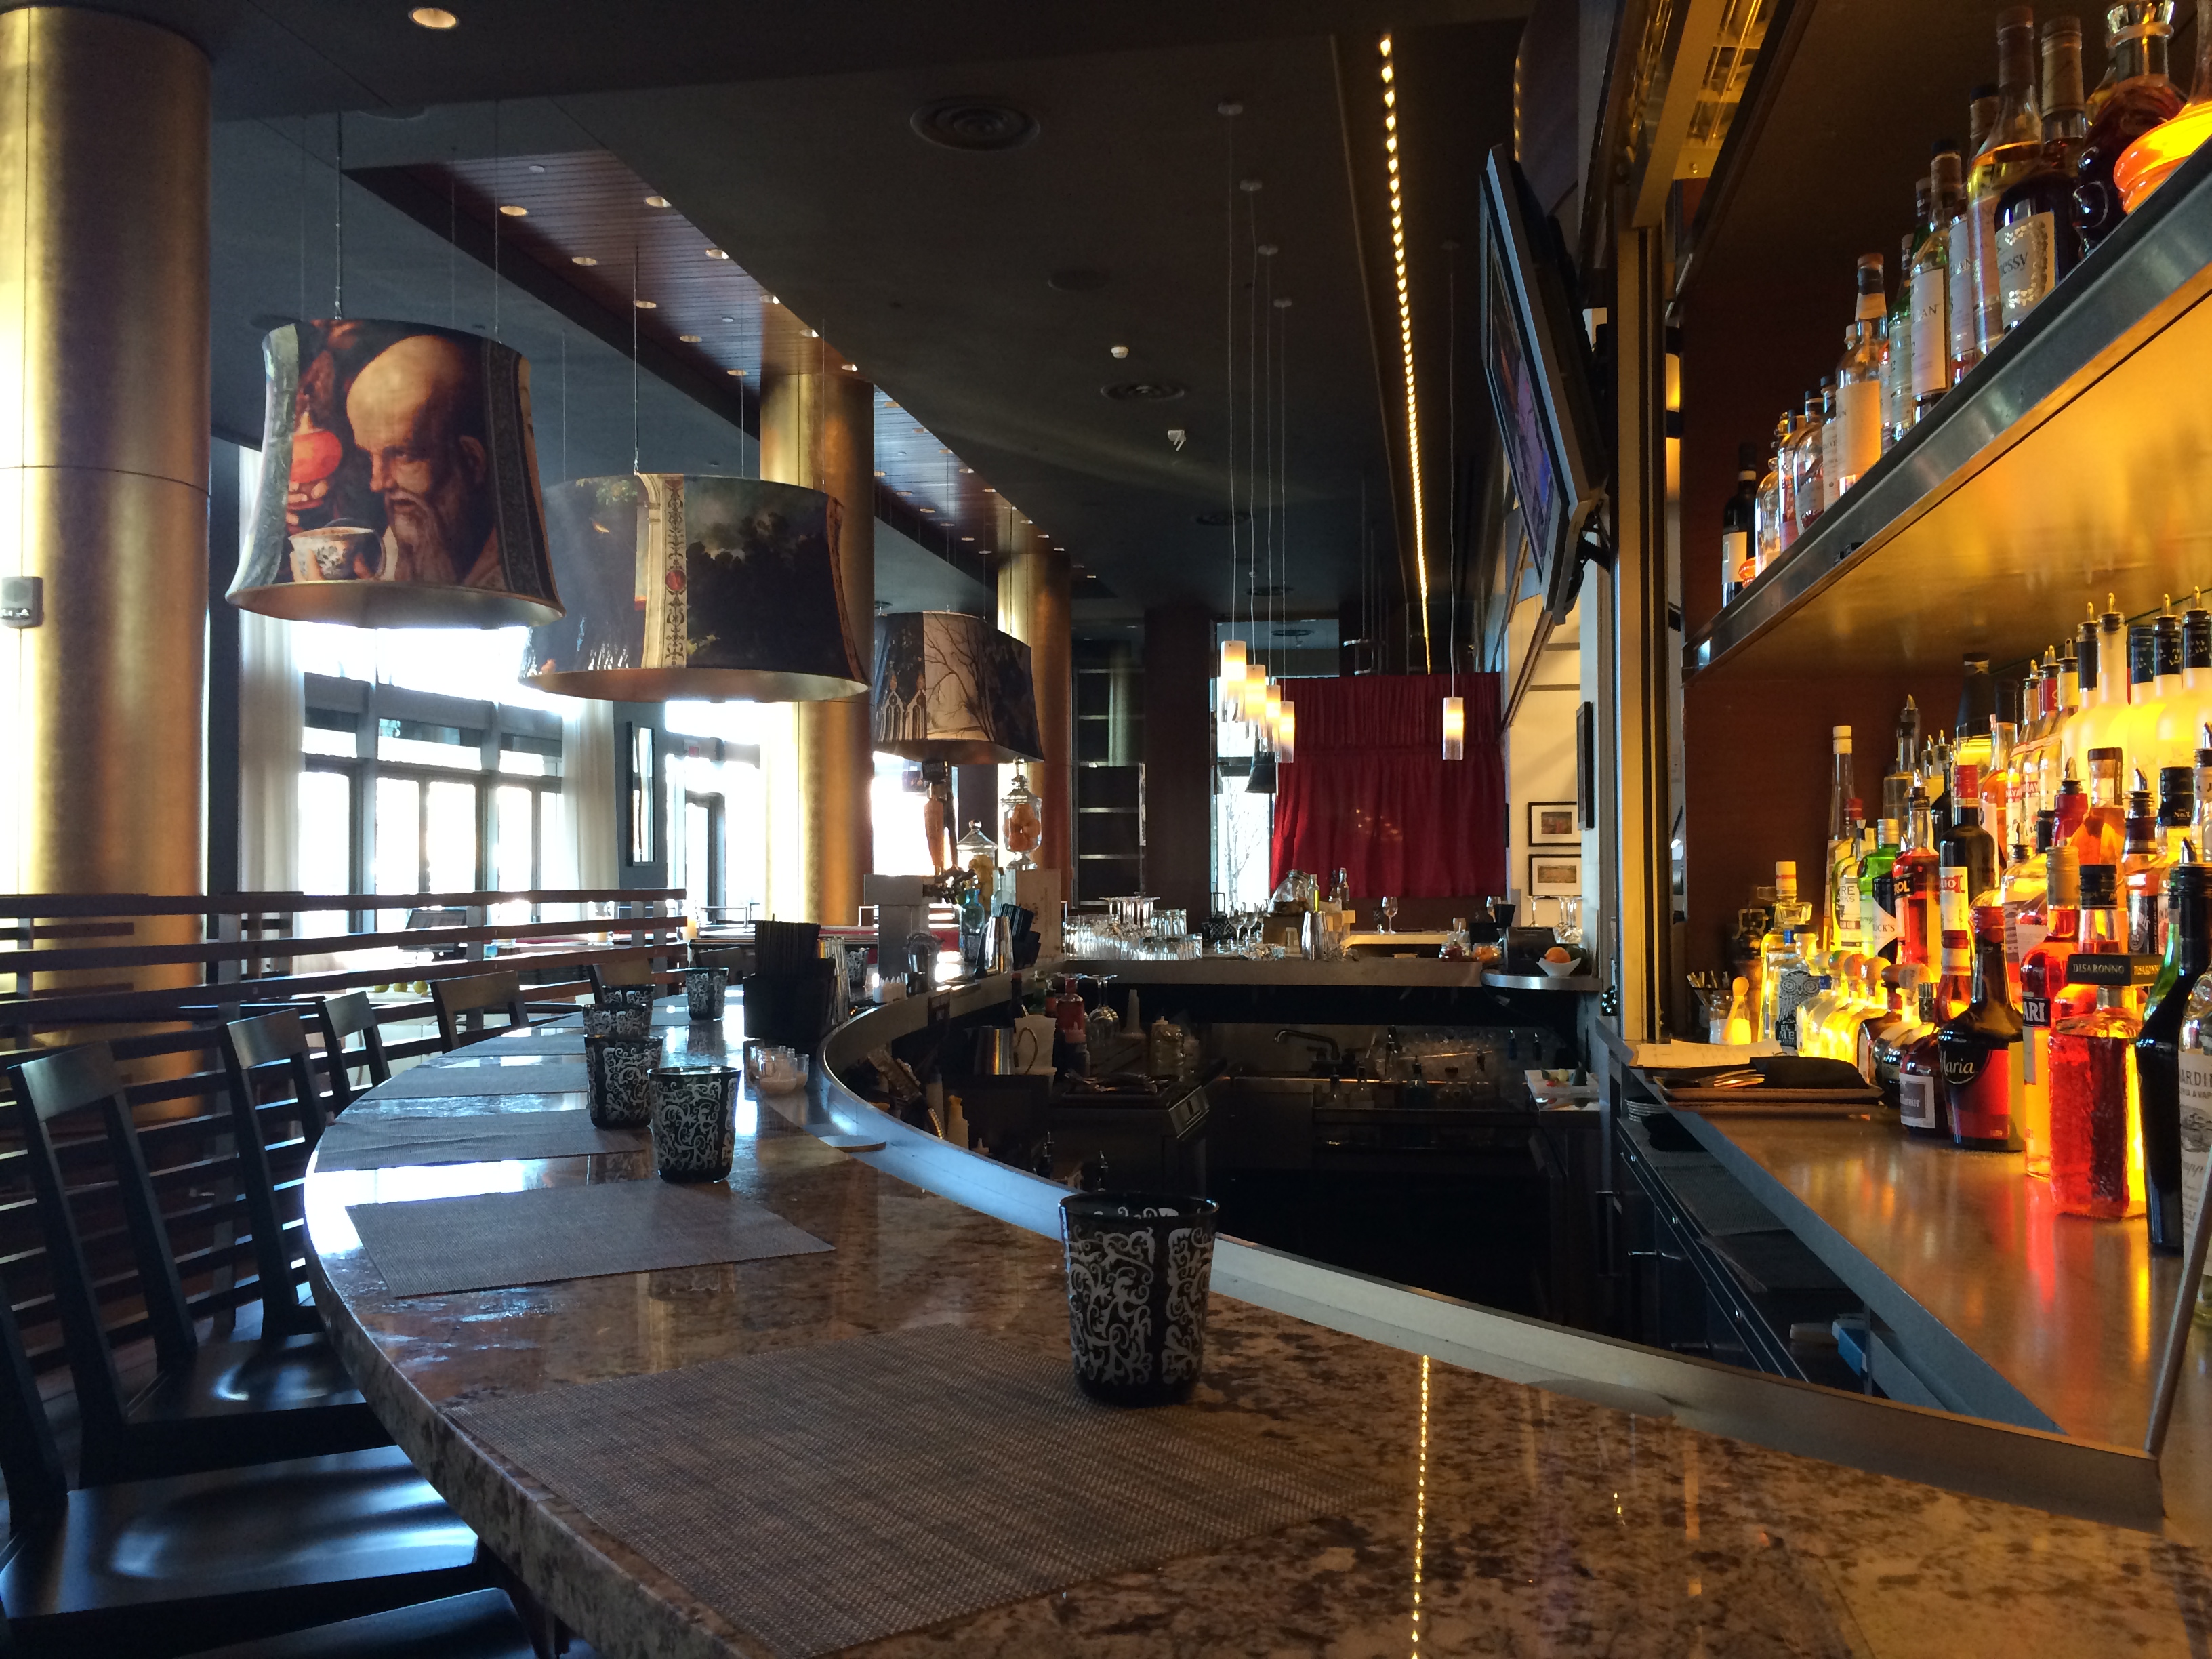
M.C.Spiedo is a new Italian restaurant in the Renaissance Hotel by the Boston waterfront. It’s a massive, over-the-top (as in a bit gaudy) establishment that features rustic food from Italy’s historic past, dating back to the Renaissance period of the 1400’s. You’ll find no tomato dishes here: tomatoes were introduced into Italy in the 1500’s. What you will find are rustic, flavorful spit-roasted meats, pastas with rich sauces, and robust flavors.
This is a huge departure for chefs Mark Gaier and Clark Frasier, who come from acclaimed Maine restaurants Arrows (which just celebrated its 25th anniversary)and MC Perkins Cove in Ogunquit. (They just announced that they are selling Arrows for $1.2 million.)
What’s in the name? The M.C. is from Marc and Clark, and Spiedo means a spit or skewer in Italian. Considering this is still a new restaurant, I was surprised that the two chefs were nowhere to be found on a recent Saturday night. Nonetheless, the staff seems to be knowledgeable, and our server, Daniel ,was eager to guide us through the many menu choices.
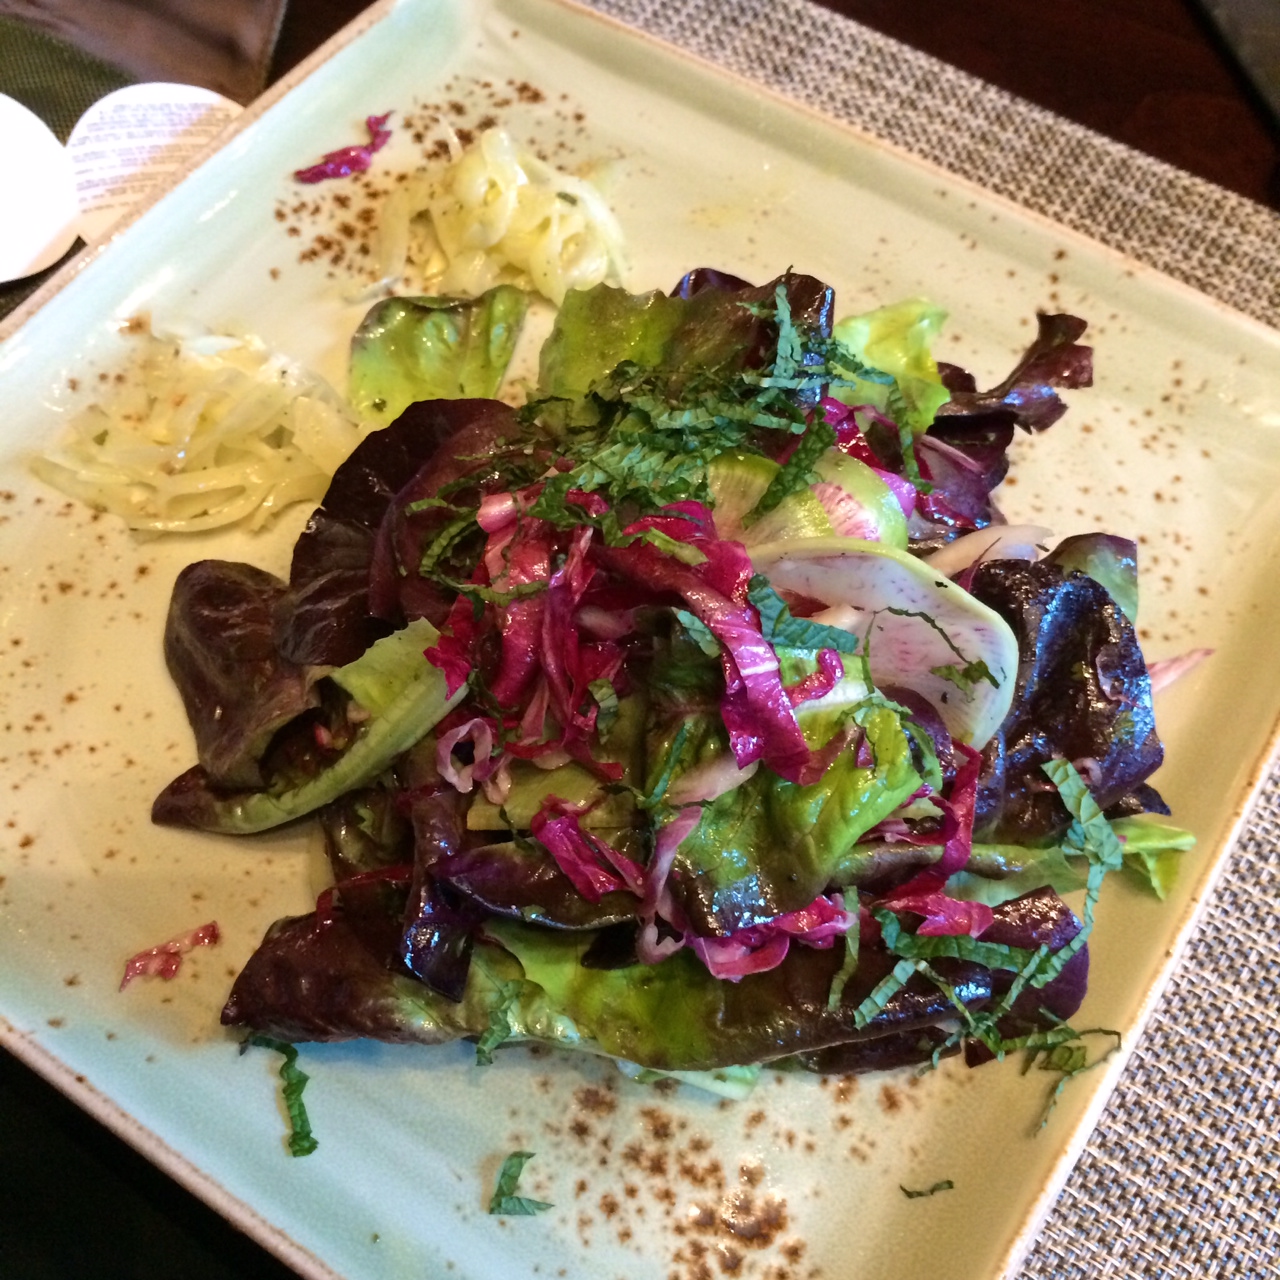
The Leonardo’s Notebook Salad
Leonardo’s Notebook Salad, with garlic, fennel, lettuces and herbs was delightfully fresh and thoroughly enjoyable. The house made burrata: fantastic…just not enough of it. The duck rillette was good, but unseasoned. However, the accompanying house made mustard and pickles remedied that. The Grand Tortellini and Meat Torta, a mile-high meat pie featuring more meat than you can imagine, is a must. It sells out every night. The spit-roasted pig with sausage and shelling bean macaroni would have been delicious had it not been for a VERY heavy amount of salt…so much that I had to mention it to our server, who promptly whisked it away, tasted it, agreed with us, consulted management, and returned with an apology and did not charge us for the dish.

Grand Tortellini and Meat Torta
Thankfully, there are 2 parts of M.C.Spiedo that don’t stick to the rules of only serving ingredients from Italy’s Renaissance period: the bar, where you can find many wonderful house specialty cocktails as well as a wine list with only Italian wines…and the kids menu, which is a welcome surprise to find in this kind of restaurant. My daughter loved the meatballs and the grilled cheese.
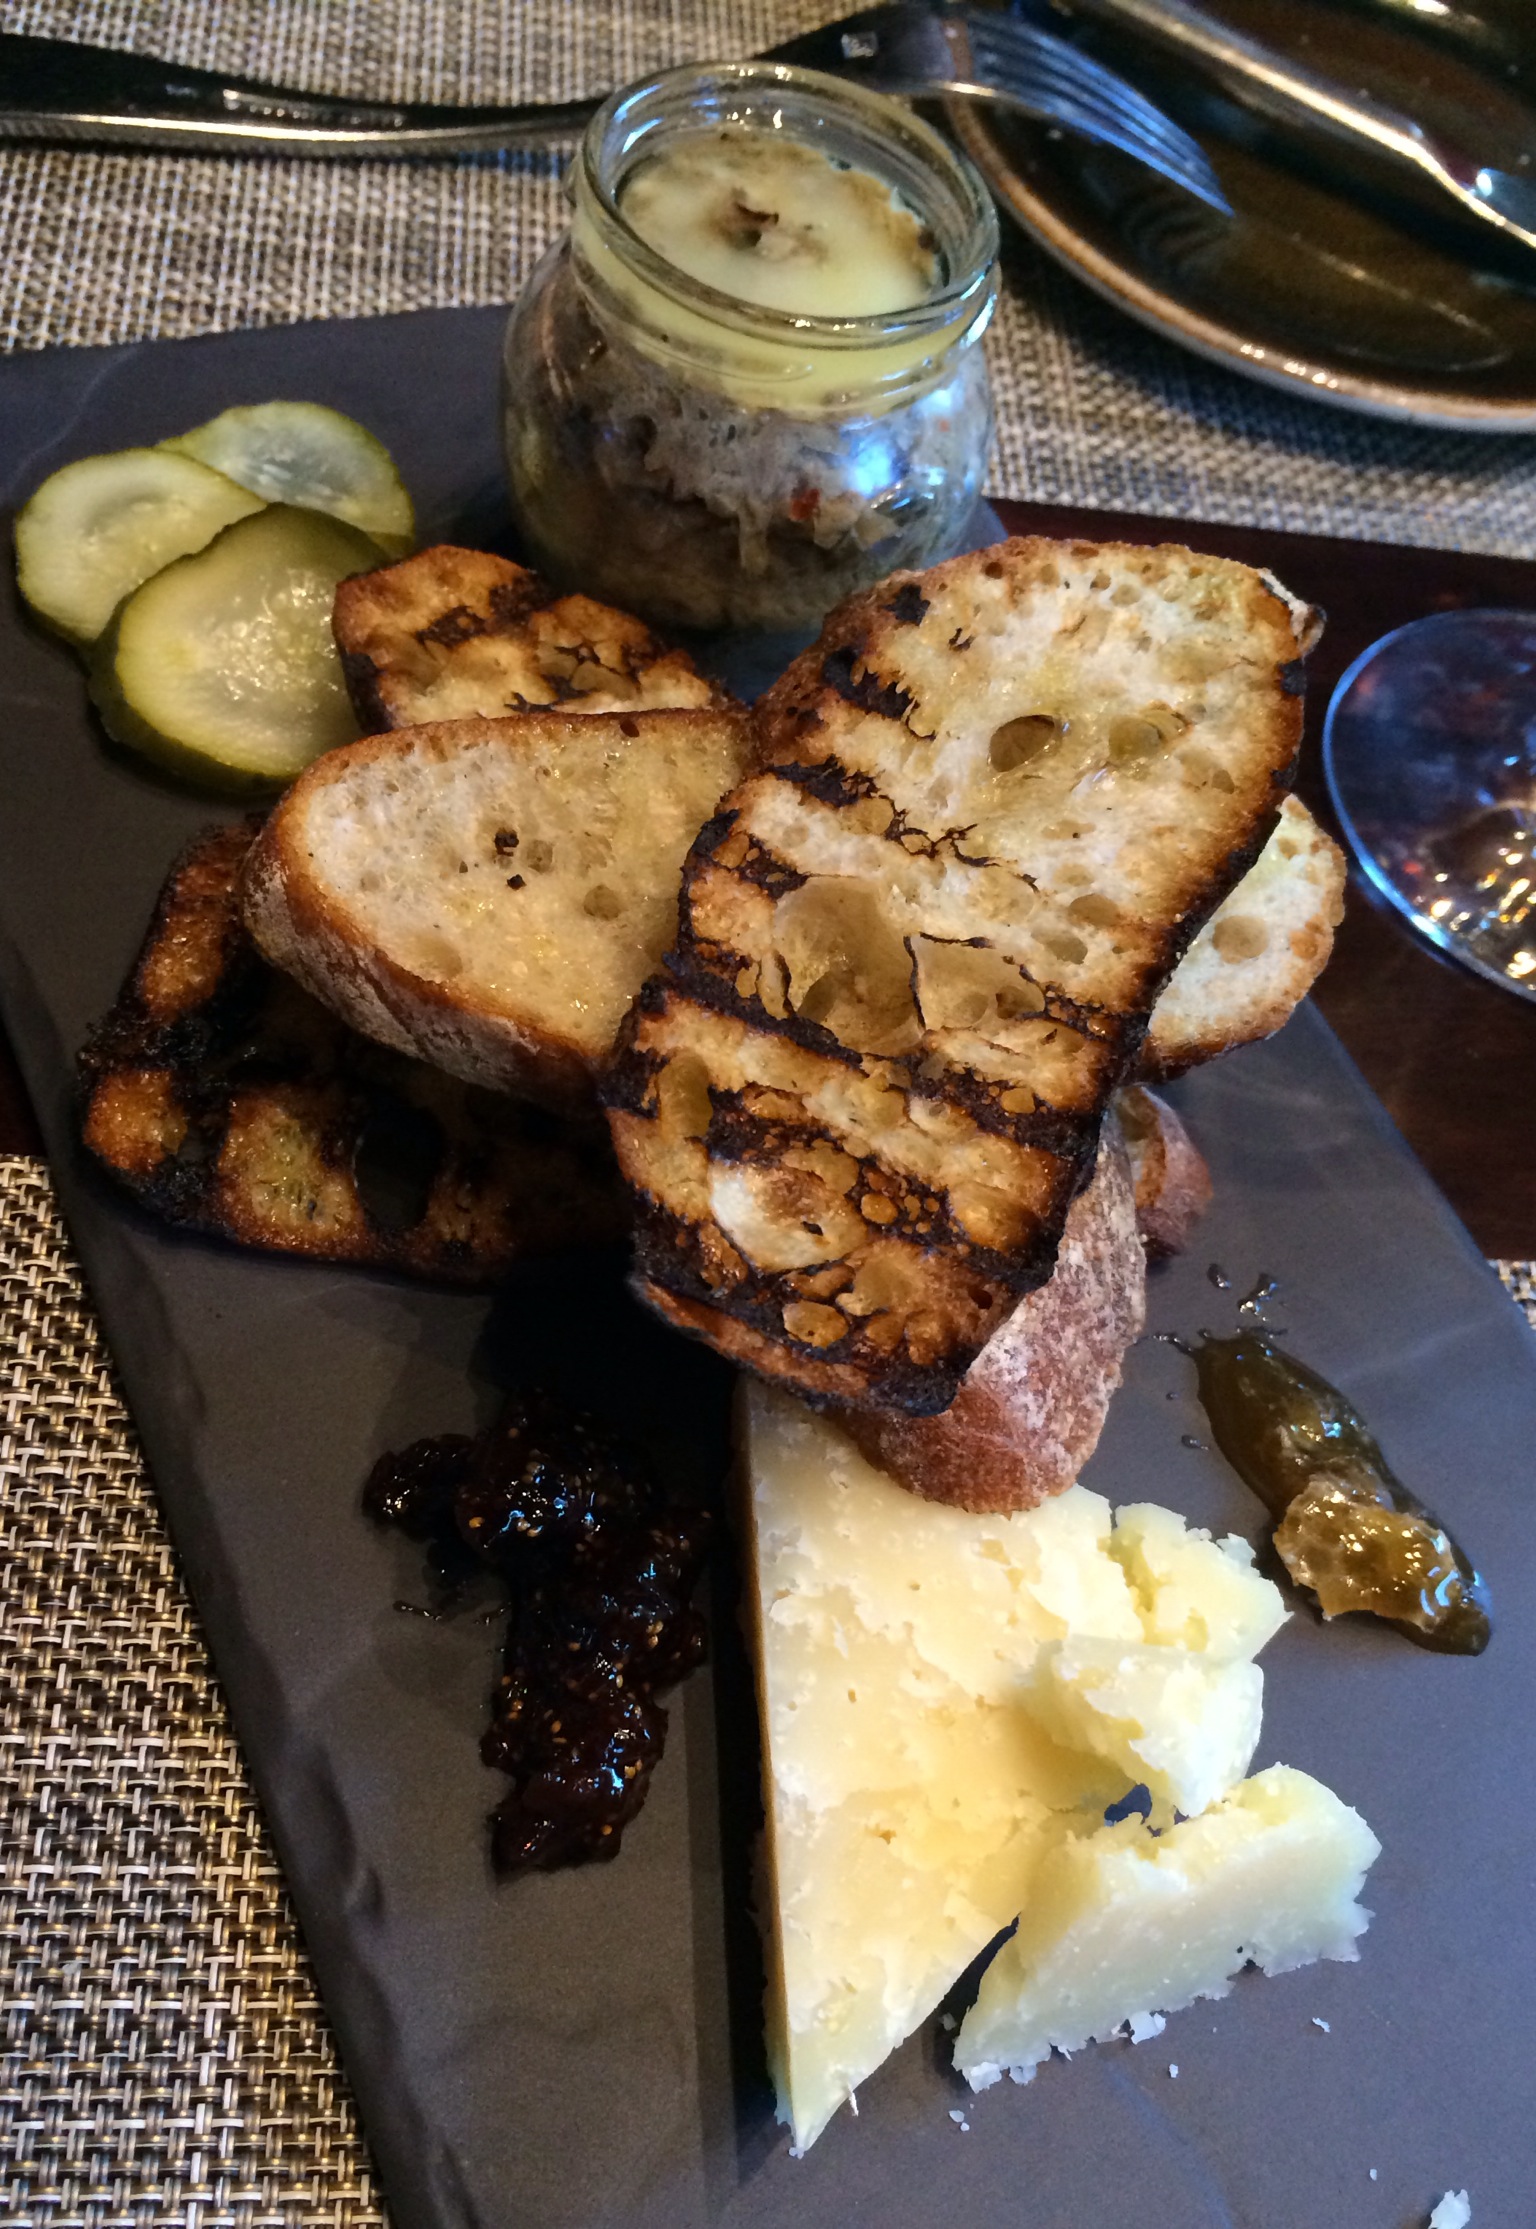
Duck rillette with house made pickles, mustard, and Fiore Sardo cheese
There are a few kinks to work out, but that’s to be expected from a new restaurant. And they’ve got to lighten up on the SALT. But I can see myself coming back to M.C. Spiedo for another enjoyable dining experience.