Archive for the ‘Food’ Category

Who says you have to cook a burger on the grill for Memorial Day? This is one of my favorite ways to enjoy clams…and without the clam knife! I always use hardwood charcoal.

Although I live on the opposite side of Rhode Island, I love visiting my friends at American Mussel Harvesters in North Kingstown. The quality of their seafood is second to none, which is why they supply so many area restaurants with their products. They feature “restaurant ready” mussels, meaning they’ve been cleaned and de-bearded. And their “restaurant-ready” clams mean they’ve been purged to perfection! (www.americanmussel.com) I use ’em whenever I can.

image


A couple of dozen (or more) little neck clams, washed and purged
1 stick (8 oz) of unsalted butter
1/4 cup extra virgin olive oil
1/4 cup chopped parsley
1 teaspoon dried oregano
1/2 teaspoon dried basil
1 teaspoon minced garlic
1/2 teaspoon sea salt

image


The clams should be stored cold and dry until ready to use…not in water, not on ice. Place the clams in a bowl and cover with a wet dish towel in the fridge.

Because my clams have already been purged, I don’t have to do it at home. But here’s what to do if they haven’t been purged: Fill a large bowl with cold water, add sea salt and some corn meal to it, and mix it around. Add the clams to this bowl and let them purge in this liquid for at least an hour. They will suck up the corn meal and spit out sand and grit. After an hour, pour off the water/salt/meal/grit mix, and thoroughly wash the clams.

Start your hardwood charcoal grill and divide it in half: coals on one side, no coals on the other.

While the coals are heating up, grab a disposable aluminum foil tray and place it on a burner on your stove over medium heat. Add the butter, olive oil, parsley, oregano, basil, garlic and salt, and stir to combine. Once the butter has melted and everything has blended, bring the tray over to the charcoal grill and place on the side of the grill without coals. It will stay warm.

Once the coals are hot, just place the clams directly on the grill. (Use tongs, unless you want to remove all of your knuckle hair.) When they start to open, carefully flip them over, trying not to lose any of the precious juices inside the clam. Cook them for as long as you like, from raw, to more thoroughly cooked. As each one reaches its desired doneness, place it in the aluminum tray, making sure it gets swished around in the butter and herb mix.

When all the clams have been cooked and are in the tray, serve with on top of pasta…or simply eat with a fresh baguette. A glass of great white wine is a must.

image

I love shrimp scampi, and had the need to satisfy my cravings the other day. But what started as a simple scampi recipe, turned into something a bit more. I may never make scampi the same way again!

image

1 lb. wild-caught American shrimp, peeled and de-veined
4 tablespoons butter
4 tablespoons olive oil
2 teaspoons parsley
1 teaspoon garlic salt
1 teaspoon oregano
1/2 teaspoon granulated onion
1/4 teaspoon black pepper
3 tablespoons Spirgučiai (see below)
1/2 lb. fresh mozzarella, sliced
oregano, for sprinkling


Thaw the shrimp under cold water. Place in a colander to drain.

Spirgučiai is a Lithuanian favorite: chopped bacon and onions, fried until crisp and usually sprinkled over anything and everything in Lithuanian cooking. I always have some in my fridge, already prepared and just waiting to be used.

In a saucepan on medium heat, combine the butter, olive oil, parsley, garlic salt, oregano, onion, pepper and Spirgučiai.  Heat only until everything melts and combines. Don’t let it burn.

In a small sheet pan lined with foil, lay the shrimp in a single layer and cook them halfway in a pre-heated 400-degree oven to remove the moisture from the shrimp.

Take the pan out of the oven, and drain off the moisture, if any. Pour the butter mix from the saucepan all over the shrimp and toss to coat. Return the shrimp to the oven for a few minutes, until they’ve heated through and are almost completely cooked. (Careful: never over-cook shrimp!)

Take the pan out of the oven, and place pieces of mozzarella on top, garnishing with a little oregano. Set the oven on broil and cook until the cheese has melted.

Slice with a spatula and serve on top of pasta, making sure you get some of that buttery scampi sauce.

image

As a low-carb option, you can serve this on broccoli or roasted spaghetti squash.

I love avocado, and I’m always trying to find new ways of using it. This recipe is simple, low-carb, gluten-free, and really delicious. I prefer using ground chicken over ground turkey, which can dry out.

chicken2

1 lb. ground chicken
1 ripe avocado, sliced into small cubes
1/2 teaspoon salt
1/4 teaspoon black pepper
1/4 teaspoon granulated garlic

chicken1

Combine the ingredients in a bowl and mix thoroughly but carefully so that you don’t squash the cubes of avocado. Form the meat into burger patties. It will be sticky, but just make sure you get the avocado evenly distributed. Chill the patties in the freezer for about 10 minutes before cooking to firm them up.

Pre-heat the oven to 350 degrees.

Heat a little oil in an ovenproof pan, and place the burgers in it when hot. Let the burgers sear on one side, then flip them. Place the pan in the oven to finish cooking.

Serve with a slice of bacon and Awesomesauce! (http://wp.me/p1c1Nl-gT)

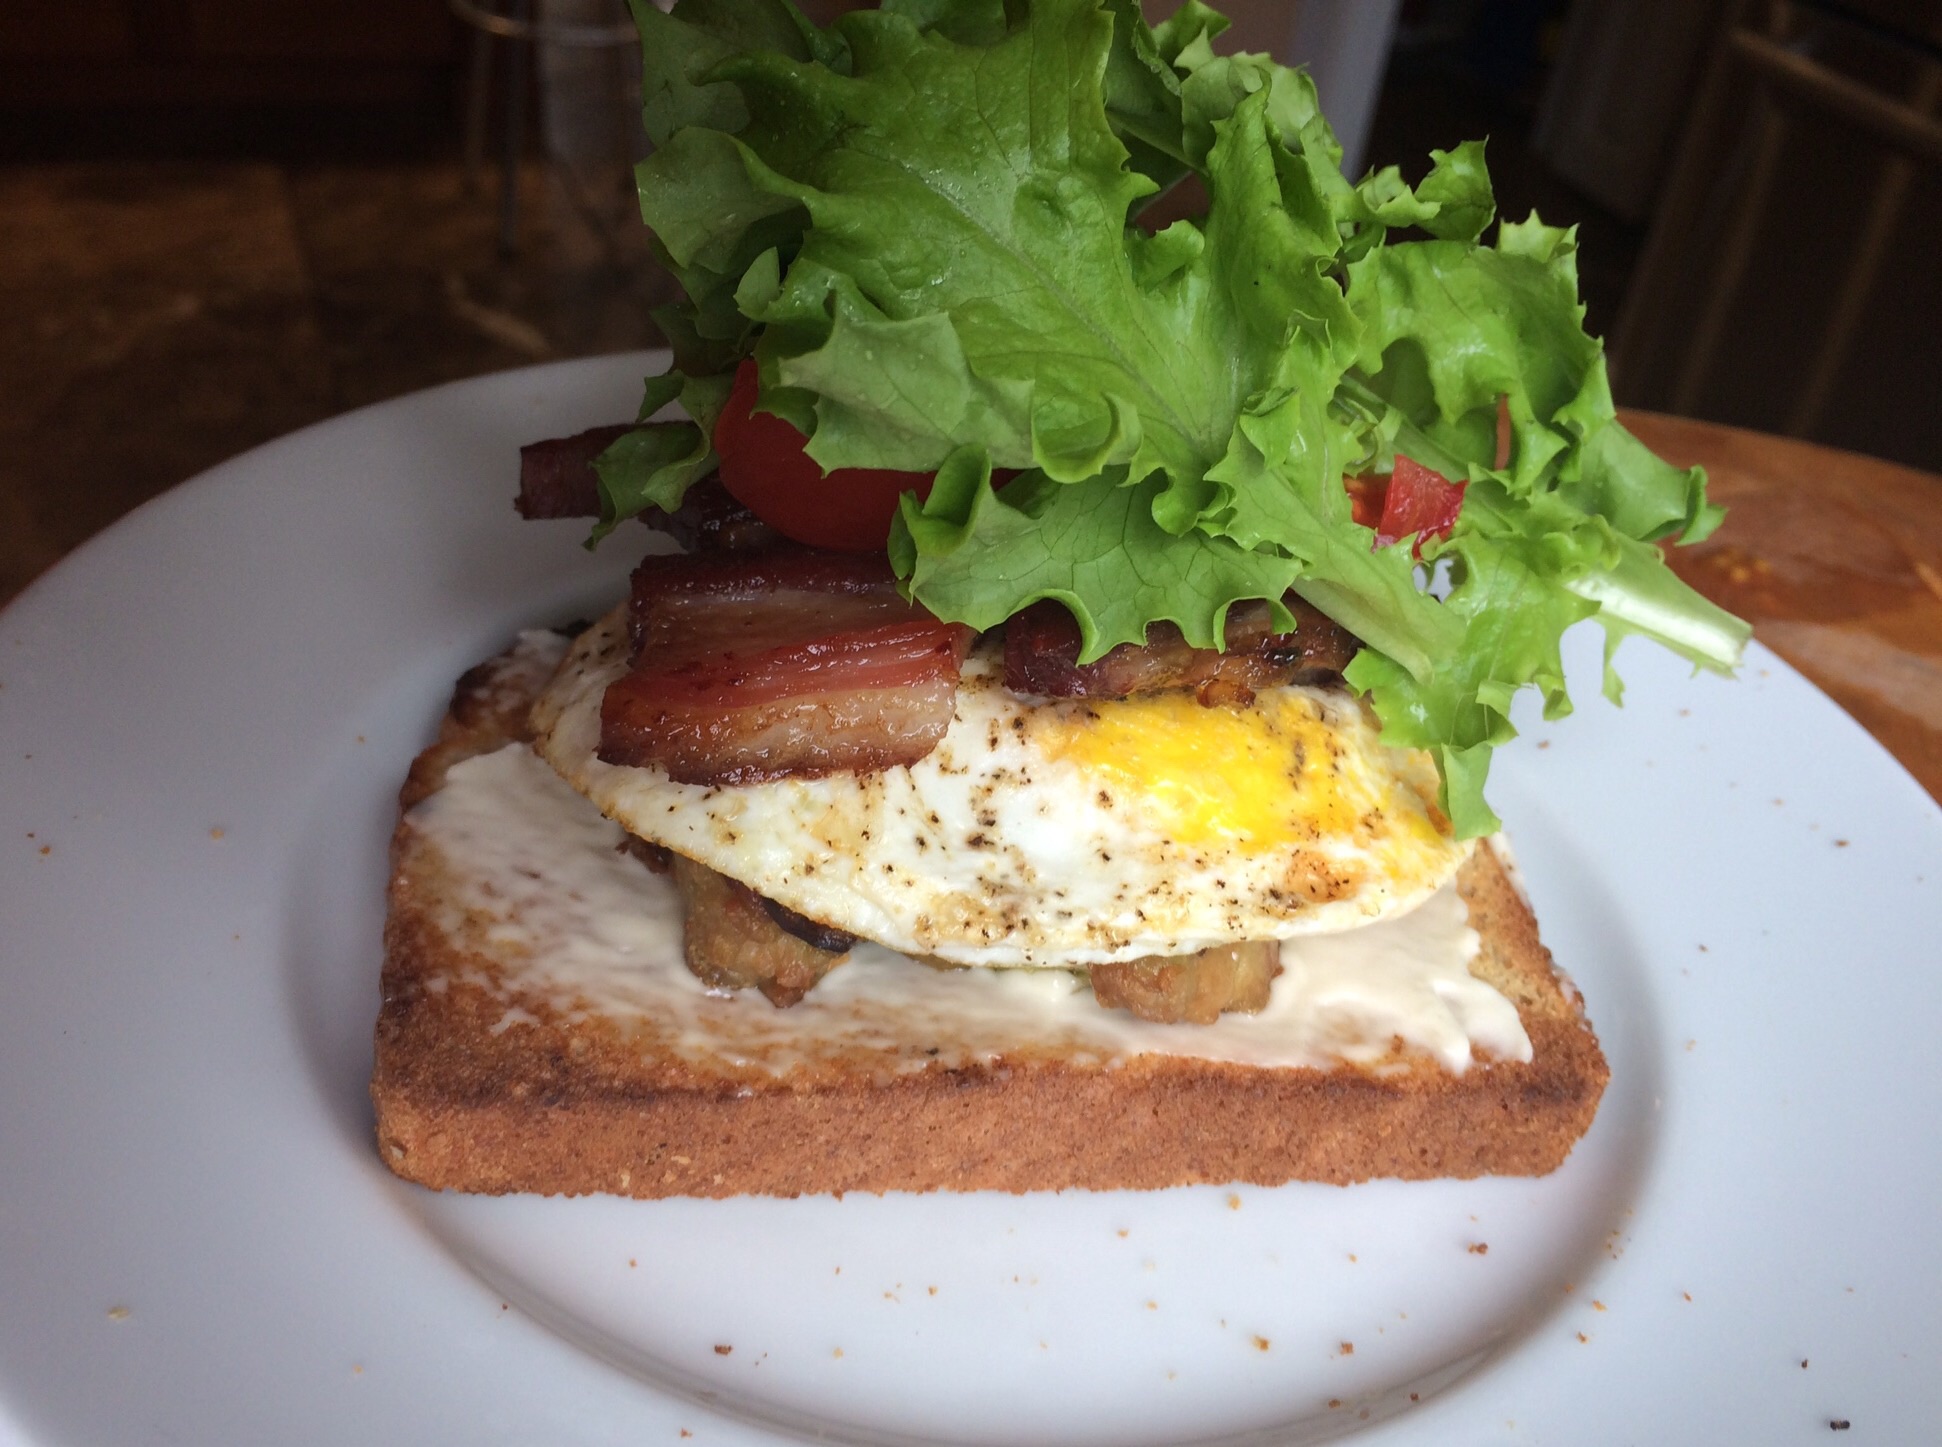
It also makes a great breakfast sandwich: bacon, lettuce, tomato, a fried egg, and the chicken avocado burger!

image

The inspiration for this sauce was my attempt to replicate the “Shack Sauce” they use at Shake Shack , a high-end burger joint owned by restaurateur Danny Meyer. Since it opened in New York City’s Madison Square Park in 2004, Shake Shack has expanded to many other locations around the world.

I don’t know if I captured the Shack Sauce secret. But I do know that my Awesomesauce makes every burger I grill taste amazing. It’s also fantastic for shrimp, crab or lobster salad…a dip for veggies or boiled shrimp…a dressing for tacos…and great on salads.

Awesomesauce

1/2 cup mayonnaise
1 tablespoon ketchup
1 tablespoon yellow mustard
1 tablespoon dill pickle relish
1/4 teaspoon garlic powder
1/4 teaspoon paprika
Pinch cayenne pepper

Combine all the ingredients in a bowl. Mix well. Refrigerate covered for a few hours to blend the flavors.

image

San Sebastian, Spain is one of the major food meccas of the world: wonderful shops, pintxos (tapas) bars, and some of the top restaurants On earth, all on the north coast of Spain in Basque country, off the Bay of Biscay, just a stone’s throw from the French border.

image

image

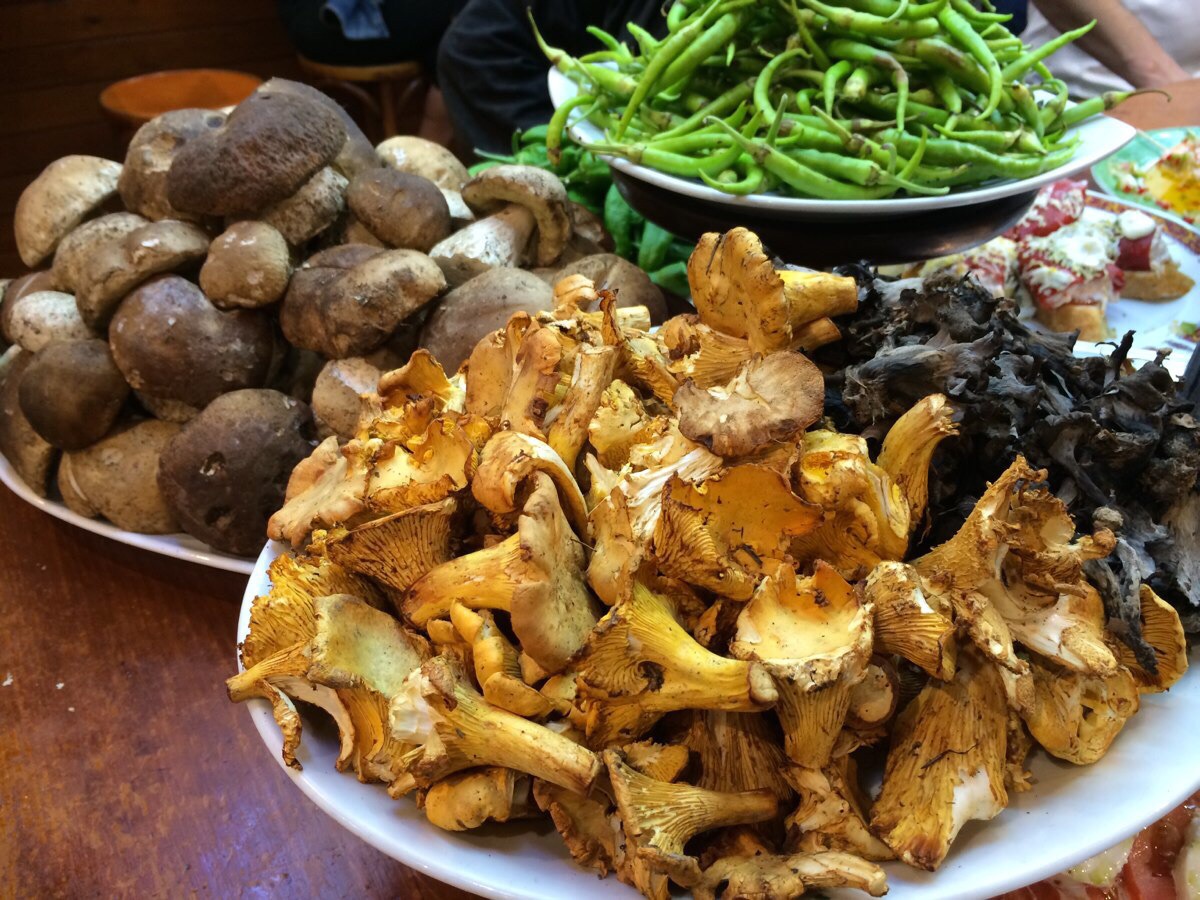
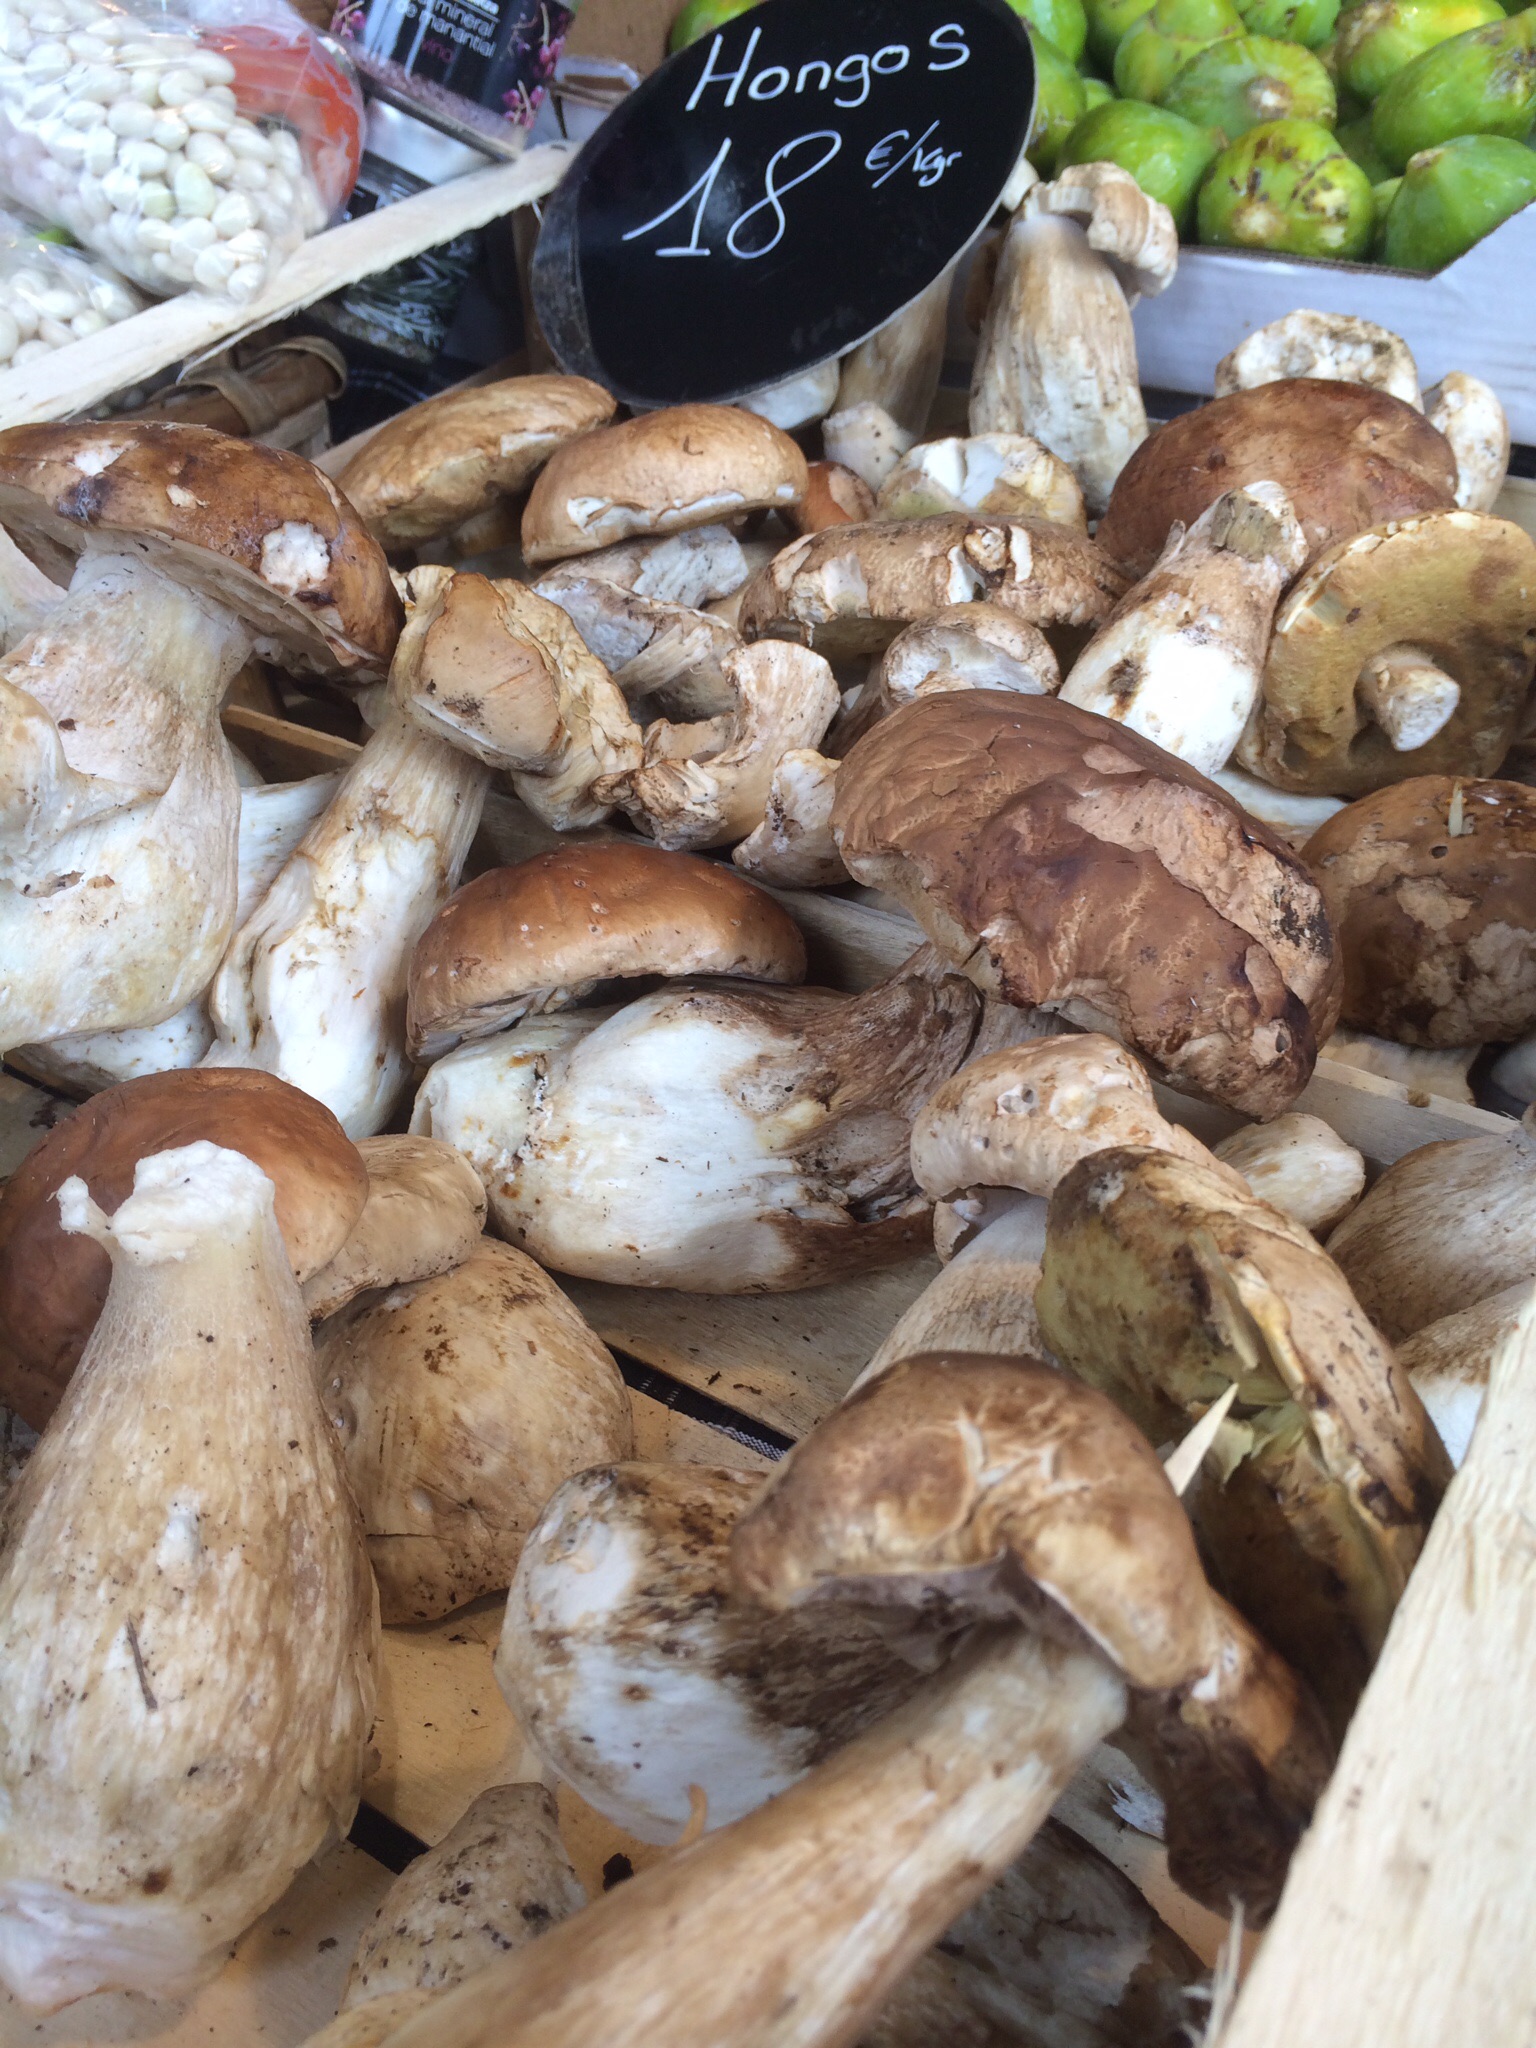
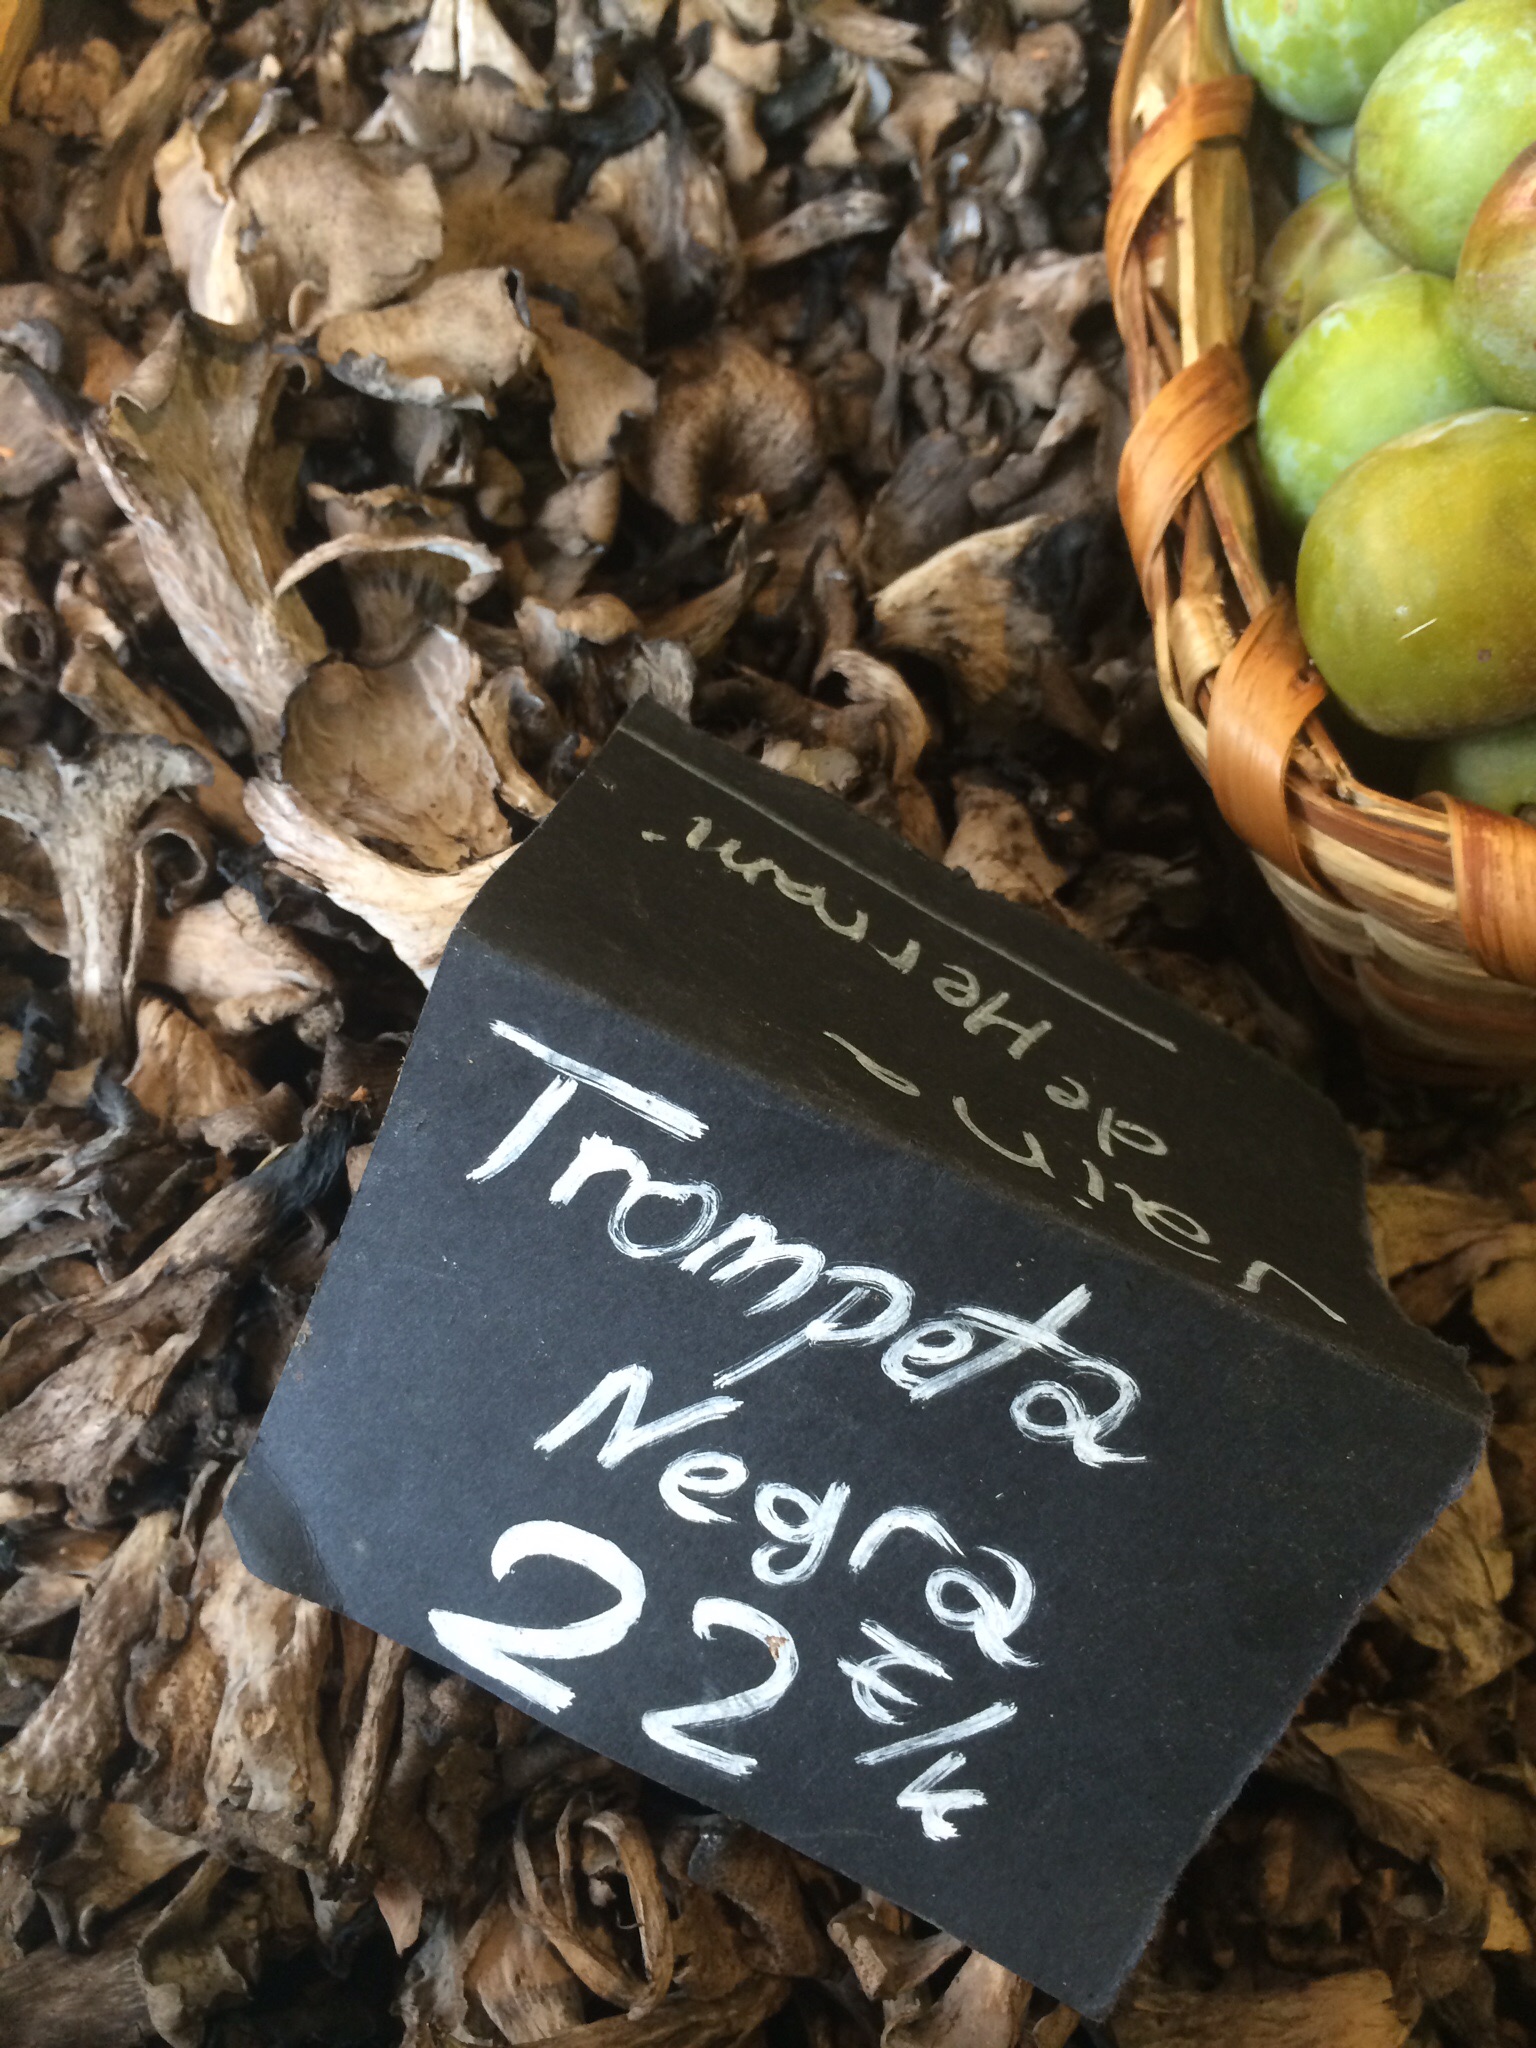
Pintxo bars are everywhere, especially in the old part of town where the narrow streets are for pedestrians only, and many bars specialize in just a few prepared foods, like the beautiful sautéed fresh mushrooms, above.

imageimage

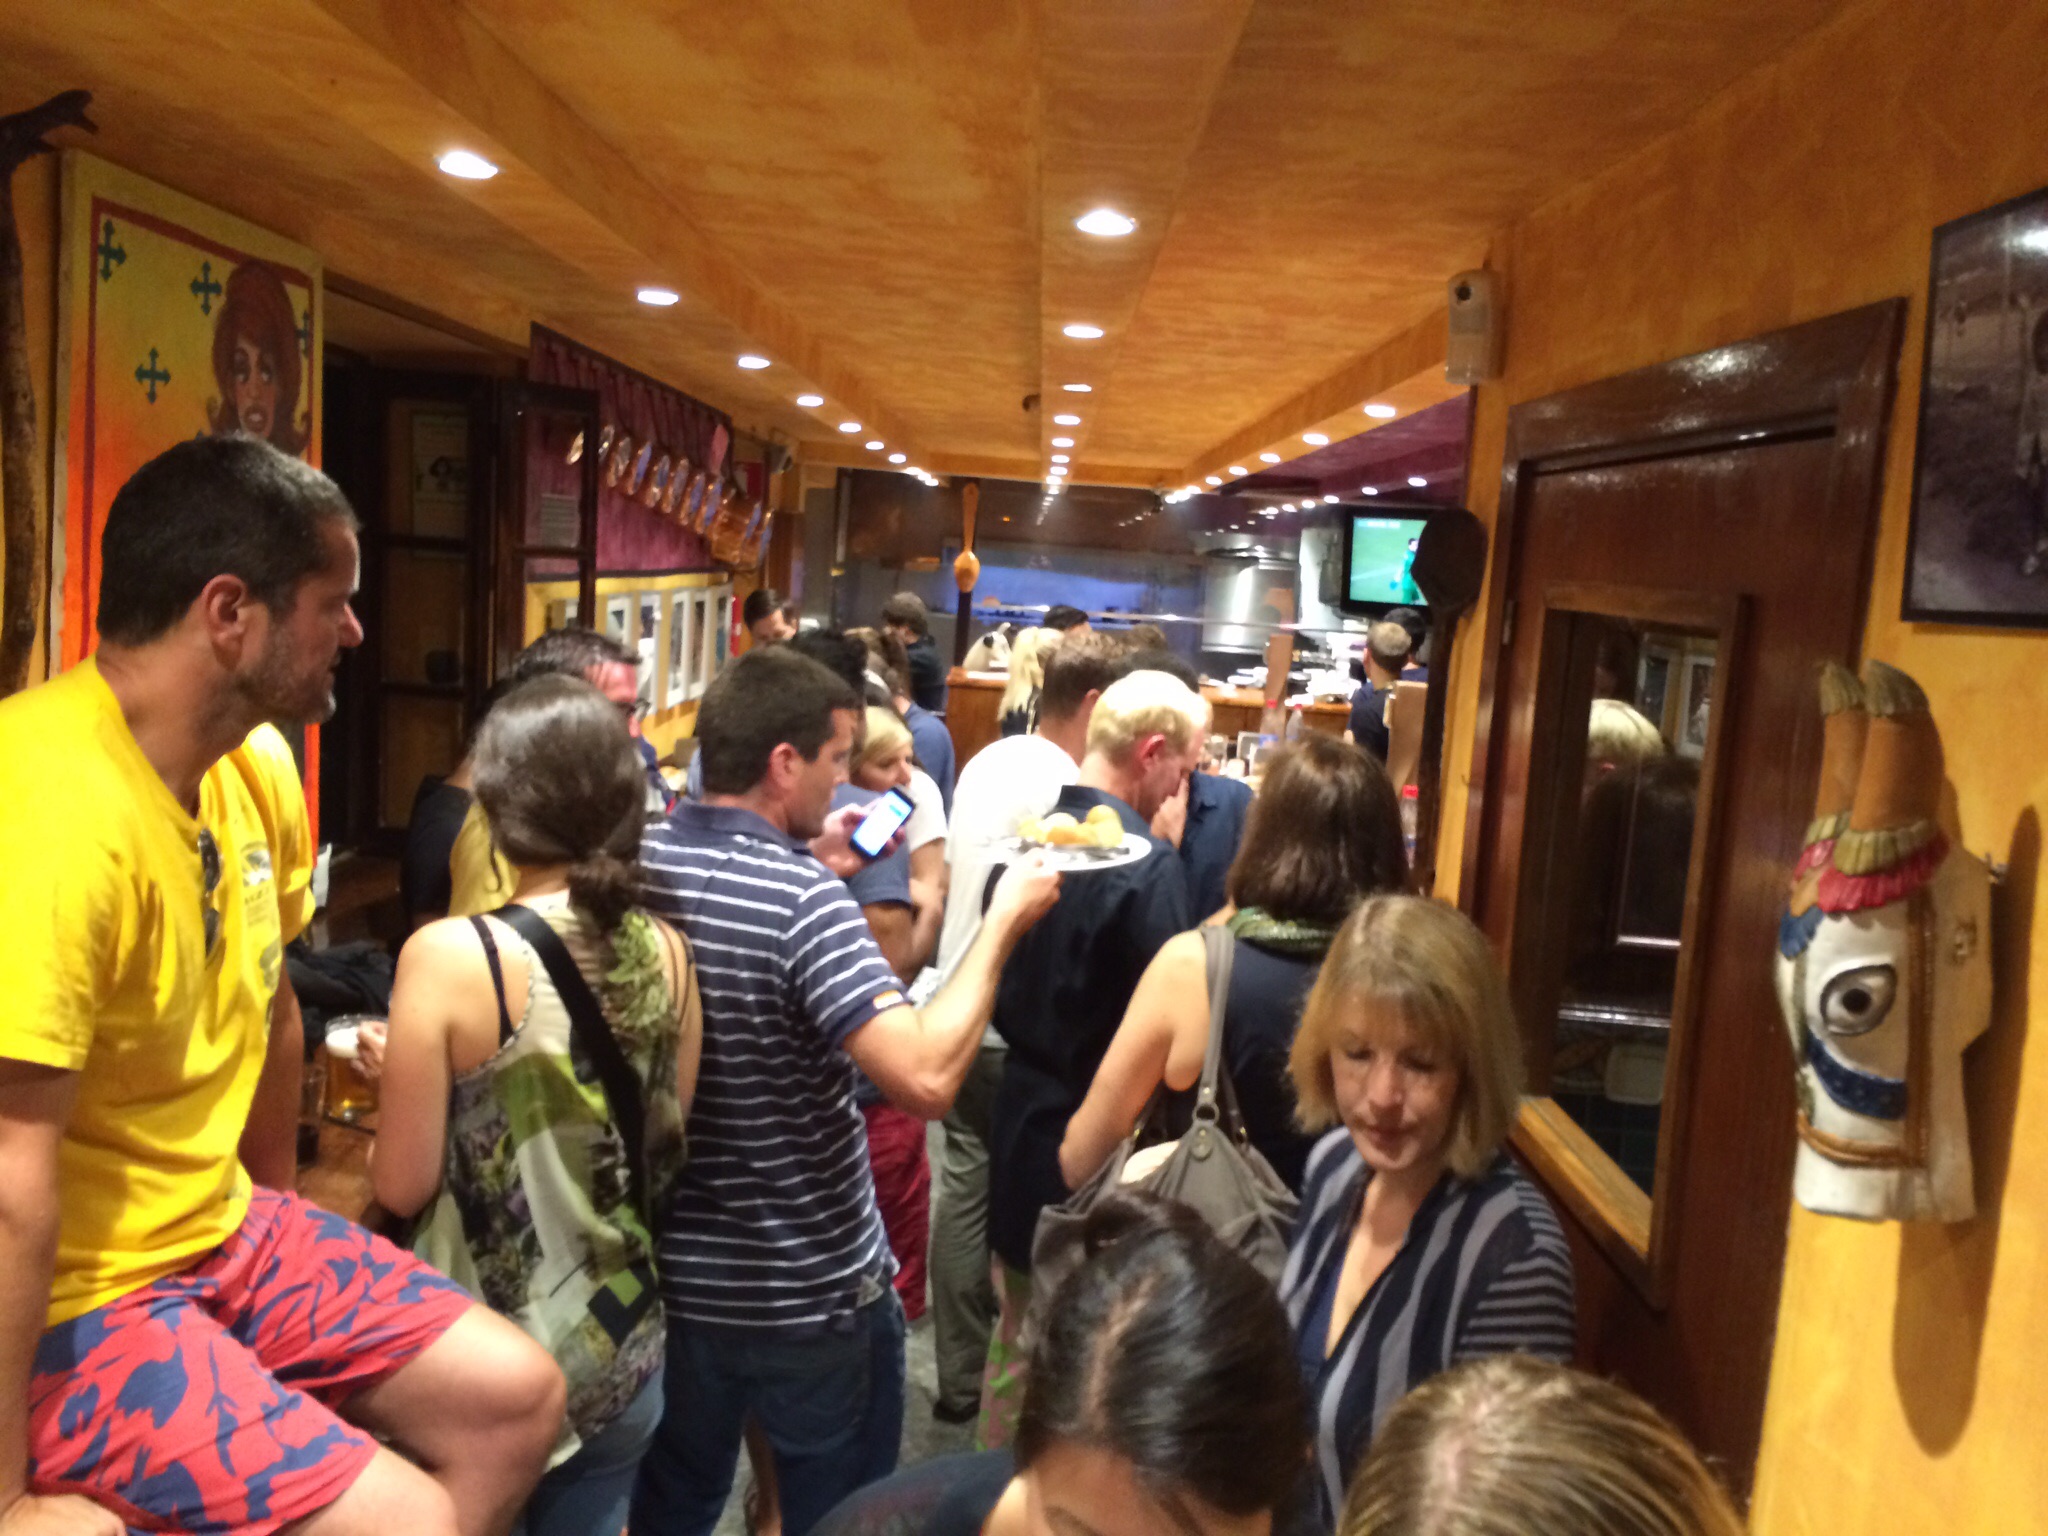
Some joints, like Cuchara de San Telmo, jam every night until they literally run out of food.

imageimage

Clearly, we couldn’t get enough of the mushrooms!

imageimageimageimageimageimage

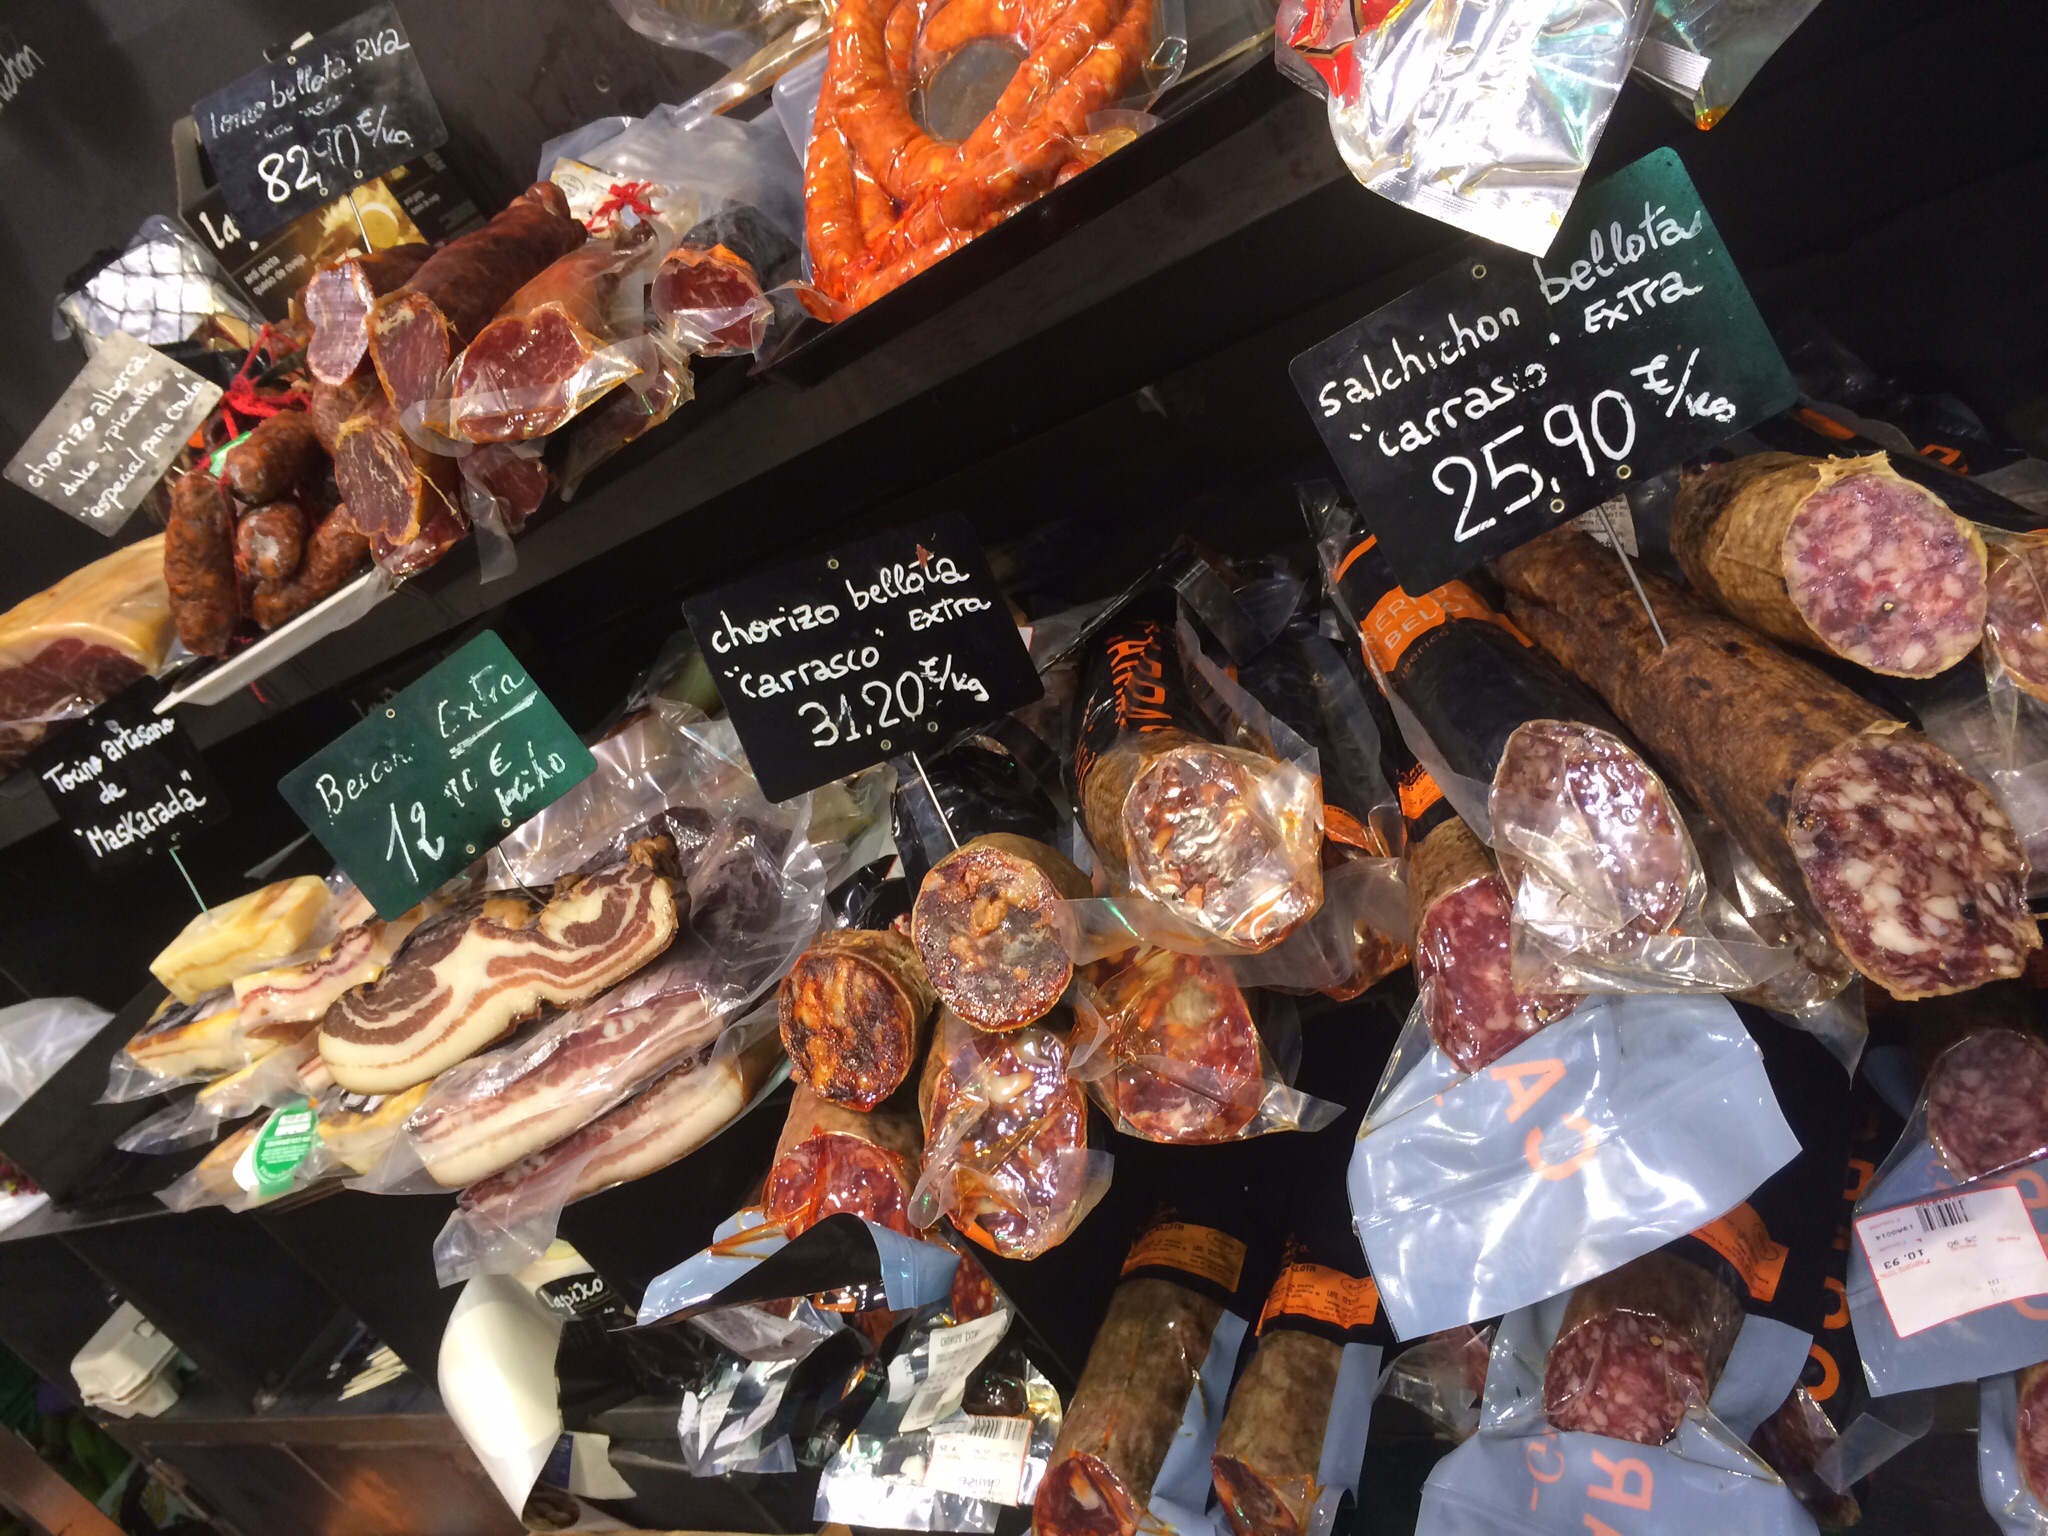
No shortage of fantastic Basque cheeses and charcuterie in local San Sebastian shops, either.

image

image

Not all the best pintxo bars are in old town. This one, Restaurante Ni Neu,  is just across the waterway from the classic Hotel Maria Christina.

imageimage

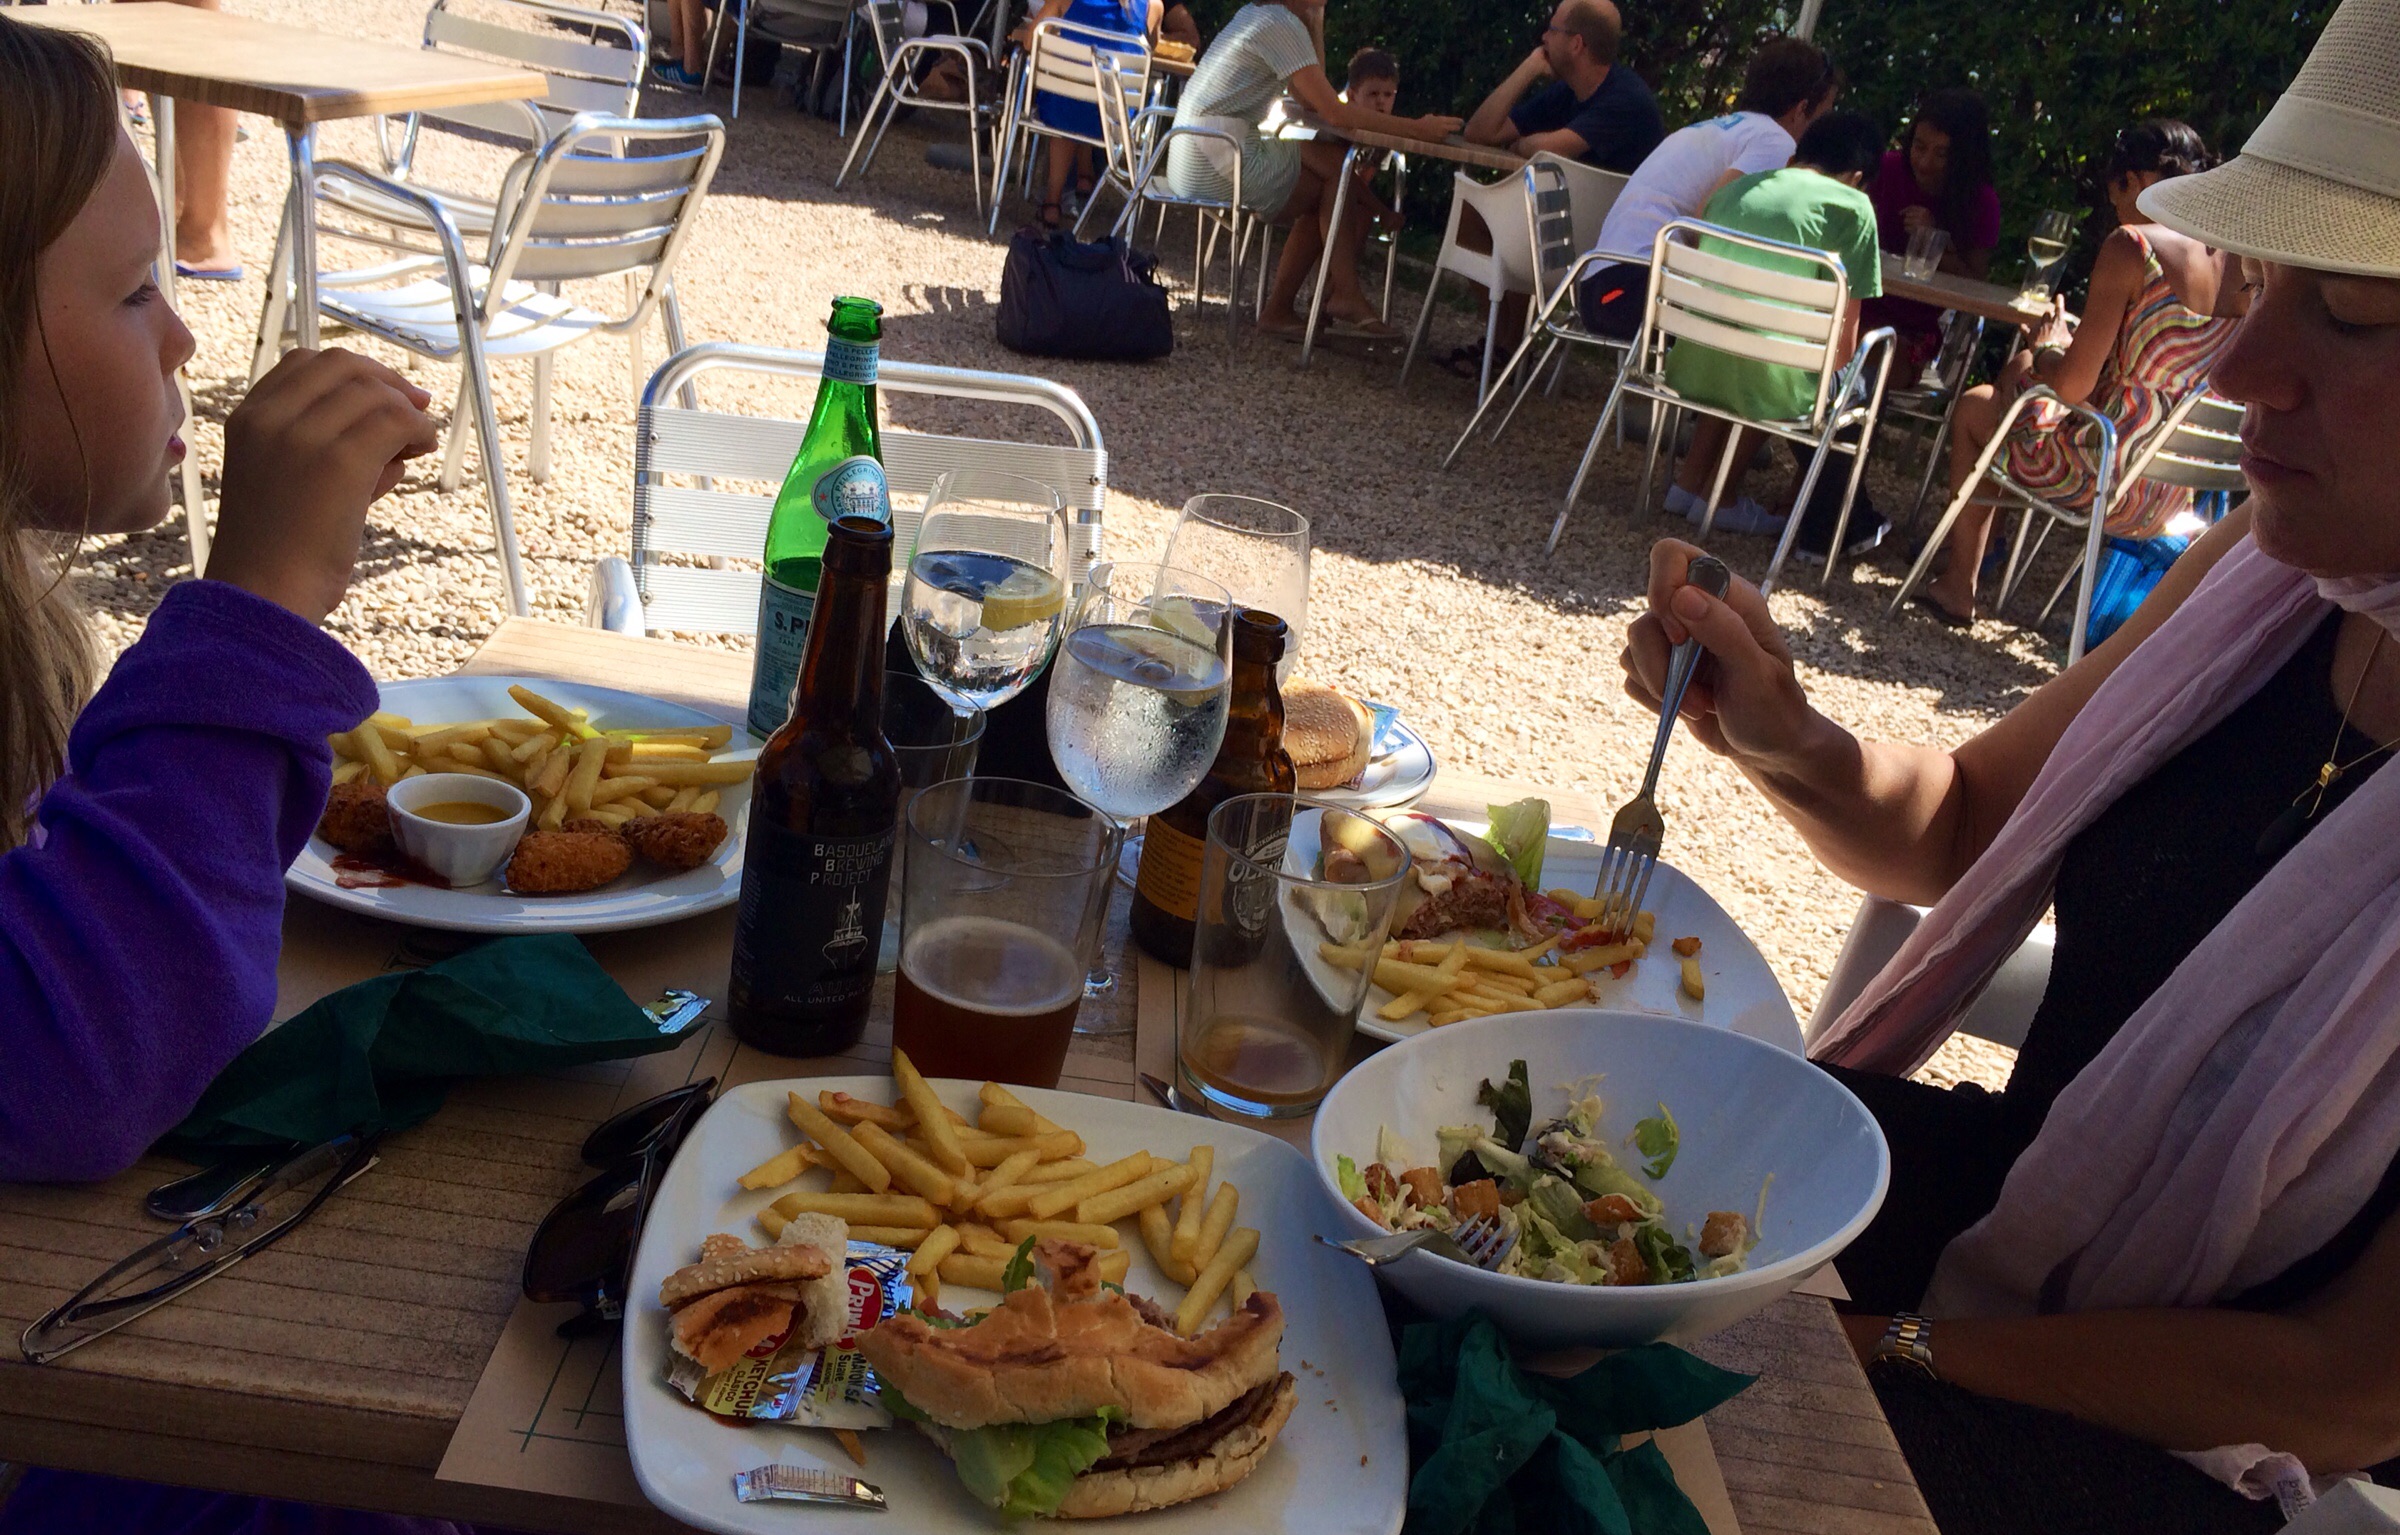
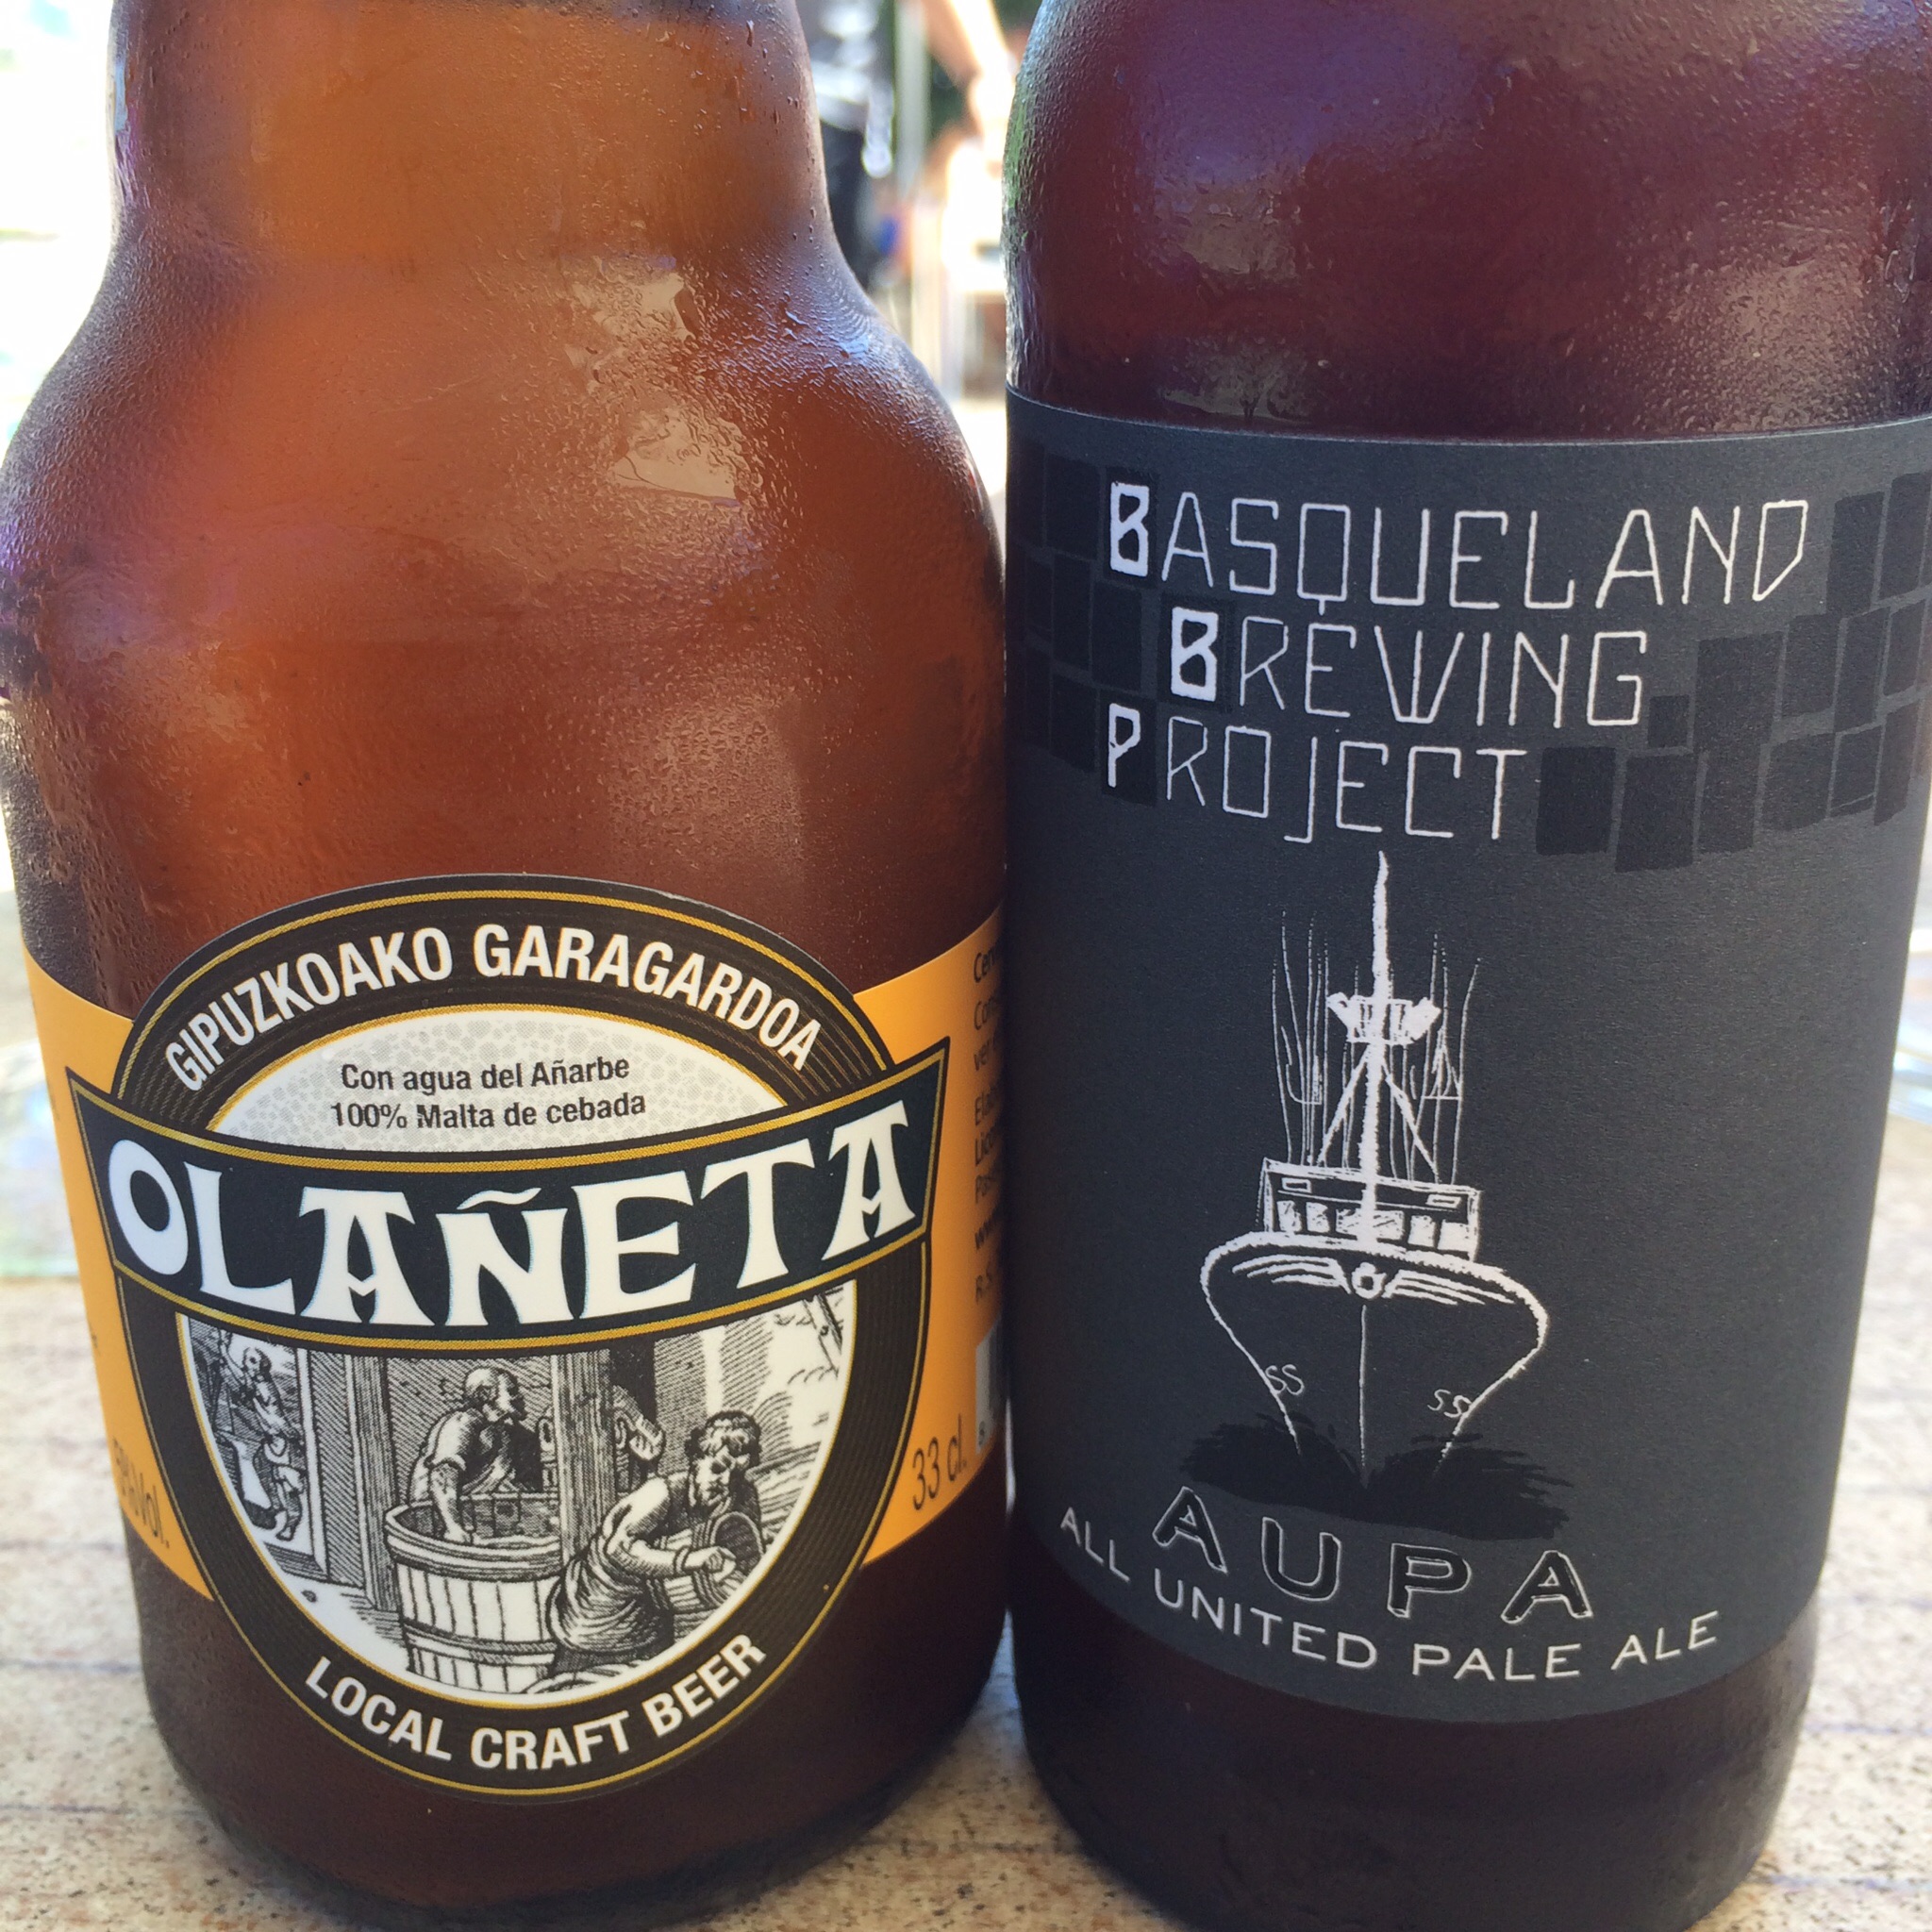
Need a break from all that rich food? Craving a burger, a salad and a beer? Head down the boardwalk on La Concha Beach for the Wimbledon, a tennis club that has a great pub open to the public.

imageimage

imageimage

Many great family-run restaurants. Often, like with Munto and Egosari, you’ll find the first floor is all about the pintxos, and the second floor has a more formal dining area where you can sit down to a wonderful meal. Others, like Astelena, are finer dining experiences. And Narru has indoor dining as well as al fresco dining with a view of La Concha beach.

image


imageimage


image


San Sebastian is home to many of the world’s finest restaurants, including Arzak, rated the #8 restaurant in the world. Here’s the gazpacho at Arzak…

image

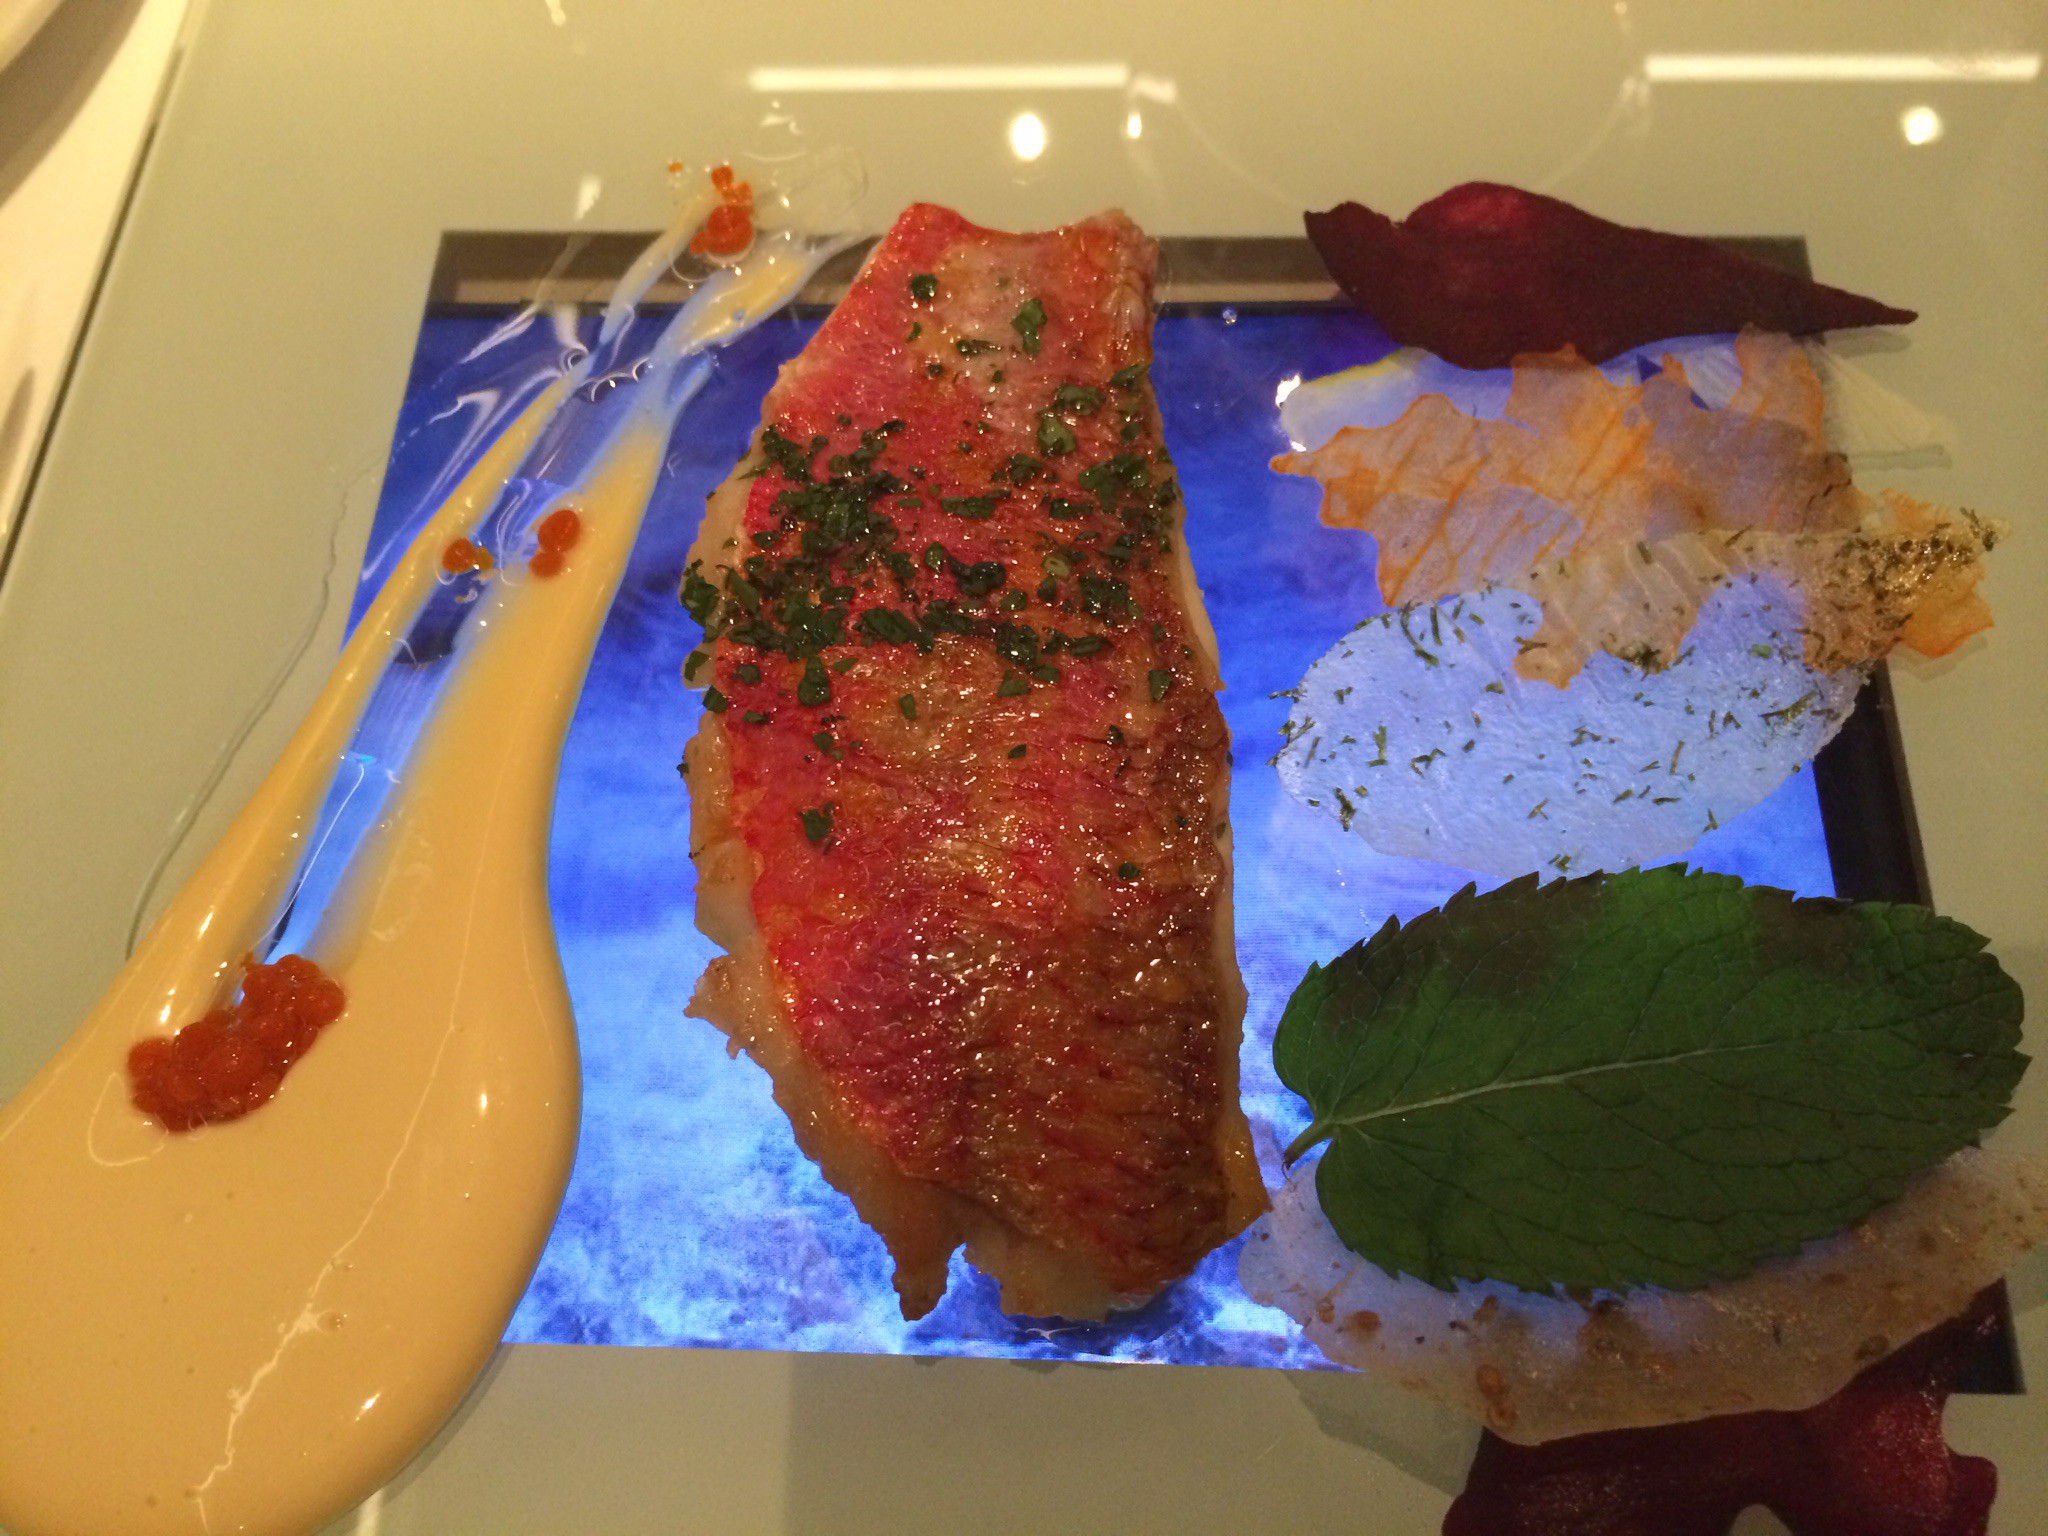
And an incredible plate of fish, served on a clear dish so you can see the video of ocean waves crashing on the shore on the iPad the dish is served on!

image

The talented Elena Arzak was named best female chef in the world in 2012.

image

At the #3 spot on the top restaurants of the world, there’s Mugaritz, another amazing dining experience.

imageimage

One incredible dish after another. An experience hard to put into words, but I tried. Read about it here: http://wp.me/p1c1Nl-vn

image

The “Linking Dish,” one of the most memorable moments of the evening at Mugaritz.

And no evening was complete without a tour of the kitchen…

image


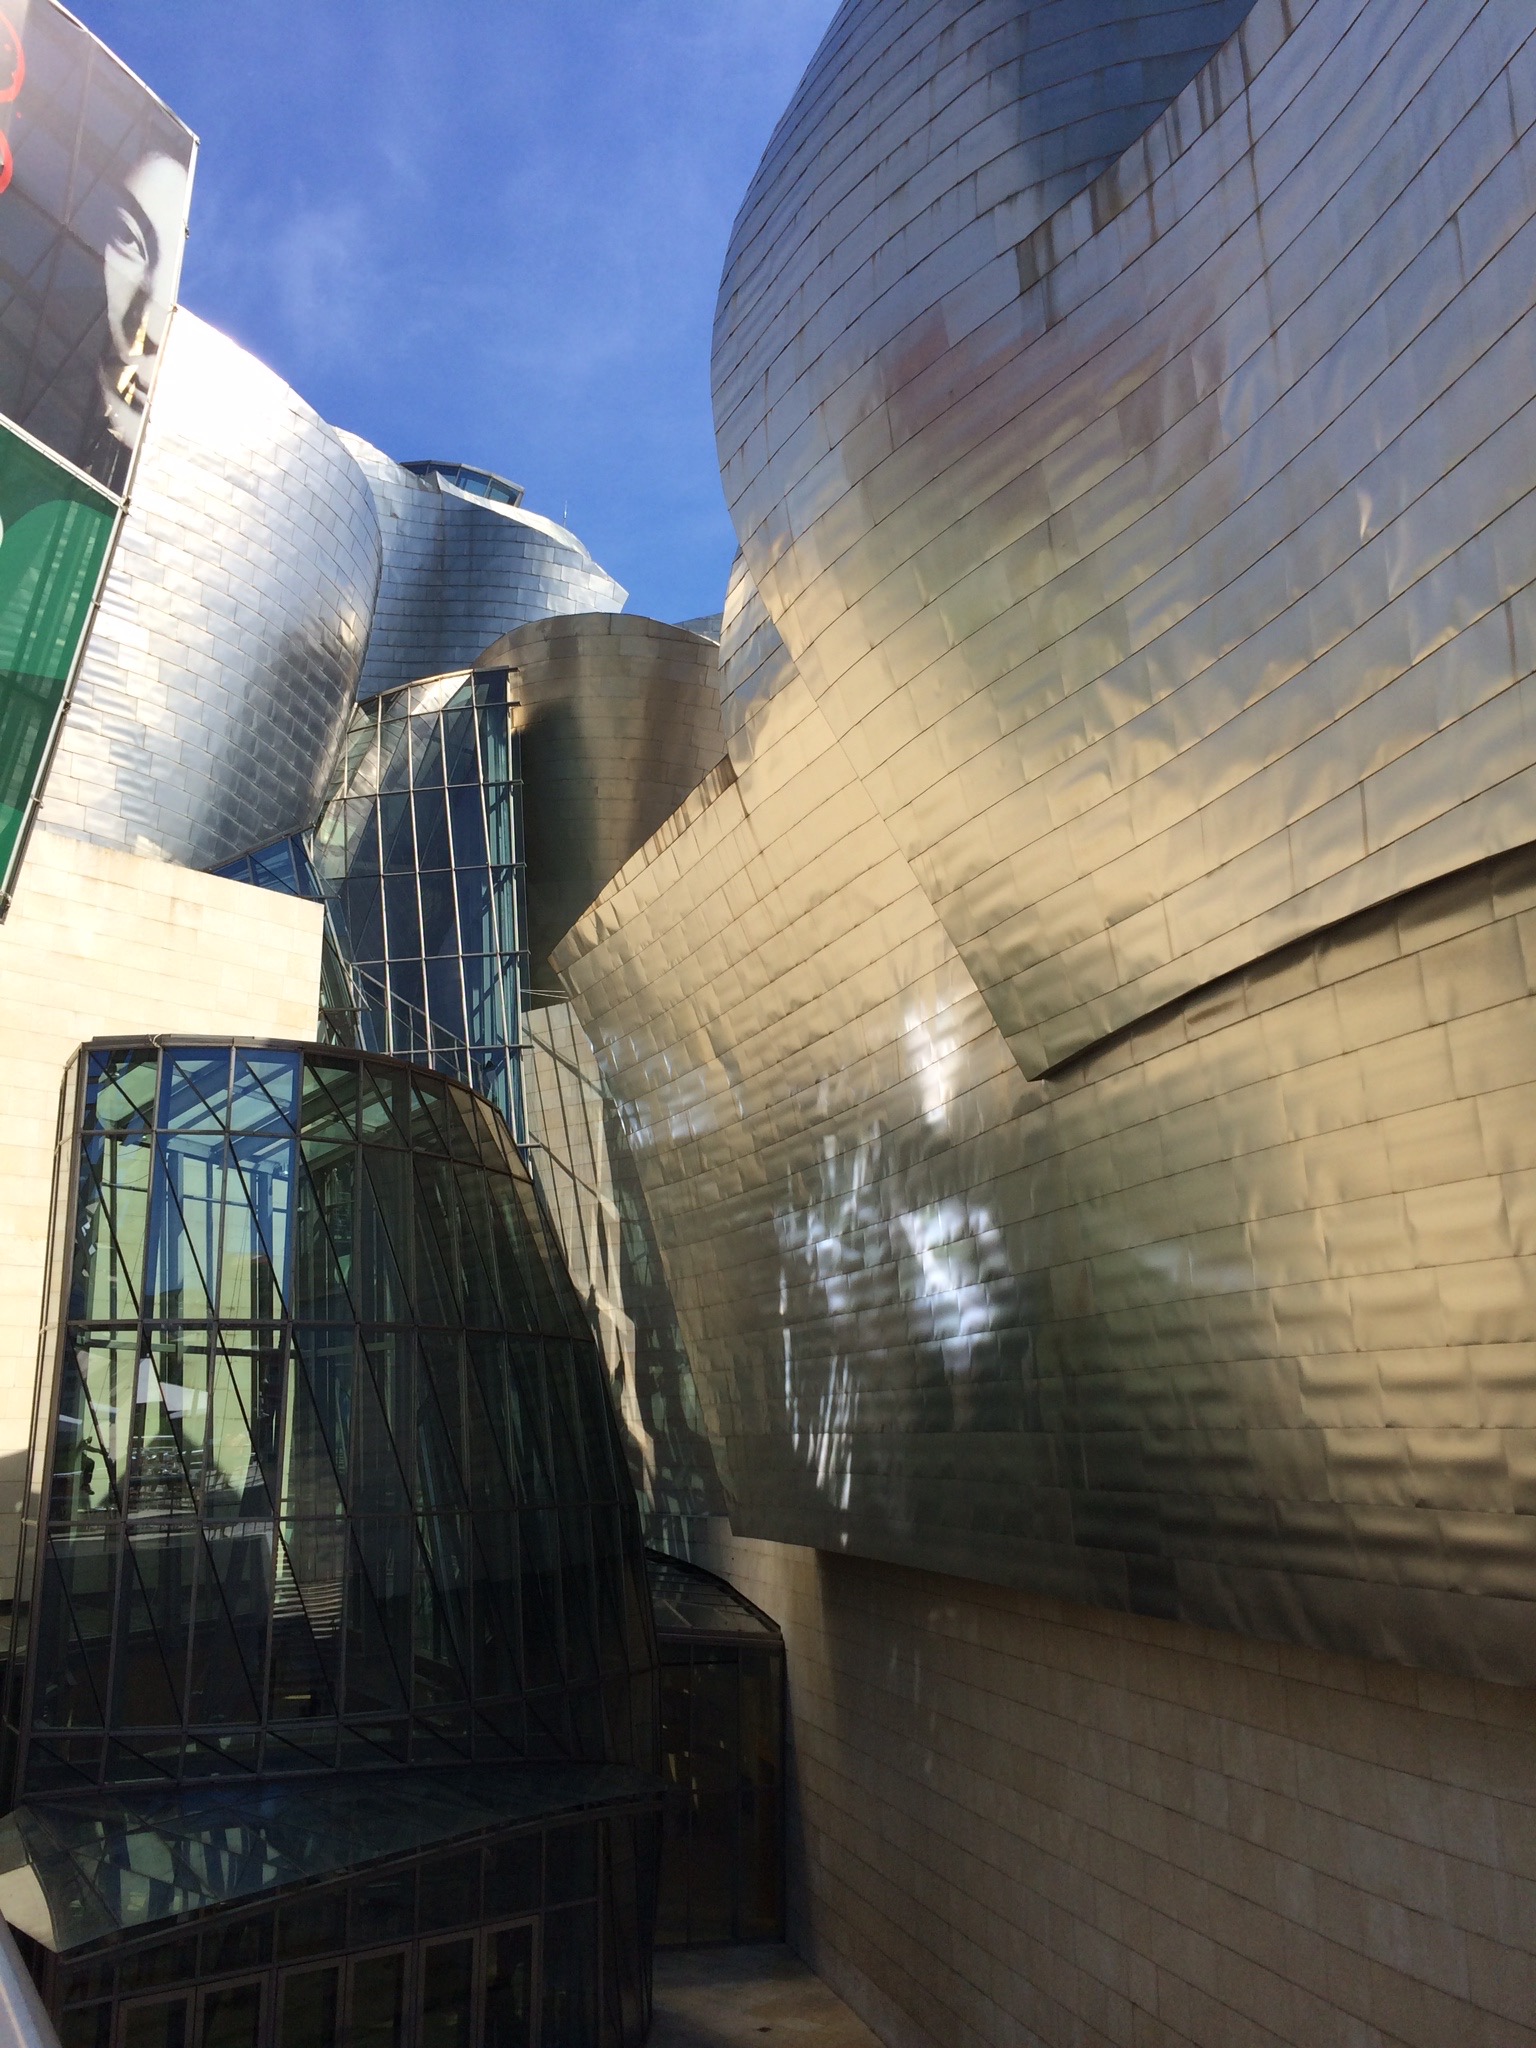
Just a short drive from San Sebastian, we visited the Guggenheim Museum in Bilbao, a day trip I highly recommend. Even if you’re not an art fan, the architecture of this building is out of this world.

IMG_9454IMG_9456IMG_9458

And the bistro at the museum, where we had a wonderful lunch, was worth the price of admission.

On the way back from Bilbao, we stopped at the small village of Getaria, where we visited the hard-to-find mountaintop vineyard of Bodega Elkano. The Zimmerman family has made the wonderful wine known as Txakoli here since 1830, and we visited with Mr. and Mrs. Zimmerman, neither of whom spoke any English. Fortunately, my Spanish was up to the task! (They do have a son and daughter, both of whom do speak English, but they weren’t in the area at the time of our visit.)

image

They welcomed us with open arms, and it was one of the most awesome experiences I’ve had in my travels.

We had dinner back down by the waterfront, at the port of Getaria, at Restaurante Kaia-Kaipe. Excellent seafood.

Back at San Sebastian, we spent our days burning calories at La Concha beach…IMG_9451

…and visiting what is considered the oldest hilltop water ride in the world at the park at Monte Igueldo, just a short and fun funicular ride up the mountain.

IMG_9452IMG_3143


Of course, the view doesn’t suck, either.IMG_9453

Amazing food and drink, a beautiful beach, wonderful friendly people, world-class dining, down-and-dirty bar hopping, art appreciation, a world-class aquarium…San Sebastian has it all. This was our second trip in 10 years. And one of the very few places I’ve ever been to where I started talking about coming back while I was on the plane going home.


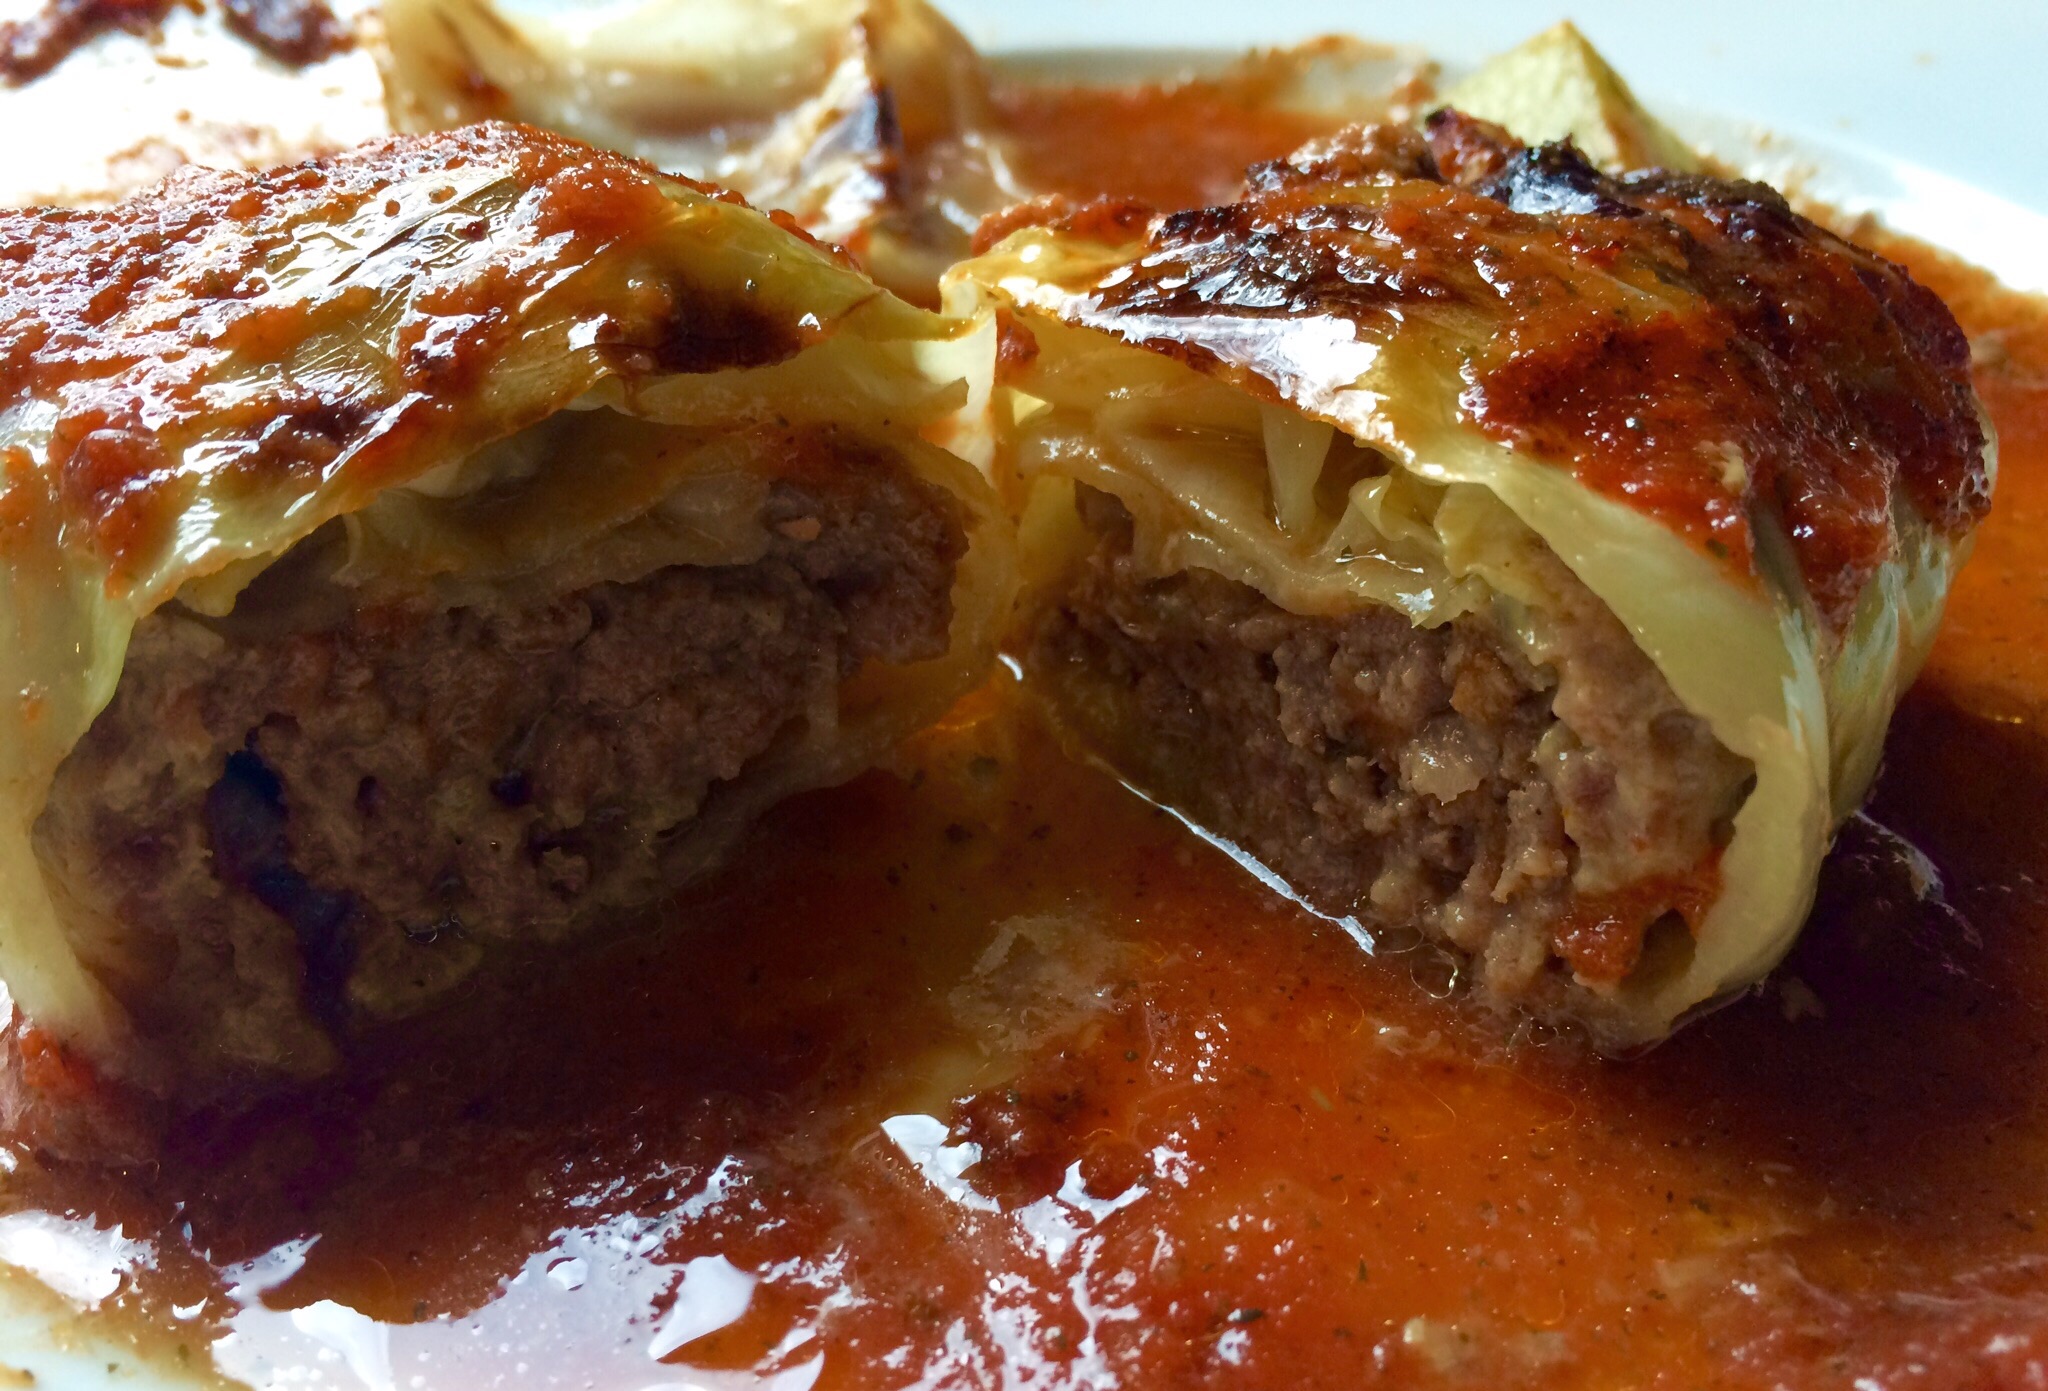
If there’s a dish that my Mom made all the time, but I didn’t appreciate until I got older, this is it. Stuffed cabbage, cabbage rolls, or balandėliai, as we say in Lithuanian, was a staple in our home and one of my Dad’s favorite foods. 

I had seen my Mom make these beauties so often in my childhood, I didn’t even need to check online recipes out for guidance. That doesn’t mean I make them exactly like Mom, but my version came out pretty damn good. I think Mom would be proud.

image

4 strips of bacon, chopped
1 yellow onion, finely chopped
1 teaspoon salt
1/2 teaspoon pepper
1/2 teaspoon granulated garlic
1 lb. ground grass-fed beef
1 lb. ground pastured pork
1/2 cup breadcrumbs
2 eggs
1 large head cabbage
1 pint homemade chicken stock
750 mg diced tomatoes (1 Pomi container)
1 teaspoon thyme
1 teaspoon salt
1/2 teaspoon pepper
1/4 teaspoon granulated garlic
1/4 teaspoon granulated onion

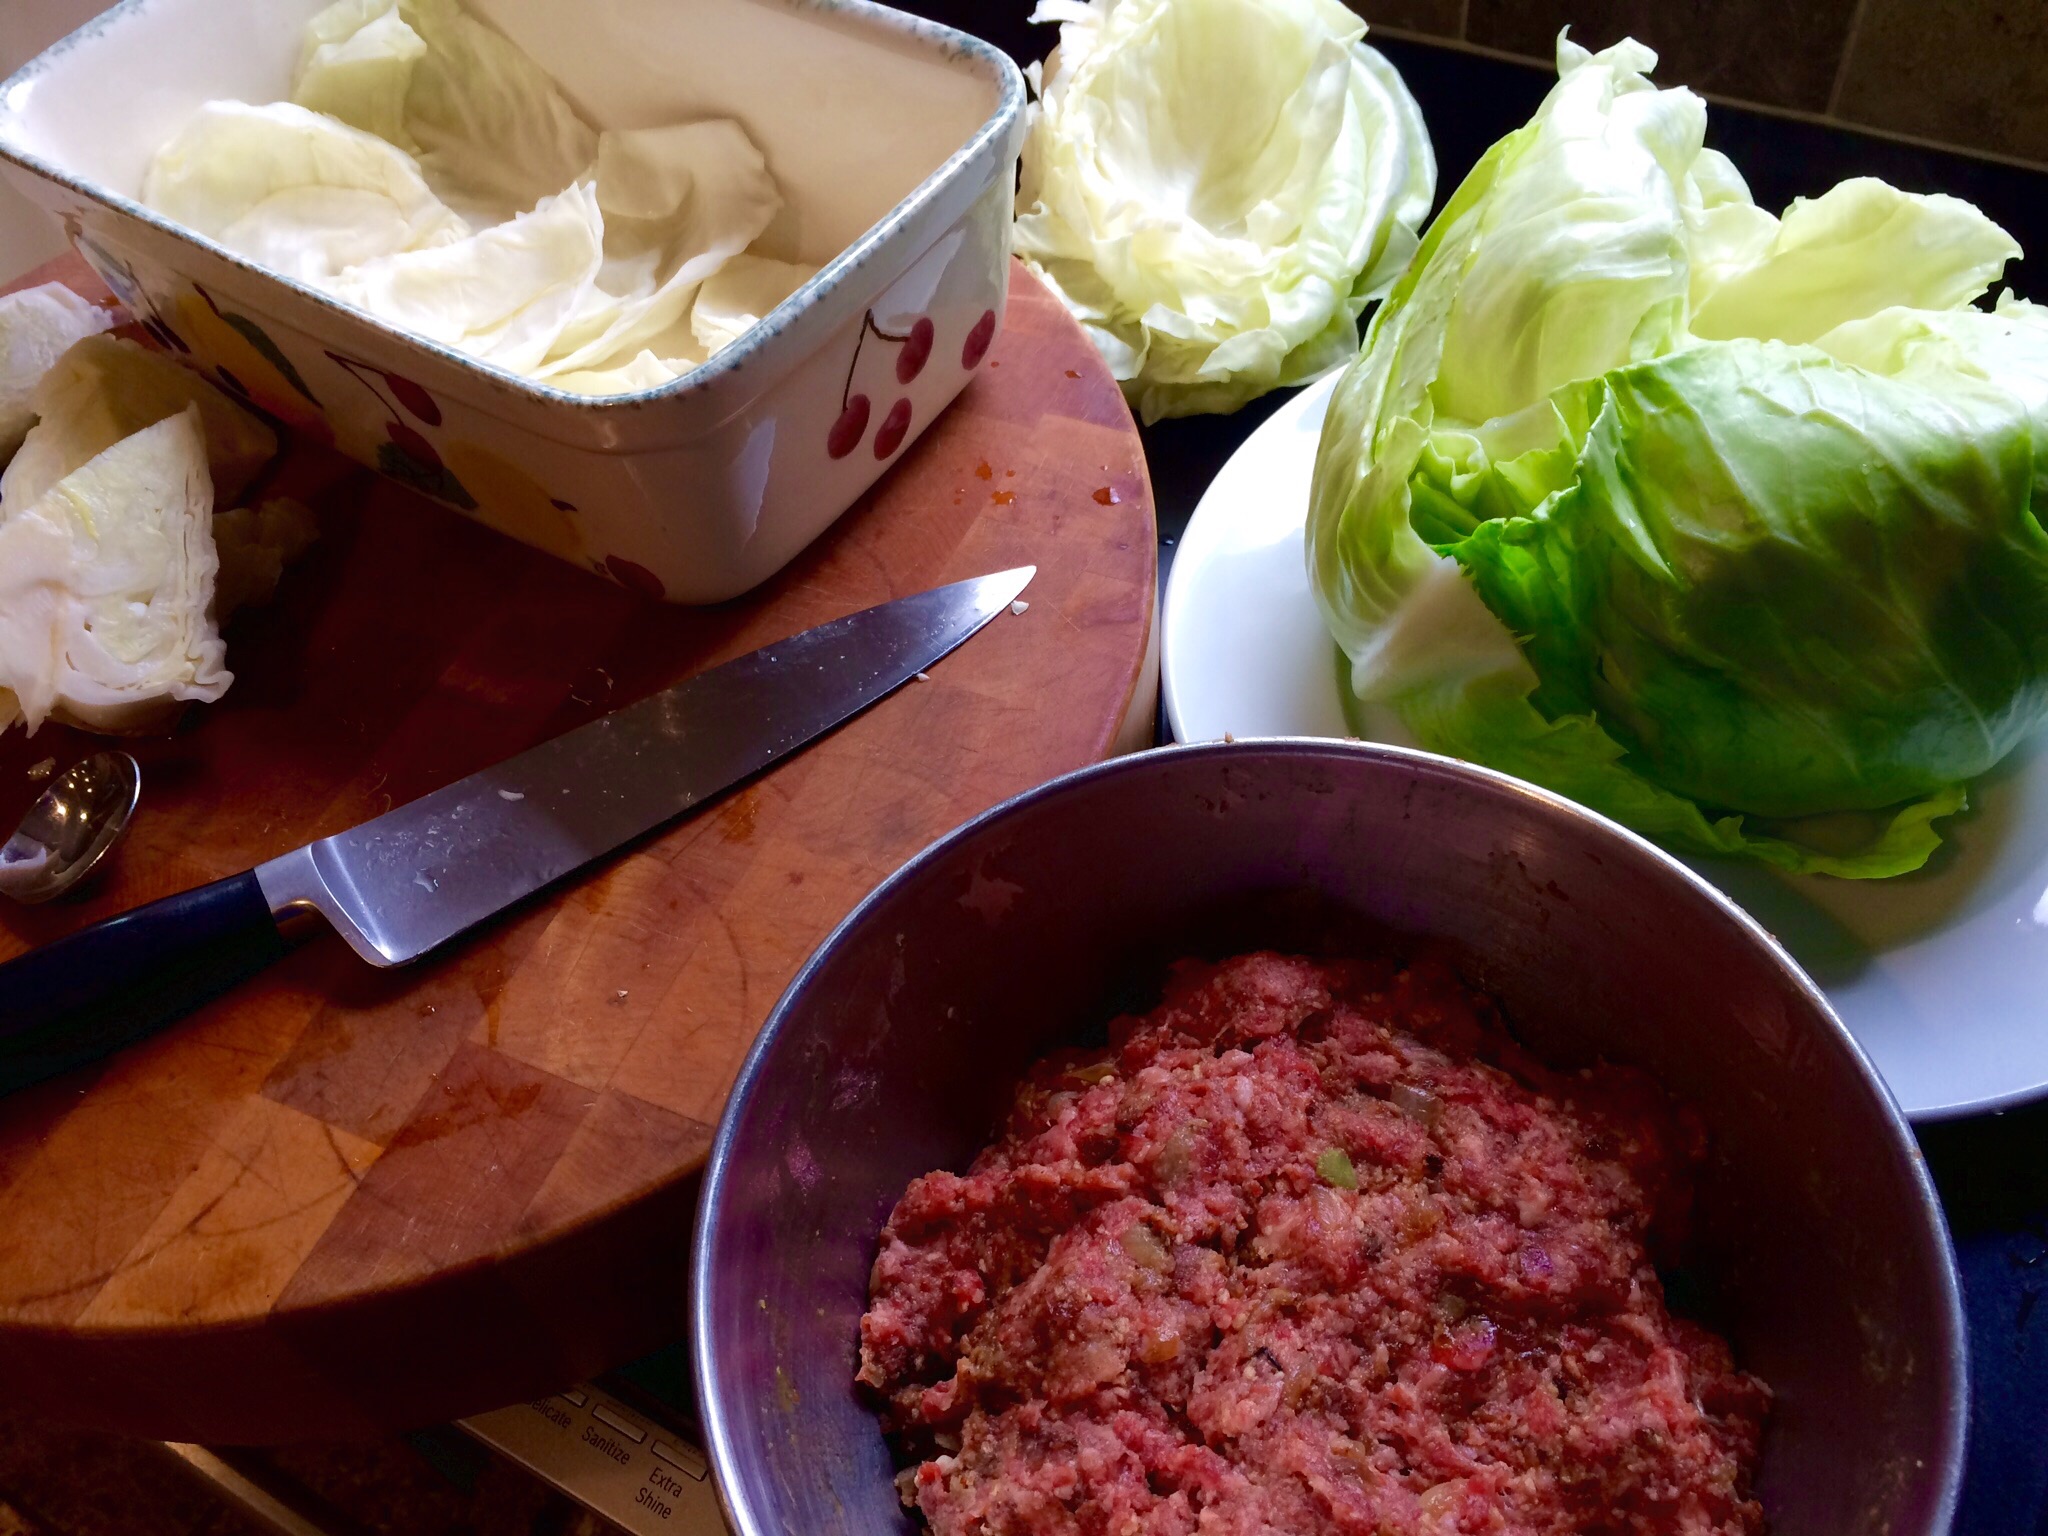
Chop the bacon into small pieces and fry them until crisp. Finely chop the onion, and add it to the bacon in the pan, cooking until the onions are translucent. Add the salt, pepper and garlic. Mix well, and remove from the heat. Let it cool to room temperature.

In a large bowl, combine the beef, pork, breadcrumbs, eggs, and cooled bacon and onion mixture. Place in the fridge to firm up.

Let a large pot of salted water come to a boil. Core the cabbage, leaving the leaves whole, and carefully immerse the head of cabbage into the hot water. Little by little, the outermost leaves of the cabbage will come off the head, and you can remove them with tongs, so you don’t burn yourself with the hot water. Set the leaves aside to cool, and continue doing this until you can no longer remove leaves from the remaining head of cabbage.

Remove the remaining head of cabbage from the hot water, and using your hands or a knife, break it into flat pieces. Line the bottom of a roasting pan with the pieces. These will keep the stuffed cabbage from burning and sticking to the bottom.

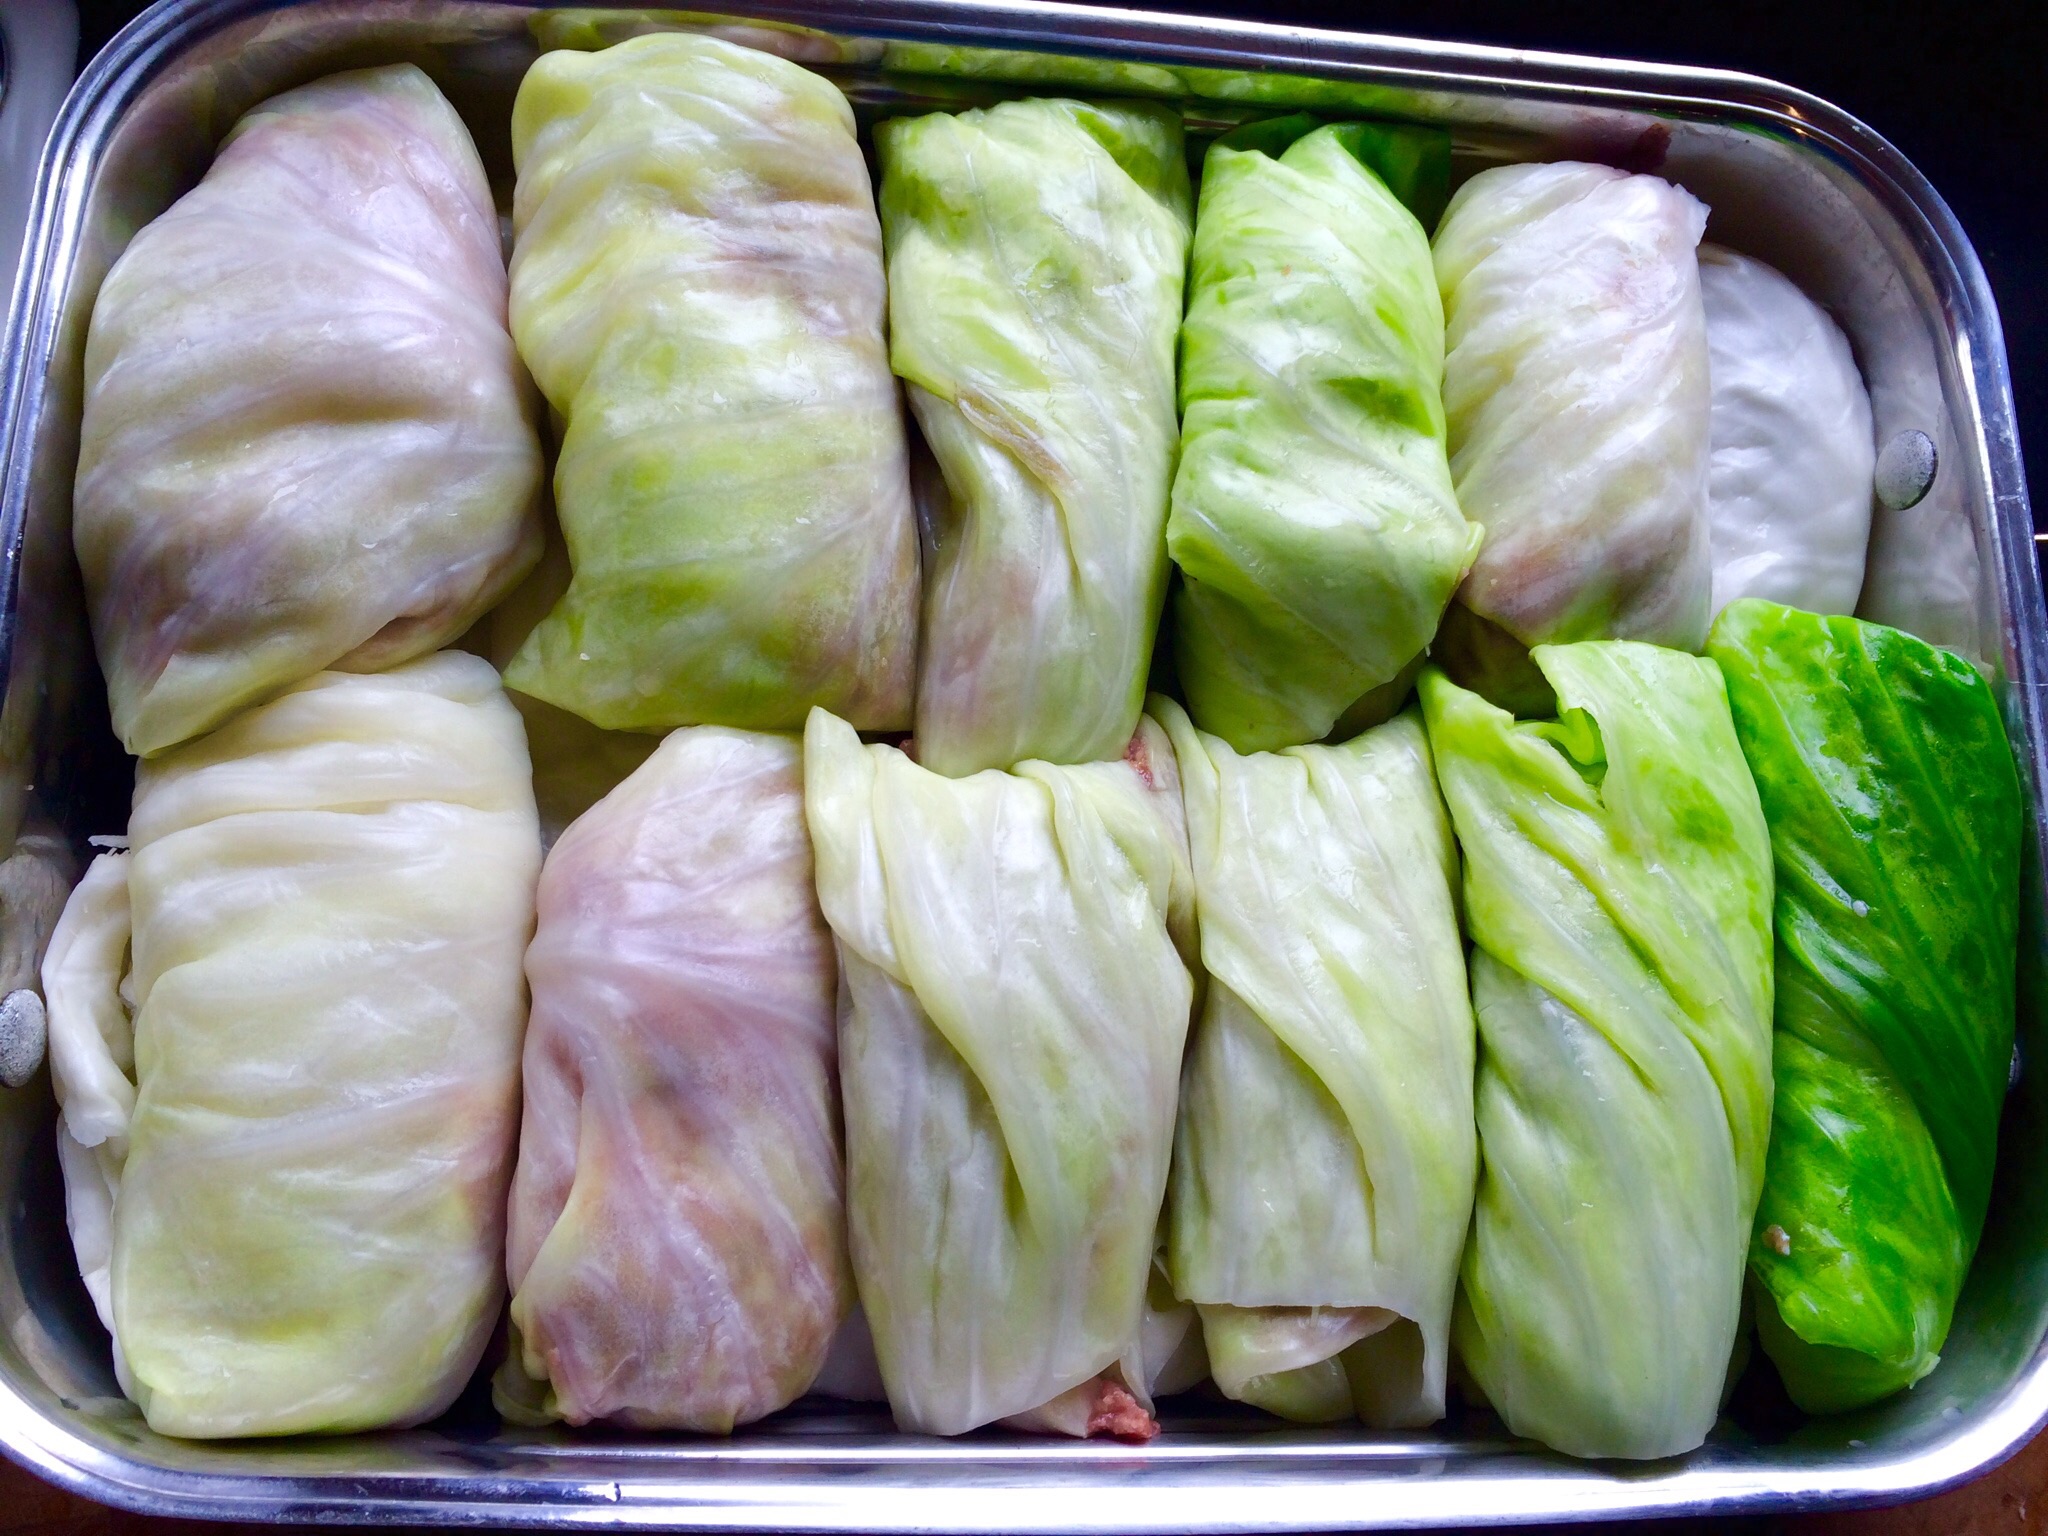
Time to roll the stuffed cabbage. Take the meat out of the fridge. Lay a cabbage leaf flat on the counter, and add some of the meat mixture inside. Roll the cabbage around the meat, folding the sides in as you go, much like a burrito. You might need to slice away the thickest part of the leaf stem to make rolling easier. Lay the stuffed cabbage in the roasting pan on top of the leftover cabbage pieces. (Unlike Mom, I don’t use toothpicks to hold the stuffed cabbage rolls together.)

image

Continue stuffing and rolling the cabbage leaves until you’ve got a pan full of them, shoulder-to-shoulder.

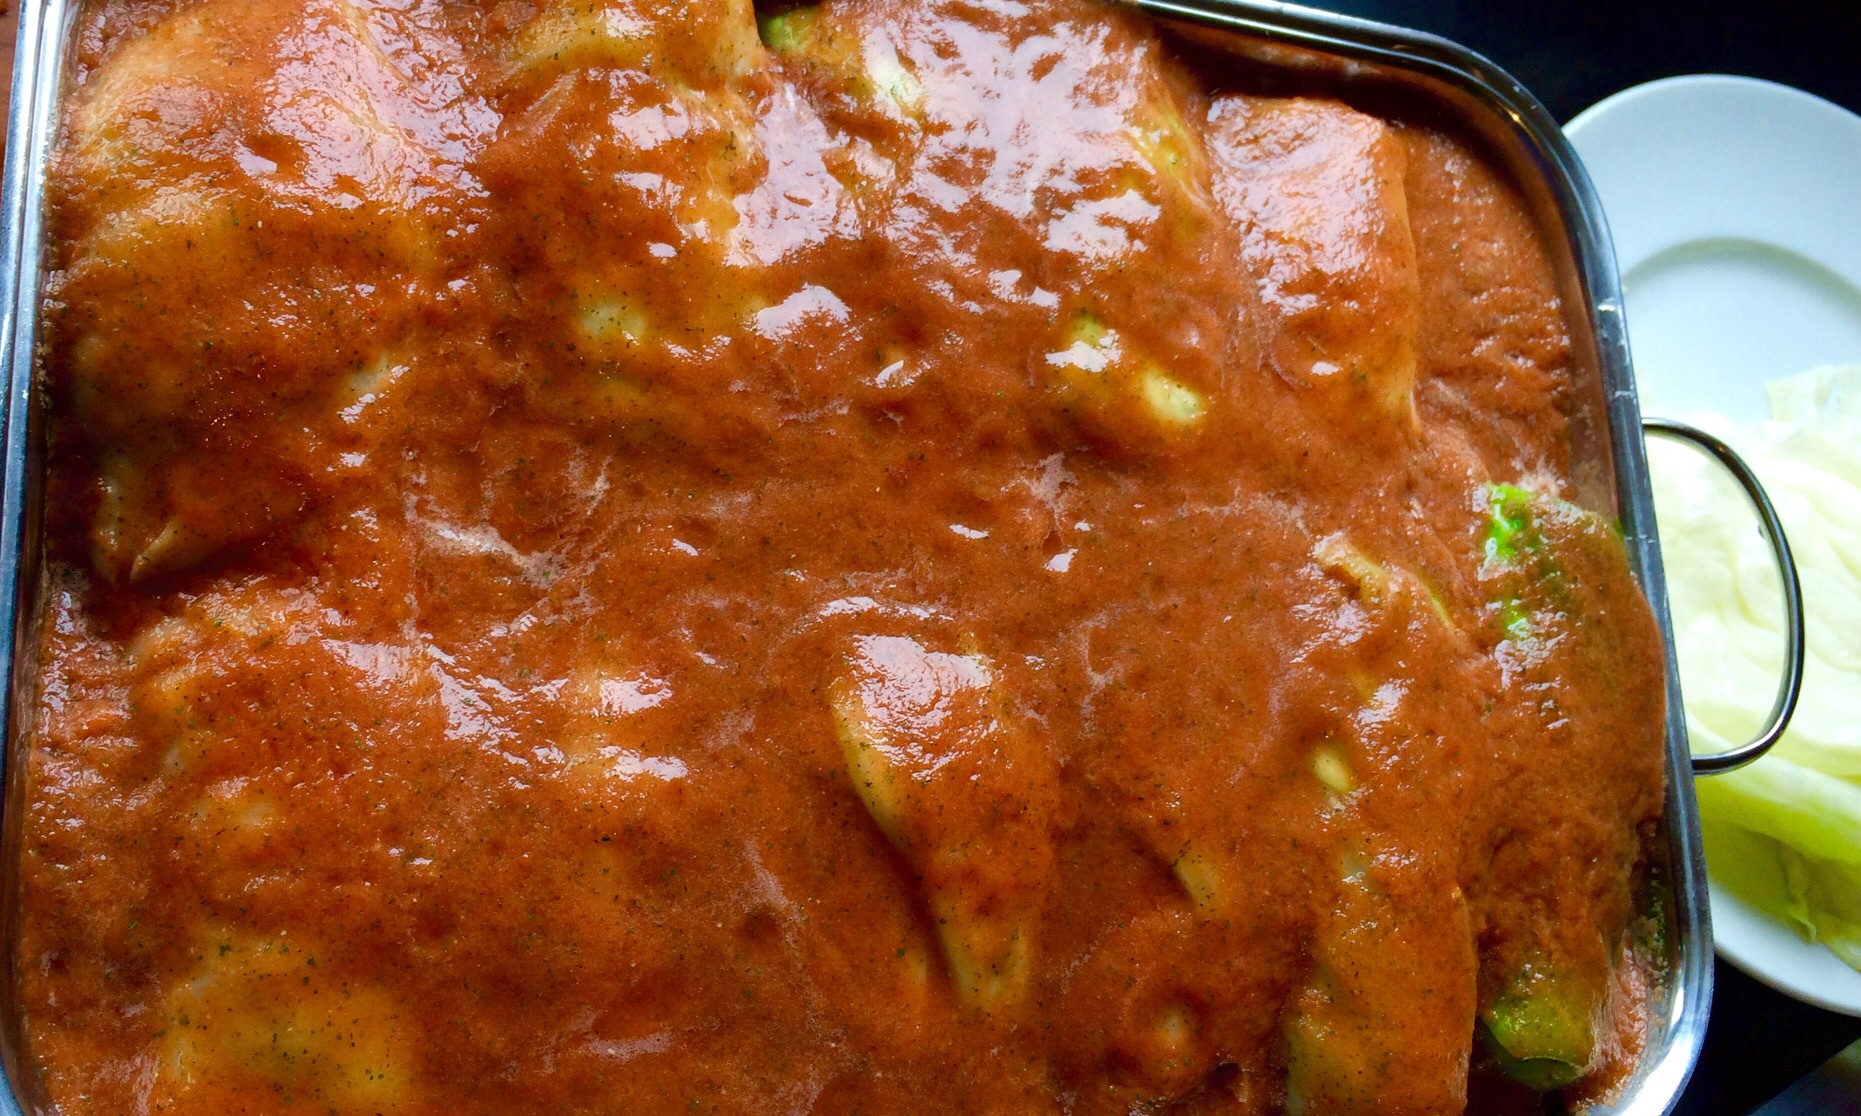
In a blender, combine the chicken stock, diced tomatoes, thyme, salt, pepper, garlic and onion. Pour this mixture over the top of the cabbage rolls in the roasting pan, covering them.

image

If you have leftover cabbage, you can place another layer of them on top. Otherwise, cover the roasting pan with foil and place in a pre-heated 350 degree oven. Cook for an hour.

image

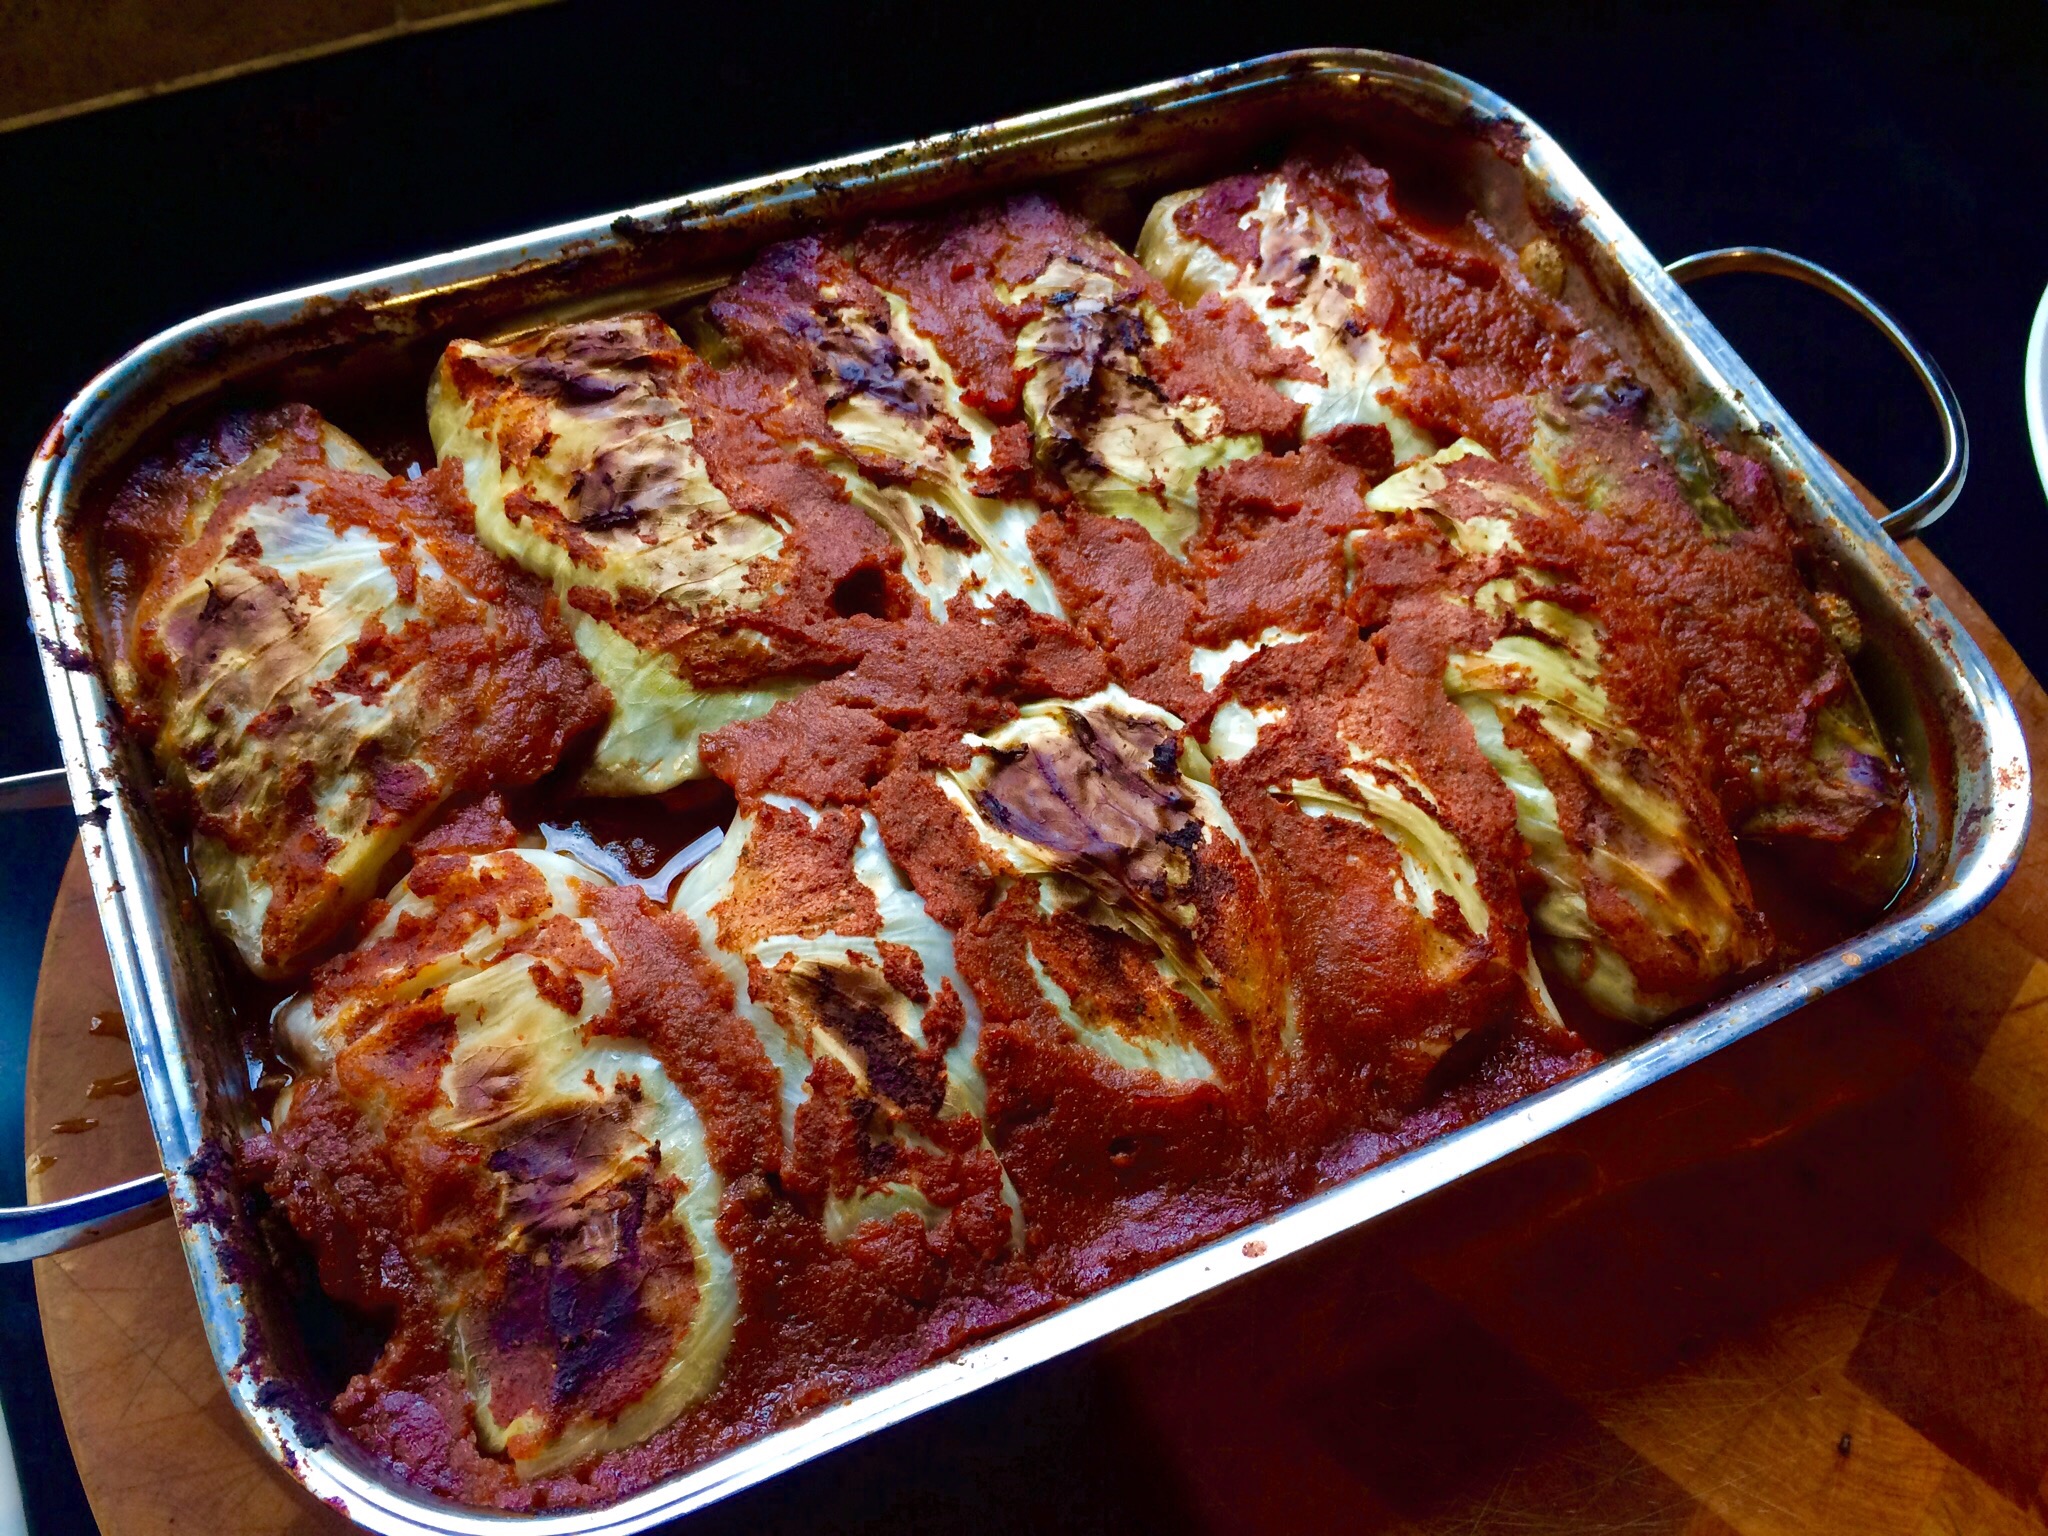
After an hour, remove the foil and cook further for another 45–60 minutes.

image


Recovered from Derby Day’s mint juleps just in time to celebrate Cinco de Mayo tomorrow? Here’s my favorite margarita recipe.

image

ALGARITA:

3 oz. Patron silver tequila
1 oz. Cointreau orange liqueur
4 oz. pineapple juice
1/2 a fresh lime, squeezed

Add ice to a tall glass and add Patron, Cointreau, pineapple juice and a good squeeze of lime juice from 1/2 a lime. Pour into a margarita glass (salt rim optional) and garnish with a lime wedge.

One tequila, two tequila, three tequila, FLOOR!

Generally speaking, I’m not a fan of many gluten-free desserts or snacks, because they claim to be healthy by avoiding wheat, then compensate for the lack of flavor and texture by overloading with bad fats, salt and sugar. These brownies, which have more of a cake texture than a brownie, are the exception. Thanks to our friend, Linda, who brought these over one night, and got us addicted!

image

9 oz. ground hazelnuts
5 1/2 oz. (2/3 cup) sugar
8 oz. (1 stick) unsalted butter
4 eggs
1 oz. cocoa powder
1 tablespoon baking powder


If you’re using whole hazelnuts, pour them into the food processor and grind them into a powder. Pour the ground hazelnuts into a separate bowl.

Back in the food processor bowl, add the sugar and butter and pulse until combined.  Crack the eggs in a separate bowl, and add them slowly to the sugar and butter, pulsing to mix in between each addition.

Pour the ground hazelnuts into the mixture a little at a time, pulsing after each addition. Add the cocoa powder, straining  through a sieve to keep out lumps, and pulse again. Add the baking powder and  pulse again. Scrape down the sides of the bowl and give it all one last mix.

Pour into a buttered pan and cook at 350 for 30 minutes. Use a deeper pan so that the brownies don’t overflow as they rise while baking.


One of the new all-the-rage health drinks is something called Bulletproof Coffee. Bulletproof is a brand name for a coffee that has had “toxins removed” through a special process, according to its creator. (According to my friend, Lee, a PhD in chemistry, that’s a load of crap.)

To make the drink, you combine Bulletproof Upgraded coffee blend, grass-fed butter or ghee (a clarified butter commonly used in Indian cooking,) and their special Bulletproof “Brain Octane Oil.” (The Octane Oil is another product that claims to have beneficial properties far beyond coconut oil. Again…I have my doubts.)

image

They claim this coffee combination gives you a lasting lift, not a spike that many caffeine drinks can, and the good fats in the drink keep your brain and body satisfied all morning long.

Rather than buy all the expensive Bulletproof products, my friends Doug and Jenn here at the radio station decided to make their own version of this drink. Besides tasting incredibly awesome, it definitely feels like it does some good…for a much more reasonable price.

image

It may sound bizarre at first, but you add a tablespoon of grass-fed unsalted butter or ghee (again, unsalted) to a blender. Then you add a tablespoon of coconut oil (replacing the expensive “Brain Octane Oil.”) Brew your favorite coffee (8 to 12 oz.) and add the hot coffee to the blender. Then turn the blender on and let it rip until all the ingredients have been thoroughly blended.

You need to use hot coffee for this so the fats melt and you get a nice mouth-feel. That’s it. Now drink! No cream or sugar needed.

The premise is that your body is starved for healthy fats. This drink supplies some. I’ll be trying this drink for a few weeks to see if it makes any difference in how I feel.

Just remember: just any butter won’t do. It has to be butter from grass-fed cows. (Many Irish brands are grass-fed…just make sure it’s unsalted.) If you can’t find it, ghee is a good substitute.

Sausage is something most home cooks don’t even try because of the amount of work it needs. You need to grind meat in perfect proportions. You need to keep everything on ice. You need to stuff the sausage meat into casings. It’s a big hassle, requiring some special equipment and a lot of time. And the clean-up is a pain.

Here’s an easy method I can slap together in minutes. I use ground pastured Berkshire pork for this, but any good quality ground pork will do.

FullSizeRender (1)

1 lb. ground pork
1 teaspoon salt
1/2 teaspoon pepper
1/4 teaspoon sage
1/4 teaspoon rosemary
1/4 teaspoon thyme
1 egg
avocado oil or pork fat


Combine all the ingredients in a bowl and mix well. Place the bowl in the fridge for at least 15 minutes to let the meat rest.

If you’re not sure of the seasonings, break a little piece of the sausage off and fry it in a pan to taste it. If you like what you have, fry away. If not, season the meat before making patties.
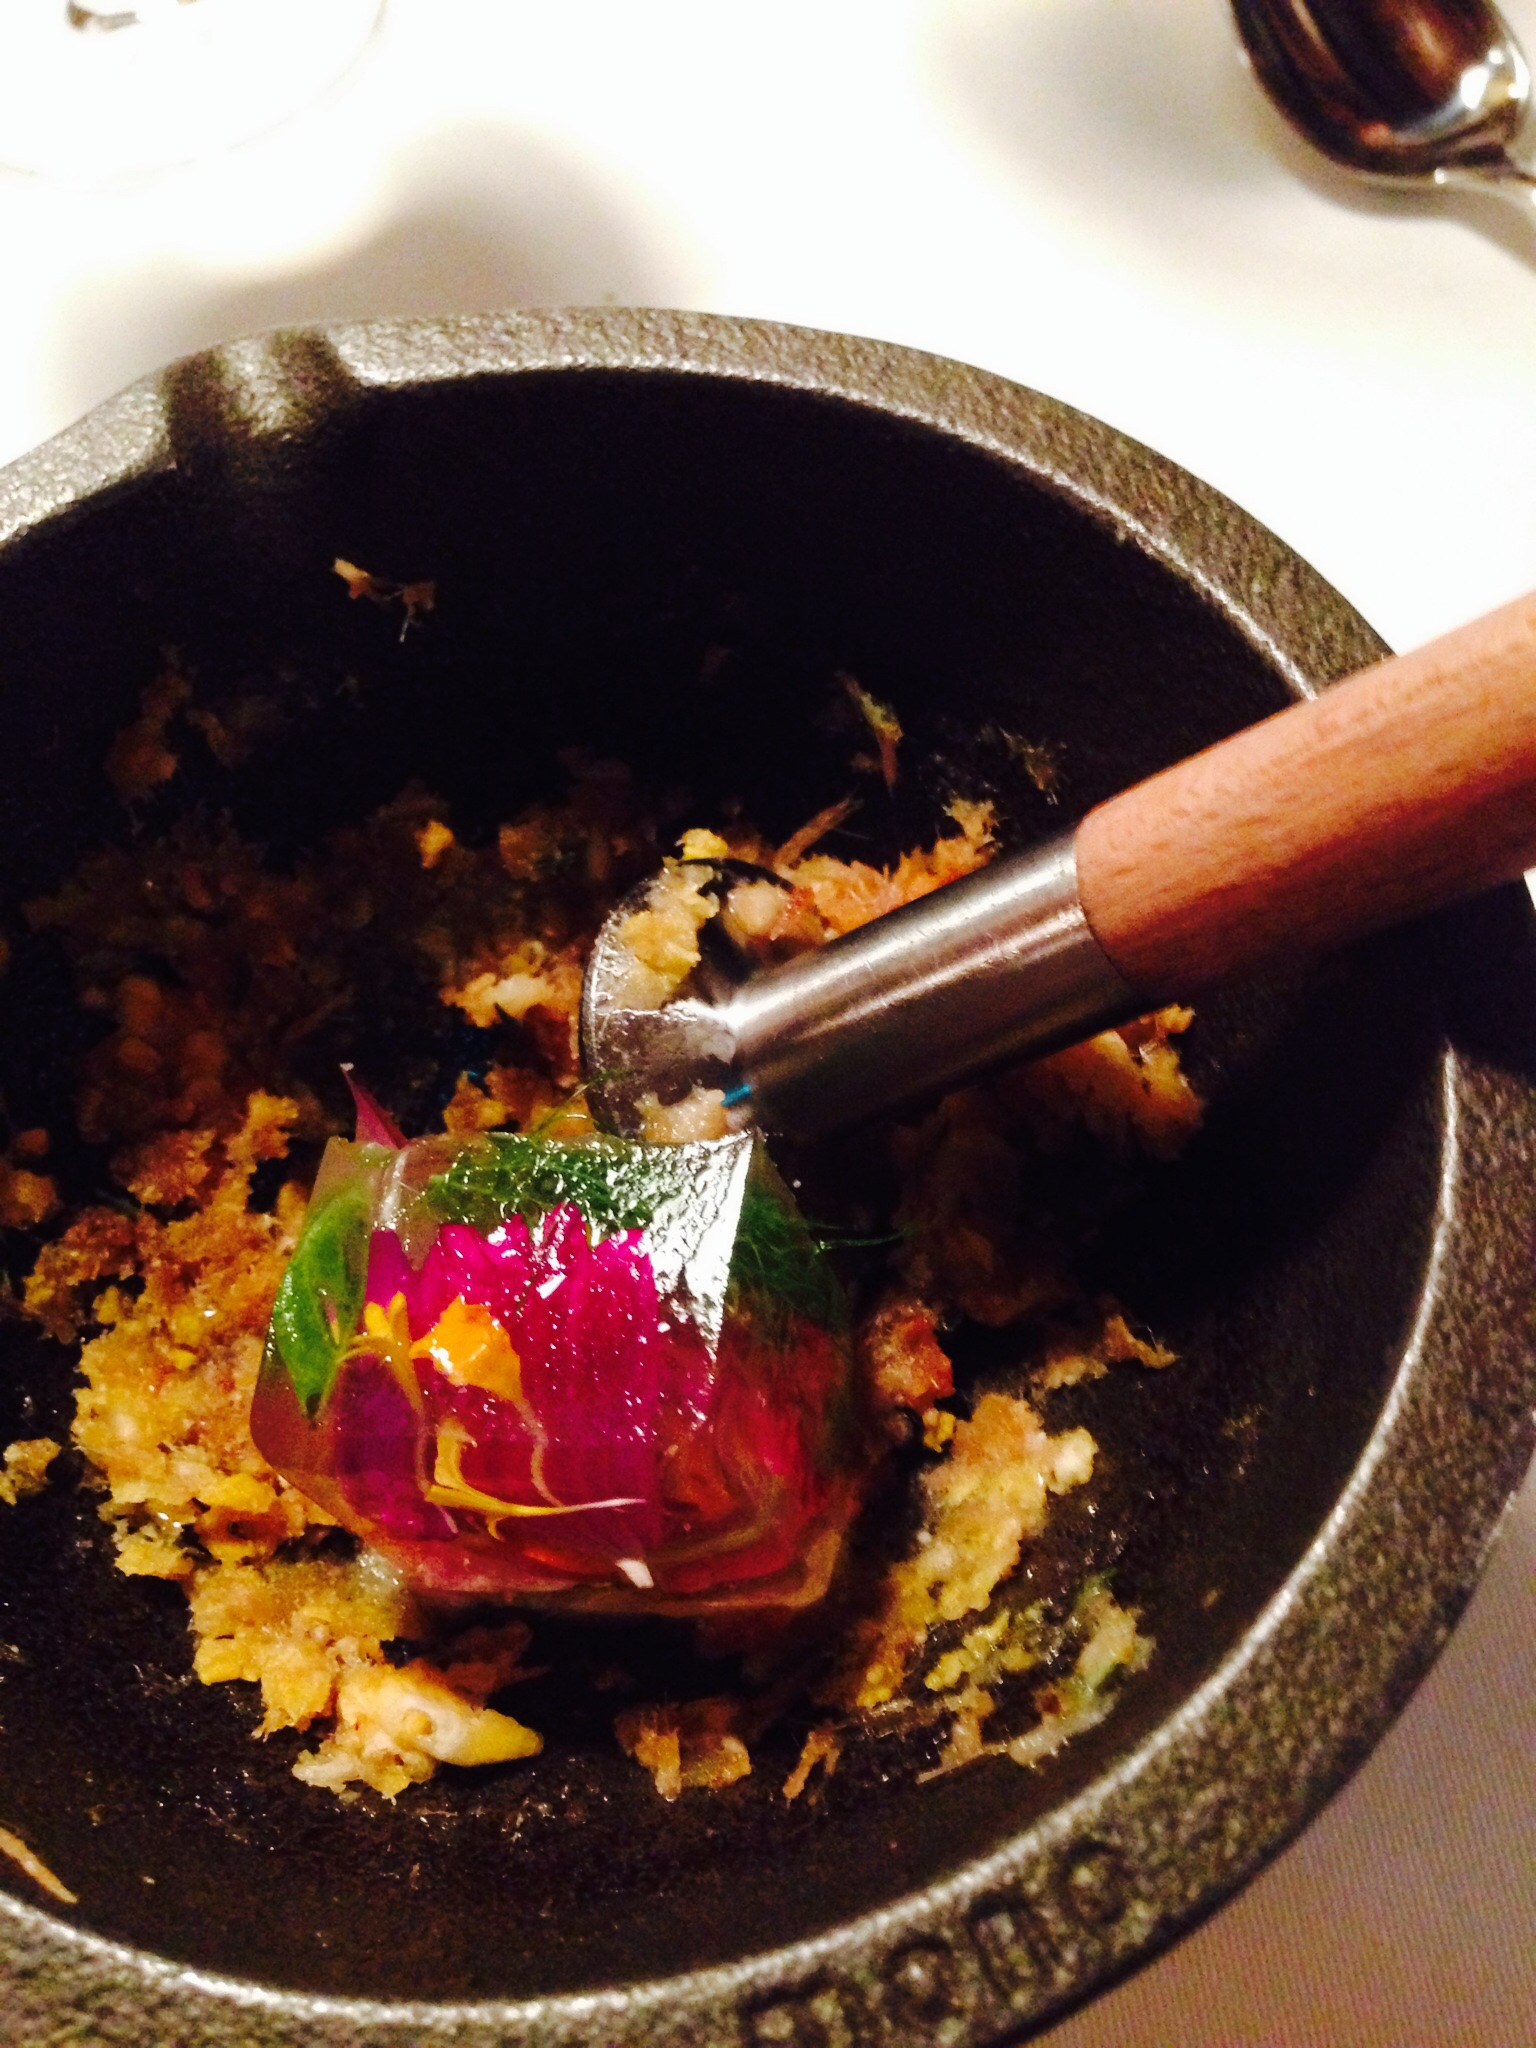
Heat a pan over medium-high heat and swirl a little oil or pork fat to coat. Form the sausage meat into 2-inch patties and place them in the pan, cooking them all the way through, about 4 minutes a side, until they’re golden brown on both sides.