Archive for the ‘grilling’ Category

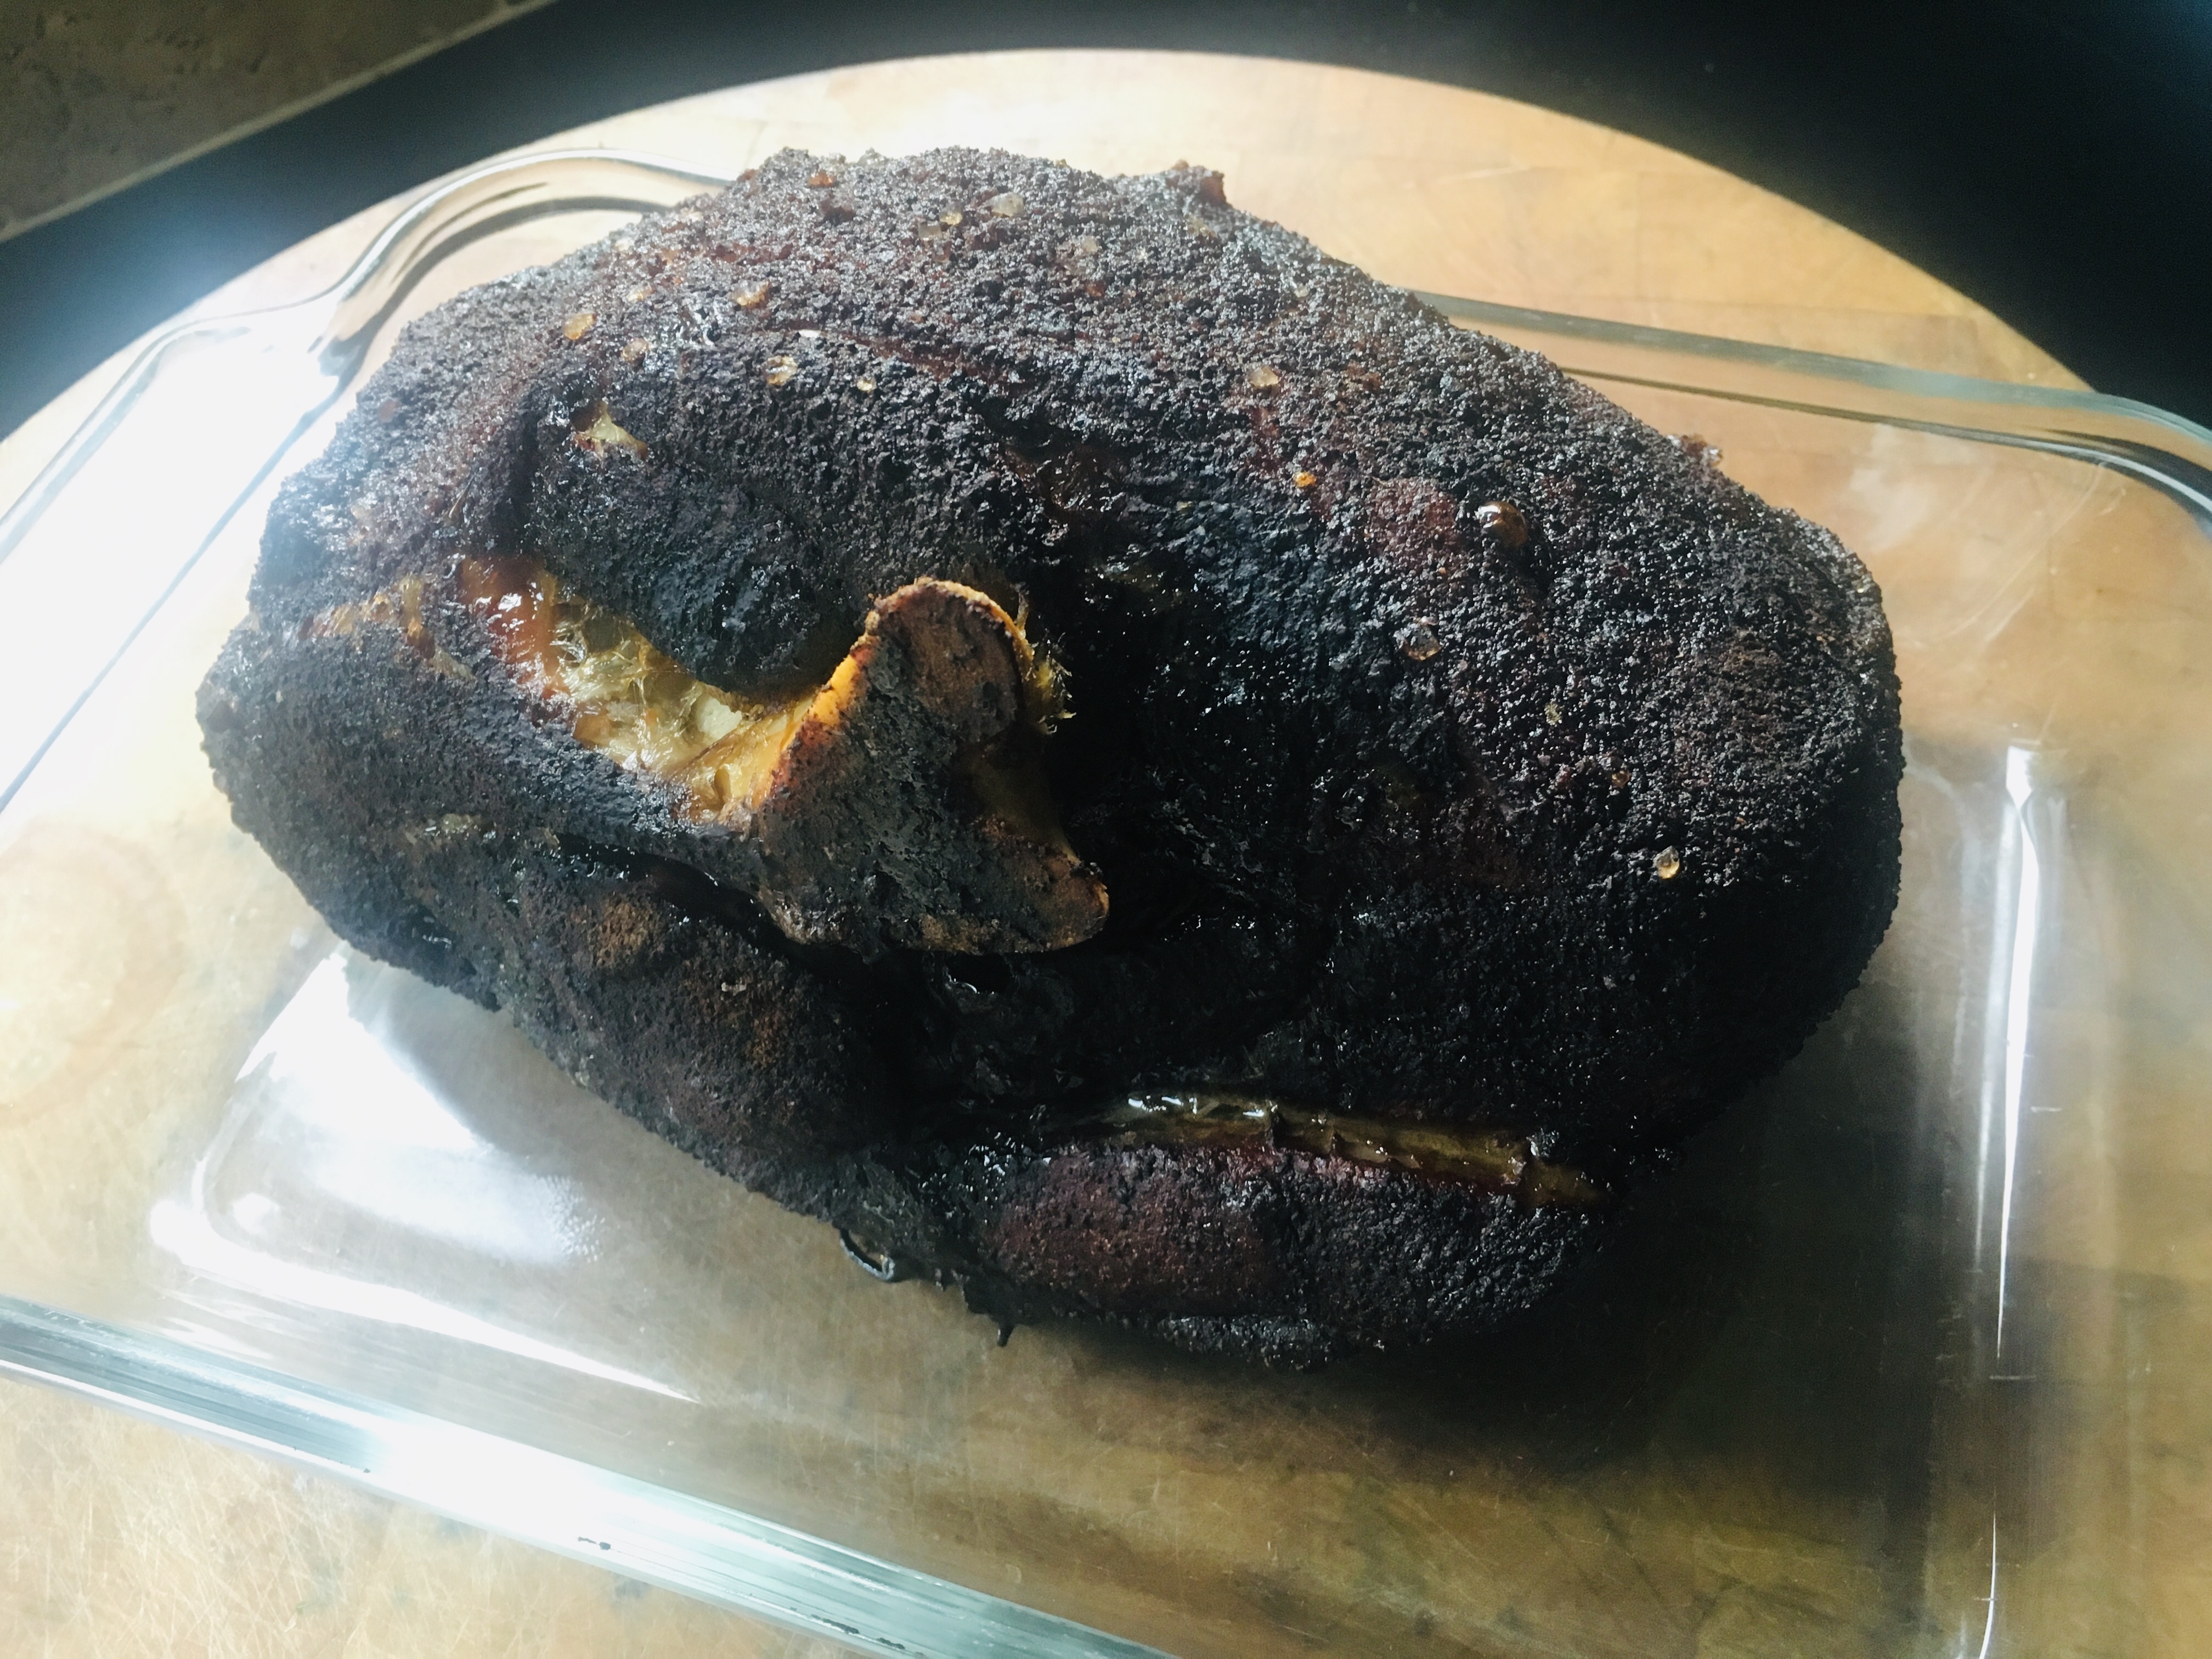
As I’ve mentioned previously, I love the Kona-crusted NY strip at the Capital Grille, so much so that it inspired me to make a coffee rub of my own. I’ve been using it on steaks and burgers for years. But last week, I used it on a slow-smoked pork shoulder for the first time, and it was fantastic!

I used a smaller pork shoulder, about 6 lbs., and smoked it for about 12 hours. Obviously, if you use a larger hunka meat, you’ll need more time. I prefer a bone-in shoulder over boneless. I think it gives greater flavor.


Rubbed and ready to smoke!


My coffee rub is easy to make, and I usually make a lot of it at once, since it stores well.


3 tablespoons brown sugar
1 tablespoon Kosher salt
1 tablespoon ground coffee (use your favorite)
1 teaspoon granulated garlic
1 teaspoon granulated onion
1 teaspoon unsweetened cocoa powder

I mix all the ingredients well, then rub generously on the pork shoulder before placing it a 250-degree smoker for about 12 hours. I use an electric smoker, which allows me to set the temperature and forget it, with the exception of occasionally adding hickory chips. I love just a hint of smokiness…I don’t want the rub to be overpowered by the smoke.


Perfectly smoked, with the bone easily sliding out of the shoulder.

The brown sugar in the coffee rub creates a beautiful crust on the meat, which goes really well with the pork and the barbecue sauce I make.

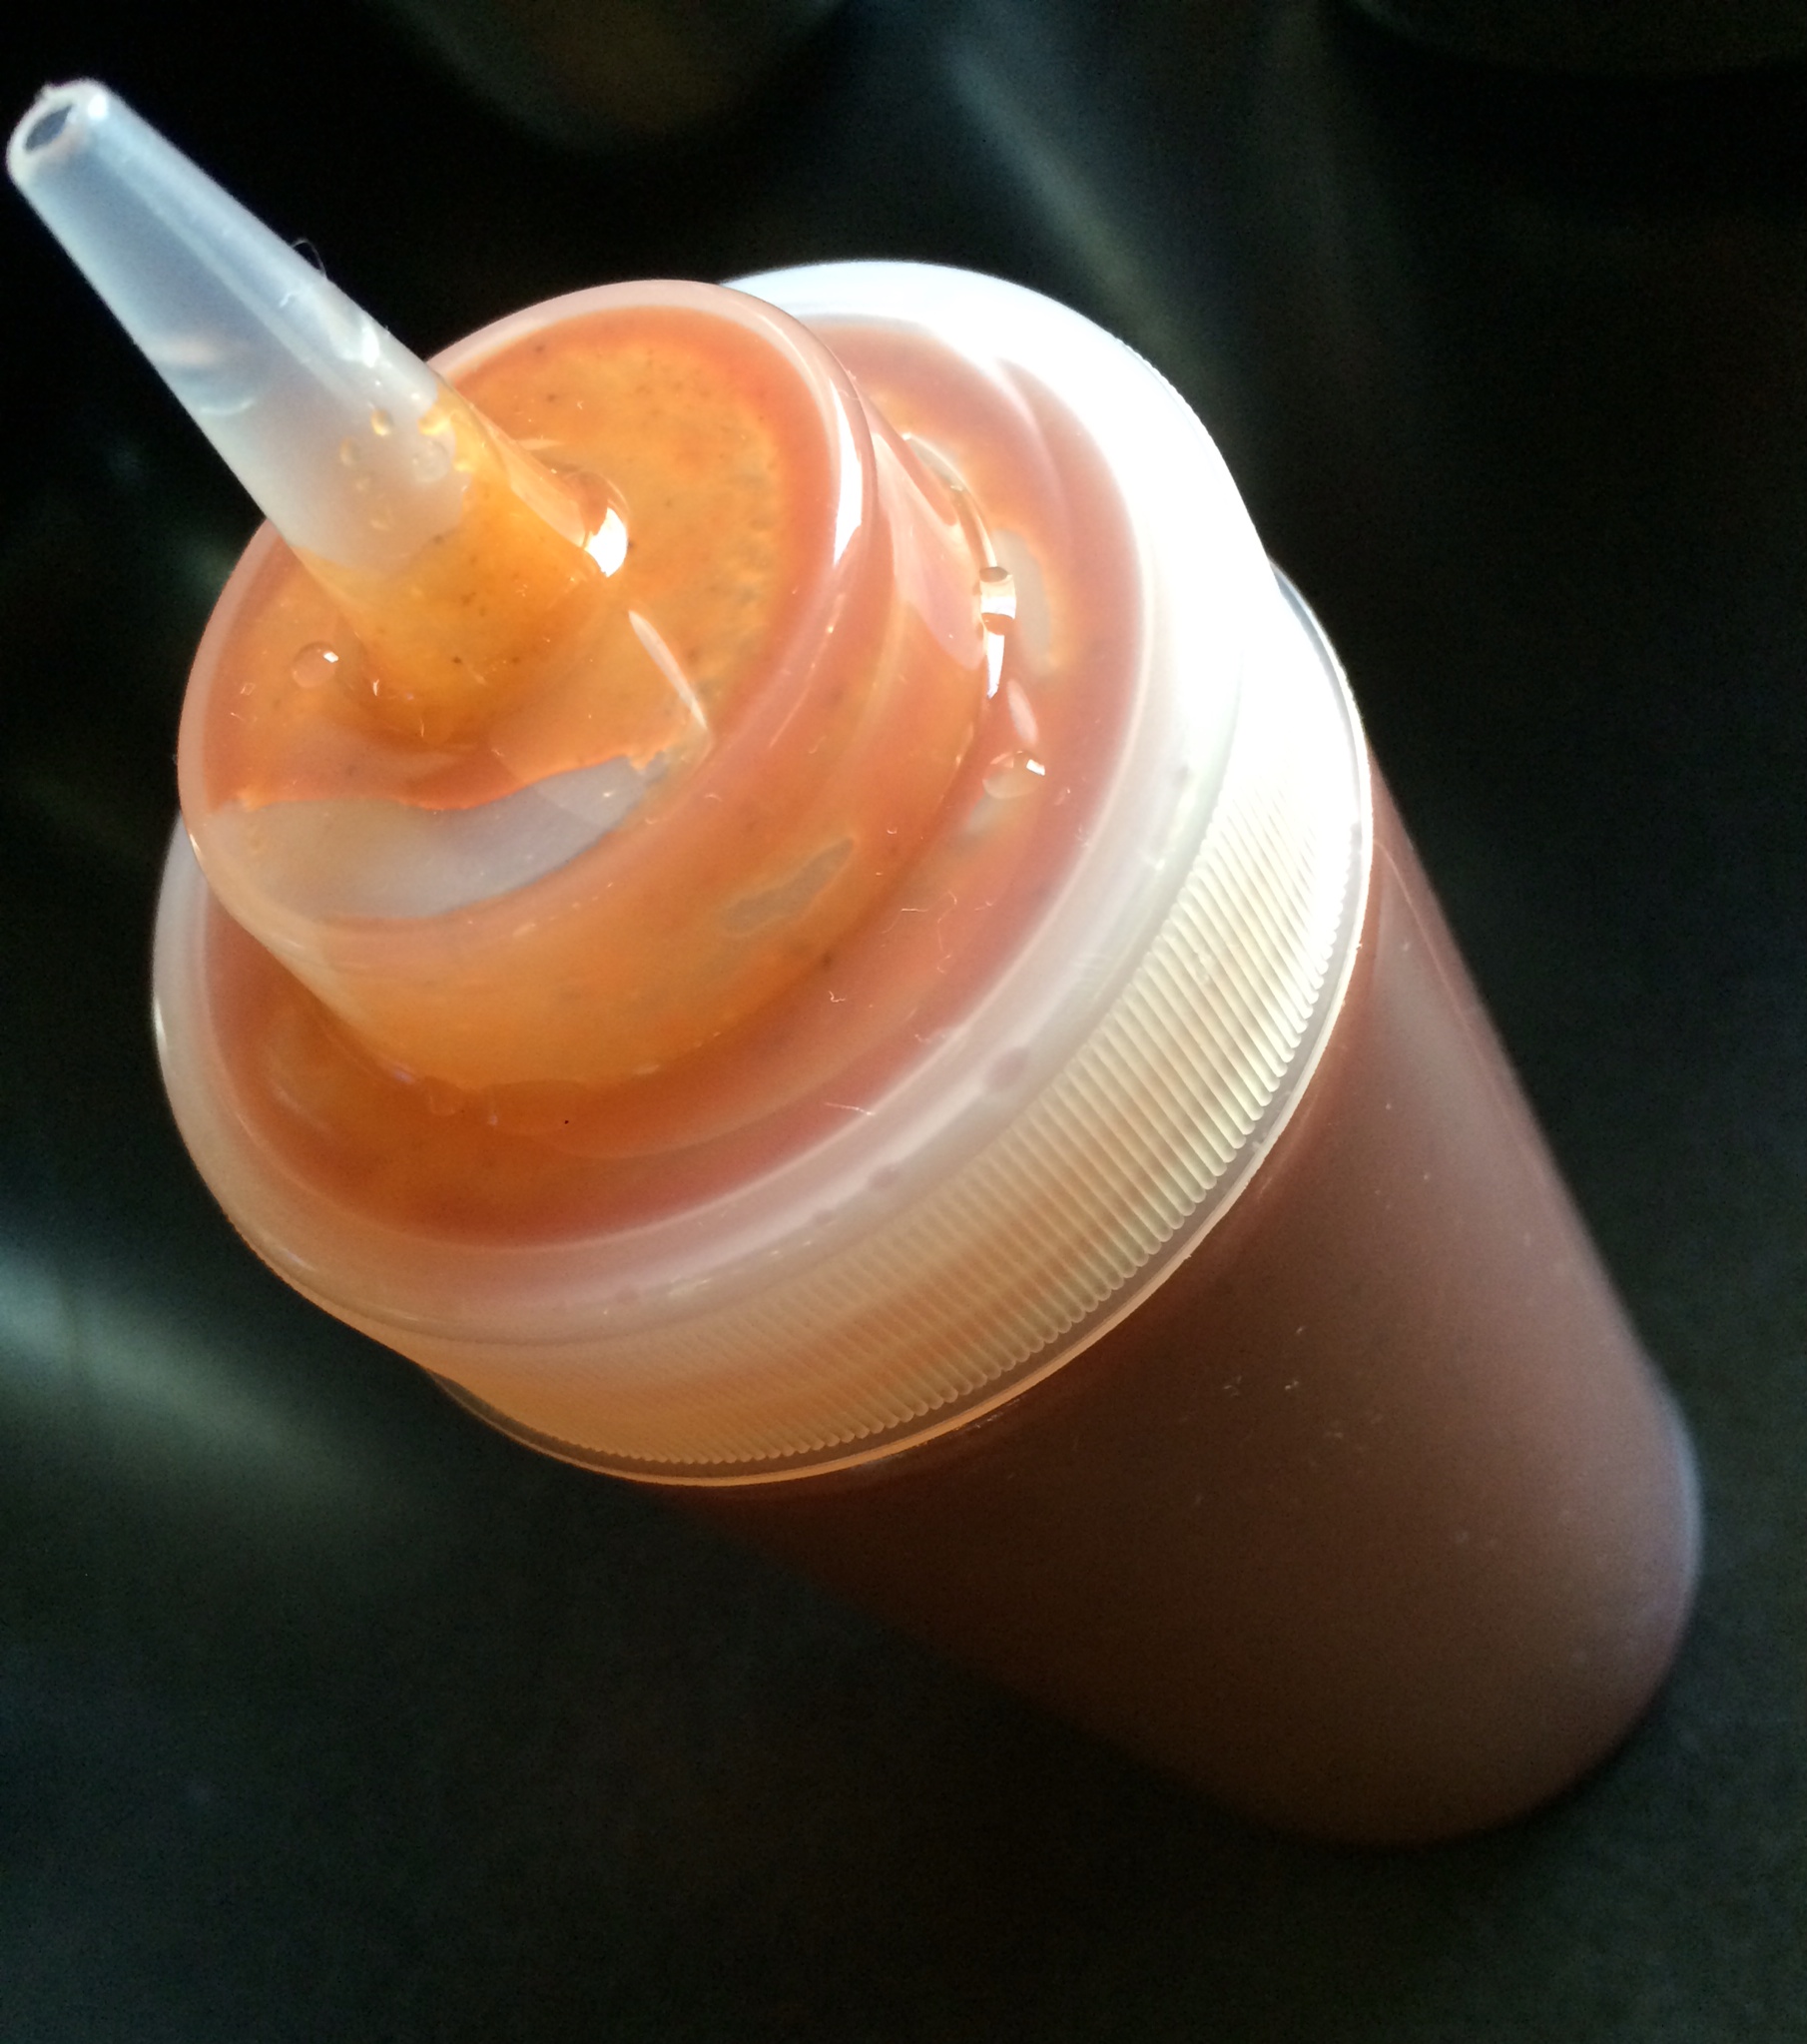
The barbecue sauce uses much-needed vinegar. It cuts through the rich fattiness of the pork, and is absolutely delicious.

2 cups ketchup
3/4 cup water
6 tablespoons cider vinegar
6 tablespoons white vinegar
6 tablespoons brown sugar
3 tablespoons Worcestershire sauce
1 tablespoon chili powder
2 teaspoons salt
2 teaspoons black pepper
1 1/2 teaspoons cumin


Mix all the ingredients in a saucepan and simmer until the flavors have blended, about 20 minutes. Remove from heat and cool to room temp. If you store it in an airtight container in the fridge, it’ll stay good for a few months.


A beautifully smoked pork shoulder, amazing barbecue sauce…what more do you need for an amazing pulled pork sandwich except a toasted brioche bun and perhaps some of my world-famous home fries on the side?

The home fries? That recipe is for another blog!


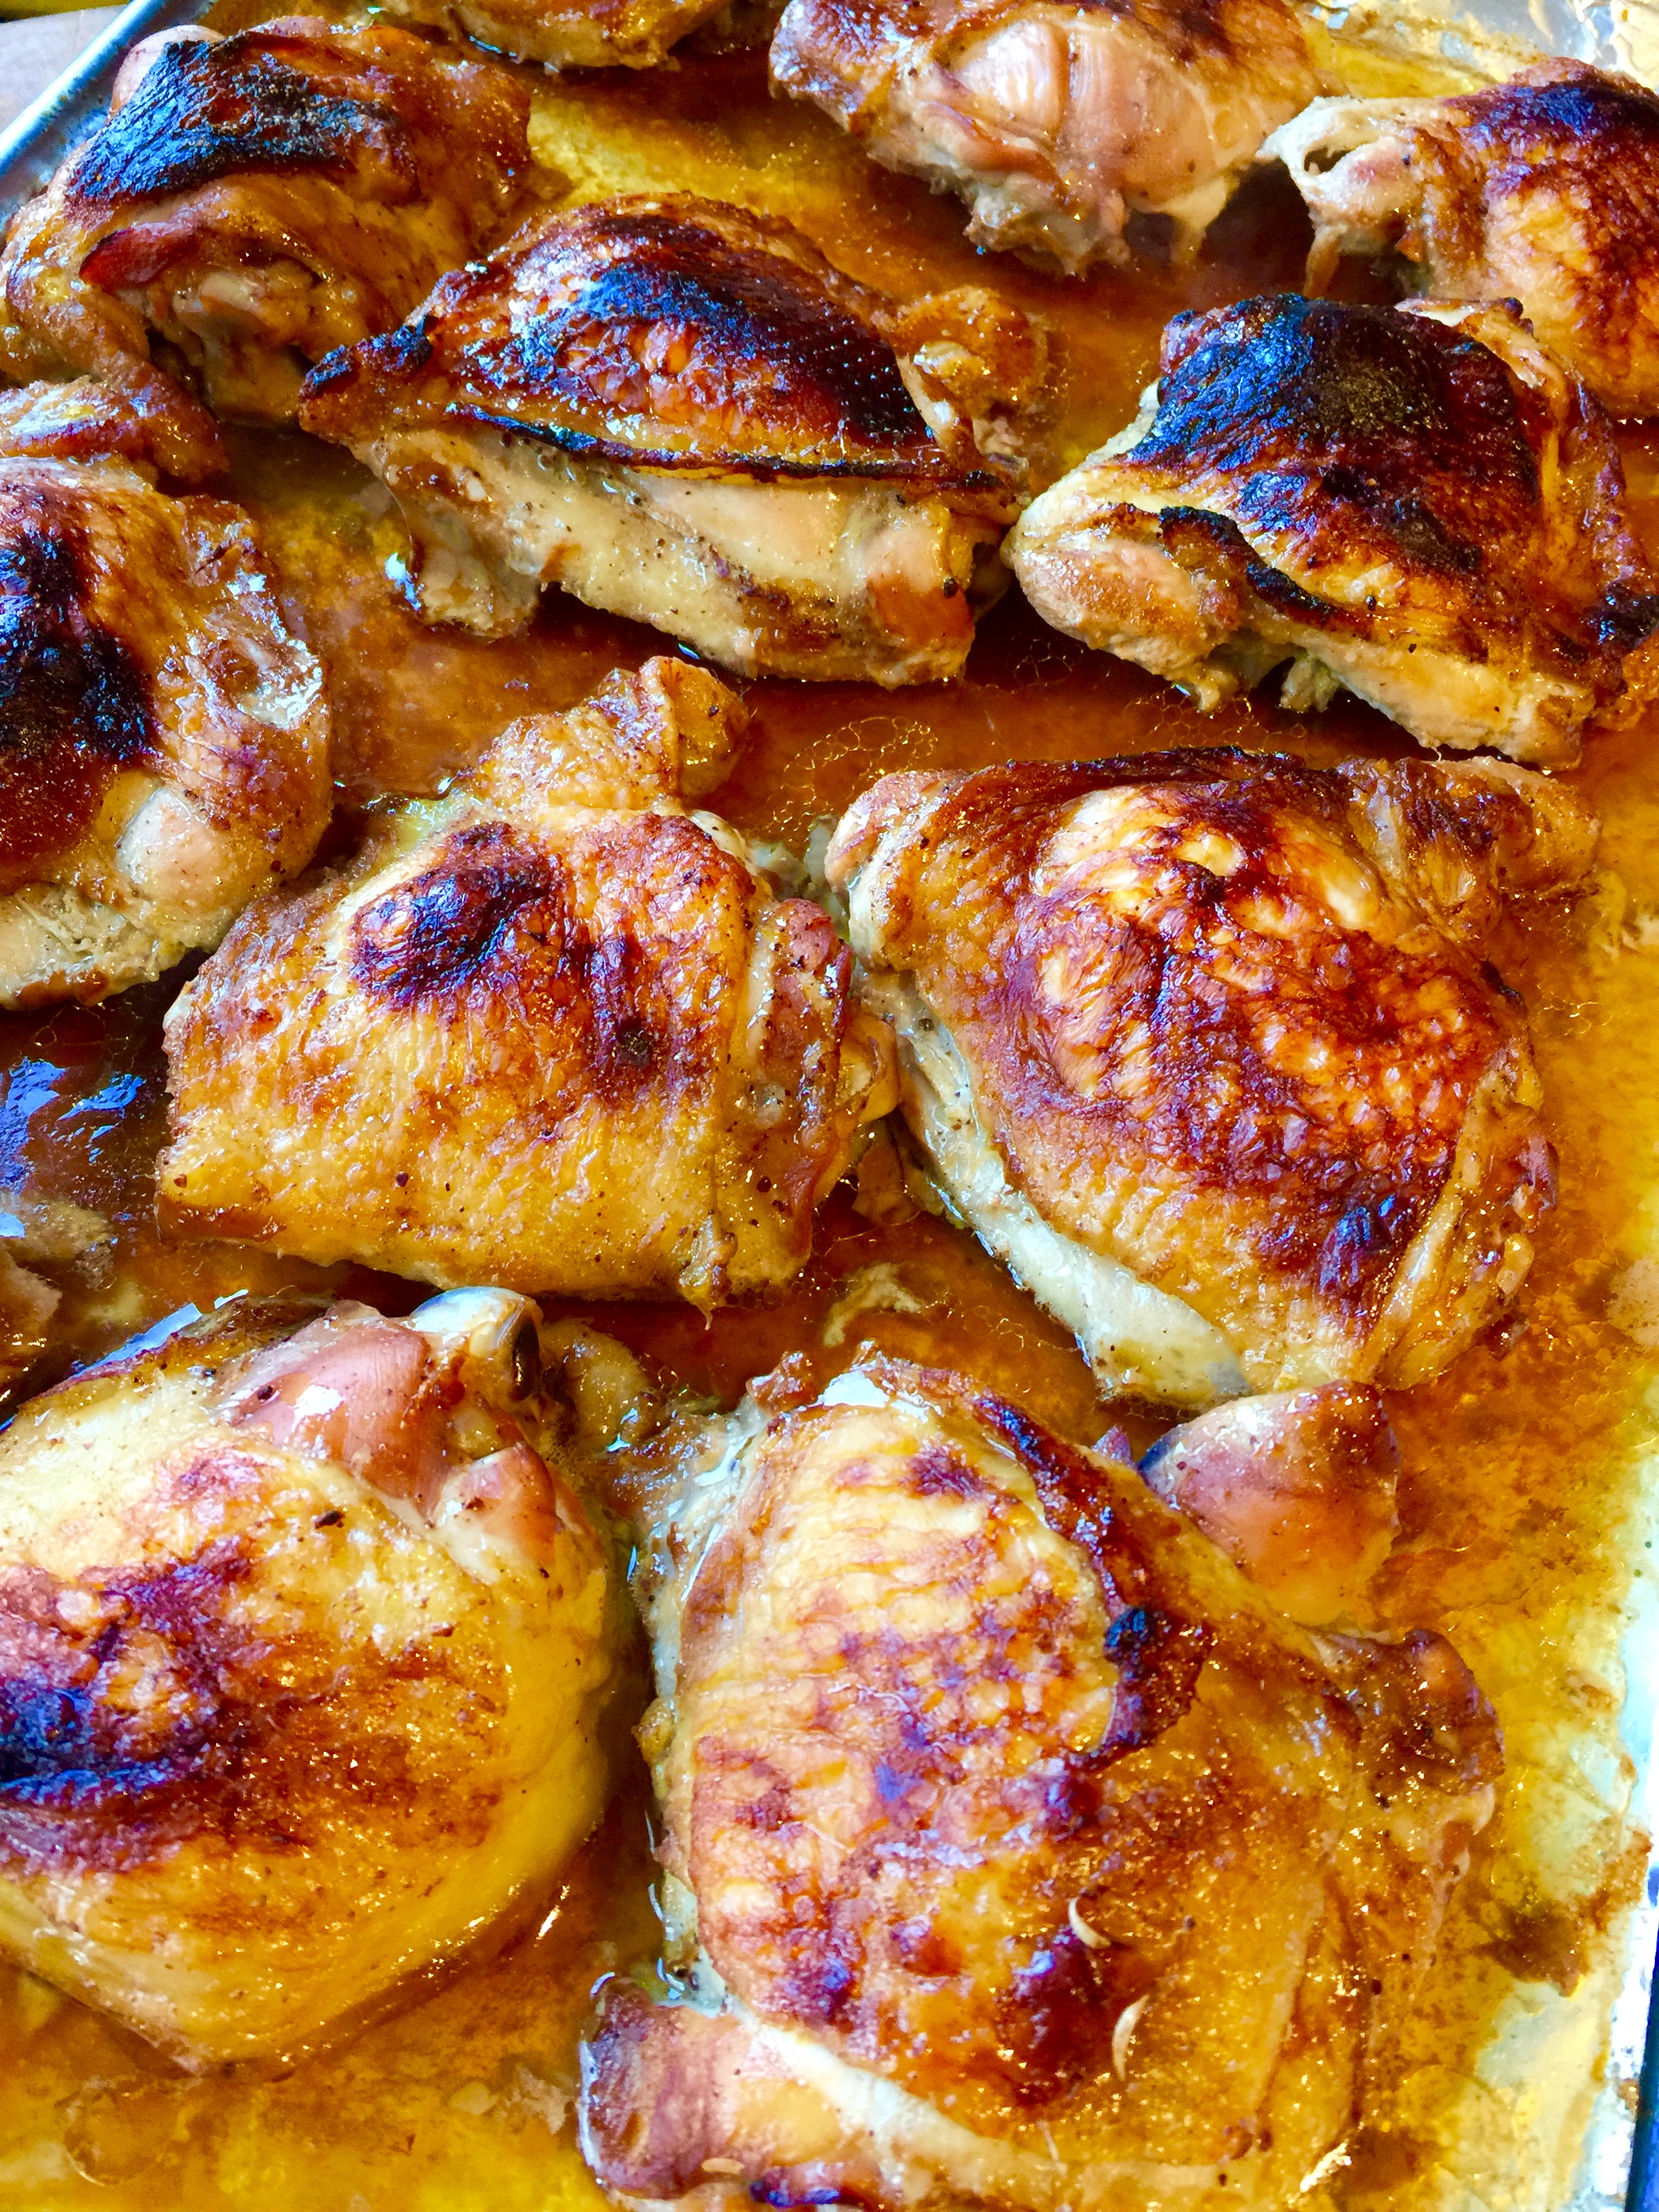
Soy sauce, citrus and honey is always a winning combination with chicken. The addition of star anise adds that touch of licorice without overpowering it. The sugar in the honey can make these thighs burn, so keep an eye on them. Using non-stick aluminum foil saves a lot of clean-up hassles later.

In the summertime, I like to cook these almost all the way through in the oven, then move them to the grill to give them that nice char and smokey taste right at the end.

FullSizeRender (8)


1 teaspoon ground star anise
2 teaspoons granulated garlic
1/4 cup fresh lime juice or lemon juice or combination
1/4 cup soy sauce (I use La Choy when I want it gluten-free)
2 tablespoons honey
8 chicken thighs (about 4 lb.), skin on

I have an old coffee grinder I use for spices, so I toss in a couple of star anise and grind them up. Then I measure out a teaspoon of that for my marinade. (If you don’t have a spice grinder, you can use a mortar and pestle.)


Combine the star anise, garlic, lemon or lime juice, soy sauce and honey. Pour it into a large Ziploc bag and add the chicken thighs. Squish it around to make sure the thighs are well coated. Marinate the chicken thighs for several hours, or even better: overnight.


Preheat the oven to 200 degrees. 


Cover a sheet pan with non-stick aluminum foil and place thighs skin-side up. Cook them low and slow for about 2 hours. Finish them on the grill or pop ’em under the broiler to get that tasty char. But be careful! They can burn quickly!


Out on the North Fork of Long Island, there’s a steak restaurant called the Elbow Room. It’s nothing fancy…old school cooking. But they’re famous for their steaks because of a super-secret marinade. Ages ago, I spotted a newspaper article that claimed they found out what that secret marinade was, and they published it. Whether this really is the official Elbow Room marinade or not, I have to say it’s pretty darn tasty and it makes for a delicious steak on the grill.


My biggest concern with the marinade was the salt factor, since it uses soy sauce. But the ribeye I had was almost an inch-and-a-half thick, which meant that it could sit in the marinade for a long time…my ribeye sat in it for 8 hours. If you choose to use a thinner cut of meat, you might need to reduce your marinating time.

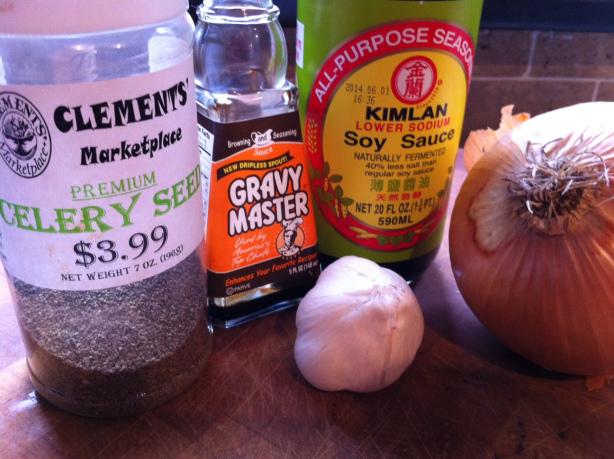
The recipe uses a product called Gravy Master, available in most supermarkets. Look for it in the section where you find gravies and instant potatoes.


1 cup soy sauce
1/4 cup Gravy Master
2 large Vidalia onions
2 cloves of garlic
2 teaspoons celery seed
1/2 teaspoon black pepper


Combine the onions and garlic in a large food processor and purée. Add the remaining ingredients and run the processor until it’s smooth and sort of resembles root beer (below.)


Marinate the beef in the marinade overnight, or for as long as possible. The thicker the cut of meat, the longer you can marinate it.

Looks delicious, but it hasn’t been cooked yet! Straight out of the marinade.


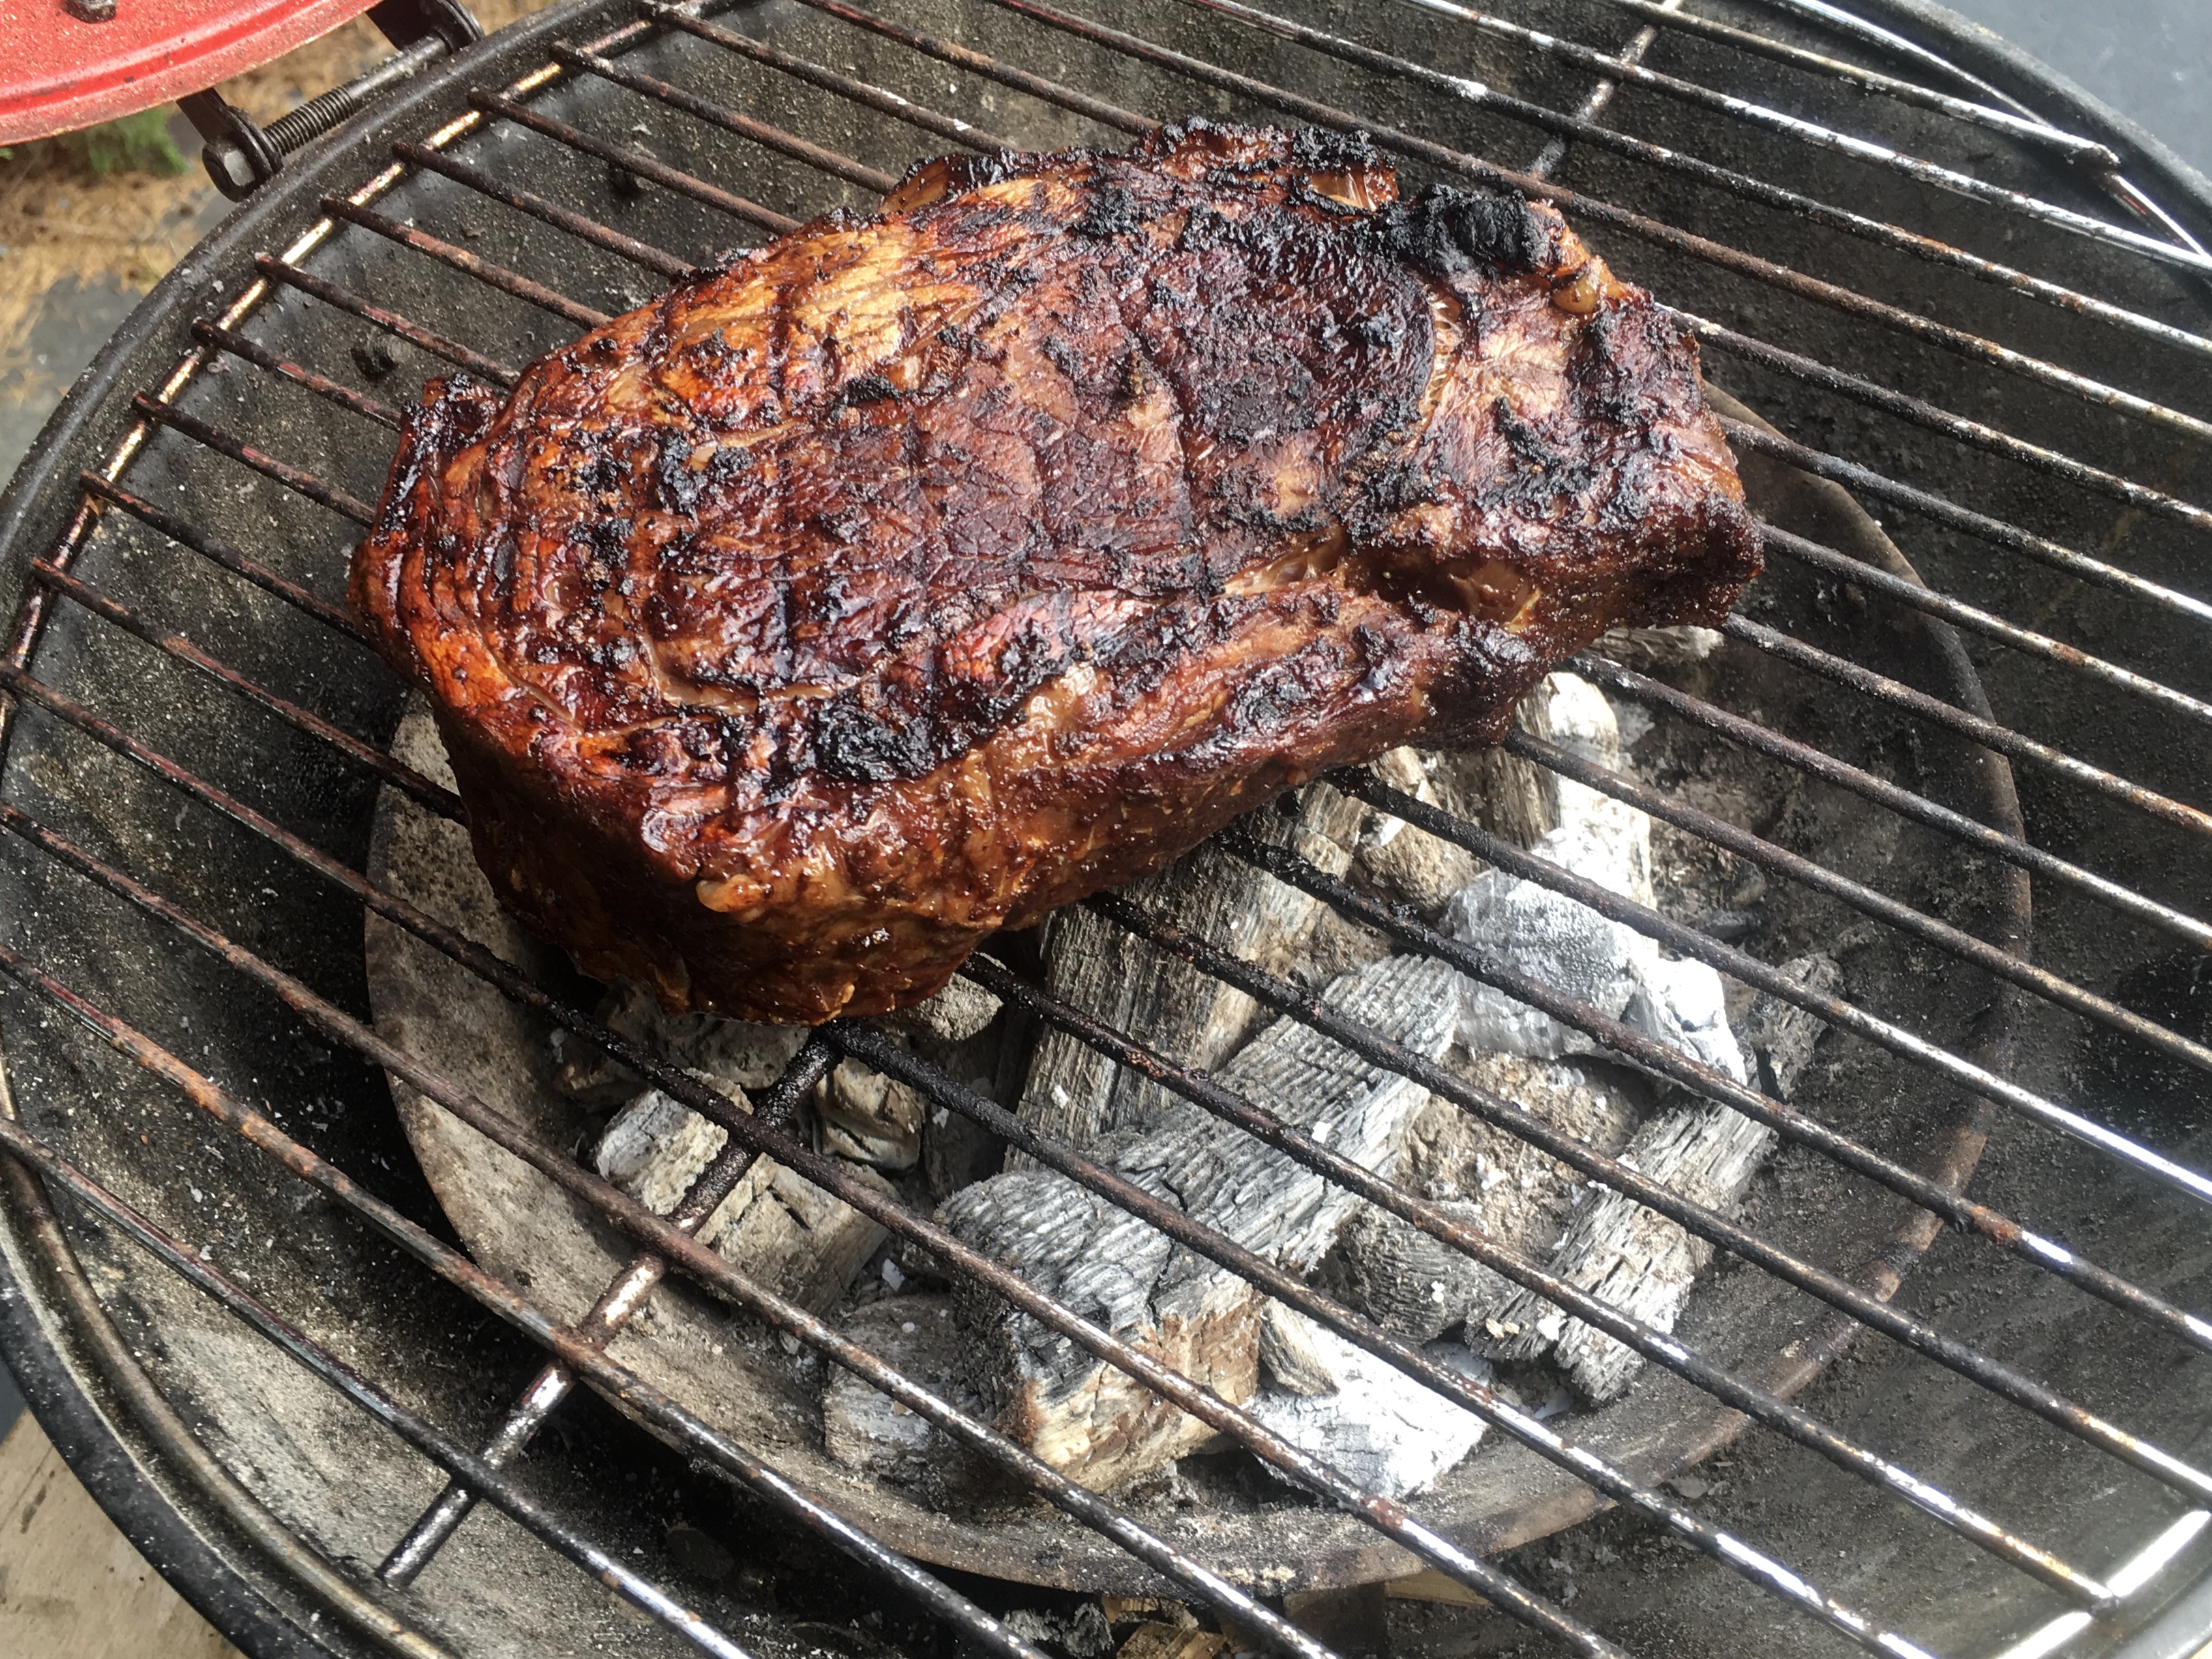
Light the grill. I prefer pure hardwood charcoal because that’s where the flavor is. If I’m just cooking one steak, I get my camping grill out. It lights quickly and easily, and it doesn’t waste a whole lotta charcoal.

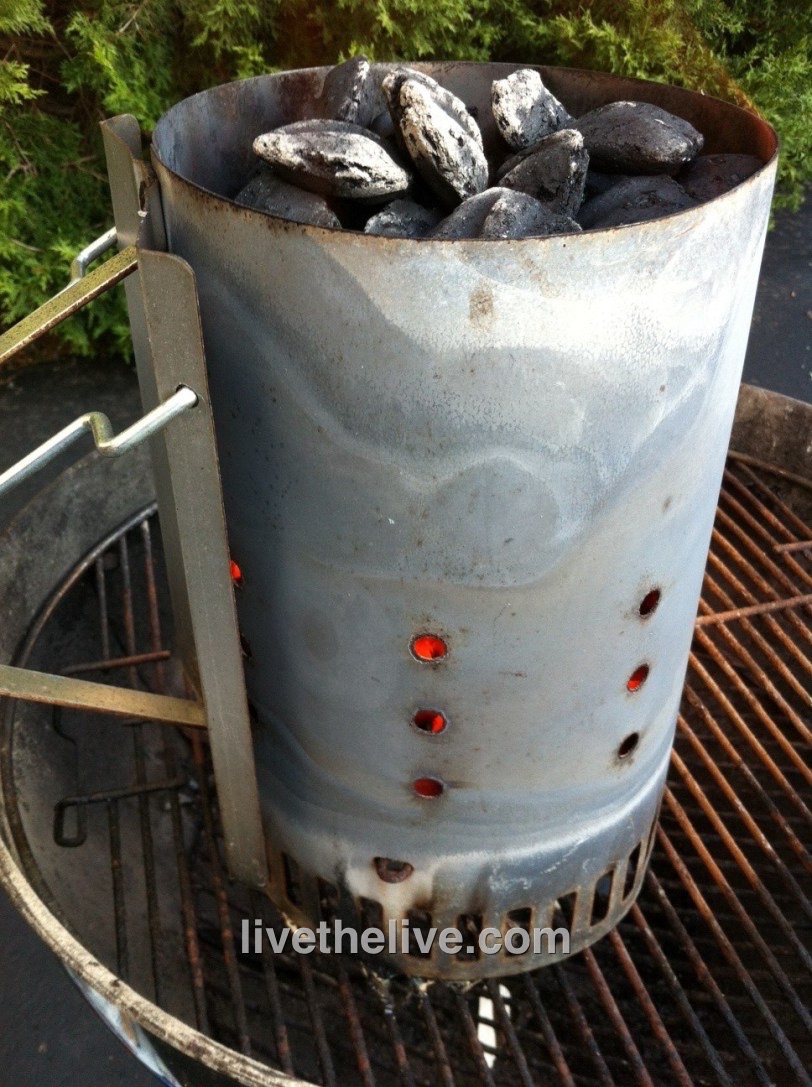
Always use a charcoal chimney, never lighter fluid…unless you like the taste of petroleum products in your food.


Pure hardwood charcoal gives you a hot fire. I like to sear the beef really well on both sides, then move the steak to a cooler spot on the grill and close the cover. I’ll let the beef cook until it gets to a perfect medium-rare.


If you try this marinade on burgers–and it’s great on burgers–simply brush the burgers with the marinade as you place them on the grill. Go easy or you’ll get a very salty burger.


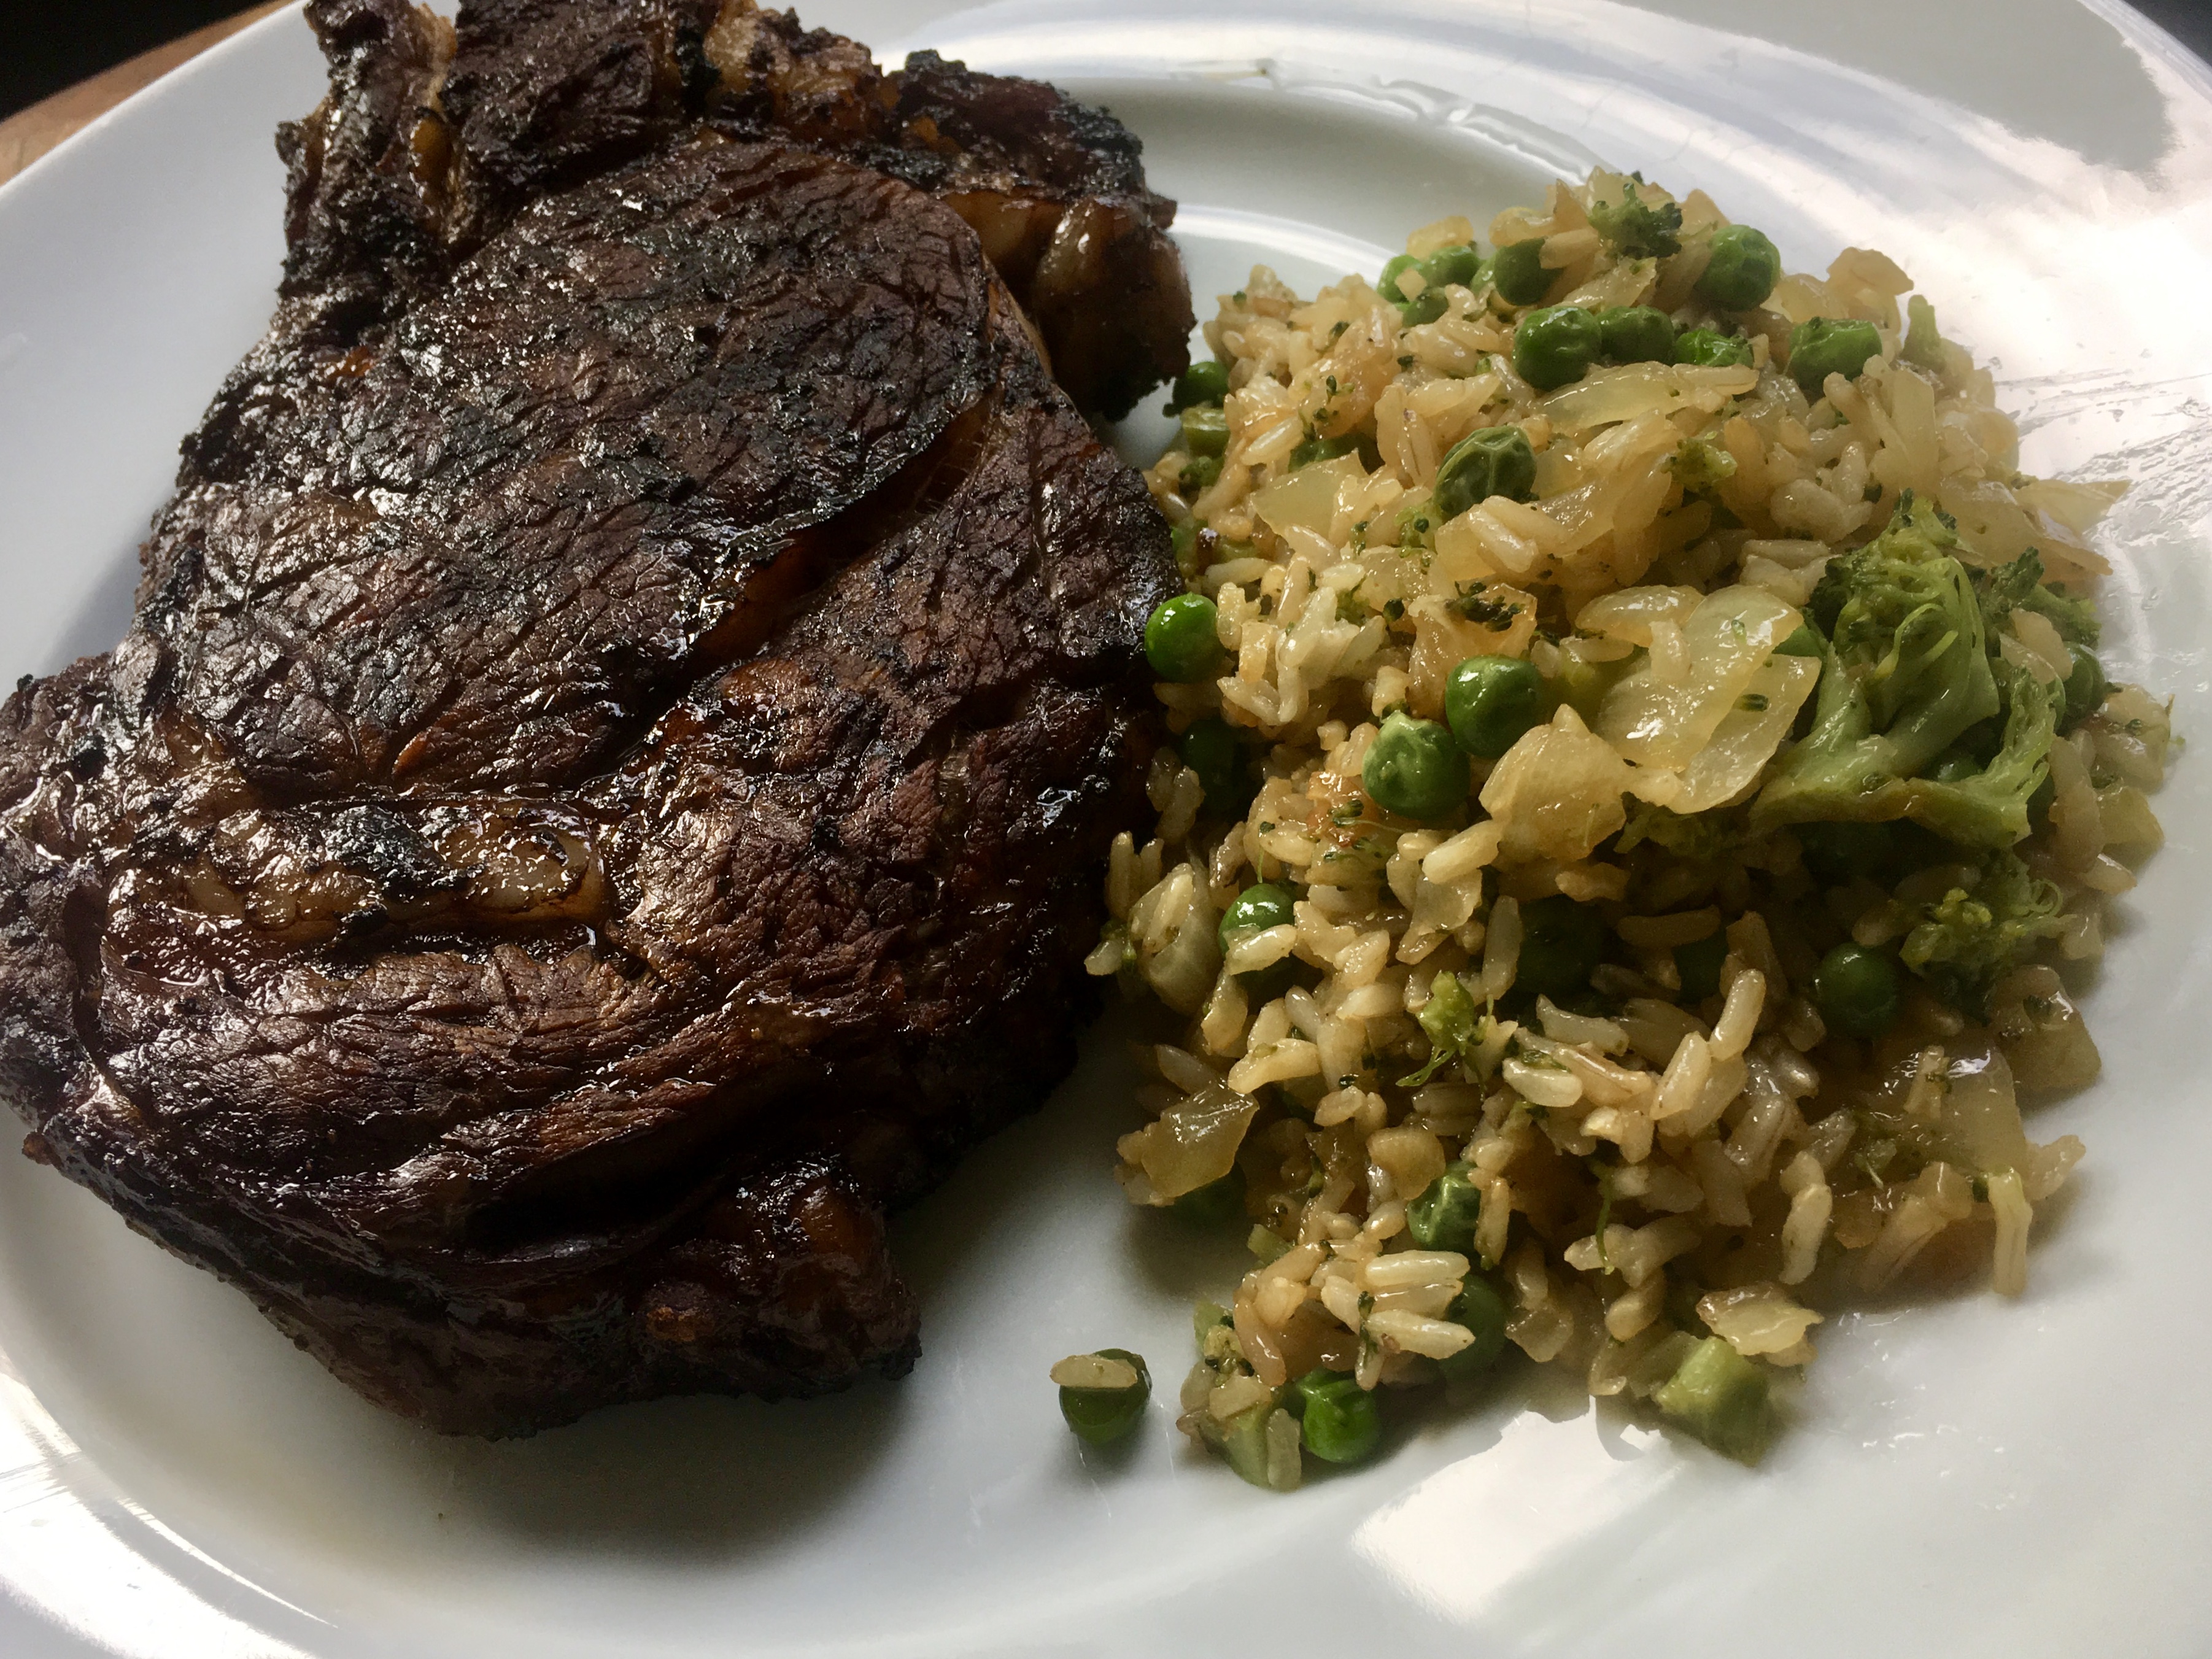
Marinated grilled ribeye with a side of fried rice…an easy combination of veggies and rice leftovers I had in the fridge with a dash of soy sauce.


I’ve got two methods for cooking pork chops, each depending on the thickness of the chop. If the pork chop is thin, I got for high heat over hardwood charcoal, flipping the meat often so that it cooks all the way through without burning. The famous Cope Chops are perfect for this method. (https://wp.me/p1c1Nl-1xU)

Cope chops.


But if I’ve got a thicker chop, I like to brine it first, so that it retains its moisture during a longer cooking process. I brine the chops for a couple of hours, then light a fire using charcoal briquets, which will give me a steadier, longer-lasting flame.

Nice, thick chops!


Making a brine is easy, and it adds wonderful flavor to the chop. I use a smaller batch of the brine I use on my Thanksgiving turkey.

2 quarts water
1 onion
1 carrot
1 stalk celery
1/2 cup Kosher salt (I use Diamond Crystal)
1/4 cup brown sugar
1 1/2 teaspoons black peppercorns
1 teaspoon whole allspice
2 bay leaves
2 quarts ice water
2 to 4 thick-cut pork chops


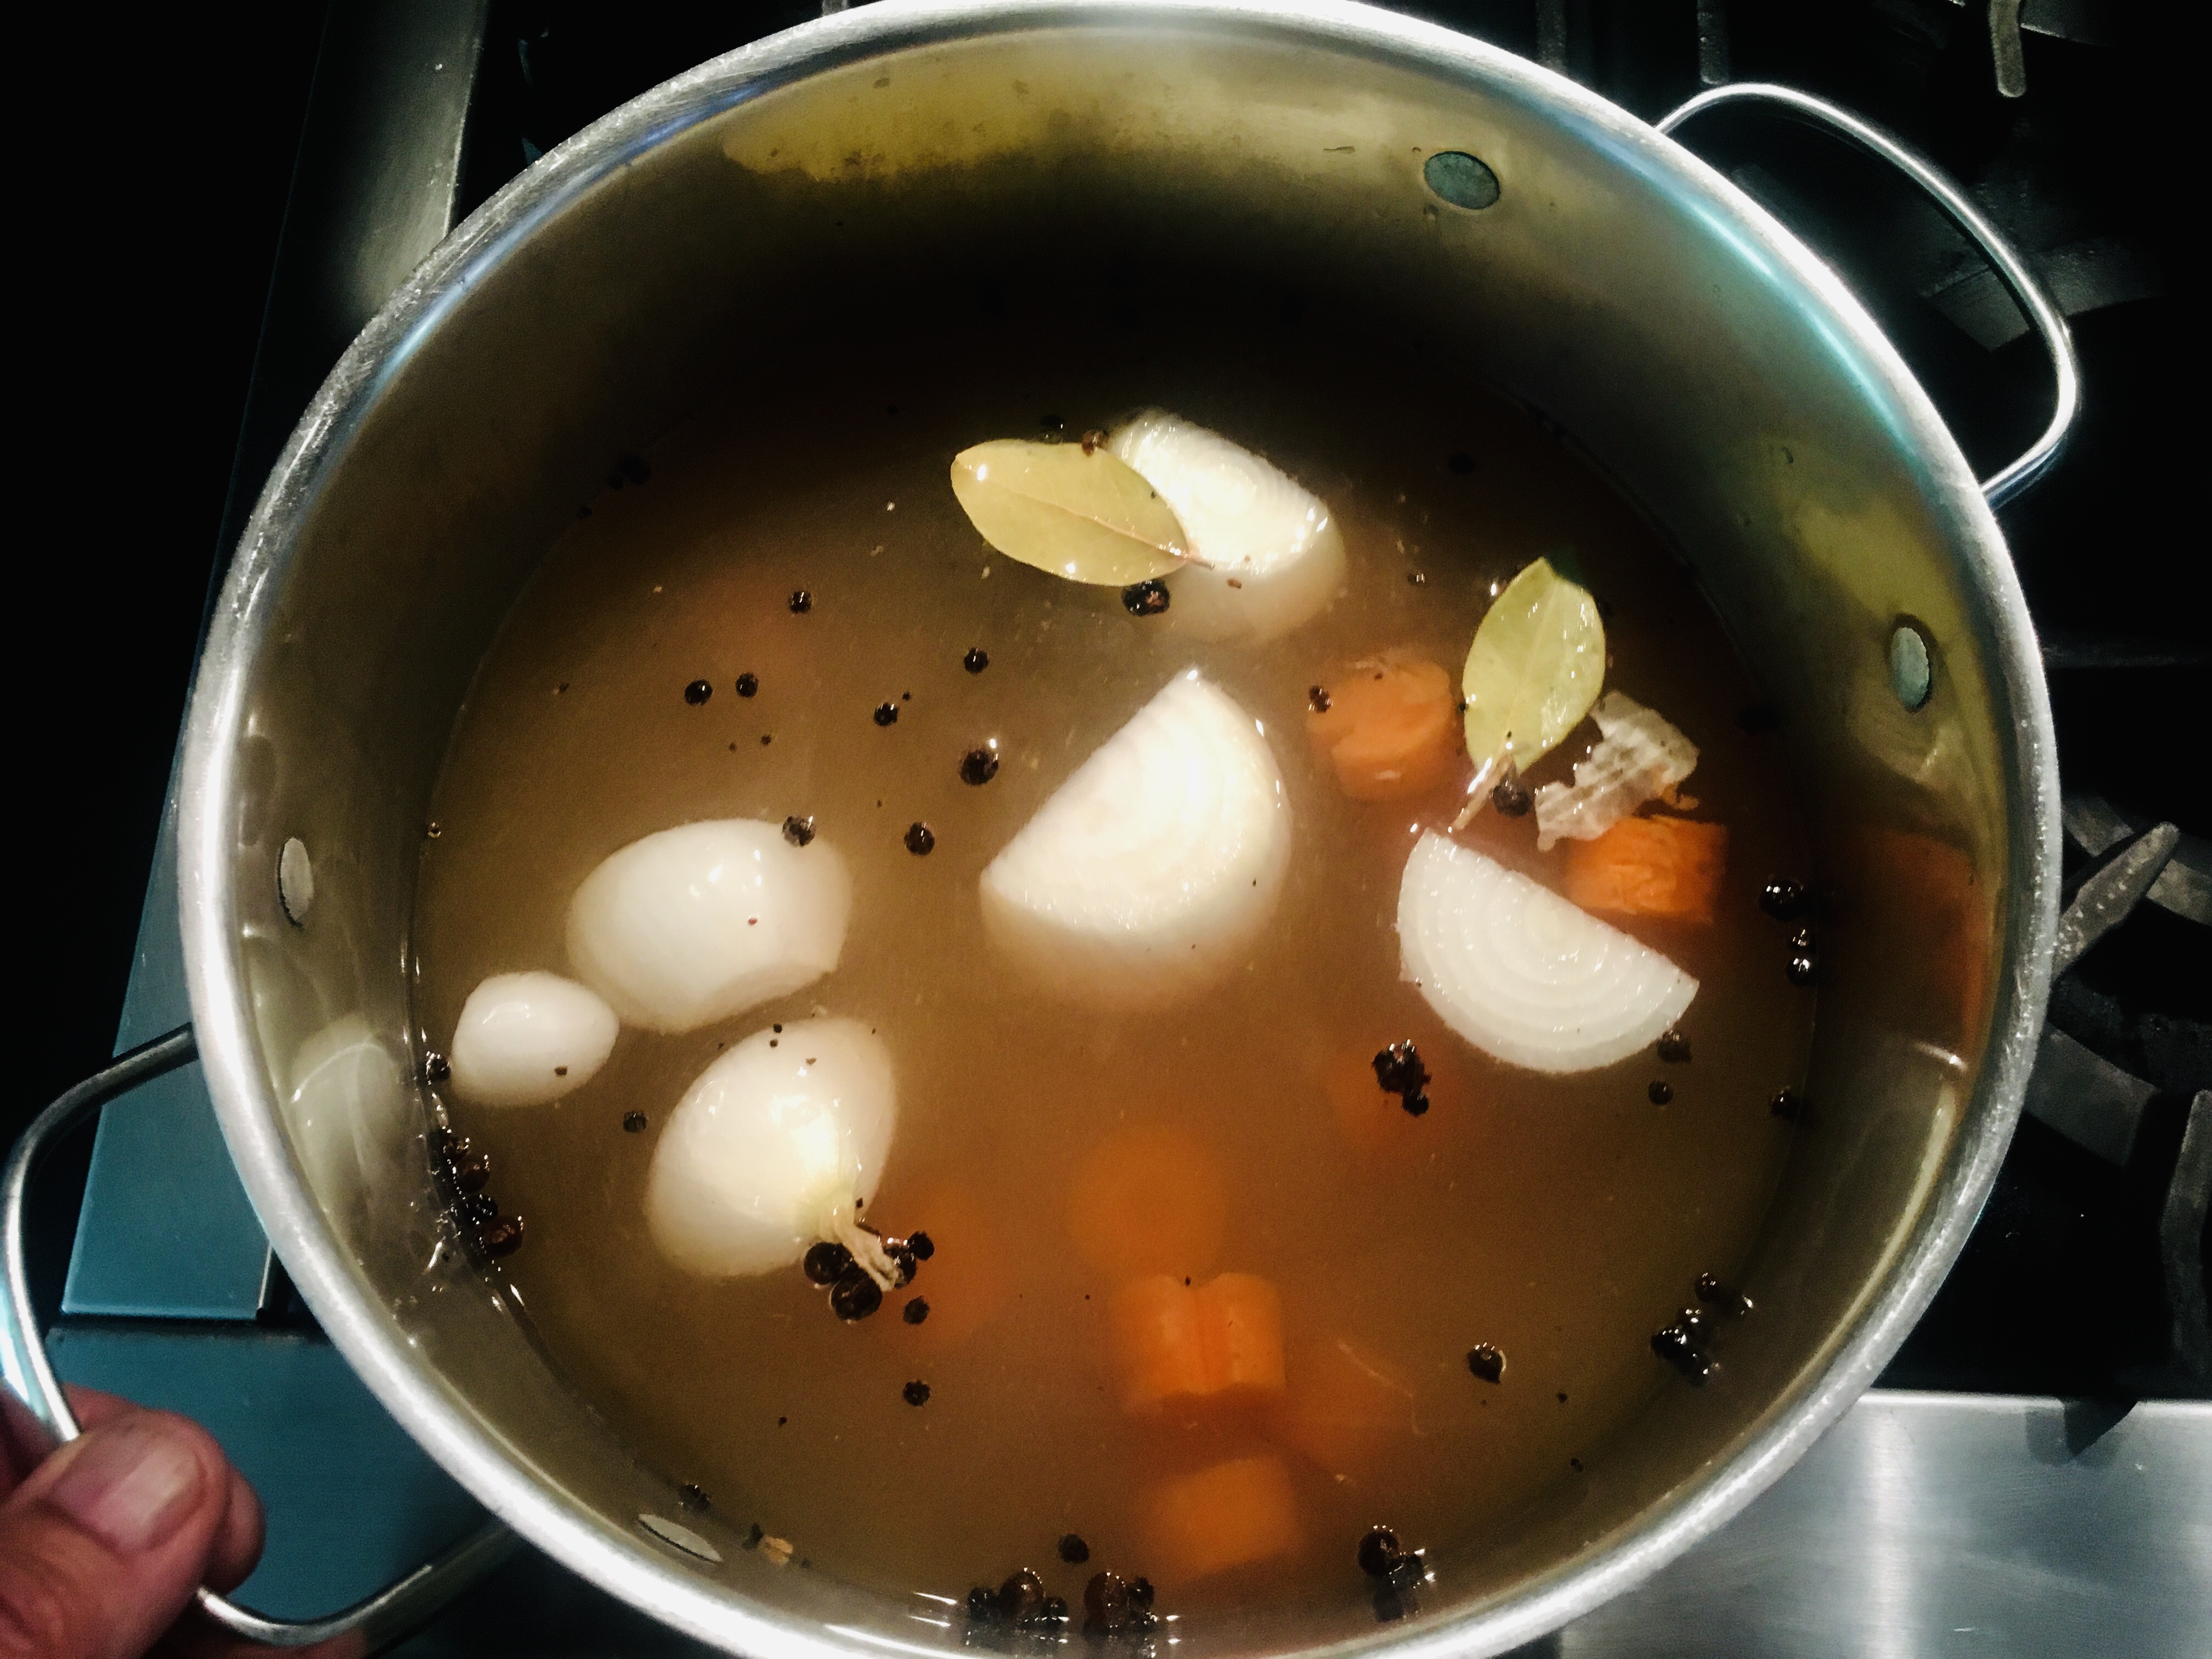
Pour the first 2 quarts of water into a large pot. Quarter the onions, carrots, and celery (not need to peel them) and add them to the water. Add the Kosher salt, brown sugar, peppercorns, allspice, and bay leaves. (A note on the Kosher salt: different brands have different weights. For example, Morton Kosher Salt is heavier than Diamond Crystal, so you’ll be adding more salt with the same 1/2 cup measurement.)

Boil for a few minutes, then remove from heat to cool.


Let the pot come to a boil for a few minutes. Remove it from the heat and let the brine cool down to room temperature.

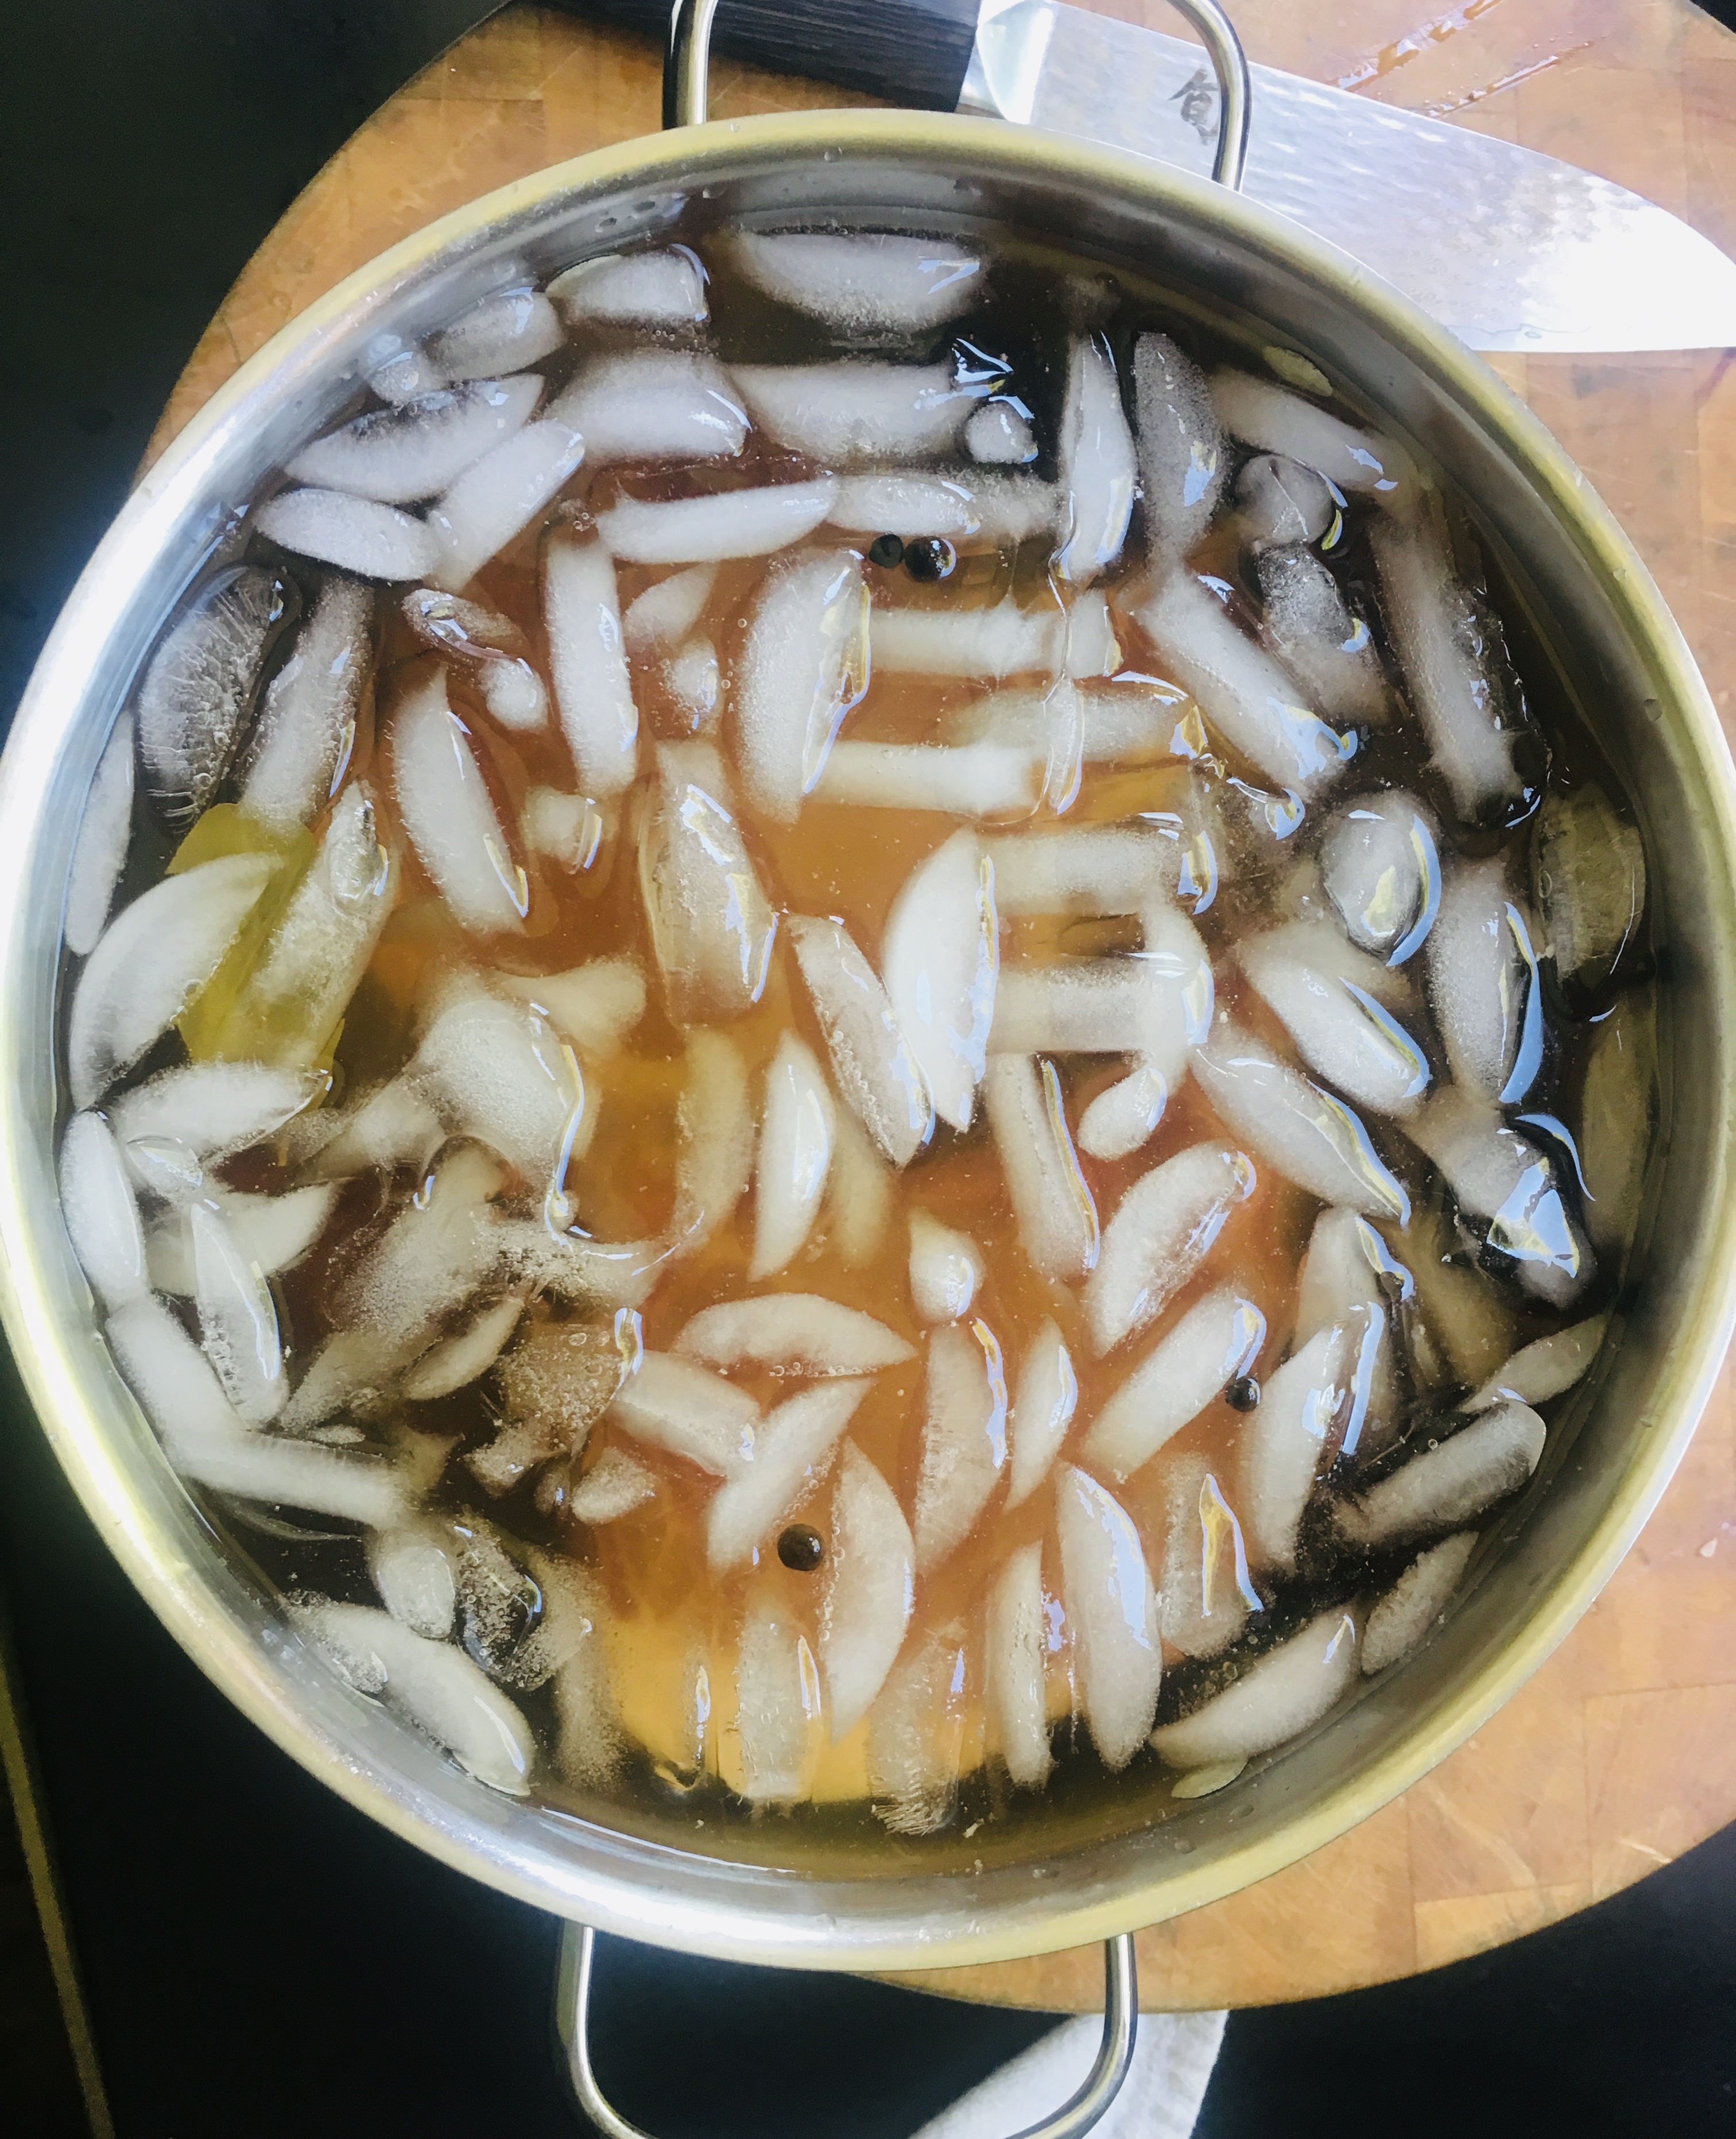
Once the brine is at room temp, add the 2 quarts of ice water, and drop in the pork chops. Make sure they stay covered with the brine. Let the chops brine for about 2 hours.

The chops are in there!


After 2 hours of brining, rinse the chops under cold water, and pat them dry with paper towels. Discard the brine.

Light a fire using charcoal briquets. While the fire is heating up, make the rub for the pork chops.


1 tablespoon salt
1 tablespoon granulated garlic
1 tablespoon granulated onion
1 tablespoon brown sugar
1 teaspoon ground black pepper


Combine the salt, garlic, onion, brown sugar and pepper in a bowl, and then season the chops liberally on all sides with the mixture.

Pork chops with the rub. I love grilling some Vidalia onions, too.


Let the chops rest at room temperature while you’re waiting for the grill.

Once the coals are ready, I establish a hot side and a cool side on the grill. I sear the chops on the hot side of the grill, being careful not to burn them. (The sugar in the rub may char a bit, but that’s OK.)


Once you’ve got a nice sear on all the chops, move them to the cooler side of the grill, and close the lid, making sure there’s air circulating so you don’t smother the fire.

Having a meat thermometer is handy, because although you want pork to be cooked thoroughly, you don’t want to overcook it. You’re looking for a temperature of 160 degrees for pork. Once you’ve reached that, you remove the chops from the grill, put them on a plate, and cover them with foil to rest for about 15 minutes. During that time, the interior temperature of the chops will rise to about 170, before slowly cooling down.

Removing the chops and letting them rest gives you enough time to throw some tasty veggies on the grill. I like to simply rub them with olive oil, and any of the pork rub that may be left over, tossing them over the hot part of the coals until just cooked.


By the way, when using a meat thermometer, be careful you don’t do something dumb, like I did. I didn’t notice that I had it on a Celsius setting, instead of Fahrenheit. So I couldn’t understand why my chops were “only” at 60 degrees after a long time of cooking! (That’s 140 Fahrenheit!) I caught my mistake in time, fortunately not cooking the crap out of my chops!!


There’s no problem with your bird, she said to me
Just go low and slow to cook it perfectly
A few choice seasonings end up deliciously
There must be 50 ways to roast your chicken…
There’s nothing better than a whole roasted chicken. Simply season it, pop it in the oven and go low and slow. No maintenance, and you’ve got a great bird in a couple of hours. 
Once you go with humanely raised pastured chicken, you’ll never go back to supermarket chicken again. The flavor is fantastic, and you’ll devour it right down to the bones, which you can use to make the best home-made chicken stock or soup you’ve ever had. Nothing goes to waste.
I roast at least one chicken every week, so to change it up, I’ve come up with many different rubs and sauces over the years. All of the rubs are sugar and gluten-free preparations. 
Chicken with Rosemary and Lemon
 IMG_9146
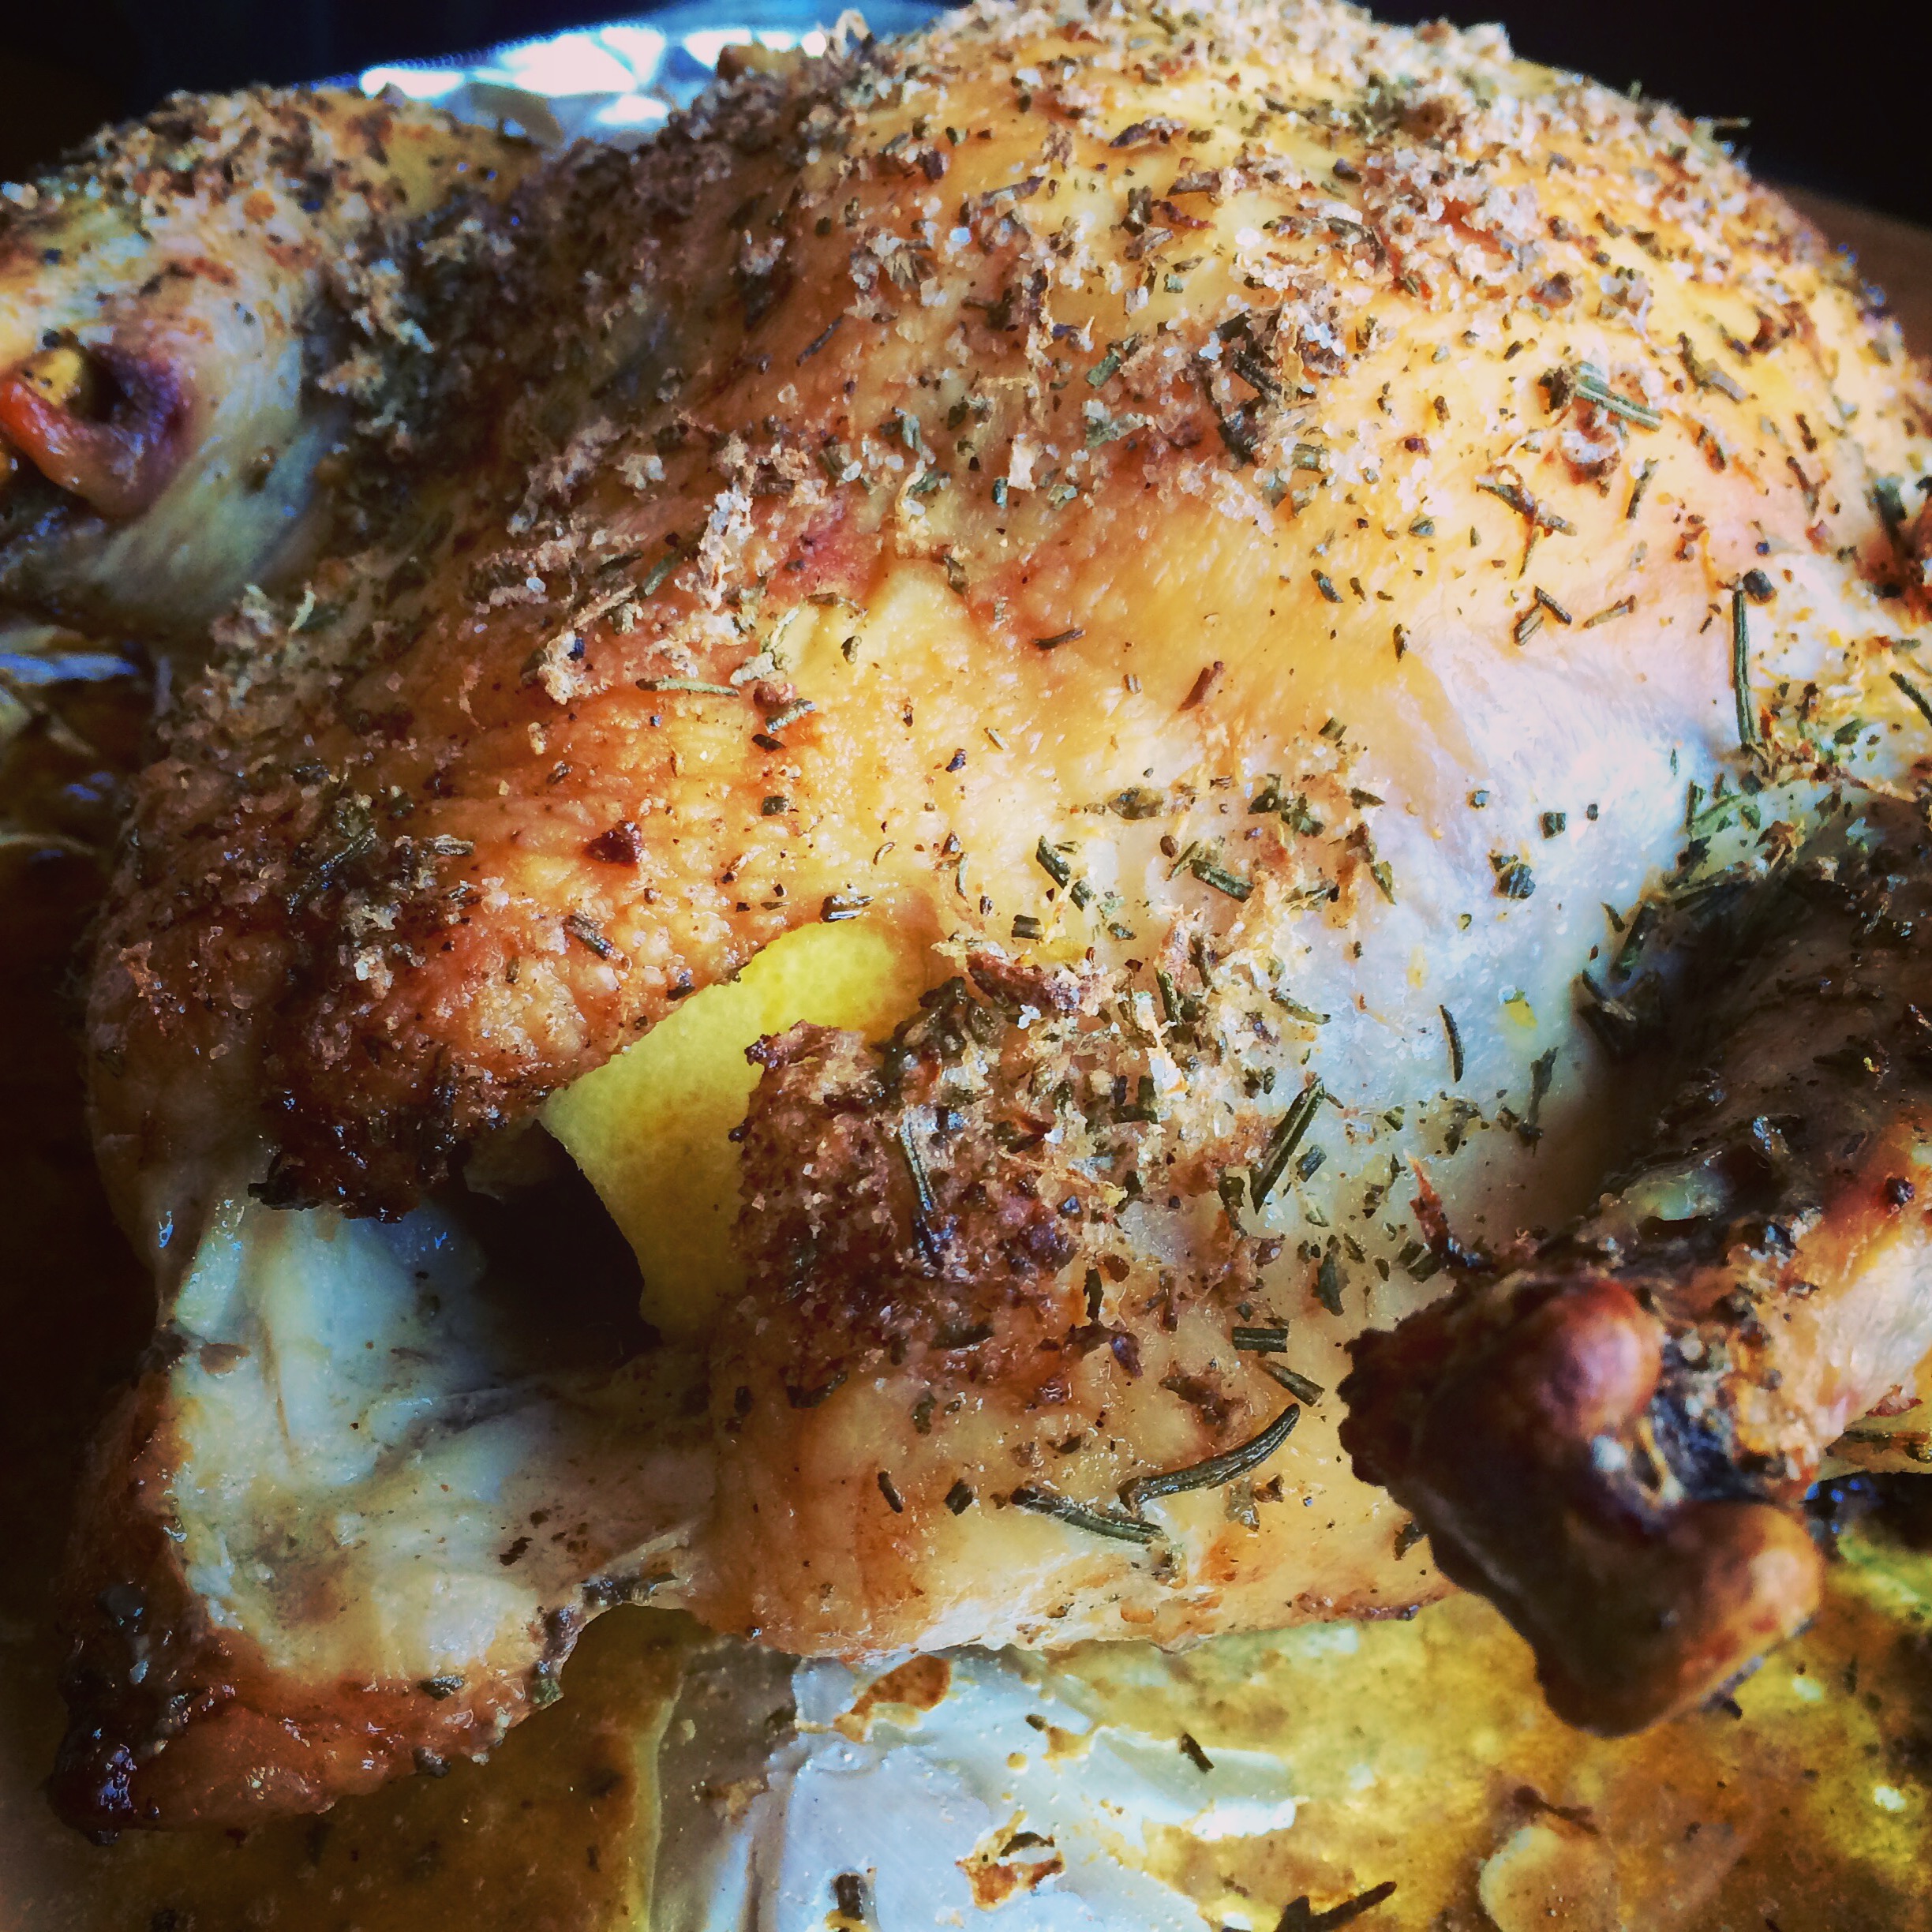
The lemon serves double-duty in this dish. You use the zest to season the outside skin, then you place the remaining cut up pieces inside the carcass to flavor from the inside out.
1 tablespoon finely chopped fresh rosemary
1 teaspoon granulated garlic
2 teaspoons salt
zest from 2 lemons, using a micro plane zester, the leftover lemons quartered
1/2 teaspoon black pepper
In a bowl, combine the rosemary, garlic, salt, lemon zest, and pepper. 
Thaw a bird, remove the giblets, and rub it all over with olive oil. Shove the quartered lemon pieces into the carcass of the bird. Season the bird inside and out with the rosemary seasoning mix.
Place the bird on a pan lined with non-stick aluminum foil in a pre-heated 450-degree oven. Cook for 10 minutes at this temperature, then reduce to 275 degrees and cook low and slow until done.
Tarragon Chicken
I love the taste of chicken seasoned with tarragon. Careful with this, or you will accidentally devour your fingers!
1 tablespoon dried tarragon, crumbled into a powder
1 teaspoon garlic salt
1 teaspoon salt
1/2 teaspoon black pepper
olive oil
In a bowl, combine the tarragon, garlic salt, salt and pepper.
Thaw a bird, remove the giblets, and rub it all over with olive oil. Season the bird inside and out with the seasoning mix.
Place the bird on a pan lined with non-stick aluminum foil in a pre-heated 450-degree oven. Cook for 10 minutes at this temperature, then reduce to 275 degrees and cook low and slow until done.
Italian Chicken
FullSizeRender
The darker color of the bird comes from rubbing it first with balsamic vinegar, then olive oil, before coating it with Italian seasonings. Don’t use the fancy, expensive balsamic. The bottles that go for about 9 bucks in the supermarket work well for this recipe.
Balsamic vinegar
Olive oil
1 tablespoon salt
1 tablespoon parsley
1 teaspoon oregano
1 teaspoon pepper
1 teaspoon granulated onion
1/2 teaspoon granulated garlic
Thaw a bird, remove the giblets, and rub it all over with the balsamic vinegar. Then rub it all over with the olive oil. Season the bird inside and out with the seasoning mix.
Place the bird on a pan lined with non-stick aluminum foil in a pre-heated 450-degree oven. Cook for 10 minutes at this temperature, then reduce to 275 degrees and cook low and slow until done.
My Grandma’s Chicken
My grandmother would cook chicken thighs low and slow all Saturday morning, knowing that I was coming over for lunch after Lithuanian school. The meat just fell off the bone, and I couldn’t stop eating it. This recipe is so simple and works just as well for a whole bird. Every time I make this, I think about those days at my grandmother’s house.
Lawry’s Seasoned salt
Olive oil
Thaw a bird, remove the giblets, and rub it all over with olive oil. Season the bird inside and out with the Lawry’s Seasoned salt.
Place the bird on a pan lined with non-stick aluminum foil in a pre-heated 450-degree oven. Cook for 10 minutes at this temperature, then reduce to 275 degrees and cook until done.
If you’re using chicken thighs, like my grandmother did, make sure they have the skin on and the bone in.

Beef flap or flap steak is a cut from the lower sirloin. It’s a long, thin cut that resembles skirt steak or hanger steak, though they come from a different part of the animal.

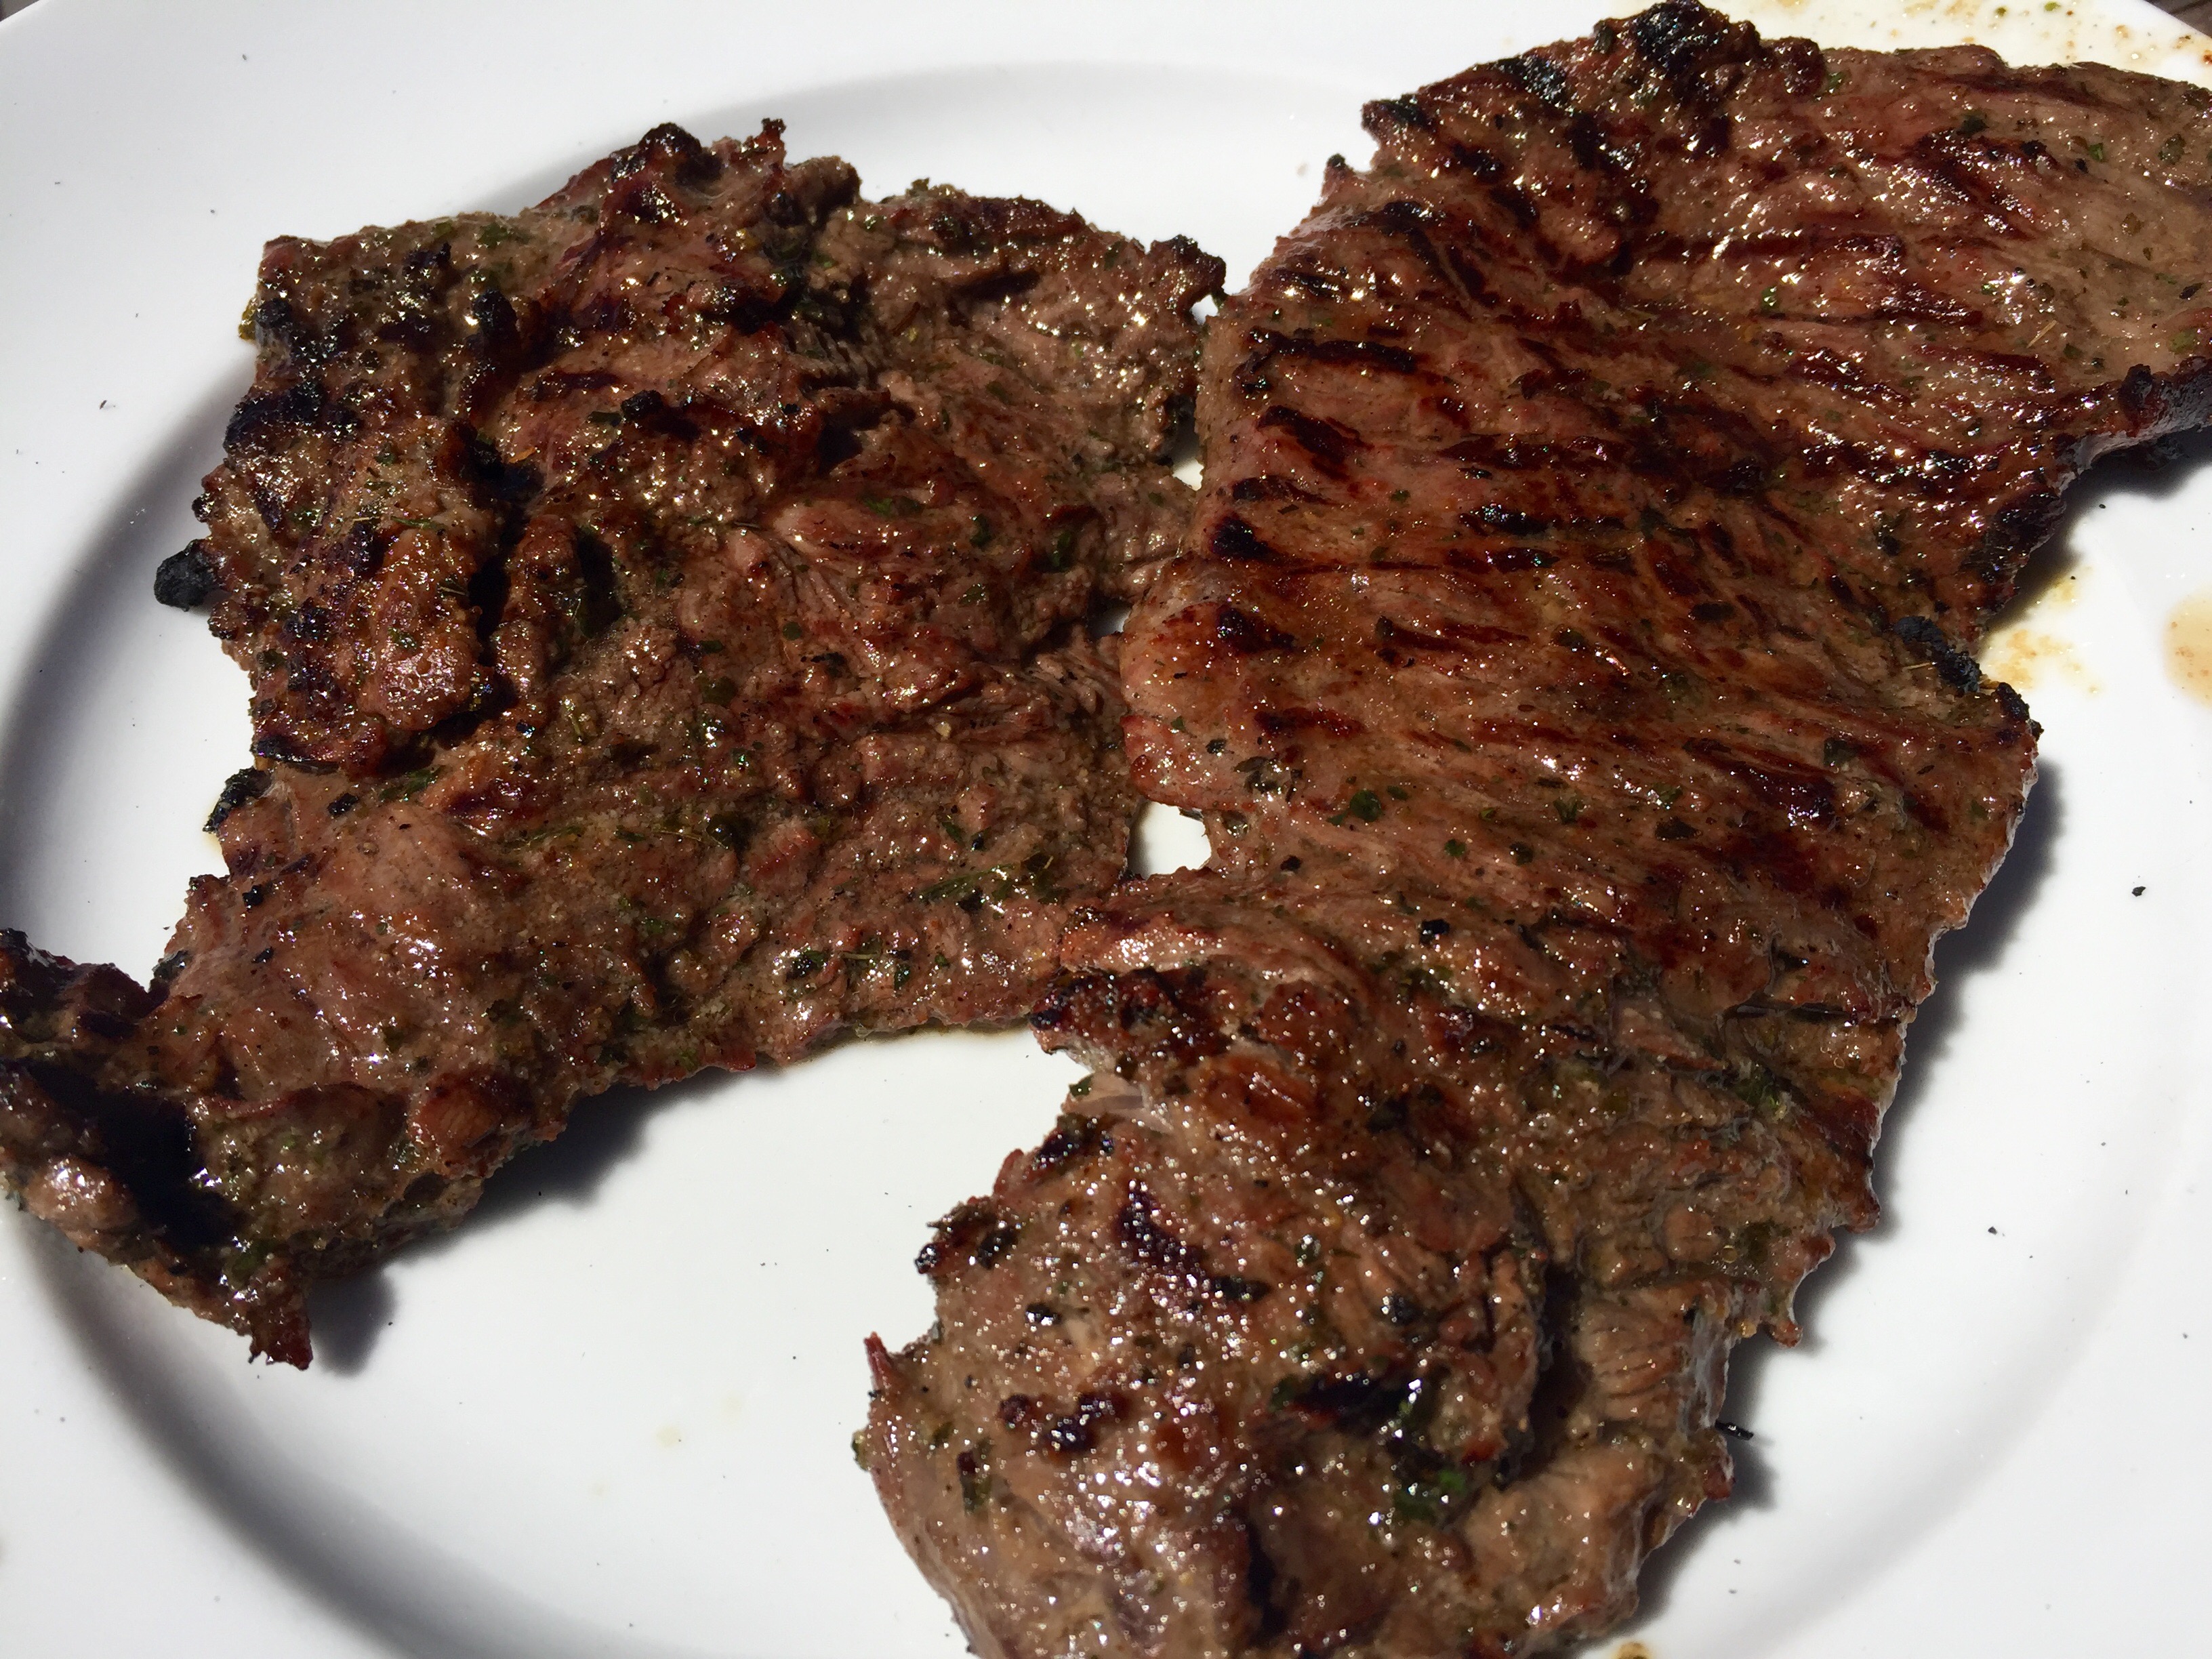
You can stuff and roll a beef flap, as I did in a previous blog, but it’s really hard to beat the flavor of a slab of beef that was simply marinated and thrown on the grill.

Though the beef flap is a relatively thin piece of meat, I carefully butterfly it by slicing it lengthwise with a sharp knife, to get 2 thinner pieces that really absorb the marinade.

grill3


1 lb. (or more!) beef flap steak, sliced lengthwise
2 tablespoons balsamic vinegar (red wine vinegar works just as well)
4 tablespoons extra virgin olive oil
1 teaspoon oregano
1 teaspoon parsley
1/2 teaspoon granulated garlic
1/2 teaspoon granulated onion
salt and pepper

rill2

To make the marinade, combine everything but the beef in a bowl and whisk to mix thoroughly. Place the beef in a large Ziploc bag and add the marinade. Squeeze the bag so that the marinade reaches every part of the beef. Squeeze the air out of the bag, zip it tightly, and place it in a bowl (in case of accidental spillage) in the fridge. Let it marinate overnight, squeezing the bag every few hours to let the marinade do its job. Remove the bag from the fridge about an hour before grilling so the meat comes to room temperature.

Light a hardwood fire. When the coals are really hot, place the steak on the grill and sear each side. Then flip to sear the other side. Flip again to get those fancy diamond marks on the beef. Then flip again.

grill1

The meat has little fat, so it should be nicely seared on the outside, but still medium-rare on the inside. Let it rest before slicing. When slicing, cut the beef on an angle against the grain.

I’ve always been fascinated by Korean barbecue. Every time I see it on TV or catch a recipe on an e-mail blast, my mouth waters and I say to myself that I’ve got to experience it some day. But the painful reality is: Korean barbecue can be really spicy…and I’m a total wuss.

Korean barbecue 101: Gogigui means “meat roast” in Korean, and it refers to the method of roasting beef, pork, chicken, and other meats. Meats can be marinated or not. Bulgogi is the name of the most common Korean barbecue. Meat is marinated with soy sauce, sugar, sesame oil, garlic and pepper, and then grilled. Galbi uses beef short ribs, and adds onions to the marinade. And the hot stuff is daeji bulgogi, because the marinade isn’t soy sauce-based, but based on the hot-n-spicy Korean chili paste known as gochujang.

All of the marinades looked delicious, but the hot one with gochujang would be my biggest challenge, so I decided to start there. I found a great recipe, and quickly realized that I would have to turn the heat way down if I was actually going to try to eat it! For example, the original recipe called for 2 tablespoons of white pepper. I totally left it out. And it called for a full cup of gochujang. Not only did I cut that part in half, I doubled many of the other non-spicy ingredients.

So is it authentic Korean barbecue? Probably not. But it’s my version of it. It’s got lots a flavor and still carries a bit of heat.

For gluten-free diets: finding GF hoisin and soy sauce is easy. Look for the La Choy brand. But I haven’t been able to find gochujang that has a GF label.


image


3/4 cup ketchup
1/2 cup gochujang
1/2 cup hoisin sauce (I use gluten-free hoisin)
1/2 cup honey
1/2 cup soy sauce
1/4 cup brown sugar
2 tablespoons freshly grated ginger
1 tablespoon freshly grated garlic (I use a garlic press)
1 tablespoon unseasoned rice vinegar
4 lbs. chicken pieces


Pre-heat the oven to 500 or its top temperature.

In a bowl, mix everything but the chicken pieces. Brush the sauce onto the chicken pieces, then wrap them in aluminum foil. (I like to tear a long piece of aluminum foil and lay it on top of a sheet pan. I place the chicken pieces on the foil, brush them with sauce on all sides, then fold the foil over the chicken, making one large pouch that holds all the meat.) Leave the pouch on the sheet pan and place it in the oven. Lower the oven temp to 350.

Cook the chicken for about an hour, making sure it’s almost completely cooked. Juices should run clear, not bloody, when you poke it with a fork.

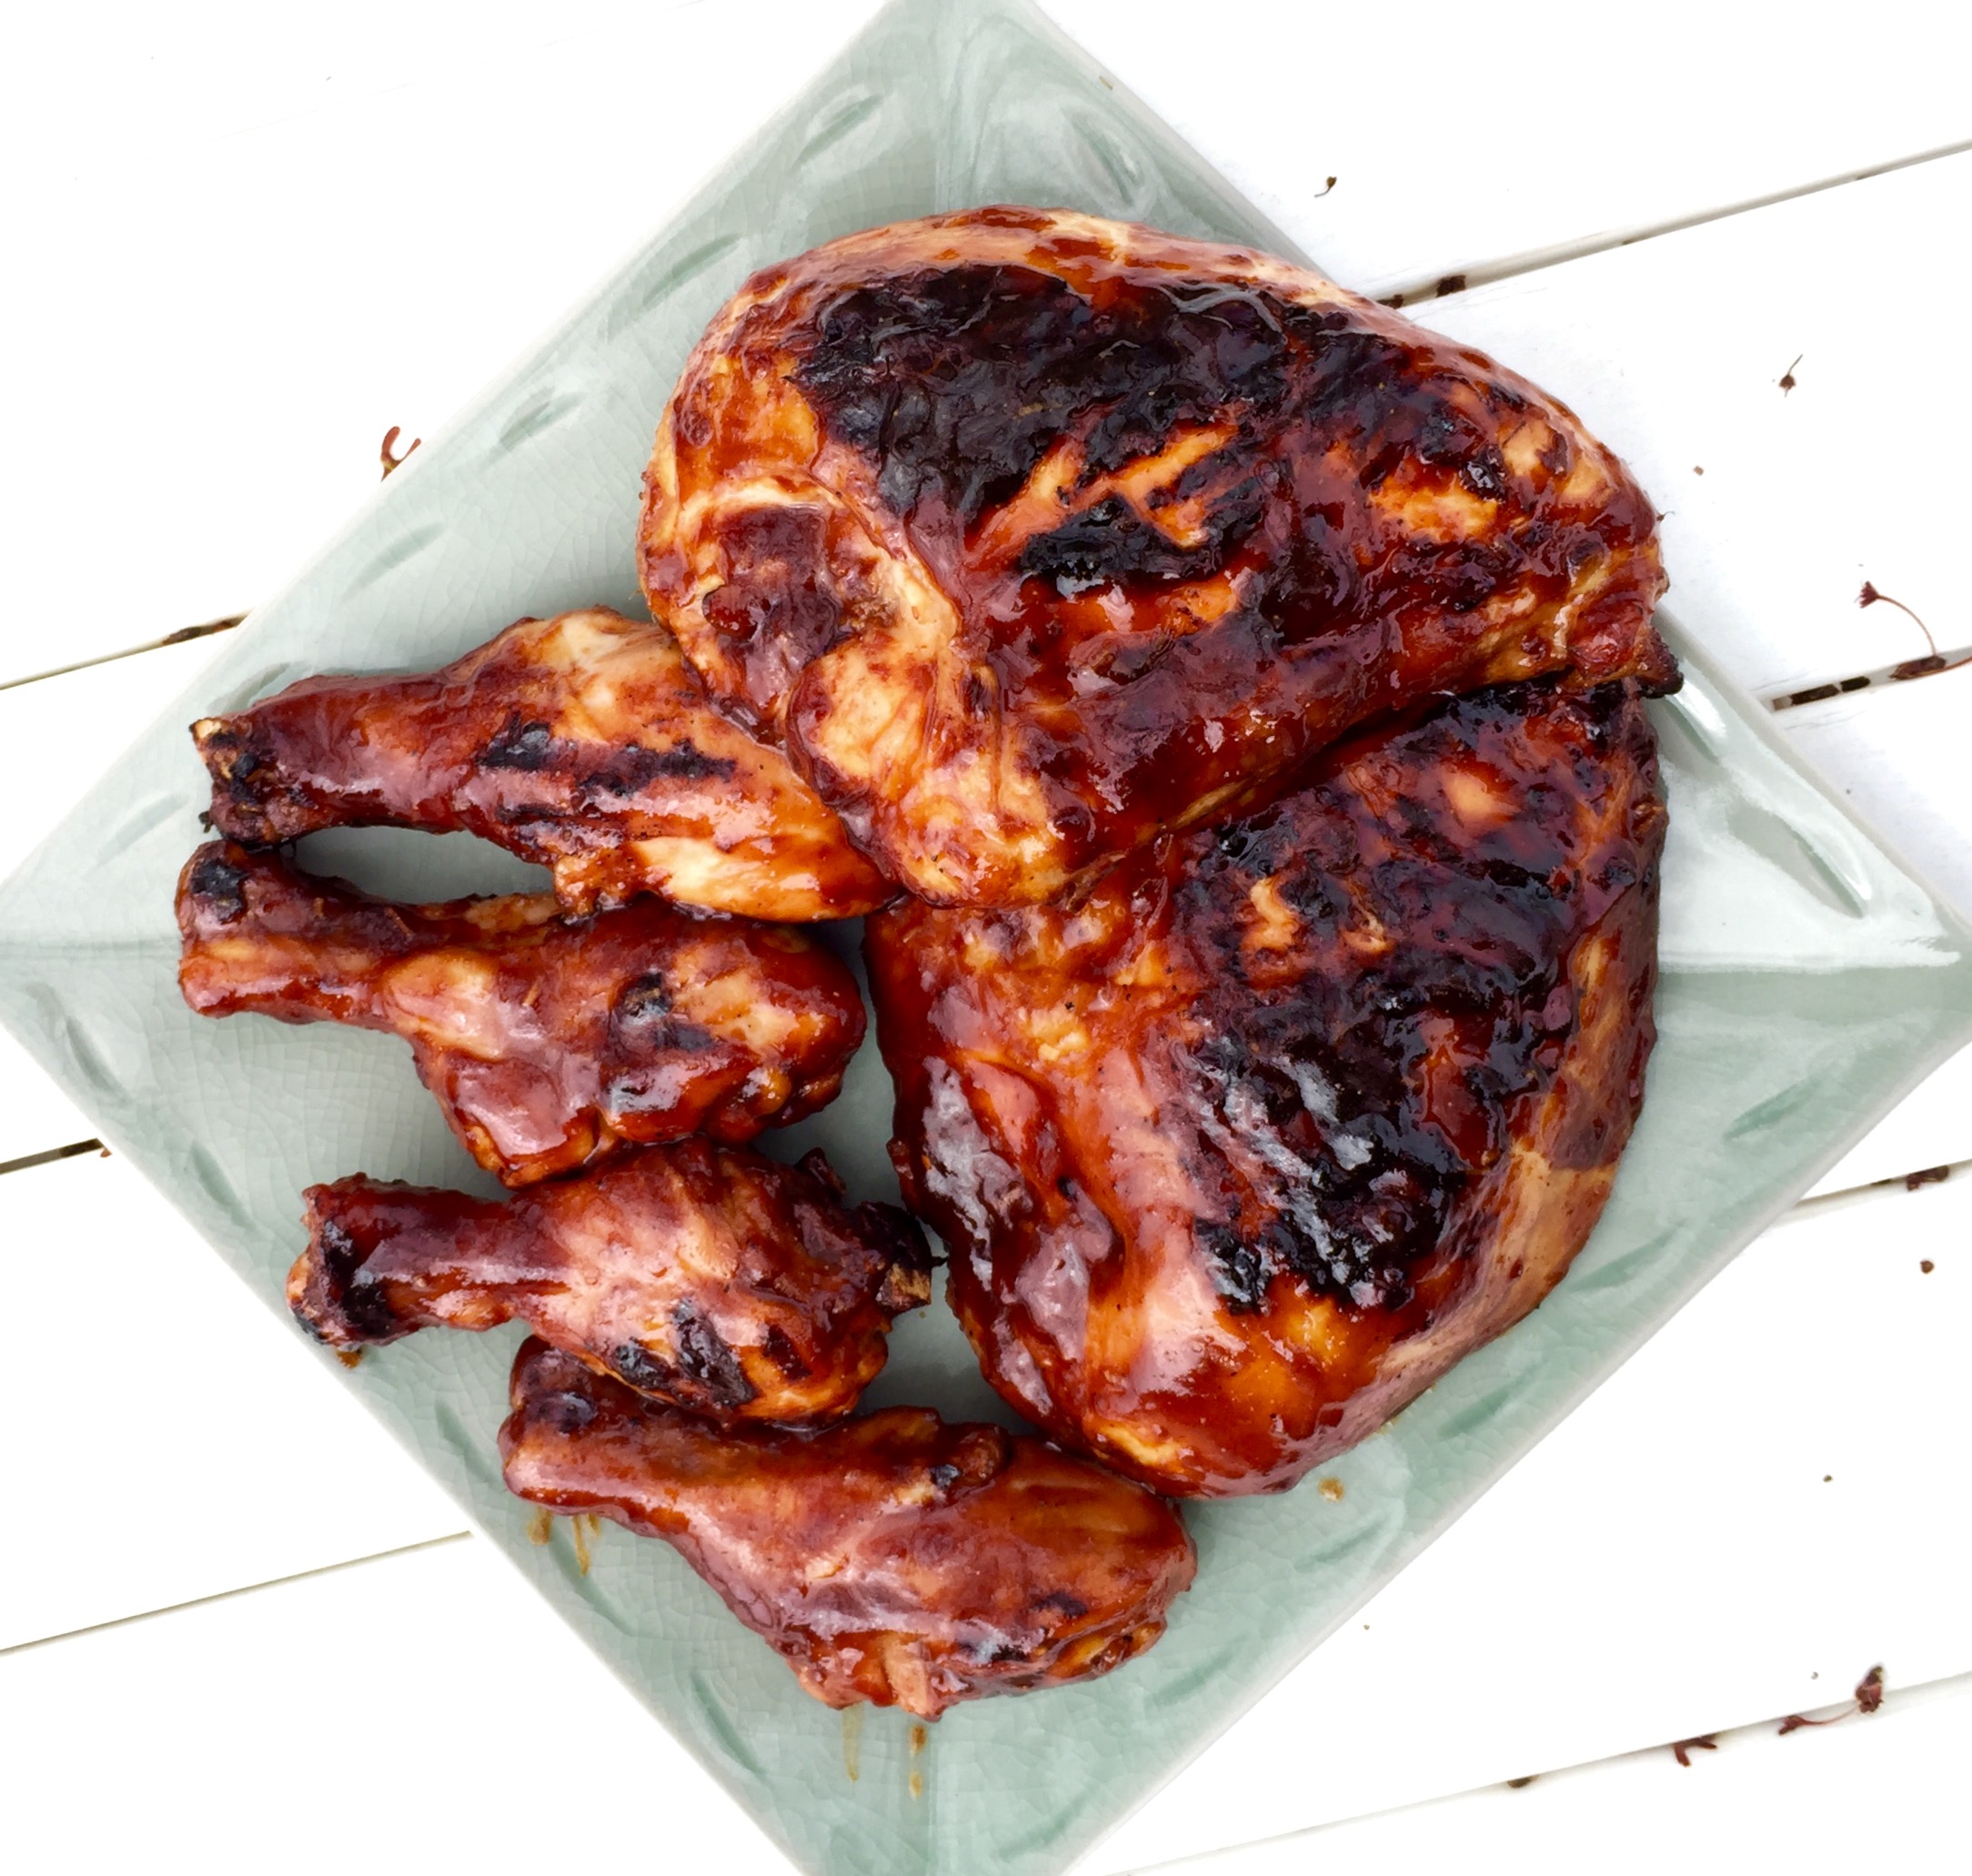
Start a hardwood fire on your grill. Push the coals to one side of the grill so you have a hot side and a cooler side with no coals underneath it. Place the chicken pieces on the cool side of the grill (if you put it on the hot side, it will stick and burn), brush with more sauce, and put the lid on the grill, making sure you have the vents open for air circulation.

image

See those 2 black bits in the foreground? That’s where the chicken stuck to the grill because I placed them over the hot coals. Don’t do that.

After a few minutes, lift the lid, flip the chicken pieces over, brush them with sauce again, and close the lid. Keep doing this until the chicken is nice and caramelized, with tasty grill marks.

If you want to serve some of the sauce on the side, it’s important to pour some of the sauce off and set it aside in the very beginning, so you’re not using the same sauce that the basting brush touched the raw chicken with.


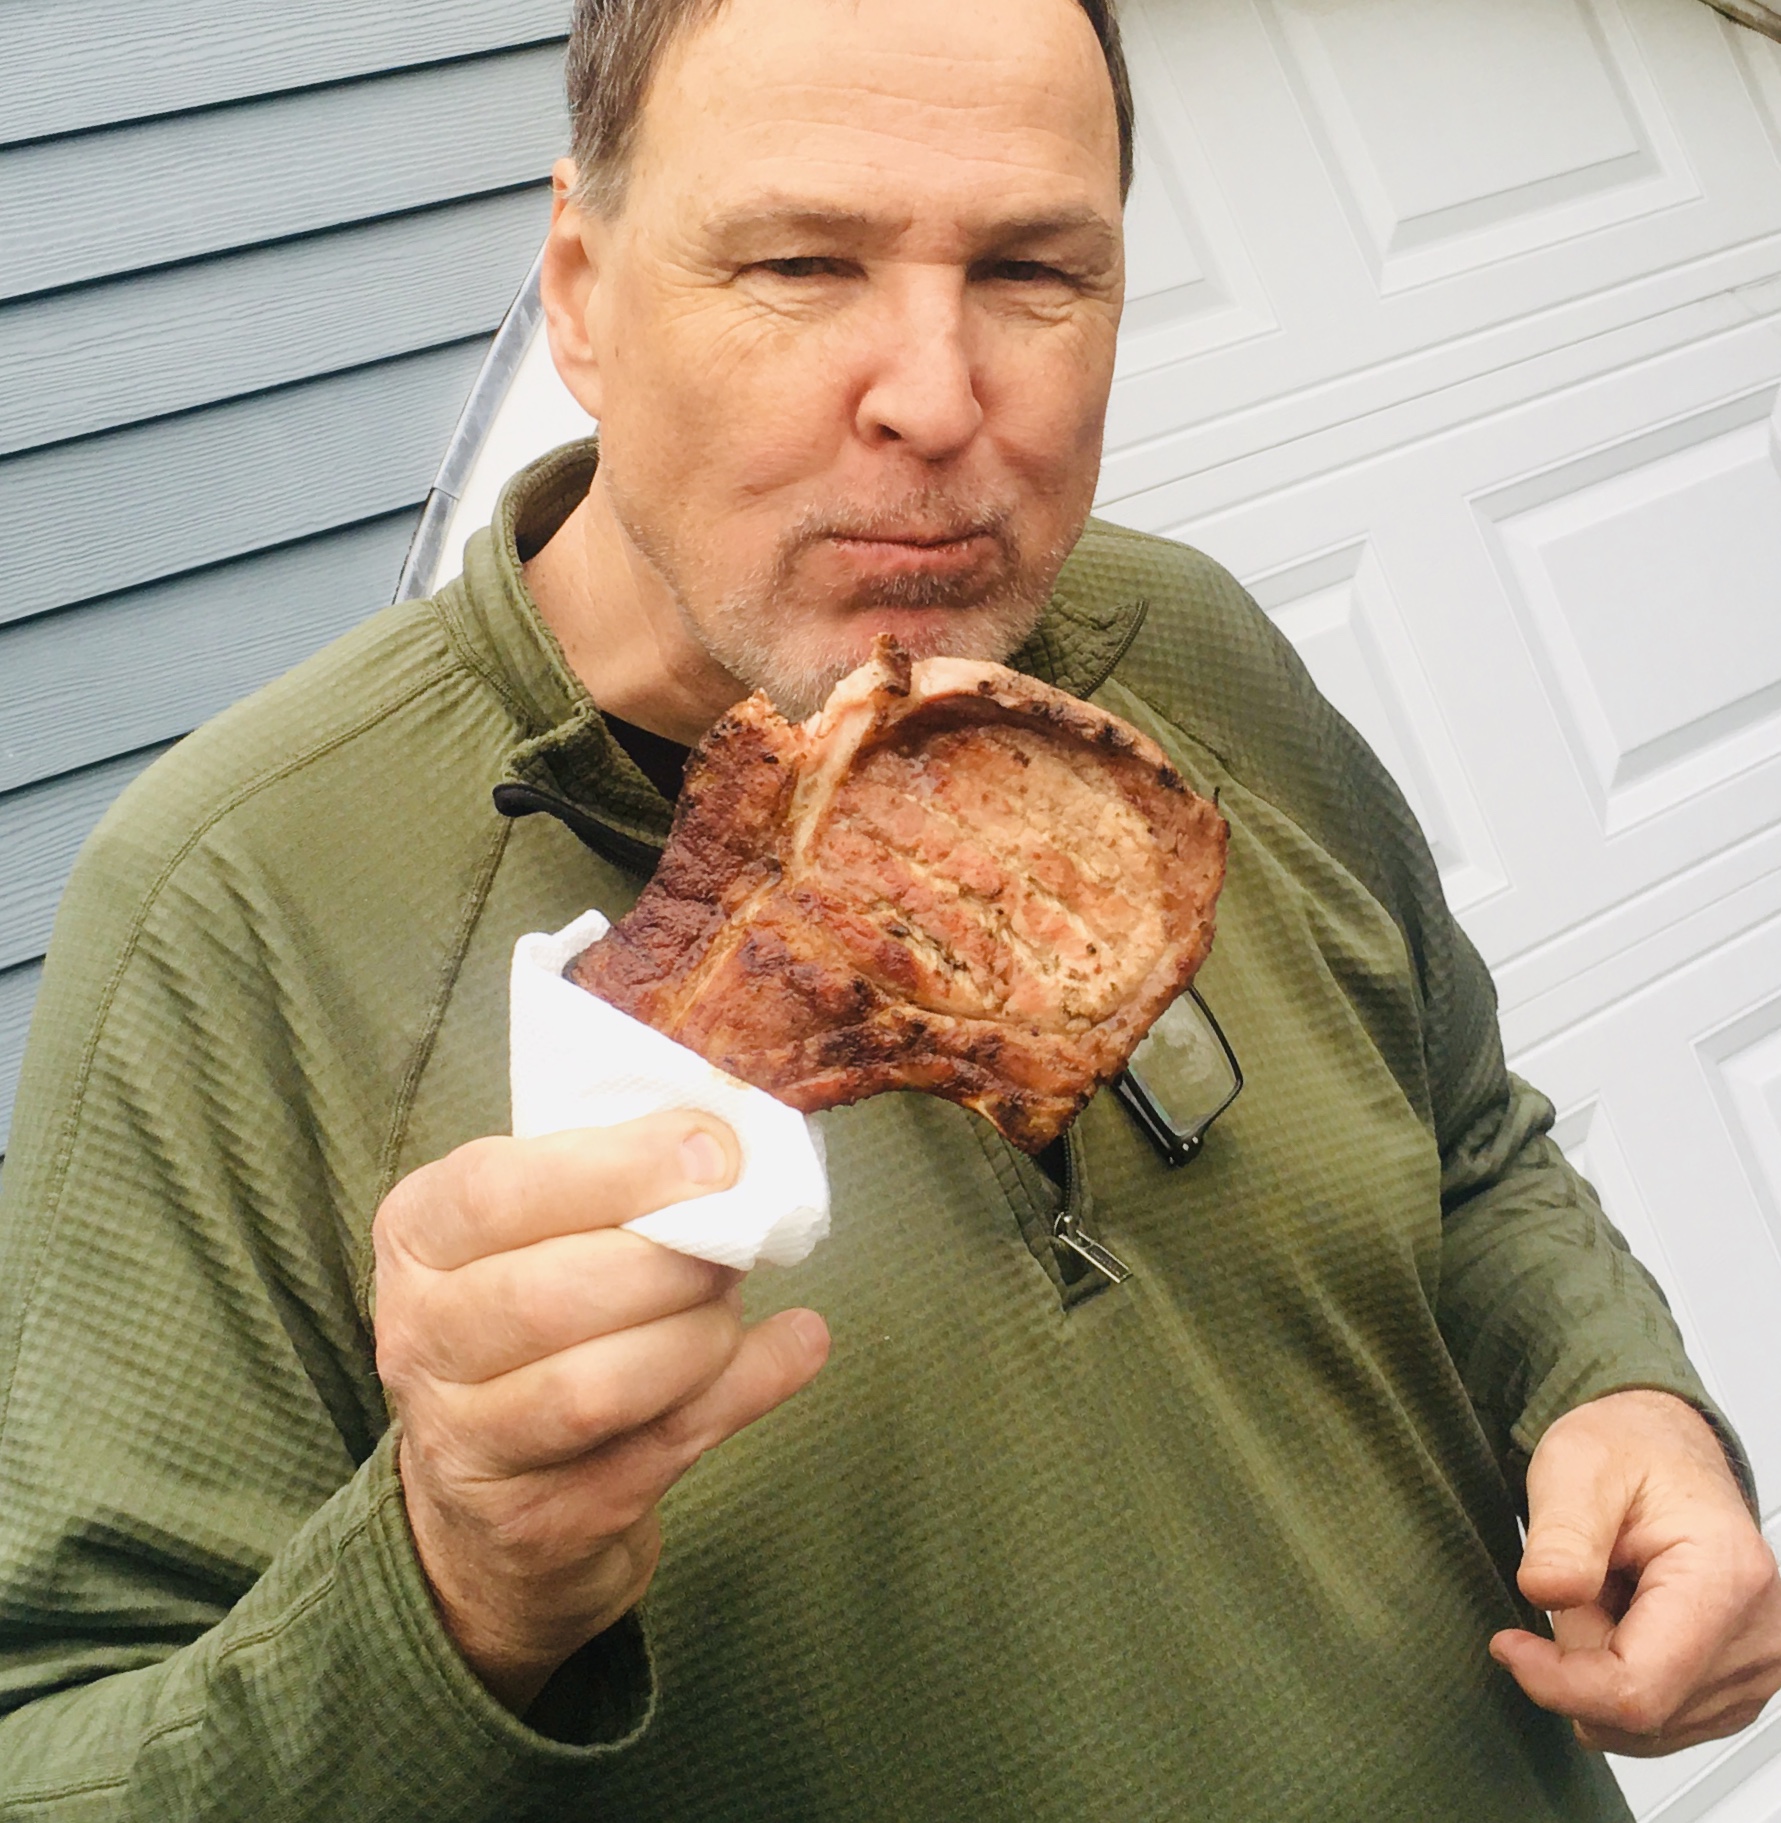
“Cope” chops are the creation of my long-time radio buddy, Marc Coppola, who can be heard from Cape Cod to California. Cope and I started in radio at WBAB on Long Island back in the early 80’s. He had the afternoon drive shift, and I was on after him from 7 to midnight. After his show, Cope would remove a hibachi grill out of the trunk of his car, light some charcoal in the radio station parking lot, and he’d grill up the most amazing pork chops I’ve ever had. They were thin, but juicy and beautifully charred, with a wonderful saltiness. He called ’em “Cope chops,” and we’d eat them by the stack, wrapping the hot bone of the chop with a paper towel, and then just chowing down. It was a great memory, and one that I regularly re-live by grilling Cope chops at home even today.

After three decades, I’m not sure if my Cope chop recipe is the same as the original, but they are damn good and incredibly easy to make.

Ironically, for this recipe, I don’t go all out and spend big money on thick, expensive pork chops. I want them thin, fatty and with the bone in. This is not a low-and-slow process: the secret to the success of these chops is to cook them hot and fast, sealing in the juices.


Thin-cut pork chops
Dry white wine (I use an unoaked inexpensive chardonnay; many Australian brands to choose from)
Lawry’s seasoned salt

Place the pork chops in a flat bowl, and pour the wine over the top, making sure you cover the chops. Let them marinate for at least an hour at room temperature, flipping them over halfway through so that all sides get covered by the wine.

Light a hot hardwood charcoal fire.

Pour off the wine from the chops and discard. Place the chops on the hot grill and season the top with the Lawry’s seasoned salt. Once they’ve charred nicely, flip the chops over and season the other side. Grill until the chops are cooked all the way through, but not dry. Serve immediately.

The proper way to eat a Cope chop: wrap the bone in a paper towel and chow down!

True: the inspiration behind this dish was a conversation I had with friends, talking about our early childhood days. Someone brought up the name Shari Lewis, and her famous puppet Lamb Chop. Next thing I knew, I was grilling the critter in my yard.

This is a great grilled lamb recipe that works best if you marinate it ahead of time, but it’s not absolutely necessary. Cook it indoors or outside on the grill. I use grapefruit zest and juice in the recipe, but any citrus you like will work.

American lamb is different from lamb raised in New Zealand or Australia. If you like a milder flavor, go with the American lamb. Lamb from New Zealand and Australia is entirely grass-fed, making for a stronger “gamier” flavor but a healthier cut of meat, as all grass-fed meat products are.


L2


6–8 small lamb chops
1/4 cup brown mustard (I like Gulden’s)
Zest of 1 grapefruit
1 tablespoon grapefruit juice
1 tablespoon honey
1 teaspoon garlic salt
1/4 teaspoon black pepper
1/4 teaspoon dried thyme


In a bowl, combine the mustard, grapefruit zest and juice, honey, garlic salt, pepper, and thyme. Mix well.

Place the lamb pieces in a  Ziploc bag and pour the marinade in, sealing the bag well. Squish the bag around gently to make sure the marinade makes contact with all the meat surfaces. Marinate at least 1 hour at room temperature, or longer in the fridge.

Pre-heat a hardwood charcoal grill…or if cooking indoors, pre-heat the oven to 350, and on the stove top, heat an oven-proof pan (cast iron is best) with a little pork fat or oil.

After marinating, remove the lamb pieces from the bag and save the marinade to baste with while cooking. (Don’t use the marinade uncooked, since it made contact with raw meat.)

On the grill: Grill the lamb on all sides first, then start brushing the marinade on them, flipping them, brushing again, and grilling. Keep doing this until you’ve used up all the marinade and the lamb is cooked to proper doneness. Don’t overcook it!

In the pan: Sear the lamb on all sides, then brush all sides with the marinade. Place the lamb in the oven to finish cooking, making sure you don’t overcook it. Let it rest before serving.


image

My 12-year-old daughter’s at the age where she’s fascinated by the world of music. Working in radio, I’m lucky that I’m able to offer her some great experiences. Thanks to my boss, Rob, the man with all the connections, she got to meet her favorite band, AJR. She went backstage and met the guys from Imagine Dragons. She received a hand-written birthday greeting from Brendan Urie of Panic! at the Disco.

I saw my first concert at the age of 17. It was Three Dog Night and T.Rex at the Nassau Coliseum on Long Island. My daughter has already seen more concerts than I did in my teens.

As touristy as they are (and as mediocre as the food is), Hard Rock Cafes and their walls full of pictures, guitars, photos and other memorabilia, offer a glimpse into the world of music that fascinates my daughter. Once she visited her first Hard Rock, the world’s largest at Universal Studios in Orlando, Florida, she was hooked. If we were traveling anywhere near a Hard Rock Cafe, we had to go.

The Hard Rock at Universal was followed by New York City, Washington DC, the Cayman Islands, Paris, and Reykjavik. Yet we never made to the one in Boston, closest to our home in Rhode Island. It was time to go.

Hard Rock Cafe, Boston.


Our stay in Boston began with lunch at the Hard Rock Cafe, near Fanuel Hall. Nothing particularly amazing about the venue, but we could now scratch it off the list.

I clearly don’t know what the hell I’m doing.


Because our main point of going to Boston was to visit the New England Aquarium, I chose to get a room at the Marriott Long Wharf Hotel, located right on the water and literally a few steps from the aquarium. The area around Long Wharf includes many restaurant and shopping choices.

The Marriott Long Wharf is a huge hotel, and I was surprised at just how clean the property was, despite the vast numbers of people who were moving through the lobby and hallways. Our room was clean and technologically up-to-date: everything you’d want in a hotel room. Beds were comfortable, towels were plentiful.

The only complaint I had about our hotel is one that I have with most of the Marriotts and Westins that I’ve been to recently. They’ve decided to make the move away from old-fashioned room service with carts, real plates and silverware, and decent food. Now they all offer what amounts to take-out service. You get a bag full of cardboard boxes that contain your meals….paper napkins…plastic utensils…and crappy food. I highly doubt all of this gets recycled. So in a world where we’re supposed to be thinking about how not to overload our landfills, these guys came up with the idea to make everything disposable. Really dumb. Goes without saying that we didn’t eat at the hotel.

No carts. No fuss. No thanks.


The New England Aquarium is a great place to take the family and see penguins up close. We arrived at feeding time, and it was fun to watch them eat; some of them fussy, some of them devouring their offerings of fish. The center of the building is a spiral, and inside the spiral is a huge 4-story aquarium. So as you slowly walk up the spiral, you get a constantly changing view of the aquarium and the thousands of fish and other sea life (manta rays, tortoises, sea horses, jellyfish, starfish, eels, seals, and lots more that thrive there. Again, you might be lucky to catch them at feeding time, when workers in scuba gear swim down to the different groups of fish and make sure they get fed.

One note: buy your tickets online before you go. The outdoor line for last-minute ticket buyers was huge, and we visited on a bone-chilling winter’s day. Those people standing in line were very unhappy. We just walked right in with our online printed tickets.


The Red Lantern in Boston.


We don’t have many great Asian restaurant choices in Rhode Island, so when we go to Boston, it’s almost always on our list. This time, we decided to skip Chinatown and go to a restaurant that was as much about the atmosphere as it was about the food: The Red Lantern. Great music, cool lighting, awesome design, very good food and a huge cocktail menu. My daughter had miso soup and a massive delicious bowl of beef lo mein. I shoved a few large chopstick-fulls into my mouth “for blogging purposes.” Really good. I started with a plate of boneless ribs, sweet and sticky. My main dish was a huge spicy tuna toro maki roll: a tempura fried roll with avocado, cucumber, chili soy and toro tuna, slightly torched. Over the top. The Red Lantern has a beautiful bar, and my original mai-tai was well-made, though very sweet.

Dessert selections weren’t what we wanted…and we needed a breather…so we Ubered over to Newbury Street, where we found a wonderful gelato shop: Amorino. It’s an Italian chain, and they know how to do gelato!

I suppose if I wasn’t hanging out with my daughter, I’d take this opportunity to go to a bar for one last cocktail, but instead, we just went back to the hotel and focused on the next day, thinking we’d hit the indoor pool. Turns out it wasn’t a great idea, because the pool last the Marriott Long Wharf was really small and full of screaming little kids. Plan B: find a really great Sunday brunch.

Mooo, in Boston.


Mooo is a steak restaurant inside the beautiful XV Beacon Hotel, on historic Beacon Street. As I was searching for brunch possibilities, I saw the tempting list of freshly-baked treats on their menu, very different from those offered elsewhere, and I knew this was where we needed to go. We were not disappointed!

Ordering the cinnamon buns was a no-brainer. The moment they say on the menu that you “need to give it a little extra time,” you know it’s going to be worth the wait! as we slowly pulled apart the gooey rolls, shoving them into mouth, I moaned like Patton Oswalt in The Secret Life of Walter Mitty: “Cinnnabonnnn……” (Though it was way better than any Cinnabon I ever head!)

The incredible cinnamon buns at Mooo.


My daughter knew almost instantly that she was going to have the chocolate chip pancakes…with a side of bacon, of course. I was contemplating the lobster eggs Benedict (I’m a huge fan of bennies), but then I said to myself: “Wait…this is a steak restaurant. They have half-a-dozen steak and eggs offerings on the menu. Have a steak, for crying out loud!” My inner voice served me well.

I had a choice of 2 ribeyes: either a 12-oz. American corn-fed ribeye, or a 14-oz. pastured, grass-fed Australian ribeye. I’m a grass-fed guy, so the larger Australian ribeye (which was also less expensive) was a no-brainer. It was cooked to a perfect medium-rare, and was one of the best steaks I’ve had in a very long time. A couple of eggs and a side of perfectly cooked potatoes made for an ideal meal.

Brunch is served!


Mooo was such a great choice for brunch that I will keep it in mind for dinner on a return trip to Boston.


We returned to our hotel after brunch, simply to pack up and head home. A nice 24-hour getaway with wonderful food and a fun time with my daughter. I know my daughter and I will be back in June to see a Billie Eilish concert at the Rockland Trust Bank Pavilion, so we’ll have more opportunities to hit a couple of restaurants, this time in the Seaport District, which, sadly, is being overrun by so much new construction that you can’t even see the water anymore. It’s sad because Boston’s traffic has just been rated the worst in the country, and this will only add to a crumbling infrastructure that is already overloaded.