Archive for the ‘grilling’ Category

There are few things that make me happier than a plateful of really tasty chicken wings. If I watched football, I could easily finish a plate off within the first quarter of the game. I don’t though (watch football, that is) so let’s just say I can finish a plate off before the credits roll on the end of an episode of “Chef’s Table” on Netflix. That’s right…I’m bad.

I come from a long line of gnawers. Nothing is better than meat on a bone. A porterhouse is the ultimate steak for that very reason. So nothing bothers me more than someone who orders a plate of chicken wings and leaves all that tasty gristle and cartilage–along with some serious meat–behind. What is that? When I finish my wings, I walk my plate over to the trash can and drop a pile of surgically cleaned bones into the bag…not a bit left behind. One look at that pile of clean bones, and even my dog high-fives me.

Brining is a process where you soak a hunk of protein in a seasoned salt solution for a few hours. It’s a great way to add flavor and moisture to any cut of meat. I brined these wings for 3 hours before using a sweet and spicy rub. They can be grilled or roasted in the oven.

image

The brine…

1/2 cup Kosher salt
3 tablespoons light brown sugar
1 teaspoon whole black peppercorns
1 whole bay leaf
2 quarts water

Combine all ingredients in a saucepan and heat until the sugar and salt dissolve. Remove from heat, and let it cool to room temperature.

The rub…

1/4 cup light brown sugar
1/4 cup granulated sugar
1/4 cup sweet paprika
1 tablespoon Kosher salt
1 tablespoon granulated onion
2 teaspoons black pepper
1 teaspoon dried thyme
1 teaspoon dry mustard
1 teaspoon ground ginger
1 teaspoon cayenne pepper

Combine all the rub ingredients in a bowl.

Place 3 lbs. of chicken wings in a Ziploc bag and pour the cooled brine into the bag. Place the bag in a bowl to prevent leaks and place it in the fridge for several hours.

After a few hours, remove the chicken from the brine and dry the wings with paper towels. Discard the brine.

Place the chicken wings in a large bowl and sprinkle them with 1/3 cup of the rub, tossing to coat the chicken well. Place the bowl with the chicken in the fridge until ready to cook.

About 30 minutes before cooking, remove the bowl from the fridge and let the chicken come to room temperature.
Pre-heat the oven to 350 or light a grill.

Toss the chicken with some more of the rub, if you like, then place the pieces on a sheet pan lined with non-stick aluminum foil or a wire rack. Bake at 350 for 30 minutes or until done. Lower the oven temperature if it starts to burn.

If you’re grilling, cook the wings over medium heat, turning frequently them to prevent burning. Cook until the wings are done.

Sometimes I’ll do a combination of the two and I’ll cook the wings in the oven until they’re almost done. Then I’ll throw them on a grill to get that smokey char on them, flipping them often to prevent burning.


If I’m at a steakhouse and craving beef, I’ll usually order a cut like porterhouse or ribeye…great cuts of meat that need nothing more than a little salt and pepper, and a skillful grillmaster. The prep on that slab of meat before it even hits the grill has already been done: carving, dry-aging, trimming.

At home, we eat only humanely raised grass-fed beef. It’s expensive, so we buy the cuts that cost less, but need a bit of TLC before cooking. A cut like beef flap, which comes from the bottom sirloin butt (the back of the animal), looks like a skirt steak, a hanger steak, or a flank steak because of its thinness, but each comes from a different part of the animal.

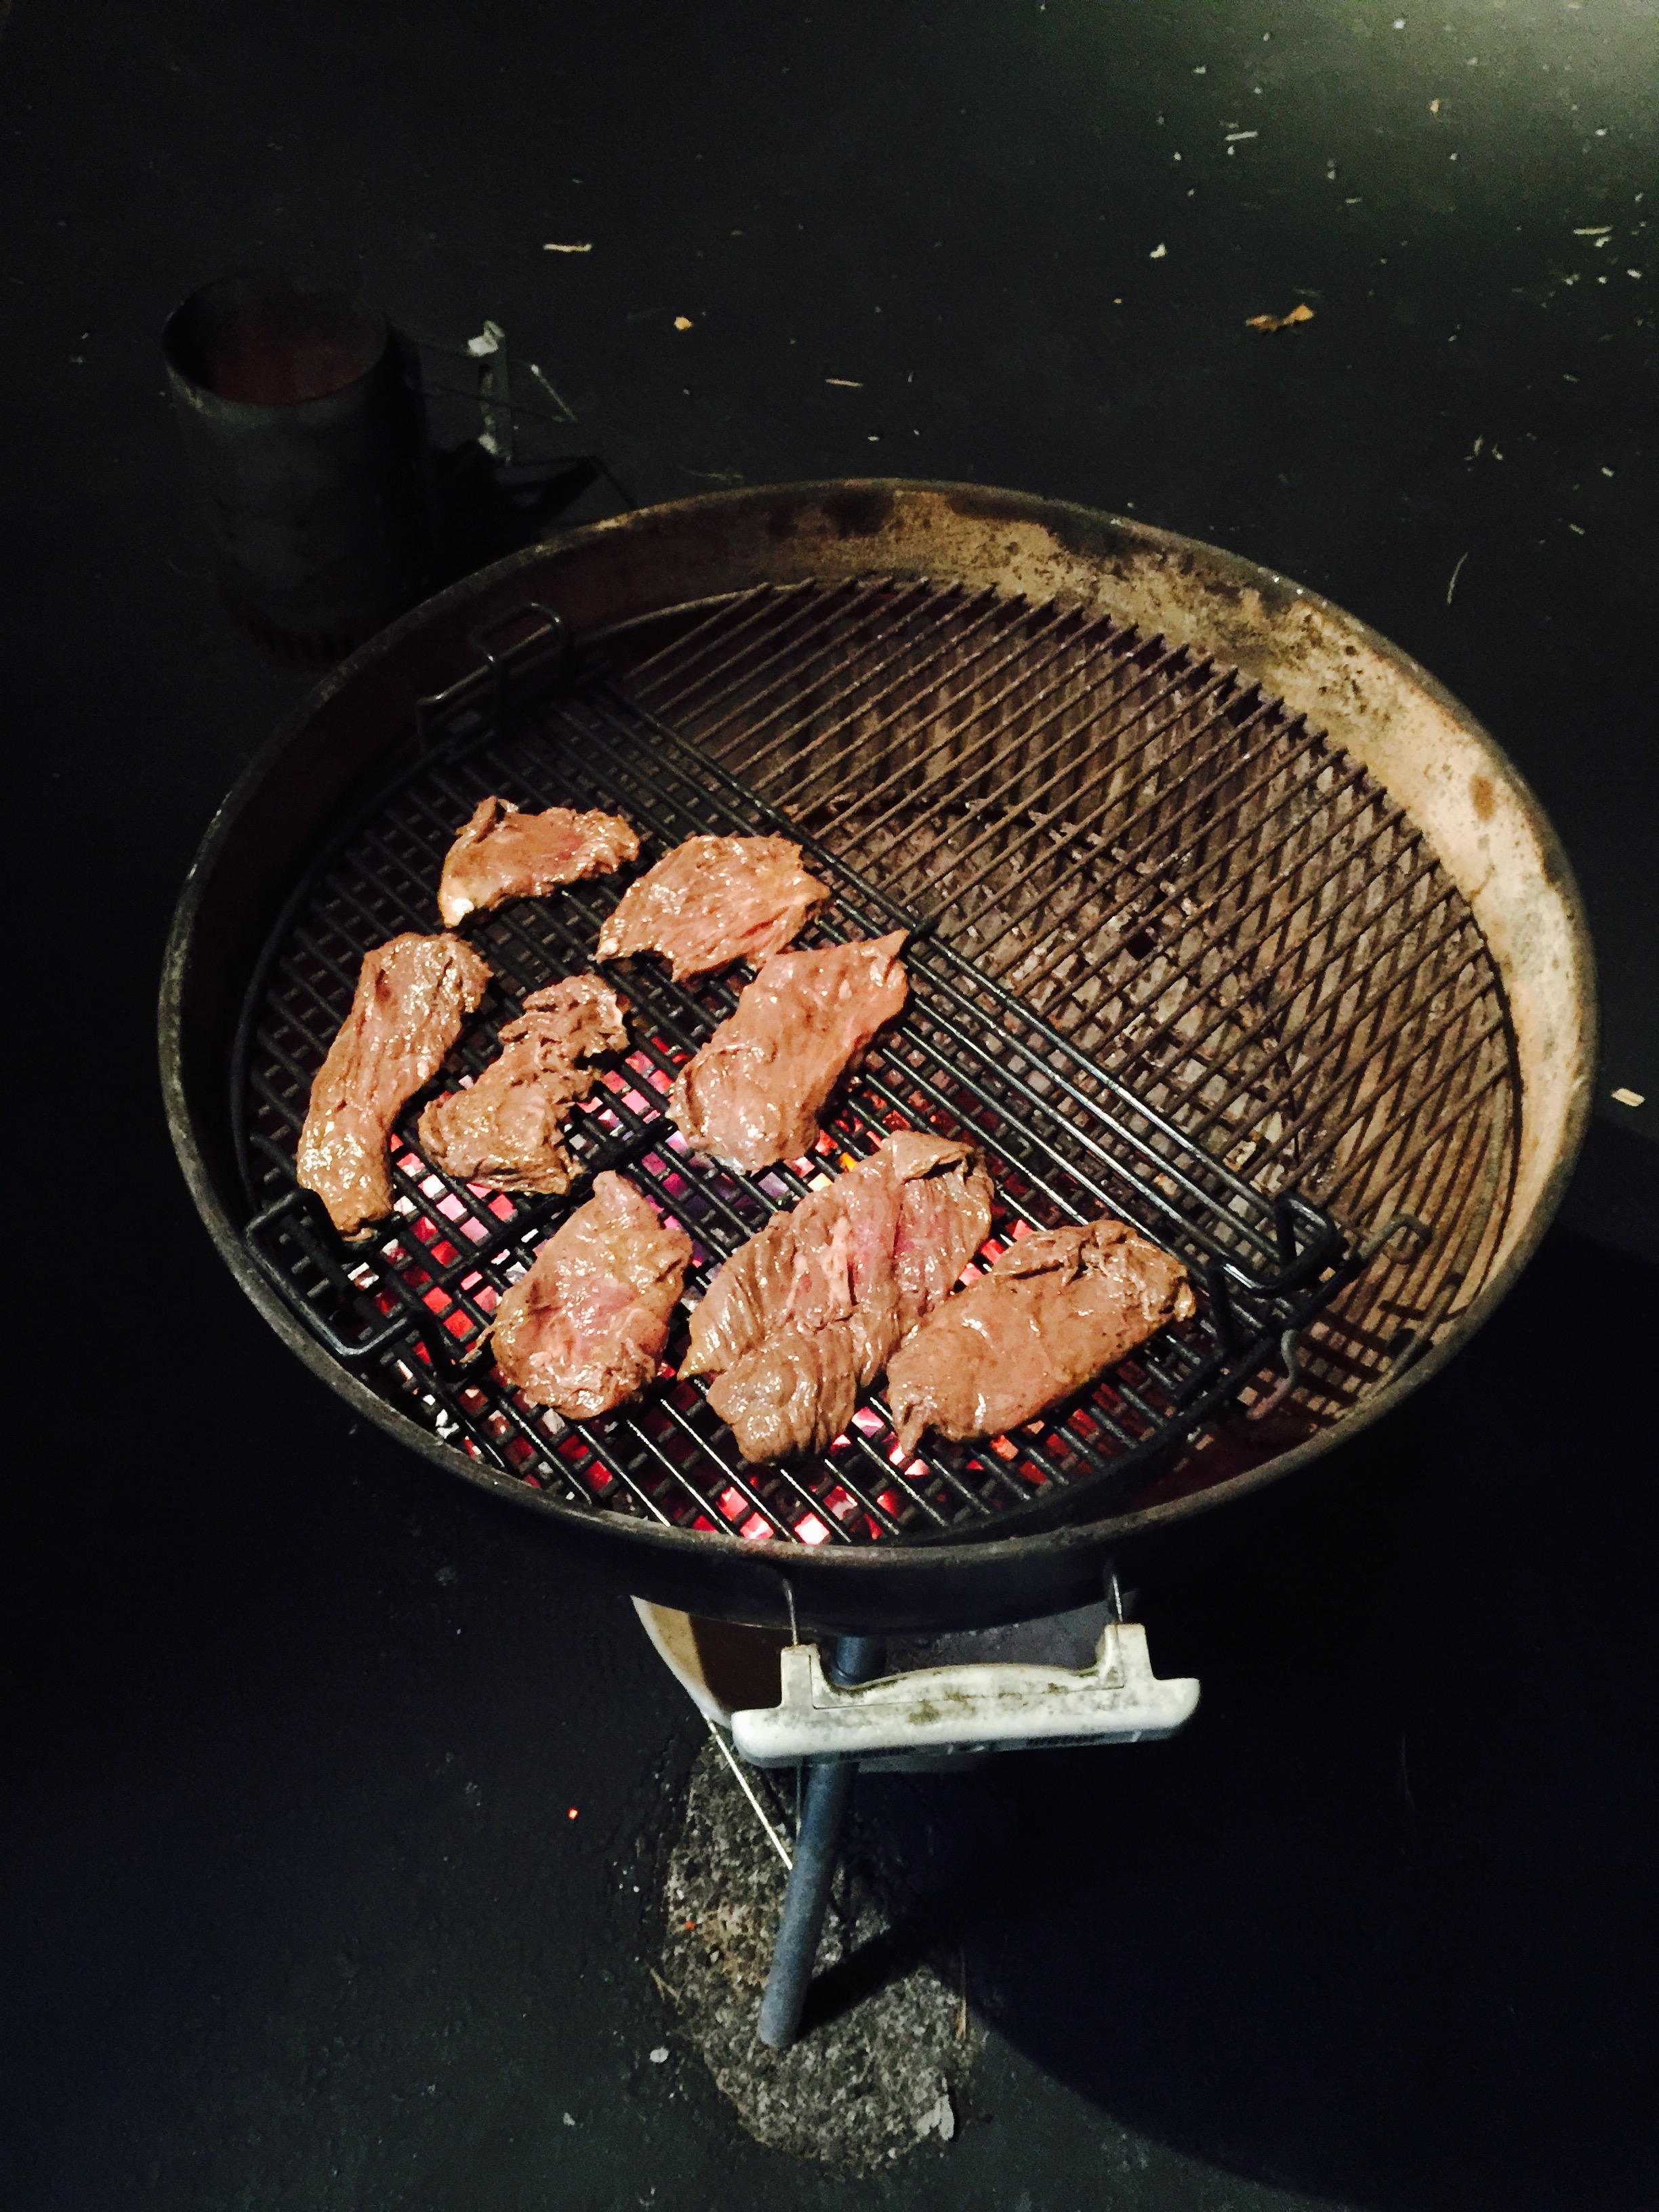
Though the beef flap is somewhat thin, I will often slice it lengthwise into two thinner pieces, because the meat’s thickness often varies, which can give you uneven cooking. I like to cook it hot and fast on a hardwood fire grill, but still keep it medium-rare. If the weather is really unforgiving, searing the beef in a cast iron skillet and finishing it in the oven works well, too.

Marinades are the key to tenderizing and flavoring tougher or cheaper cuts of meat. What you put in your marinade really depends on what flavors you like.

The recipes below are for 3 to 5 lbs. of beef. I always make more, because leftover marinated grilled beef makes an awesome steak and egg breakfast the next day!

A cold winter's night is no excuse not to grill!

A cold winter’s night is no excuse not to grill!


The instructions with all of these marinades is basically the same: combine all the ingredients in a bowl. Cut the beef flap (or whatever cut you’re using) to a manageable size so that it fits a gallon-sized Ziploc bag easily. (Smaller, thinner pieces will also absorb the marinade better.) Place the beef in the bag, and then pour the marinade into the bag. Squeeze the excess air out and seal the bag. Gently squish the bag around so that the marinade makes contact with all the meat. Place the bag in a bowl in the fridge overnight, squishing the bag every few hours to make sure the marinade penetrates the meat. The bowl will prevent any accidents from happening in your fridge in case the bag leaks. The next day, remove the bag from the fridge and let it come to room temperature before grilling the meat. Discard the leftover marinade.

ALZ MARINADE #355
1/4 cup olive oil
1 lemon, zest and juice
1 tablespoon Worcestershire sauce
1 tablespoon soy sauce
1 teaspoon garlic salt
1 teaspoon Dijon mustard

Combine the ingredients. Marinate the meat overnight in the fridge or several hours at room temperature. Grill.


Marinating beef flap.

Marinating beef flap.


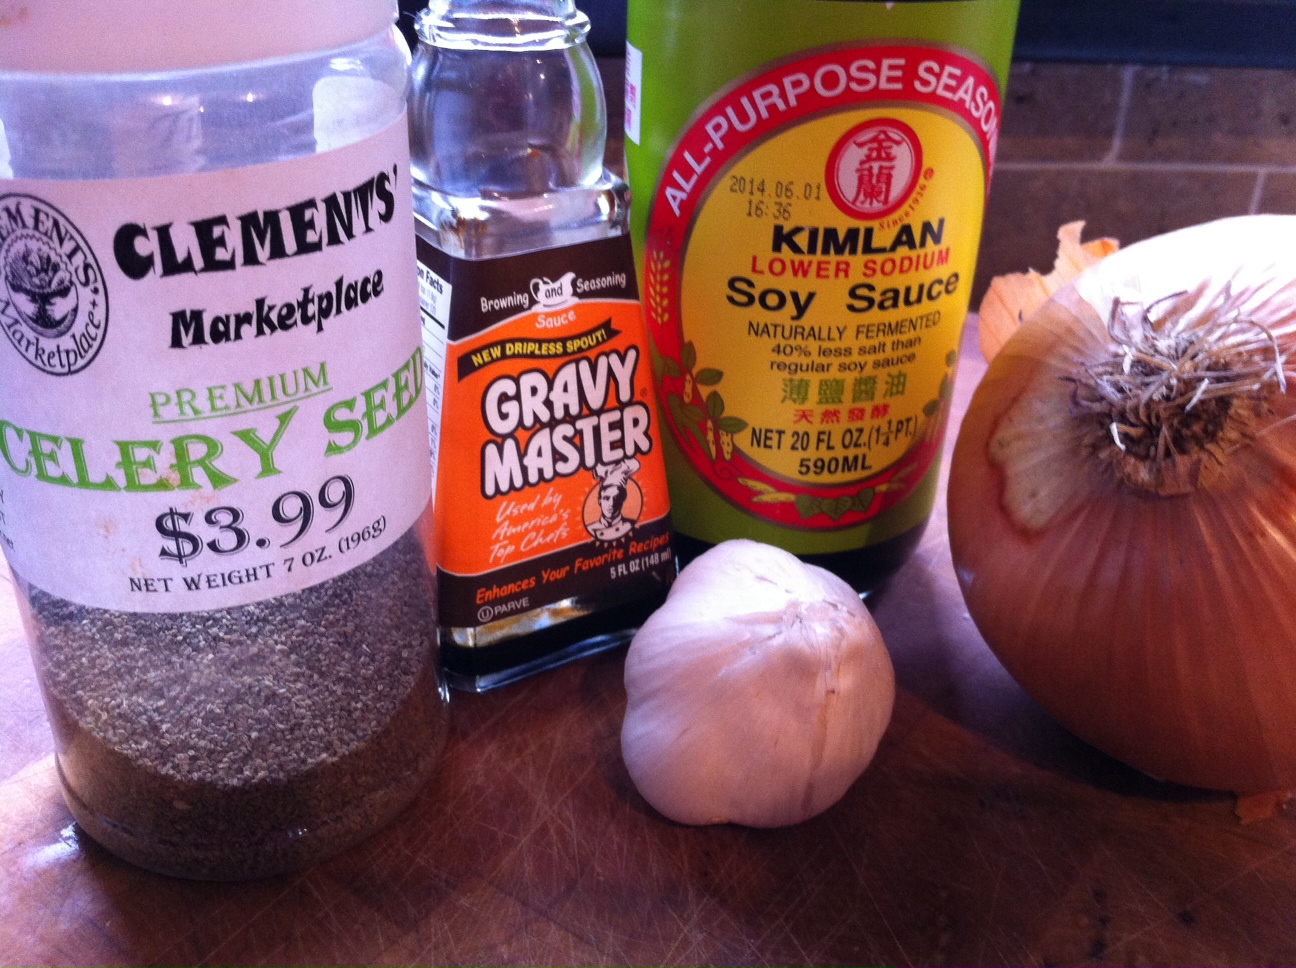
On the North Fork of Long Island, in the middle of wine country, there’s a restaurant that’s been around for a long time: a sort of hole-in-the-wall place you might not think twice about visiting, unless you hear that they’ve got a special secret marinade for their beef. The place is called The Elbow Room (I think they’ve expanded to a second or third location by now), and though I wasn’t impressed by the quality of their beef, I was impressed with its flavor. Here, with the help of friends, is what we think comes as close to that marinade as we can get. Gravymaster is a product you can find in any supermarket, usually in the gravy section. This marinade also works well with beef tips or a London broil.


ingredients

1 cup soy sauce
1/4 cup Gravymaster
2 large Vidalia onions
2 cloves of garlic
2 teaspoons celery seed
1/2 teaspoon black pepper

Combine the onions and garlic in a large food processor and purée. Add the remaining ingredients and run the processor until it’s smooth and sort of resembles root beer (below.)

marinade


Marinate the meat overnight in the fridge or for several hours at room temperature. Grill. Awesome with beef sirloin tips (below.)


beef-tips


This incredibly simple marinade falls into the “Italian” category. You could almost use it as an Italian dressing on salads, but it works really well as a marinade for beef.

1/2 cup olive oil
1/4 cup balsamic vinegar
2 teaspoons Kosher salt
1 teaspoon pepper

The balsamic vinegar I use is not the expensive aged stuff that costs a fortune. It’s the $9-a-bottle stuff you can find in any supermarket. Simply combine the ingredients. Marinate the meat in the fridge overnight or for several hours at room temperature. Grill.


I always get asked if I deep-fry my turkey for Thanksgiving. I had deep-fried turkey when I lived in the South, and for me, it’s way too much work for mediocre results. First, you need to find a safe spot in the yard to blast the propane-fueled fryer so you don’t burn your house down. Then you need to stand outside and freeze your butt off while it fries, while your friends and family are all indoors having cocktails. Then you need to get rid of gallons of used oil, and clean up a huge mess at the end of it all. And through all this, you need to make sure the oil is at the right temperature so you don’t get a scorched turkey on the outside and a raw turkey on the inside.

No, thanks.

I get great results by cooking my turkey in my Weber grill. I’ve cooked it this way every Thanksgiving for about 25 years. The standard Weber allows me to cook up to a 15 lb. bird–big enough for my purposes–and it comes out crispy, smokey and delicious. If you’re afraid to try this for the first time at Thanksgiving when it really matters, buy a turkey on sale right after Thanksgiving and freeze it, then wait a few months and try it out.

Or be bold! Go for the gusto the first time around. I did it that way and I never looked back.


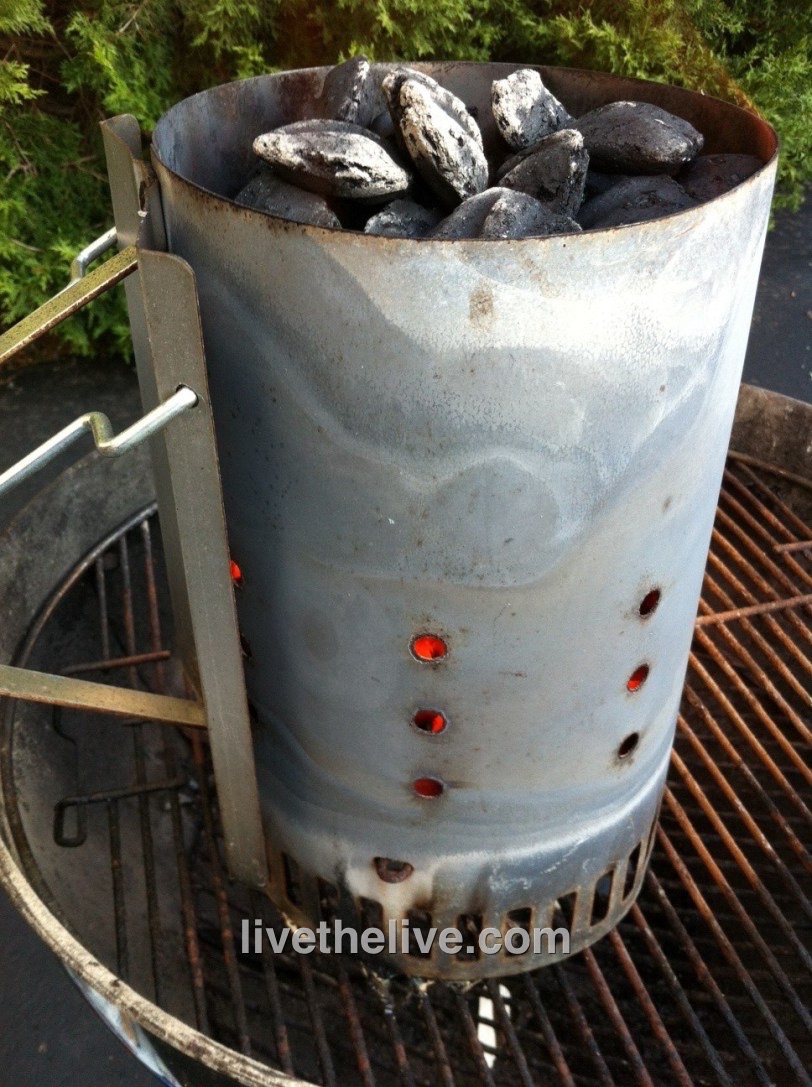
The charcoal chimney with hot coals awaits.

The charcoal chimney with hot coals awaits.


Although I’ve stopped using charcoal briquettes for basic grilling a long time ago, and now strictly use natural hardwood charcoal, this recipe works best with Kingsford briquettes. They burn slowly and evenly. I never use lighter fluid…I always start my fire with a few pieces of crumbled newspaper under a charcoal chimney.


The tools you need:
A Weber grill, with the dome top
Kingsford charcoal briquettes (do not use Match Lite or other pre-soaked briquettes)
A charcoal chimney, easily found at Home Depot or Lowe’s
A heavy-duty disposable aluminum pan


Ingredients:
Whole turkey, up to 15 lbs., thawed and brined (see my previous blog about brining a turkey)
Olive oil (to rub on the turkey)
2 yellow onions, chopped
4 stalks of celery, chopped
½ lb. (2 sticks) of unsalted butter, melted
1 tablespoon granulated garlic
1 tablespoon granulated onion
2 tablespoons salt
1 tablespoon pepper


Spreading the coals away from the center of the grill.

Spreading the coals away from the center of the grill.


If you want stuffing, it’s always wise to make it separately and cook it separately.

Light 8 to 10 lbs. of charcoal in the grill…depending on the size of the turkey and how cold it is outside.

If you brined the turkey first, you’ve already removed the giblets. If you’re not brining, go ahead remove the giblets from the thawed bird now. Place the turkey in the aluminum pan.

In a small bowl, mix the granulated garlic, granulated onion, salt, and pepper. (Definitely add any other seasonings you might like.)

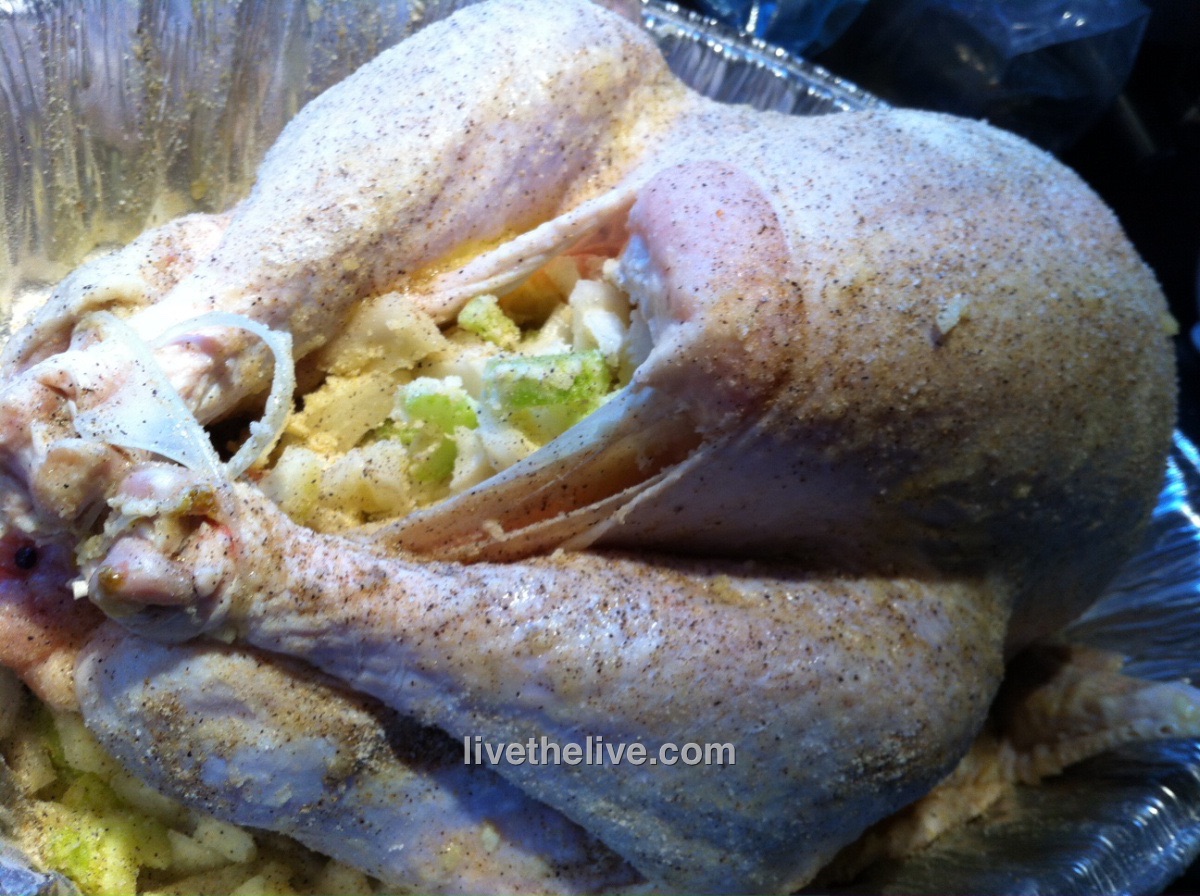
Coarsely chop the onions and celery. Place them in a another bowl. Mix them with the melted butter and 1/3 of the garlic/onion/salt/pepper mixture. Place a small handful of this onion and celery “stuffing” mixture in the neck cavity of the turkey. Place the rest in the body cavity (where the stuffing would usually go.) You can fasten the bird with turkey skewers if you like. This “stuffing” is strictly to flavor the turkey…you don’t eat it!


The rubbed, stuffed and seasoned bird.

The rubbed, stuffed and seasoned bird.


Rub the outside of the entire turkey with the olive oil and sprinkle the rest of the garlic/onion/salt/pepper mixture on the outside of the bird. Make sure you get the bird on the bottom as well.

When the coals in the grill have ashed over, spread them to the outside edges of the Weber grill equally. Put the cooking grill rack in place. Place the aluminum pan with the turkey in the center of the grill, keeping it away from the direct heat of the coals. If you’re using a meat thermometer, insert the probe into the thickest part of the breast, being careful not to hit the bone. Place the lid on the grill. (You may need to bend your aluminum pan a bit.) Open the vents on the bottom of the Weber as well as the vents on the lid. It’s important to get air circulating!


My meat thermometer calls me from as far as 100 feet away! Time for a cocktail!

My meat thermometer calls me from as far as 100 feet away! Time to join family and friends for a cocktail!


No basting is necessary.

Now here’s the tough part: DO NOT OPEN THE GRILL TO CHECK ON THE TURKEY! (If you must look, shine a flashlight into the vent holes on the lid to take a peek at the pop-up timer, if there is one.) The whole point is to keep the heat inside the kettle. You’ll know your turkey is done when no more smoke or heat rises from the grill, and the turkey inside stops making sizzling noises.

And believe it or not, a 15-lb. turkey will be cooked in about 2 hours!

Remove the turkey and let it rest at least 15 minutes before carving. I like to wrap it in aluminum foil as it rests.


Beautifully grilled, and perfectly cooked in less than 2 hours!

Beautifully grilled, and perfectly cooked in less than 2 hours!


The side dishes for Thanksgiving are as important as the main course. I love serving my Oysters Rock-a-Fellow before dinner starts. (https://livethelive.com/2018/11/01/oysters-rock-a-fellow-improved/)
Next time, I’ll share my recipe for another delicious side dish: butternut squash with cranberries!

So I’m watching a video of Andrew Zimmern grilling chicken wings using an apricot-mustard glaze after he marinated them in yogurt and threw them on a hot grill. They looked amazing. But I had ribs already thawed in my fridge (Curve ball 1).  I thought: How bad could this recipe be on pork? I gave it a shot.

Apricot-mustard glaze…
1/2 cup apricot preserves
1/2 cup mustard (I used Gulden’s, but Dijon works well, too)

Combine the ingredients in a bowl, whisking them together. Set it aside.


I got a large bowl out, and cut the ribs into smaller pieces, about 3 ribs per piece. I placed them in the bowl, threw in about a 1/2 cup of plain yogurt, and mixed it around until all sides of the ribs were coated. I let the ribs stand this way at room temperature for about an hour, while I headed to the grill to set it up.
 

The plan was to light a decent amount of coals that would ash over and then be pushed to one side of the grill, placing the ribs over indirect heat on the other side. They would cook this way until done, with a nice grilled smokey char on the edges.


That’s the little mouse home on the left.

Unfortunately, when I opened my grill, I found that a family of mice had made themselves a happy home inside my grill, and I didn’t have the heart to toss them out, babies and all. (Curve ball 2.)  So I needed to find another way to cook the ribs. I headed to my smoker.

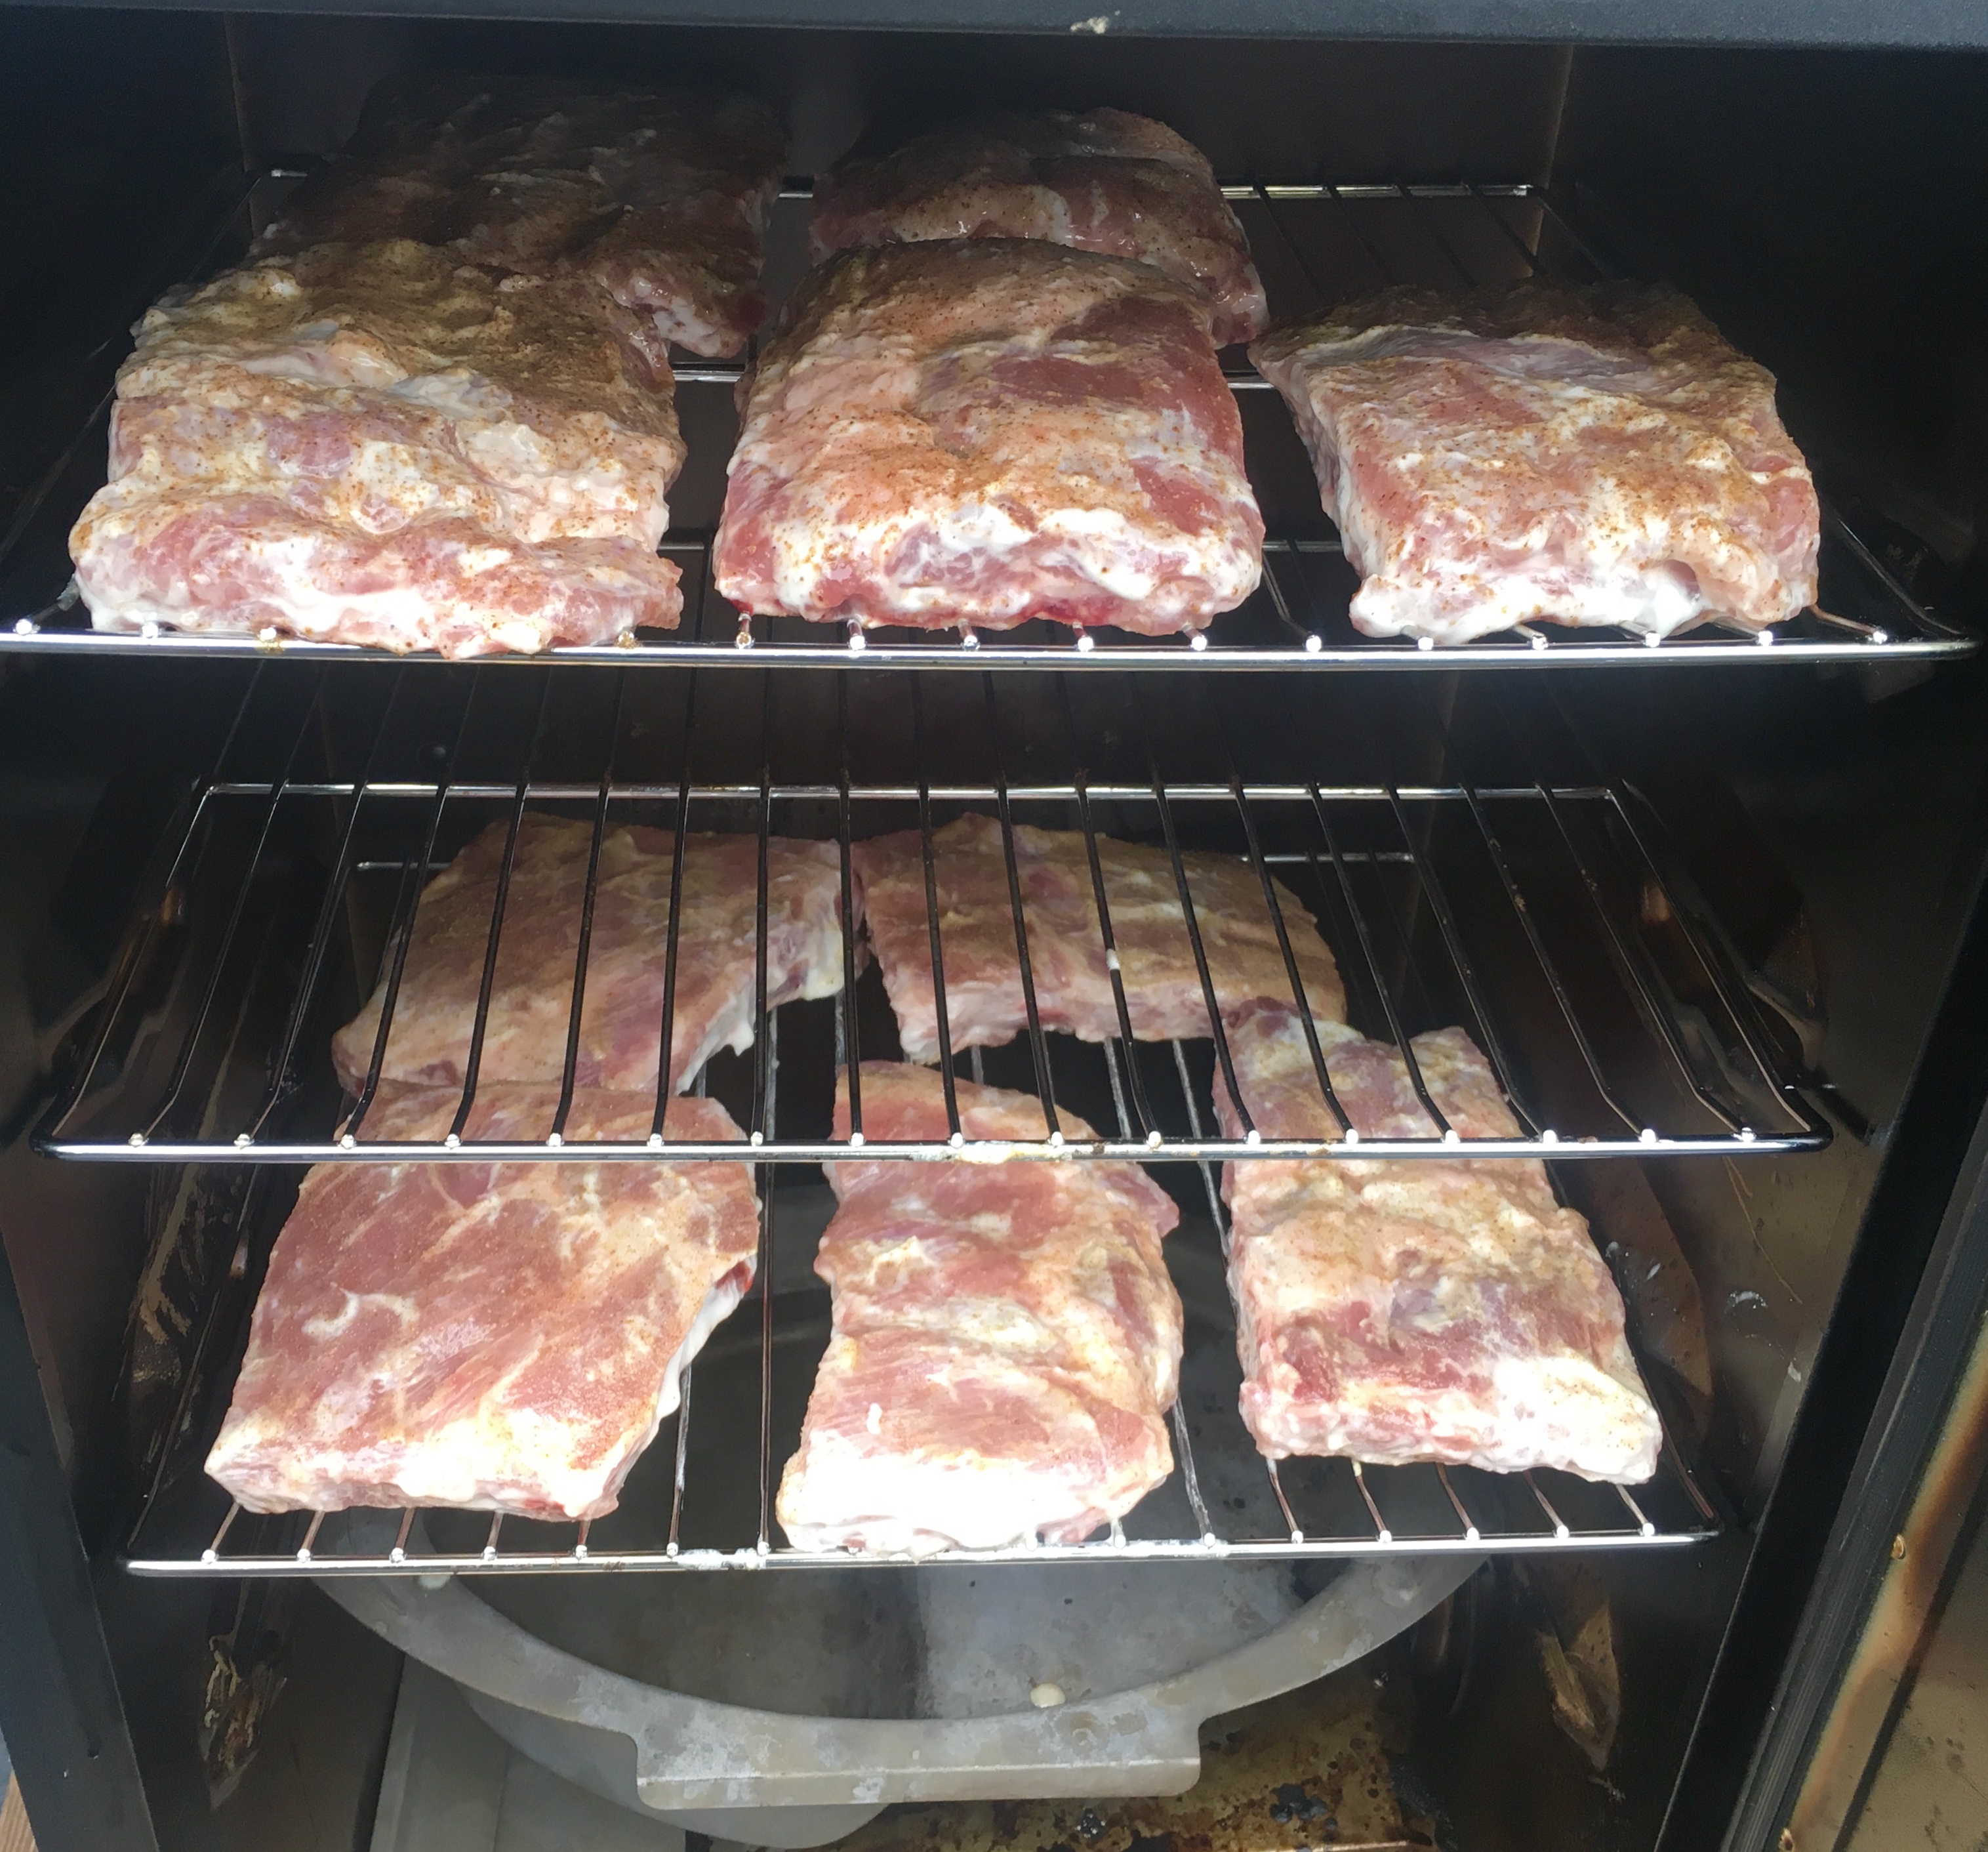
I have an electric digital smoker, which allows me to set the temperature and basically walk away, only returning to add smoking chips every hour so. I set the temperature to 275 degrees.


I removed the ribs from the bowl, placing them on a cutting board, sprinkling one seasoning on half the ribs, and another seasoning on the other half. The first half got my favorite basic seasoning: Lawry’s Seasoned Salt. The second half received my favorite Cajun seasoning: Tony Chachere’s Original Creole Seasoning. The ribs went into the smoker for about 2 hours.


I thought I would smoke the ribs longer than 2 hours, but then I realized it would soon be time to pick my daughter up from school and take her to guitar lessons. (Curve ball 3.)


Out of the smoker.

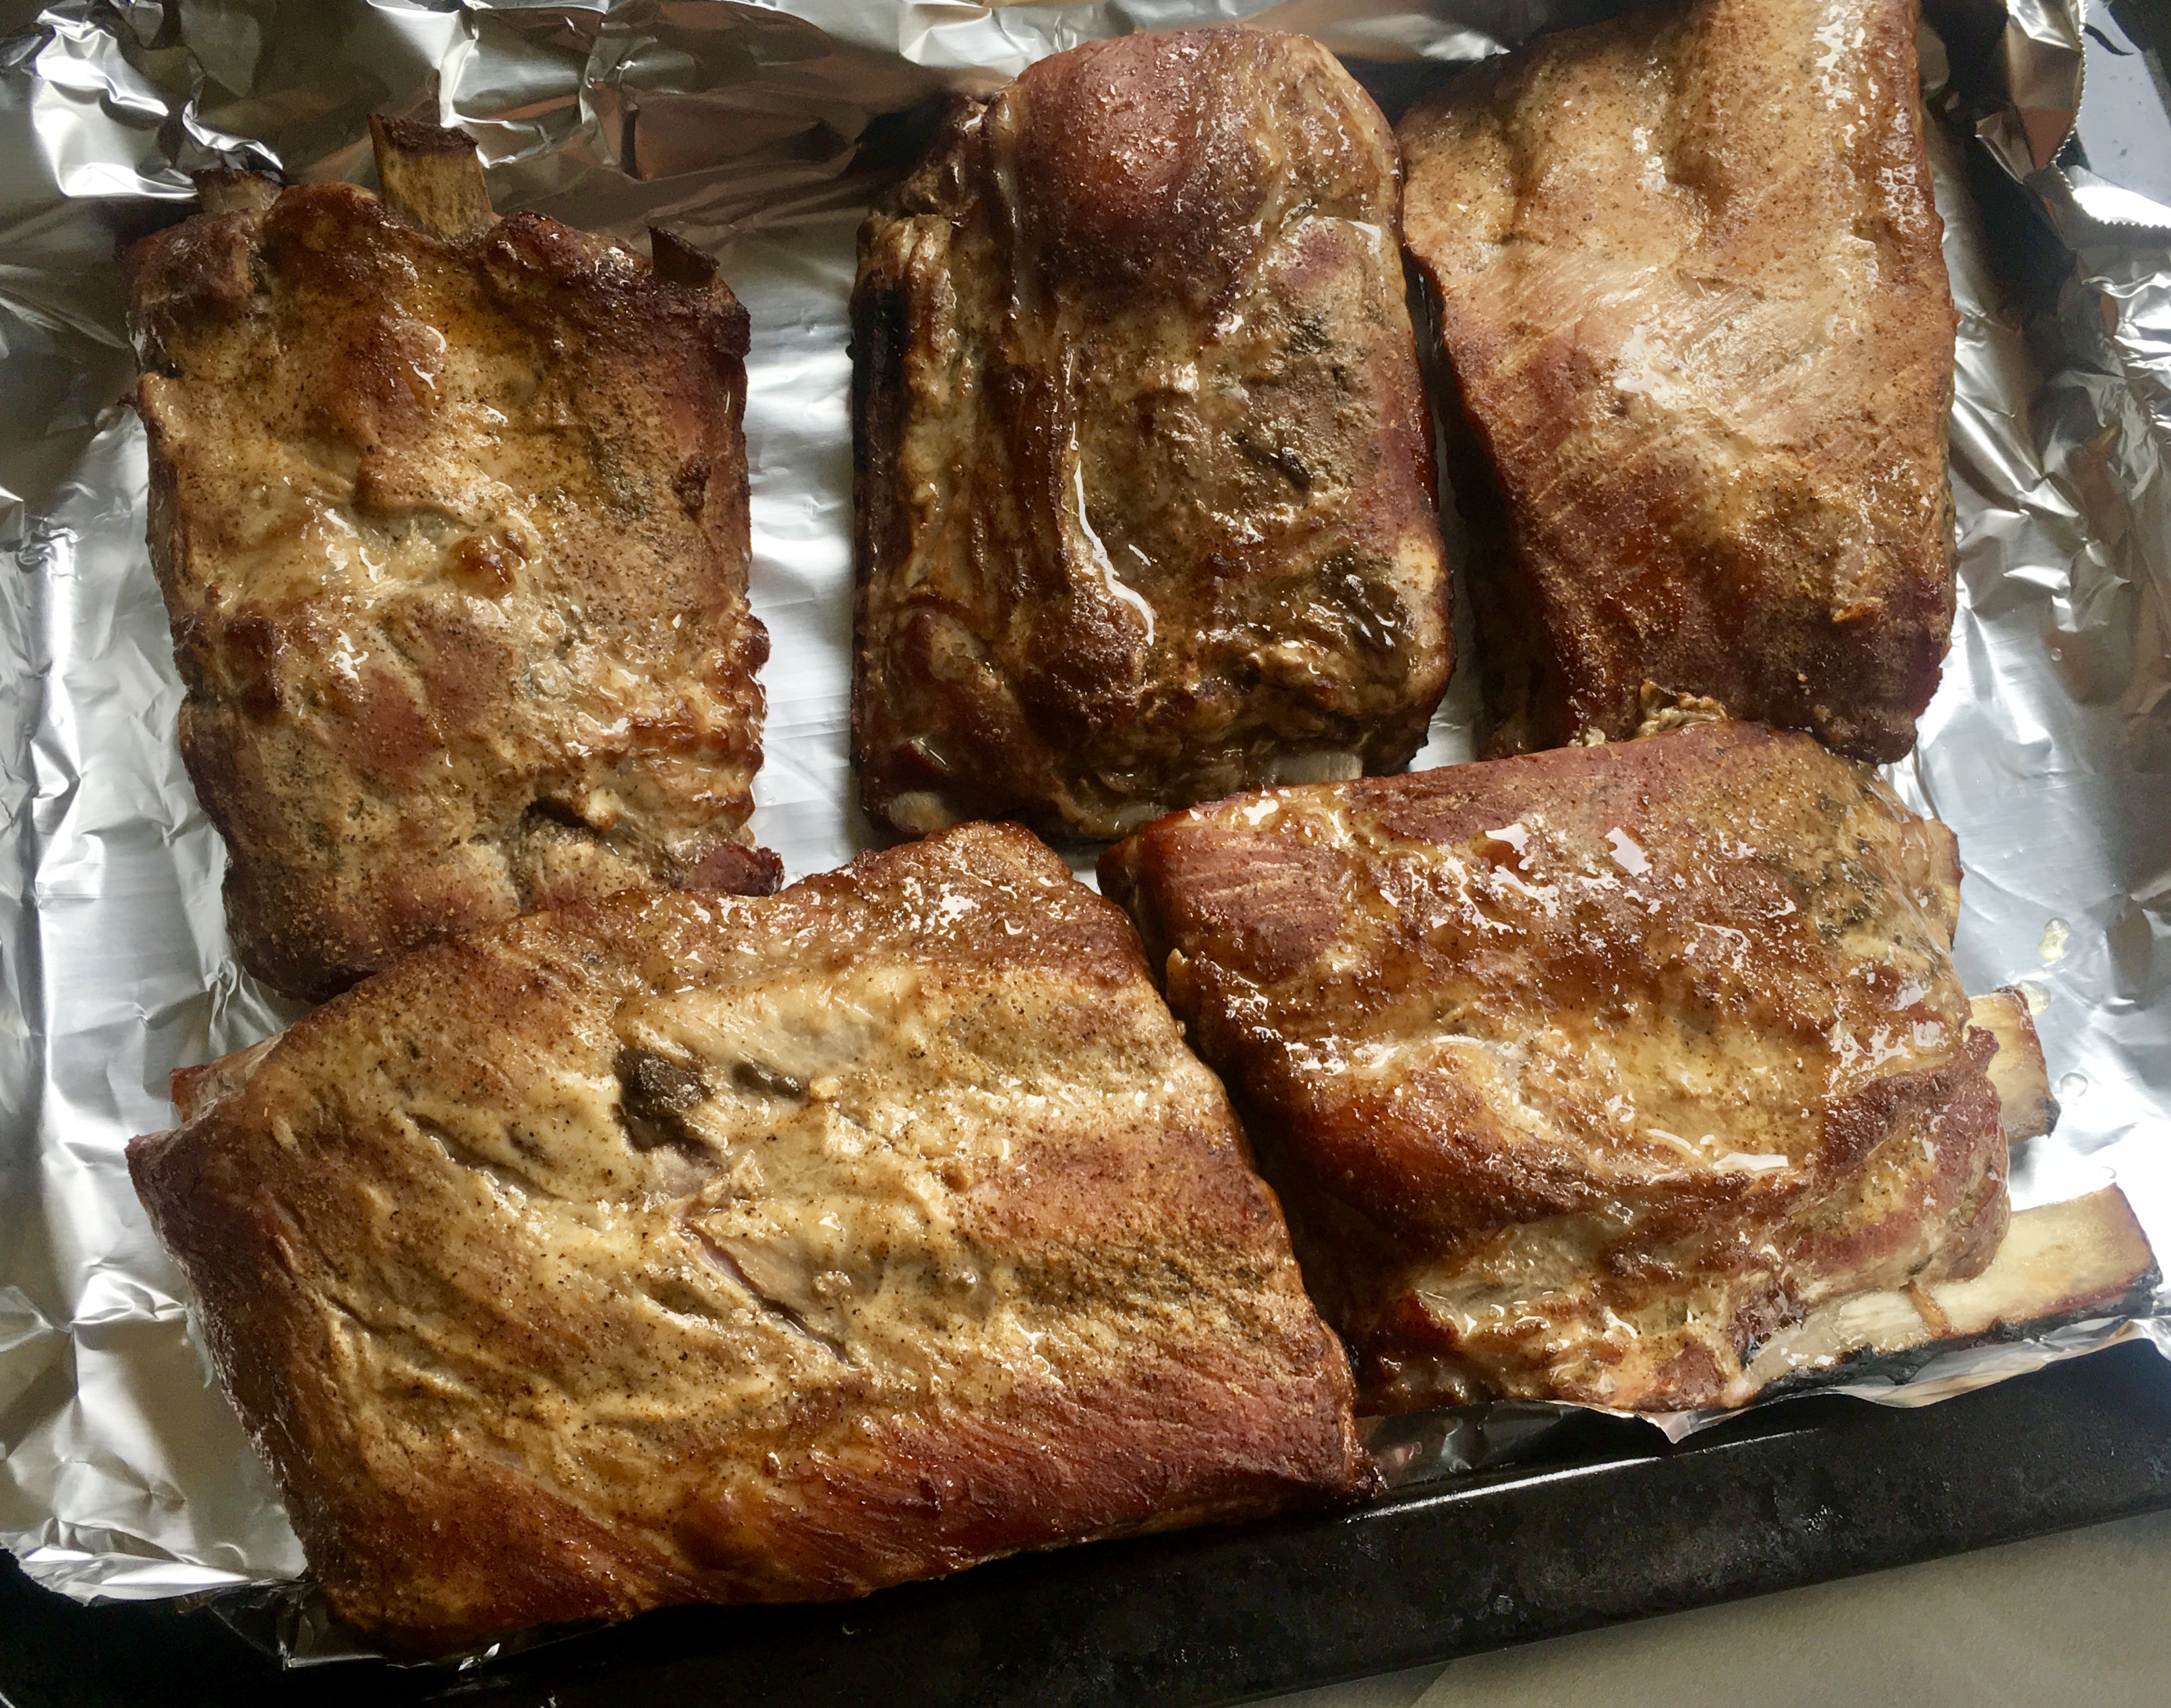
I took the ribs out of the smoker, one half batch at a time, and placed them under the broiler of my toaster oven, flipping them over once I saw the edges of the ribs get nice and dark. This gave them a bit of that char I was looking for that the grill would’ve given me…had I not had a family of mice in my way!


After a few minutes under the broiler.

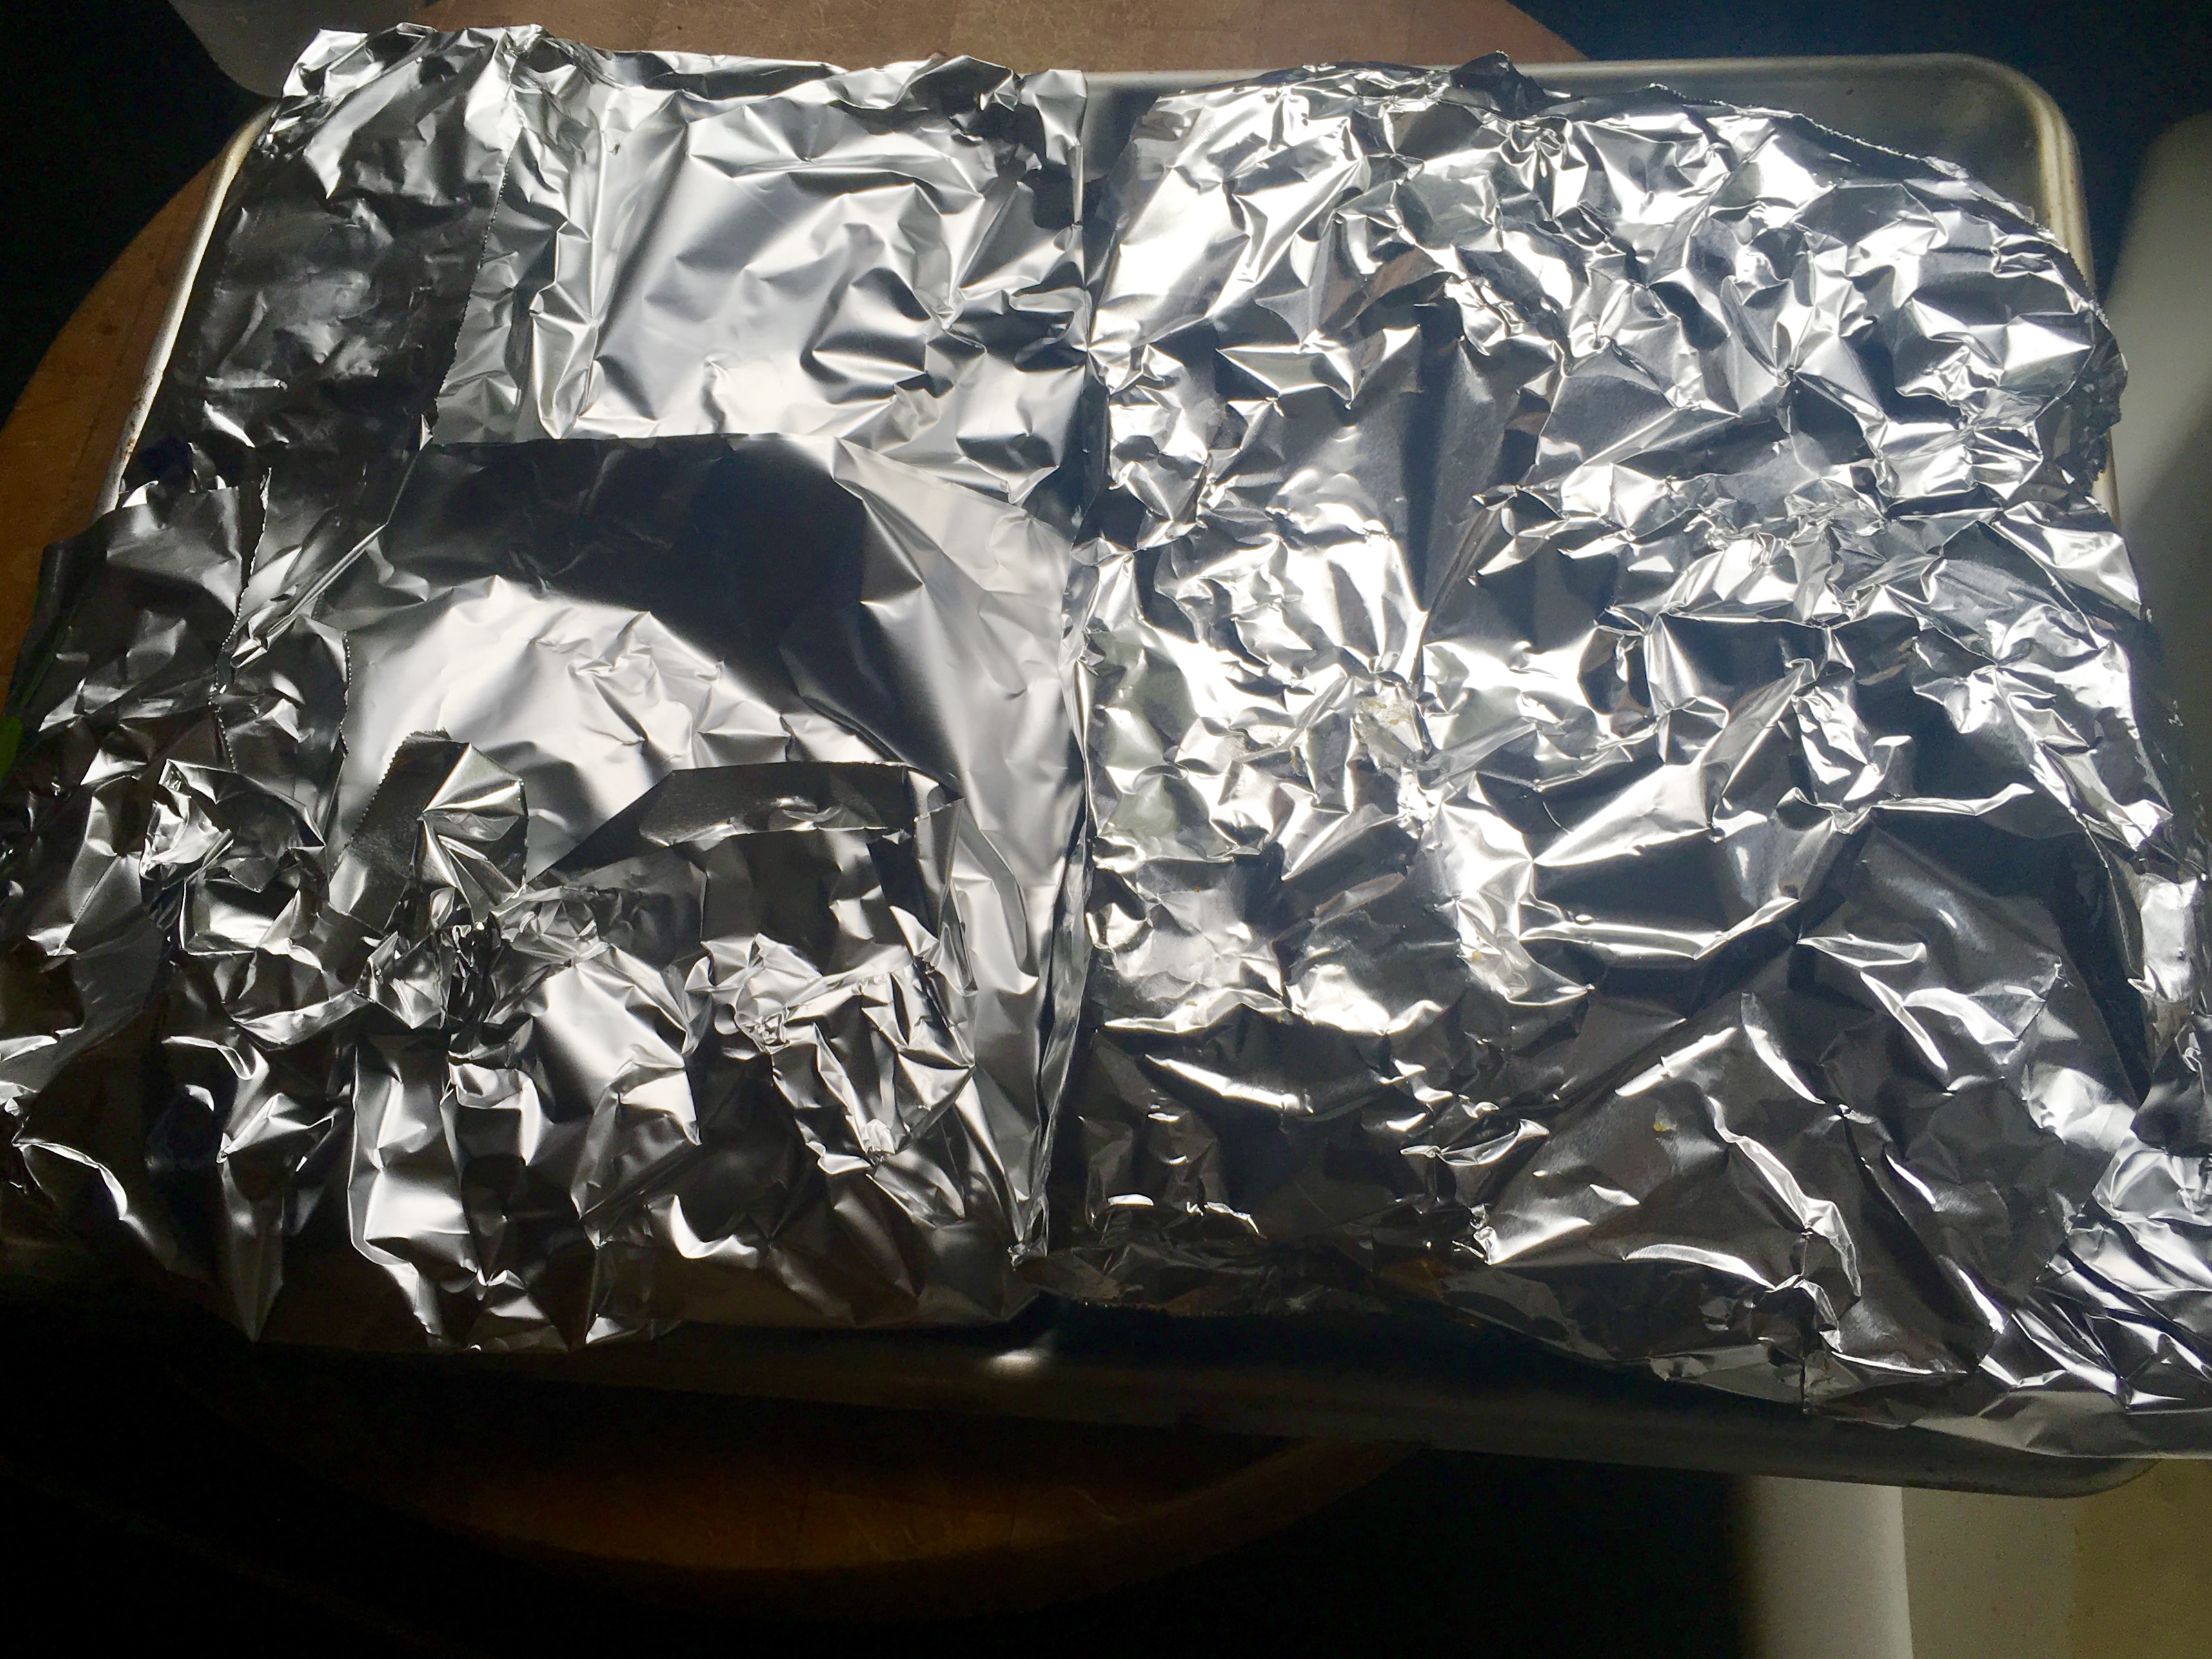
After broiling the ribs on both sides, I placed them in aluminum foil, brushing them on both sides with the apricot-mustard glaze, wrapping the aluminum tightly around them in 2 packages. I placed them on a baking sheet and into a pre-heated 175-degree oven.


Tightly wrapped and into the oven they go.

The low temperature in the oven would continue to cook the ribs low and slow, and the glaze would add a little steam to make them tender, and hopefully, delicious. Off to school and guitar lessons I went.


Unwrapping the ribs after a few hours.

We returned a few hours later, and I placed the sheet pan with the ribs on the top of the stove to cool for a bit, allowing the ribs to rest.


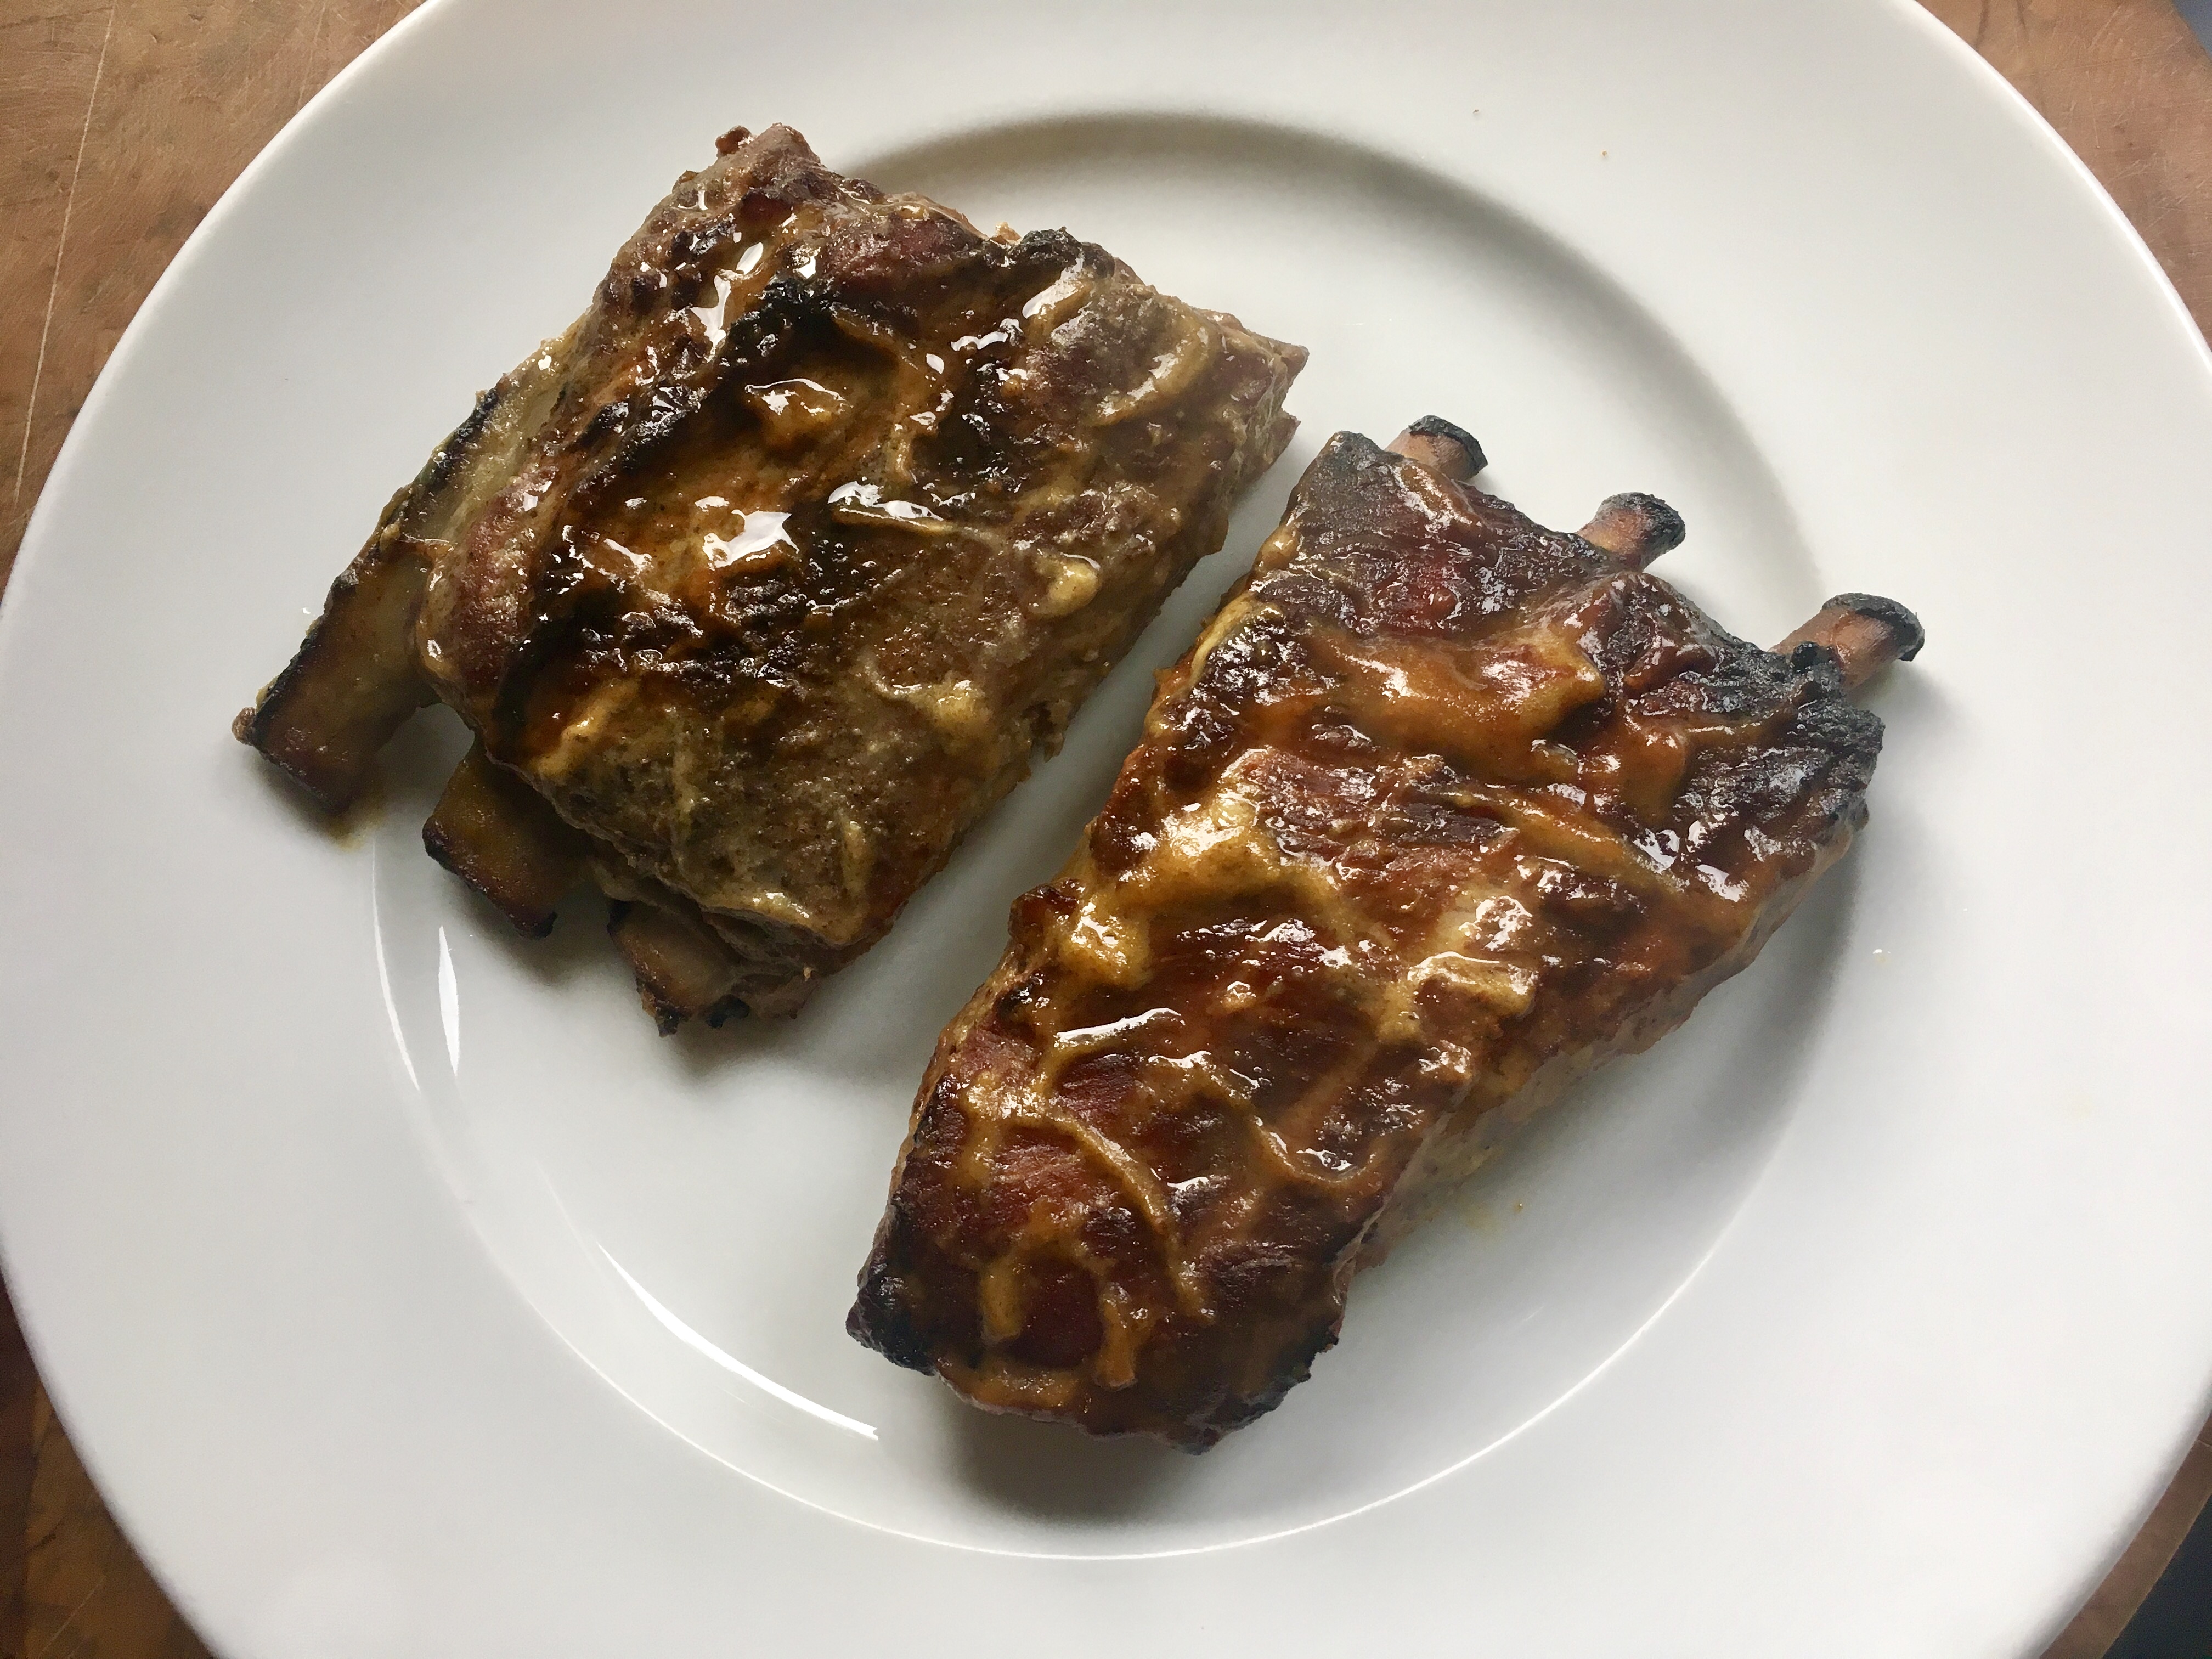
One of each: with Lawry’s and Tony Chachere’s.

Using a bit more of the apricot-mustard glaze, I brushed the ribs one more time and placed them under the broiler one last time before feasting. It was worth that extra effort to get them nice and caramelized.
The final verdict: They came out great, but I preferred the ribs seasoned with Tony Cachere’s better. The Cajun seasoning added a nice kick of heat to counterbalance the sweetness of the apricot-mustard glaze.

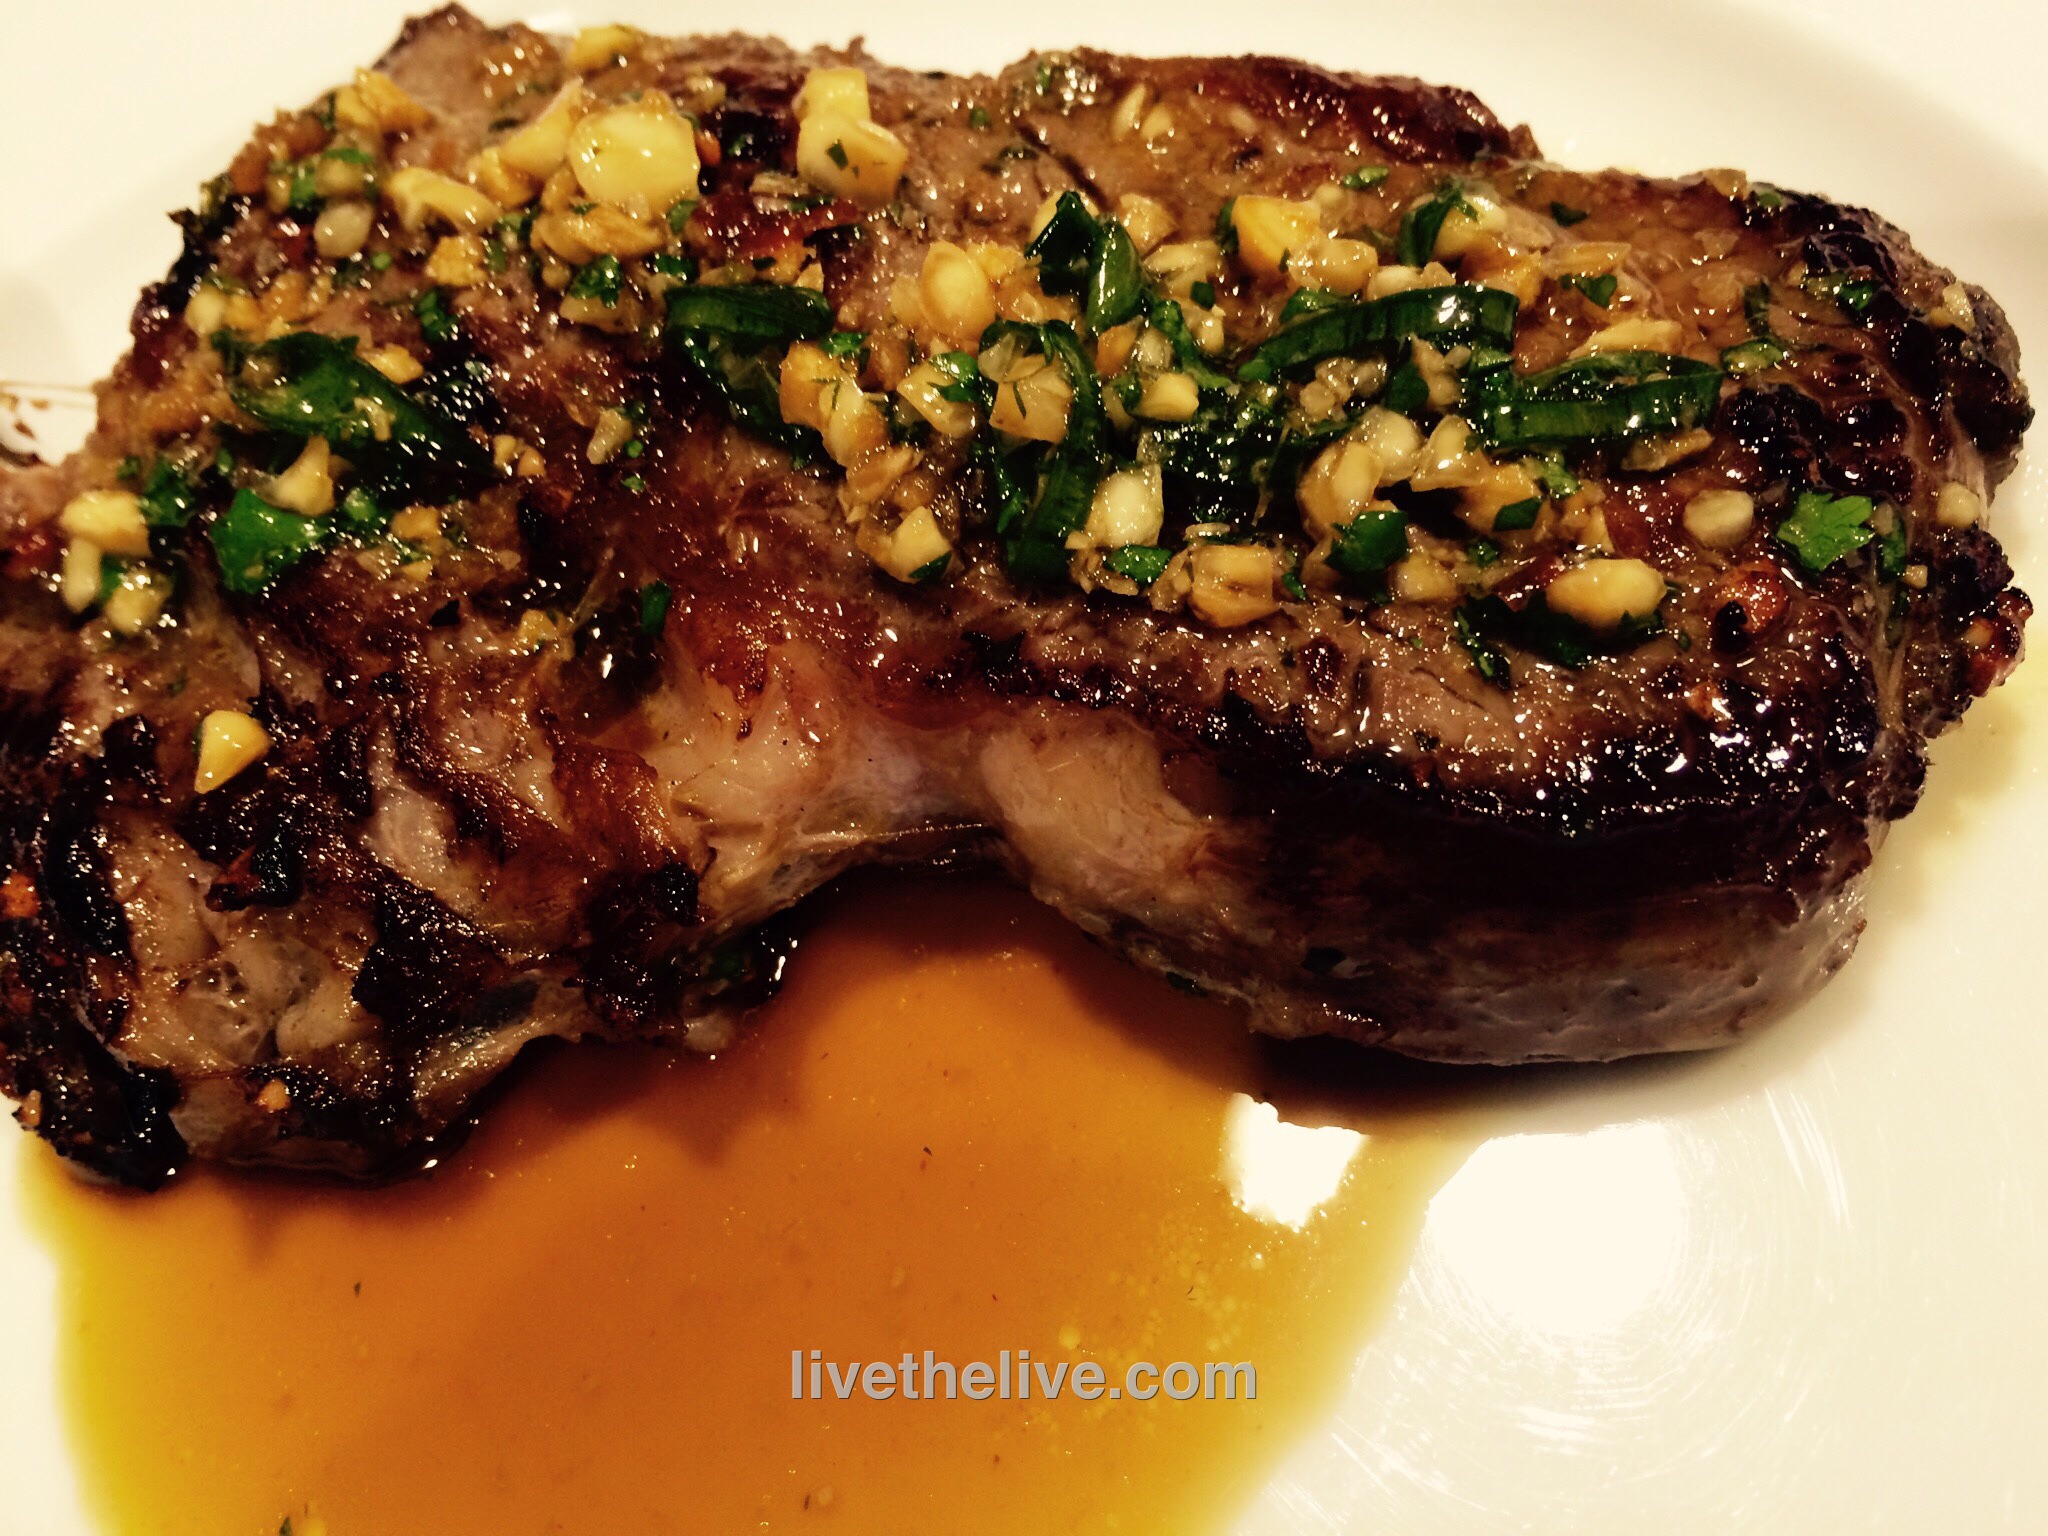
The original recipe called for skirt steak, but I didn’t have any in my freezer. I did have a fat ribeye, though, so once I thawed it, I sliced it lengthwise to get two large, thin steaks which would easily suck up the marinade I was going to make. And the ribeye was nicely marbled, so it stayed juicy and tender.


image


1/4 cup toasted sesame oil
1/4 cup soy sauce
2 tablespoons grated ginger
2 tablespoons finely chopped garlic
2 tablespoons finely chopped cilantro
2 tablespoons chopped dry roasted unsalted peanuts
2 scallions, minced
1 tablespoon light brown sugar
1 tablespoon fresh squeezed lime juice
1 tablespoon chile oil
2 lbs. beef ribeye (or skirt steak or beef flap)
1/4 cup chicken stock (homemade is best)

In a bowl, whisk together the sesame oil, soy sauce, ginger, garlic, cilantro, peanuts, scallions, sugar, lime juice and chile oil. Transfer half of it to a shallow dish.
Add the steak to the dish and turn the meat to coat it well. Cover and refrigerate the beef overnight. Refrigerate the remaining marinade.

The next day, light a grill. While it’s warming up, add the chicken stock to the reserved marinade. I like to heat it to combine it well, not letting it reach a boil,  then remove it from the heat and let it come to room temperature. This will be the dipping sauce for the beef.

Bring the steak to room temp, season with salt and pepper, and grill it over high heat until medium-rare, about 5 minutes. If it’s too cold to light a grill, or if you just want to use the oven, heat a cast iron pan, add a few drops of avocado oil, and sear the beef on both sides before placing it in a pre-heated 375-degree oven to finish cooking.

Devour the beef with the dipping sauce!


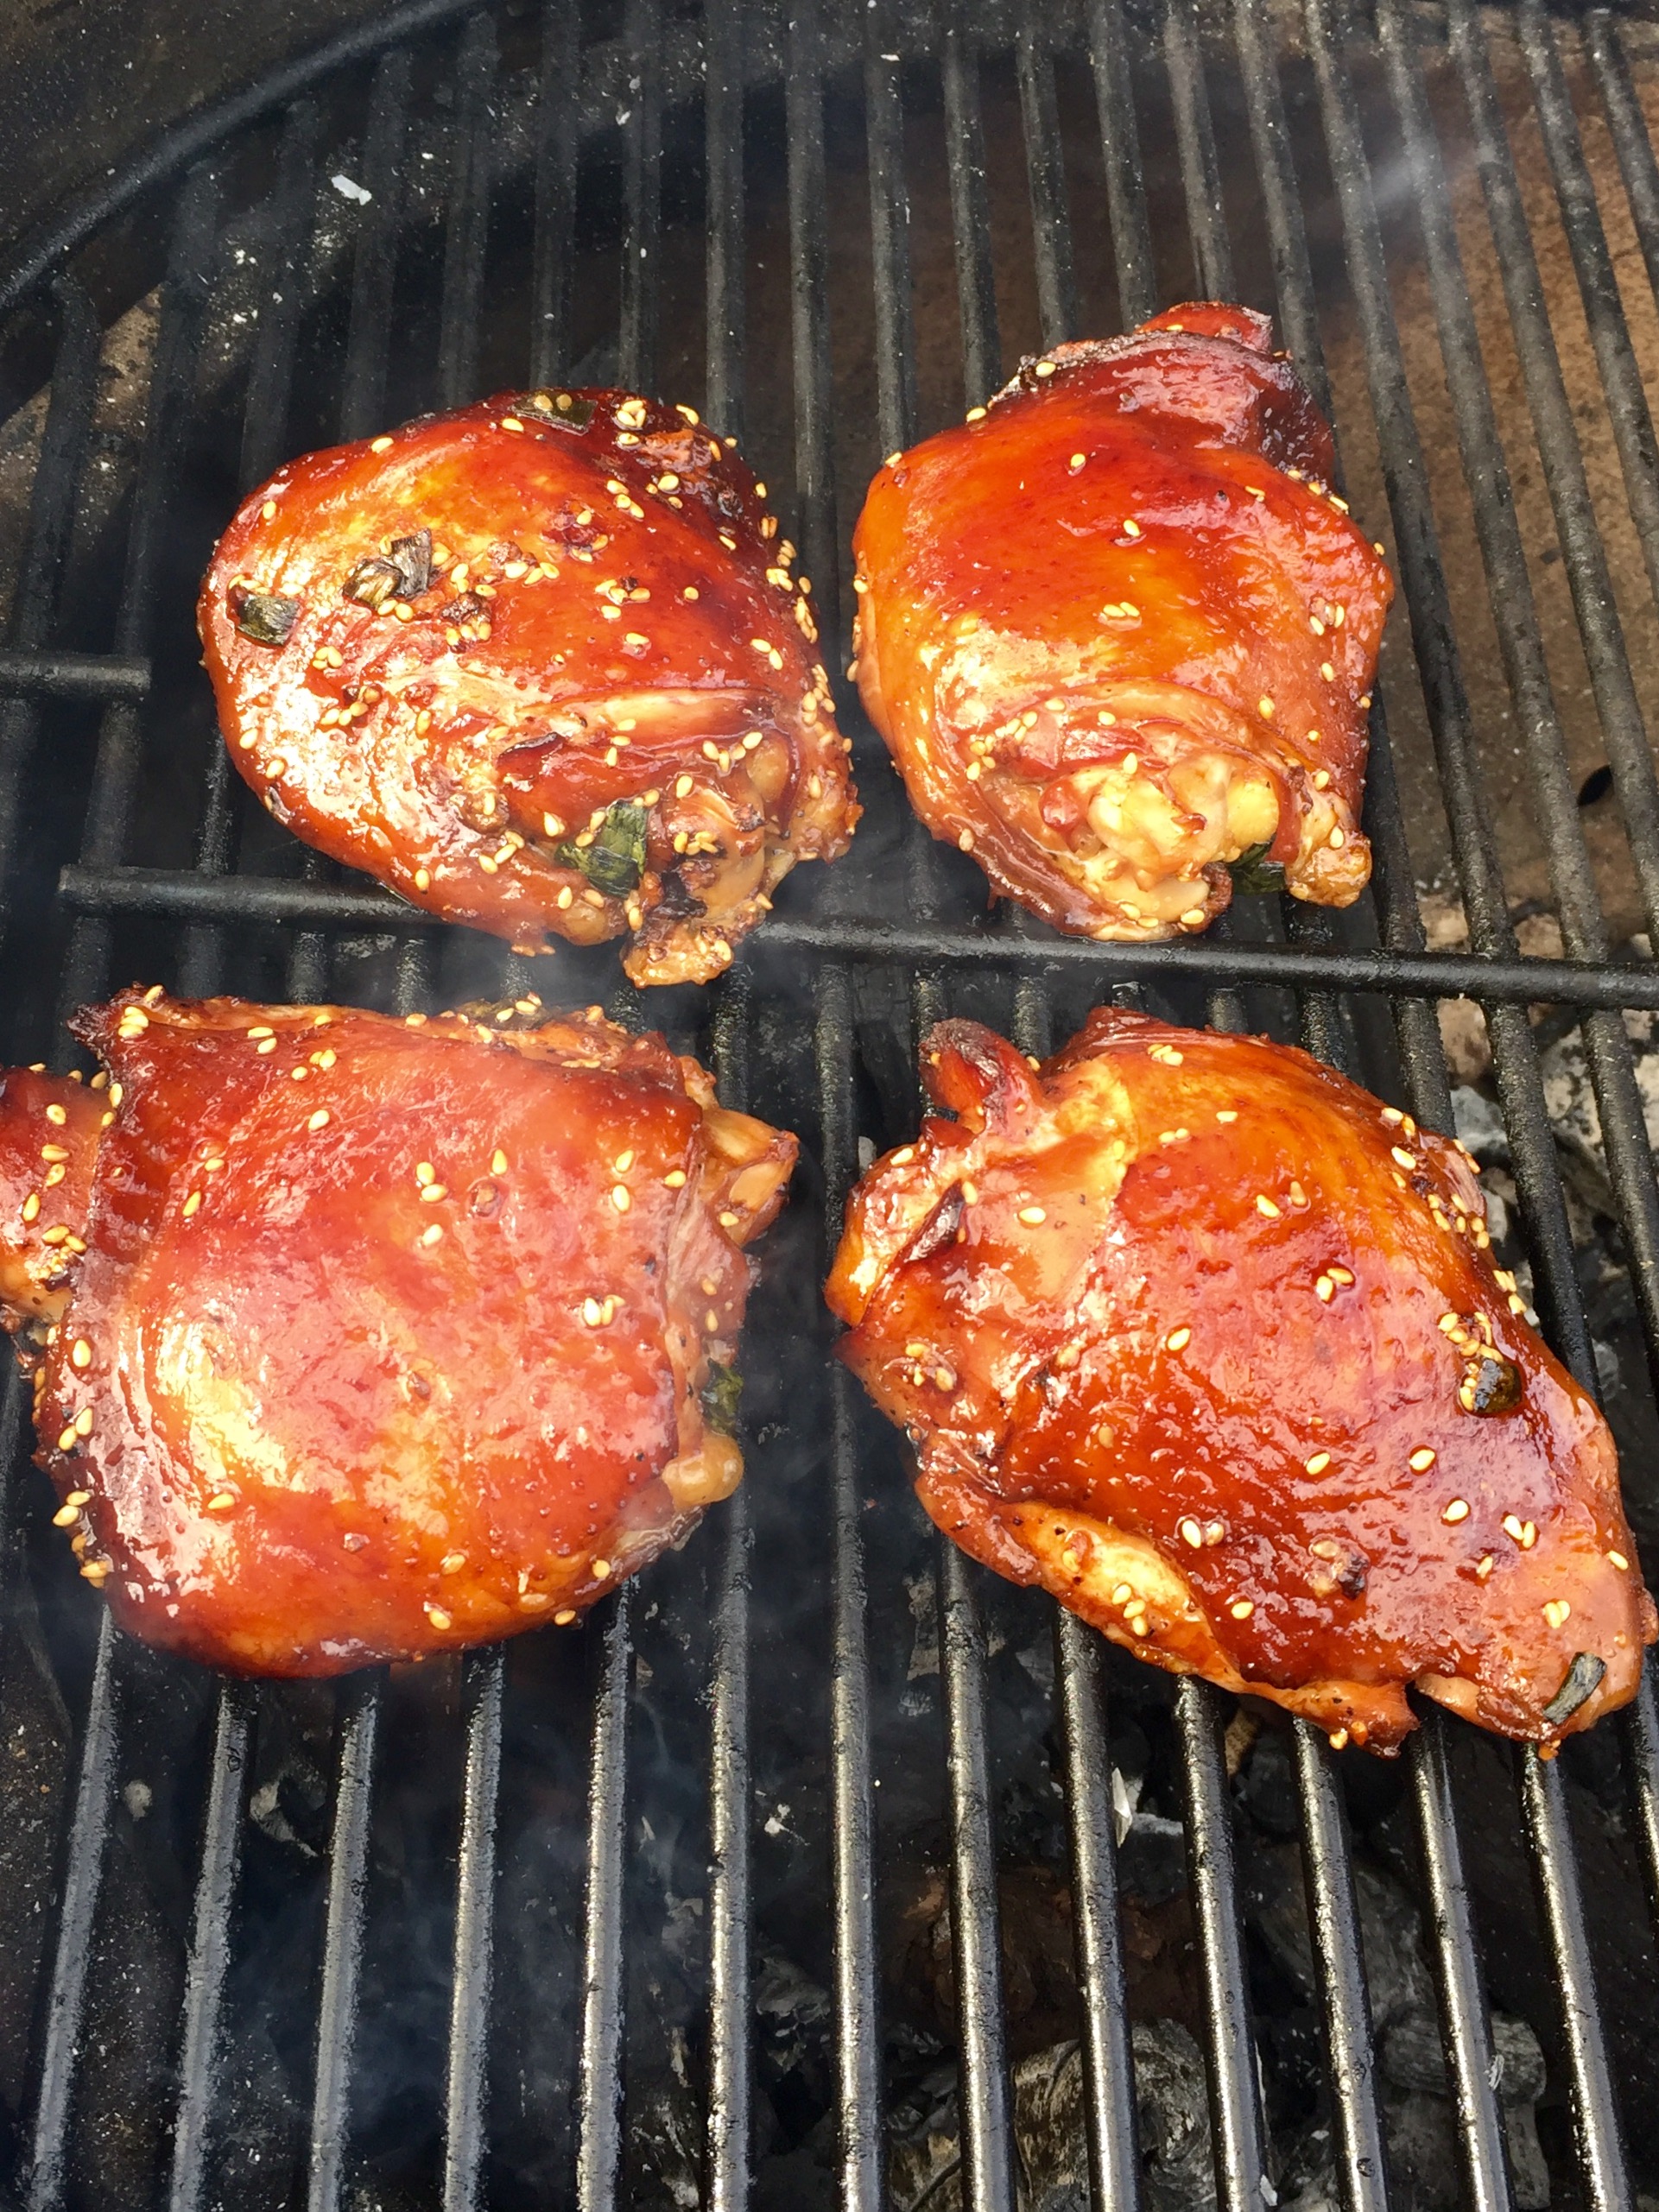
Bulgogi is the name given to the most common form of Korean barbecue. Unlike the daeji bulgogi that I cooked in a previous blog, this one is not based on a chili sauce that can take the roof of your mouth right off.

I used chicken, though this would work with pork as well, and for the best flavor, it’s best to marinate the meat in the fridge overnight.

FullSizeRender (12)

2/3 cup soy sauce
1/2 cup chopped scallions
6 tablespoons sugar (I use organic cane sugar)
5 tablespoons fresh garlic, grated or through a garlic press
5 tablespoons sesame oil
1 tablespoon sesame seeds
1 teaspoon black pepper
5 lbs. chicken pieces (skin-on thighs work best)


Combine all the ingredients except for the chicken in a bowl and mix well.

Place the chicken pieces in a large Ziploc bag and pour the marinade in. Seal the bag well and squish it around to make sure the marinade makes contact with the chicken. Place the bag in a bowl (to prevent accidental leakage) and keep it in the fridge overnight. Squish the bag around every few hours to make sure the marinade does its job.

When ready to cook the next day, pre-heat the oven to 350 and remove the bag from the fridge and let it come to room temperature. Place the chicken on a sheet pan (discard the remaining marinade) and bake for an hour.

Light a hot grill and push the coals to one side of the grill. Place the chicken pieces on the cool side of the grill and close the lid, opening the vents. Every few minutes, turn the chicken pieces over so they get nice grill marks but
don’t burn.


FullSizeRender (11)

I’ve always been fascinated by Korean barbecue. Every time I see it on TV or catch a recipe on an e-mail blast, my mouth waters and I say to myself that I’ve got to experience it some day. But the painful reality is: Korean barbecue can be really spicy…and I’m a total wuss.

Korean barbecue 101: Gogigui means “meat roast” in Korean, and it refers to the method of roasting beef, pork, chicken, and other meats. Meats can be marinated or not. Bulgogi is the name of the most common Korean barbecue. Meat is marinated with soy sauce, sugar, sesame oil, garlic and pepper, and then grilled. Galbi uses beef short ribs, and adds onions to the marinade. And the hot stuff is daeji bulgogi, because the marinade isn’t soy sauce-based, but based on the hot-n-spicy Korean chili paste known as gochujang.

All of the marinades looked delicious, but the hot one with gochujang would be my biggest challenge, so I decided to start there. I found a great recipe, and quickly realized that I would have to turn the heat way down if I was actually going to try to eat it! For example, the original recipe called for 2 tablespoons of white pepper. I totally left it out. And it called for a full cup of gochujang. Not only did I cut that part in half, I doubled many of the other non-spicy ingredients.

So is it authentic Korean barbecue? Probably not. But it’s my version of it. It’s got lots of flavor and still carries a bit of heat.

For gluten-free diets: finding GF hoisin and soy sauce is easy. Look for the La Choy brand. But I haven’t been able to find gochujang that has a GF label.


image


3/4 cup ketchup
1/2 cup gochujang
1/2 cup hoisin sauce (I use gluten-free hoisin)
1/2 cup honey
1/2 cup soy sauce
1/4 cup brown sugar
2 tablespoons freshly grated ginger
1 tablespoon freshly grated garlic (I use a garlic press)
1 tablespoon unseasoned rice vinegar
4 lbs. chicken pieces


Pre-heat the oven to 500 or its top temperature.

In a bowl, mix everything but the chicken pieces. Brush the sauce onto the chicken pieces, then wrap them in aluminum foil. (I like to tear a long piece of aluminum foil and lay it on top of a sheet pan. I place the chicken pieces on the foil, brush them with sauce on all sides, then fold the foil over the chicken, making one large pouch that holds all the meat.) Leave the pouch on the sheet pan and place it in the oven. Lower the oven temp to 350.

Cook the chicken for about an hour, making sure it’s almost completely cooked. Juices should run clear, not bloody, when you poke it with a fork.

Start a hardwood fire on your grill. Push the coals to one side of the grill so you have a hot side and a cooler side with no coals underneath it. Place the chicken pieces on the cool side of the grill (if you put it on the hot side, it will stick and burn), brush with more sauce, and put the lid on the grill, making sure you have the vents open for air circulation.

image

See those 2 black bits in the foreground? That’s where the chicken stuck to the grill because I placed them over the hot coals. Don’t do that.

After a few minutes, lift the lid, flip the chicken pieces over, brush them with sauce again, and close the lid. Keep doing this until the chicken is nice and caramelized, with tasty grill marks.

If you want to serve some of the sauce on the side, it’s important to pour some of the sauce off and set it aside in the very beginning, so you’re not using the same sauce that the basting brush touched the raw chicken with.


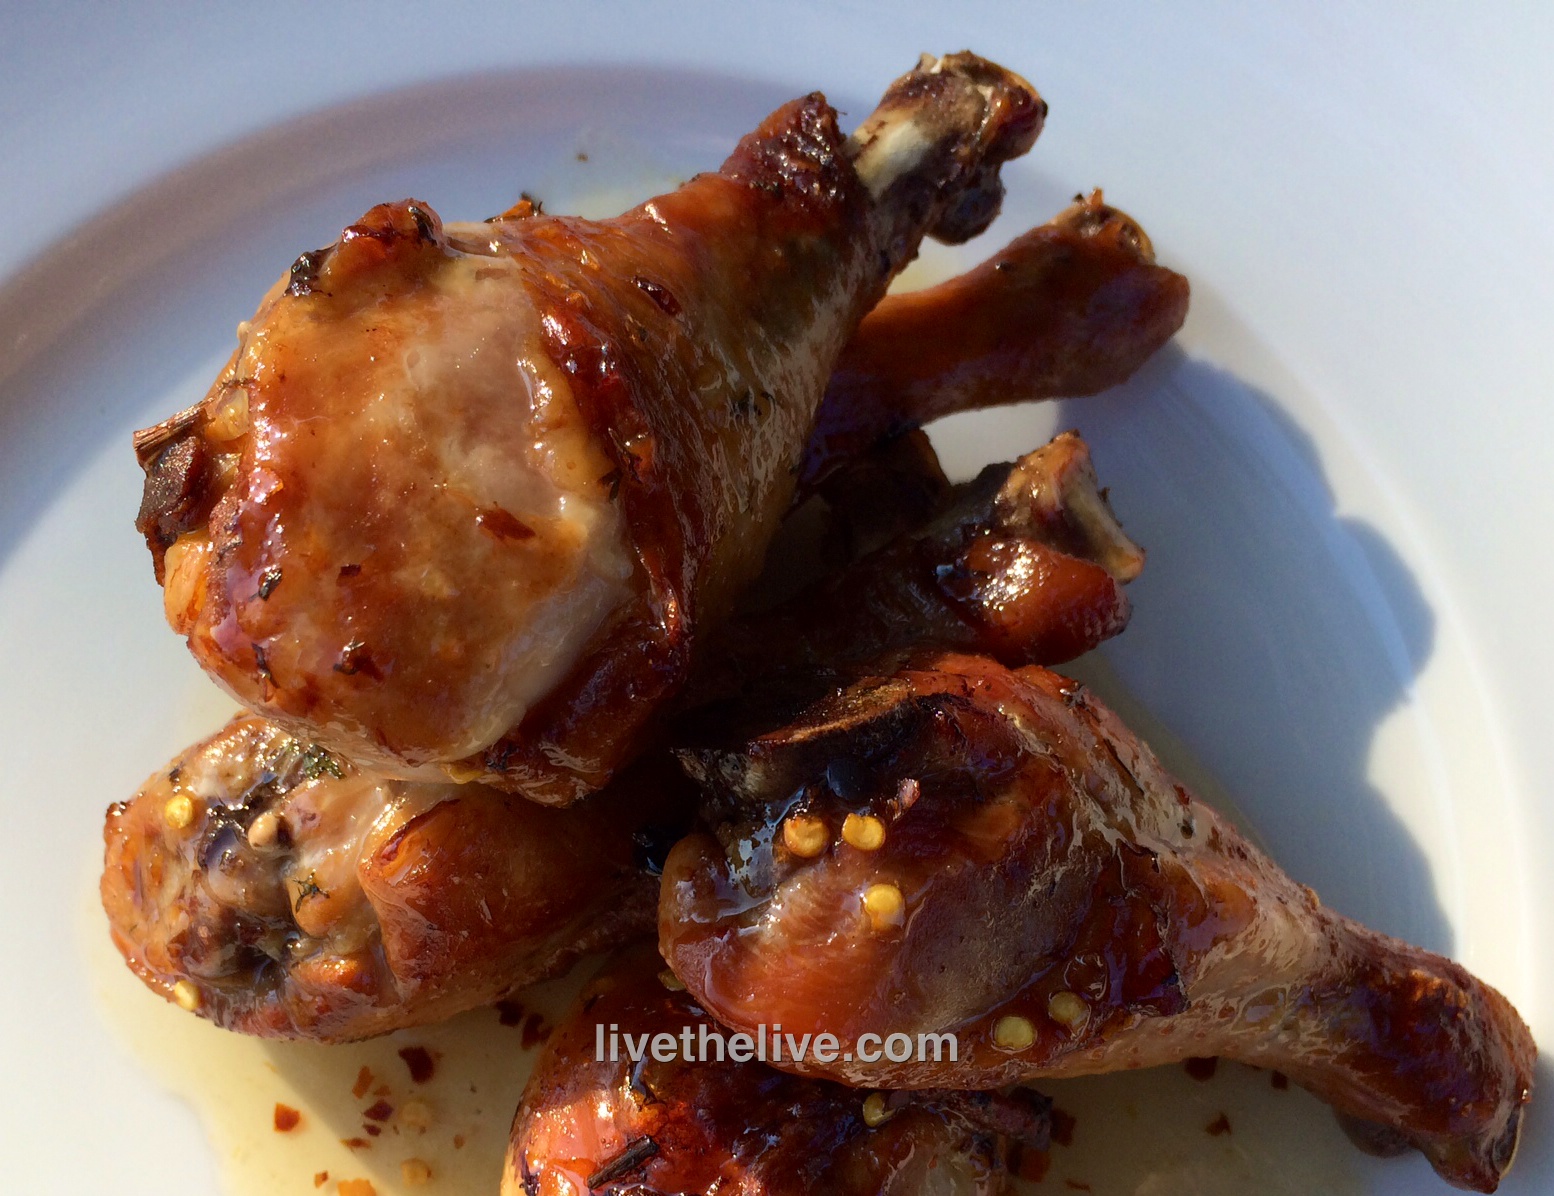
I recently hosted a “boys’ weekend” at Saule, our rental home in Little Compton, Rhode Island (http://www.sauleri.com. We’re listed at Homeaway.com.) Among the many meats I served, I cooked up a massive plate of these sweet, spicy and sticky Thai-inspired chicken wings and drumsticks.


6 lbs. chicken pieces
1 1/3 cups soy sauce
1 cup fresh cilantro
4 tablespoons canola or peanut oil
5 garlic cloves, roughly chopped
1 teaspoon white pepper
1 cup sugar
1/2 cup white vinegar
2 teaspoons red pepper flakes or crushed dried chiles
2 teaspoons salt

For the marinade, combine the soy sauce, cilantro, canola oil, garlic and white pepper in a food processor and let it run. Place the chicken pieces in a Ziploc bag and pour half of the marinade in. Save the other half for basting later. Seal the bag and let the chicken marinate overnight, or at least a few hours, squishing the bag around so that all the chicken gets marinated.

For the sauce: In a saucepan, combine the sugar, white vinegar, pepper flakes and salt. Bring it to a boil and make sure the sugar dissolves. Remove it from the heat and let it cool to room temperature.

After marinating overnight, discard the used marinade in the Ziploc bag. Place the chicken pieces over a hot hardwood fire or bake them in an oven at 350, basting them with the leftover marinade until fully cooked. If the coal fire gets too hot, move the chicken to a cooler part of the grill to prevent burning. If using the oven, switch to the broiler at the end to give the chicken a nice char.

Serve the chicken pieces with the sweet pepper sauce drizzled on top.

thai chicken LTL

Not a very complex idea. I just put the stuff that’s usually on the outside, on the inside of my burgers. Why? Why not?

If I’m making bacon cheeseburgers to bring to a barbecue, even if it’s on my back deck, instead of bringing a package of bacon and a package of cheese and a stack of burgers, I’ve got all the ingredients conveniently in the patties. And as the burgers cook, the fat from the bacon and the gooey cheese melt and combine with the burger meat to make a really tasty and moist burger.

I make 2 lbs. of burgers at a time, using grass-fed beef.

image

2 lbs. ground beef
1/2 cup sharp cheddar cheese, cut into 1/4″ cubes
1/2 lb. bacon, cooked crisp, cooled and crumbled
garlic salt
avocado oil or pork fat


In a bowl, combine the beef, the cheese and the bacon, mixing well so that all the ingredients are evenly incorporated.

Form the beef into 1/4 lb. patties. Refrigerate them until you’re ready to cook to firm them up.

Heat a cast iron skillet and add a drop of oil or pork fat. Place the burgers in the hot skillet to sear and sprinkle with the garlic salt. When browned, flip the burgers and place the skillet in a 350-degree oven to finish cooking.

image


There’s a wonderful Italian roasted meat dish called Porchetta (por-ketta). Though there are many ways to prepare it, the classic version consists of a pork belly that is seasoned and then wrapped around a pork loin. The meat is tied, then roasted slowly for hours, basted with wine and the meat juices until the pork is cooked and the outside skin is crackly and crispy. Then it’s sliced like a log and served as a sandwich or a main dish. It’s absolutely fantastic! (If you’re in New York City, go to the small restaurant called  Porchetta on the lower east side and taste this porky awesomeness the way it was meant to be.)

I recently purchased a beautiful hunk of grass-fed beef brisket from Pat’s Pastured, a wonderful farm here in Rhode Island. I said to myself: “What if I cook it like Porchetta?”

I searched through a dozen Porchetta recipes and used whatever herbs and spices I liked to make my own special seasoning for this slab of meat I now re-named “Brisketta.” For the most part, I used common ingredients in Italian cooking, but I added toasted fennel seeds, an ingredient in Porchetta, as a tip of the hat to that classic dish.

If you don’t have brisket handy, using a cut like beef flap will work just as well.

image

I flipped the brisket fat-side-down on my cutting board and carefully sliced it down the middle horizontally to make two large–even thinner–slabs of meat. The bottom half, with the fatty side of the brisket, would eventually be my outside layer. The top half would be my inside layer.

image

I took the top half and slathered some of my seasonings on it. Then I rolled it up into a log as tightly as I could. I slathered more of my seasonings onto the bottom half of the brisket, the rolled it around the first log as tightly as I could, so that the fattiest side of the brisket would now be on the outside of this large meat log. I seasoned the fatty side with any leftover seasonings I had.

Now, rather than having a piece of meat that was only 1 1/2″ thick, I had a meat log that was 6″ thick. Much easier to cook and control. I tied the meat log up tightly with butchers’ twine and let it rest in my fridge overnight.

image

The next day, I removed the meat log from the fridge and let it sit on the counter for an hour, so that it would come back up to room temperature. Meanwhile, I started my digital smoker (an electric one), setting the temperature at 250 degrees. I placed the meat log on a rack in my smoker, and a bowl of water on another rack to help keep it moist during the cooking process. I closed the smoker door, and then cooked it low and slow for about 5 hours. My smoker has a side chute that lets me drop wood chips inside, and I used slivers of oak to add some smoke.

I removed the meat log from the pan and put it directly onto the grate before cooking.

I removed the meat log from the pan and put it directly onto the grate before cooking for 4 hours, but returned it to the pan once I wrapped it in foil.


After 5 hours, I removed the Brisketta from the smoker, wrapped it in foil, and returned it for another 2 hours.

image

7 lbs. beef brisket
1 tablespoon fennel seed, toasted and cooled
5–3″ strips of bacon, cooked and cooled
2 tablespoons oregano
2 tablespoons parsley
2 teaspoons basil
2 tablespoons salt
1 teaspoon pepper
2 teaspoons granulated onion
1 teaspoon granulated garlic
Grated zest of 2 lemons
1/2 cup olive oil

Pour the fennel seed in a hot, dry pan on the stove. Toast the seeds until they release their aroma, but don’t let them burn. Set aside to cool.

Crumble the bacon strips and place in the bowl of a food processor. Add the cooled fennel seeds, oregano, parsley, basil, salt, pepper, onion, garlic, and lemon zest.

Run the food processor and slowly pour in the olive oil, until you have a paste much like pesto.

Slice the brisket in half horizontally. Save the piece with the fatty side for last, because this is the piece that will wrap around the others, with the fatty side out. Smear the rub on the first piece of brisket and roll it tightly into a log. Smear the rub on the second piece of brisket and wrap it around the first piece, making sure the fatty side is on the outside.

Once you’ve rolled both pieces into a single meat log, scored the fatty exterior with a knife and rub any leftover seasoning paste onto it. If you have none left, simply season with salt and pepper.

Tie the meat log tightly with butchers’ twine, tucking in all loose ends.

At this point, you can place the meat log in the fridge until ready to cook, remembering to remove it at least an hour before cooking so that it comes back to room temperature.

Pre-heat an oven or smoker at 250 degrees. Place the meat log directly on the grate, with a pan underneath to catch the dripping fat. Place a bowl of water in there as well, to keep the meat moist while it cooks. Cook for 5 hours, then wrap in foil and cook another 2! Let it rest an hour before slicing…if you can wait that long!