Archive for the ‘Recipes’ Category

What a week! Cinco de Mayo and Derby Day within a couple of days of each other! Let’s start it off with my favorite margarita recipe…

image

ALGARITA:

3 oz. Patron silver tequila
1 oz. Cointreau orange liqueur
4 oz. pineapple juice
1/2 a fresh lime, squeezed

Add ice to a tall glass and add Patron, Cointreau, pineapple juice and a good squeeze of lime juice from 1/2 a lime. Pour into a margarita glass (salt rim optional) and garnish with a lime wedge.

One tequila, two tequila, three tequila, FLOOR!

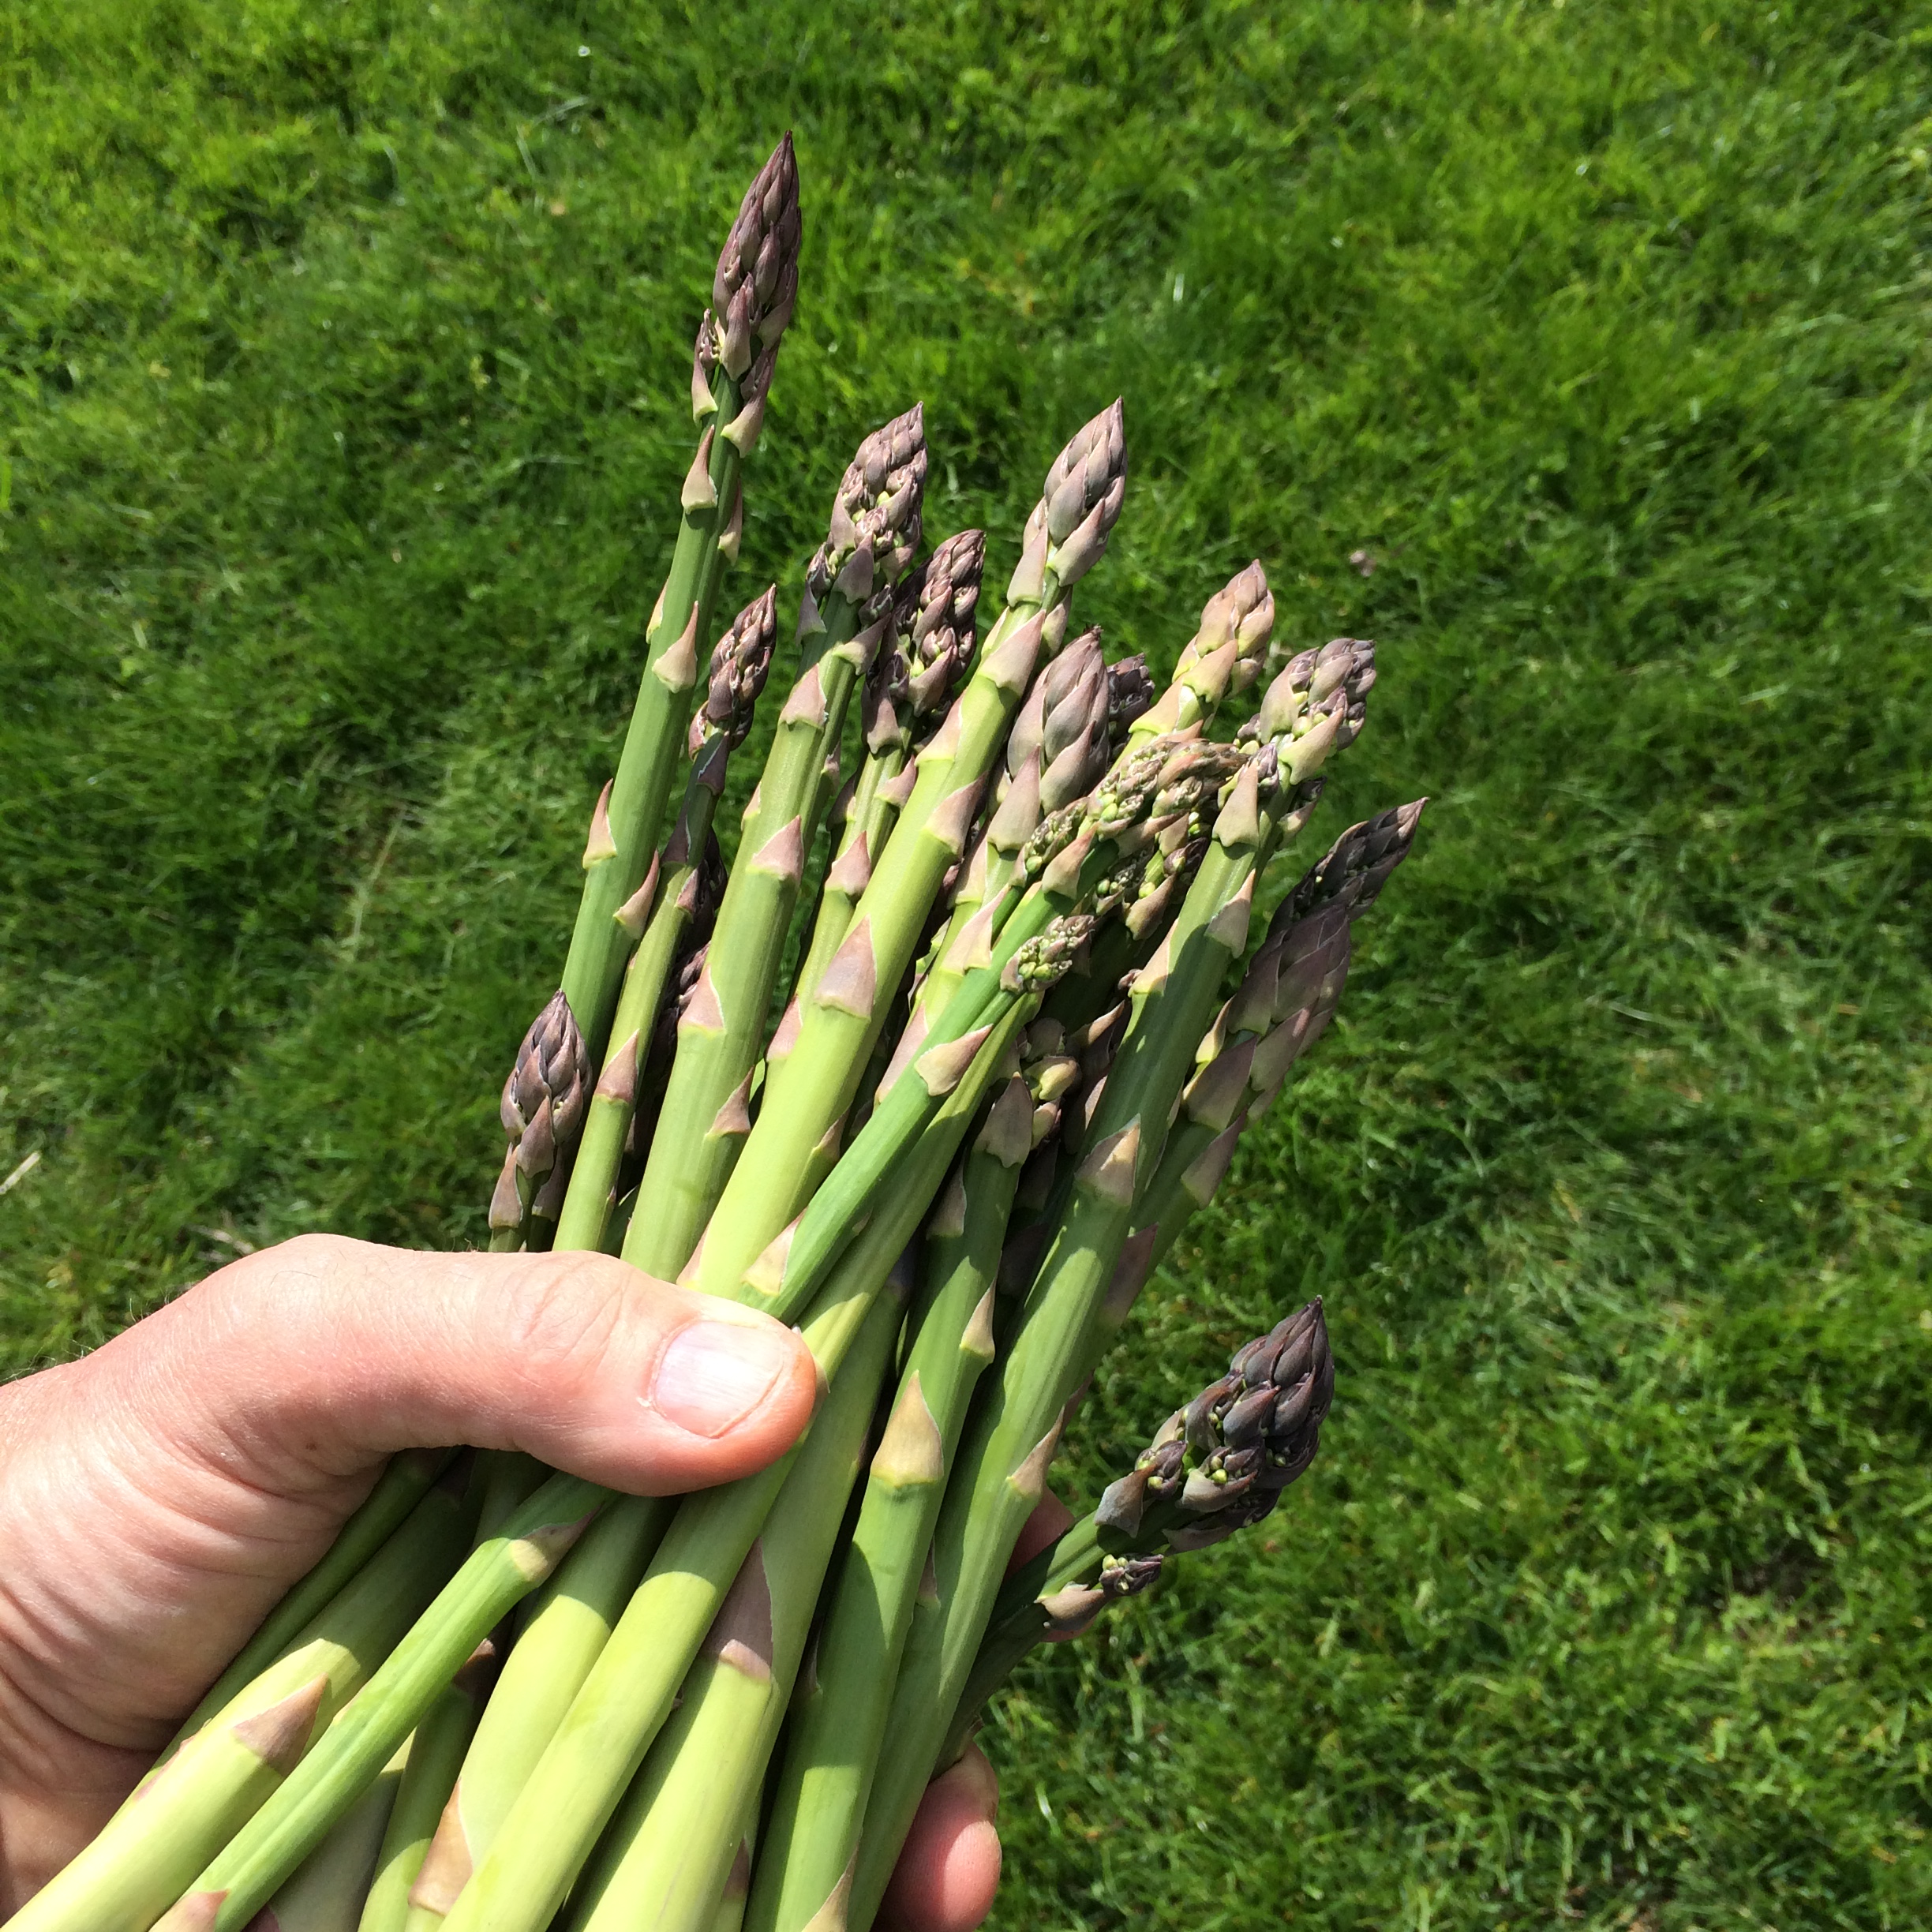
asparagus pastaAsparagus season has arrived in my garden. This is one of my favorite ways to enjoy it.
4 mild Italian sausages, sliced into pieces 1/2″ thick
1 lb. penne pasta
1/2 onion, finely chopped
1 cup chopped fresh trumpet mushrooms (white button mushrooms work, too)
2 cups fresh asparagus, sliced into 1-inch pieces
1 clove garlic, passed through a garlic press
1 cup homemade chicken broth
6 fresh sage leaves, finely chopped
1/2 cup freshly grated Parmigiano Reggiano cheese
extra virgin olive oil
salt and pepper
Have the pasta water boiling, and add pasta, cooking until just a bit more undercooked than al dente.
Heat a large pan, and drizzle in some olive oil. Saute the sausage pieces until browned and cooked through, but not over cooked. Remove the sausages from the pan and place them in a separate bowl. Remove all but 2 tablespoons of the fat left behind in the pan.
Place the pan back on stove and saute the onion until translucent. Add the garlic, and saute for 10 seconds. Add the sage, and saute for 10 seconds, stirring. Add the chopped mushrooms and saute for a few minutes, then add the chicken broth, and simmer until almost all the liquid has evaporated. Pour the contents of the pan into the bowl with the sausages.
Return the pan to the stove, add a little more olive oil, and on medium heat, saute the asparagus pieces. Cook until they are al dente, not too soft. Once the asparagus has reached this stage, return all the contents of the sausage/mushroom bowl to the pan to heat through. Drain the pasta, and add it to the pan as well, combining all the ingredients. If it looks too dry, add a little pasta water to the pan. Season with salt and pepper.
Make sure you serve this hot, with grated Parmigiano Reggiano on top, and drizzle lightly over the top with extra virgin olive oil.


The home garden is already showing signs of activity. Overwintered kale and arugula plants are springing back to life, enough for a quick salad. Cool weather seeds that I’ve sown early: peas, turnips, radishes, broccoli raab, and others are sprouting. But nothing says the gardening season is here like my patch of homegrown asparagus taking off!

asparagus2013

Asparagus is really easy to grow. You just need the space, and the plants practically do the rest. Space them about a foot apart, and before you know it, you will have a vast network of tasty stalks sprouting through the soil every spring. They are so much better than anything you can buy in a supermarket.
In the start of the growing season, the stalks don’t even make it into the house. I cut them and just eat them straight out of the garden. Eventually, they make the move to the kitchen, where I love to simply place them on a baking sheet and drizzle a little olive oil over them. Salt and pepper…and then in a 400-degree oven until they’ve caramelized.

Midway through the season, I have so much asparagus that I just don’t know what to do with them all. My friends don’t want anymore and I can’t bear to throw them into the compost pile. So I pickle them…a really easy process that ensures I’ve got delicious asparagus year-round.

E26853F4-0B7D-487D-B343-BDA38537D4B6
PICKLED ASPARAGUS
Several bunches of asparagus spears
2 cups white vinegar
1 cup cider vinegar
1 1/2 cups sugar
3 cups water
20 peppercorns
Garlic cloves, peeled
Salt (1 teaspoon per quart-sized Mason jar. Use less for smaller jars.)
Bring the vinegar, water, sugar and peppercorns to a boil.
Trim the bottom of the asparagus spears so that spears are just slightly shorter than the height of the quart-sized Mason jar you will use. Or cut into pieces that will fit smaller jars.
Pack the jars as tightly as you can with asparagus spears. (They will shrink when processed.) Add the garlic clove and 1 teaspoon of salt to every quart-sized Mason jar…less for smaller jars.
Fill jars with the vinegar mixture and seal.
Process the jars for 10 minutes. Let them cool before placing in refrigerator.

WHY DOES YOUR PEE SMELL WHEN YOU EAT ASPARAGUS?

Asparagus contains a sulfur compound called mercaptan. It is also found in onions, garlic, rotten eggs, and in the secretions of skunks. The signature smell occurs when this substance is broken down in your digestive system. Not all people have the gene for the enzyme that breaks down mercaptan, so some of you can eat all the asparagus you want without stinking up the place. One study published in the British Journal of Clinical Pharmacology found that only 46 percent of British people tested produced the odor while 100 percent of French people tested did. (It has to do with your DNA.)

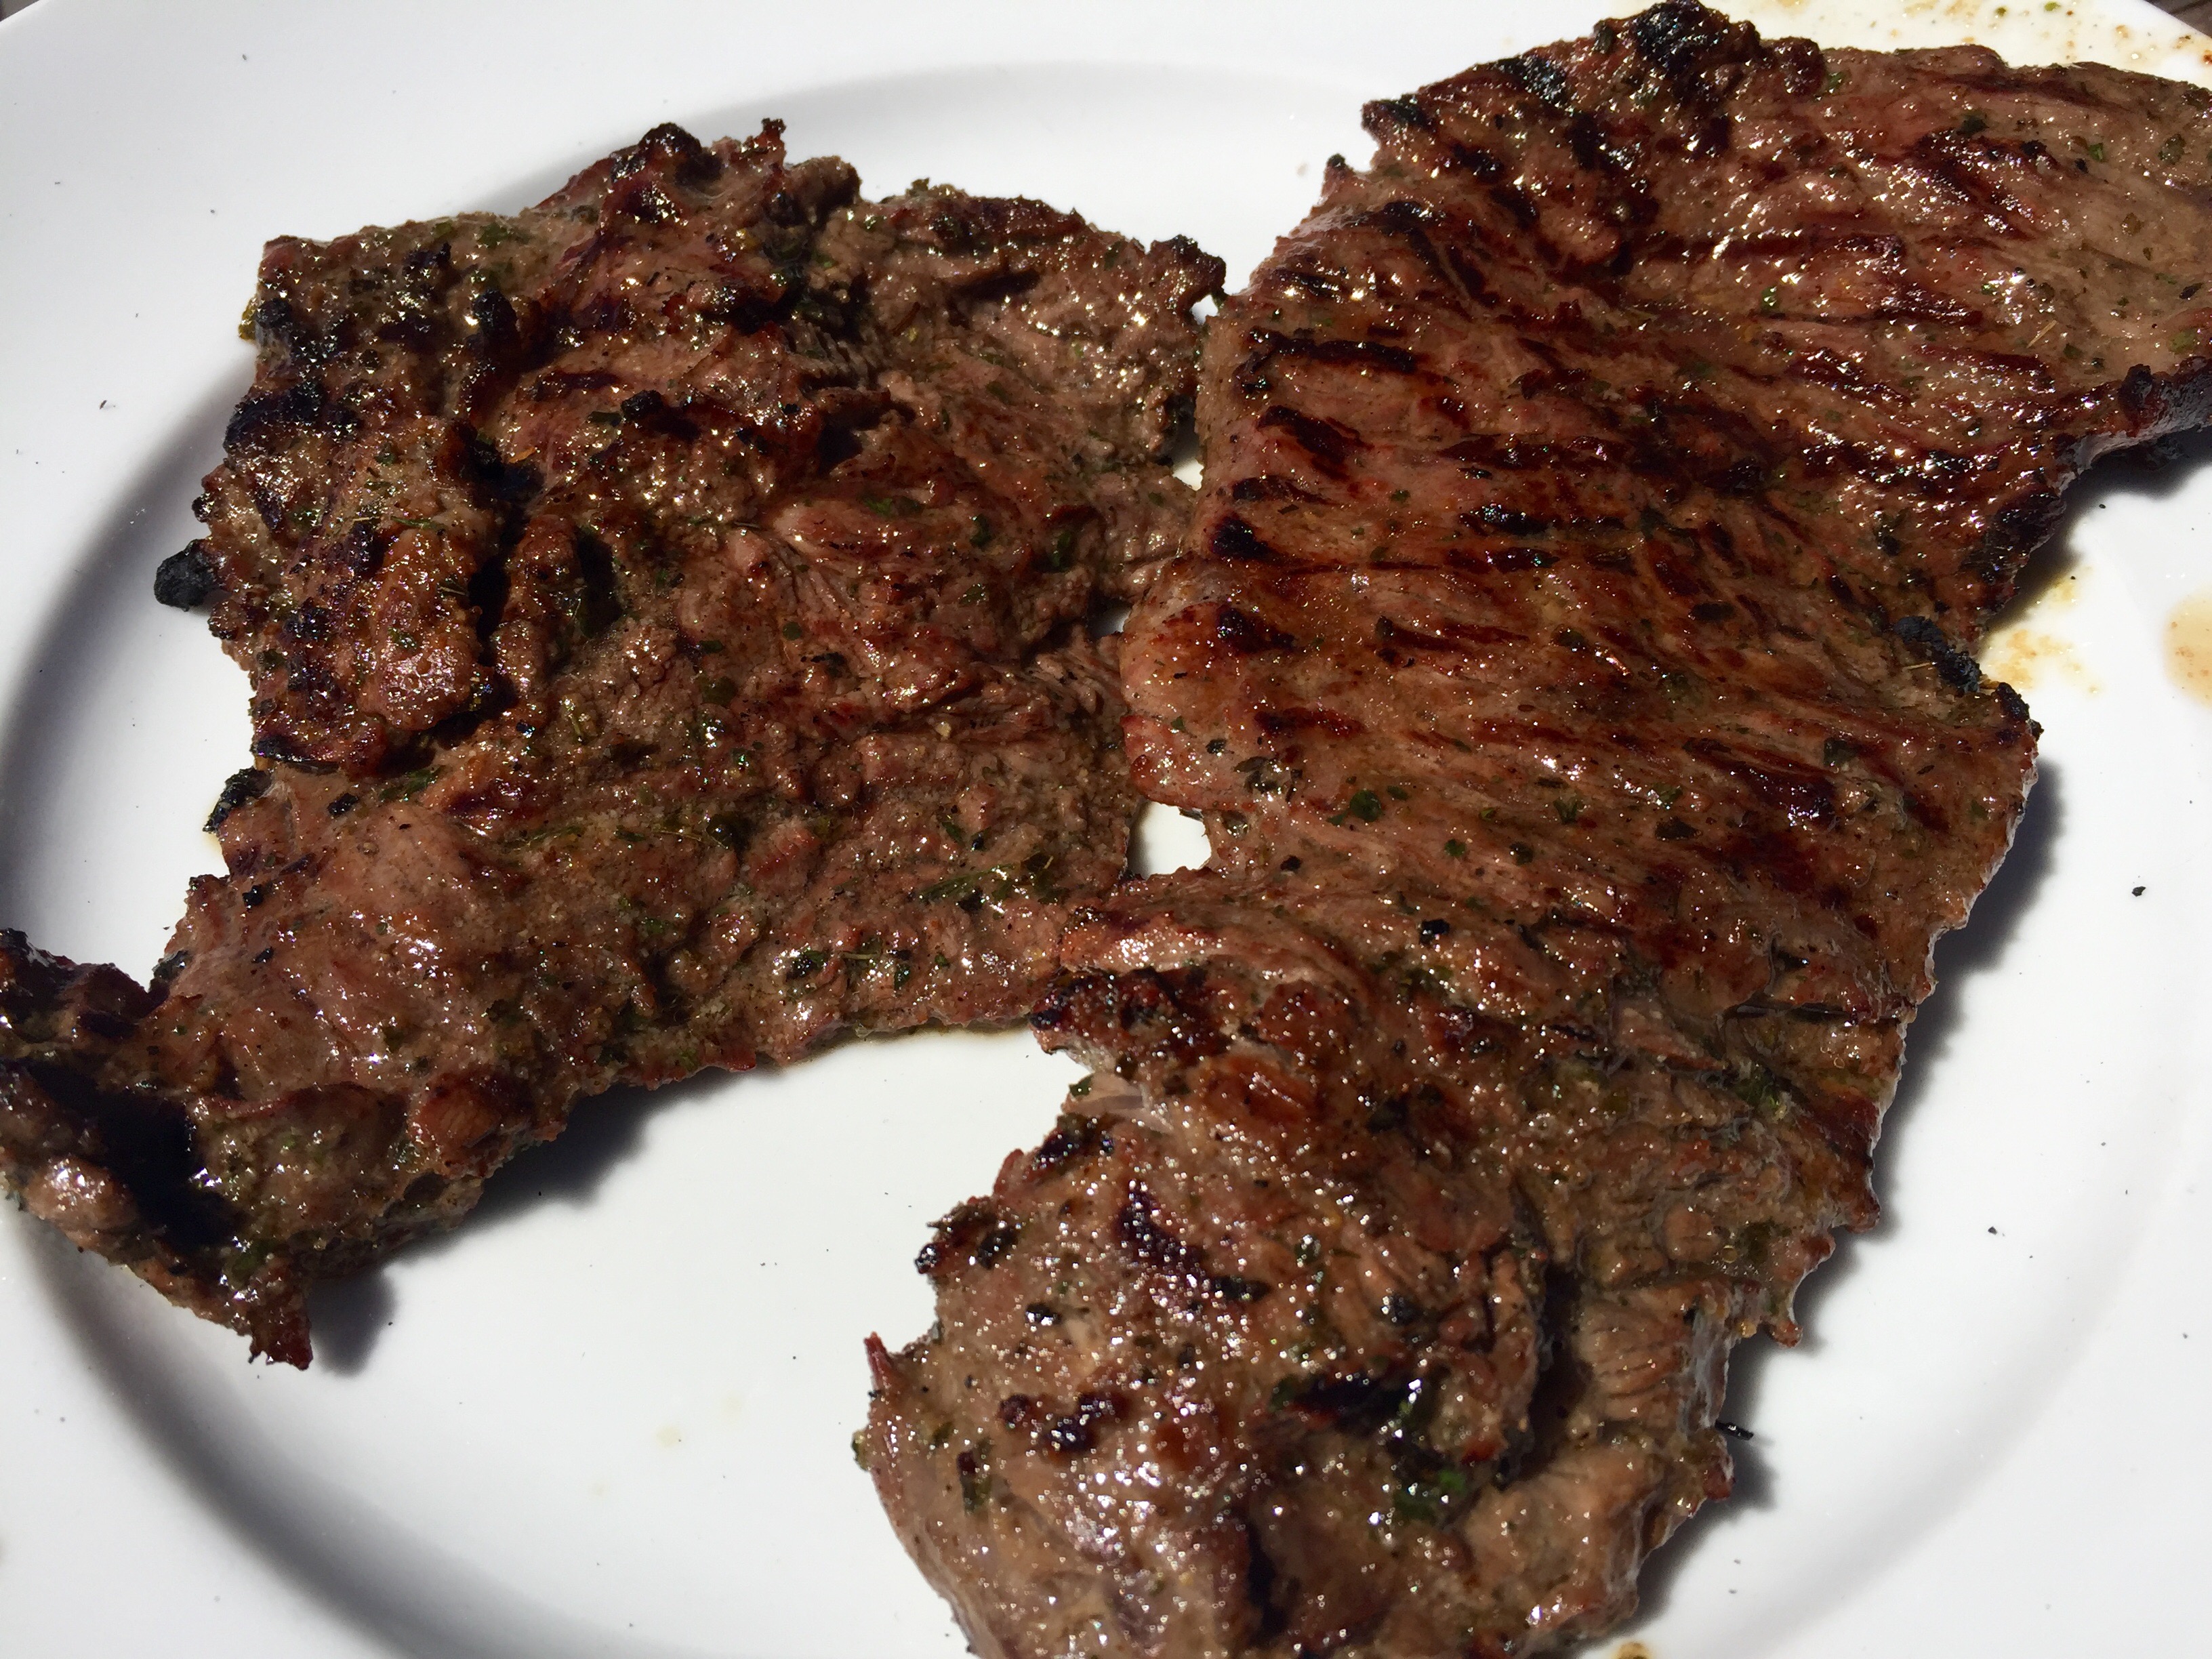
Beef flap or flap steak is a cut from the lower sirloin. It’s a long, thin cut that resembles skirt steak or hanger steak, though they come from a different part of the animal.

You can stuff and roll a beef flap, as I did in a previous blog, but it’s really hard to beat the flavor of a slab of beef that was simply marinated and thrown on the grill.

Though the beef flap is a relatively thin piece of meat, I carefully butterfly it by slicing it lengthwise with a sharp knife, to get 2 thinner pieces that really absorb the marinade.

grill3


1 lb. (or more!) beef flap steak, sliced lengthwise
2 tablespoons balsamic vinegar (red wine vinegar works just as well)
4 tablespoons extra virgin olive oil
1 teaspoon oregano
1 teaspoon parsley
1/2 teaspoon granulated garlic
1/2 teaspoon granulated onion
salt and pepper

rill2

To make the marinade, combine everything but the beef in a bowl and whisk to mix thoroughly. Place the beef in a large Ziploc bag and add the marinade. Squeeze the bag so that the marinade reaches every part of the beef. Squeeze the air out of the bag, zip it tightly, and place it in a bowl (in case of accidental spillage) in the fridge. Let it marinate overnight, squeezing the bag every few hours to let the marinade do its job. Remove the bag from the fridge about an hour before grilling so the meat comes to room temperature.

Light a hardwood fire. When the coals are really hot, place the steak on the grill and sear each side. Then flip to sear the other side. Flip again to get those fancy diamond marks on the beef. Then flip again.

grill1

The meat has little fat, so it should be nicely seared on the outside, but still medium-rare on the inside. Let it rest before slicing. When slicing, cut the beef on an angle against the grain.

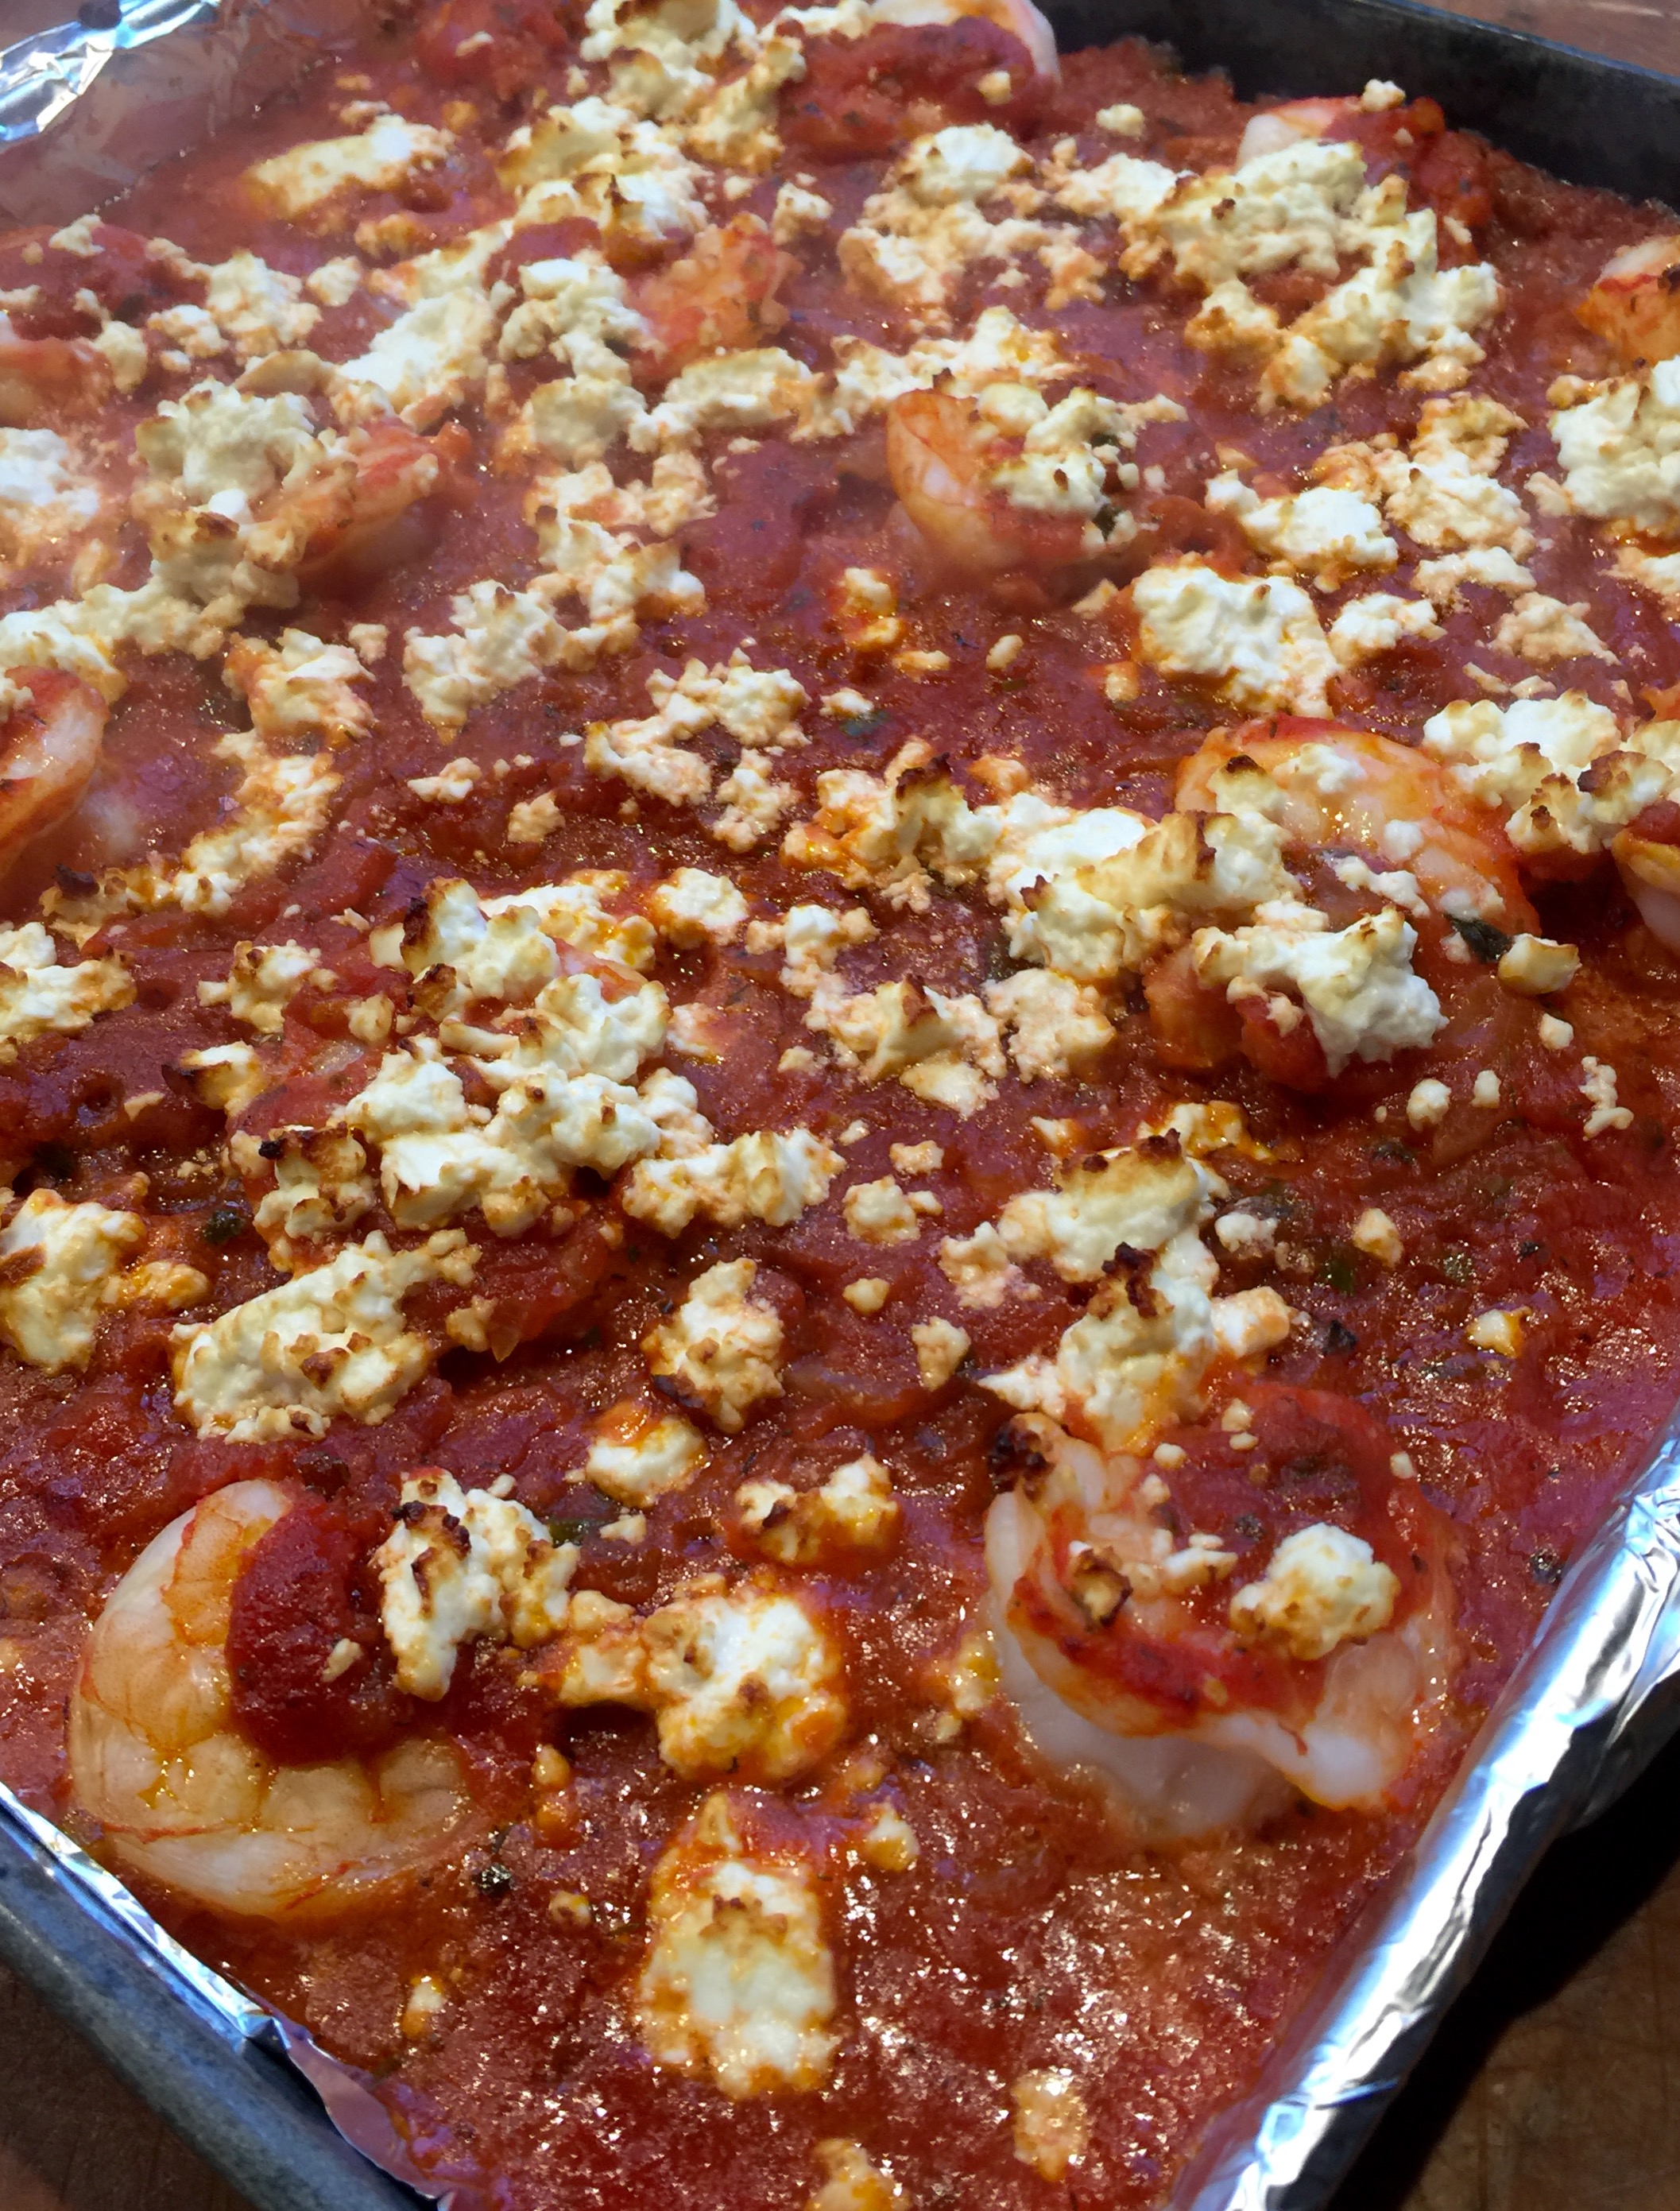
I love the combination of tomato sauce and feta, and this dish, served over some pasta, will have you licking the plate.

FullSizeRender (7)

8 oz. (or more!) feta cheese
1 can (28 oz.) whole tomatoes, ground into sauce
1 lb. (about 24) shrimp, peeled and deveined
1 medium onion, chopped
juice of 1/2 lemon
2 tablespoons olive oil
2 cloves garlic, through a press
pinch red pepper flakes
1 teaspoon fresh dill
1 teaspoon oregano
1 tablespoon Ouzo
salt and pepper

Peel and de-vein the shrimp. Place in a bowl and squeeze the lemon juice over the shrimp and toss to mix. Open the can of tomatoes and puree in a food processor.

In a saucepan, heat the olive oil. Saute the onions until translucent and then add the garlic. Saute the garlic for 10 seconds, until fragrant, then add the red pepper flakes, dill and oregano. Add the tomato sauce, and cook over medium heat until the sauce has reduced a bit and isn’t watery. Add the Ouzo carefully–keep away from open flame! Add salt and pepper to taste.

Line a sheet pan with foil and pour a thin layer of the tomato sauce on the bottom. Lay the shrimp down in one layer on the sauce, and then cover the shrimp with the rest of the sauce. Crumble the feta cheese with your fingers and sprinkle all over the top.

Bake in a pre-heated 350 oven until the shrimp has cooked through and it’s nice and bubbly. Serve over pasta.

When it comes to grilling, lamb is often overlooked. Yet it’s a wonderful, flavorful meat that makes a great burger. The taste of lamb can be a bit strong, however, so I mix 1 lb. of ground lamb with 1 lb. of ground grass-fed beef.

1 lb. ground lamb
1 lb. ground beef
2 tablespoons + 2 teaspoons extra Virgin olive oil
4 tablespoons minced Spanish onion
2 1/2 teaspoons Dijon mustard
1 teaspoon each fresh parsley, mint, and dill, finely chopped
1 teaspoon dried Greek oregano
1/2 teaspoon cumin
1 large clove garlic, squeezed through a garlic press
1 scallion, finely chopped, green part only
1 teaspoon salt
1/2 teaspoon black pepper

Heat 2 tablespoons of the olive oil in a skillet over medium heat. Add the onions. Cook until browned, about 6 minutes. Transfer the onions to a plate and let them cool.
In a bowl, mix the onions, the lamb, pork, mustard, herbs, spices, garlic, scallions, salt and pepper.

Form the meat into slider-sized patties. Place them on a baking sheet covered with non-stick foil, and place the baking sheet in the fridge.

Don’t let the lamburgers get too cold in the fridge…just enough to firm the meat up a bit. If it gets too cold, give it a few minutes at room temp to warm up again.  Grill the burgers until cooked to medium. (If you’re cooking them indoors, heat some pork fat or avocado oil in an oven-proof pan. Sear the burgers on both sides, then place the pan in the oven to finish cooking.)

Place the burgers on slider buns with lettuce and tomato, and smear the bun with the feta cheese dressing or tzaziki. Recipes for both are below.

lamburger

My recipe for feta cheese dressing works really well with lamburgers. If you’re skipping the bun and serving the burger with a salad, you might want to try my tzaziki recipe.

Feta Cheese Dressing:
3/4 cup plain Greek yogurt
1  cup mayo
1 teaspoon Worcestershire sauce
1/2 teaspoon cayenne pepper sauce, like Franks Red Hot
1 teaspoon Dijon mustard
1/2 teaspoon granulated garlic
1/2 teaspoon salt
1/2 teaspoon ground black pepper
4–5 ounces crumbled feta cheese

Combine all the ingredients in a bowl. Mix well. Cover and refrigerate. Best the next day.

FullSizeRender (14)

Tzaziki:
1 pint plain yogurt
1/3 cup extra virgin olive oil
1 tablespoon white balsamic vinegar
1 teaspoon dill weed
1/2 teaspoon granulated garlic
1 English cucumber, peeled and grated
Salt

Combine all the ingredients, except the cucumber, in a bowl. With the cuke: peel it, then finely grate it into a bowl. Add a pinch of salt and let it sit for a few minutes. Then scoop out the mashed cucumber with your hands and squeeze as much liquid out of it as you can. Add the cucumber to the bowl with the other ingredients. Discard the cucumber liquid.

Cover and refrigerate. Best the next day.


I like to think that I was the force behind my daughter’s sudden interest in cooking, but the fact is, it was probably the Food Network. Shows like “Chopped Junior” and “Kids Baking Championship” are her favorites, and I have to admit, watching a 9-year-old displaying knife skills better than mine does have me feeling somewhat inferior at times.

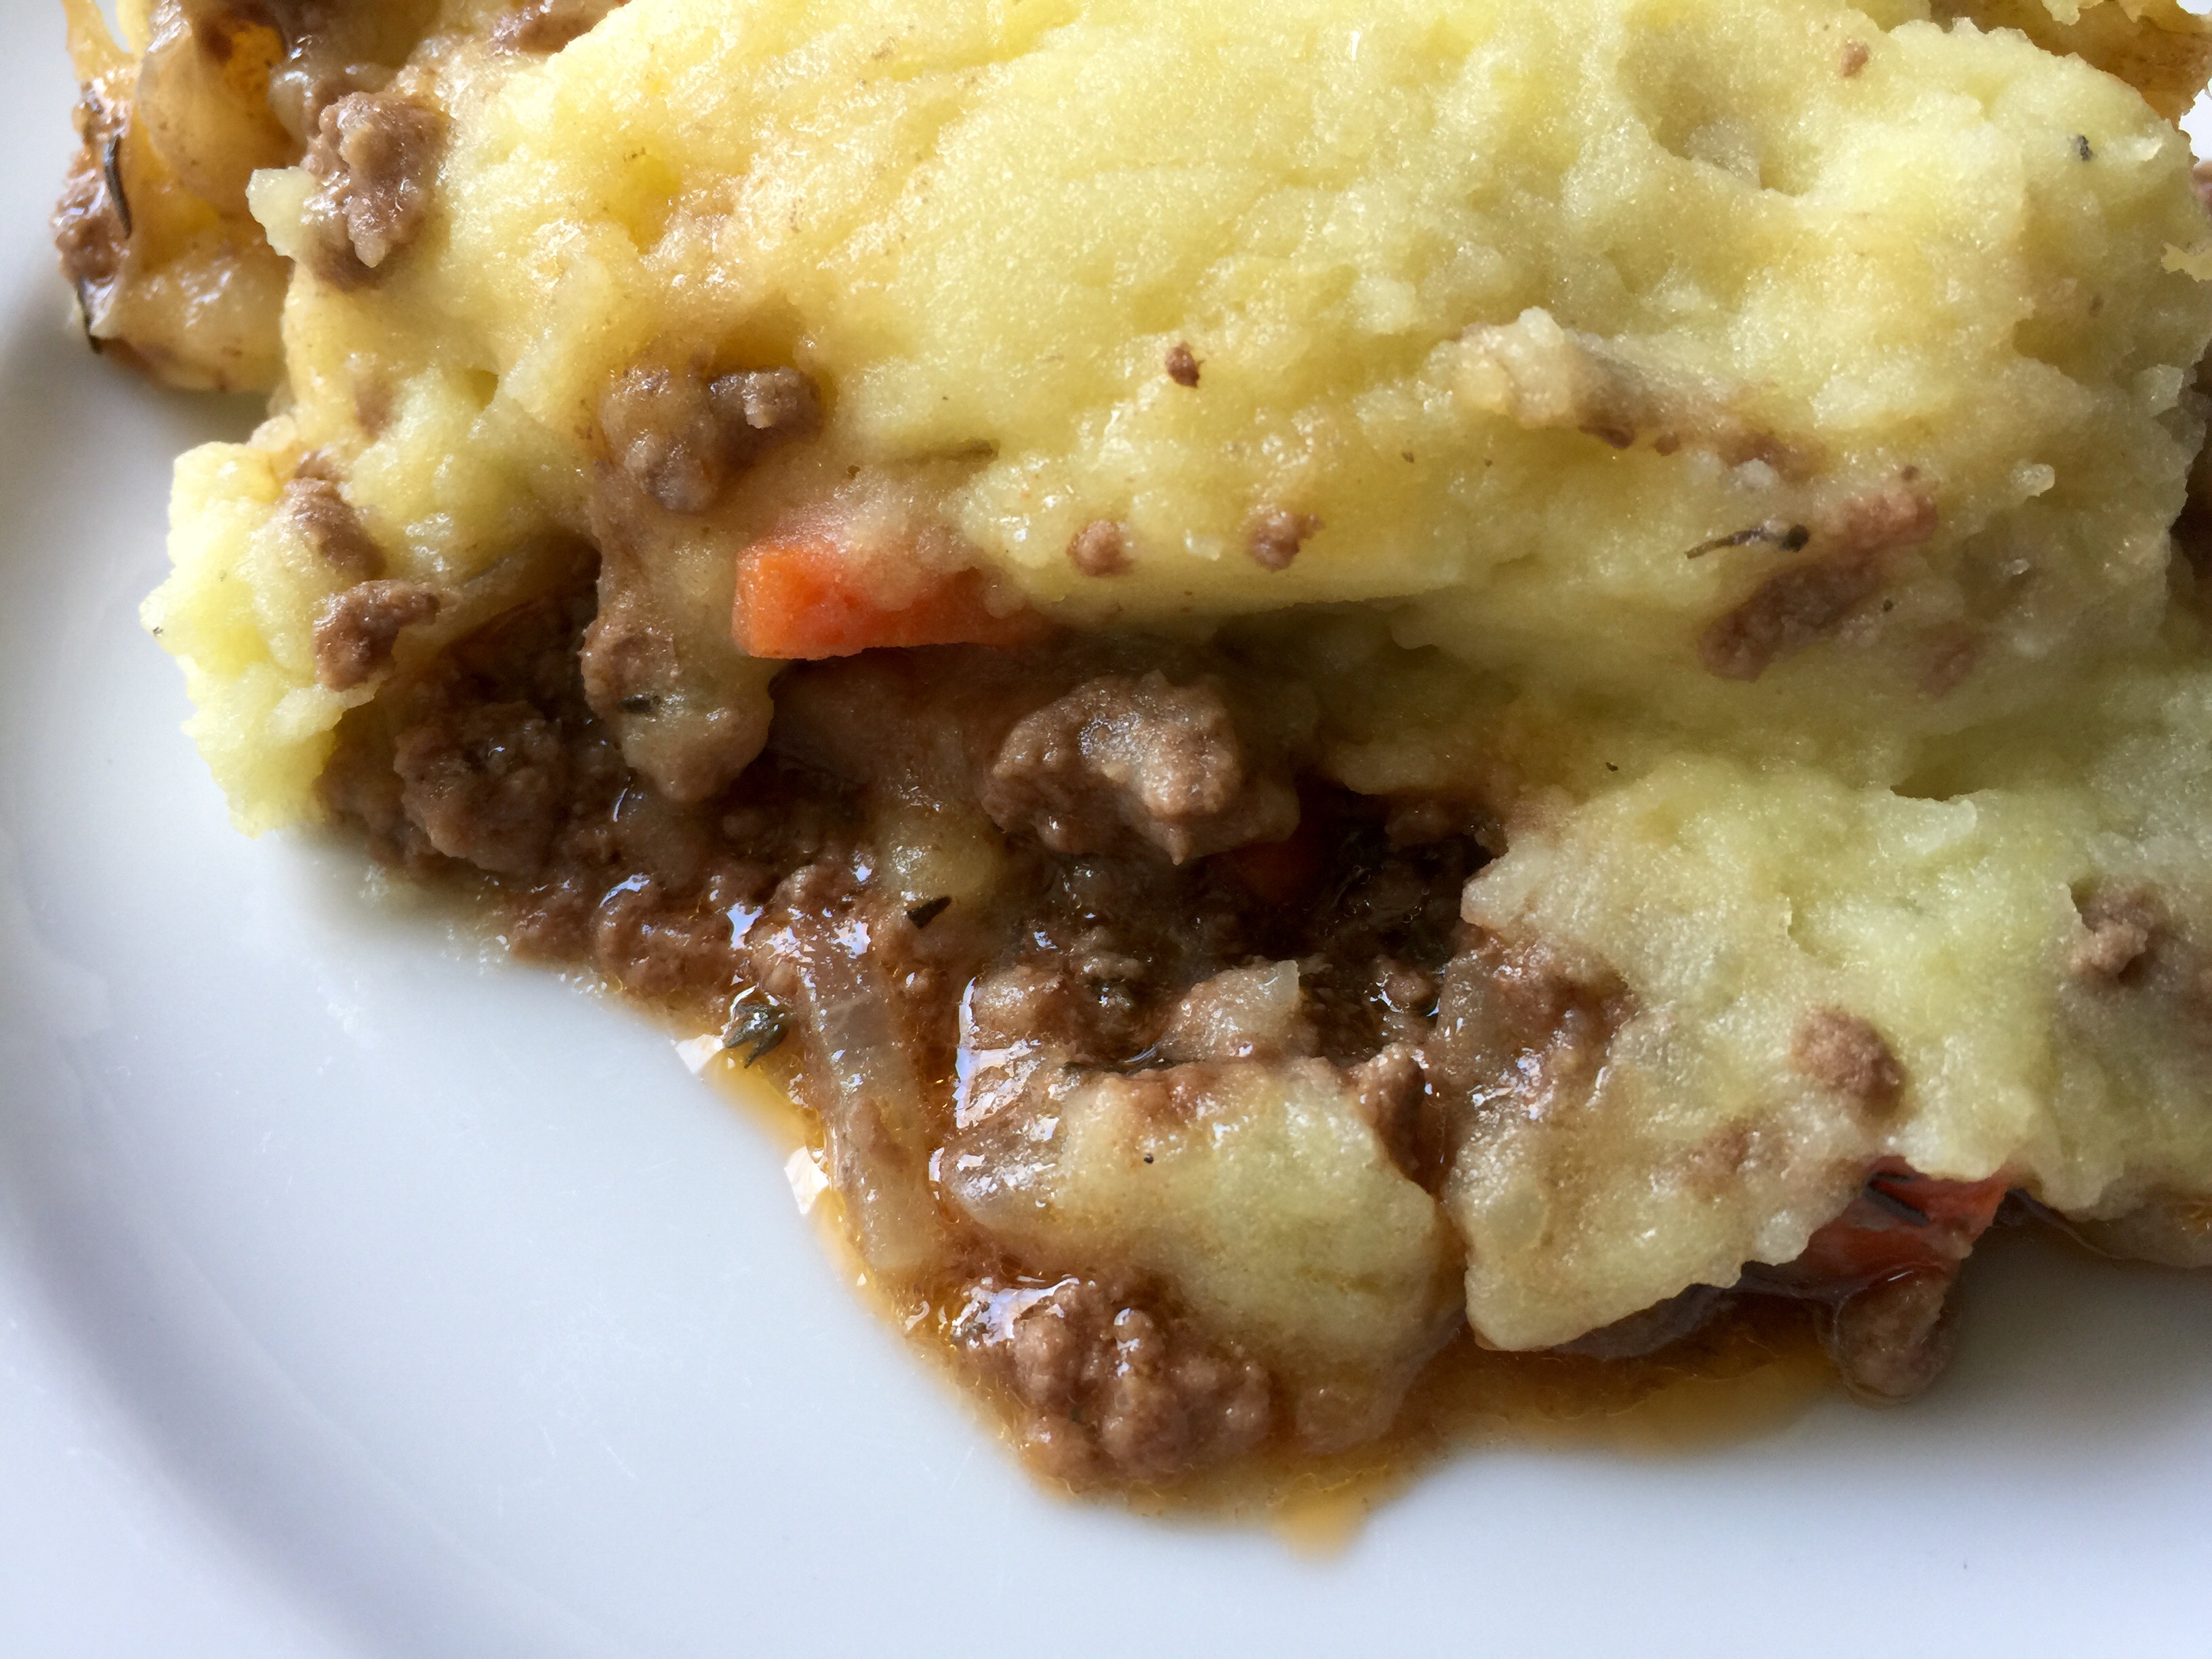
A gift of a kids’ cookbook from our friend, Stacey, was what finally got my daughter to ask if we could cook together. She chose the Shepherd’s Pie recipe. I never really analyzed my own cooking style until my daughter started reading the recipe step-by-step and I heard myself saying: “Oh, we can skip that…Oh, we don’t need to do that…Oh, let’s use another ingredient.” She’d look up at me and say: “But, Dad, the book says you have to do this.” Lesson one, kid: improvise to make the recipe your own.

Peeling potatoes without peeling your fingers!

Peeling potatoes without peeling your fingers!

The original recipe called for lamb. We used beef. The original recipe had a huge proportion of potatoes to meat. We doubled the meat and veggies.

Mastering knife skills.

Mastering knife skills.

3 lbs. potatoes (I like organic gold potatoes)
1 cup whole milk
4 tablespoons unsalted butter
salt and pepper
2 lbs. ground beef
1 onion, finely chopped
4 carrots, diced
2 tablespoons tomato paste
2 tablespoons all-purpose flour (I use gluten-free flour)
1 cup beef broth
olive oil


Peel the potatoes just to remove any blemishes. (I like my mashed potatoes with the skin included.) Cut into smaller pieces and place in a pot of cold, salted water. Bring to a boil and cook until fork-tender. Drain the potatoes, and put them back in the pot. Add the milk and butter, add salt and pepper, and mash until smooth. Set aside.

Chop the onions and dice the carrots. In a large skillet, heat some olive oil, then add the onion and carrot. Cook over medium heat until the onions are translucent. Add the beef, and cook until it’s browned, breaking the meat up into small pieces. Add the tomato paste and flour, and mix thoroughly. Add the beef broth and mix again. Cover the skillet with a lid, reduce the heat, and let it cook for about 15 minutes, until the sauce in the pan thickens.

FullSizeRender (18)

Find an ovenproof pie pan or lasagna pan. Pour the beef and carrot mixture into the bottom of the pan and smooth it out. Add the mashed potatoes on top. Place in a pre-heated 350-degree oven and bake for about 20 minutes if the potatoes are warm–a little longer if they’ve cooled down–until the potatoes start to turn a golden brown.

Proud chef.

Proud chef.

Let the pan rest for a few minutes, then serve.

FullSizeRender (21)


For most people, grilling season is still a long way away. I’m a bit of a fanatic: I’ll use my Weber grill in the wintertime, often standing in a foot of snow while I’m carefully turning my steaks over the hardwood coals below. In the spring, I put the Weber away, and unveil my larger ceramic grill. I use it to grill or smoke anything from a great steak to a whole chicken or even a pizza.

Making a great steak isn’t difficult, but like all good things, takes a little care and finesse.

It starts with the beef. I only buy grass-fed beef. I think it tastes better, and I buy it from local farms that raise the cattle humanely. Some say that grass-fed beef tastes too gamey. I understand that, because I’ve had grass-fed beef from many different sources over the years. The taste of the beef depends on the breed of cattle as well as the environment they’re raised in. The general title “grass-fed” is convenient to use, but quality varies greatly. The only answer to that is to keep trying cuts of beef until you find the one you like. For me, here in Rhode Island, Pat’s Pastured in East Greenwich has the quality and taste I’m looking for. And occasionally, my local Whole Foods will offer great cuts of grass-fed beef as well.

Grass-fed matters to me because the cows eat what is natural for them to eat: grass. The meat naturally has better fats; it’s higher in Omega-3’s. Feeding corn and grains to cattle is cheaper and fattens them up faster, which is why most American farmers switched to that method many years ago and created the factory farms we now have. But feeding them corn and grains also makes them sick, so the farmers have to pump antibiotics and hormones in them to keep disease away. Make no mistake: whatever nasty crap they put into the cow, goes into you. To me, it’s worth paying the extra bucks to support the farmers that do it right. I have beef less often, but what I have is the best I can get for my family.

If none of that matters to you, and you simply want to grab a slab of beef from your supermarket, that’s your choice. But even then, there are varying degrees of quality. Cough up a few extra bucks for better beef and it will reward you later.

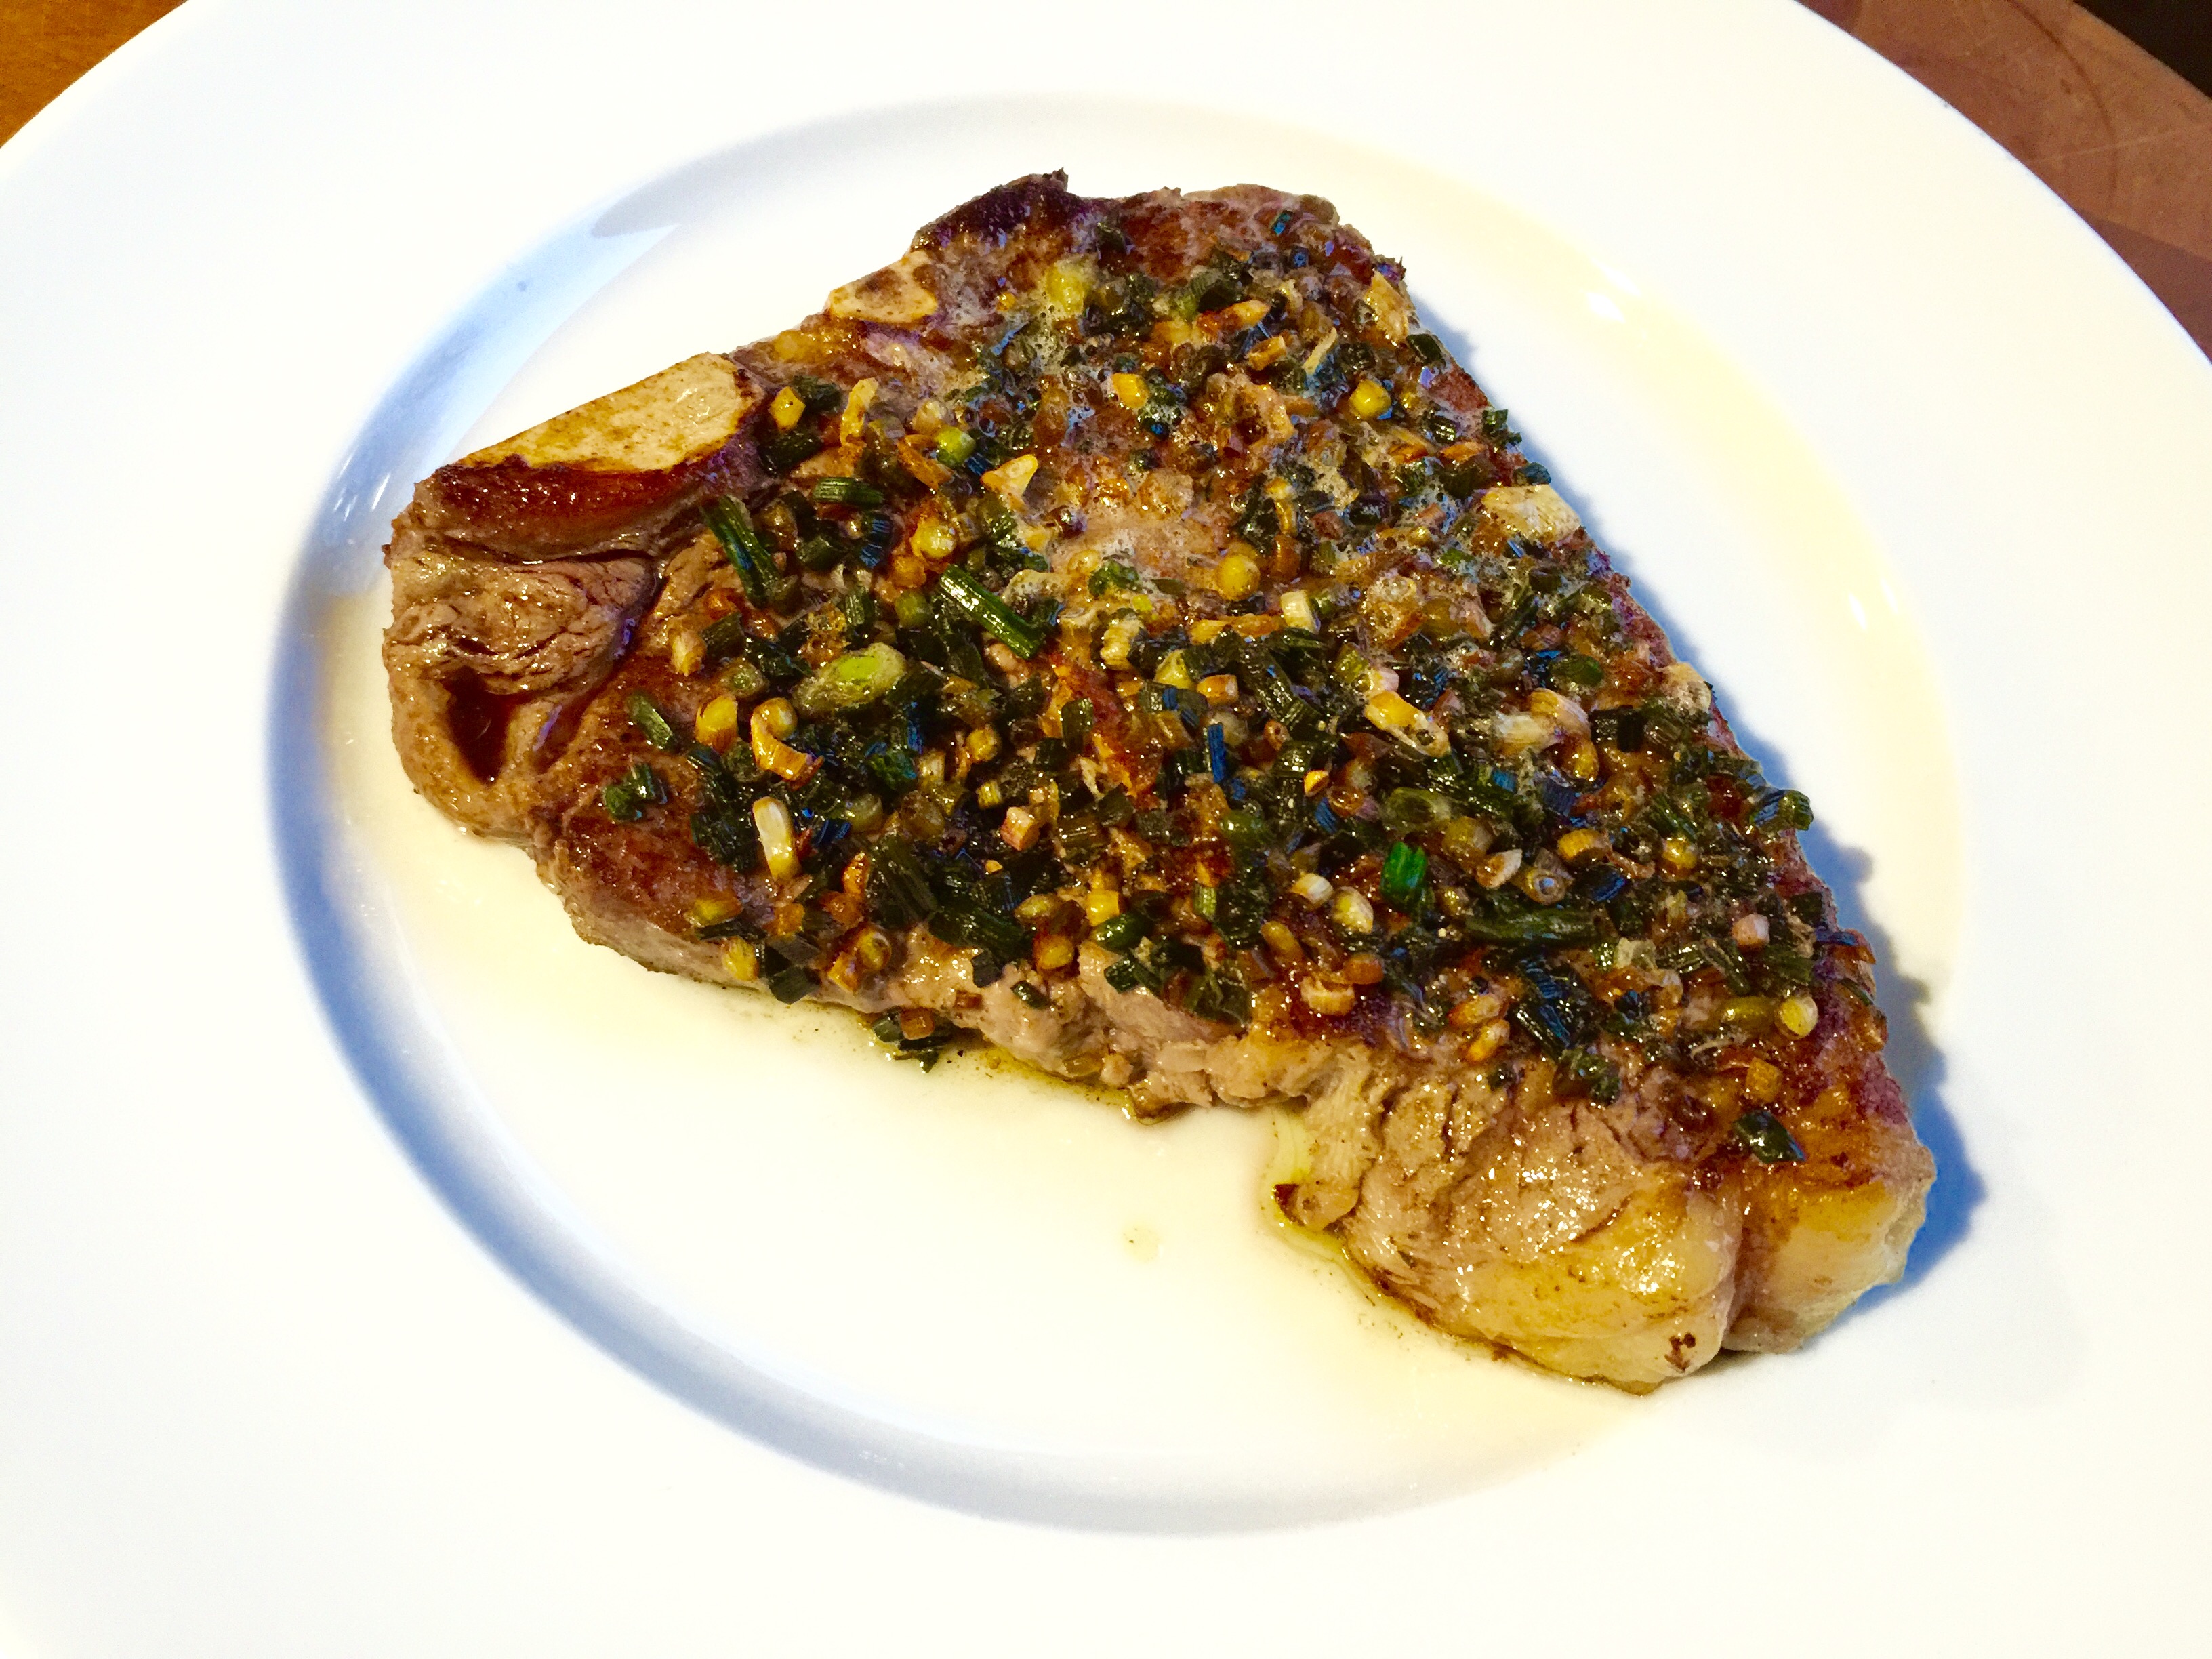
A perfect medium-rare porterhouse that was simply pan-seared. It was thin enough not to even go in the oven.

A perfect medium-rare porterhouse that was simply pan-seared. It was thin enough not to even go in the oven.

The cut of beef I select is as personal as the choice to go grass-fed or not. My absolute favorite cut is the porterhouse: NY strip on one side, tenderloin on the other, bone in the middle. (Not to be confused with a T-bone, which offers almost no tenderloin.) And it needs to be thick. The thicker the cut of beef, the more control I have over the final cooking temperature I want it to be. Unfortunately, because grass-fed beef costs more, farmers often sell skinny porterhouses to keep the price down. But the end product comes out over-cooked, because the meat is so thin. I would rather pay big bucks less often and get a real slab of meat than get a scrawny cut more often.

If you want to try grass-fed beef, but are put off by the high price of the more popular cuts (tenderloins, ribeyes, etc.), go for the less popular cuts: flank, hangar, etc. They cost a lot less and they’ve got great taste. You just need to be careful not to overcook them because they’re usually thin and contain very little fat.


Many articles have been written about it being okay to cook beef from frozen, but I don’t like to do that. I always take my slab of beef out of the freezer the day before I want to cook it, and thaw it in the fridge (out of its wrapper.) Then, about an hour before I plan on cooking it, I take it out of the fridge and place it on a plate to warm to room temperature. I like to rub the beef with sea salt and fresh cracked black pepper and let it sit that way for an hour. And that’s all I season my beef with. No need to hide the flavor of amazing beef!

But although I grill year ’round, it’s not always convenient to fire it up when I crave a steak. Few methods can rival the simple steps of searing both sides of the beef in a hot cast iron skillet, and then finishing it in the oven. I use pork lard or bacon fat in the cast iron pan, heat it, sear one side, flip it over, sear the other side, and place it in a 375-degree oven. How long to cook it is a matter of practice. Eventually you learn the quirks of your oven and you get the perfect steak every time. Until then, a thermometer helps, though you don’t want to poke the hell out of your beef and let all the juices run out.

And it’s key to let the steak rest. I’ve gone to all this trouble…it would be dumb to mess it up now! This is when I take a few minutes to make myself a nice cocktail. By the time the cocktail’s made, and I’ve taken a few sips, the beef is ready to be devoured.

That's not scallions. That's garlic! And a side of fresh oregano.

That’s not scallions. That’s garlic! And a side of fresh oregano.


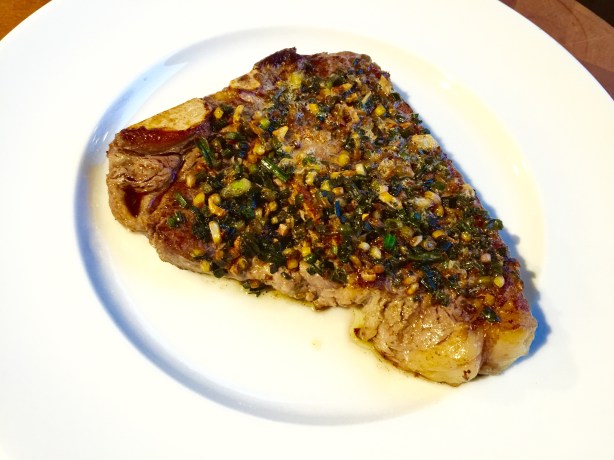
With the garden coming to life again this spring, I found a bunch of shoots popping out of the soil in my garlic patch. I pulled them out, and the garlic greens looked just like baby scallions, only with tiny garlic bulbs at the bottoms. I also found some fresh oregano growing in the herb garden. I washed them all, finely chopped them, and sautéed them in a pan with a little olive oil, butter, salt and pepper. I cooked them just until the garlic started to get brown and crispy, and I poured it all over my porterhouse. Fantastic!
FullSizeRender (5)

Just remember…

IMG_1521


On our trip to Spain in 2014, croquettes were served in just about every restaurant we went to. My daughter fell in love with them, and they became the “chicken nugget” of our trip: the go-to kid food we knew we’d always rely on.

image

Once we got home, I could only find them on-line, not in stores. And since they ship frozen, it required a large purchase.

Luckily, I found a great recipe in Saveur magazine, and decided to try it out. I was a bit clumsy at making them at first–they do need a bit of finesse–but by the end of the batch, I got the hang of it. And to make them gluten-free, I simply substituted GF flour and breadcrumbs for the all-purpose flour and Panko.

image


2 lbs. potatoes, peeled and cut into 1″ cubes
4 tablespoons unsalted butter
1 onion, minced
1/4 to 1/2 cup heavy cream
6 oz. cheddar cheese, grated
6 oz. ham, finely chopped
salt and pepper
1 cup all-purpose flour (or gluten-free flour like Cup4Cup)
2 eggs
2 cups Panko breadcrumbs (or gluten-free breadcrumbs)
avocado oil for frying


image

Peel the potatoes, cut them into 1″ cubes and boil them in salted water until tender. Drain and set them aside.

Melt the butter in the same pot the potatoes were in, then add the onions and saute until translucent. Put the potatoes back in the pot and add 1/4 cup of the heavy cream. Mash the potatoes with a potato masher until smooth. Add more cream, if needed.

Add the cheese and mix until it has melted in. Add the ham and mix again. Season with salt and pepper.

Pour the contents of the pot into a metal bowl and place in the freezer to cool, stirring every 10 minutes until the mashed potato mix is cold, but not frozen.

Line up three bowls: flour (or GF flour) in the first bowl, eggs (scrambled) in the second bowl, Panko (or GF breadcrumbs) in the third.

Remove the mashed potato mix from the freezer, and with floured hands, grab enough to gently roll a small meatball in your hands. (I’ve found that starting with a round shape makes it easier to work with.)

Roll the ball in the flour, then the egg, then drop in the Panko and roll again. With the ball in your hand, gently squeeze into a tubular shape, and then place it on a sheet pan lined with non-stick aluminum foil. Continue with the rest of the potato mixture. (You may need to add another egg or two if you run out.)

Once you’ve rolled all the croquettes, place them back in the freezer for 20 minutes to firm up. (I use a sheet pan lined with non-stick aluminum foil.)

Heat a pan with 2″ of oil to 350 degrees. Remove the croquettes from the freezer, and working in small batches, fry them until golden brown. Place on paper towels, and quickly season lightly with salt while hot, if desired.

image


The croquettes freeze really well, so this batch goes a long way. Once they’ve been fried, let them cool completely to room temp. Place them in Ziploc freezer bags and store in the freezer. When it’s time to cook them, let them thaw for about 15 minutes, then place in a pre-heated 325 degree oven for another 15 minutes.


Despite that corned beef is not an authentic Irish dish, it seems that everyone thinks they should eat it on St. Patrick’s Day. The phrase “corned beef” was actually coined by the British, and although the Irish were known for their corned beef throughout Europe in the 17th century, beef was far too expensive for the Irish themselves to eat and all of it was exported to other countries. Owning a cow in Ireland was a sign of wealth, and the Irish used theirs for dairy products, not beef. The Irish ate pork, and a lot of it, because it was cheap to raise pigs, and they traditionally prepared something like Canadian bacon to celebrate St. Patrick’s Day in Ireland.

In the 1900’s, when the Irish came to America, both beef and salt were more affordable, and the Irish, who lived in poor, tight-knit communities, often next to Jewish communities, bought much of their beef from Kosher butchers. And so many of the Irish learned how to corn their beef using Jewish techniques, but added cabbage and potatoes to the mix.

It takes about 3 weeks to make corned beef, so you can’t make it in a day. But now that you know it’s not Irish anyway, that’s OK! Doing it yourself is not difficult, and you get a better quality product than that nasty slab from the supermarket that’s full of chemicals and preservatives.

Corned beef has nothing to do with corn. ‘Corning’ is a technique for preserving raw meats for long periods by soaking it in salt brine. This method was used in England before the days of commercial refrigeration. Back then, the large salt kernels used in the brine were called “corns.”

Brining is a time-honored way of preserving and it prevents bacteria from growing. Both pastrami and corned beef are made by this method. Both corned beef and pastrami usually start with a brisket of beef. Corned beef is then cooked–usually boiled–and served. Pastrami is made when the brined meat is rubbed with more spices and smoked to add extra flavor. So corned beef and pastrami are the same meat, just treated differently.

Saltpeter is an ingredient that has been used in brining beef for years. It adds the traditional red coloring to the corned beef and pastrami meat. But since saltpeter can also contain carcinogens, I leave it out. The meat may not be the usual bright red color, but the flavor and texture of the meat will not be affected.

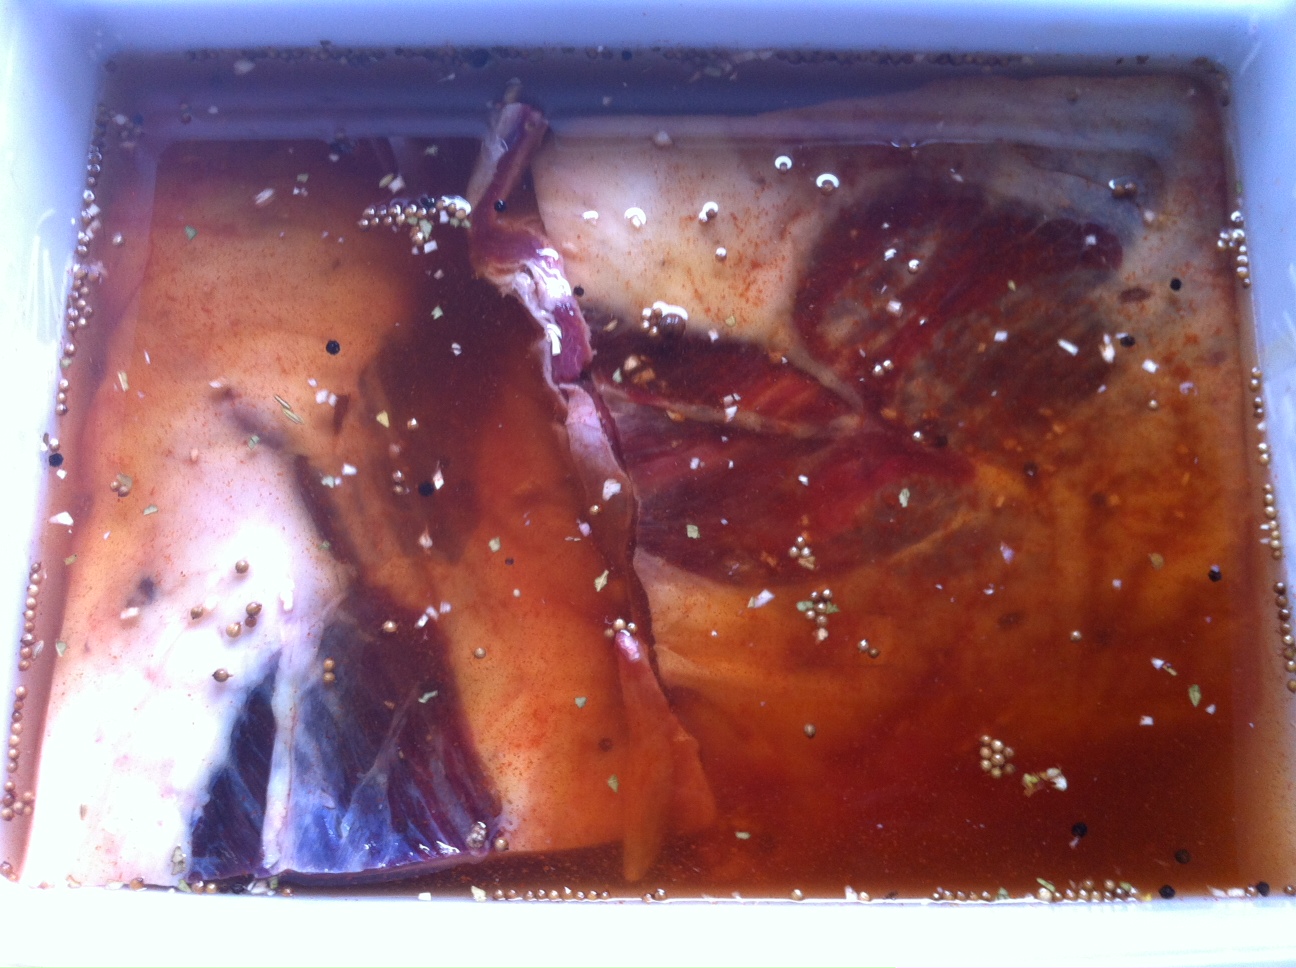
Brining the beef brisket

Brining the beef brisket

Step one: corned beef…

beef brisket (about 8-10 pounds)
2 teaspoons paprika
1/4 cup warm water
3 cloves of minced garlic
2 tablespoons sugar
1 tablespoon mixed pickling spices
3/4 cup salt
2 quarts water

Place the brisket in a large container made of non-reactive material, like glass or plastic.

In the 1/4 cup of warm water, dissolve the sugar, minced cloves, paprika and pickling spices.

Dissolve the 3/4 cup of salt in the 2 quarts of water. Pour in the sugar/garlic/paprika/pickling spices mix and stir everything together. Pour the mixture over the meat in the container. Make sure the meat is totally beneath the surface of the liquid. (You may need to weigh it down to do this.) Cover the container.

Refrigerate the container and contents for 3 weeks, turning the meat once or twice per week. At the end of the third week, remove the container from the refrigerator and take out the meat. Soak the meat in several changes of fresh cold water over a period of 24 hours to remove the excess salt.

At this point, if you want corned beef, prepare and cook it using your favorite recipe. But I’m all about the pastrami!

Step two: making Pastrami…

pastrami


Brined and rinsed corned beef brisket from above recipe, patted dry with paper towels
1/4 cup Kosher salt
1/4 cup paprika
3 tablespoons coriander seeds
2 tablespoons black peppercorns
2 tablespoons yellow mustard seeds
1 tablespoon white peppercorns
3 tablespoons brown sugar
1 tablespoon granulated garlic

Combine the coriander seeds, black and white peppercorns and mustard seeds in a spice grinder and grind coarsely. Place in a bowl. Add salt, paprika, brown sugar and granulated garlic. Mix well.

Rub the mix into the brisket well, covering all sides.

Heat your smoker to 225 degrees and smoke for several hours using a less intense wood, like oak. When the internal temperature of the meat has reached 165 degrees, it’s done. It isn’t necessary to smoke pastrami as long as you would a regular brisket because the long brining time makes the meat tender.

It is very important that absolutely everything that comes in contact with the meat is very clean. (This includes your hands.) Also, make very sure that every inch of the meat reaches the 165 degrees before it is removed from the smoker. The corned beef is now pastrami.