Archive for the ‘Recipes’ Category

As a kid, I always knew my grandmother loved me. After all, she told me that every time I visited her on Saturday afternoons. She lived in Queens, NY, and we’d visit after sitting through 5 long hours of Lithuanian school in Brooklyn every Saturday morning.

By the time we got to my grandmother’s house, it was mid-afternoon, and I was starving. She’d greet me with a smile and a kiss on the forehead, and she’d proudly put a plate full of koldūnai (Lithuanian pierogis, usually stuffed with meat instead of potatoes or sauerkraut, and way better) in front of me, steam rising off the freshly-boiled koldūnai, with spirgučiai (fried bacon and onion bits) generously sprinkled on top, and a dollop of sour cream on the side.

There were times when I could eat 20 of them. However many I had, it seemed that she still had more, and I never thought for a moment about where they came from. I guess I knew that she made them, but I never really thought about what that meant.

Now I cook for my 8-year-old daughter, and the other day, she asked for one of her favorite dishes: ham and cheese croquettes. It’s a long and messy process to make them: boiling and mashing potatoes, chopping up slabs of ham, grating piles of cheddar cheese, mincing onions. Then rolling the croquette filling in flour, egg and breadcrumbs before frying them.

Whether I make six or sixty, the kitchen is trashed afterwards, so I went with the larger number…62, to be exact. (They freeze well.)

image

It’s not hard work, but it’s tedious. After making 30 croquettes, my back was aching from standing hunched over the kitchen counter. And I was only half done. I tried pulling up a stool, but that didn’t help, so I popped a few ibuprofen and kept going, finally frying that last croquette, turning the heat off the oil, and standing back to see a kitchen counter covered in egg, flour, breadcrumbs, and mashed potatoes. The cooking was done but the cleanup was just beginning.

My daughter stepped off the school bus at the end of the driveway, and I greeted her with a kiss on the forehead, telling her I loved her. We walked back to the house, and I asked her about her day, all the time knowing that I had a special treat waiting for her that I couldn’t wait to show her.

We walked into the house and she saw the trays of croquettes. I placed a couple of them on a plate and she sat down, eyes wide open, and took her first crunchy bite. The heartfelt “Mmmmm” that came from deep inside her gave me a real sense of satisfaction. My hours of work had paid off with one simple bite. Few things could’ve made me happier at that moment than the smile on her face.

And then I thought of my grandmother.

image

What I did that day, she did for me every Saturday without fail. And she was a lot older than I am now.

She loved me, alright. Funny how it took almost 40 more years for me to realize just how much.

When asparagus is in season, it’s time to gorge. I’ve got it growing in my yard, and the patch gets bigger and happier every year with minimal maintenance…definitely one of those veggies every lazy gardener should grow.

I love it raw, chopped into salads, pickled, oven-roasted, and in pasta dishes. This is a great side dish with any main course slab of meat.

image

1 lb. fresh asparagus spears
1 tablespoon butter
2 tablespoons olive oil
3/4 cup grated Parmigiano Reggiano cheese
salt and pepper


The easy way to trim asparagus spears is to grab the thicker end between two fingers and bend it. It will snap at the point where the tough part ends and the softer, edible part begins. Toss the bottoms into your compost pile.

Heat the butter and oil in a pan and then add the asparagus spears. Cook over medium heat for about 5 minutes, until al dente. You don’t want them mushy.

While the asparagus is still in the pan, sprinkle the Parmigiano Reggiano on top, letting it melt a bit. Season with salt and pepper.

I ate this batch right out of the pan!


Skip the necktie. If your dad’s a foodie, he wants something cool this year! All of these ideas have been rigorously tested by our panel of experts (OK, just me), and get a big thumbs up. This article was originally published a few years ago, but I’d still be happy to get any of these for Father’s Day!


Masterbuilt Electric Digital Smokehouse: I’m a bit of a purist when it comes to grilling. I refuse to use a gas grill because I think there’s no difference between that and my kitchen stove. I use real hardwood charcoal, with real smoke and real flavor. But when it comes to smoking meats, basic smokers require constant maintenance so that the temperatures don’t fluctuate. With an 8-year-old daughter to take care of, that’s something I don’t have time for, especially if I’m cooking something low and slow for about 12 hours. So I have a digital smoker. I plug it in, set the time and temperature, and then periodically add wood chips through a side drawer to smoke the meat. I can literally set it and forget it. I have it cook through the night, so I wake up to a beautifully smoked slab of meat in the morning.


Cognac! How can you go wrong with booze for Father’s Day? But if you’re looking for something really special to give Dad (or your favorite blogger), it’s Kelt XO. What makes Kelt XO special is that before bottling, they place the barrels of cognac on board ships that sail the world for months at a time. During this time, the cognac gently rocks back and forth in the barrels, slowly acquiring a smoothness you can’t find in other spirits. Each bottle even comes with a tag that tells you exactly what ports around the world your cognac has been to. Worth the search at high-end liquor stores.

jack daniels


Jack Daniels smoking chips: Whether you have a smoker or not, these chips will make anything you cook taste better. Made from the old oak barrels that they use to age Jack Daniels, you get a serious hit of whiskey in every bag…and in your food. Simply toss a handful of chips you’ve soaked in water for about a half hour, and they will infuse the food on your grill with flavor. You can also use them dry, on charcoal or gas grills.


Cookbook favorites: “Jamie at Home,” by Jamie Oliver (a great combination gardening/cookbook), “Charcuterie,” by Michael Ruhlman and Brian Polcyn (the best book on how to cure and smoke meats), “Barbecued Ribs, Smoked Butts, and Other Great Feeds,” by Jeanne Voltz (my absolute barbecue Bible!), and “Martin Yan’s Feast: The Best of Yan Can Cook” by Martin Yan (the authority on Asian cooking.)


Redi-Check Remote Cooking Thermometer: Even someone who has barbecued all their lives runs the risk of burning or undercooking a roast or a large bird. Opening the grill and jabbing the meat with a thermometer several times causes the juices from the meat to run out, leaving it dry…and every time you open the grill, you lose precious heat. This is the better solution: You stick the needle into the roast or bird and leave it in there the entire time it cooks, so no juices leak out. You plug it into the monitor which then calls you when the meat is ready (from as far as 100 feet away!) You set the time or temperature, and then get to join your guests for the party.

smoking gun


Smoking Gun: There are times when you don’t need a full-on smoker. All you want to do is smoke a small piece of fish or a hunk of cheese.  You simply take some of the finely ground wood chip powder (comes with the gun) and place it in the pipe-like bowl. Light it, and the Smoking Gun will blow that smoke through a hose into the Ziploc bag where your piece of fish is waiting for its magical transformation to smoky deliciousness.


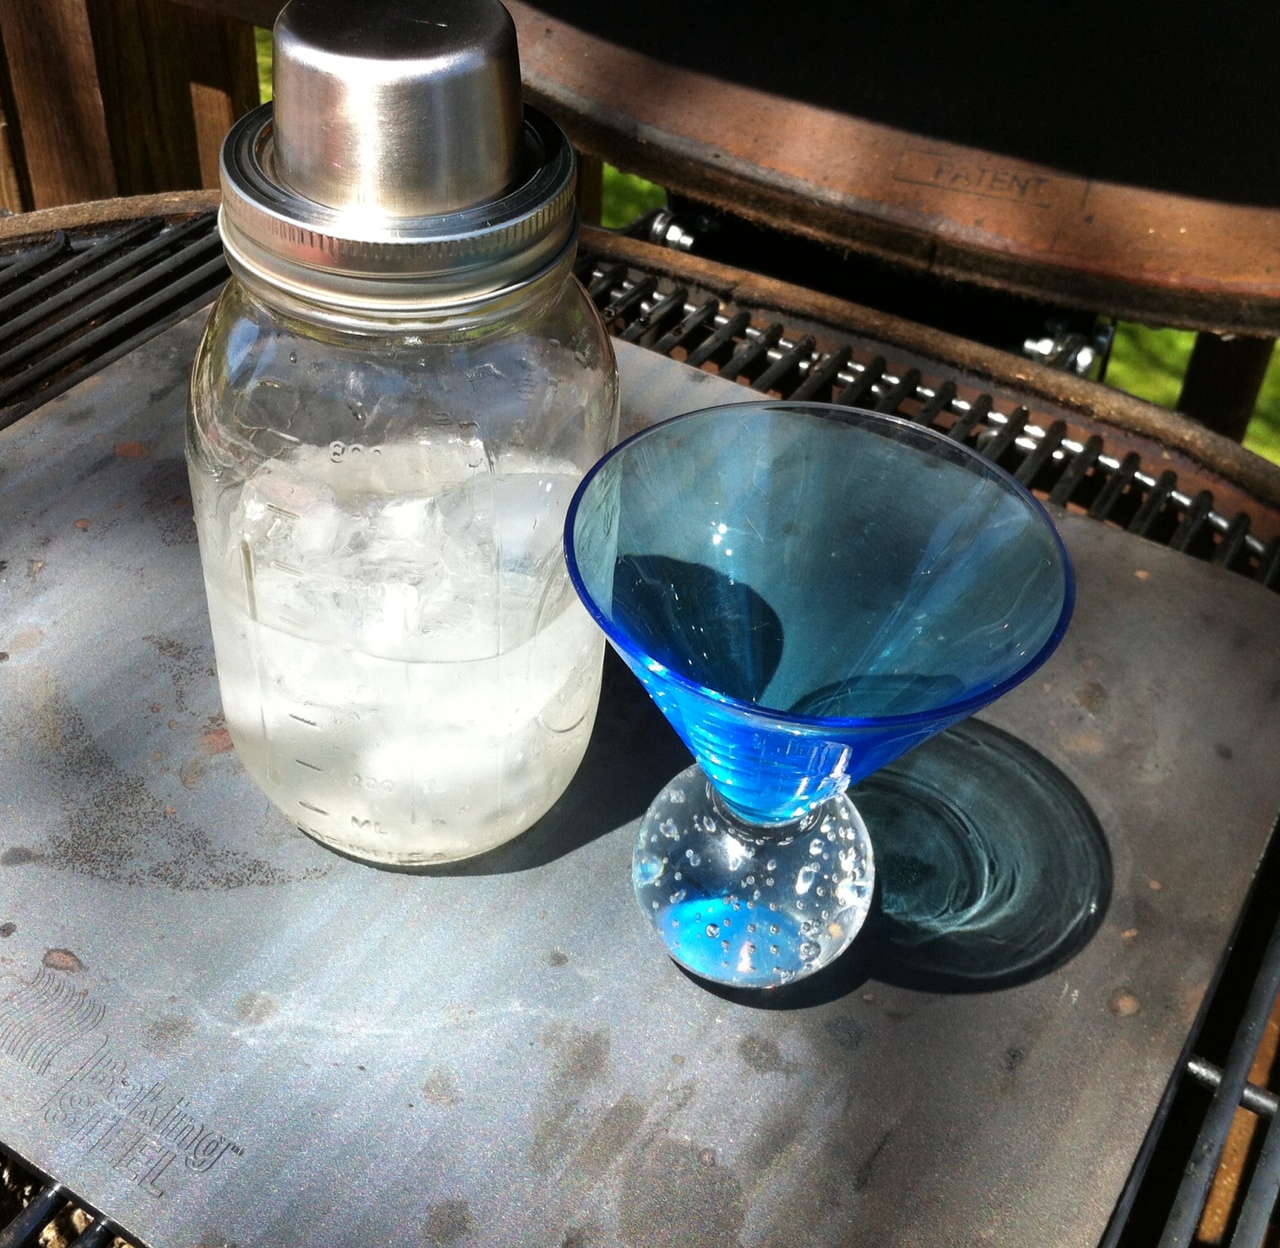
Mason jar cocktail shaker: A fun new way for Dad to make his martini. https://wandpdesign.com/search?q=mason+jar

mason jar, baking steel

GUAC AND ROLL

Posted: June 5, 2015 in Food, Recipes
Tags: , , ,

People are passionate about their guacamole, and there are thousands of recipes out there. If the avocados are nice and ripe, I think a good guac recipe needs to be simple. Grapefruit is my go-to citrus to add a spark of bright flavor.

image

4 ripe avocados
1 grapefruit
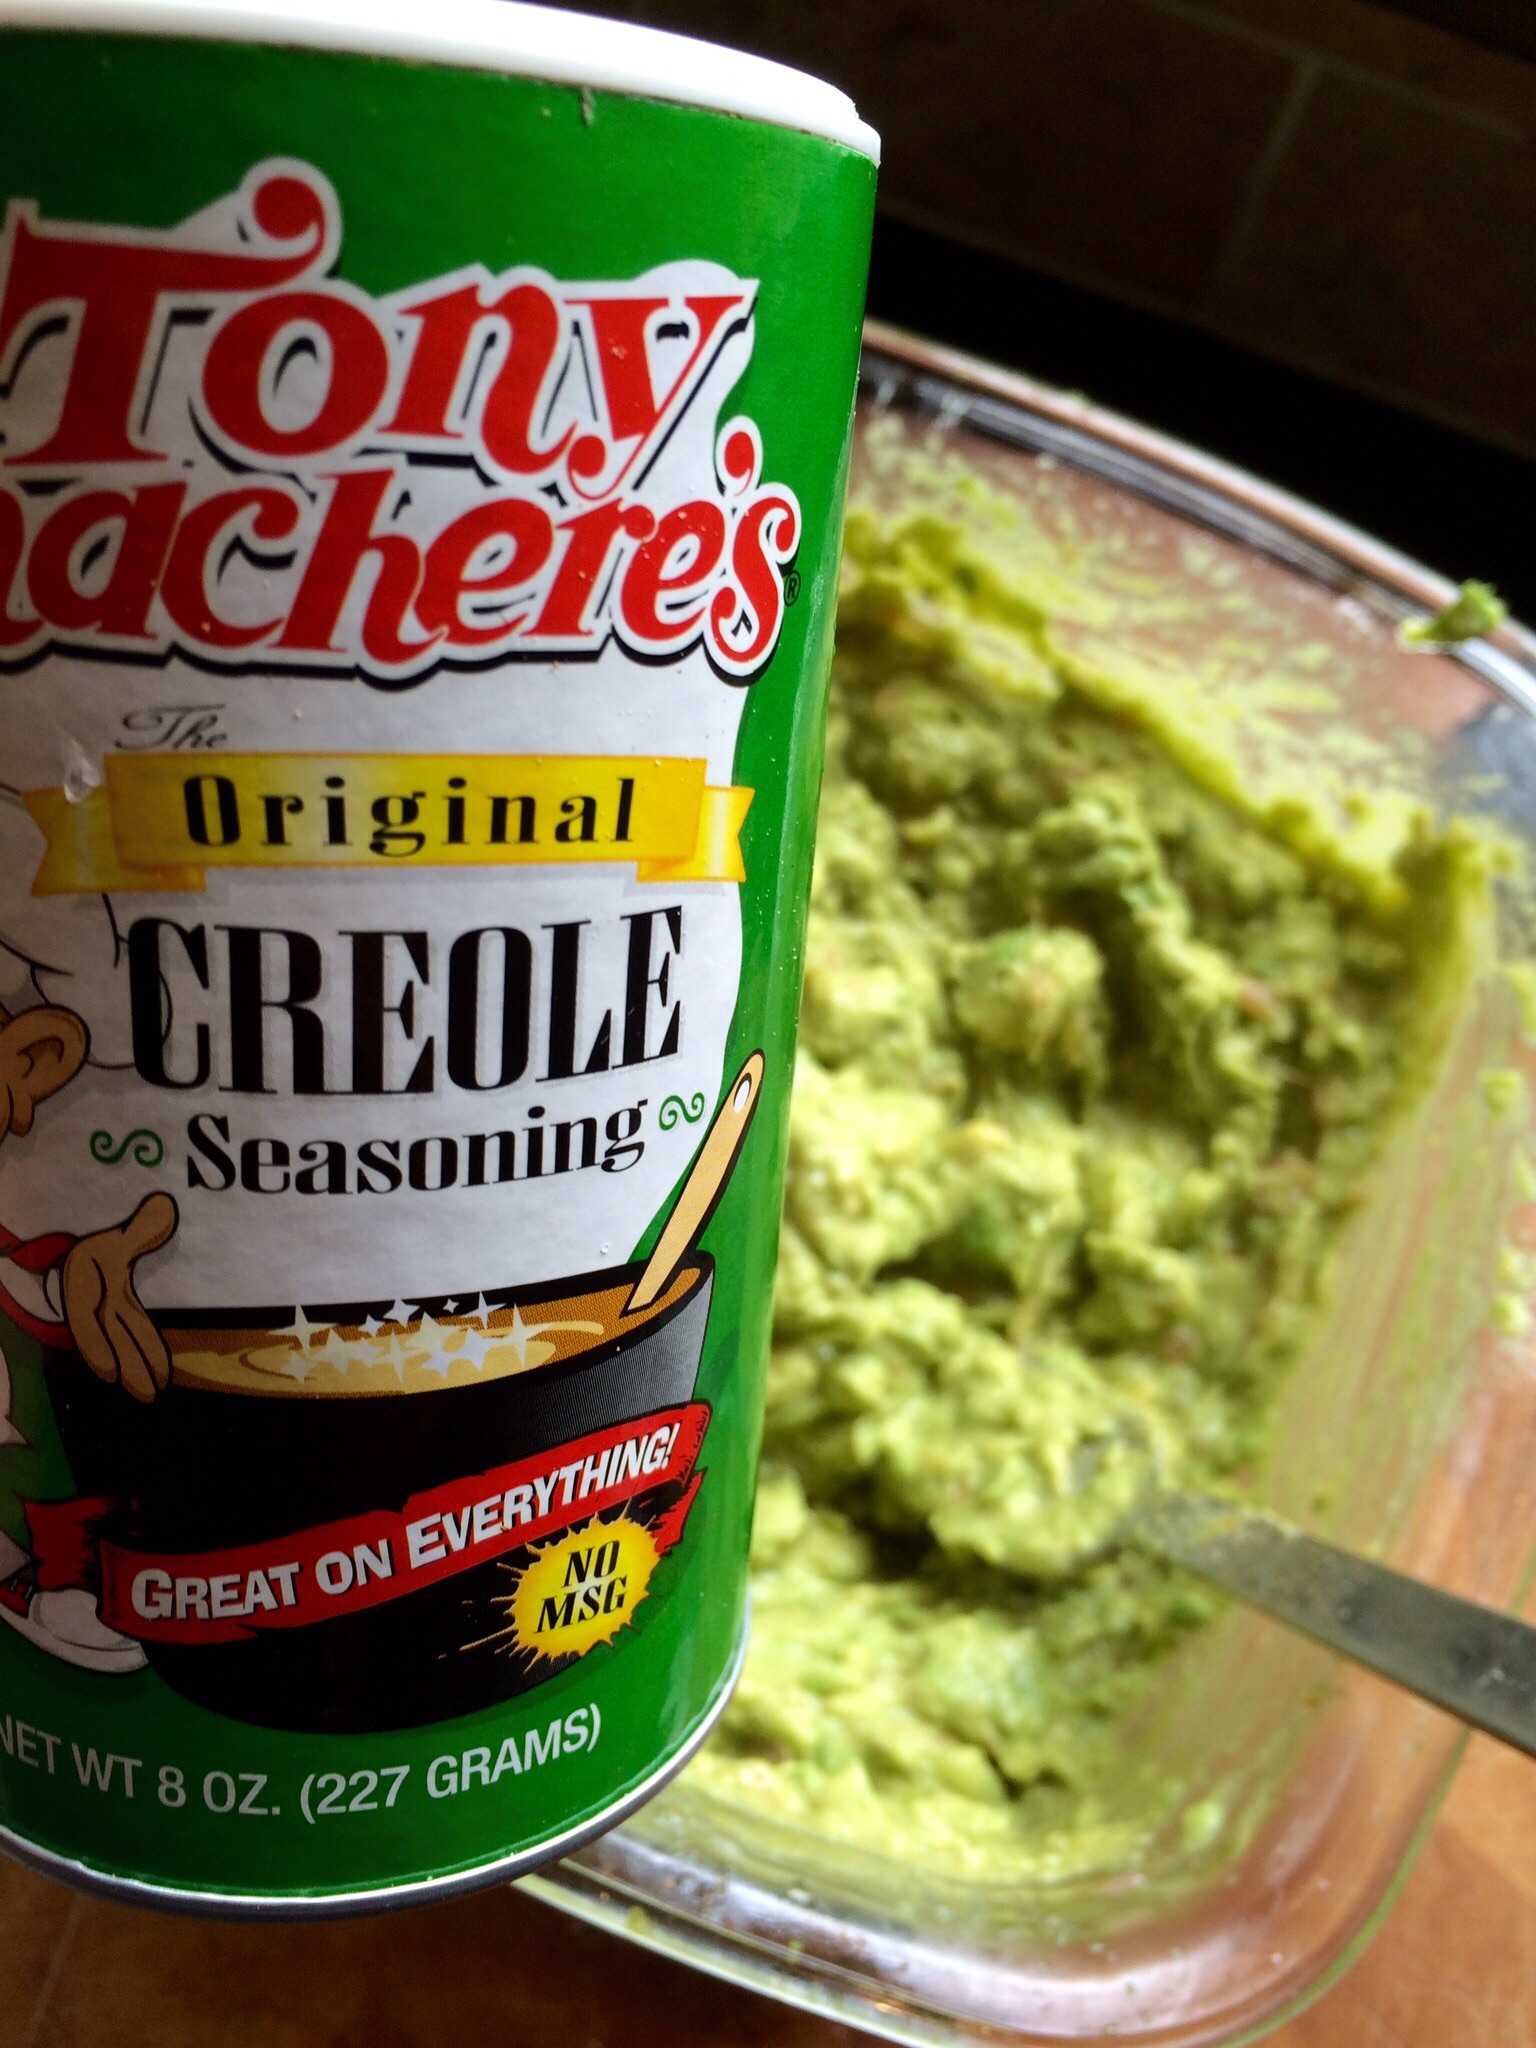
Tony Chachere’s Creole Seasoning

Slice the avocados lengthwise down the middle and all the way around, twist to get 2 halves, remove the seeds, and scoop out the flesh into a glass bowl. Mash it up a bit with a fork.

I always wash fruit before zesting. Using a microplane zester, zest a bit of the grapefruit skin and add to the bowl before cutting it into quarters. Squeeze the juice out of one of the quarters and add to the bowl.

The art of removing the flesh out of citrus without any of that nasty fibrous skin is called supreming.  Supreme as much of the flesh as you like, roughly chopping it, and add it to the bowl.

Tony Chachere’s (pronounced sak-a-rees) Creole Seasoning has some kick, some salt, and some spices. Add it to taste.

Mix the contents of the bowl well with a fork. Cover the bowl tightly to prevent oxidation, and like all guacamole, store it in the fridge and serve it as soon as possible.

Whether it’s the Italian Giardiniera or the French spelling of Jardiniere, it’s a delicious mix of vegetables that get their kick from soaking in a vinegar-mustard seed brine. My Mom used to make Chow-Chow, which is similar, using vinegar and yellow mustard. Either way, I love the taste of this veggie medley that really has no rules: use whatever your favorite vegetables are, brine them, and enjoy.

I got carried away and used a gallon-sized glass jar for this recipe, perhaps far too much for most applications. This recipe has been reduced to fit a quart-size Mason jar.


image

2 cups white vinegar
1/4 cup granulated sugar (I use organic cane sugar)
2 tablespoons Kosher salt
1/2 head organic cauliflower, chopped into small florets
1 medium yellow onion, sliced thin
1/2 red bell pepper, seeded and cut into 1/2″ dice
1 celery stalk, sliced very thin
1 carrot, peeled and sliced thin
1 garlic clove, through a press
1 tablespoon whole yellow mustard seeds
1 1/2 teaspoons dried oregano
1/4 cup olive oil


In a non-reactive saucepan, bring the vinegar, sugar and salt to a boil, just until all the ingredients have dissolved. Remove from heat and let it cool to room temperature.

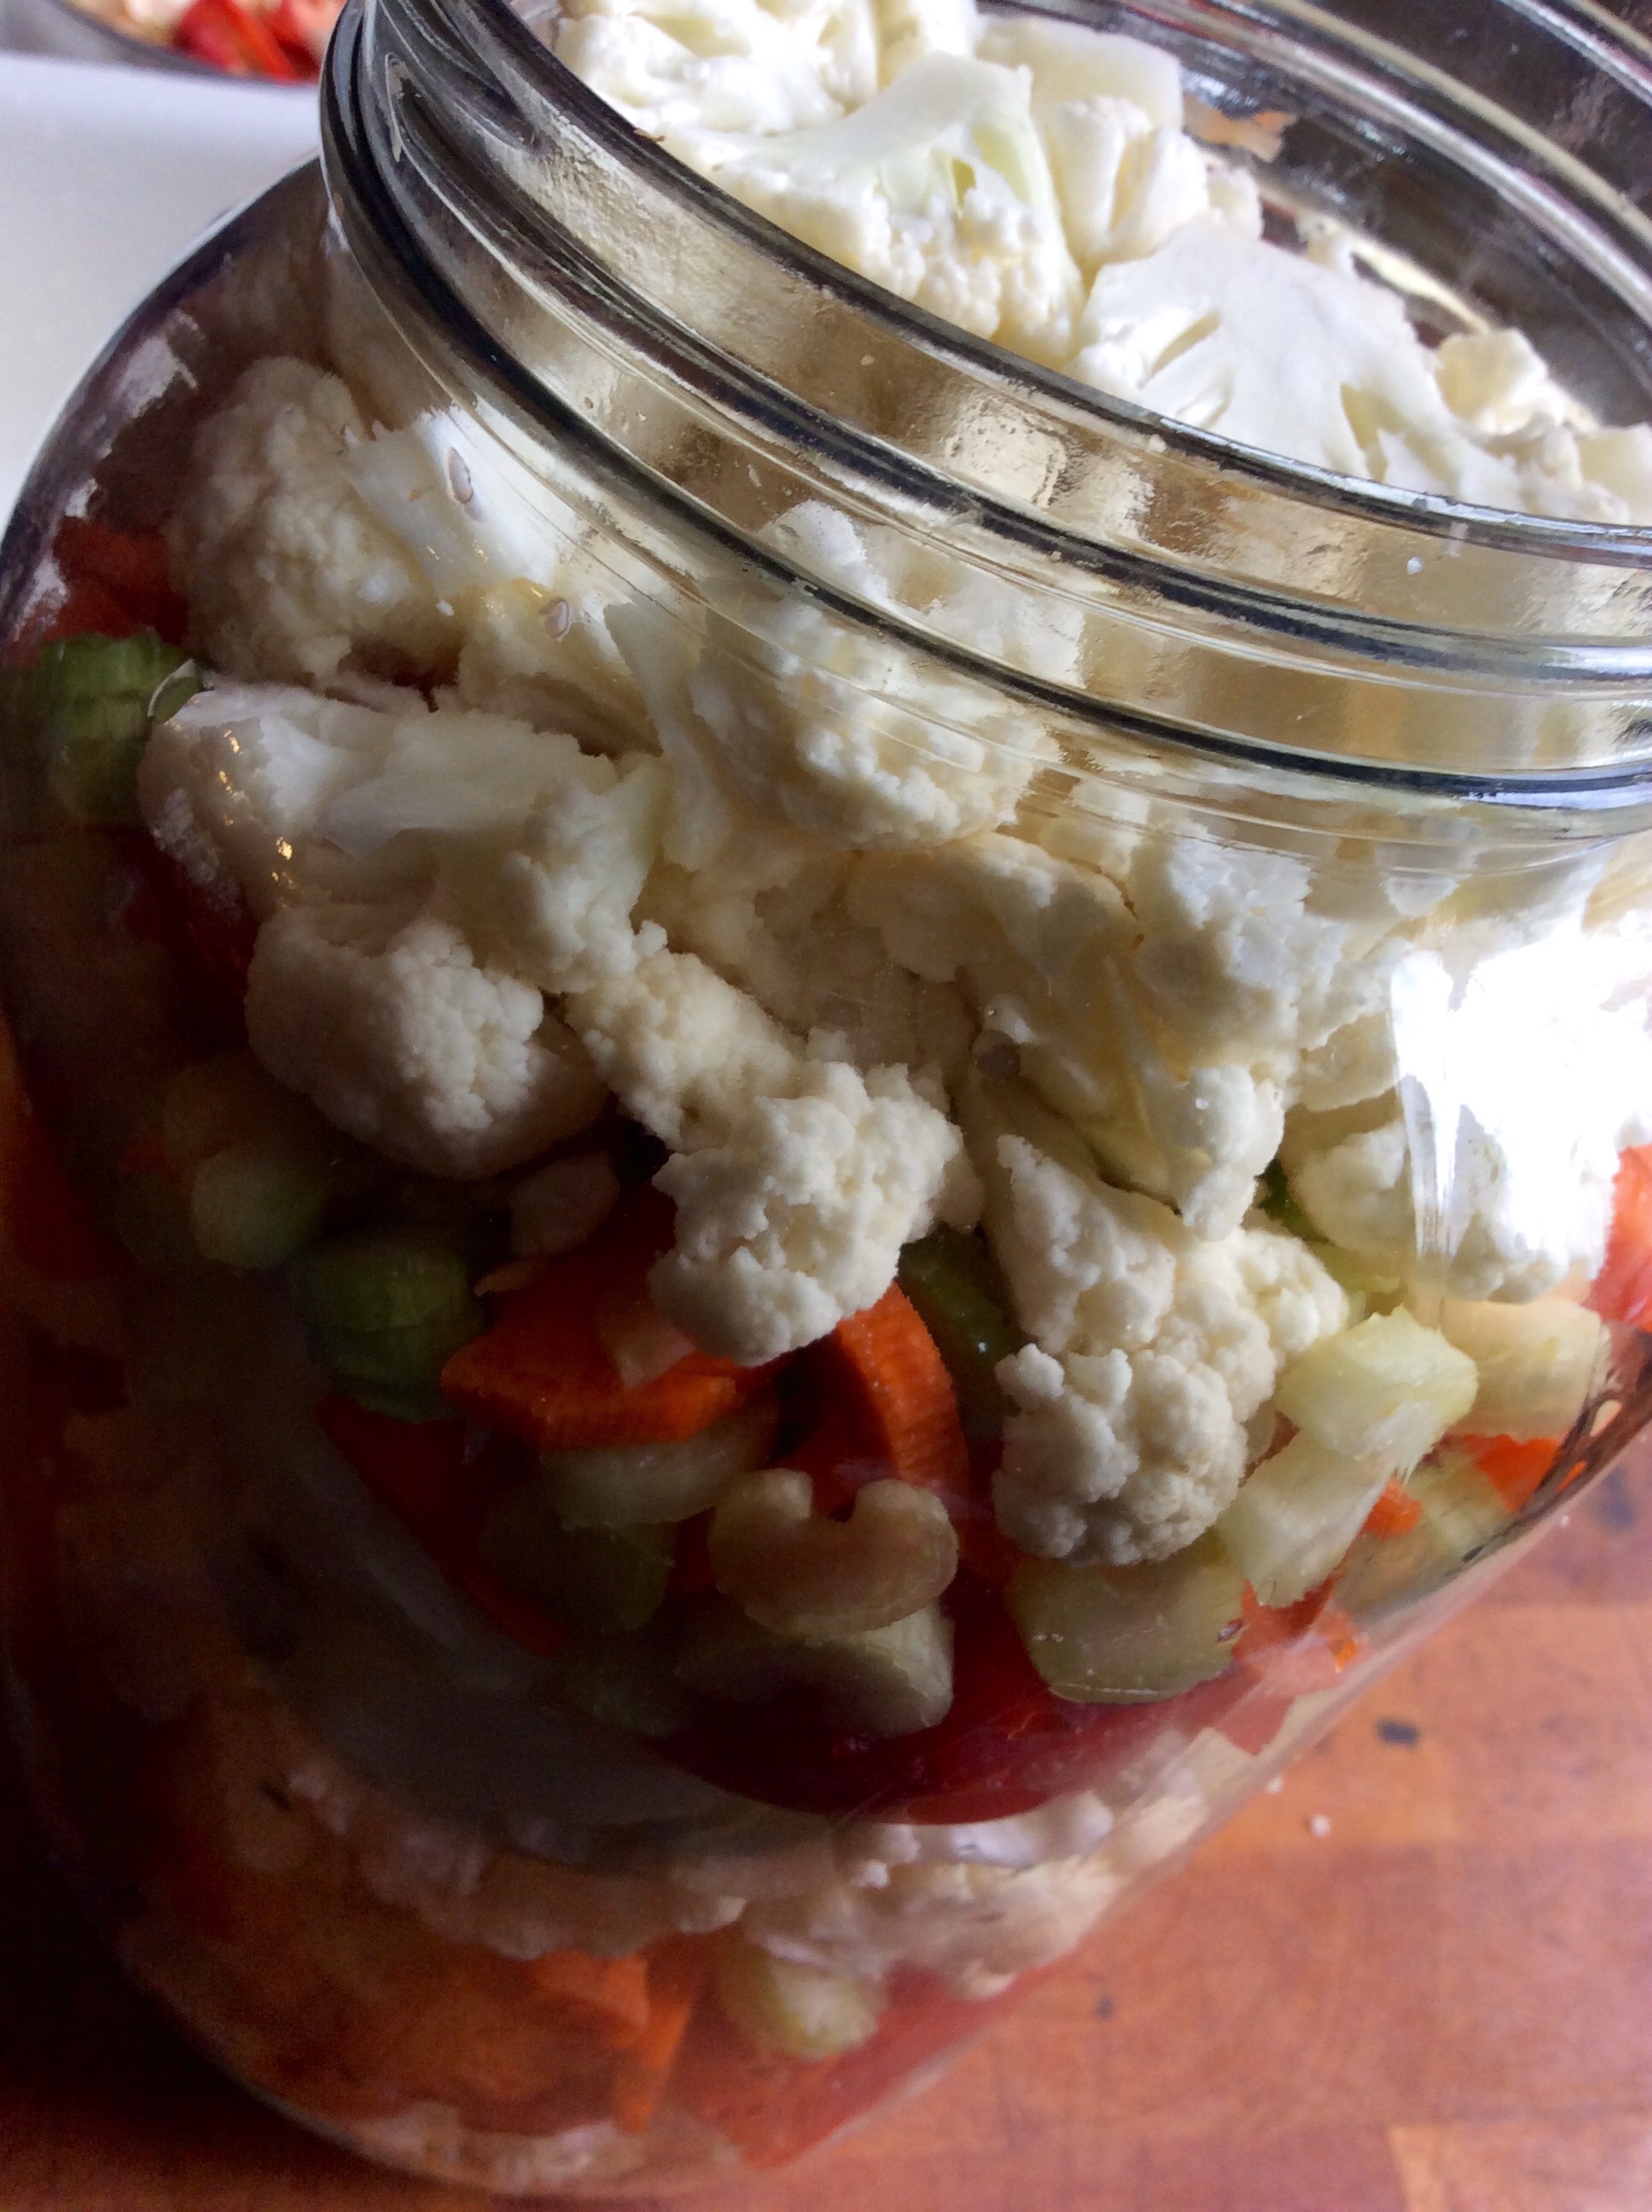
Chop the cauliflower, onion, pepper, celery and carrot, placing them into the Mason jar. Feel free to use more of what you love and less of what you don’t!

Once the vinegar mixture has cooled, add the garlic, mustard seeds and oregano to the mixture and stir to combine. Pour this mixture into the Mason jar of veggies, seal the jar and shake the jar to thoroughly mix everything.

image


Store in the fridge. It’ll be ready to eat in a couple of days…if you can wait that long!

Who says you have to cook a burger on the grill for Memorial Day? This is one of my favorite ways to enjoy clams…and without the clam knife! I always use hardwood charcoal.

Although I live on the opposite side of Rhode Island, I love visiting my friends at American Mussel Harvesters in North Kingstown. The quality of their seafood is second to none, which is why they supply so many area restaurants with their products. They feature “restaurant ready” mussels, meaning they’ve been cleaned and de-bearded. And their “restaurant-ready” clams mean they’ve been purged to perfection! (www.americanmussel.com) I use ’em whenever I can.

image


A couple of dozen (or more) little neck clams, washed and purged
1 stick (8 oz) of unsalted butter
1/4 cup extra virgin olive oil
1/4 cup chopped parsley
1 teaspoon dried oregano
1/2 teaspoon dried basil
1 teaspoon minced garlic
1/2 teaspoon sea salt

image


The clams should be stored cold and dry until ready to use…not in water, not on ice. Place the clams in a bowl and cover with a wet dish towel in the fridge.

Because my clams have already been purged, I don’t have to do it at home. But here’s what to do if they haven’t been purged: Fill a large bowl with cold water, add sea salt and some corn meal to it, and mix it around. Add the clams to this bowl and let them purge in this liquid for at least an hour. They will suck up the corn meal and spit out sand and grit. After an hour, pour off the water/salt/meal/grit mix, and thoroughly wash the clams.

Start your hardwood charcoal grill and divide it in half: coals on one side, no coals on the other.

While the coals are heating up, grab a disposable aluminum foil tray and place it on a burner on your stove over medium heat. Add the butter, olive oil, parsley, oregano, basil, garlic and salt, and stir to combine. Once the butter has melted and everything has blended, bring the tray over to the charcoal grill and place on the side of the grill without coals. It will stay warm.

Once the coals are hot, just place the clams directly on the grill. (Use tongs, unless you want to remove all of your knuckle hair.) When they start to open, carefully flip them over, trying not to lose any of the precious juices inside the clam. Cook them for as long as you like, from raw, to more thoroughly cooked. As each one reaches its desired doneness, place it in the aluminum tray, making sure it gets swished around in the butter and herb mix.

When all the clams have been cooked and are in the tray, serve with on top of pasta…or simply eat with a fresh baguette. A glass of great white wine is a must.

image

I love shrimp scampi, and had the need to satisfy my cravings the other day. But what started as a simple scampi recipe, turned into something a bit more. I may never make scampi the same way again!

image

1 lb. wild-caught American shrimp, peeled and de-veined
4 tablespoons butter
4 tablespoons olive oil
2 teaspoons parsley
1 teaspoon garlic salt
1 teaspoon oregano
1/2 teaspoon granulated onion
1/4 teaspoon black pepper
3 tablespoons Spirgučiai (see below)
1/2 lb. fresh mozzarella, sliced
oregano, for sprinkling


Thaw the shrimp under cold water. Place in a colander to drain.

Spirgučiai is a Lithuanian favorite: chopped bacon and onions, fried until crisp and usually sprinkled over anything and everything in Lithuanian cooking. I always have some in my fridge, already prepared and just waiting to be used.

In a saucepan on medium heat, combine the butter, olive oil, parsley, garlic salt, oregano, onion, pepper and Spirgučiai.  Heat only until everything melts and combines. Don’t let it burn.

In a small sheet pan lined with foil, lay the shrimp in a single layer and cook them halfway in a pre-heated 400-degree oven to remove the moisture from the shrimp.

Take the pan out of the oven, and drain off the moisture, if any. Pour the butter mix from the saucepan all over the shrimp and toss to coat. Return the shrimp to the oven for a few minutes, until they’ve heated through and are almost completely cooked. (Careful: never over-cook shrimp!)

Take the pan out of the oven, and place pieces of mozzarella on top, garnishing with a little oregano. Set the oven on broil and cook until the cheese has melted.

Slice with a spatula and serve on top of pasta, making sure you get some of that buttery scampi sauce.

image

As a low-carb option, you can serve this on broccoli or roasted spaghetti squash.

I love avocado, and I’m always trying to find new ways of using it. This recipe is simple, low-carb, gluten-free, and really delicious. I prefer using ground chicken over ground turkey, which can dry out.

chicken2

1 lb. ground chicken
1 ripe avocado, sliced into small cubes
1/2 teaspoon salt
1/4 teaspoon black pepper
1/4 teaspoon granulated garlic

chicken1

Combine the ingredients in a bowl and mix thoroughly but carefully so that you don’t squash the cubes of avocado. Form the meat into burger patties. It will be sticky, but just make sure you get the avocado evenly distributed. Chill the patties in the freezer for about 10 minutes before cooking to firm them up.

Pre-heat the oven to 350 degrees.

Heat a little oil in an ovenproof pan, and place the burgers in it when hot. Let the burgers sear on one side, then flip them. Place the pan in the oven to finish cooking.

Serve with a slice of bacon and Awesomesauce! (http://wp.me/p1c1Nl-gT)

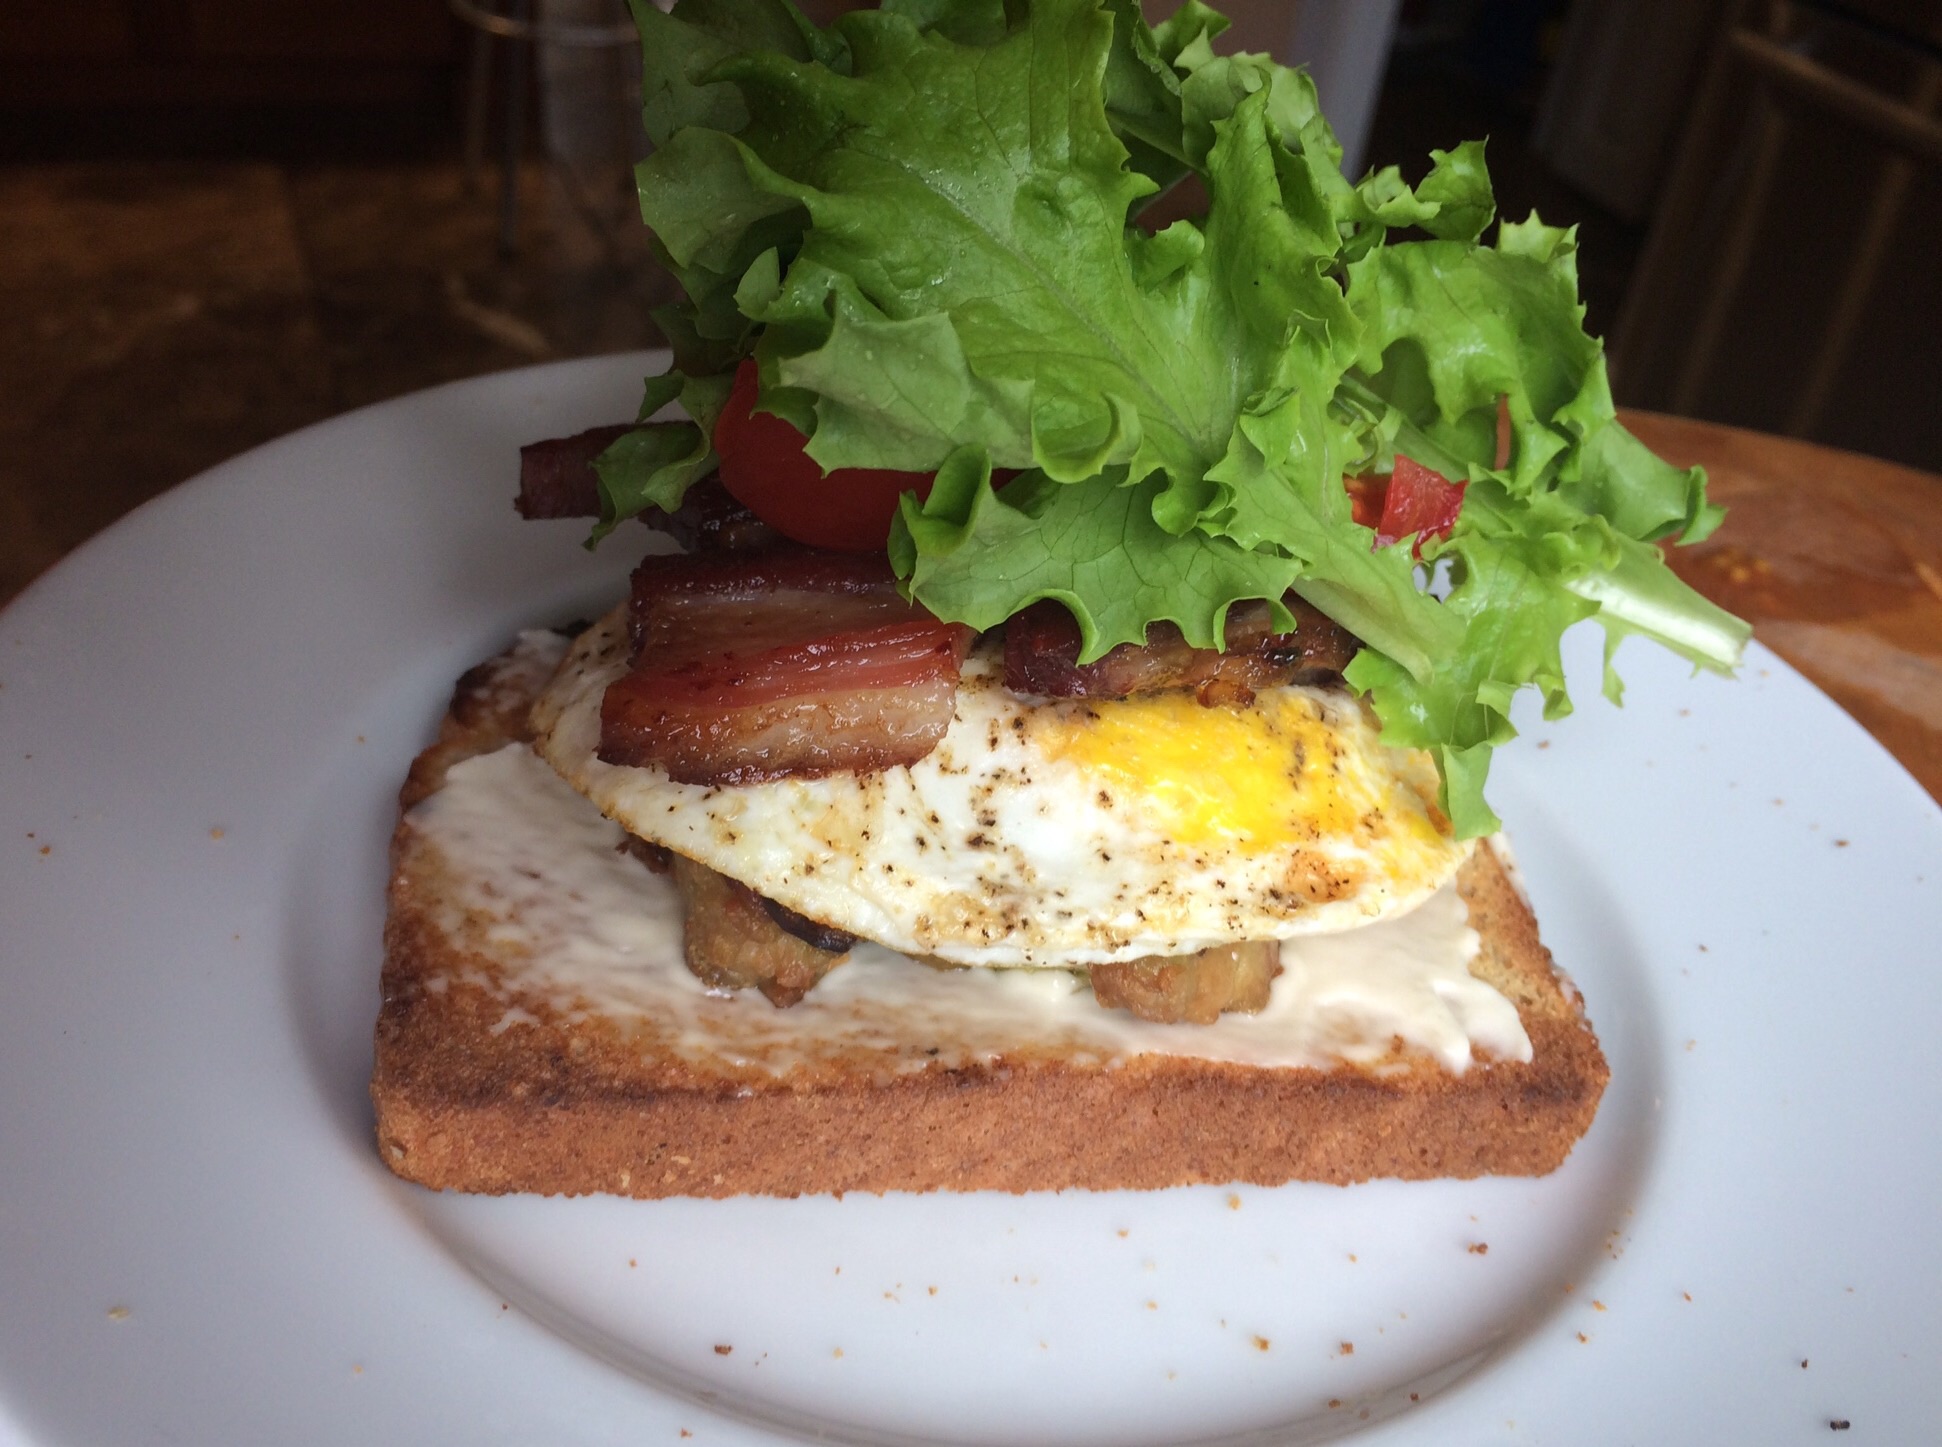
It also makes a great breakfast sandwich: bacon, lettuce, tomato, a fried egg, and the chicken avocado burger!

image

The inspiration for this sauce was my attempt to replicate the “Shack Sauce” they use at Shake Shack , a high-end burger joint owned by restaurateur Danny Meyer. Since it opened in New York City’s Madison Square Park in 2004, Shake Shack has expanded to many other locations around the world.

I don’t know if I captured the Shack Sauce secret. But I do know that my Awesomesauce makes every burger I grill taste amazing. It’s also fantastic for shrimp, crab or lobster salad…a dip for veggies or boiled shrimp…a dressing for tacos…and great on salads.

Awesomesauce

1/2 cup mayonnaise
1 tablespoon ketchup
1 tablespoon yellow mustard
1 tablespoon dill pickle relish
1/4 teaspoon garlic powder
1/4 teaspoon paprika
Pinch cayenne pepper

Combine all the ingredients in a bowl. Mix well. Refrigerate covered for a few hours to blend the flavors.

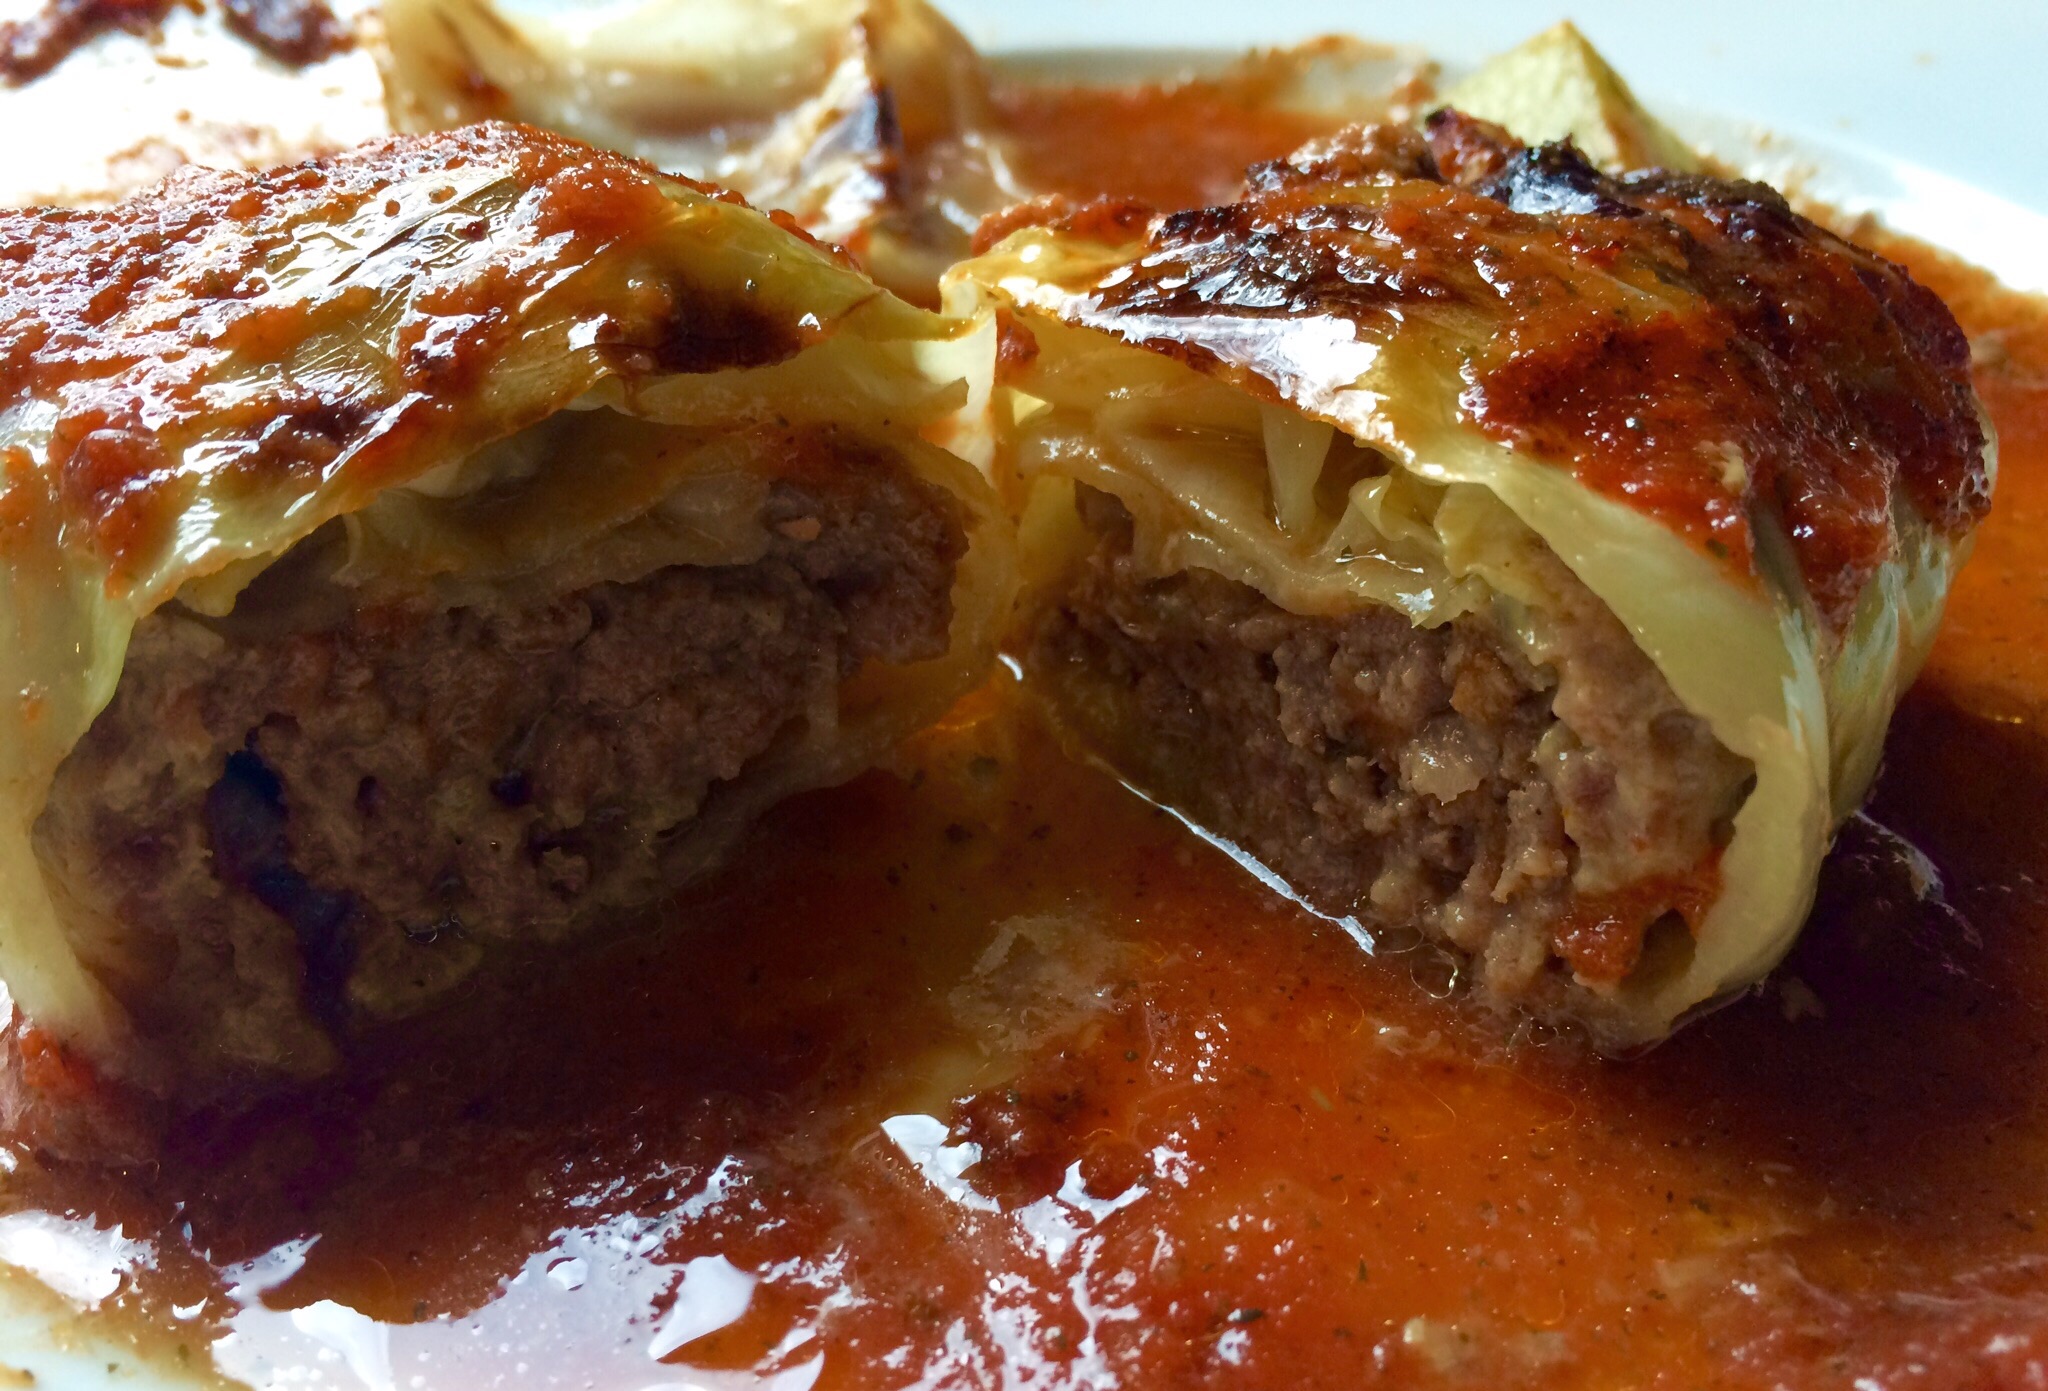
If there’s a dish that my Mom made all the time, but I didn’t appreciate until I got older, this is it. Stuffed cabbage, cabbage rolls, or balandėliai, as we say in Lithuanian, was a staple in our home and one of my Dad’s favorite foods. 

I had seen my Mom make these beauties so often in my childhood, I didn’t even need to check online recipes out for guidance. That doesn’t mean I make them exactly like Mom, but my version came out pretty damn good. I think Mom would be proud.

image

4 strips of bacon, chopped
1 yellow onion, finely chopped
1 teaspoon salt
1/2 teaspoon pepper
1/2 teaspoon granulated garlic
1 lb. ground grass-fed beef
1 lb. ground pastured pork
1/2 cup breadcrumbs
2 eggs
1 large head cabbage
1 pint homemade chicken stock
750 mg diced tomatoes (1 Pomi container)
1 teaspoon thyme
1 teaspoon salt
1/2 teaspoon pepper
1/4 teaspoon granulated garlic
1/4 teaspoon granulated onion

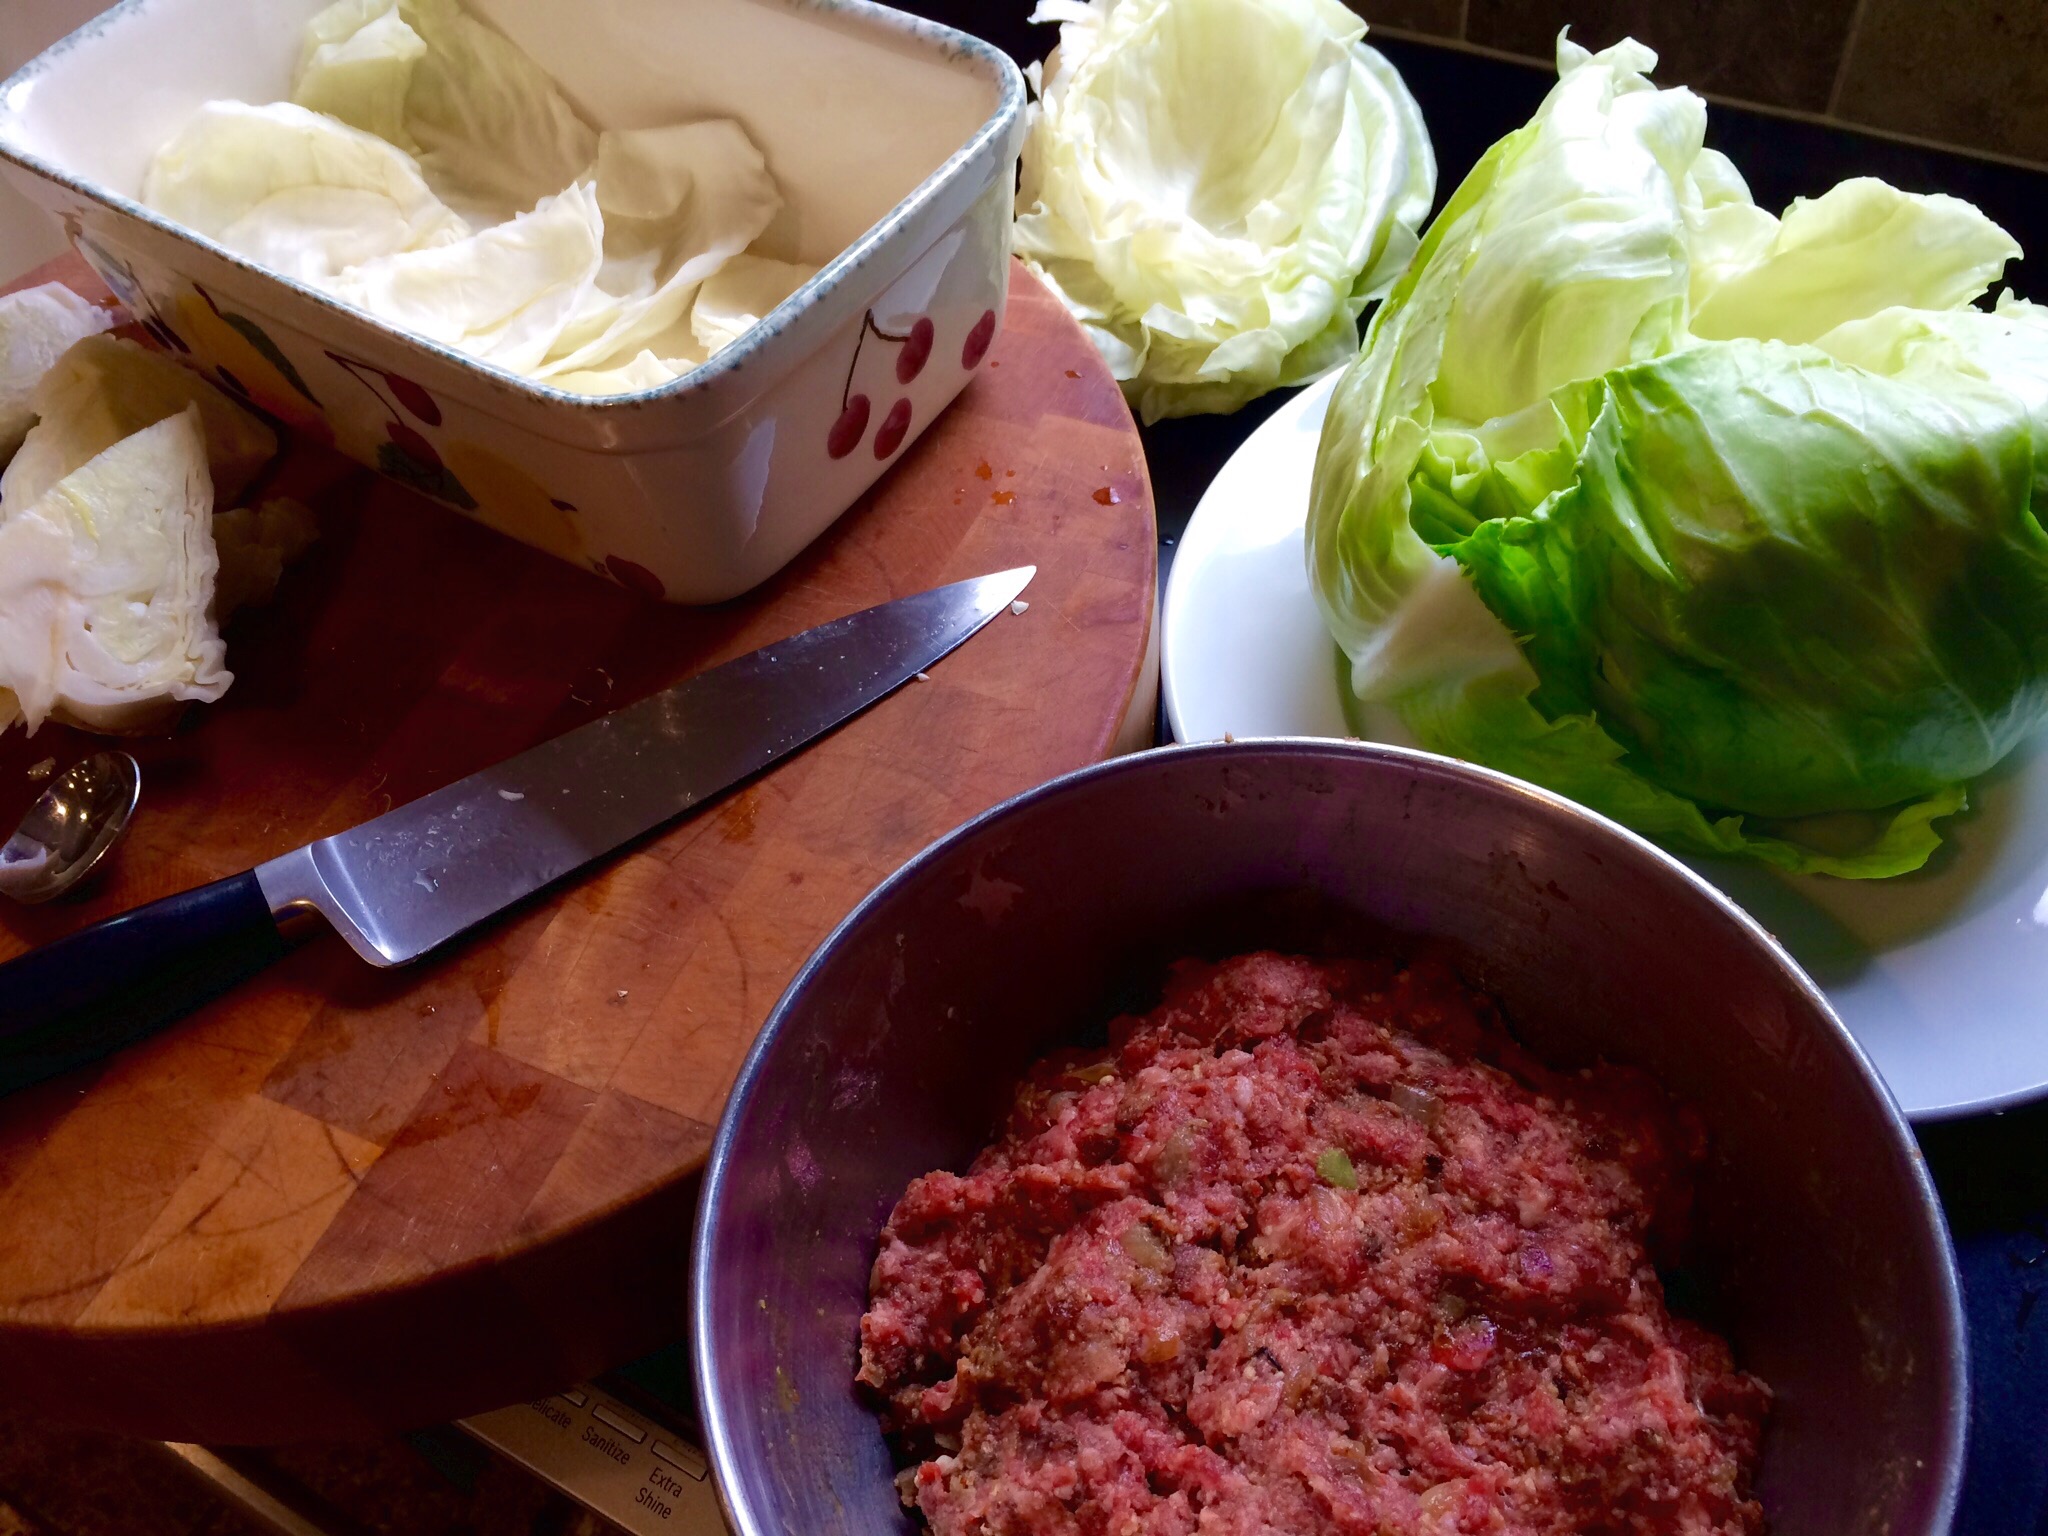
Chop the bacon into small pieces and fry them until crisp. Finely chop the onion, and add it to the bacon in the pan, cooking until the onions are translucent. Add the salt, pepper and garlic. Mix well, and remove from the heat. Let it cool to room temperature.

In a large bowl, combine the beef, pork, breadcrumbs, eggs, and cooled bacon and onion mixture. Place in the fridge to firm up.

Let a large pot of salted water come to a boil. Core the cabbage, leaving the leaves whole, and carefully immerse the head of cabbage into the hot water. Little by little, the outermost leaves of the cabbage will come off the head, and you can remove them with tongs, so you don’t burn yourself with the hot water. Set the leaves aside to cool, and continue doing this until you can no longer remove leaves from the remaining head of cabbage.

Remove the remaining head of cabbage from the hot water, and using your hands or a knife, break it into flat pieces. Line the bottom of a roasting pan with the pieces. These will keep the stuffed cabbage from burning and sticking to the bottom.

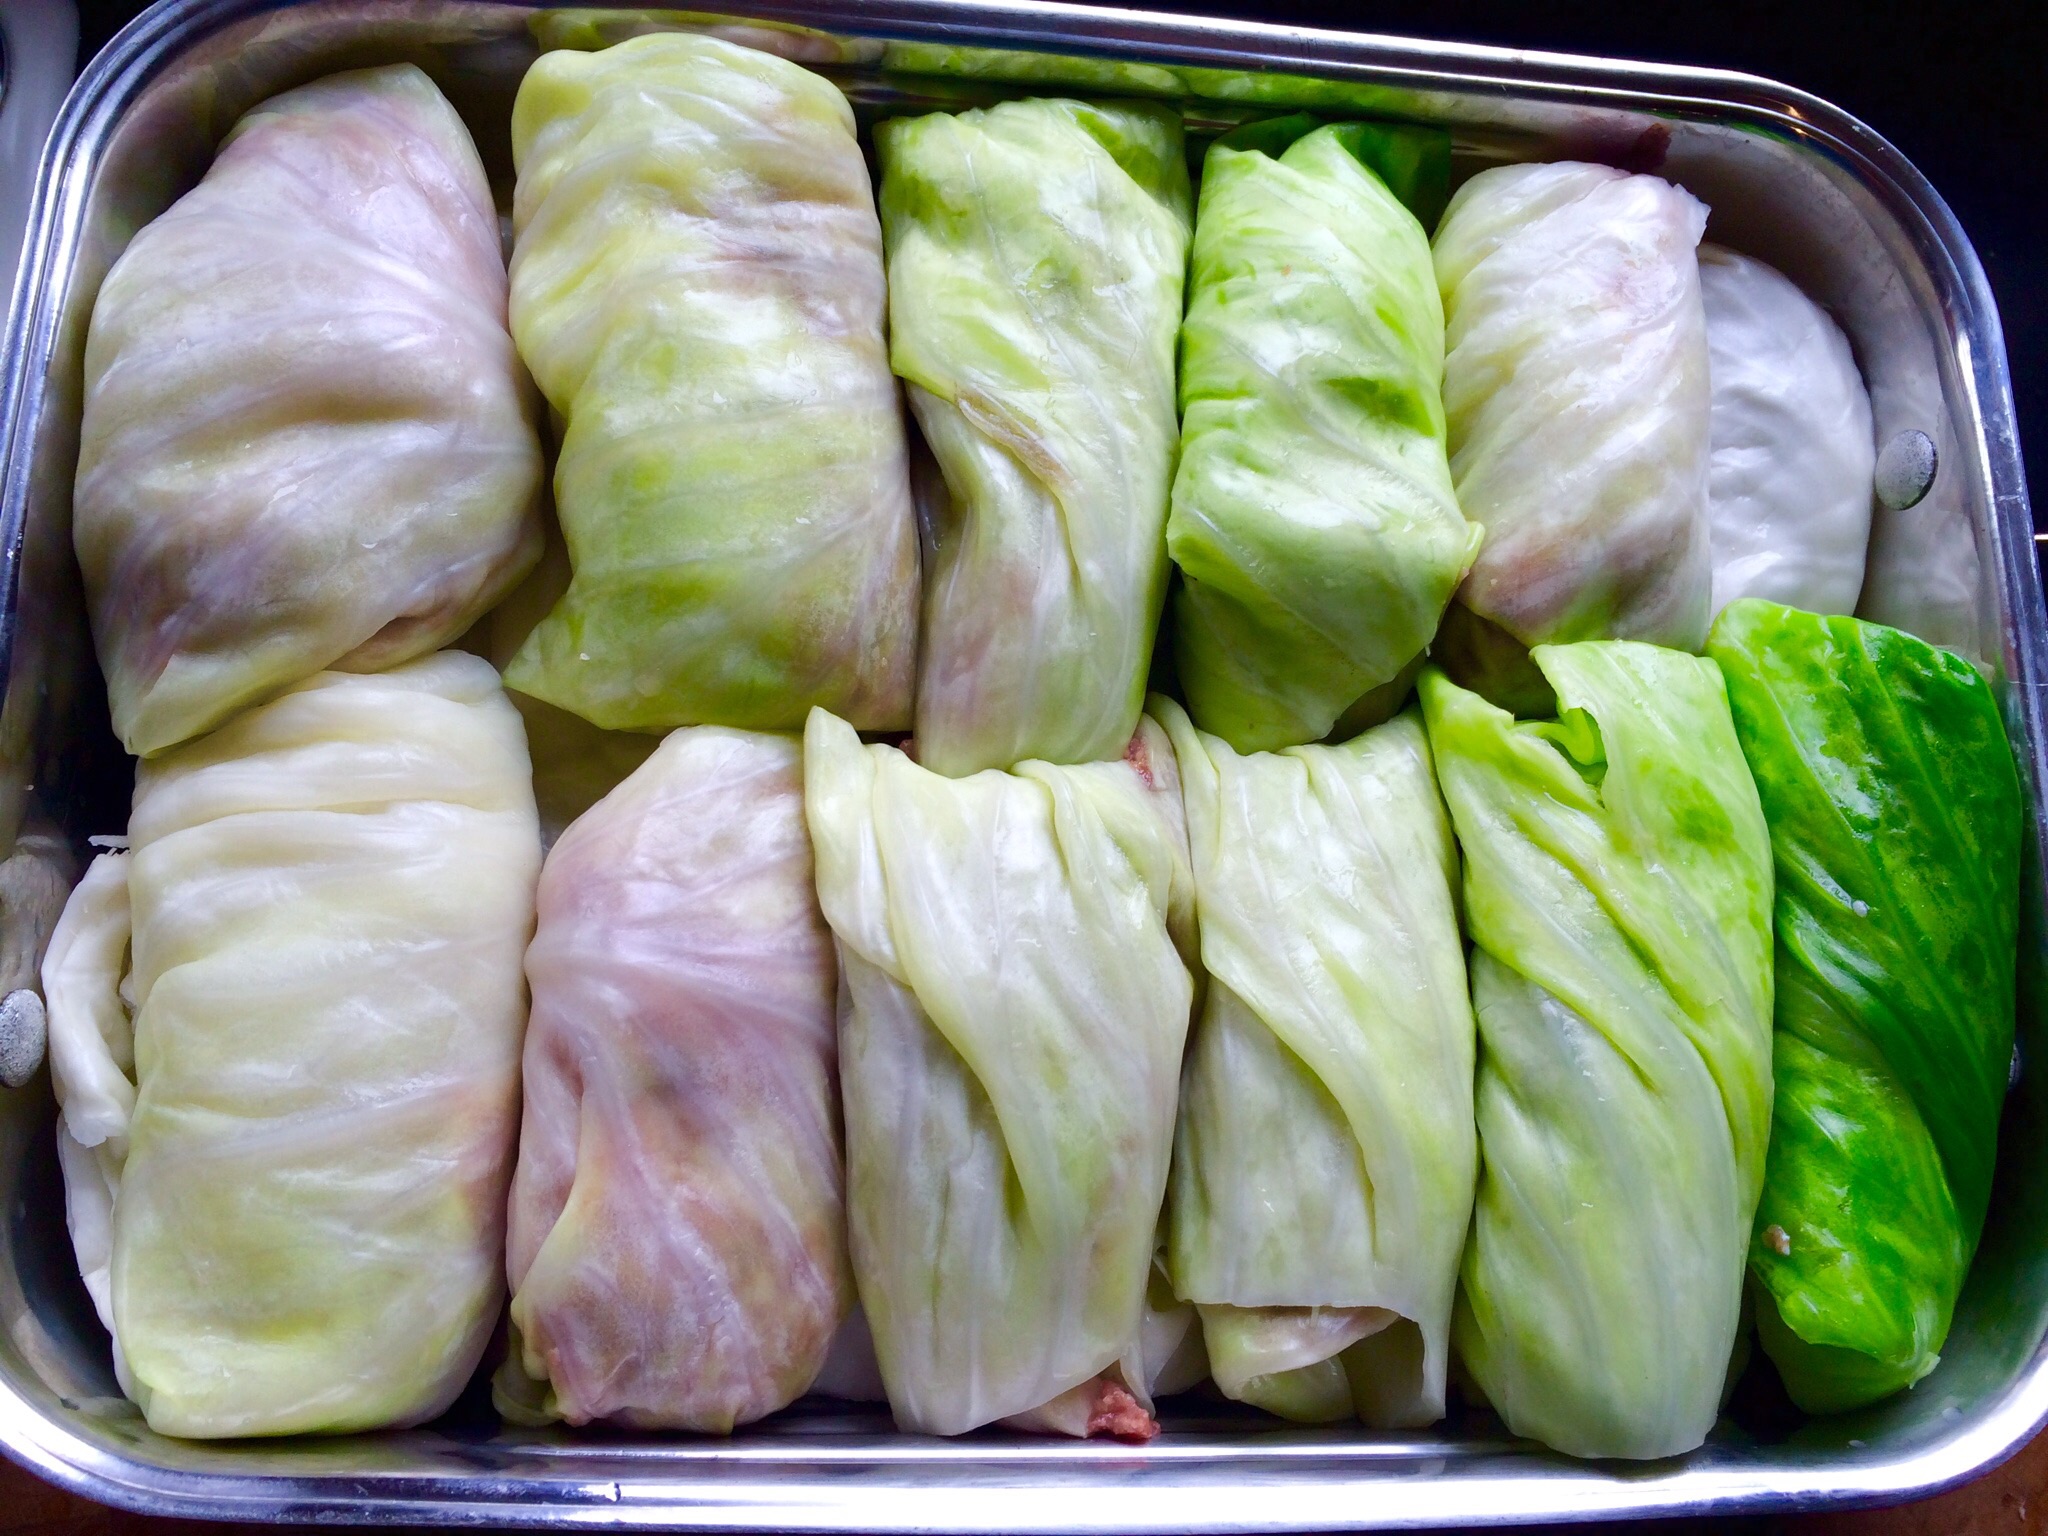
Time to roll the stuffed cabbage. Take the meat out of the fridge. Lay a cabbage leaf flat on the counter, and add some of the meat mixture inside. Roll the cabbage around the meat, folding the sides in as you go, much like a burrito. You might need to slice away the thickest part of the leaf stem to make rolling easier. Lay the stuffed cabbage in the roasting pan on top of the leftover cabbage pieces. (Unlike Mom, I don’t use toothpicks to hold the stuffed cabbage rolls together.)

image

Continue stuffing and rolling the cabbage leaves until you’ve got a pan full of them, shoulder-to-shoulder.

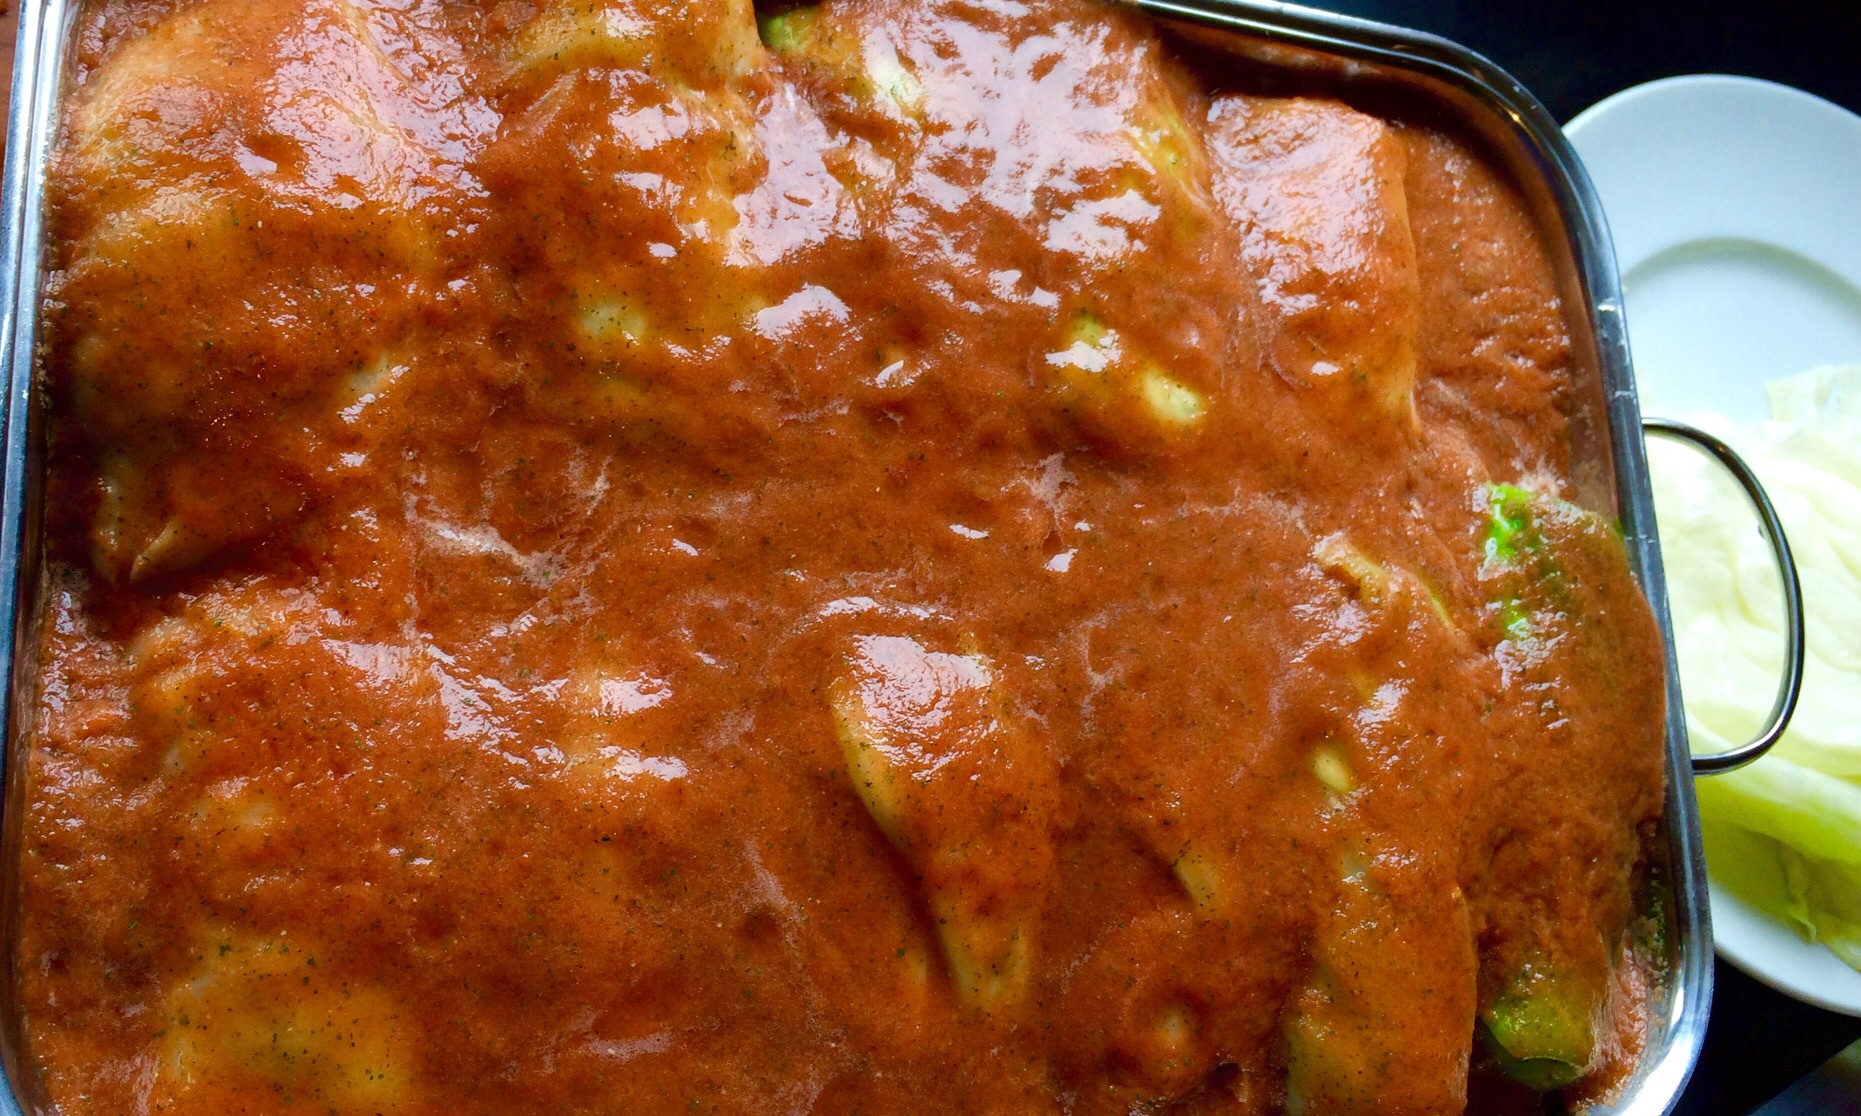
In a blender, combine the chicken stock, diced tomatoes, thyme, salt, pepper, garlic and onion. Pour this mixture over the top of the cabbage rolls in the roasting pan, covering them.

image

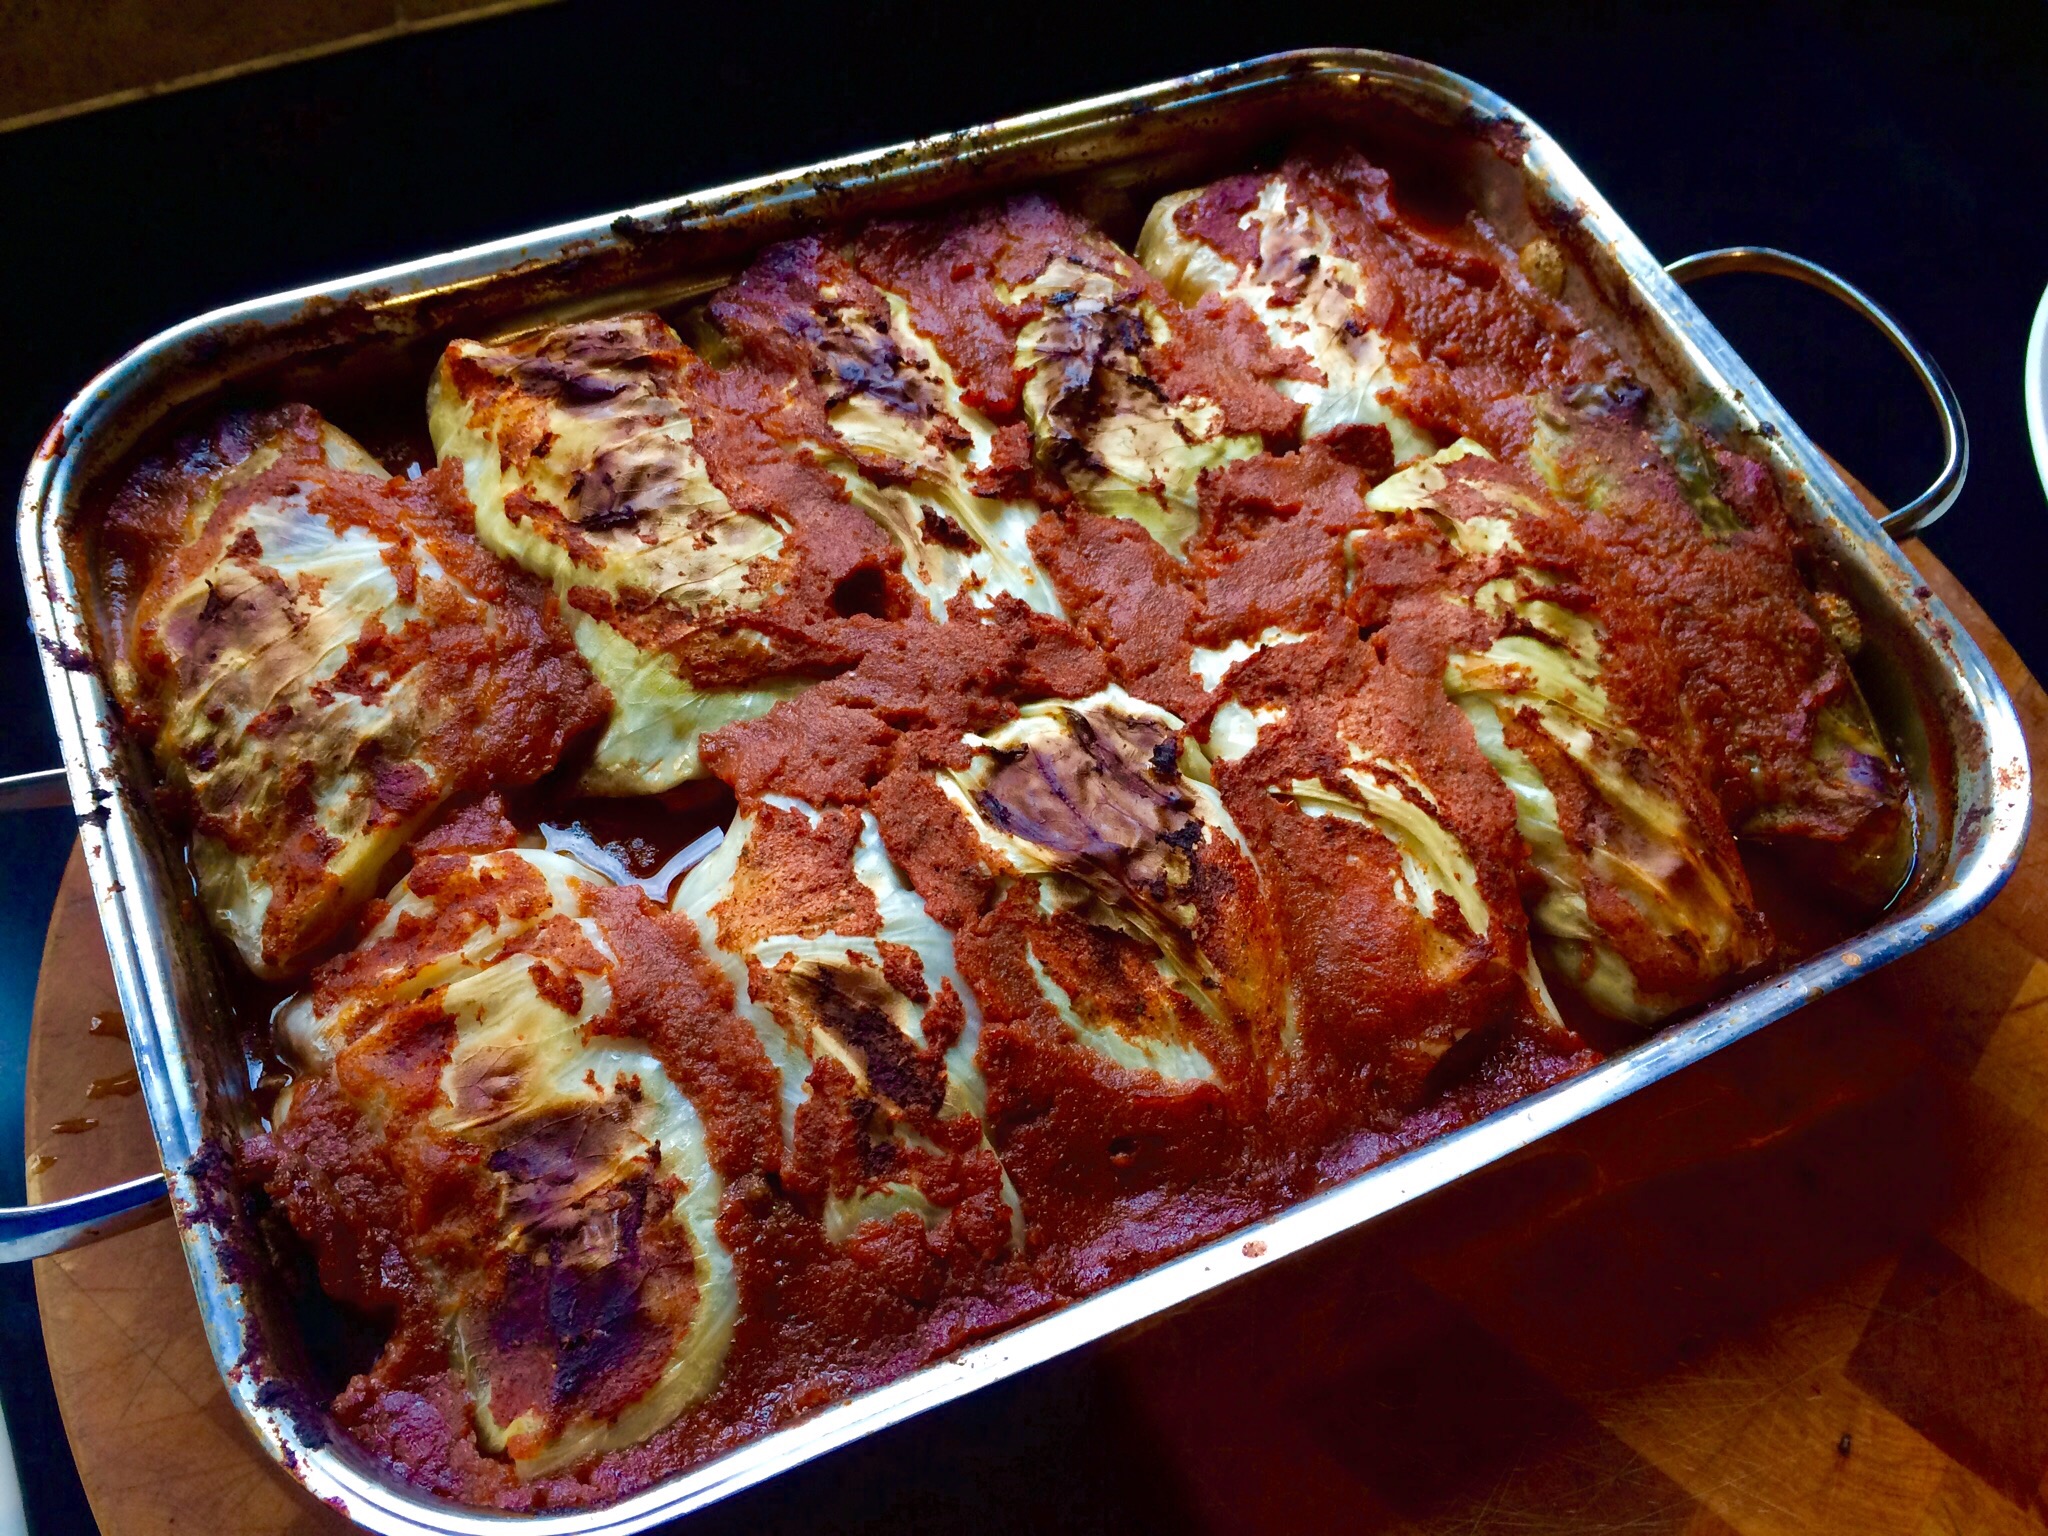
If you have leftover cabbage, you can place another layer of them on top. Otherwise, cover the roasting pan with foil and place in a pre-heated 350 degree oven. Cook for an hour.

image

After an hour, remove the foil and cook further for another 45–60 minutes.

image