This recipe can be used on either bird. I based it on s basically my love of Peking duck.
Last week, I went home to Long Island, and I stopped by one of the great food stores of my life: Miloski’s Poultry Farm in Calverton, NY.

Miloski’s only takes cash, and I had $75 on me. I think I did pretty well!
I’ve been coming to Miloski’s since I was a kid. My Dad would buy his ducks there and Grandpa Miloski, the guy that started it all, would serve us. Over the years, grandpa made way for his son, and now the son is retired and the grandson has taken over the business. All along the way, one thing hasn’t changed: the excellent quality of their product.
My uncle, Antanas, passed away years ago, but when it came to being a true foodie, this guy put all others to shame. Besides being the only hunter in our family (my first taste of venison was at his table) he had several huge freezers in the basement of his Richmond Hill, Queens, home. He would drive to Miloski’s and buy dozens of ducks at a time, and bring them home to freeze. Very often, after I finished Lithuanian school on a Saturday, my uncle would invite our family over for dinner, and we’d all sit around a massive table where several ducks would be cooked and served, along with all the fixings. That’s just a taste of my Miloski memories.
I try to stop at Miloski’s every time I pass through. I bring cash, because Miloski’s doesn’t take credit cards! I have a long ride home, first on the Cross Sound Ferry from Orient Point to New London, CT…and then an hour-and-a-half on the highway from there. I always bring a cooler and I buy a bag of ice along the way.
Miloski’s sells all kinds of exotic meats, like wild boar and ostrich. But I go for their delicious chicken, kielbasa, pierogis, and, of course, duck!

1 whole duck, thawed, about 5 lbs.
1 tablespoon soy sauce
1 tablespoon peanut oil
4 teaspoons Chinese five spice powder
2 teaspoons granulated garlic
2 teaspoons granulated onion
2 teaspoons salt
1/2 teaspoon black pepper
6 tablespoons hoisin sauce
2 teaspoons sesame oil
Remove any giblets from the bird and cook them up for your dog, like I used to do for my boy, Fellow. (Leave out anything with bones, of course.)
Rub the soy sauce first all over the duck. (It will absorb the flavors better if you do it before you rub the bird with the oil.) Then rub the peanut oil all over the duck.
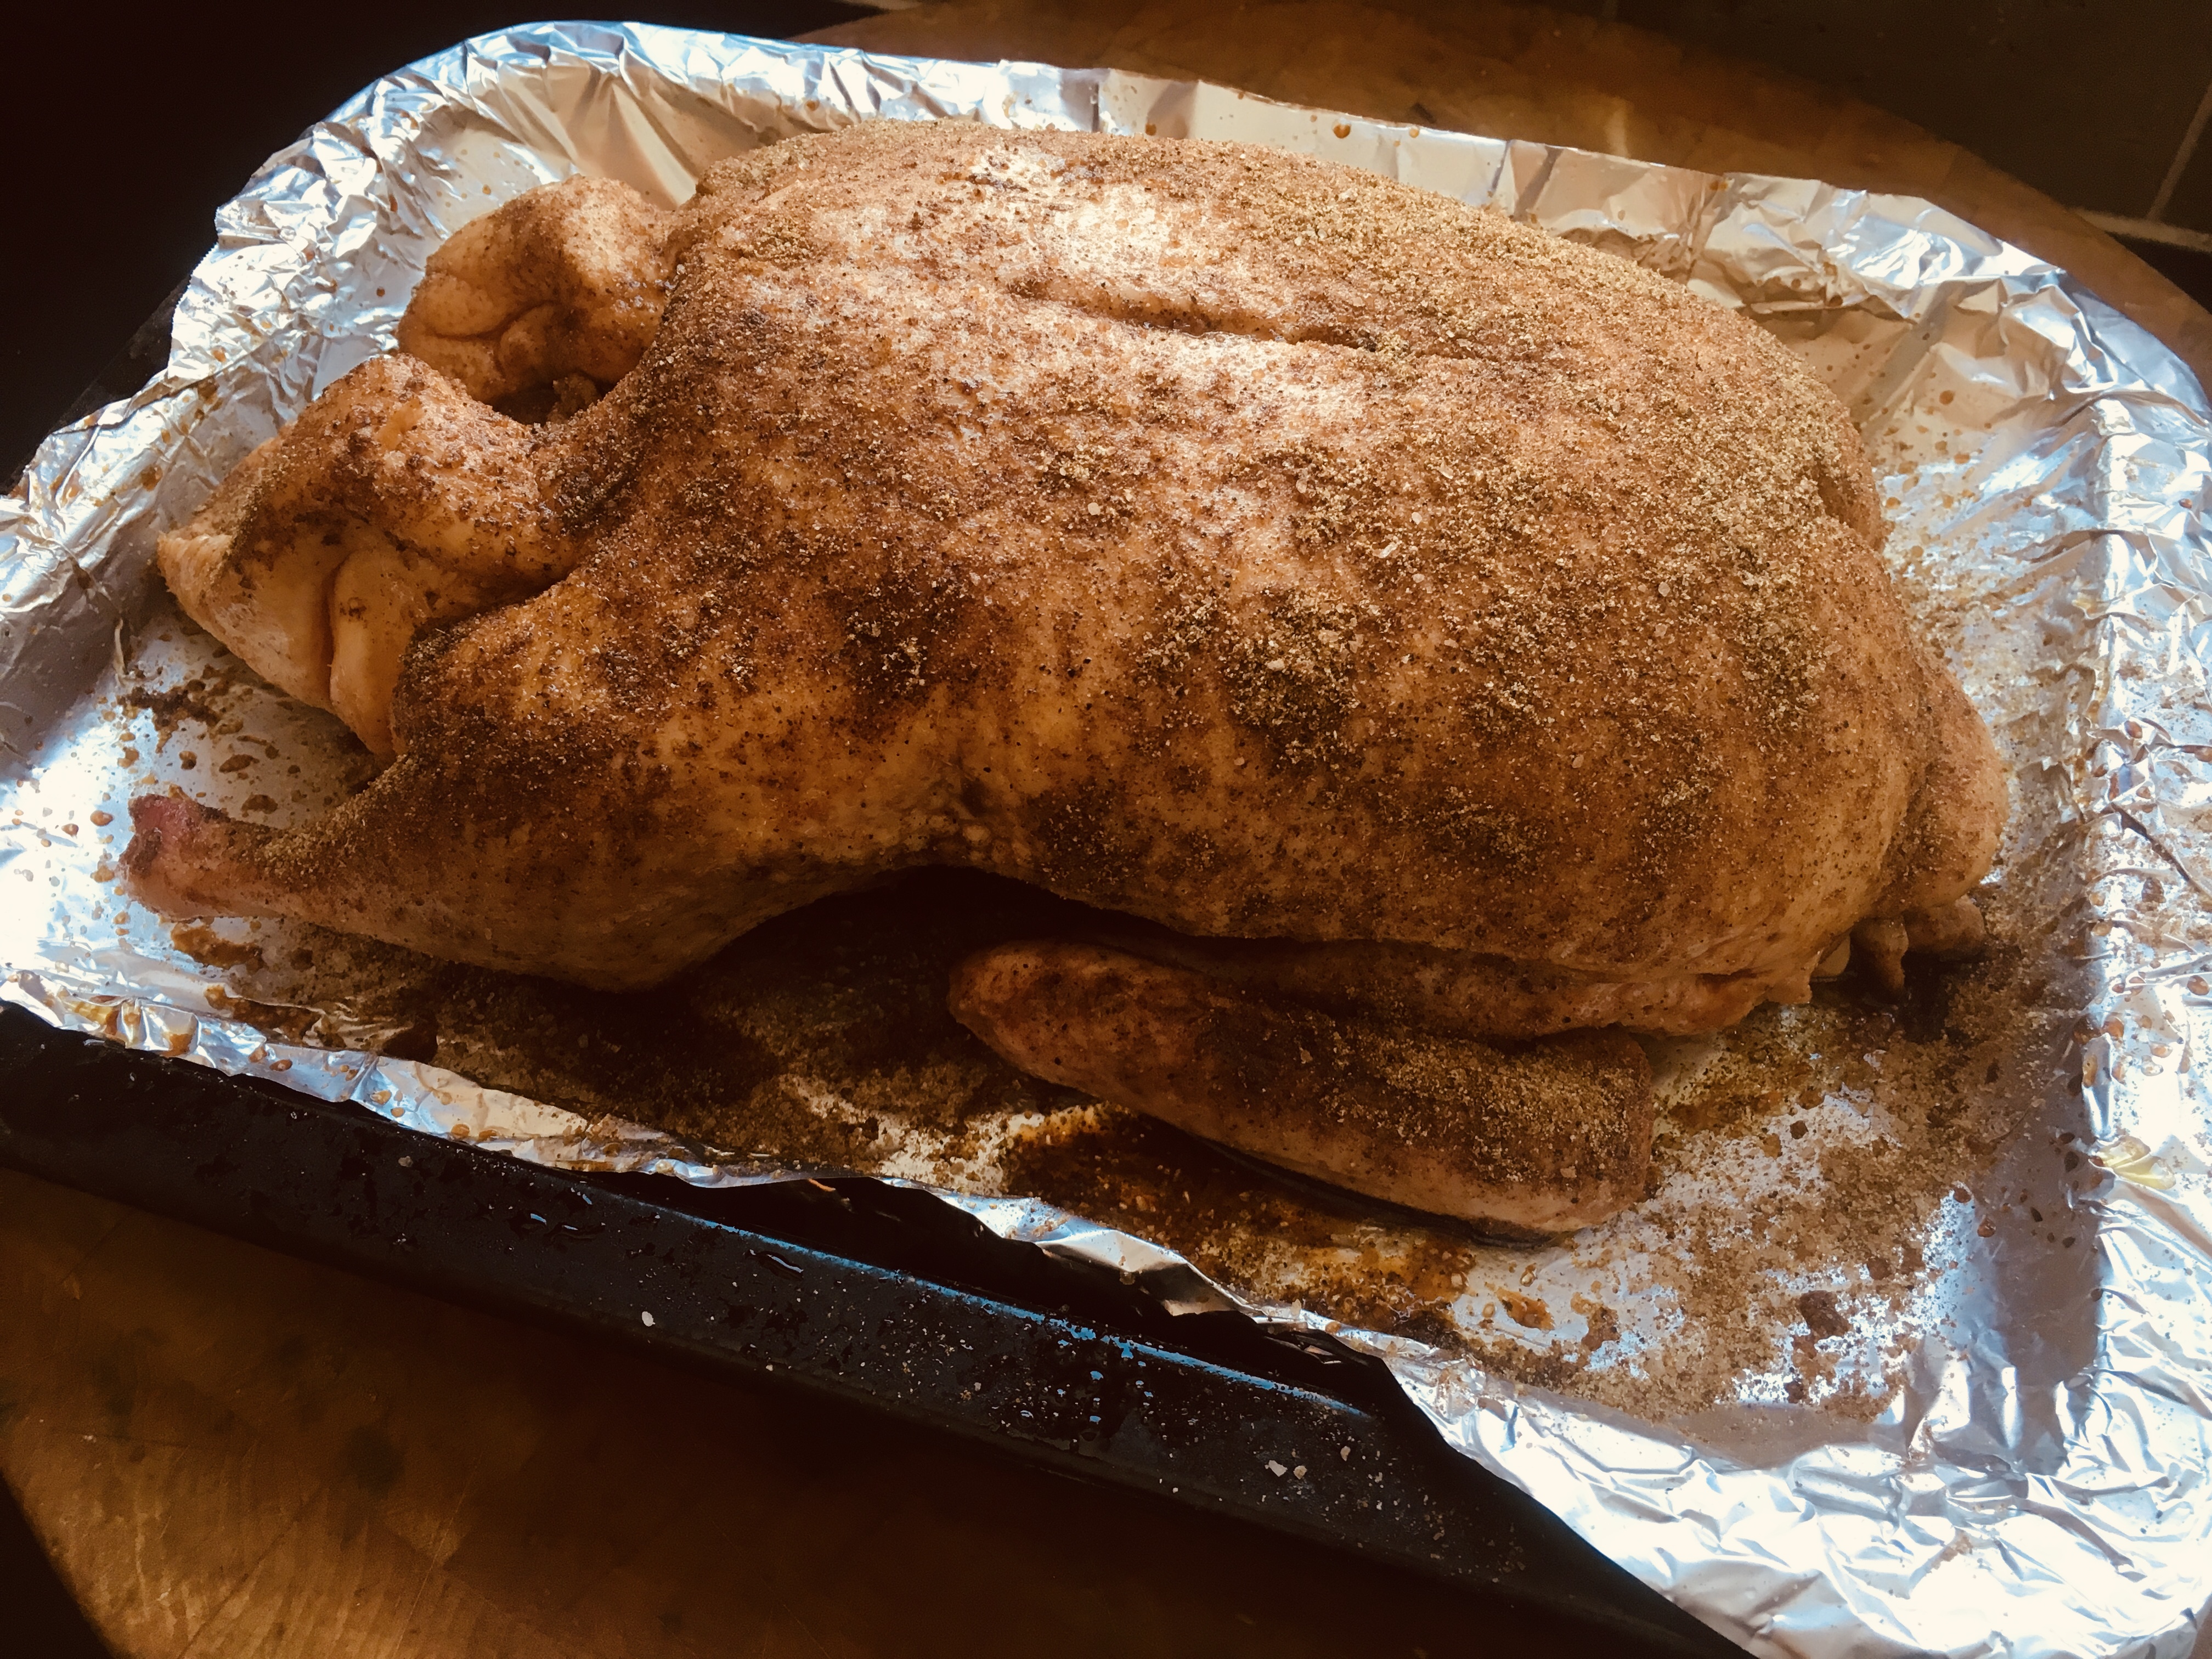
Rubbed and ready to go in the oven!
Combine the Chinese five spice, garlic, onion, salt and pepper in a bowl. Season the entire bird, including inside the cavity, with this mixture.
Pre-heat the oven to 400°. Place the duck in a pan lined with aluminum foil (cleanup will be easier.)
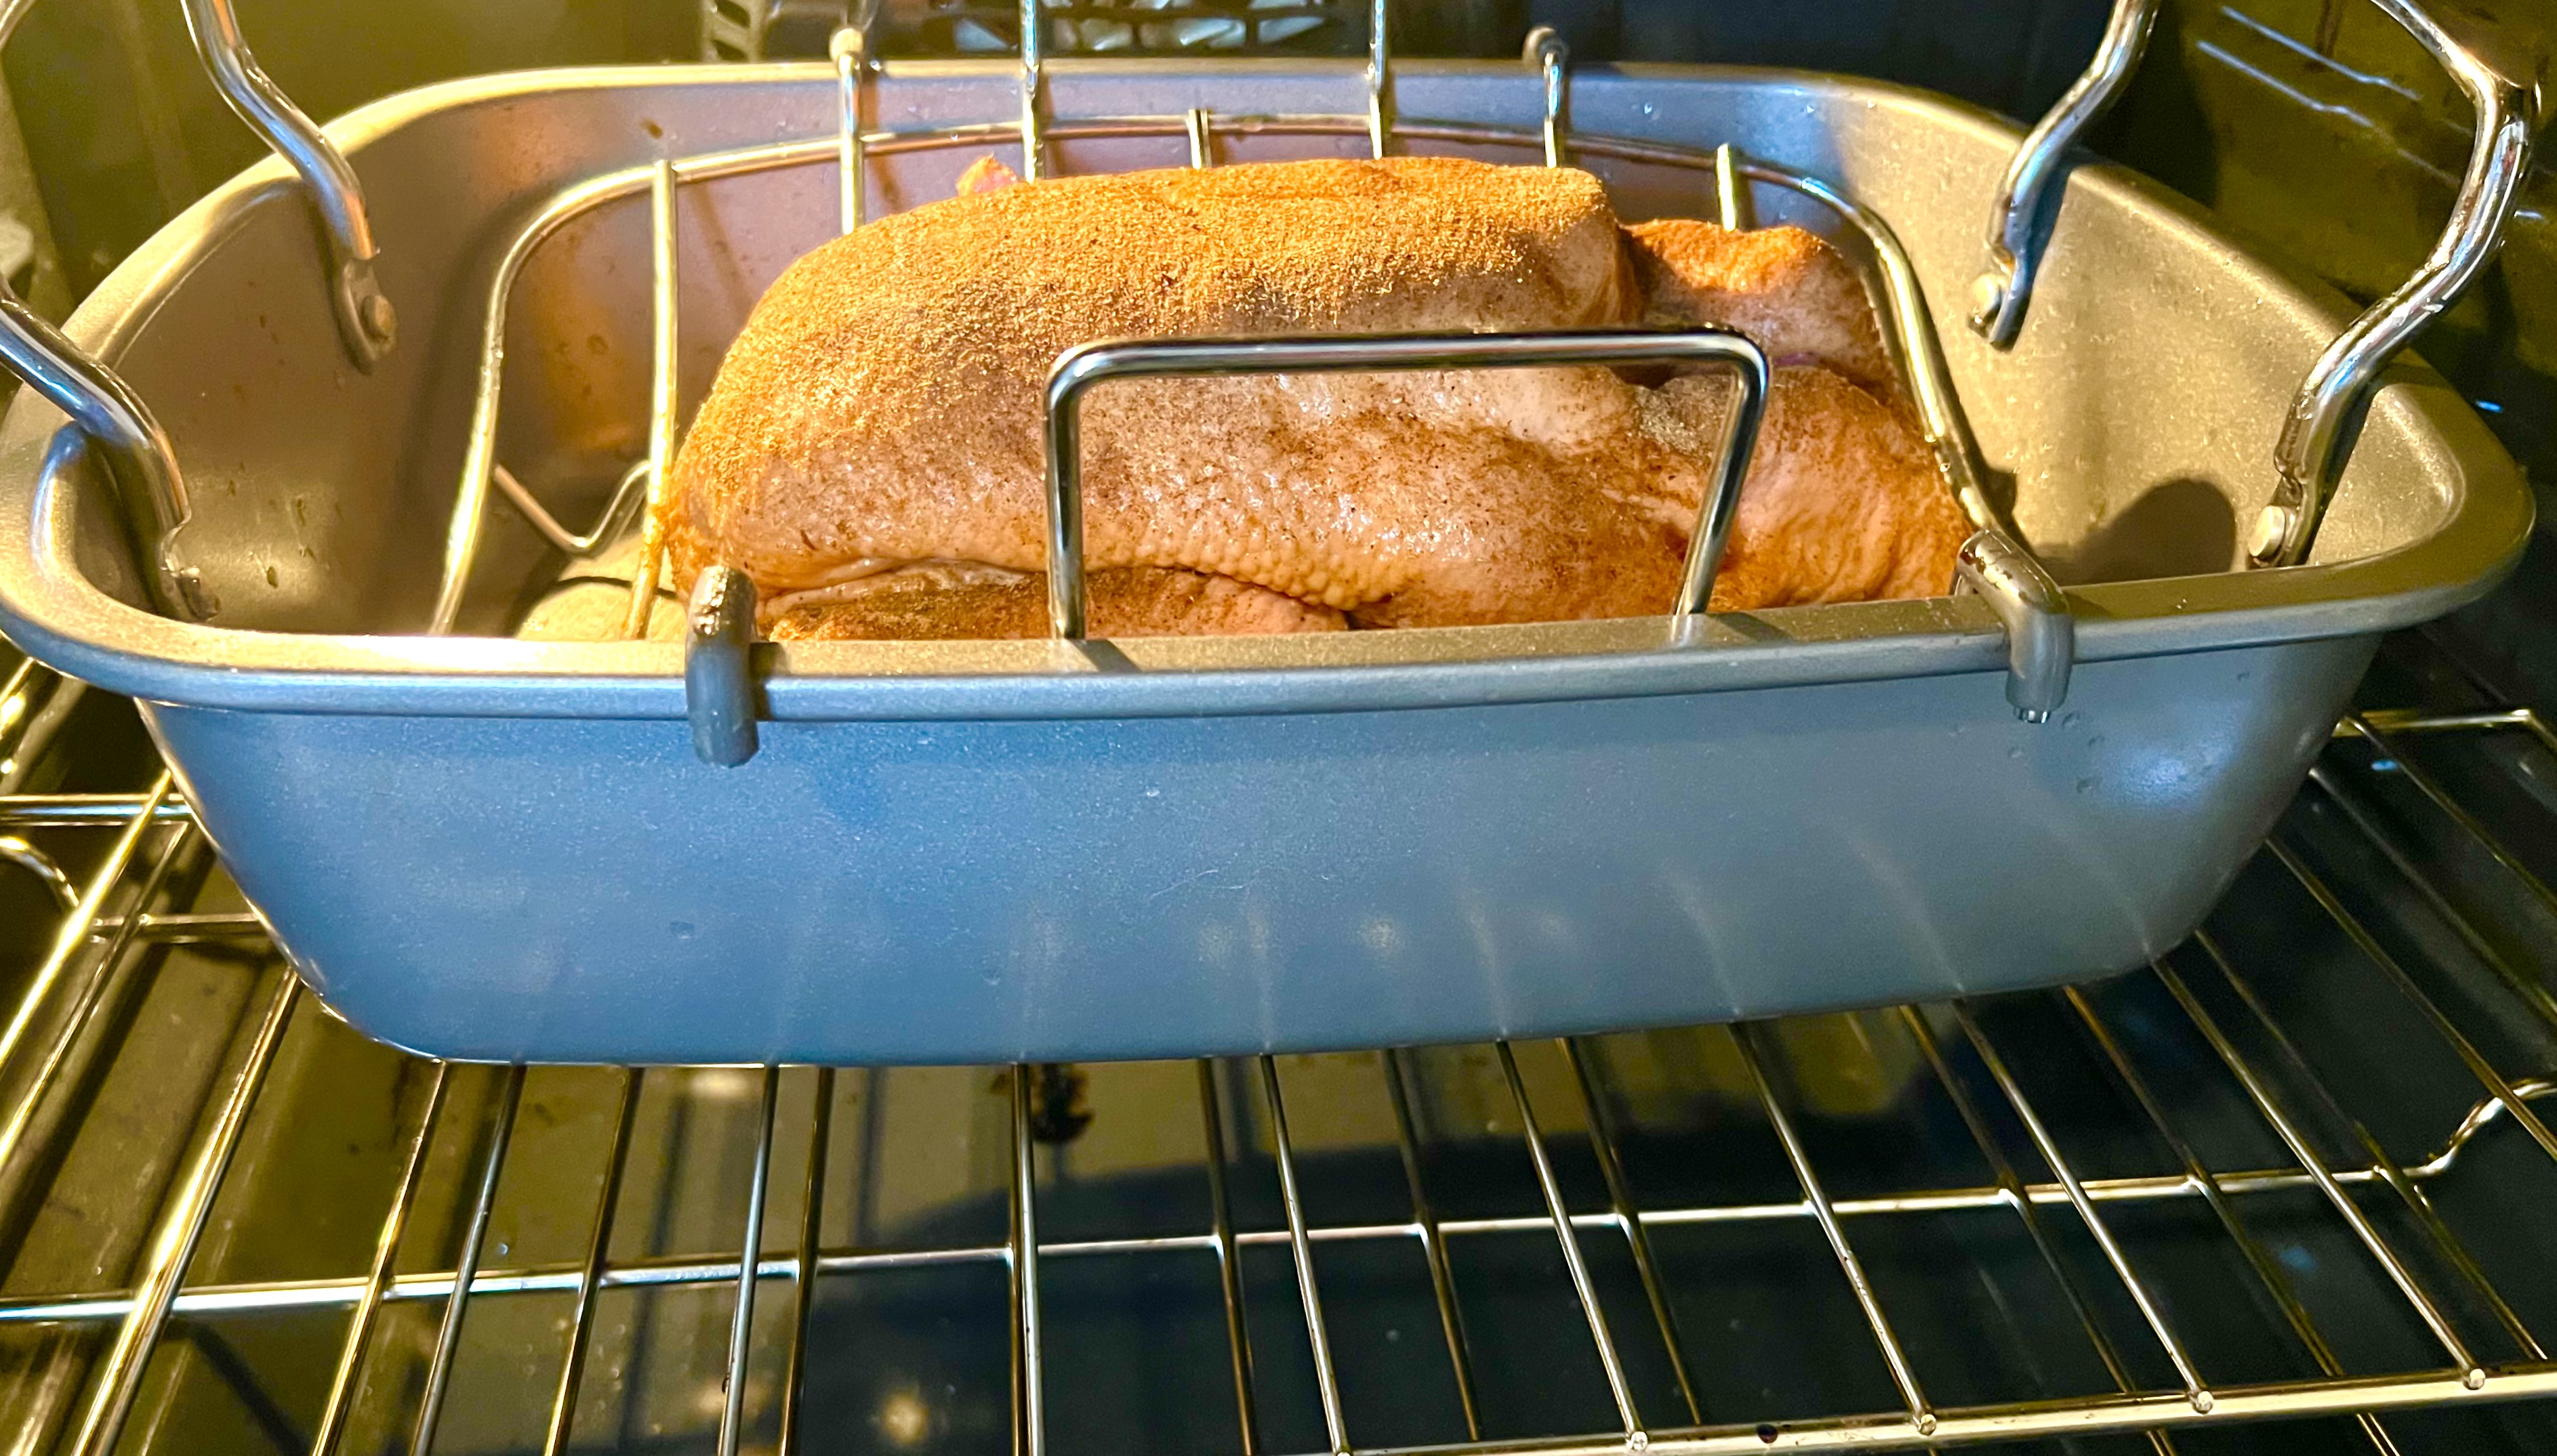
I used a roasting pan this time, which elevated the bird off the fat that collected below.
Reduce the oven temperature to 250° once you put the duck in the oven, and then cook it low and slow. You want that fat to melt away, leaving delicious tender duck meat behind, with a crispy skin. (And by all means, save the precious duck fat for future recipes. It’ll have that Cantonese flavor from the drippings, but that’s alright!) You might need to pour off some duck fat while cooking, if your tray isn’t very deep.
At what temperature is the duck ready to eat? That depends on you. Unlike chicken, duck is often served still pink at many restaurants. I personally prefer to cook it to a nice medium. At that temperature, it’s still moist. But the breasts cook faster and dry out quicker than the thighs and legs, so I take the duck out of the oven at around 160°.

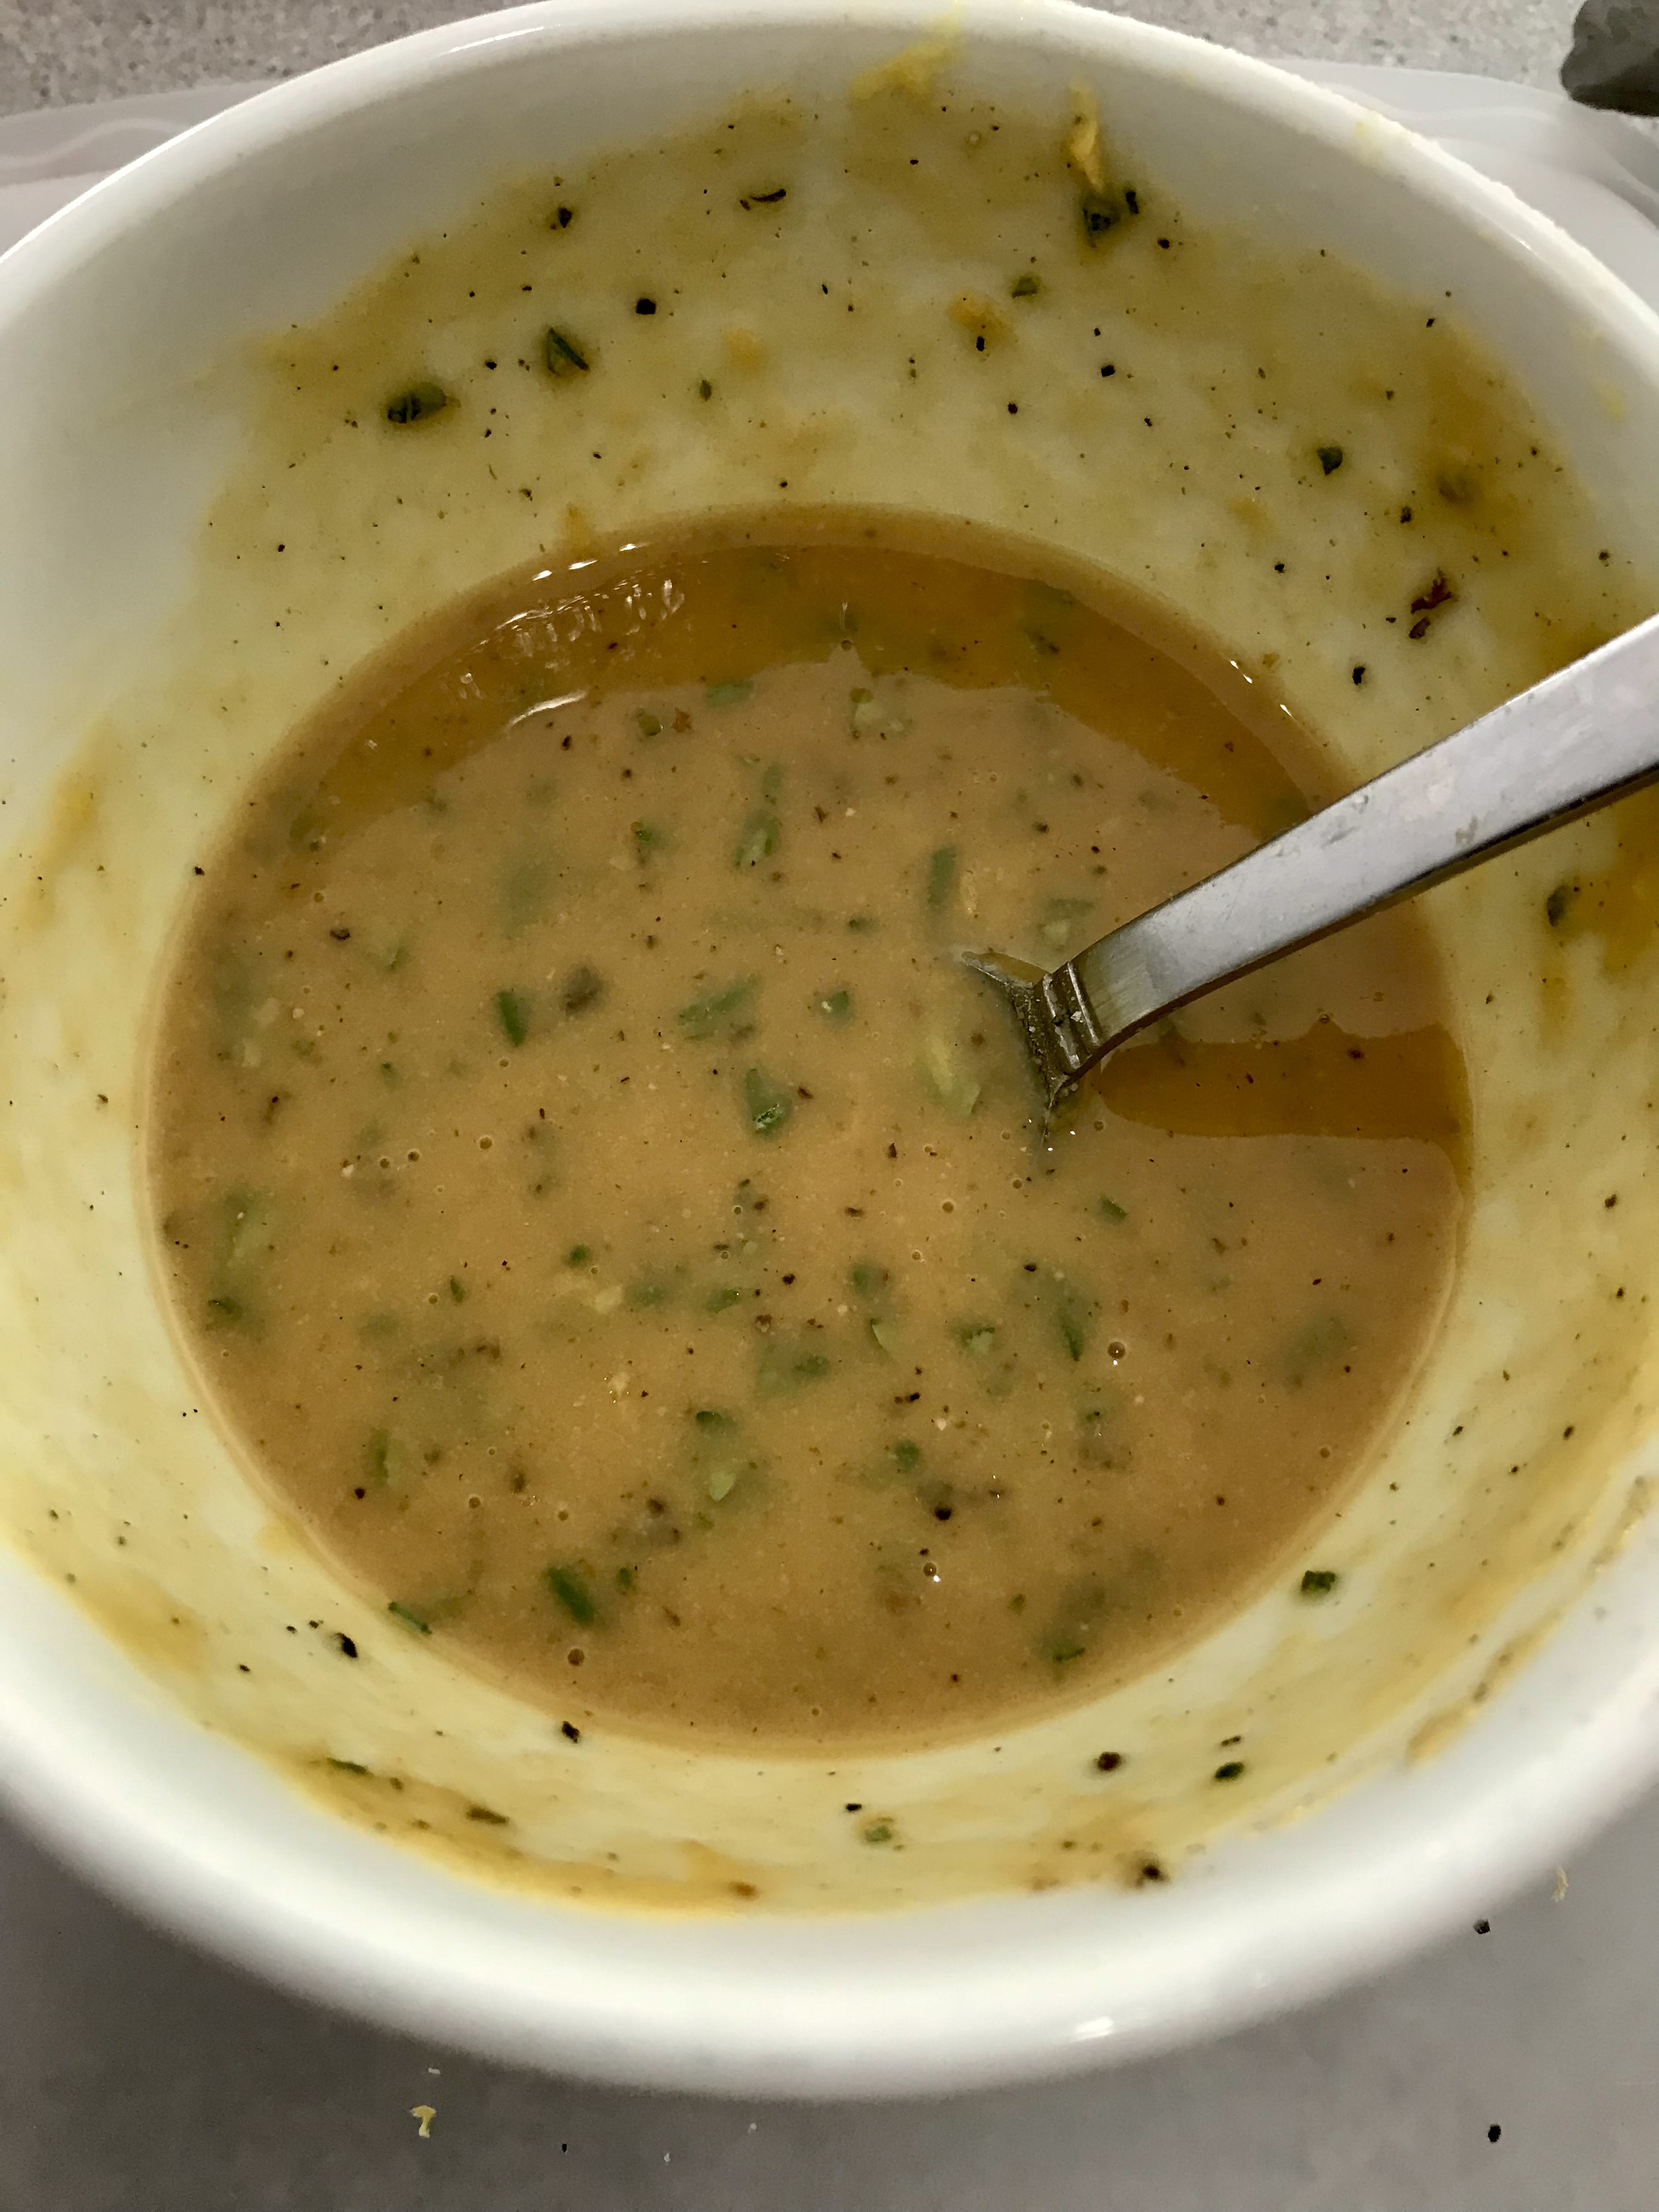
Meanwhile, combine the hoisin sauce and sesame oil in a small bowl. When the duck is about 15 minutes away from being done (skin is crisp, juices run clear), brush it with the hoisin/sesame oil mixture. Cook it another 15 minutes until the bird has a nice dark glaze.
Let the duck rest about 15 minutes before carving.
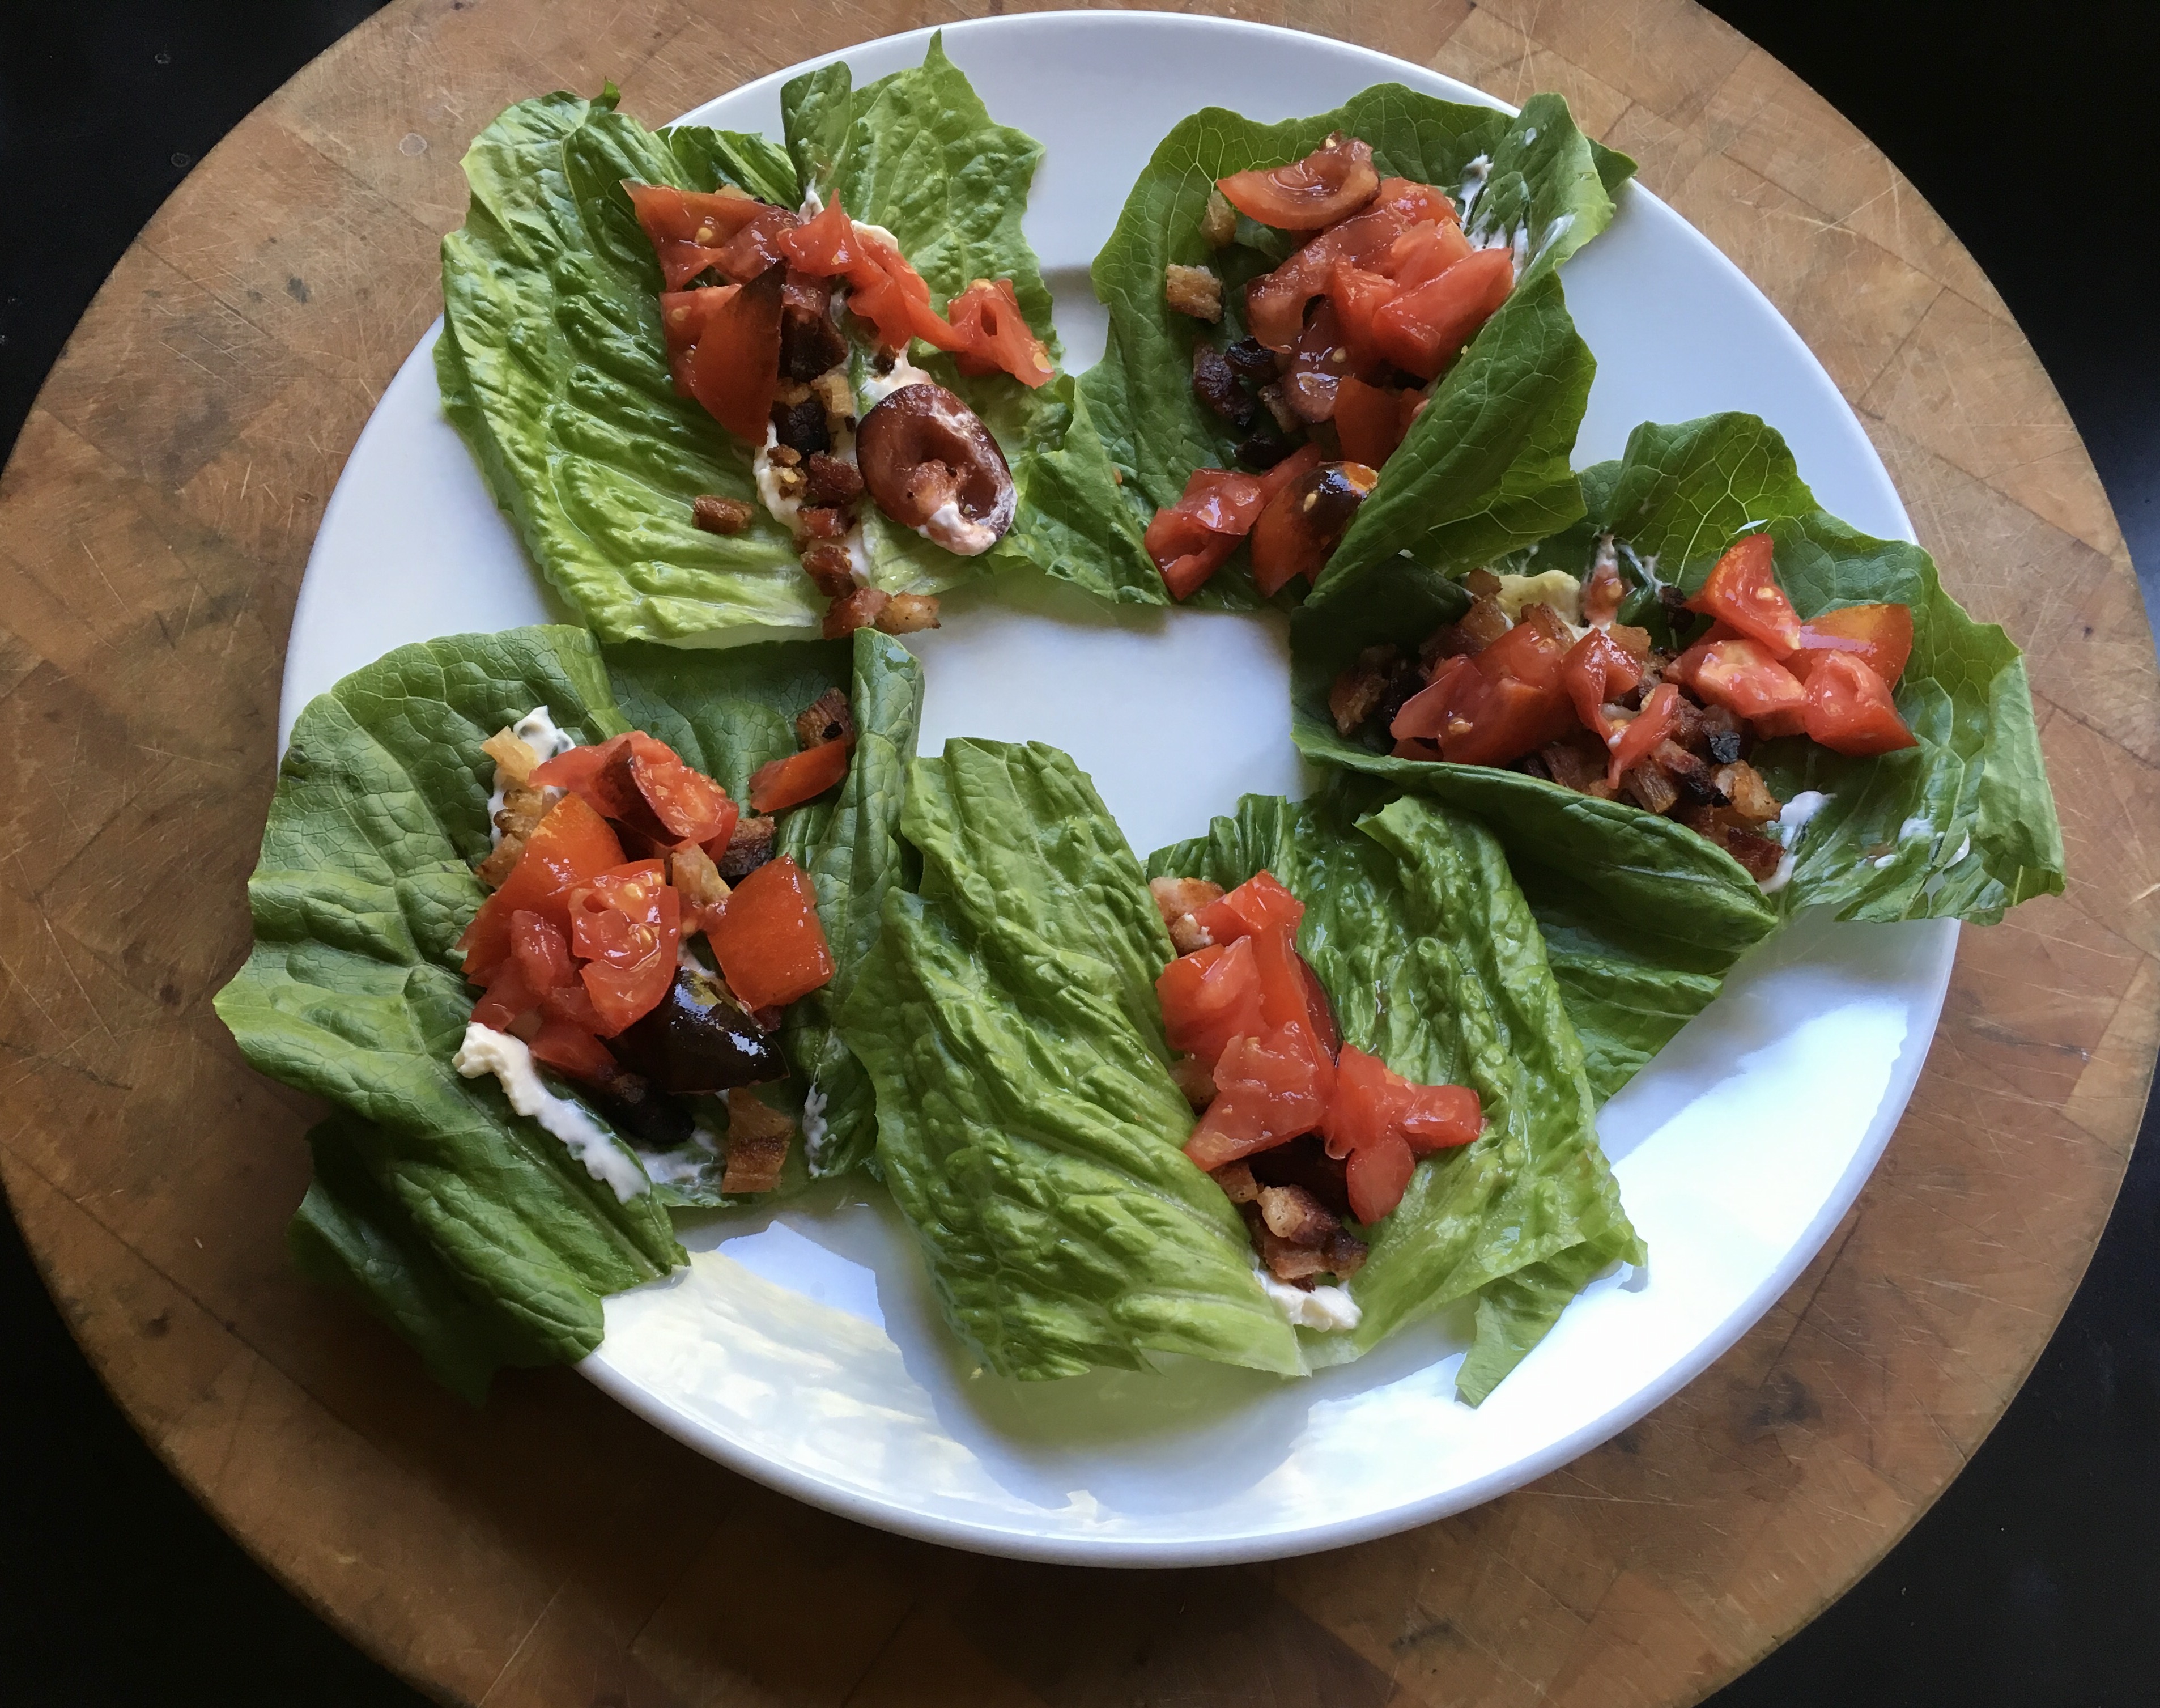
I served it with my own version of Chinese fried rice on the side.

Can you get salmonella from duck? In a word: depends! It used to be that salmonella was only found in the intestinal tracts of chickens. But because ducks are often raised in areas where chickens live, cross-contamination is very possible. Even if the birds live totally separate lives, cross-contamination can also happen in slaughterhouses. So…despite the fact that many say you can eat duck meat that’s pink, I prefer not to. Since there’s quite a bit of fat in an average duck, even if you cook the bird to medium-well, it will be delicious and juicy….and the skin will be fantastically crispy. Be safe and stay ion your comfort zone!