HOME MADE BEEF AND VENISON JERKY
Posted: November 19, 2022 in beef, Carnivore!, Food, jerky, marinade, RecipesTags: beef, food, GF, gluten-free, jerky, marinade, recipes
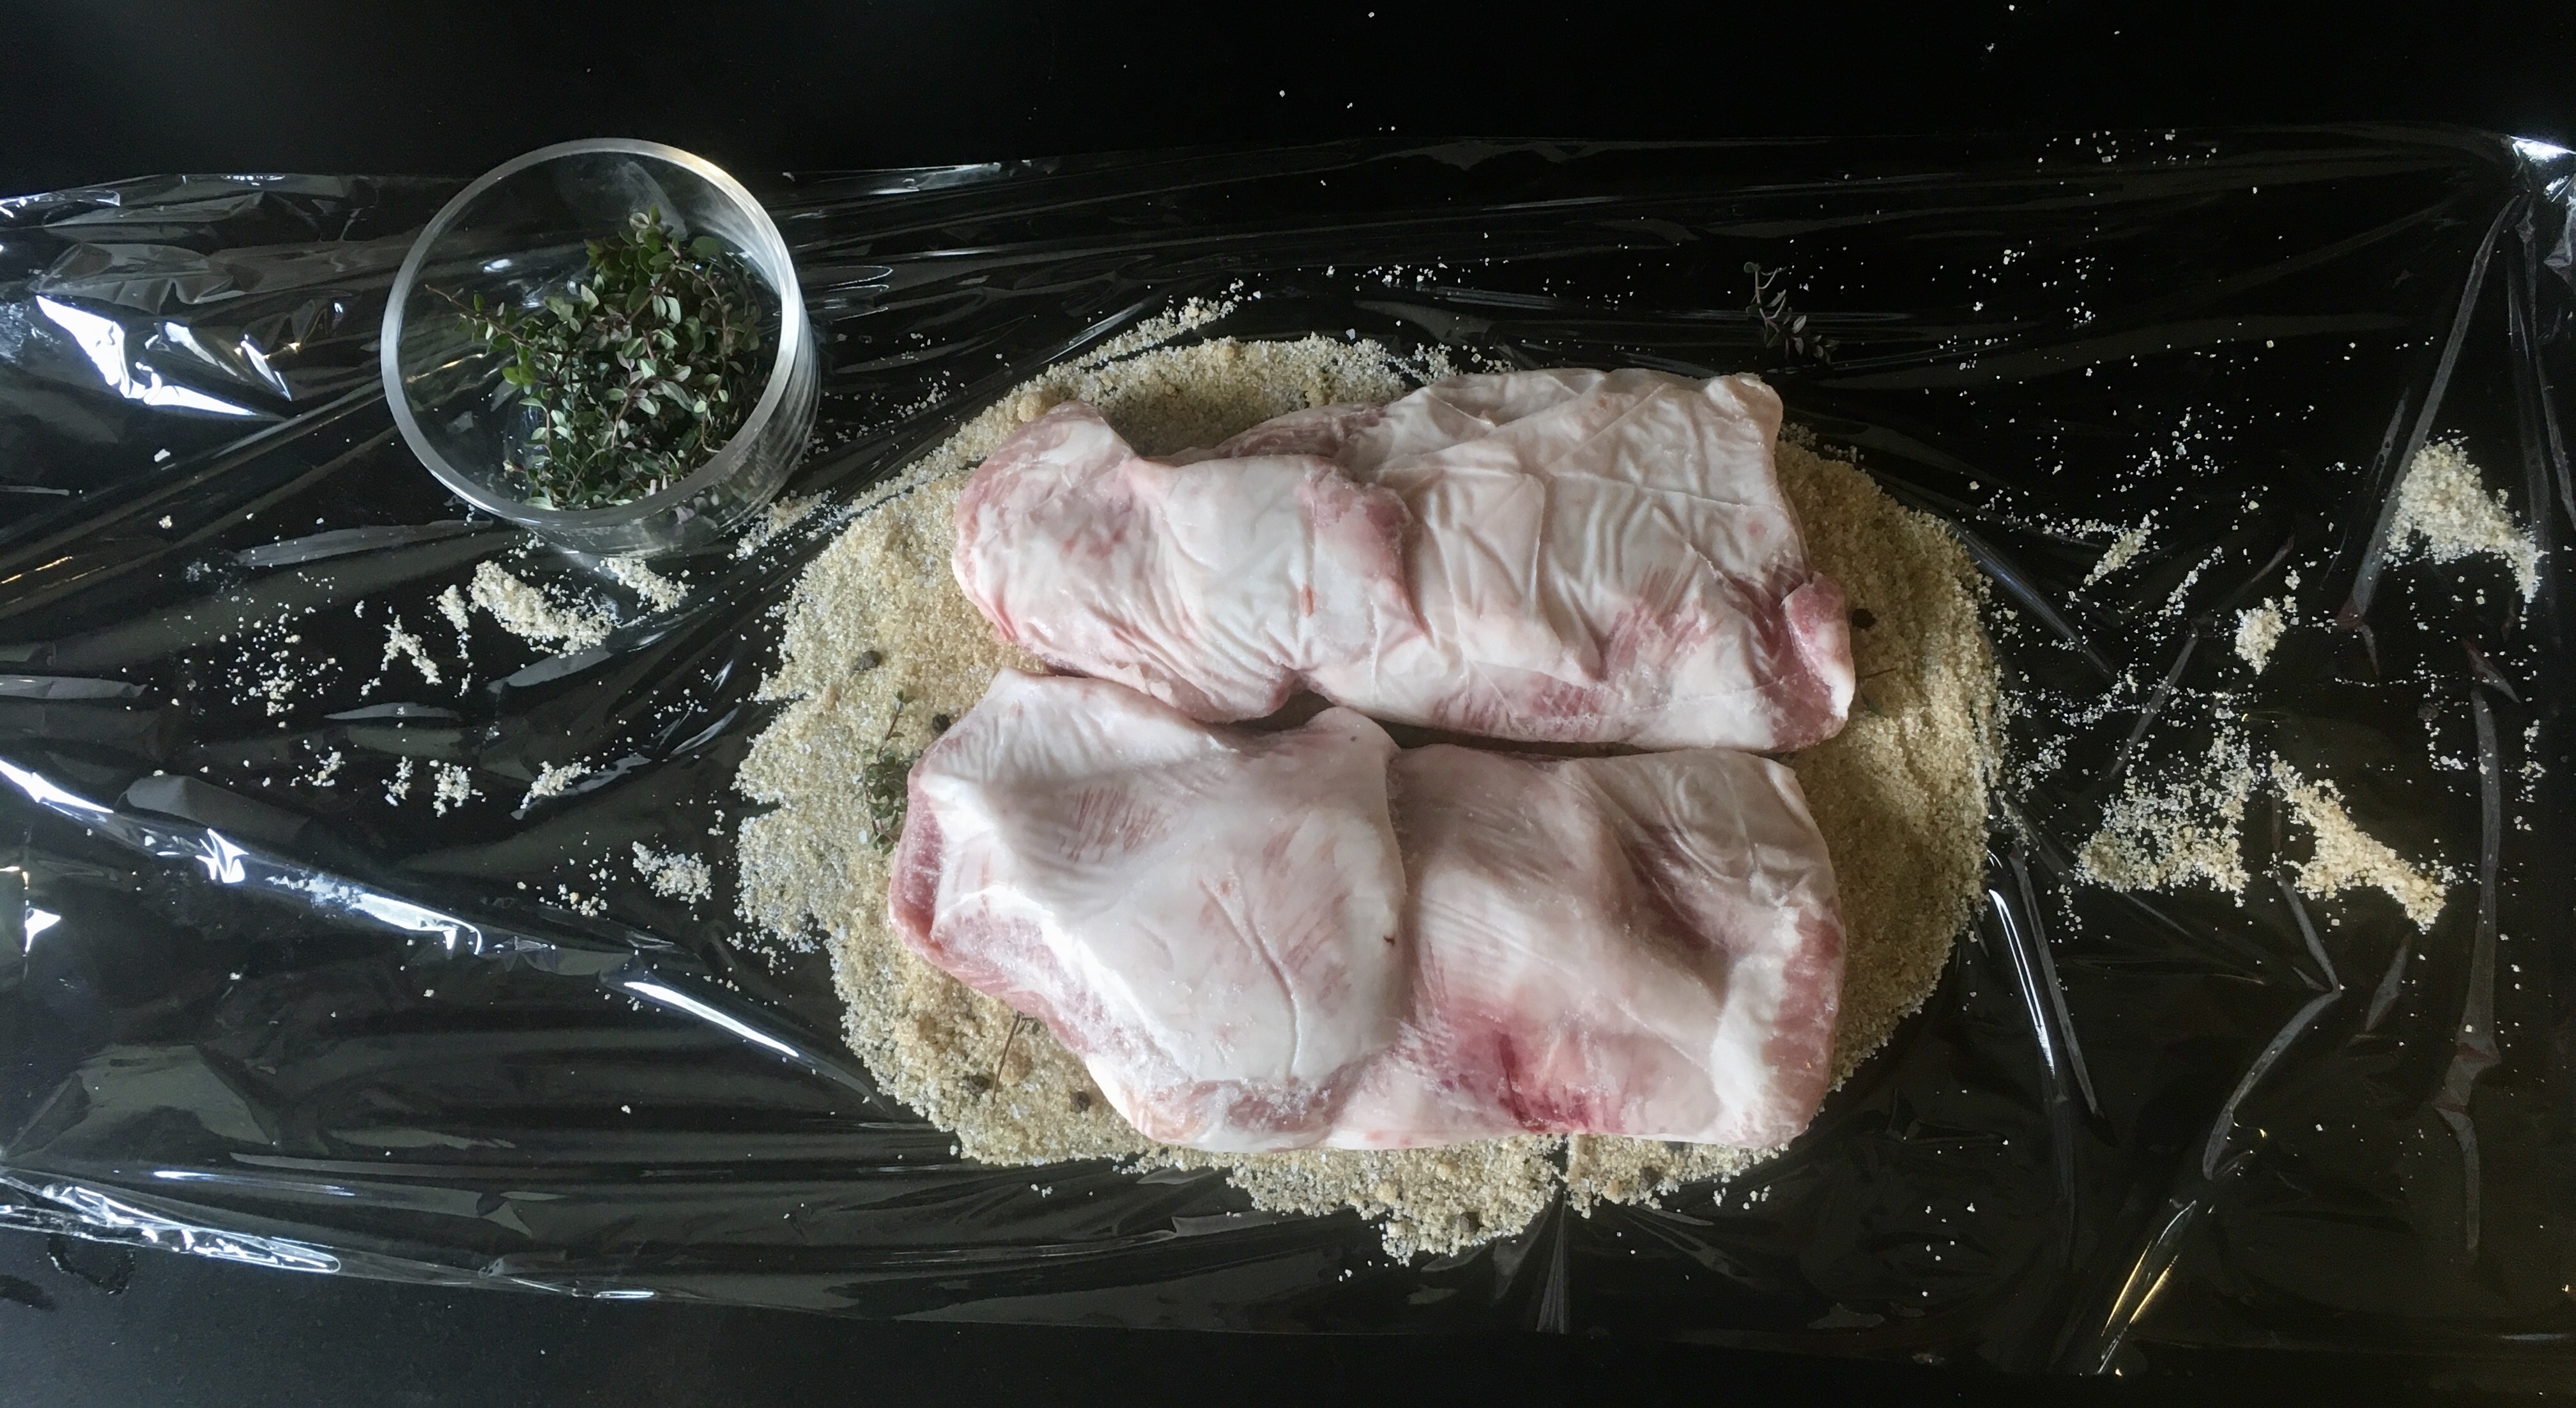
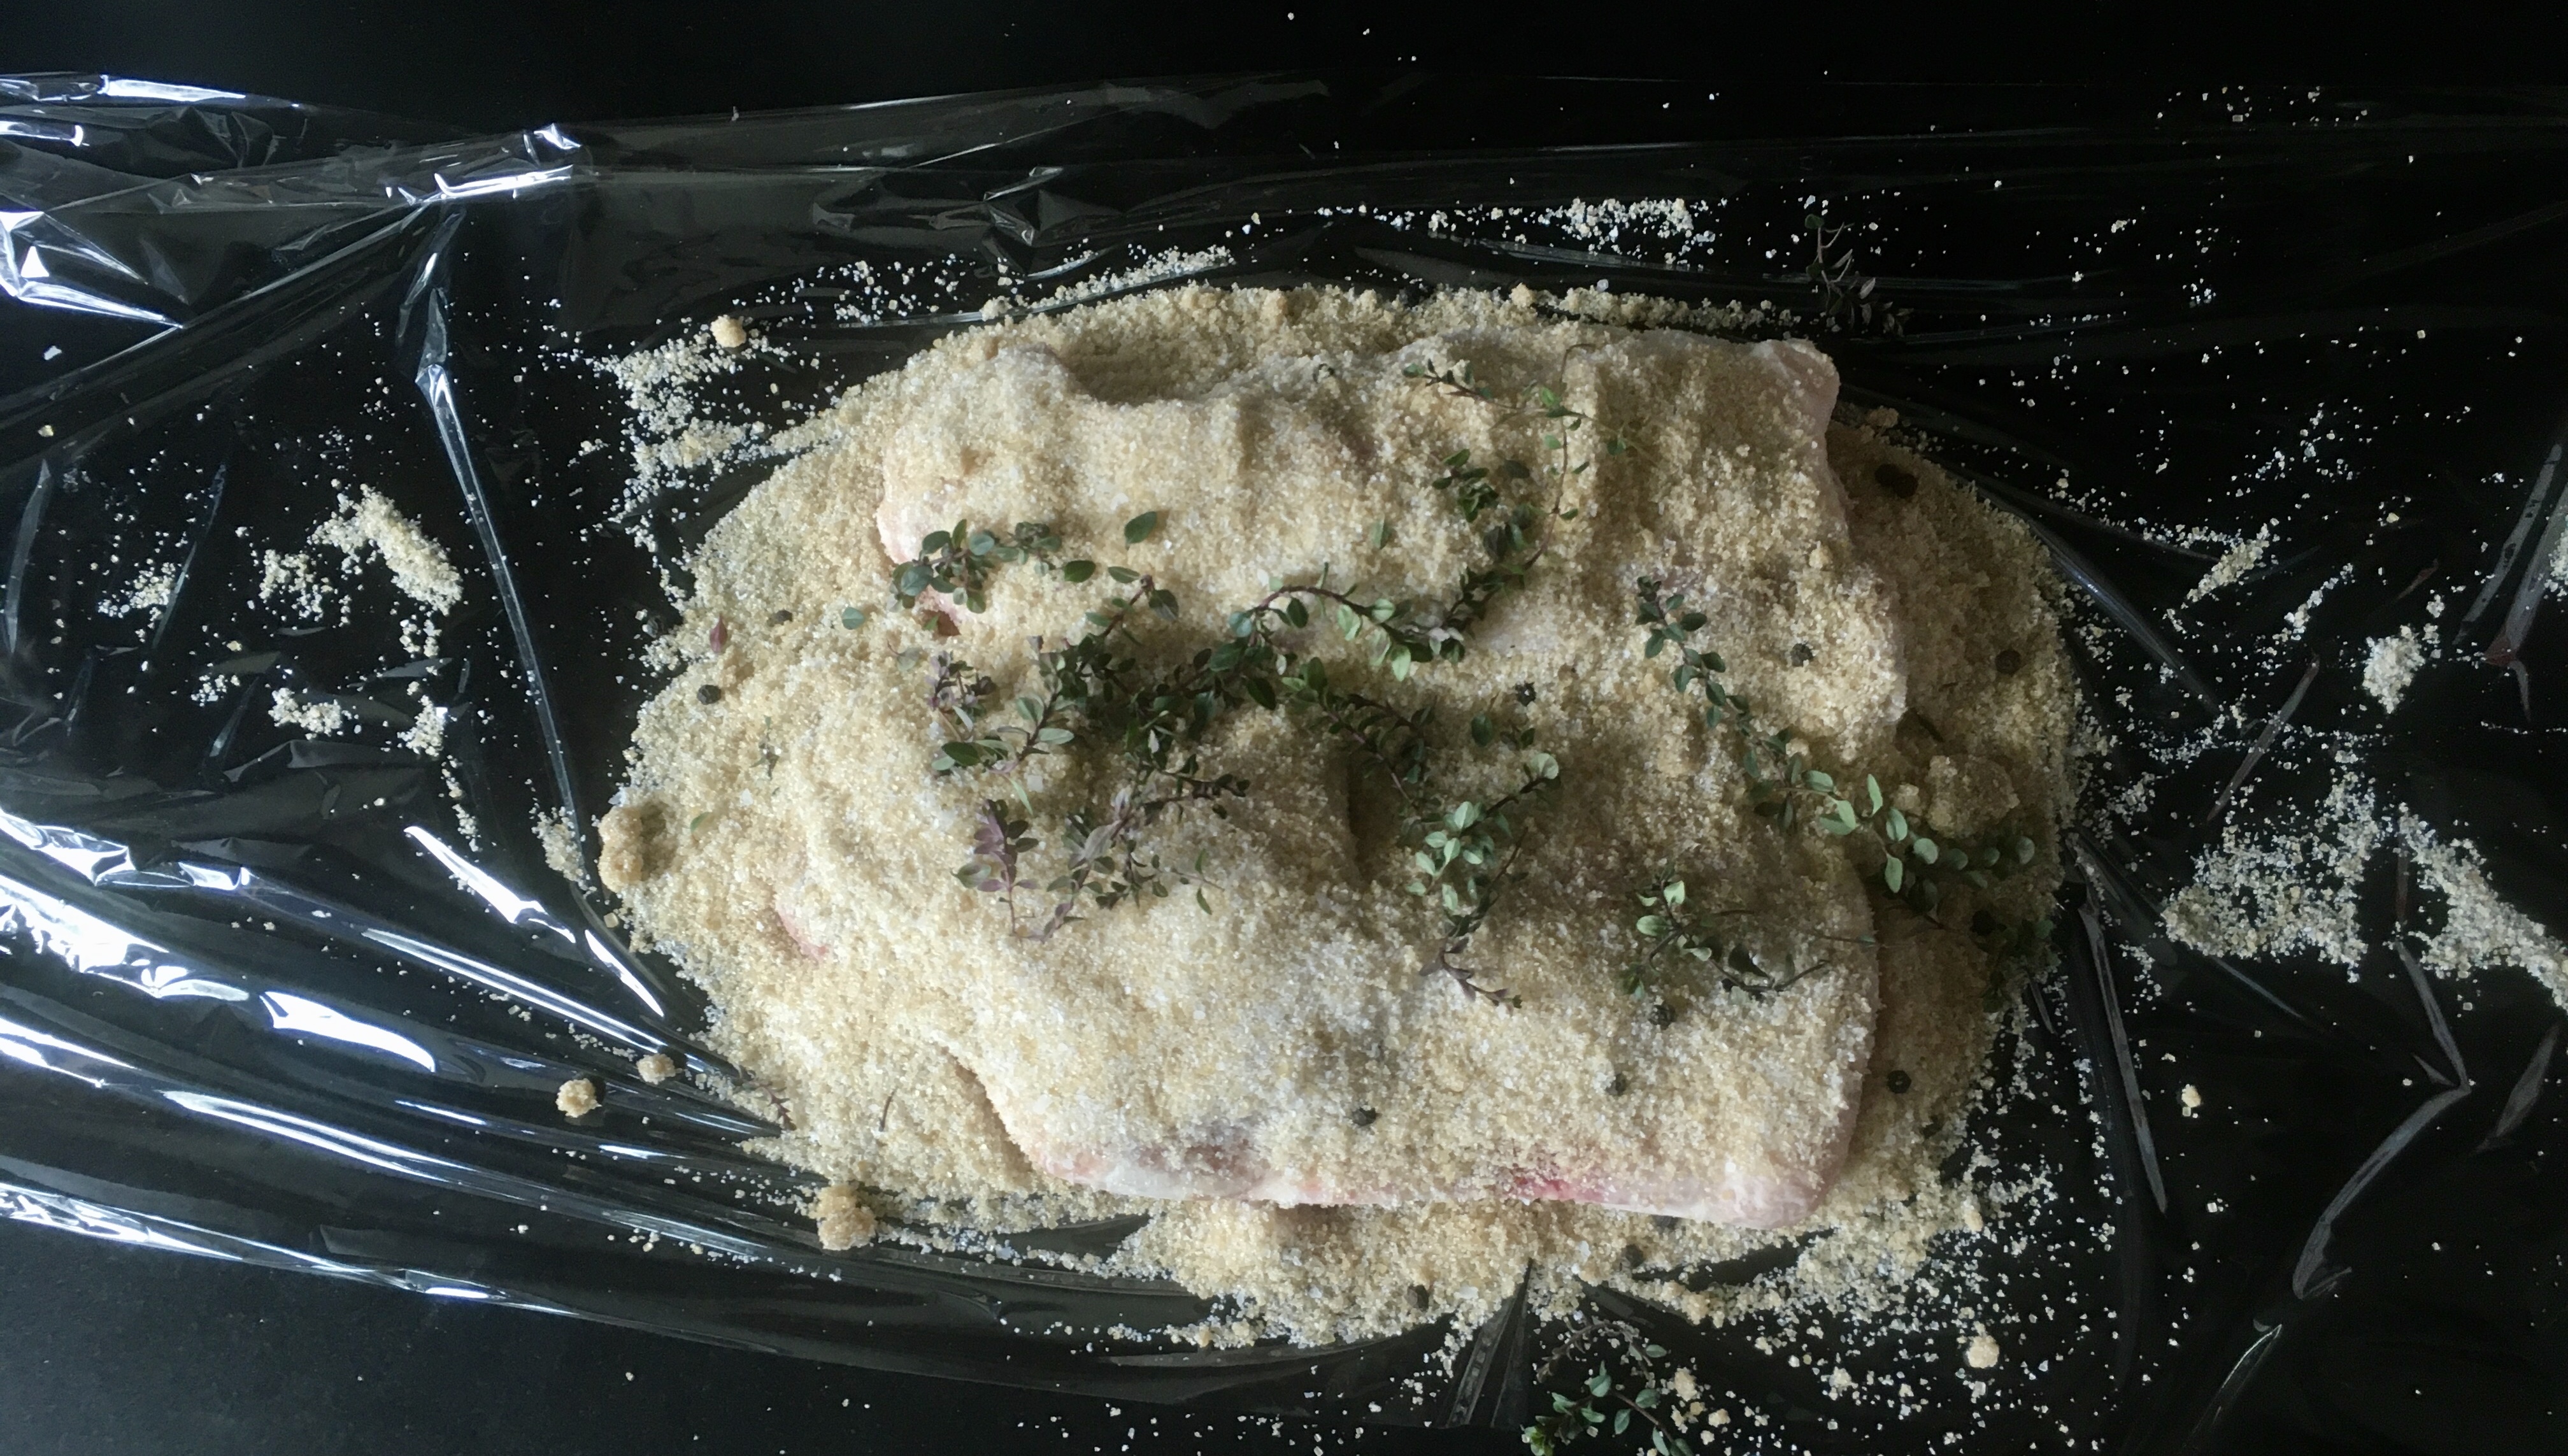
1 tablespoon salt
ROASTED BUTTERNUT SQUASH WITH CRANBERRIES
Posted: November 14, 2022 in Food, Recipes, Thanksgiving, turkeyTags: cranberries, food, recipes, side dish, squash, Thanksgiving
With Thanksgiving around the corner, I’m sharing my favorite holiday dishes I post every year around this time.
My Mom loved that nasty, gooey cranberry log that oozes out of the can. It would hit the bowl with a splurt and would wiggle for about an hour. I’m more than happy to avoid that and make this delicious side dish, which has become a staple at our Thanksgiving table every year…
1 medium-sized butternut squash, washed and peeled with the seeds removed
Olive oil
Salt
1 cup fresh cranberries
¼ cup sunflower seeds
¼ cup pumpkin seeds or pepitas
¼ cup sesame seeds
¼ cup maple syrup, more if you like it really sweet
Pre-heat the oven to 400 degrees.
Once you’ve washed, peeled and seeded the butternut squash, cut it into ½” cubes. Sprinkle a little olive oil and salt on them and toss them to coat. Then spread the squash cubes in a single layer on a baking sheet. Bake them for about 30 minutes or until they’re golden on the edges.
Remove the squash from the oven and pour the cranberries into the hot tray. Mix gently. Pour the squash/cranberry mix into a smaller, deeper baking pan.
Increase the oven temperature to 425.
In a separate bowl, combine the sunflower seeds, pumpkin seeds and sesame seeds. Sprinkle the seeds evenly over the squash/cranberry mixture. Drizzle the maple syrup over everything and place the baking pan in the oven. Cook for another 20 minutes, until the seeds have roasted.
Drizzle a bit of maple syrup over the top just before bringing the pan to the table.
FETTUCCINE ALFREDO: THE ORIGINAL MAC AND CHEESE
Posted: November 12, 2022 in Food, Italian, pasta, RecipesTags: alfredo, fettuccine, food, Italian, pasta, recipes
My first foray into serious cooking started when I bought “The Classic Italian Cookbook,” written by the Marcella Hazan.
Like many great recipes, Fettuccine Alfredo is not complicated…but few restaurants that offer it get it right. Most of the Alfredo sauces I’ve had were watery, floury, and salty and had nothing in common with the real thing.
To this day, if I want a great Alfredo, I make it like Marcella.
1 cup heavy cream
3 tablespoons butter
Fleur de Sel or sea salt
1 lb. Fettuccine, fresh or dried
2/3 cup freshly grated Parmesan cheese
Freshly ground pepper
A very tiny grating of nutmeg
Put 2/3 cup of the cream and all the butter in a large saucepan that will later accommodate all the pasta. Simmer it over medium heat for less than a minute, until the butter and cream have thickened. Turn off the heat.
Drop the fettuccine in a big pot of boiling salted water. If the pasta is fresh, it will take just seconds. If it’s dry, it will take a few minutes. Cook the fettuccine firmer than usual, because it will finish cooking in the pan with the butter and cream. Drain the pasta immediately and thoroughly when it’s done and transfer to the pan containing the butter and cream.
Turn the heat under the pan on low, and toss the fettuccine, coating with the sauce. Add the rest of the cream, all the grated cheese, 1/2 teaspoon salt, the pepper and the nutmeg. Toss briefly until the sauce has thickened and the fettuccine are well coated. Taste and correct for salt.
Serve immediately!
BRINING A TURKEY
Posted: November 6, 2022 in brining, Carnivore!, Food, marinade, Recipes, salt, Thanksgiving, turkeyTags: brining, food, recipes, salt, Thanksgiving, turkey
I get requests to publish my holiday recipes every year, so, with the countdown to Turkey Day already ticking, and all the Thanksgiving food magazine issues on the stands, let’s get it started…
No matter what method you prefer to cook your bird, brining it beforehand will make it so much tastier and juicier. You really need to try it…and it’s easy to do.
It’s basic high school science: the brine has a greater concentration of salt and water than the molecules of the protein (in this case, a turkey) that is soaking in it. By simple diffusion, the protein molecules suck up the salty water and keep it. When you cook the meat, some of the water evaporates, but the meat still has far more moisture in it than it would have without the brine soaking, and you get a moister, more delicious bird.
Some people use giant syringes to inject their turkeys with crazy solutions, but I think that the old way is still the best when it comes to brining. Get a big pot, fill it with the brine, and soak the bird in it. Done.
Here’s my tried-and-true turkey brining recipe. Once the brining is done, you can cook the turkey whatever way you like best. I use a method where I grill it inside a Weber grill with charcoal. It comes out smokey and absolutely amazing. I’ll have that info in my next blog.
You must brine a thawed bird, so use your favorite method to thaw your turkey so that it’s ready on Thanksgiving morning. Brining can take 4 to 6 hours, so start early!
For this recipe, you’ll need a large pot to boil the brine ingredients, and then a larger pot to hold the turkey submerged in the brine. I use a turkey no bigger than 15 lbs. for two main reasons: there are only 3 people in our family, and the Weber grill I will later use can’t handle anything bigger.
1 gallon of water
2 onions
3 carrots
3 stalks celery
1 cup Kosher salt (I use Diamond Crystal…see below)
1 tablespoon black peppercorns
1/2 cup light brown sugar
1 1/2 teaspoons whole allspice
4 bay leaves
1 gallon of ice water
14–15 lb turkey, thawed
Pour the first gallon of water in a large pot. Quarter the onions, carrots and celery (no need to peel them) and add them to the water. Add the salt, black peppercorns, brown sugar, allspice, and bay leaves. (I specify Diamond Crystal Kosher salt because all Kosher salt does not weigh the same! For example, Morton Kosher salt is much heavier for the same 1-cup measurement, so the brine will be saltier.)
Let the pot come to a boil for a few minutes. Remove it from the heat and let the brine cool down to room temperature.
Remove the giblets from the thawed turkey and place the bird in a container just big enough to hold it and 2 gallons of liquid.
Pour the now-cooled brine over the turkey, then pour in the gallon of ice water.
Make sure the turkey doesn’t float up by placing a plate on top. Put the turkey container in the fridge (or a cold garage or basement) for 4 to 6 hours, flipping the turkey over in the container halfway through.
After 4 to 6 hours, drain the turkey, rinsing off any spices that stuck to it, then pat it dry with paper towels. Now it’s ready to cook, using your favorite recipe.
If I’m brining a turkey for Thanksgiving, I do the brining in the morning and the turkey is ready to cook by early afternoon. And grilling it on a Weber grill only takes a couple of hours. It’s fast, requires no basting, and is absolutely delicious! That’s next time…
BEEF BONE MARROW WITH A PRETZEL CRUMBLE
Posted: November 4, 2022 in beef, Carnivore!, Food, Recipes, restaurants, travelTags: beef, bone marrow, food, recipes
I have to give credit for this recipe where it’s due. A few years ago, we traveled to Washington, DC, and one of our best dining experiences was at the Blue Duck Tavern, a stunning restaurant matched by its unique and beautifully prepared plates. (Along with Chef Jose Andres’ restaurant Jaleo, it is the restaurant I recommend to any friends in the DC area, and one I would go back to in a heartbeat.)
One of the most memorable appetizers I enjoyed was the roasted beef bone marrow, which had a delicious pretzel crumble on top. The moment I had a taste, I knew that I would have to recreate this for myself at home.
Bone marrow played an important role in the evolution of early man. Perhaps that’s why some of us still have that primitive craving for it.
Early man had small teeth and ate anything he could lay his hands on, especially meat. But he was no hunter. Attracted by circling vultures, he probably scavenged the leftovers from a big kill such as an antelope left in a tree by a leopard, or a large animal such as a wildebeest that had been slaughtered by lions.
Because meat is relatively easy to digest and rich in calories and nutrients, early man lost the need for the big intestines of apes and earlier hominids. This freed up energy for use by other organs. This surplus of energy seems to have been diverted to one organ in particular – the brain. But scavenging meat from under the noses of big cats is a risky business, so good scavengers needed to be smart. At this stage in our evolution, a big brain was associated with greater intellect. Big brains require lots of energy to operate: the human brain uses 20% of the body’s total energy production. The concentrated calories and nutrition found in meat was responsible for an increase in the brain size of early humans.
But around two million years ago, telltale cut marks on the surface of animal bones reveal that early humans were using crude stone tools to smash open the bones and extract the marrow. Stone tools allowed early man to get at a food source that no other creature was able to obtain – bone marrow. Bone marrow contains long chain fatty acids that are vital for brain growth and development. This helped further fuel the increase in brain size, allowing our ancestors to make more complex tools. Many historians believe that the blunt force required to break bones with tools to extract the bone marrow was a crucial ingredient in the development of the human hand, and the unique dexterity it has over that of apes.
Of course, these days, we can simply go to our butcher and ask them to slice some beef bones for us so that we can enjoy the marrow like our ancestors did. It’s much more civilized.

My box o’ frozen bones. I ordered about 25 lbs. of marrow bones from Slanker’s, a grass-fed beef farm in Texas.
They key to roasting marrow bones properly is to keep an eye on them. The bones can go from frozen solid to blazing hot in no time, and that means the marrow can go beyond its rich, gelatinous perfection into a puddle of fat at the bottom of your pan in mere moments.
3 lbs. beef marrow bones (I like them sliced lengthwise)
3/4 cup finely ground salted pretzel sticks
1 teaspoon dried parsley flakes
1 teaspoon granulated onion
1/2 teaspoon granulated garlic
1/4 teaspoon black pepper
olive oil
I keep the beef bones frozen, moving them to the fridge until I’m ready to roast them.
Pre-heat the oven to 450 degrees.
Place a handful of salted pretzel sticks in a food processor, and pulse them until the pretzels are ground fine. When you’ve got 3/4 cup of ground pretzel powder, move it to a bowl and add the parsley, onion, garlic and black pepper. No salt is needed if the pretzels are salted.
Lay the bones flat on a baking pan. If they wobble, place them on a layer of coarse salt to hold them steady. Sprinkle the pretzel mix on the bones, a little drizzle of olive oil on top, and place them in the oven.
Now you watch…there’s that one point where they go from “not quite yet” to perfection to “Oops! Too much!” …so be careful!
Some toasted bread on the side is all you need!
If you’re cooking gluten-free, try Snyder’s of Hanover GF pretzels. They are awesome…you’ll never know the difference.
There are a handful of Italian dishes that can be considered classics. They don’t require dozens of ingredients…just a few quality ingredients prepared in a particular way. We all know their names: Pasta alla Carbonara…Fettuccini Alfredo…and Cacio e Pepe.

Carbonara requires pasta, guanciale, egg yolks, black pepper and a hard cheese (Pecorino Romano or Parmigiano Reggiano). Alfredo: just pasta, butter, cream and cheese (Parmigiano Reggiano). And Cacio e Pepe: pasta, black pepper, cheese (Pecorino Romano), and a little pasta water. Simple, but simple requires the best quality ingredients and the right method of preparation.

1 lb. spaghetti
4 teaspoons roughly ground black peppercorns
7 oz. Pecorino Romano cheese, freshly grated
Bring a pot of salted water to a boil and cook the spaghetti until it just about reaches the al dente stage.
While the pasta is cooking, heat a dry pan and dry fry the roughly ground peppercorns until they start to release their aroma.

Add a ladle of the pasta water to the pan with the peppercorns.

When the pasta is ready, move it to the pan with the peppercorns, saving the pasta water.

Mix the pasta and peppercorns together, and then slowly start adding the grated cheese, stirring constantly. Keep adding the cheese until you use it all. If the pasta is too dry, add more pasta water. You want the cheese and pasta water to blend to make a beautiful, creamy sauce.

When you’ve achieved ultimate creaminess, it’s ready to serve!

BONE BROTH: MAKING YOUR OWN
Posted: October 30, 2022 in UncategorizedTags: bone broth, food, recipes, veal
Bone broth has become all the rage…and why not? Bone broths are nutrient-dense, easy to digest, taste great and heal the body. Many people with bad digestion, or “leaky gut,” swear by it.
I use grass-fed veal or beef bones or pastured chicken bones and get great results.
Much like making a stock, the ingredients are simple and healthy. It just takes time to make a really delicious and healthy bone broth, cooking the broth ingredients for at least 24 hours…48 is better! I usually start the boiling process on a Saturday morning, letting it boil all day, literally until I go to bed that night. I turn the heat off, then restart it the next morning and boil all day again before pouring the bone broth into containers. I replace the water as needed.
It goes without saying that you need a large pot. I just recently bought a huge 30-quart stainless steel pot with a strainer for lobster cooking. It’s also perfect for making bone broth. I fill the pot with clean, filtered water and put it on high heat.
Meanwhile, I heat the oven to 400 degrees.
4 or 5 lbs. grass-fed veal bones
large pot clean filtered water
4 onions, quartered (no peeling needed)
4 carrots, roughly chopped (washed, but not peeled)
4 stalks celery, roughly chopped (washed)
I cook until the vegetables are slightly caramelized and their flavors are concentrated. I remove them from the pan and toss them in the pot of water. I put the bones back in the oven until they start to release their fat and flavors.
Once the bones have a nice brown color to them, I put them and the veggies in the pot. Any fat that was released by the bones also goes in. (This fat is healthy and full of flavor.)
Then it’s time to boil…for a very long time. I replace the water in the pot as needed, starting the boiling process on high heat, then reducing to medium, cooking with the pot covered, letting it cook for as long as I can.
After 48 hours, I finally get delicious bone broth that was worth all the effort: hearty, satisfying, healthy.
Rather than try to skim the fat off a huge pot of bone broth, I choose to portion out the broth in pint-sized containers, and keep them in the freezer. Then, when it’s time to use the bone broth, it’s easy to scrape the fat off the top of the frozen broth before I re-heat it. But I have to tell you: I don’t usually do that! The fat is go-o-o-d!
I leave spices, salt, pepper and garlic out of the bone broth, choosing to add them to the broth later, depending on what I’m using it for. If I’m simply sipping the bone broth by itself, a little sea salt as I reheat it is all that it needs.
I use bone broth to make tasty soups and stews, sauces and gravies, to flavor rice, or just heat it and drink it as is.
Lamb is such an underrated meat. It was one of the things my Mom cooked really well, so I grew up loving it, and was never bothered by the gaminess of it.
If the gaminess does bother you, look for American lamb. If gamier meat doesn’t bother you, go for the gusto and get grass-fed New Zealand or Australian lamb.
I recently got a couple of lamb loins and decided to marinate them, and then simply sear both sides of the loins in a hot pan, putting a lid on the pan to finish cooking. Simple and delicious.
Here’s the marinade I used…
1/2 cup olive oil
1/4 cup balsamic vinegar
1 tablespoon fresh rosemary, chopped
1 tablespoon fresh thyme leaves, chopped
1 tablespoon Kosher salt
1 tablespoon maple syrup
1 tablespoon Dijon mustard
1 teaspoon black pepper
1 teaspoon dried oregano
1 teaspoon granulated onion
Mix the marinade ingredients together in a bowl.
Place the lamb in a plastic bag and pour the marinade in, squishing it around to make sure it makes contact with the meat. Place it in a pan or a bowl to prevent accidental leaking.
Let the lamb marinate for several hours at room temperature, or in the fridge overnight.
Before cooking, bring the lamb back to room temperature.
Use some oil in a hot pan, and then sear the lamb on both sides. Place a lid on the pan, and reduce the heat to medium-low.
Cook the lamb until you get the lamb to a perfect medium. Cooking to 145 degrees will get you to medium-well, so I back off that a bit for medium. But cook it the way you like it!