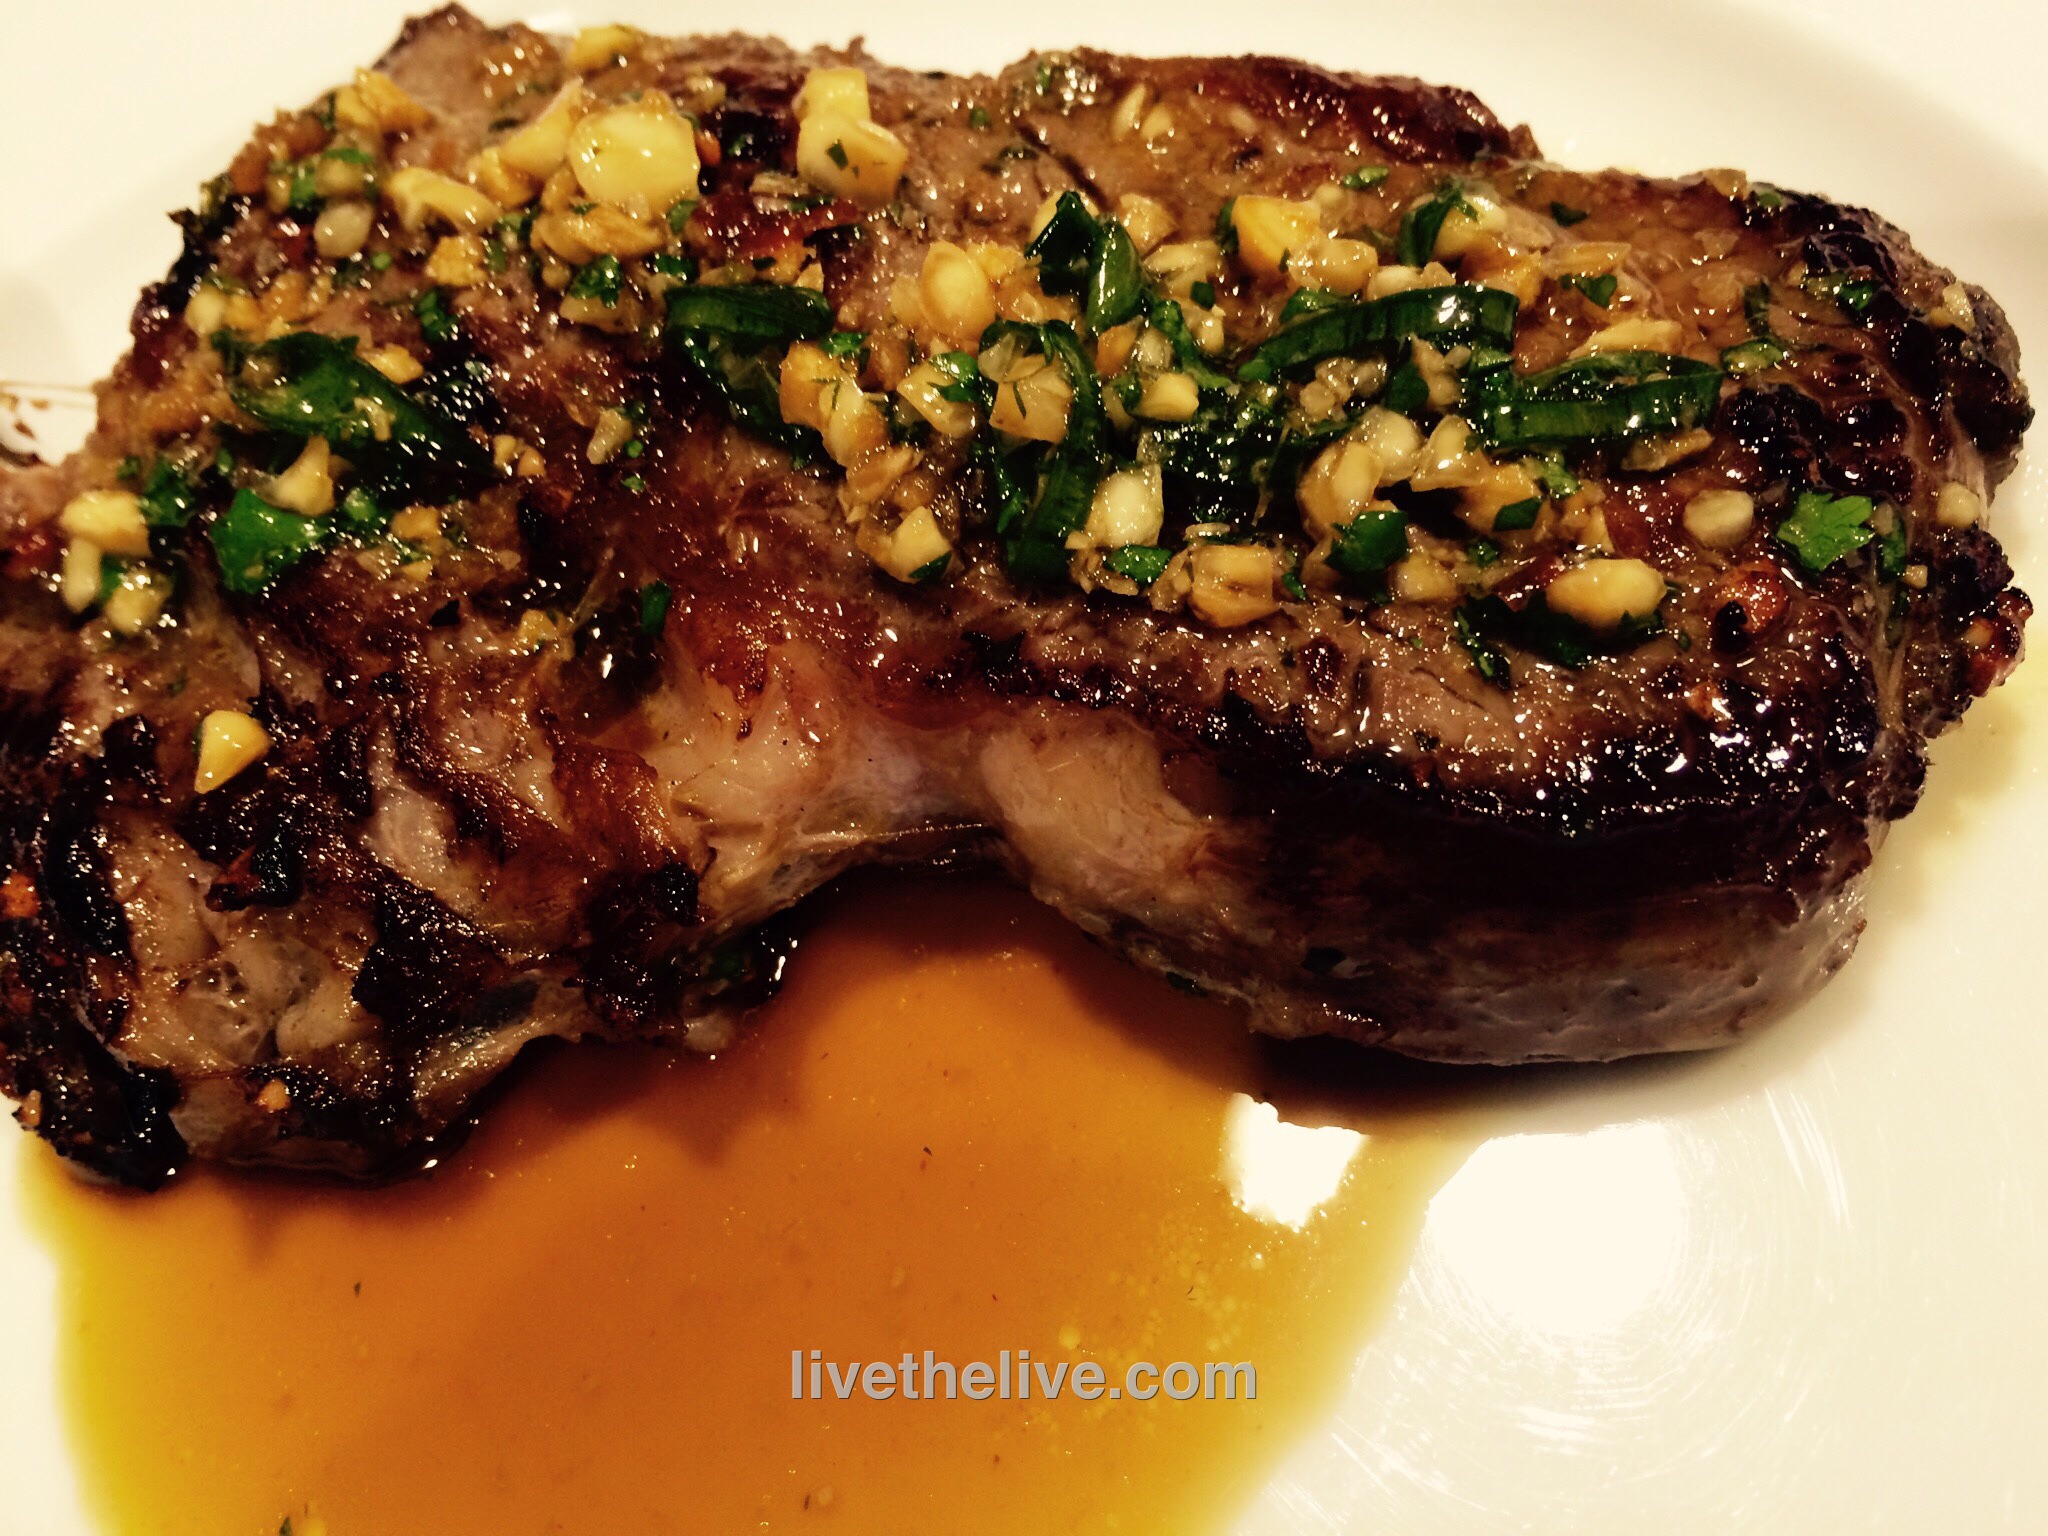
Although beef short ribs can be an expensive dish at many a fine restaurant, the expense is not in the ingredients, but in the time it takes to prepare it. But it is definitely worth the effort!

I used grass-fed beef short ribs for my recipe, and I think it made a huge difference in taste. But use what you like, and can easily find. Short ribs can be extremely fatty. Although you want to keep some of the fat, remove any excess fat that will only make the final braising liquid taste greasy.
I didn’t have a Dutch oven, which is really the right tool for this recipe, so I seared my beef and cooked the veggies in a pan, and then transferred everything to a deeper oven-safe pot with a lid when it was time to cook.
In doing my research for this recipe, I found dozens of variations. I wound up going with a hybrid of two, both from Food Network chefs: the late Ann Burrell, and Robert Irvine. Burrell’s recipe was heavy on the wine, and used water. Irvine’s was heavy on stock, a little wine, and no water.
3 to 5 lbs. grass-fed beef short ribs, trimmed
3 large carrots (200g)
3 stalks celery (200g)
1 medium onion (200g)
3 cloves garlic
Olive oil
Bacon fat (optional)
1 can (6 oz.) tomato paste
2 cups red wine, like a Cabernet Sauvignon
3 cups chicken or beef stock (homemade is best)
Kosher salt and pepper
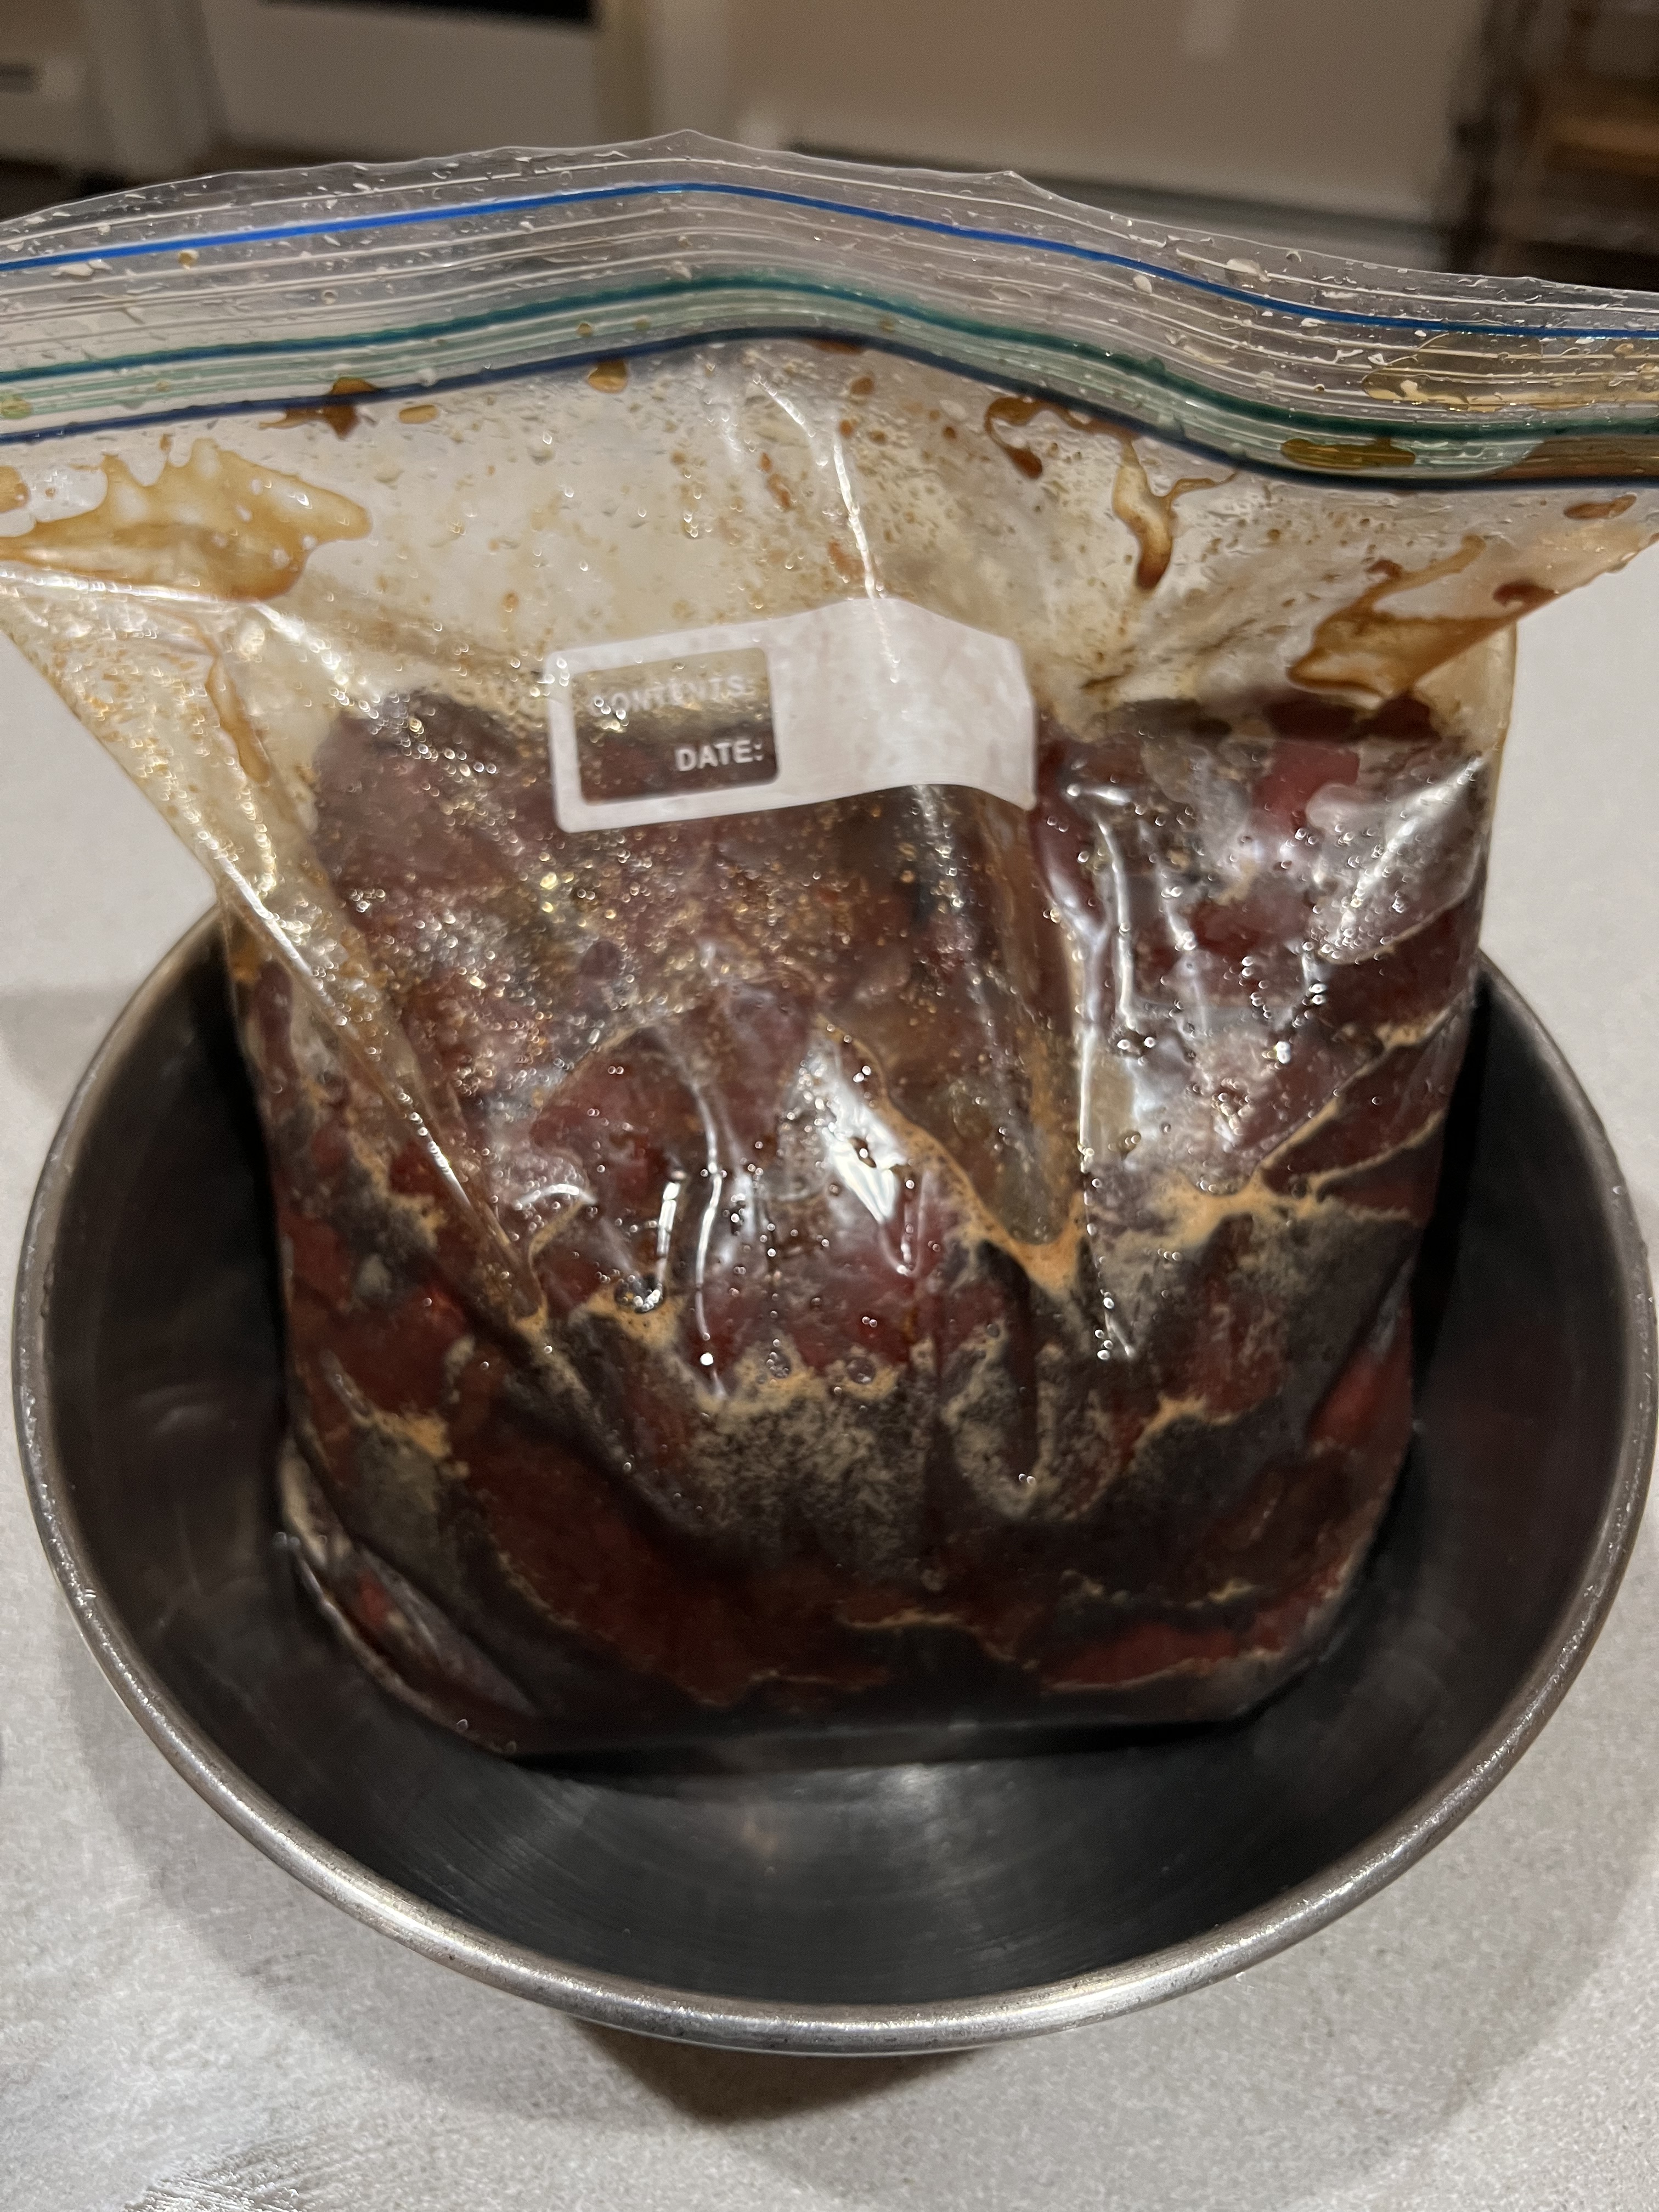
About an hour before cooking, trim the beef short ribs and season them all over with Kosher salt. Set them aside.

Pre-heat the oven to 325.
Place the carrots, celery, onion and garlic in a food processor and process until you get something that resembles a paste.
Right before searing the short ribs, re-season them with salt and pepper.
Heat a large pan on high, and when hot, add enough olive oil to coat the bottom. Sear the beef short ribs in the oil, making sure they’re nice and brown on all sides.
Set the beef aside in a bowl, pour out the fat in the pan, and replenish with new olive oil, (and some bacon fat if you have it and want to use it), just enough to coat the bottom of the pan.
Pour in the veggies from the food processor, season them with salt and pepper, and sauté them until they really caramelize. You want them to start taking on a brown color.

If the veggies start sticking to the pan, turn down the heat, but the stuff that sticks to the pan is full of flavor. Let that happen! It will all come off later when you deglaze with the wine.

You want those sticky brown bits!
Add the tomato paste and let it cook down for 5 minutes or so.

Add the red wine, and you’ll see how it deglazes the pan and cleans all those tasty brown bits off the bottom. Add the stock and continue stirring.
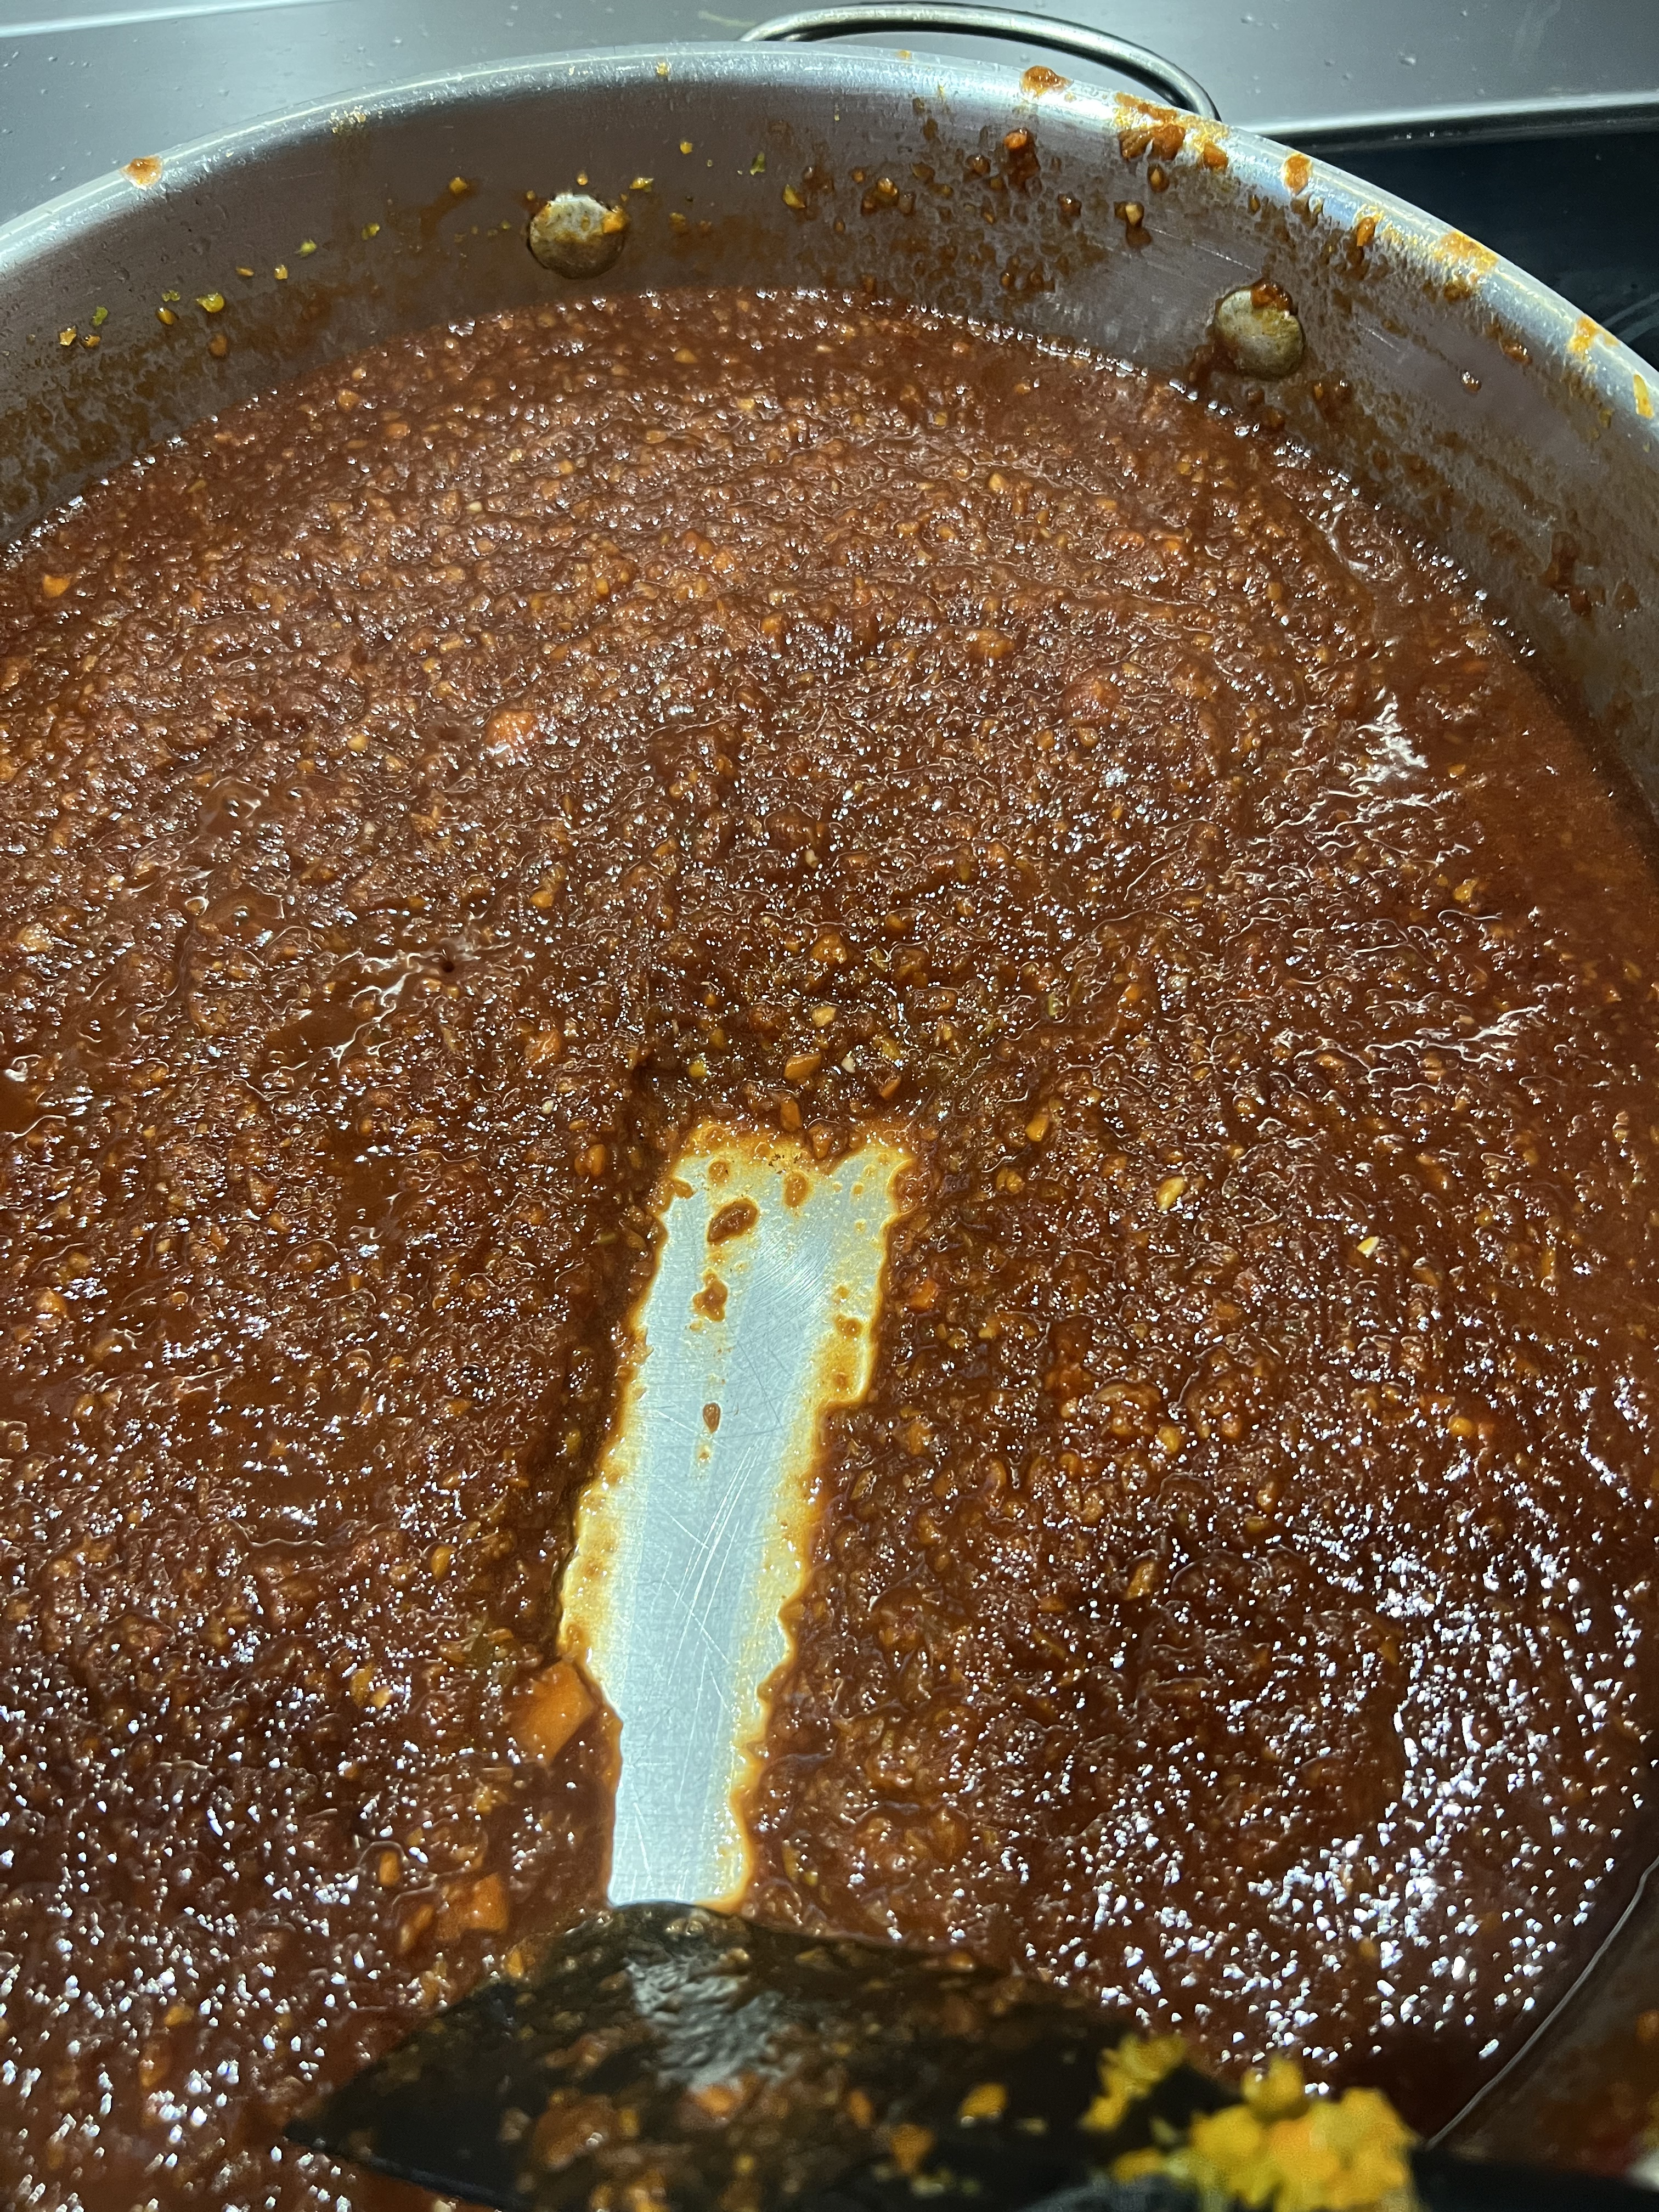
See how the wine cleans the bottom of the pan? It’s all about flavor!
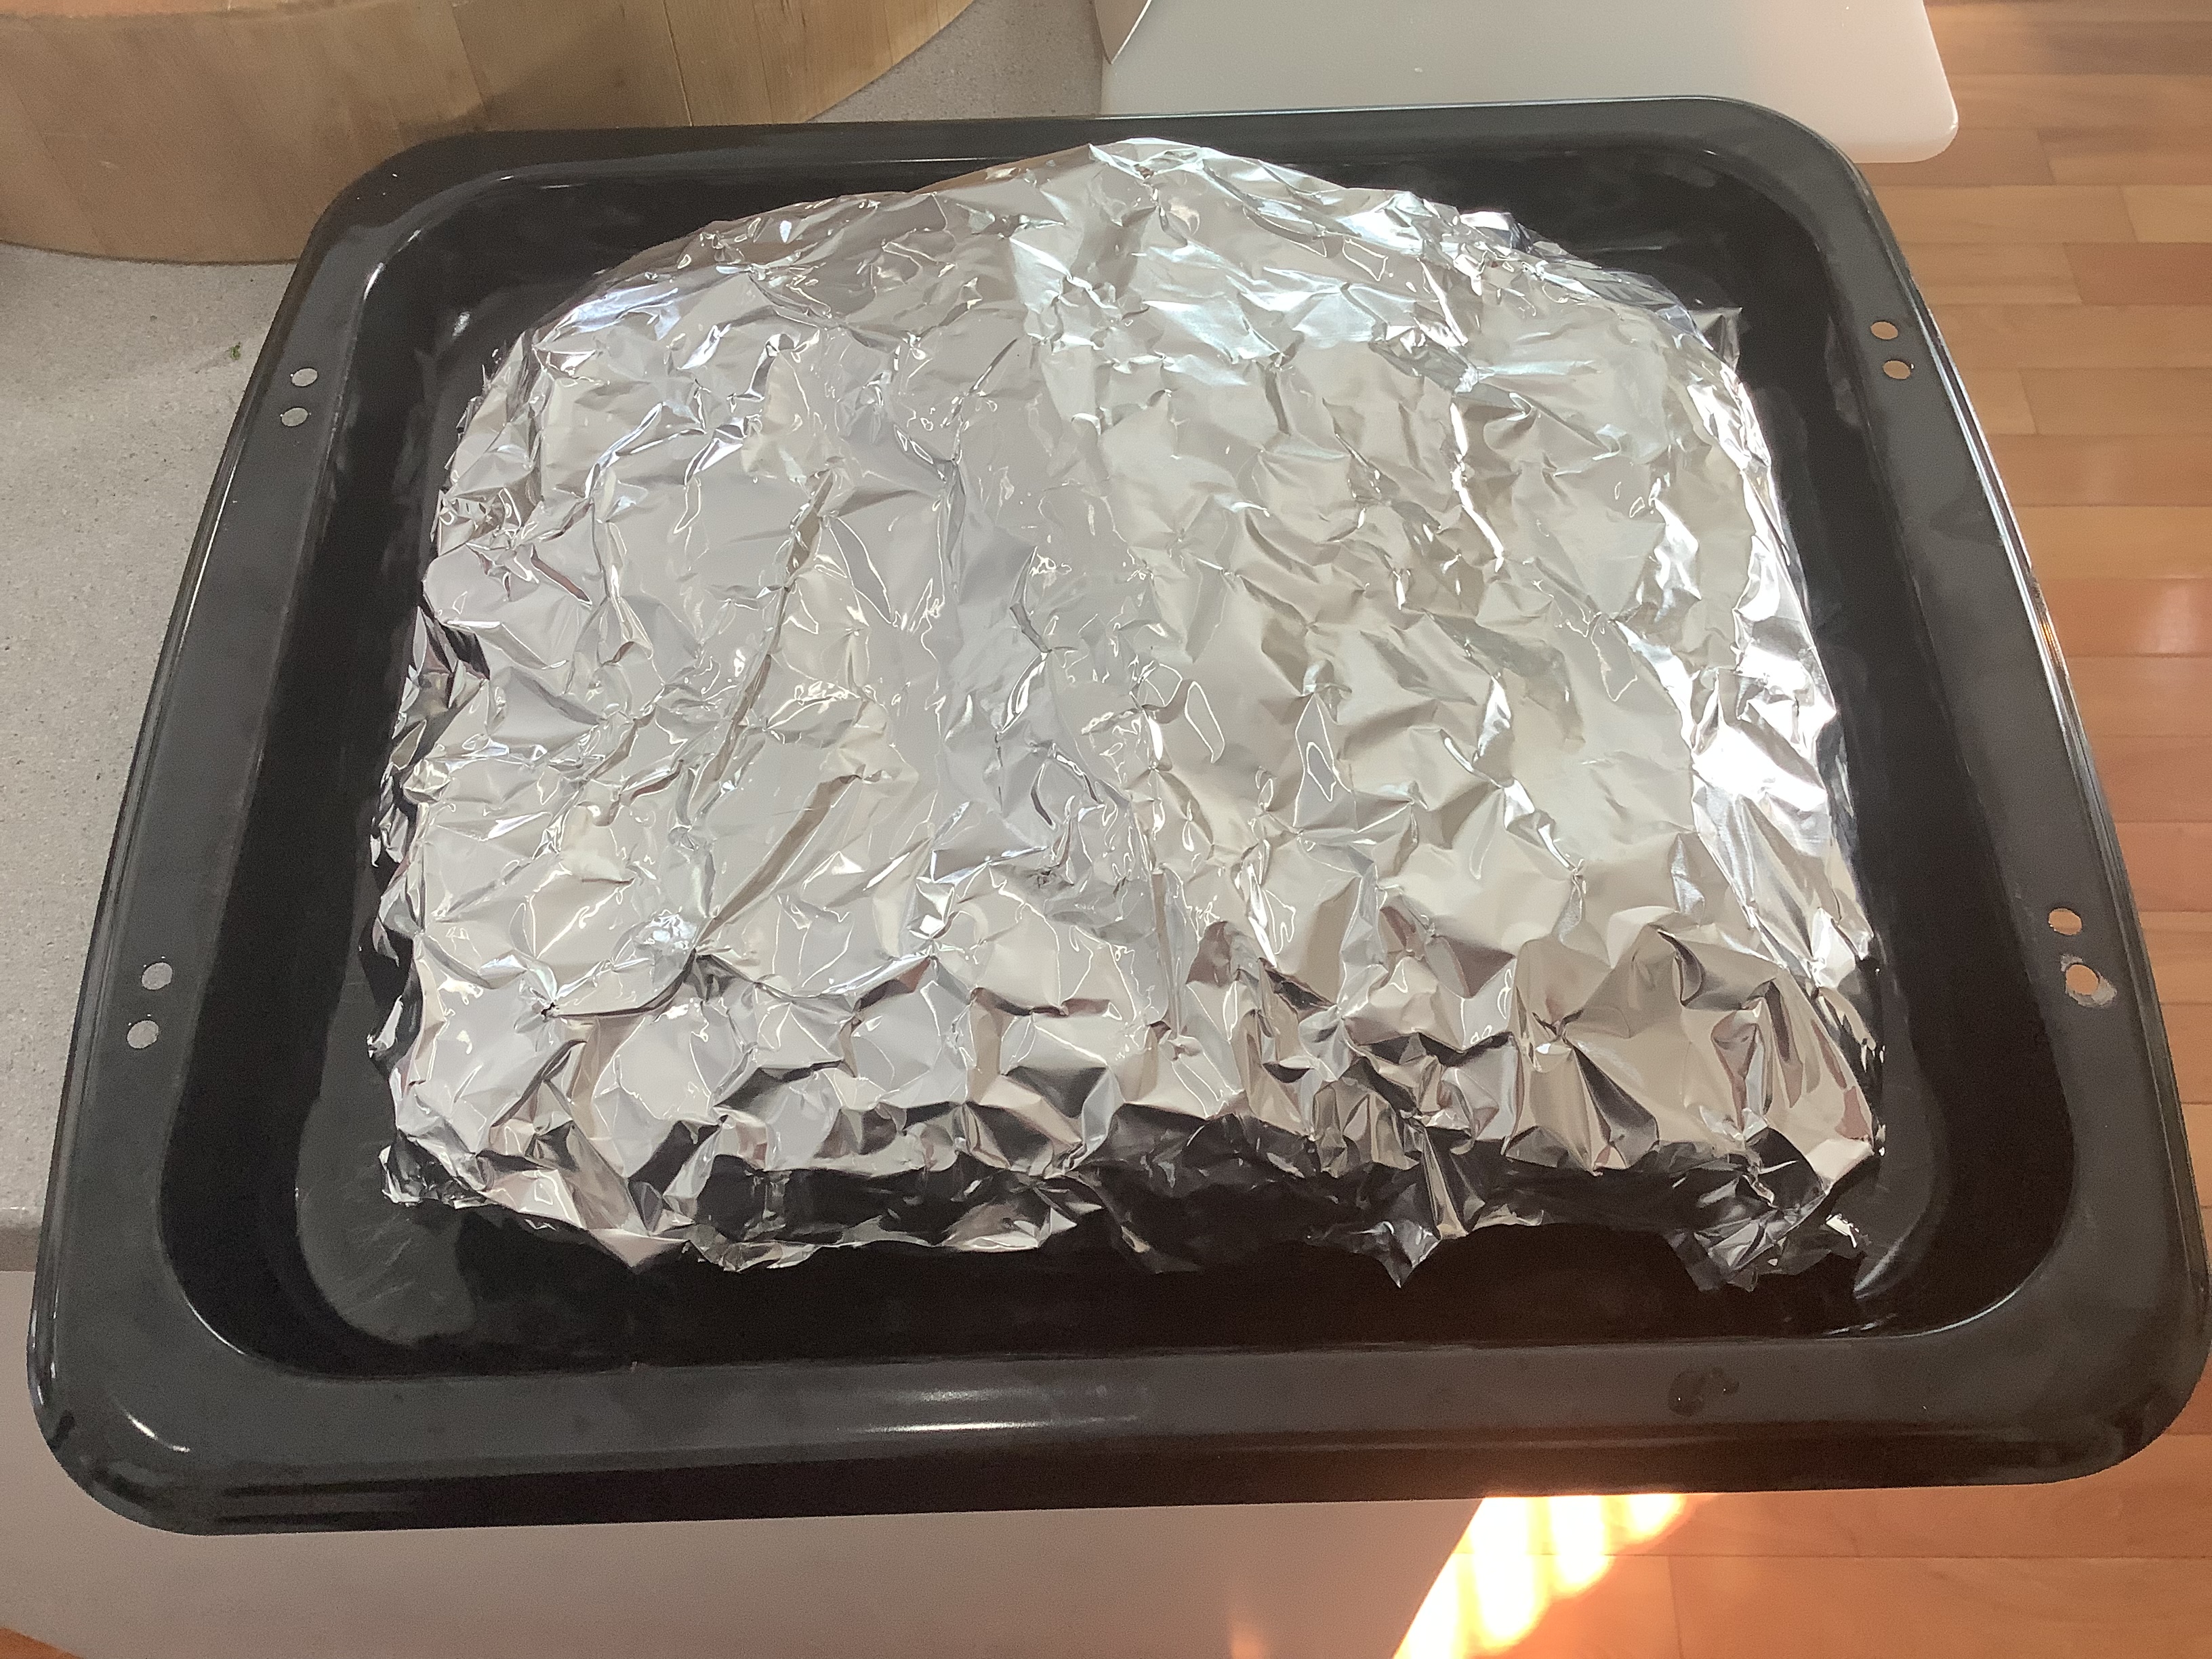
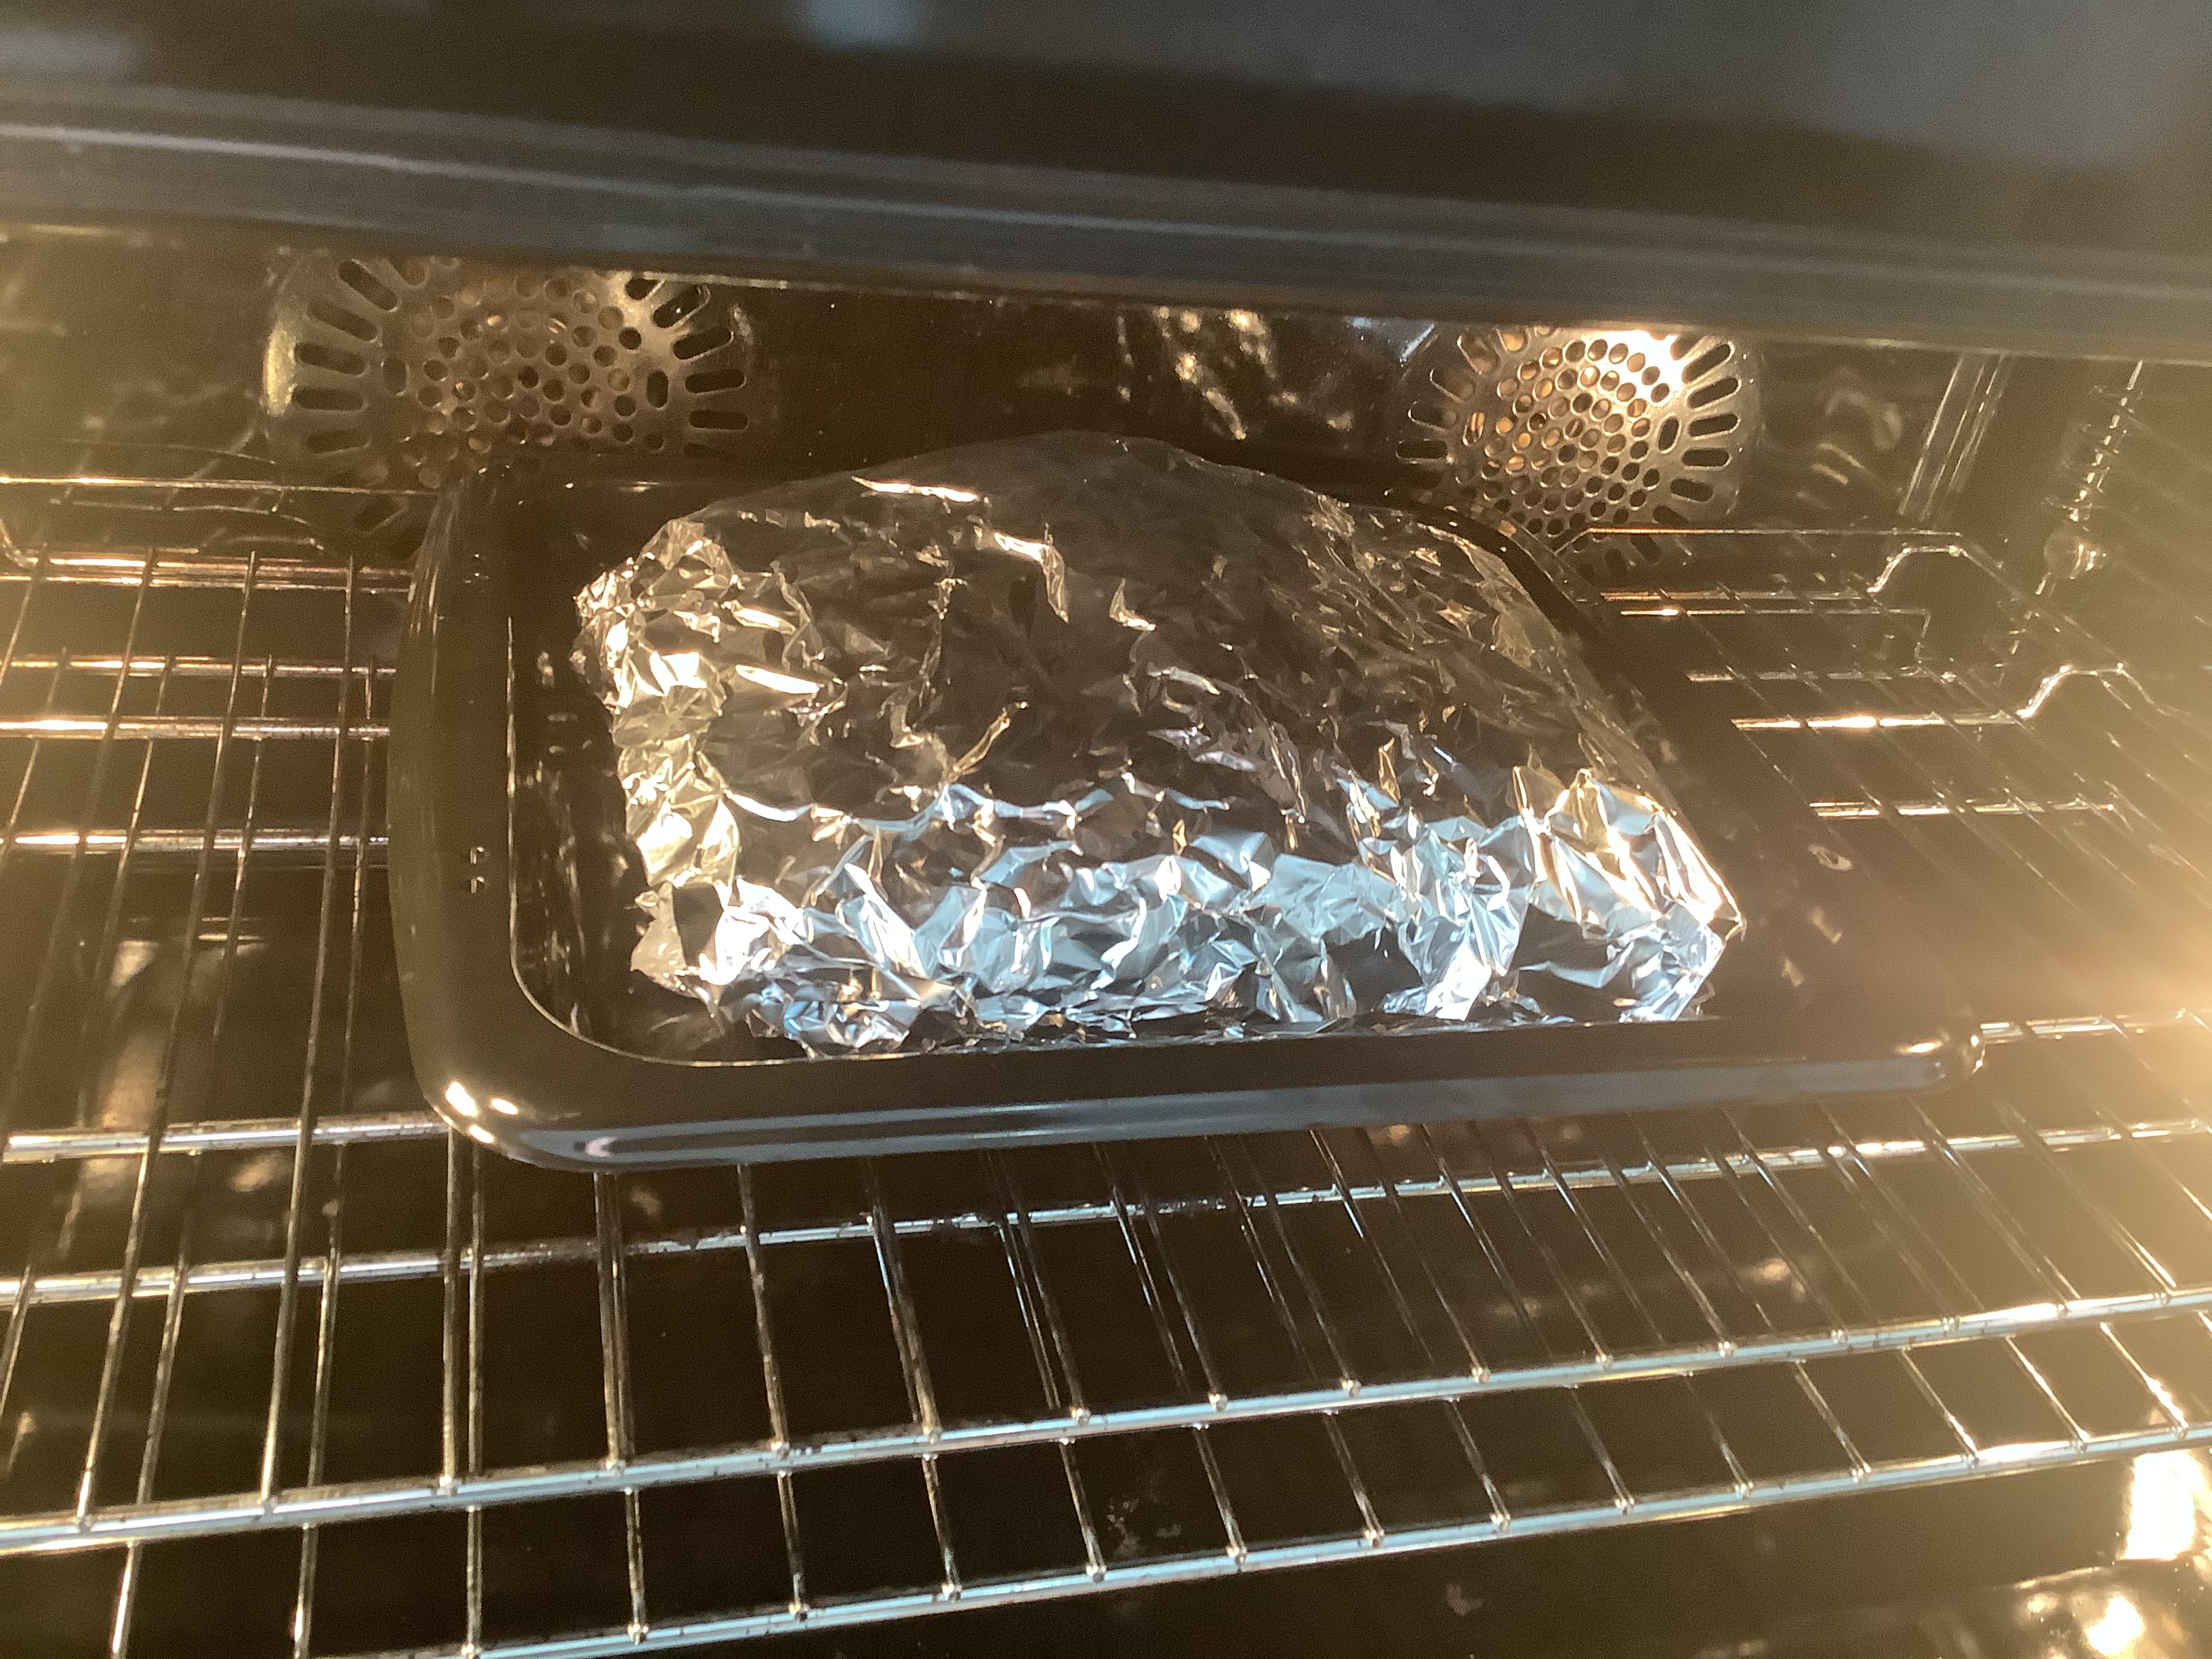
Place the beef short ribs (and any juices that may be in the bowl) into a Dutch oven or large oven-safe pot. Pour the pan with the veggie-wine-stock mix over the top. Add water if needed to cover the beef.
Cover the pot and place it in the middle of the oven. Cook for 3 hours, flipping the beef ribs once halfway through. Add water at the halfway point if it looks like the meat is exposed.
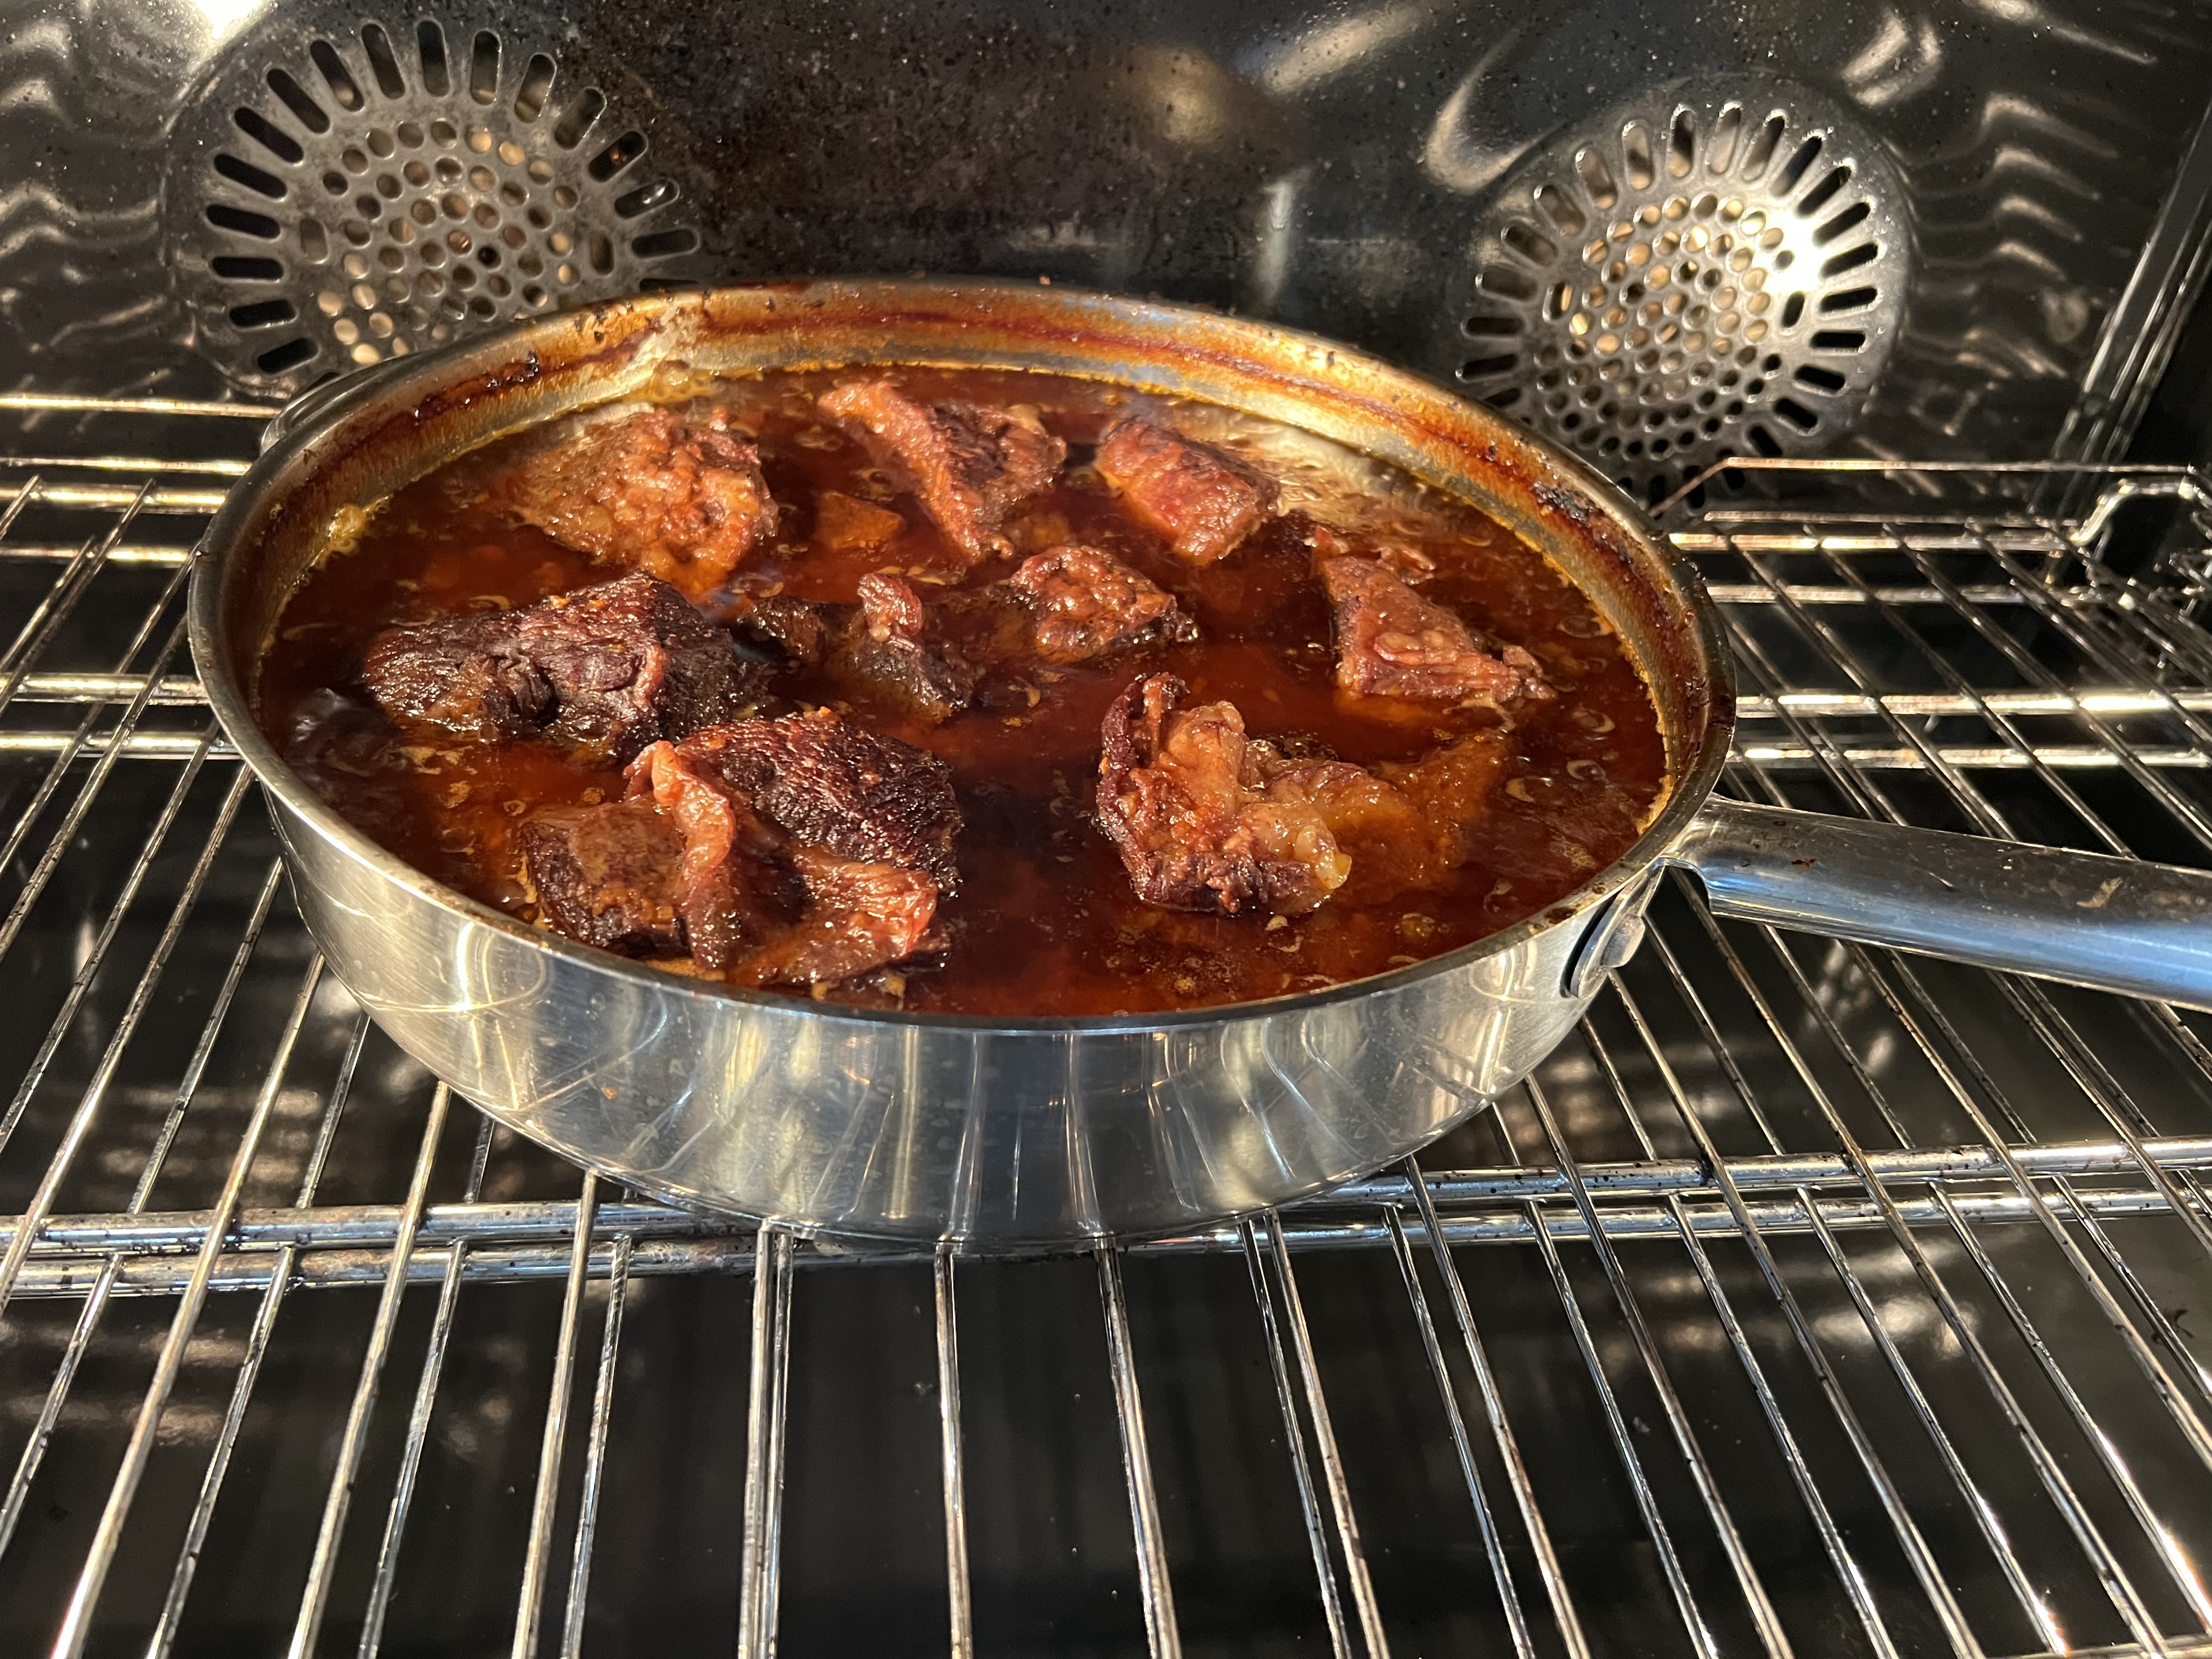
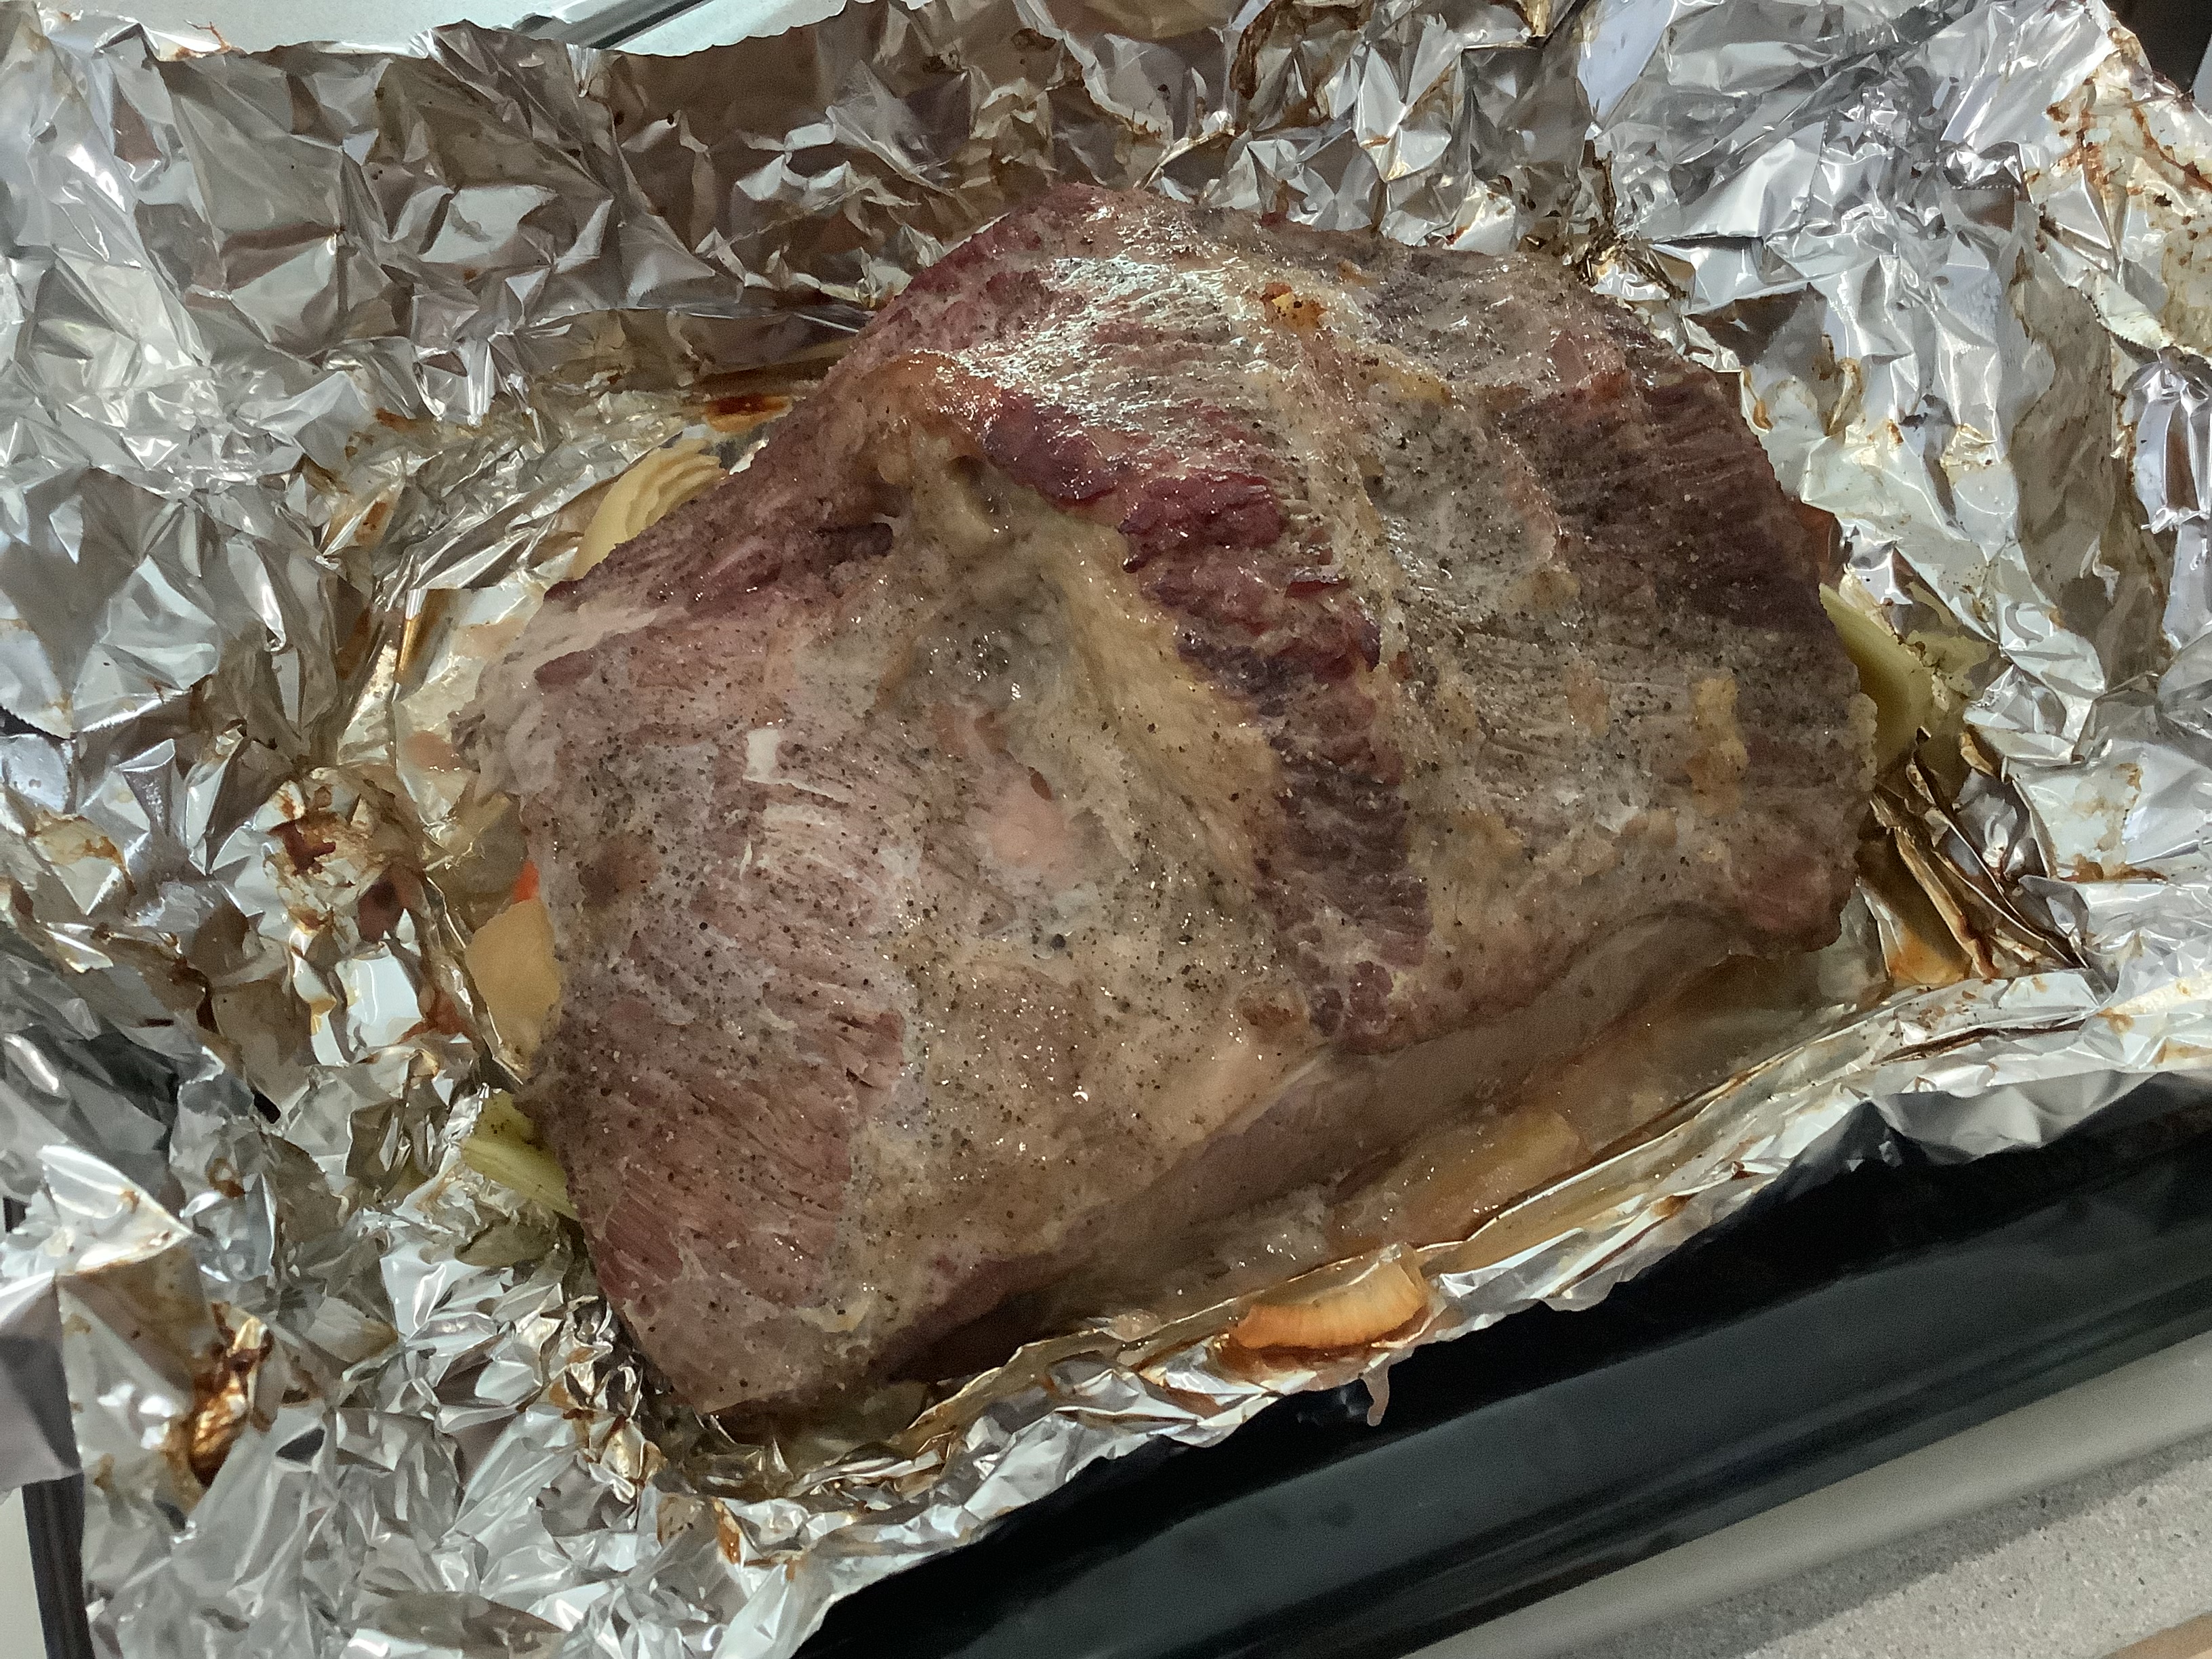
After 3 hours, remove the lid off the pot and cook for another 45 minutes to an hour. This allows the braising liquid to reduce and concentrate its flavors.
You can turn the oven off at this point and just leave the pot in it until you’re ready to serve.

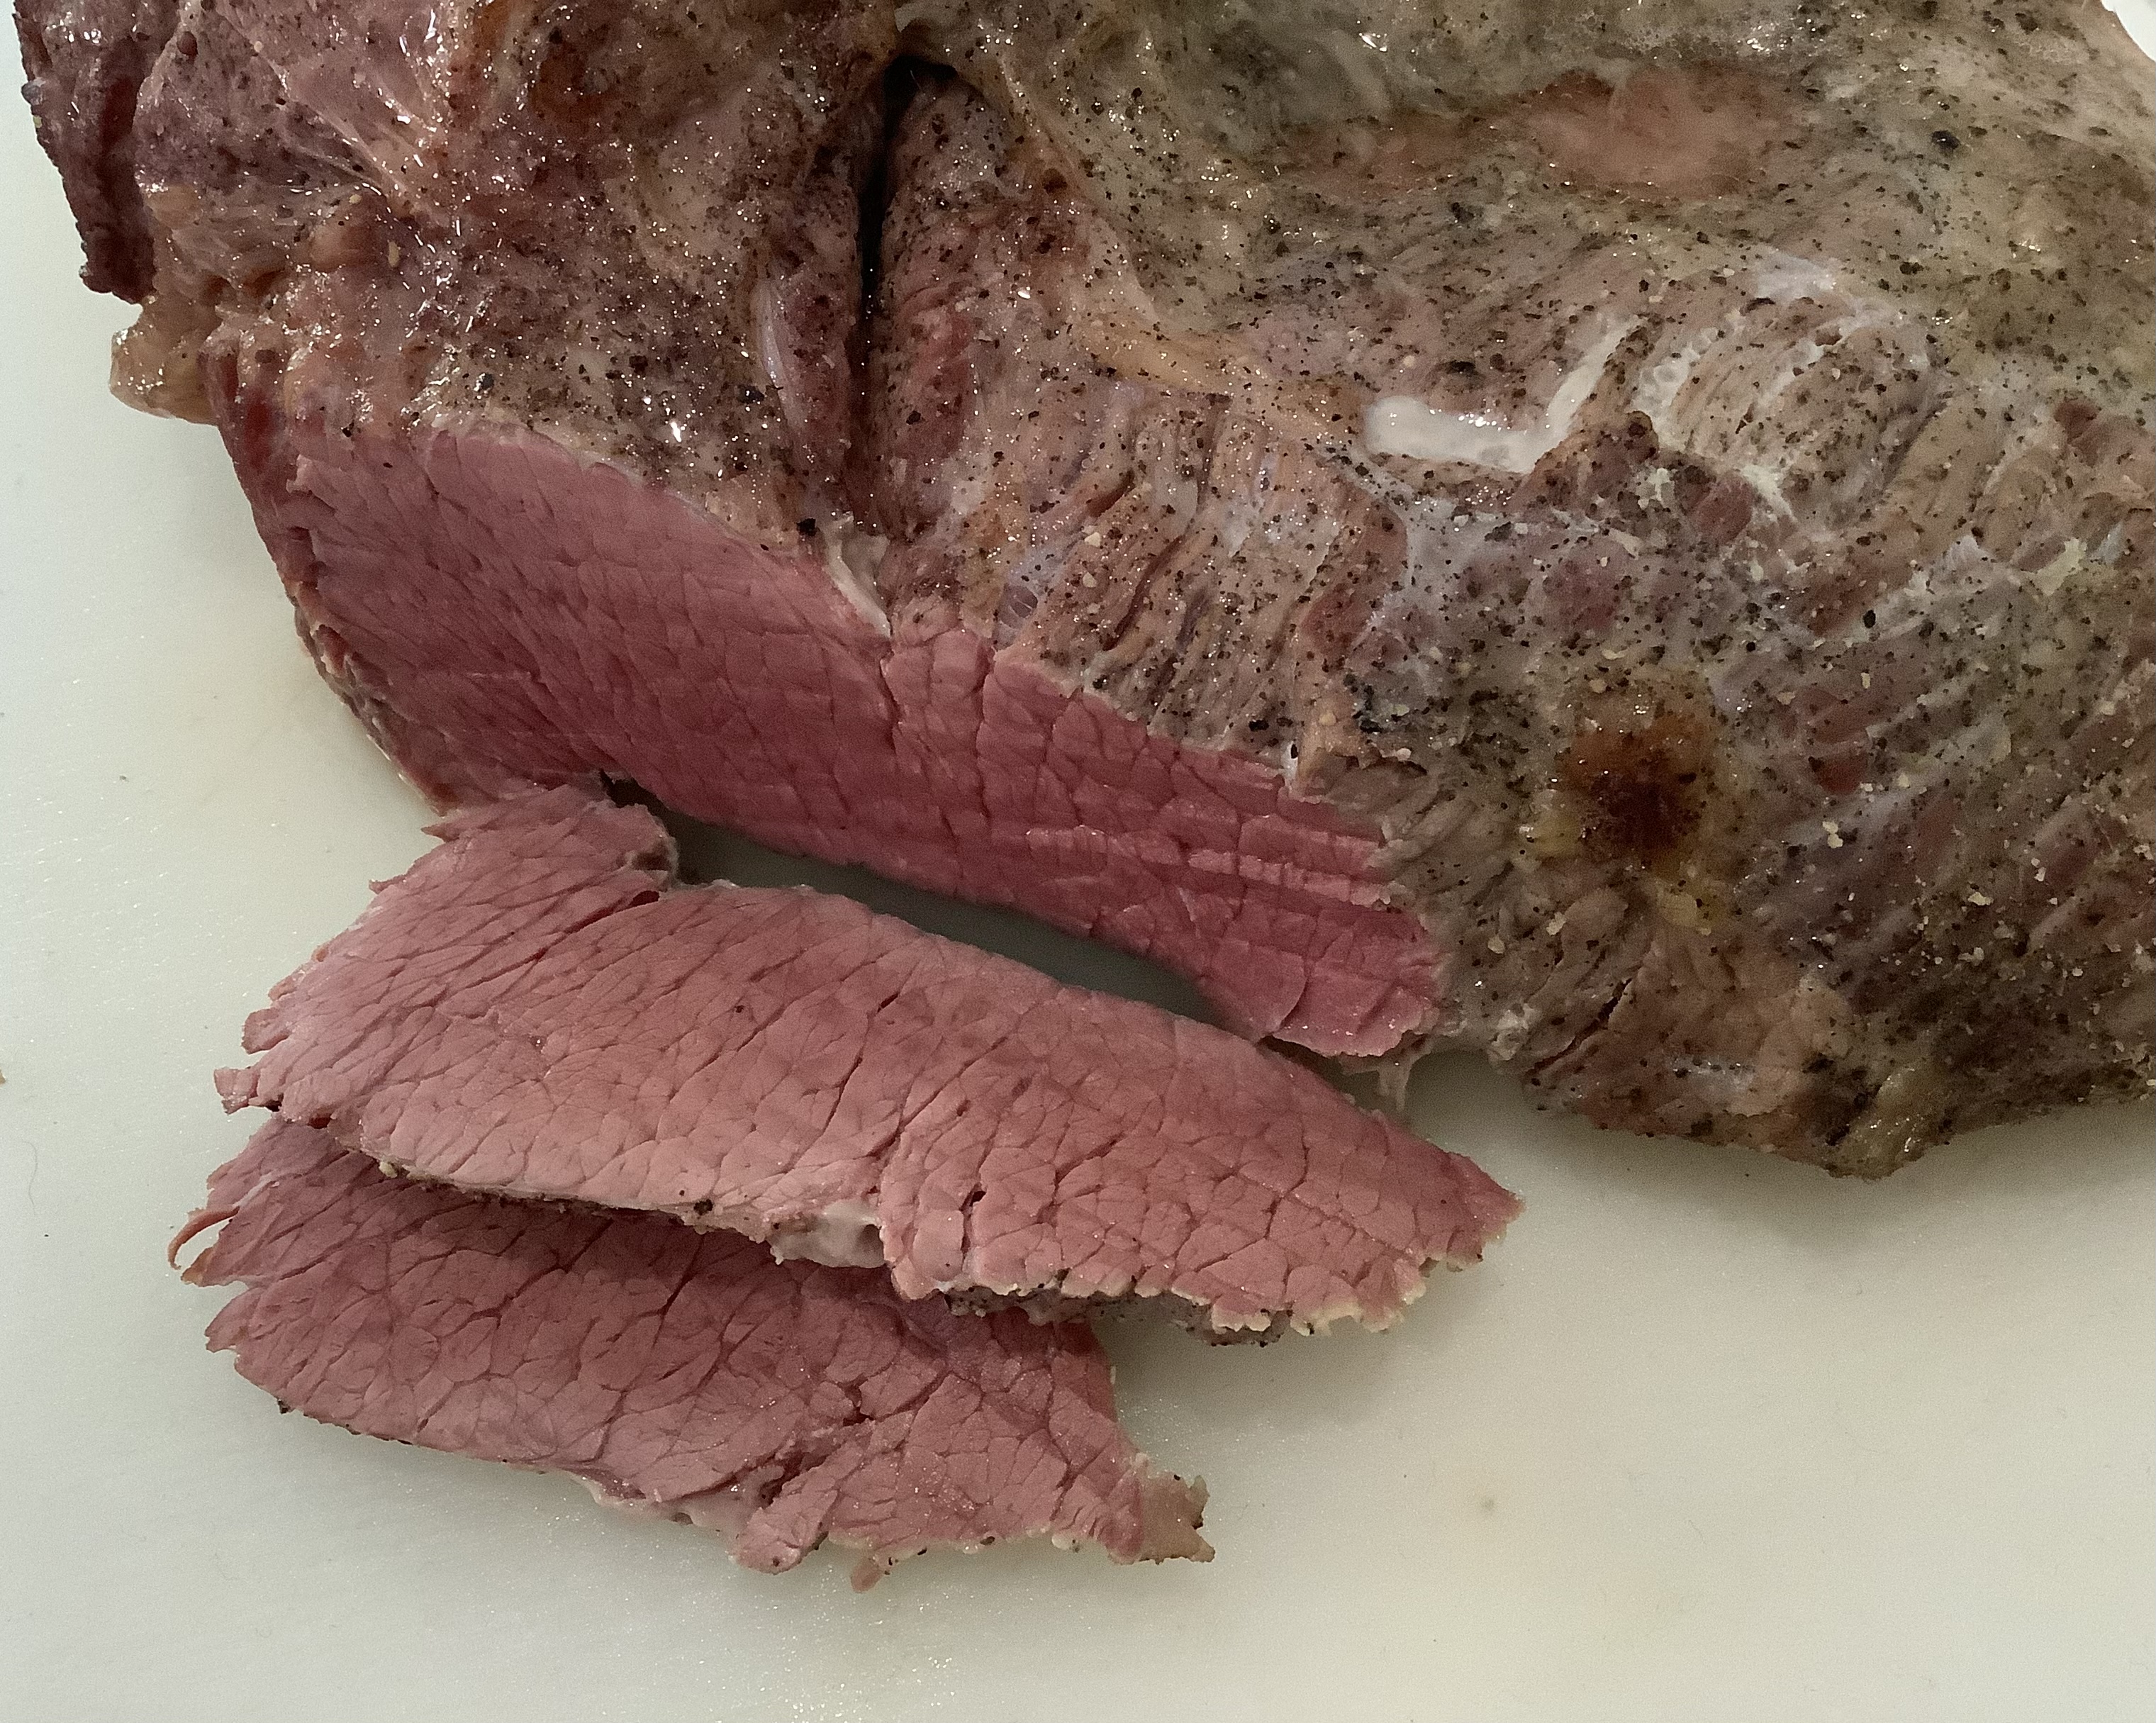
Serve with the braising liquid.
The risotto I made to go with it will be posted in another blog.