Posts Tagged ‘chicken’

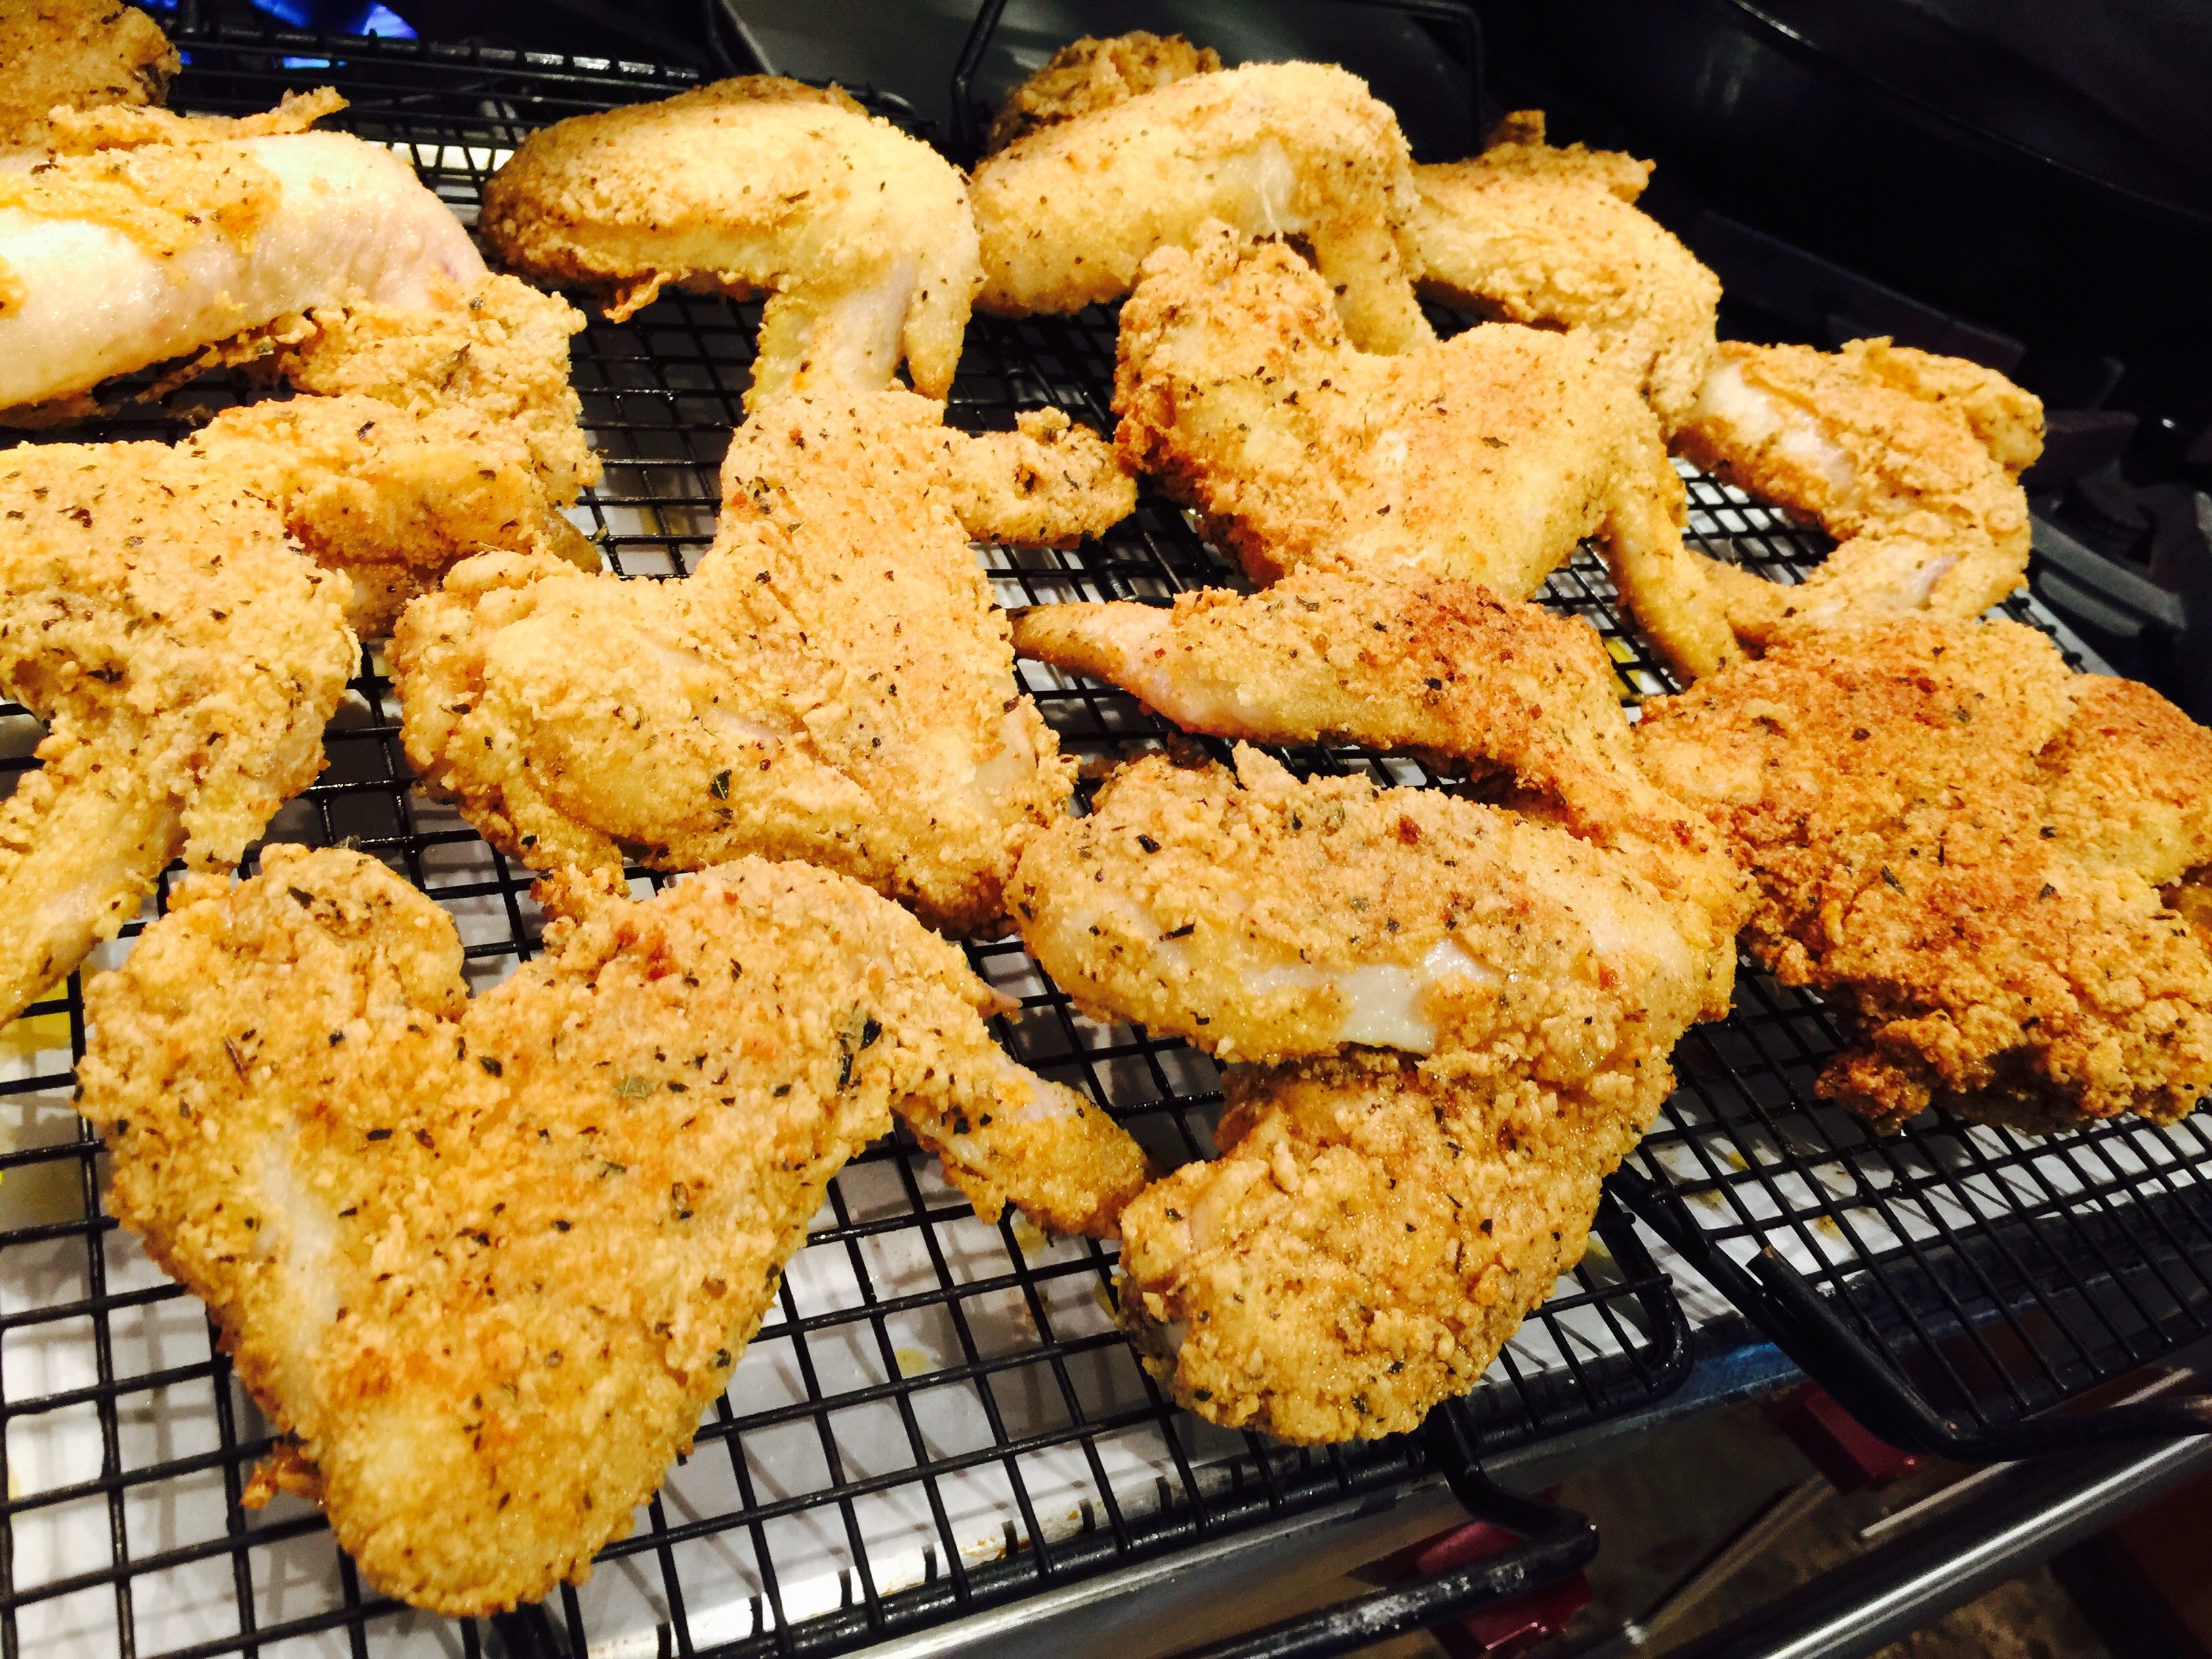
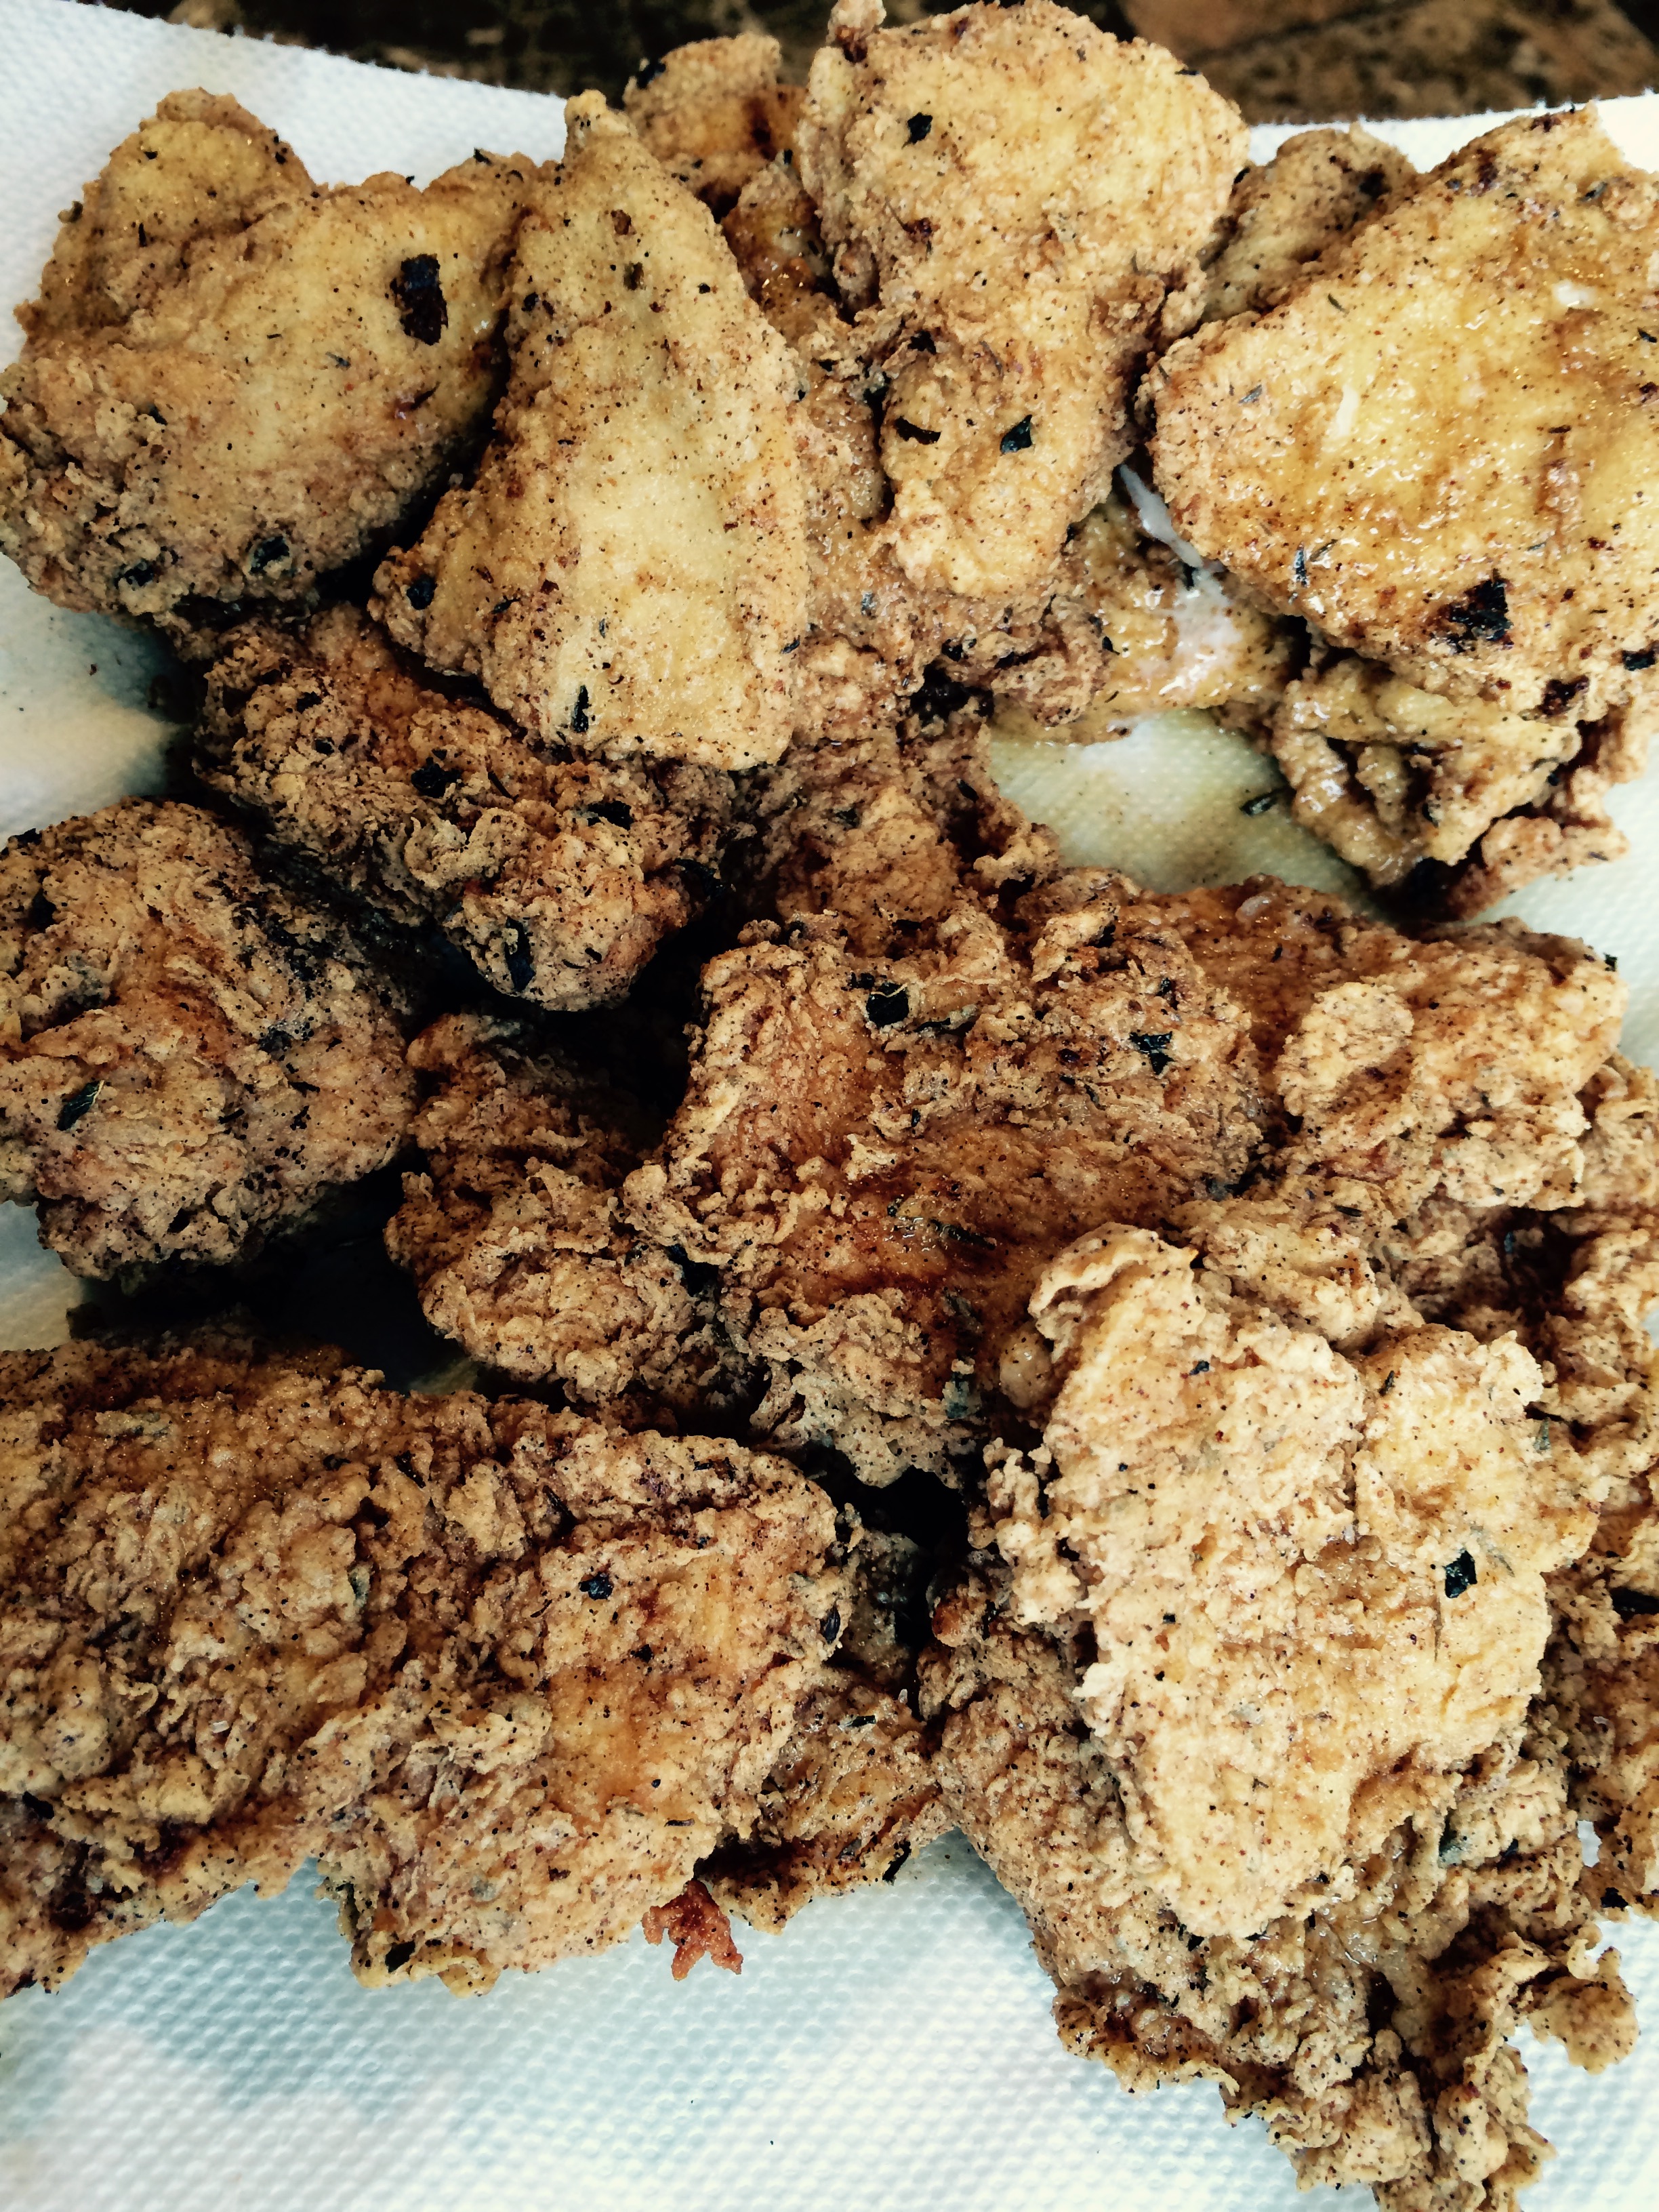
These tasty, crispy wings get fried just enough to brown, then get finished in an oven. The result is crispy, salty chicken wings that will be devoured in no time. Your only regret will be that you didn’t make enough! My gluten-free version tastes just as good as the original…you’ll never know the difference!

fullsizerender-5

3 lbs. chicken wings
1/2 cup whole milk
2 teaspoons hot sauce (I use Frank’s)
1/3 cup breadcrumbs (I toast Udi’s gluten-free bread til dry and crisp, then put it in a processor)
2/3 cup all-purpose flour (I use Cup4Cup GF flour)
1 tablespoon sea salt
1 teaspoon black pepper
1 teaspoon oregano
1 teaspoon basil
1 teaspoon granulated garlic
1 teaspoon granulated onion
1 teaspoon paprika
oil for frying (I use a combination of lard and olive oil)


Pour the milk into a bowl and add the hot sauce. Mix well, then add the chicken pieces and toss to coat well. Let the chicken sit in the milk at room temp for an hour. (I’ve found that whole milk–or even 1/2 & 1/2–works better than thinner, low-fat milk. It sticks to the chicken better.)

In a separate bowl, combine the bread crumbs, flour, salt, pepper, oregano, basil, garlic, onion and paprika.

Heat the oil in a pan until it reaches 350 degrees.

fullsizerender-6


One by one, carefully move the chicken from the milk mixture to the seasoning bowl and coat well with the seasonings, shaking off any excess. Gently place the wings in the oil and fry until both sides are golden, just a few minutes.  (You’re not cooking the chicken, just making the skin crispy.) Place the fried chicken wings on a metal screen raised above a sheet pan lined with foil or parchment.

Pre-heat the oven to 350 degrees, and when all the chicken has been fried and put on the sheet pan, place the pan in the oven and finish cooking, about 30 minutes.


There’s no problem with your bird, she said to me
Just go low and slow to cook it perfectly
A few choice seasonings end up deliciously
There must be 50 ways to roast your chicken…
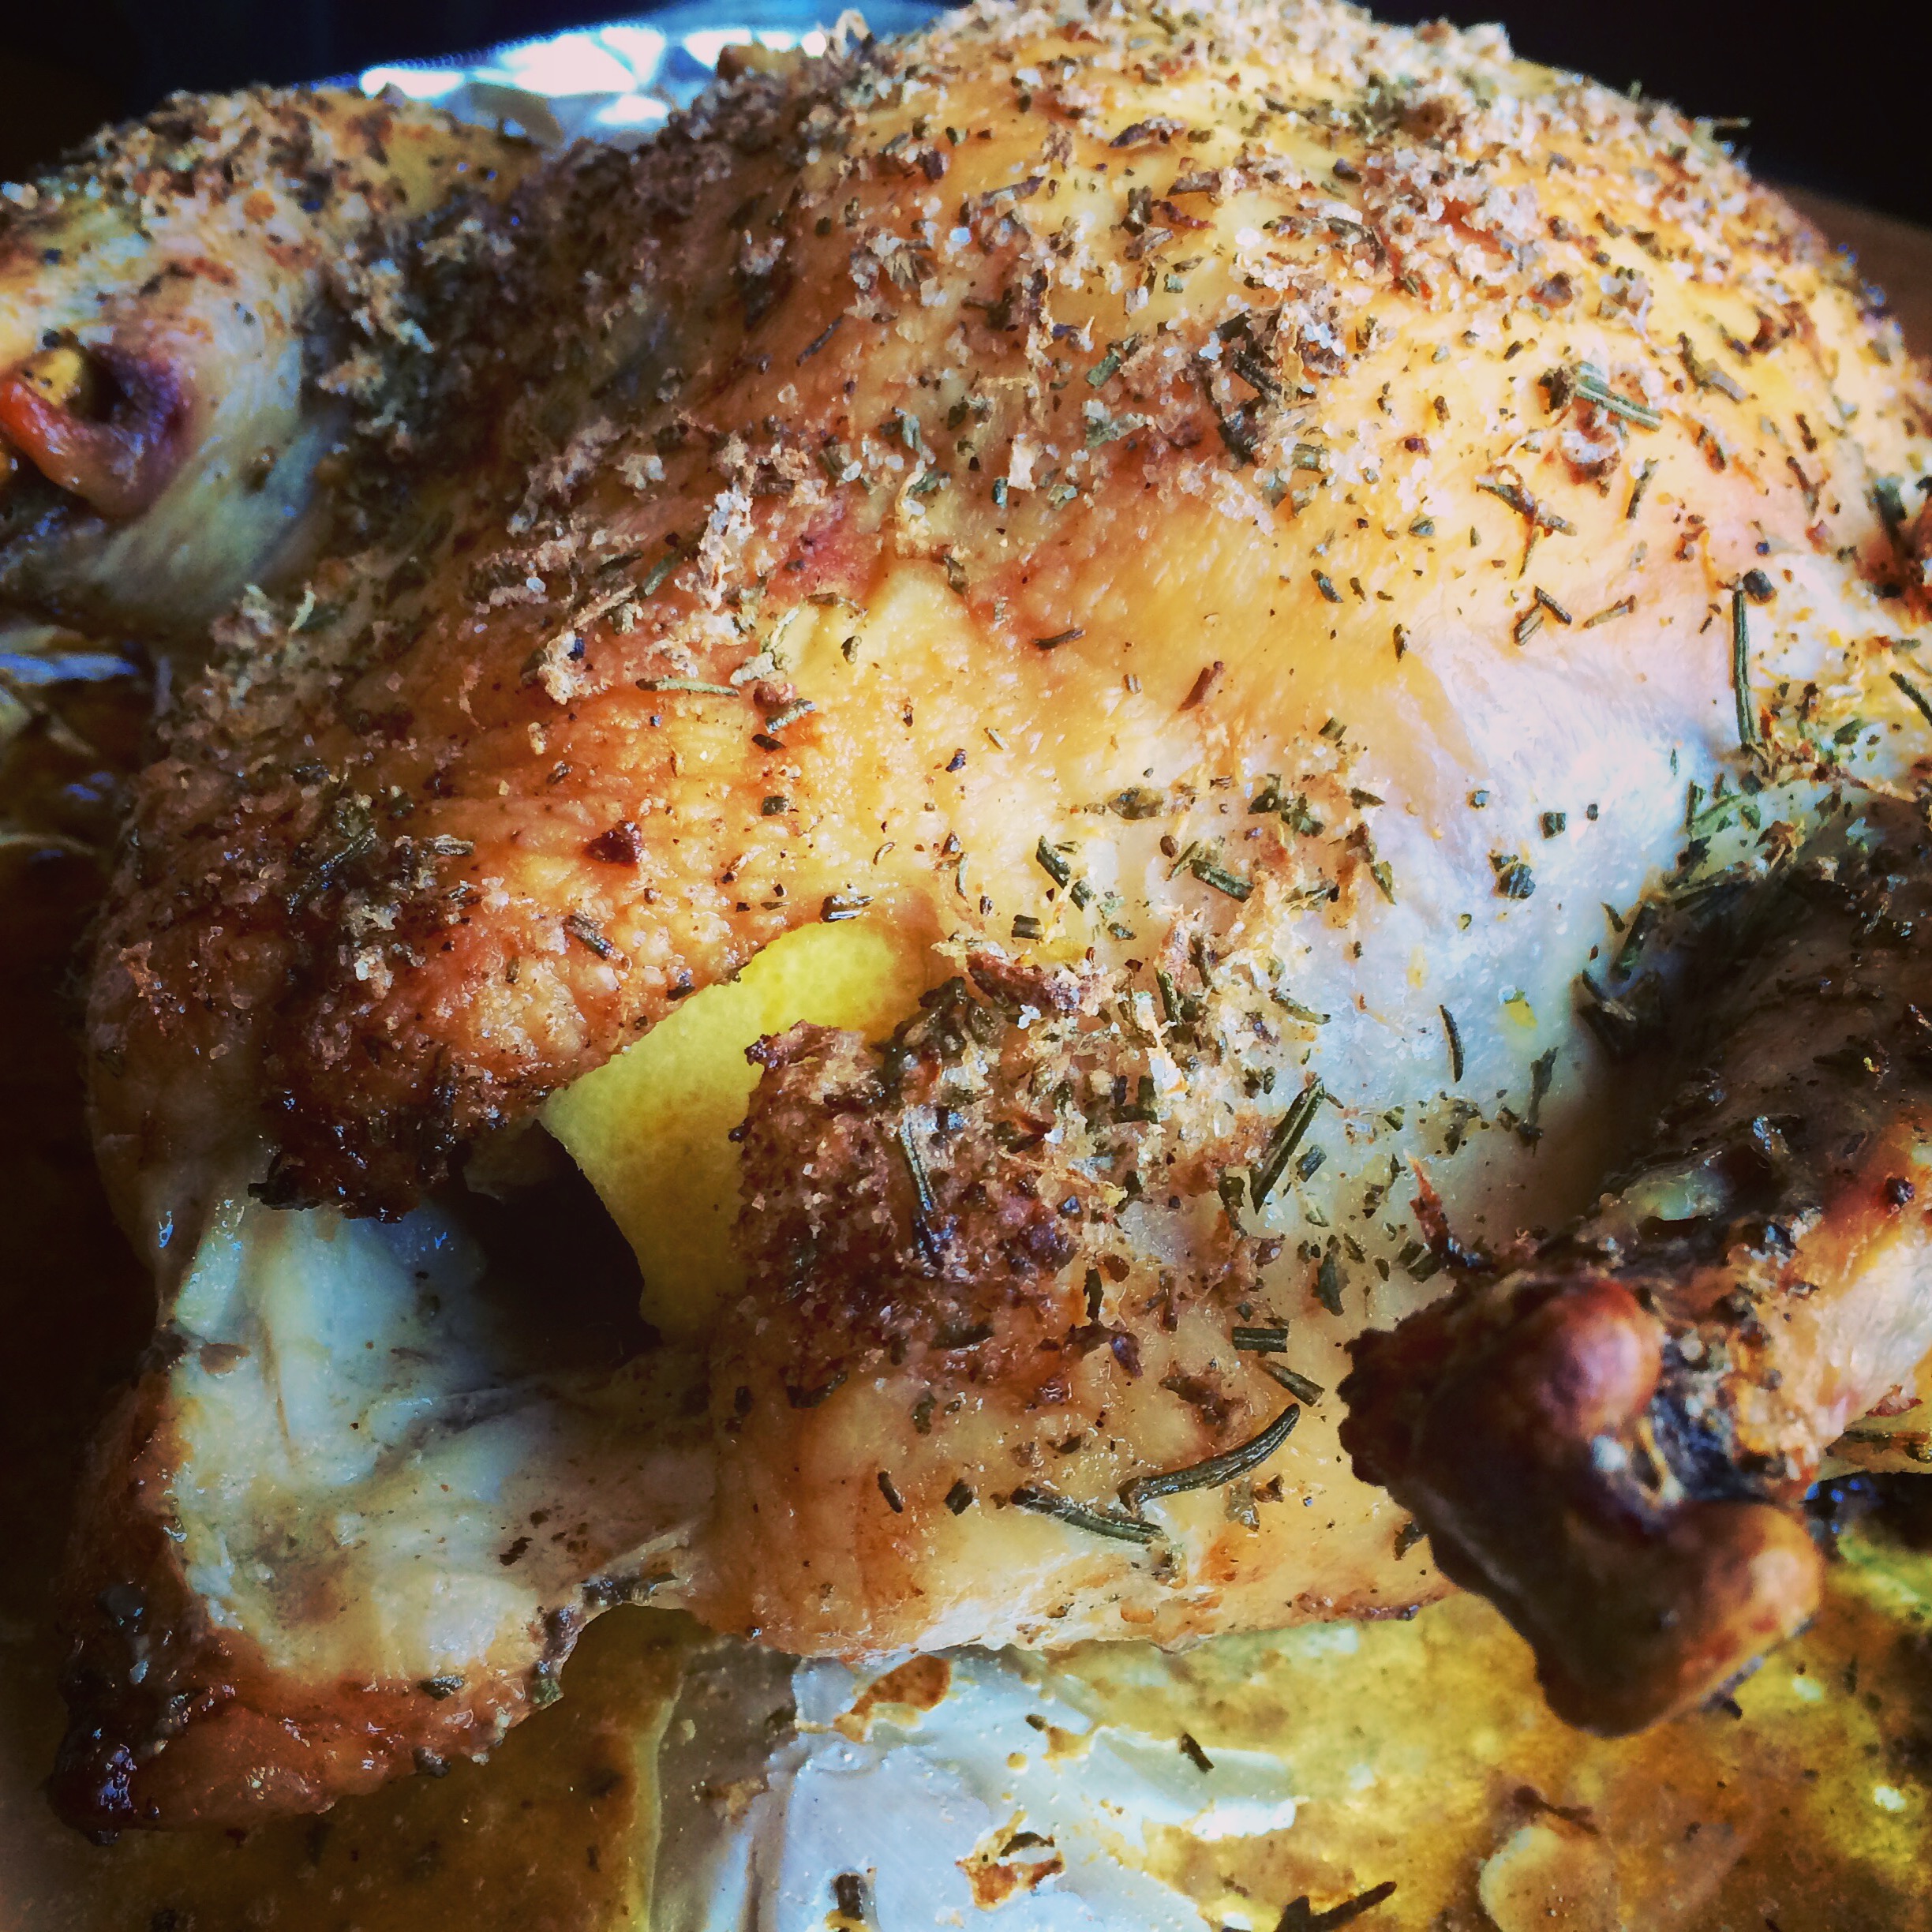
There’s nothing better than a whole roasted chicken. Simply season it, pop it in the oven and go low and slow. No maintenance, and you’ve got a great bird in a couple of hours. 
Once you go with humanely raised pastured chicken, you’ll never go back to supermarket chicken again. The flavor is fantastic, and you’ll devour it right down to the bones, which you can use to make the best home-made chicken stock or soup you’ve ever had. Nothing goes to waste.
I roast at least one chicken every week, so to change it up, I’ve come up with many different rubs and sauces over the years. All of the rubs are sugar and gluten-free preparations. The sauces may have one or both.
Chicken with Rosemary and Lemon
 IMG_9146
The lemon serves double-duty in this dish. You use the zest to season the outside skin, then you place the remaining cut up pieces inside the carcass to flavor from the inside out.
1 tablespoon finely chopped fresh rosemary
1 teaspoon granulated garlic
2 teaspoons salt
zest from 2 lemons, using a micro plane zester, the leftover lemons quartered
1/2 teaspoon black pepper
In a bowl, combine the rosemary, garlic, salt, lemon zest, and pepper. 
Thaw a bird, remove the giblets, and rub it all over with olive oil. Shove the quartered lemon pieces into the carcass of the bird. Season the bird inside and out with the rosemary seasoning mix.
Place the bird on a pan lined with non-stick aluminum foil in a pre-heated 450-degree oven. Cook for 10 minutes at this temperature, then reduce to 275 degrees and cook low and slow until done.
Tarragon Chicken
I love the taste of chicken seasoned with tarragon. Careful with this, or you will accidentally devour your fingers!
1 tablespoon dried tarragon, crumbled into a powder
1 teaspoon garlic salt
1 teaspoon salt
1/2 teaspoon black pepper
olive oil
In a bowl, combine the tarragon, garlic salt, salt and pepper.
Thaw a bird, remove the giblets, and rub it all over with olive oil. Season the bird inside and out with the seasoning mix.
Place the bird on a pan lined with non-stick aluminum foil in a pre-heated 450-degree oven. Cook for 10 minutes at this temperature, then reduce to 275 degrees and cook low and slow until done.
Italian Chicken
FullSizeRender
The darker color of the bird comes from rubbing it first with balsamic vinegar, then olive oil, before coating it with Italian seasonings. Don’t use the fancy, expensive balsamic. The bottles that go for about 9 bucks in the supermarket work well for this recipe.
Balsamic vinegar
Olive oil
1 tablespoon salt
1 tablespoon parsley
1 teaspoon oregano
1 teaspoon pepper
1 teaspoon granulated onion
1/2 teaspoon granulated garlic
Thaw a bird, remove the giblets, and rub it all over with the balsamic vinegar. Then rub it all over with the olive oil. Season the bird inside and out with the seasoning mix.
Place the bird on a pan lined with non-stick aluminum foil in a pre-heated 450-degree oven. Cook for 10 minutes at this temperature, then reduce to 275 degrees and cook low and slow until done.
My Grandma’s Chicken
My grandmother would cook chicken thighs low and slow all Saturday morning, knowing that I was coming over for lunch after Lithuanian school. The meat just fell off the bone, and I couldn’t stop eating it. This recipe is so simple and works just as well for a whole bird. Every time I make this, I think about those days at my grandmother’s house.
Lawry’s Seasoned salt
Olive oil
Thaw a bird, remove the giblets, and rub it all over with olive oil. Season the bird inside and out with the Lawry’s Seasoned salt.
Place the bird on a pan lined with non-stick aluminum foil in a pre-heated 450-degree oven. Cook for 10 minutes at this temperature, then reduce to 275 degrees and cook until done.
If you’re using chicken thighs, like my grandmother did, make sure they have the skin on and the bone in.

I love avocado, but I never thought of cooking with it until I saw this recipe. It was a very simple burger that had only a handful of ingredients, and so I thought: “Oh, I don’t need to write this down!” After I made the burger patties and put them in the fridge to chill, I took a look at the recipe on line and realized I forgot one of the ingredients! The original recipe called for a 1/2 cup of Panko breadcrumbs mixed in. My burger tastes fantastic without it…plus now it’s low-carb and gluten-free (as long as you skip the bun!).

chicken2

1 lb. ground chicken
1 ripe avocado, sliced into small cubes
1/2 teaspoon salt
1/4 teaspoon black pepper
pinch granulated garlic

chicken1

Combine the ingredients in a bowl and mix thoroughly but carefully so that you don’t squash the cubes of avocado. Form the meat into burger patties. It will be a bit sticky, but just make sure you get the avocado evenly distributed. Chill the patties in the freezer for about 10 minutes before cooking to firm them up.

Pre-heat the oven to 350 degrees.

Heat a little oil in an oven-proof pan, and place burgers in it when hot. Let the burgers sear on one side, then flip them. Place the pan in the oven to finish cooking.

Serve with a slice of bacon and my Awesomesauce:

1/2 cup mayonnaise
1 tablespoon ketchup
1 tablespoon yellow mustard
1 tablespoon dill pickle relish
1/4 teaspoon garlic powder
1/4 teaspoon paprika
Pinch cayenne pepper

Combine all the ingredients in a bowl. Mix well. Refrigerate covered for a few hours to blend the flavors.


Bulgogi is the name given to the most common form of Korean barbecue. Unlike the daeji bulgogi that I cooked in my earlier blog, this one is not based on a chili sauce that can take the roof of your mouth right off.

I used chicken, though this would work with pork as well, and for the best flavor, it’s best to marinate the meat in the fridge overnight.

FullSizeRender (12)

2/3 cup soy sauce
1/2 cup chopped scallions
6 tablespoons sugar (I use organic cane sugar)
5 tablespoons fresh garlic, grated or through a garlic press
5 tablespoons sesame oil
1 tablespoon sesame seeds
1 teaspoon black pepper
5 lbs. chicken pieces (skin-on thighs work best)


Combine all the ingredients except for the chicken in a bowl and mix well.

Place the chicken pieces in a large Ziploc bag and pour the marinade in. Seal the bag well and squish it around to make sure the marinade makes contact with the chicken. Place the bag in a bowl (to prevent accidental leakage) and keep it in the fridge overnight. Squish the bag around every few hours to make sure the marinade does its job.

When ready to cook the next day, pre-heat the oven to 350 and remove the bag from the fridge and let it come to room temperature. Place the chicken on a sheet pan (discard the remaining marinade) and bake for an hour.

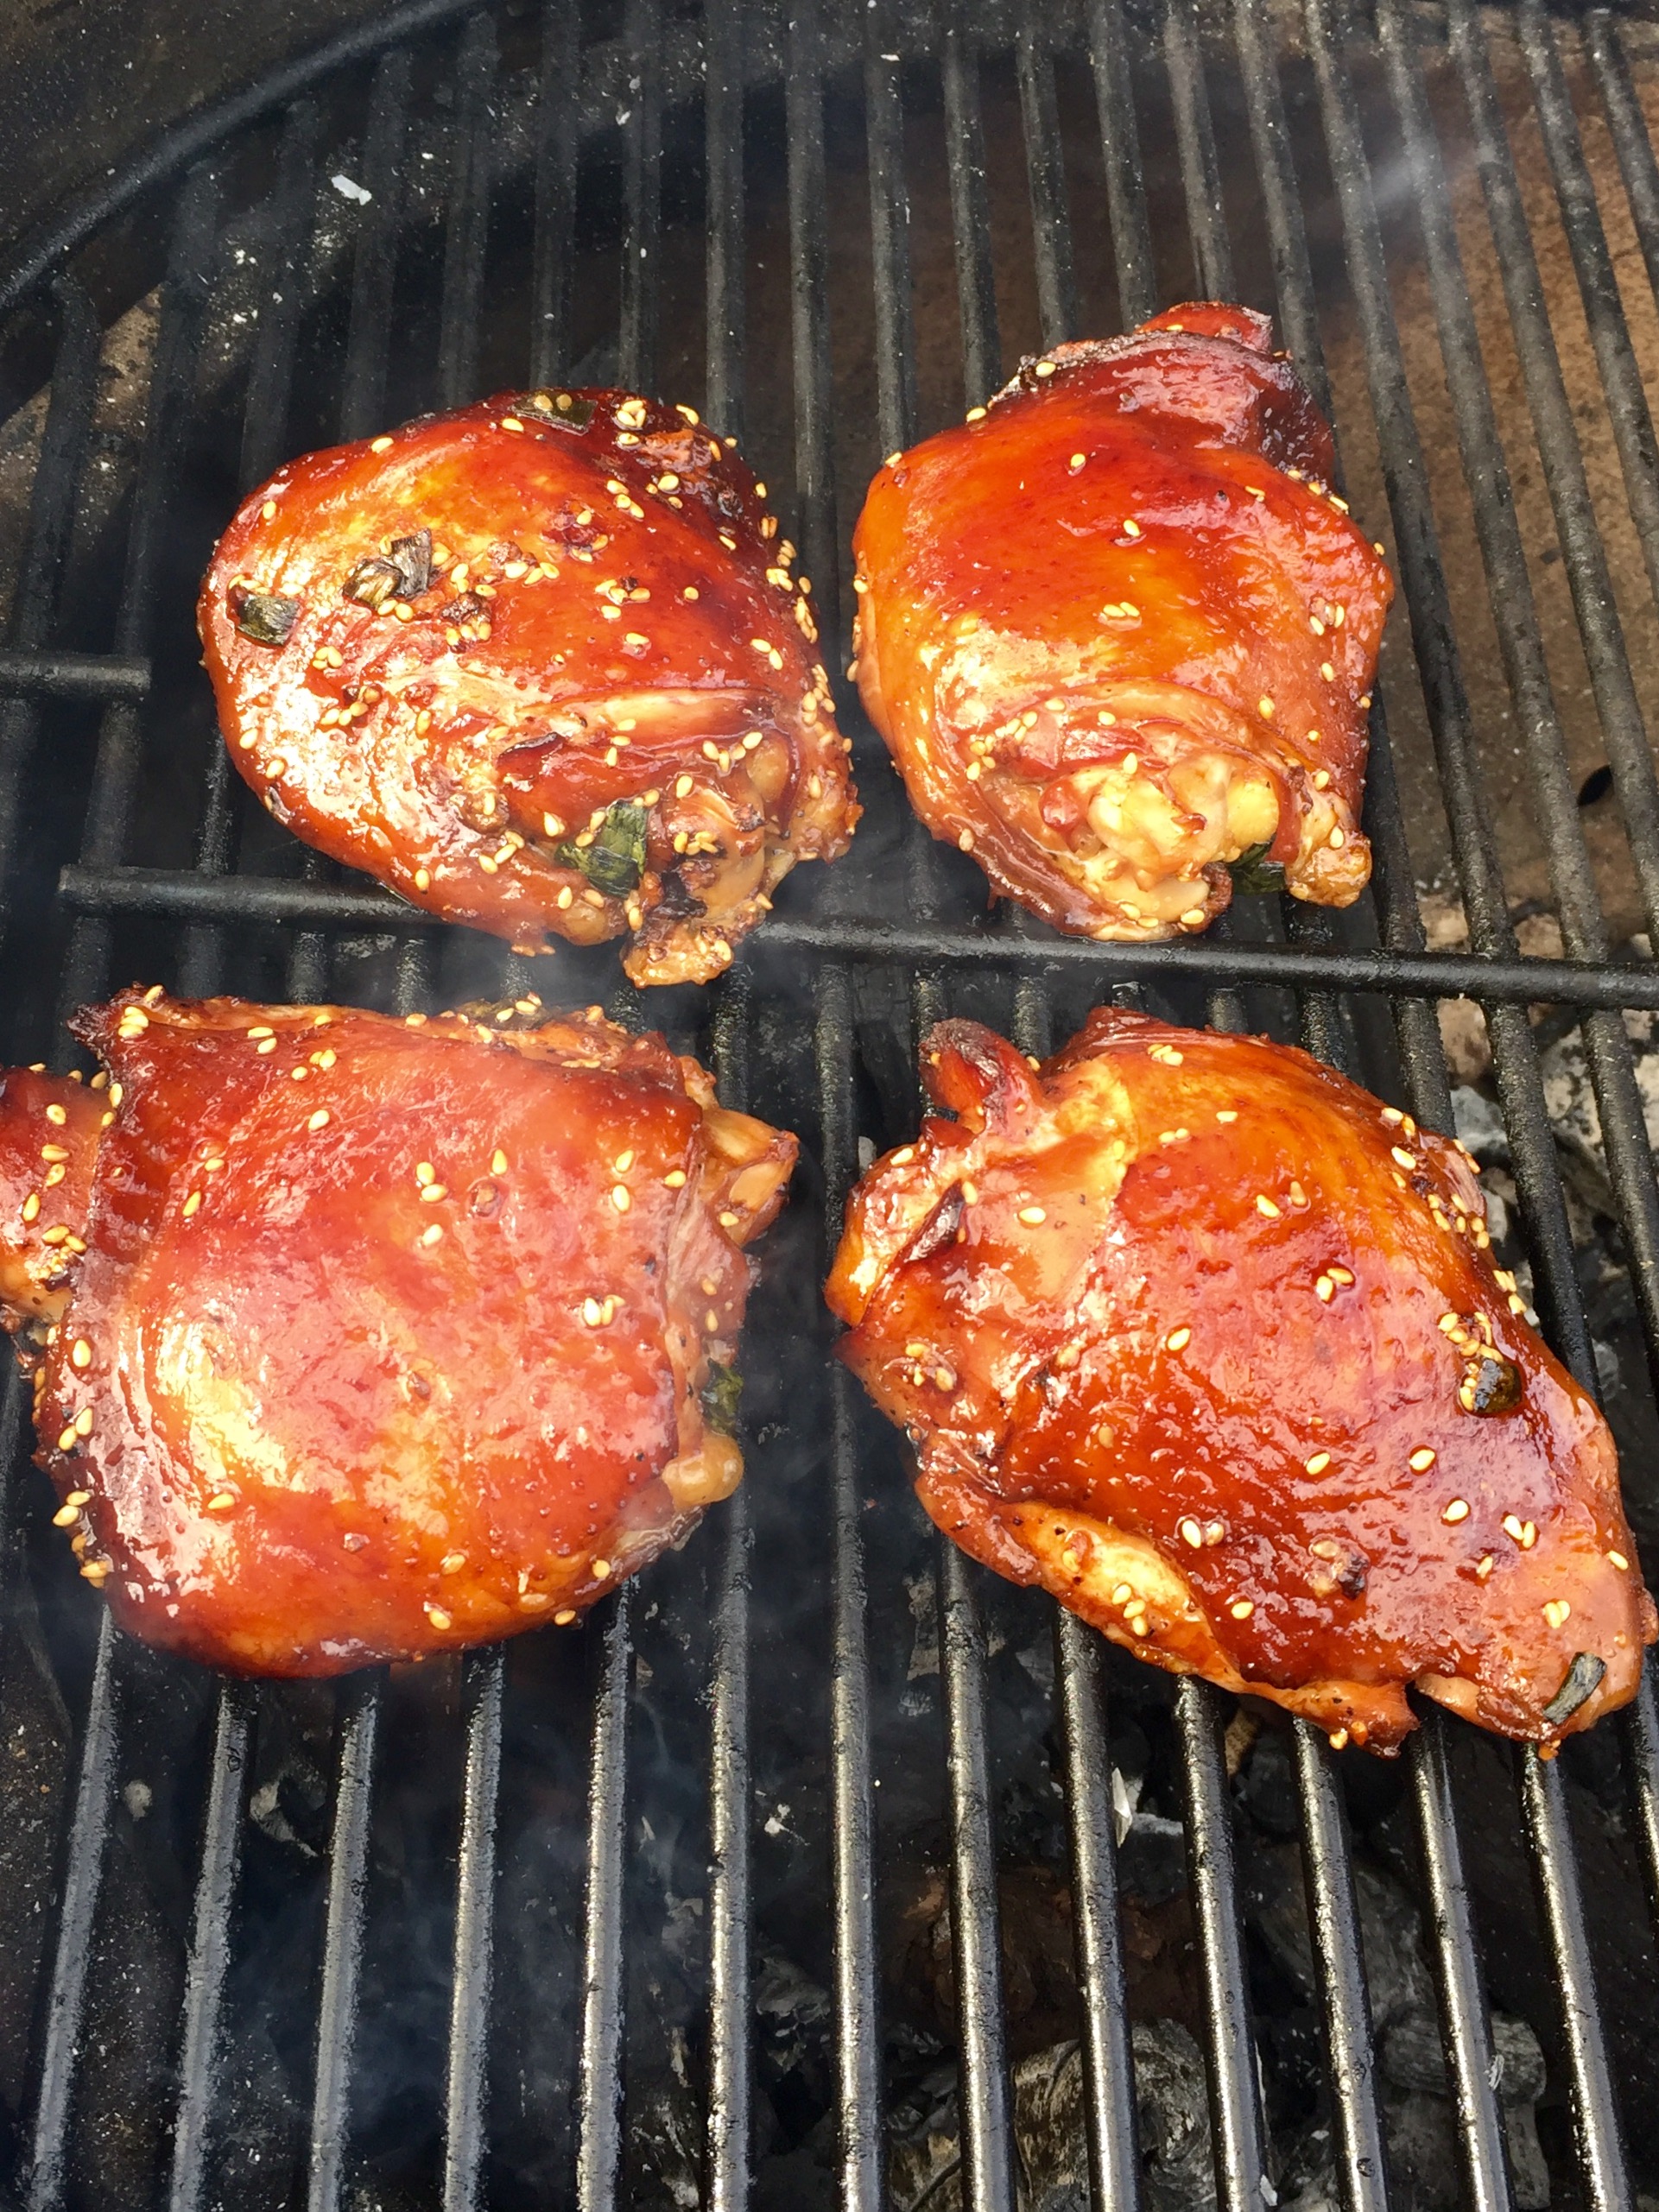
Light a hot grill and push the coals to one side of the grill. Place the chicken pieces on the cool side of the grill and close the lid, opening the vents. Every few minutes, turn the chicken pieces over so they get nice grill marks but don’t burn.FullSizeRender (11)

I’ve always been fascinated by Korean barbecue. Every time I see it on TV or catch a recipe on an e-mail blast, my mouth waters and I say to myself that I’ve got to experience it some day. But the painful reality is: Korean barbecue can be really spicy…and I’m a total wuss.

Korean barbecue 101: Gogigui means “meat roast” in Korean, and it refers to the method of roasting beef, pork, chicken, and other meats. Meats can be marinated or not. Bulgogi is the name of the most common Korean barbecue. Meat is marinated with soy sauce, sugar, sesame oil, garlic and pepper, and then grilled. Galbi uses beef short ribs, and adds onions to the marinade. And the hot stuff is daeji bulgogi, because the marinade isn’t soy sauce-based, but based on the hot-n-spicy Korean chili paste known as gochujang.

All of the marinades looked delicious, but the hot one with gochujang would be my biggest challenge, so I decided to start there. I found a great recipe, and quickly realized that I would have to turn the heat way down if I was actually going to try to eat it! For example, the original recipe called for 2 tablespoons of white pepper. I totally left it out. And it called for a full cup of gochujang. Not only did I cut that part in half, I doubled many of the other non-spicy ingredients.

So is it authentic Korean barbecue? Probably not. But it’s my version of it. It’s got lots a flavor and still carries a bit of heat.

For gluten-free diets: finding GF hoisin and soy sauce is easy. Look for the La Choy brand. But I haven’t been able to find gochujang that has a GF label.


image


3/4 cup ketchup
1/2 cup gochujang
1/2 cup hoisin sauce (I use gluten-free hoisin)
1/2 cup honey
1/2 cup soy sauce
1/4 cup brown sugar
2 tablespoons freshly grated ginger
1 tablespoon freshly grated garlic (I use a garlic press)
1 tablespoon unseasoned rice vinegar
4 lbs. chicken pieces


Pre-heat the oven to 500 or its top temperature.

In a bowl, mix everything but the chicken pieces. Brush the sauce onto the chicken pieces, then wrap them in aluminum foil. (I like to tear a long piece of aluminum foil and lay it on top of a sheet pan. I place the chicken pieces on the foil, brush them with sauce on all sides, then fold the foil over the chicken, making one large pouch that holds all the meat.) Leave the pouch on the sheet pan and place it in the oven. Lower the oven temp to 350.

Cook the chicken for about an hour, making sure it’s almost completely cooked. Juices should run clear, not bloody, when you poke it with a fork.

Start a hardwood fire on your grill. Push the coals to one side of the grill so you have a hot side and a cooler side with no coals underneath it. Place the chicken pieces on the cool side of the grill (if you put it on the hot side, it will stick and burn), brush with more sauce, and put the lid on the grill, making sure you have the vents open for air circulation.

image

See those 2 black bits in the foreground? That’s where the chicken stuck to the grill because I placed them over the hot coals. Don’t do that.

After a few minutes, lift the lid, flip the chicken pieces over, brush them with sauce again, and close the lid. Keep doing this until the chicken is nice and caramelized, with tasty grill marks.

If you want to serve some of the sauce on the side, it’s important to pour some of the sauce off and set it aside in the very beginning, so you’re not using the same sauce that the basting brush touched the raw chicken with.


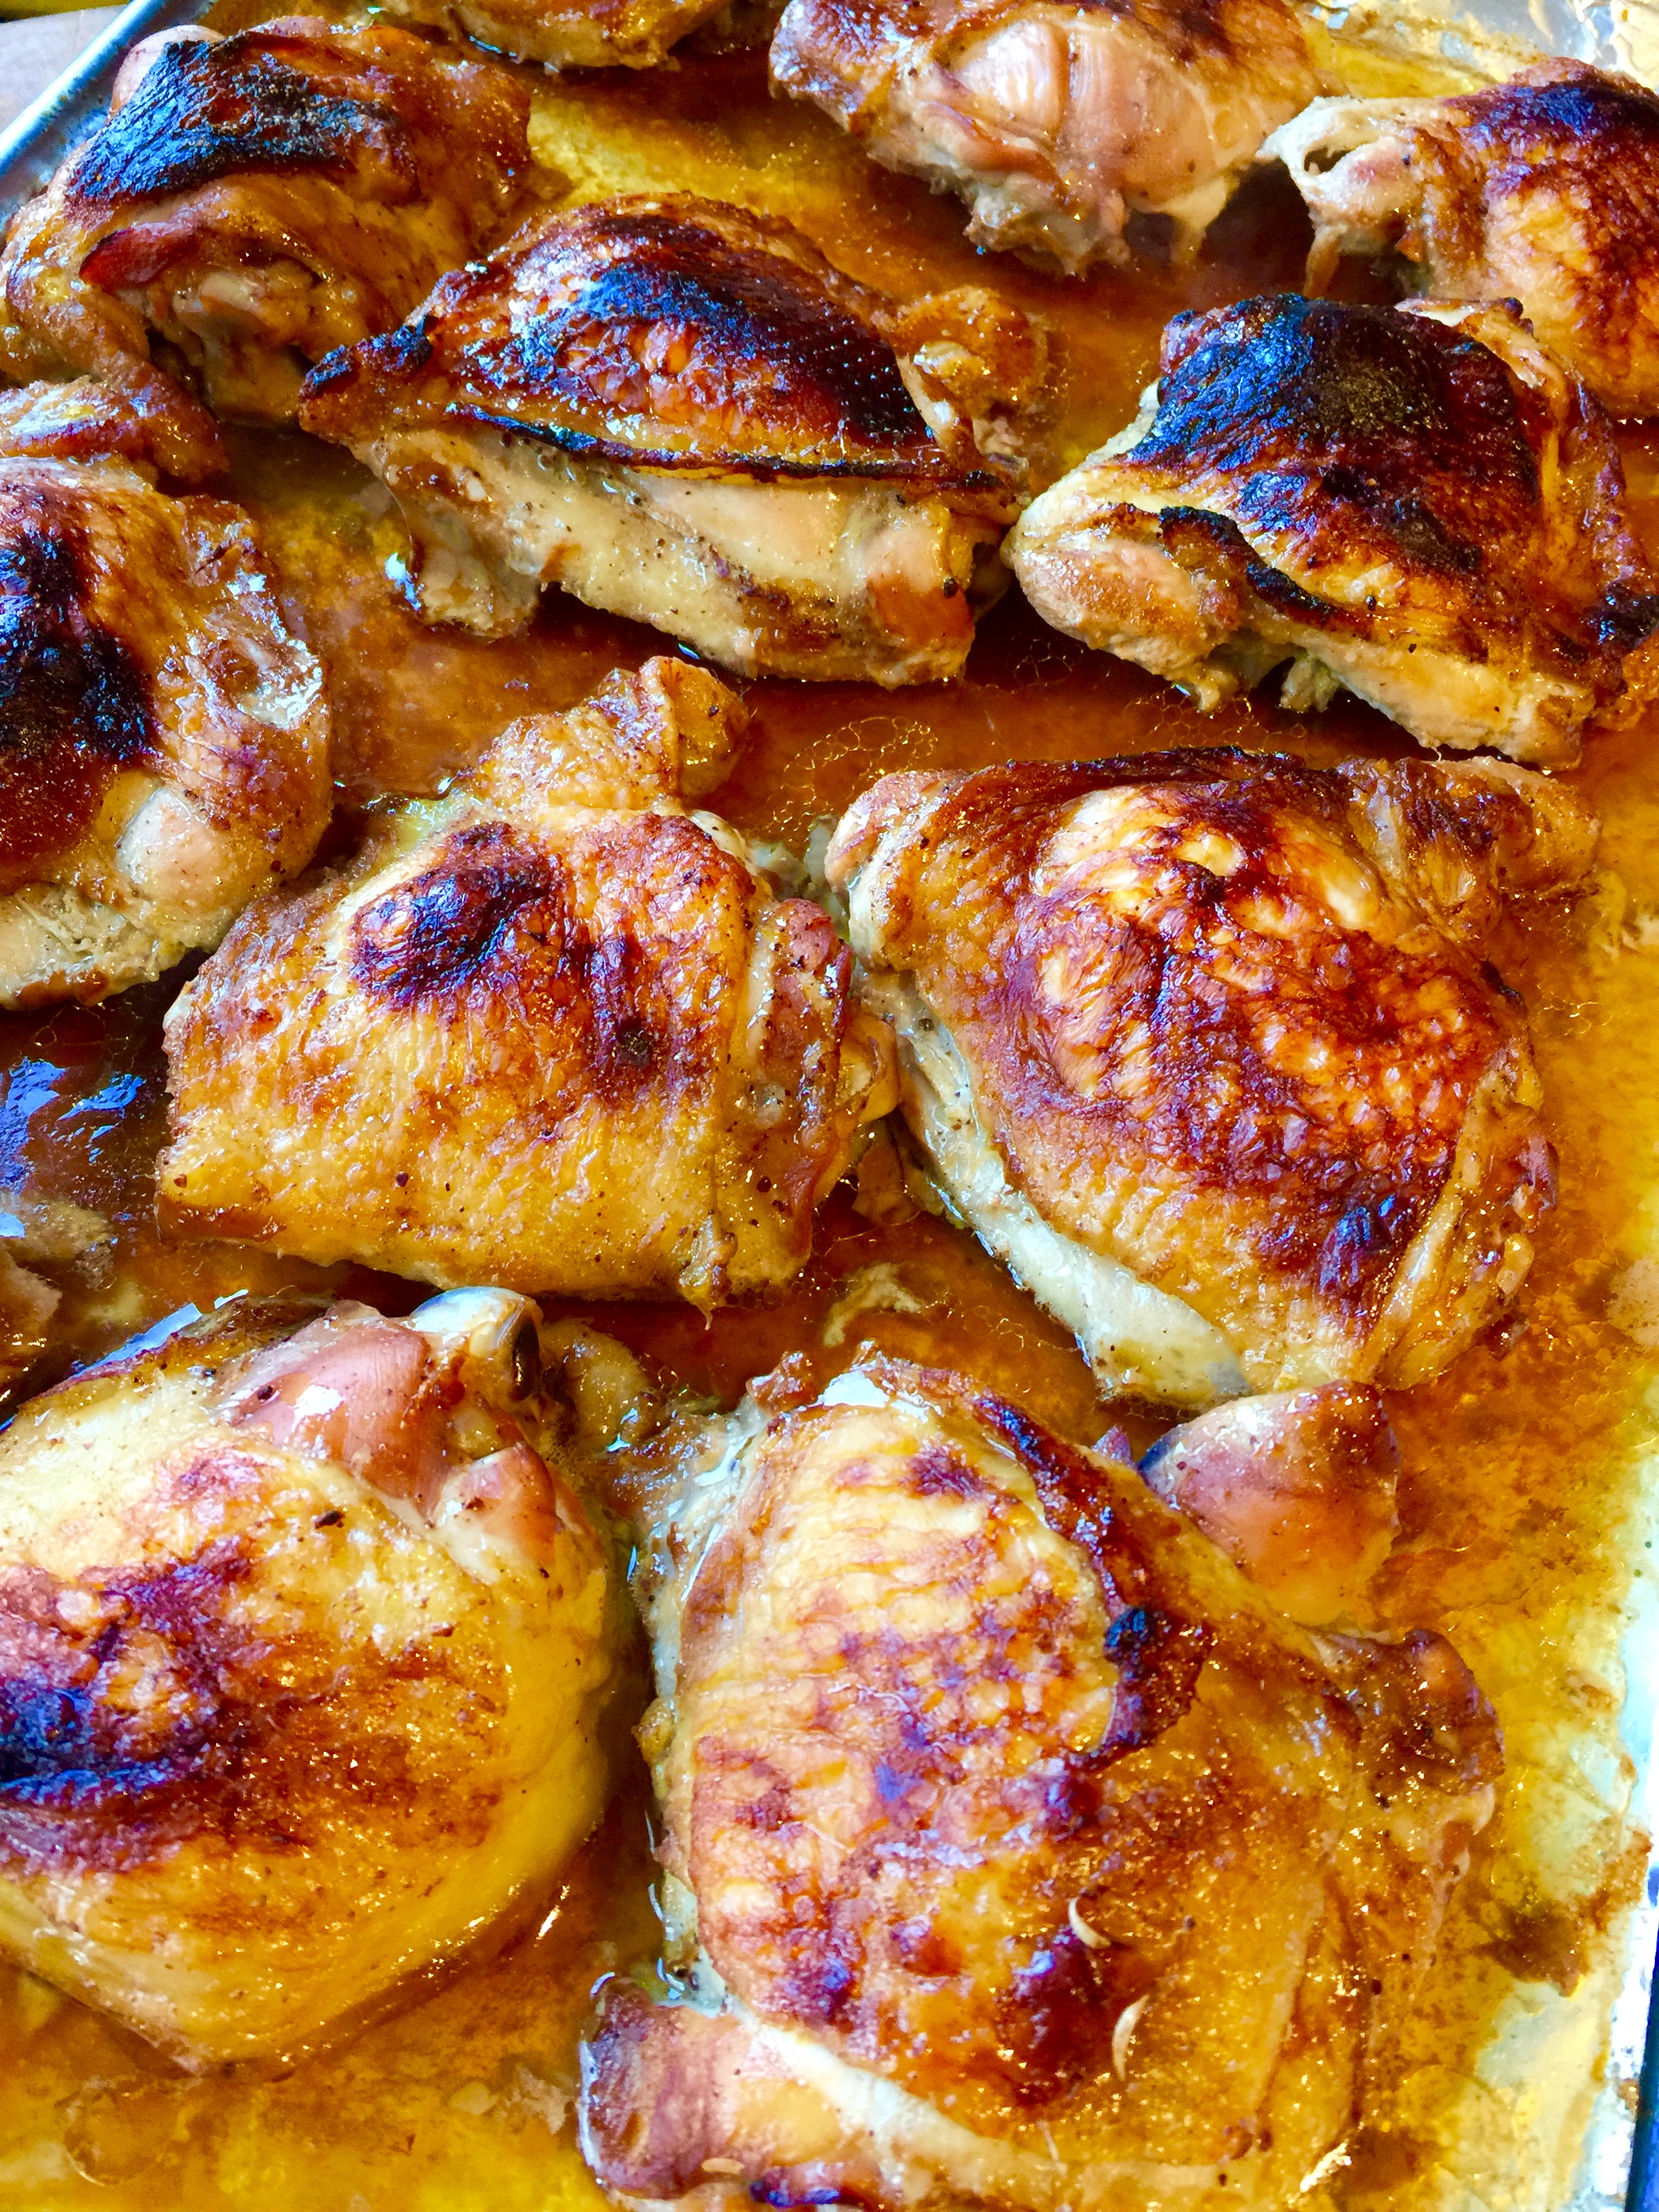
Soy sauce, citrus and honey is always a winning combination with chicken. The addition of star anise adds that touch of licorice without overpowering it. The sugar in the honey can make these thighs burn, so keep an eye on them. Using non-stick aluminum foil saves a lot of clean-up hassles later.

FullSizeRender (8)


1 teaspoon ground star anise
2 teaspoons granulated garlic
1/4 cup fresh lime juice or lemon juice or combination
1/4 cup soy sauce (I use La Choy to keep it gluten-free)
2 tablespoons honey
8 chicken thighs (about 4 lb.), skin on

I have an old coffee grinder I use for spices, so I toss in a couple of star anise and grind them up. Then I measure out a teaspoon of that for my marinade. (If you don’t have a spice grinder, use a mortar and pestle.)


Combine the star anise, garlic, lemon or lime juice, soy sauce and honey. Pour into a large Ziploc bag and add chicken thighs. Squish around to make sure thighs are well coated. Marinate for several hours, or better: overnight.


Pre-heat the oven to 200 degrees. 


Cover a sheet pan with non-stick aluminum foil and place thighs skin-side up. Cook low and slow for about 2 hours.


I learned most of my Cajun dishes from the cookbooks of one of the masters: chef Paul Prudhomme. Sometimes, I’d use some of his great seasoning ideas in my own dishes. This was one of them. I would cook huge batches of these chicken breasts for my Mardi Gras parties and there would never be any leftovers! Don’t wait for Fat Tuesday to come around again to make these yourself.

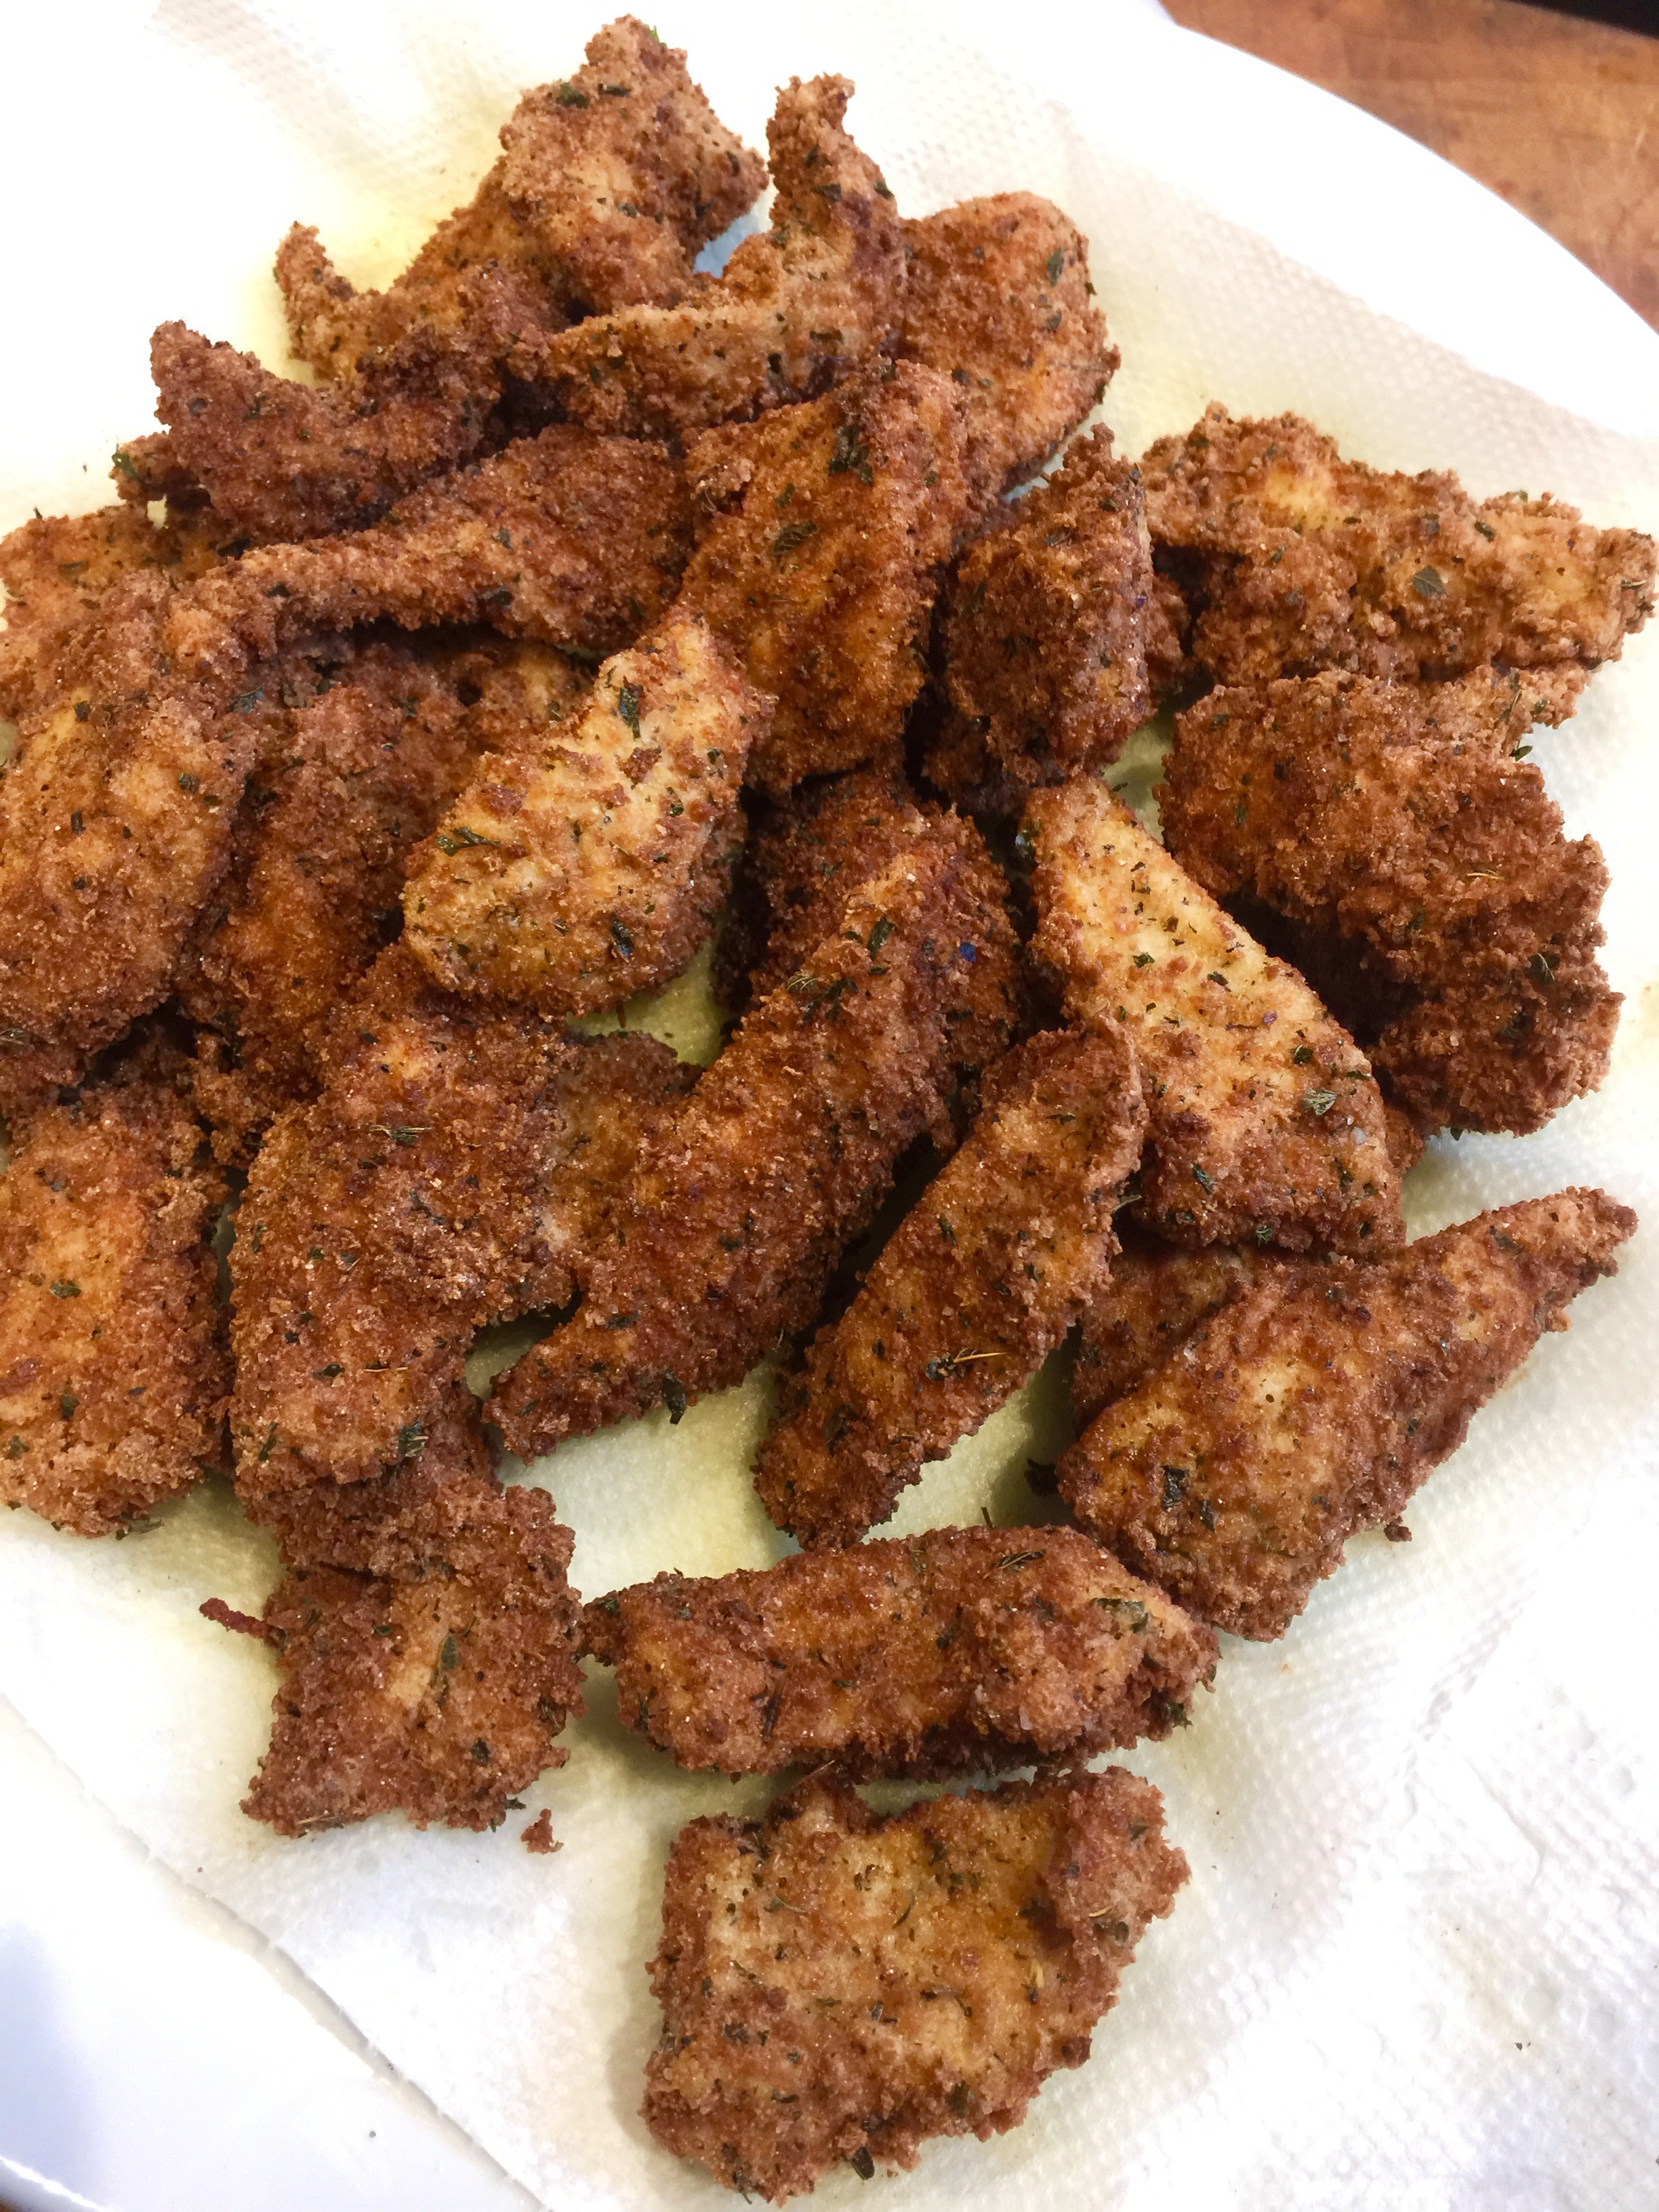
Double-dipping in the seasoning mix is a messy step, but it makes them extra crunchy and flavorful.

Single-dipped breasts are at the top. The extra crunchy double-dipped are at the bottom.

Single-dipped breasts are at the top. The extra crunchy double-dipped are at the bottom.


1 cup all-purpose flour
1 tablespoon salt
1 1/2 teaspoons sweet paprika
1 teaspoon granulated onion
1 teaspoon granulated garlic
1 teaspoon basil
1/2 teaspoon white pepper
1/2 teaspoon cayenne pepper
1/2 teaspoon black pepper
1/2 teaspoon dried thyme
1/2 teaspoon gumbo file (file powder), optional
2 pounds boneless, skinless chicken tenders or breasts
3 eggs
oil for frying (I like using avocado oil and some pork fat for flavor)


Cut the chicken breasts into manageable pieces. If they’re thick, slice them horizontally to make two thinner breasts. A thick piece of chicken won’t cook all the way through.

Combine the flour, salt, paprika, onion, garlic, basil, white pepper, cayenne, black pepper, thyme and gumbo file in a bowl. Mix well.

In another bowl, crack and scramble the eggs.

Single dip: Dip the chicken in the egg and then the flour mixture. Shake off an excess and place in a pan with oil that has been heated to 350 degrees on a thermometer.  Fry until it’s cooked all the way through. Drain on paper towels.

Double-dip: Dip the chicken pieces in the egg, then the seasoning mix, then the egg, then back in the seasoning mix and place directly in a pan with oil heated to 350 degrees on a thermometer. Fry the chicken until it’s cooked all the way through and golden brown. Drain on paper towels.


If you need to feed a crowd, just double or triple the recipe. I used to make a 10x batch for my Mardi Gras parties!

This recipe is gluten-free if you substitute GF flour for the all-purpose flour.


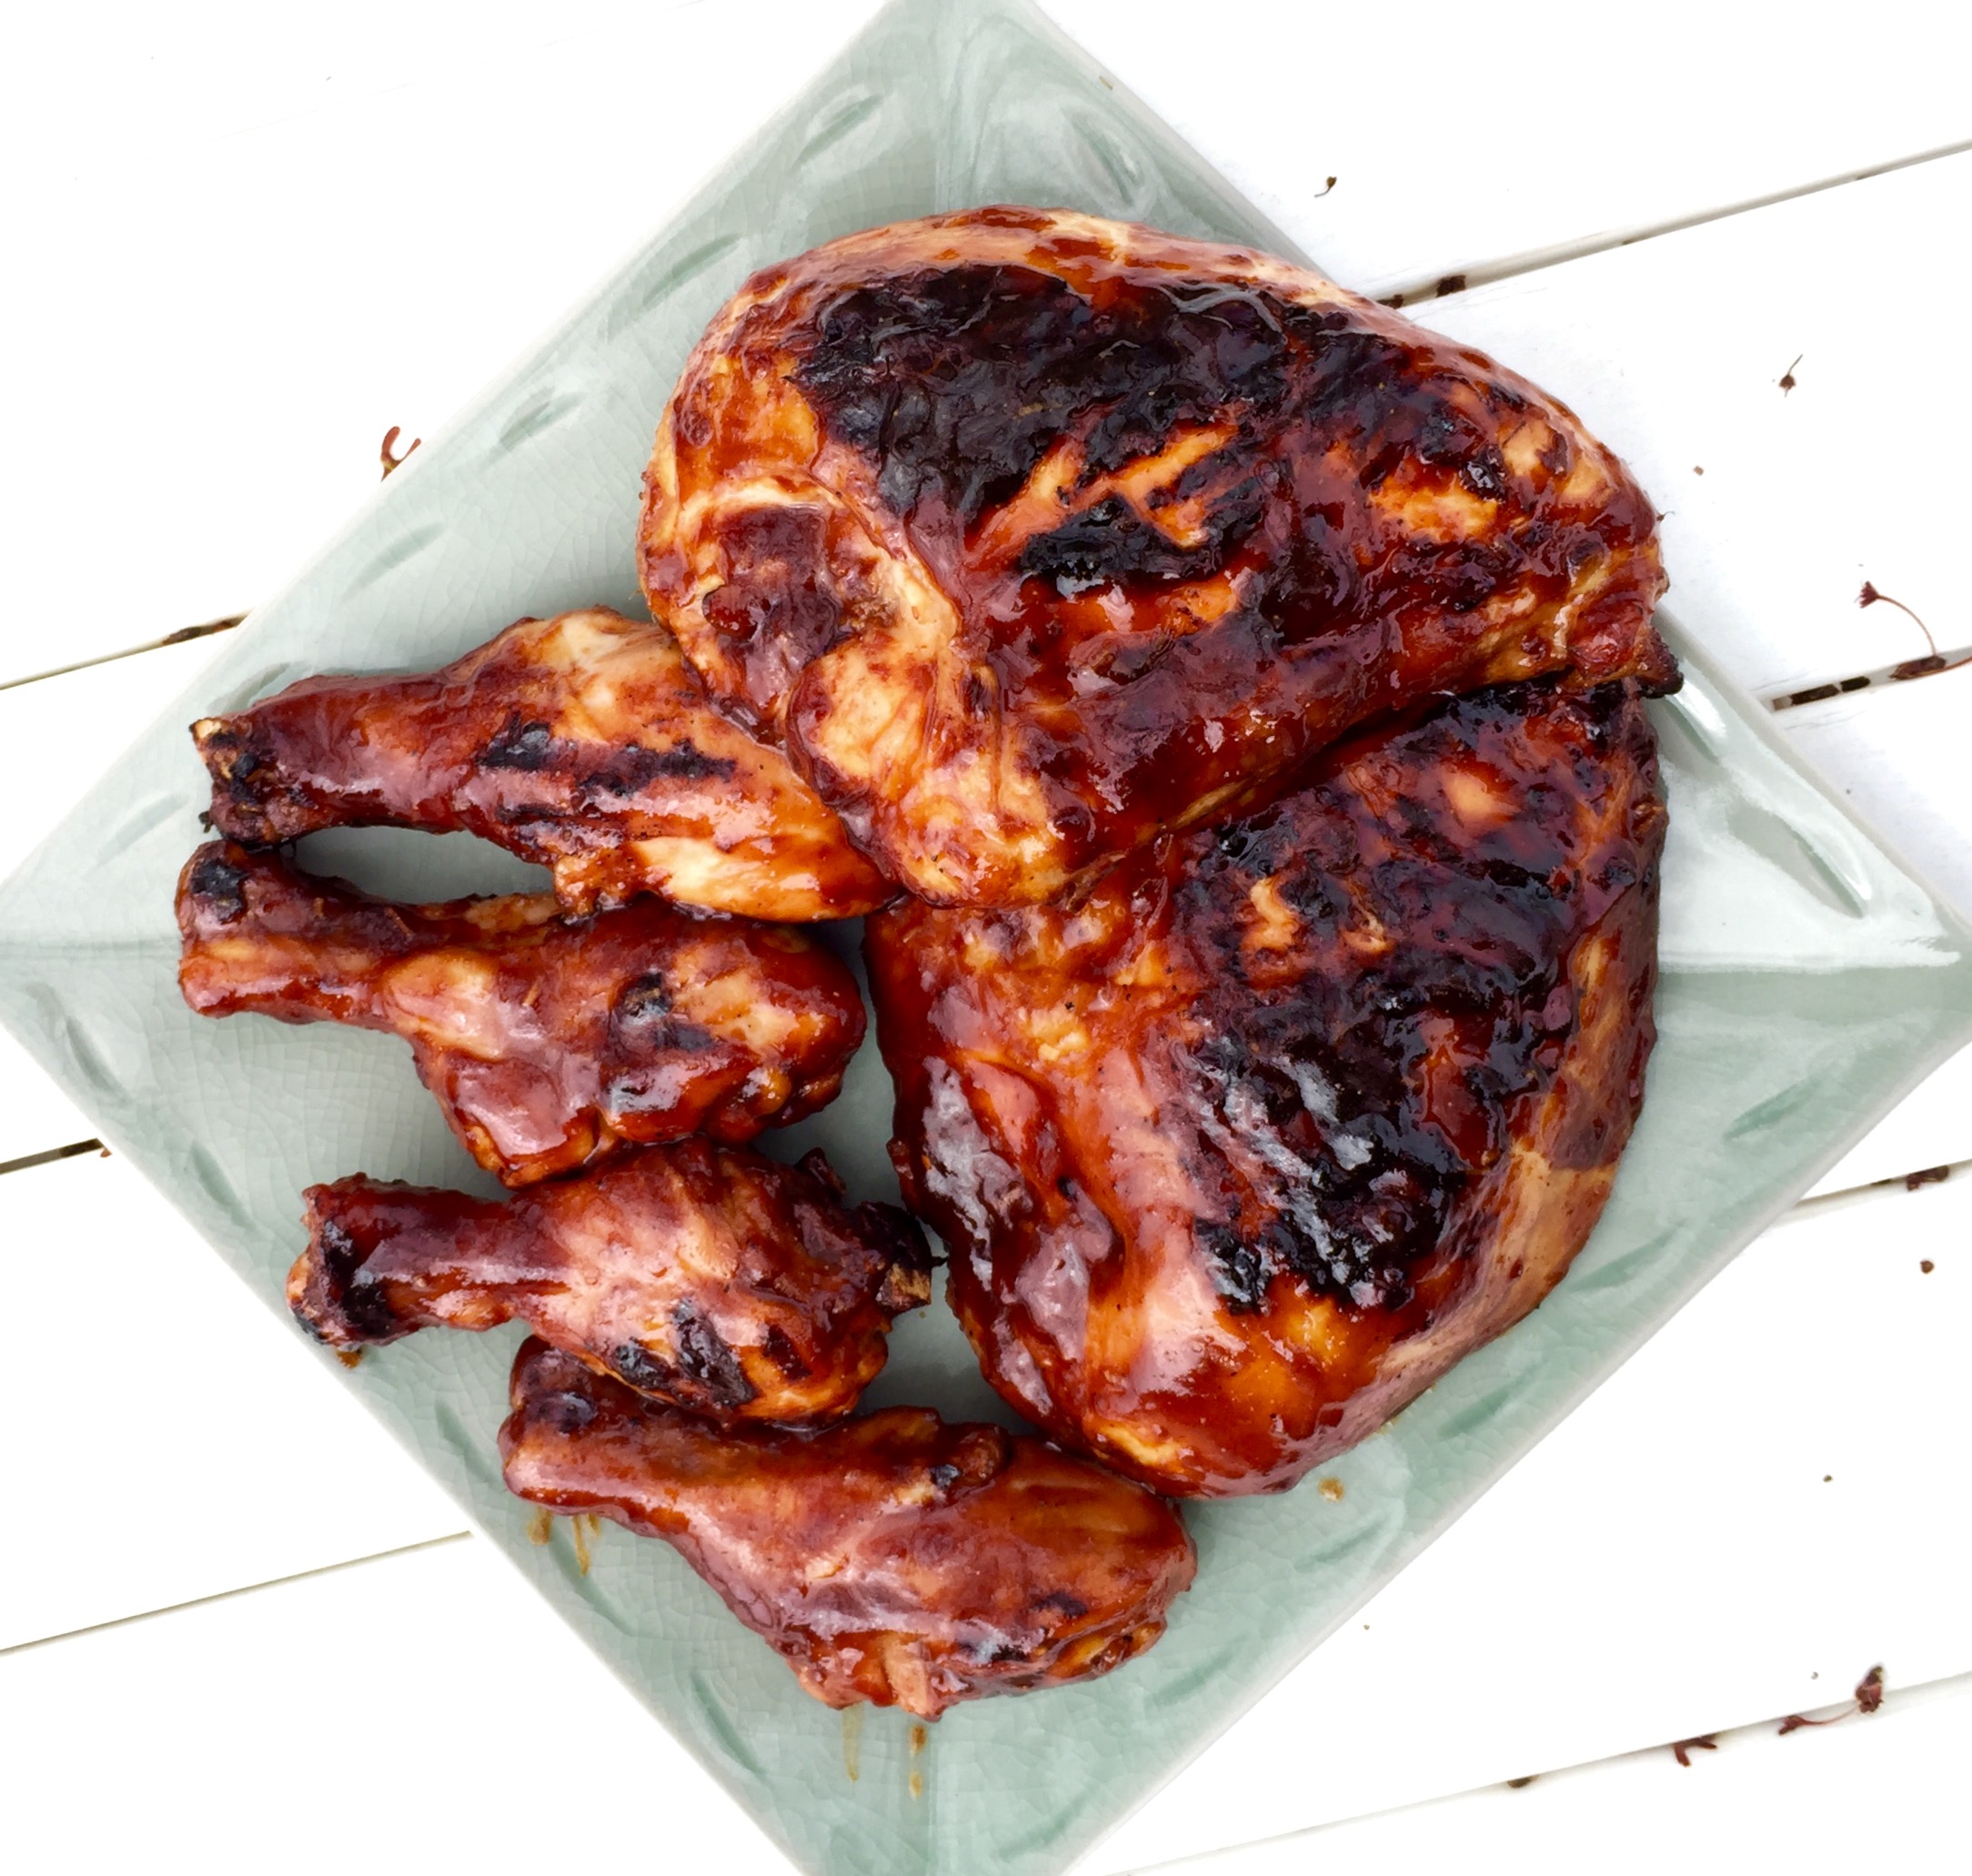
I grill year-round. I’ll stand in 3 feet of snow to get smoked ribs just right, if I have to. Through years of tireless experimentation, I’ve come up with a barbecue sauce that I can be proud of. I prefer a slightly sweet and tangy barbecue sauce,  and it works really well with pork or chicken.

What makes this sauce special is the citrus. I originally used lemon juice for this recipe and it was good. Lime juice was better. Adding lime zest: even better than that. I tried orange juice and zest, even Meyer lemon. But the Big Daddy of ’em all was grapefruit. I was craving my barbecue sauce one day and only had a grapefruit in the fridge. I thought: how bad could this be? Turned out to be the perfect foil to the sweetness of the brown sugar and ketchup.

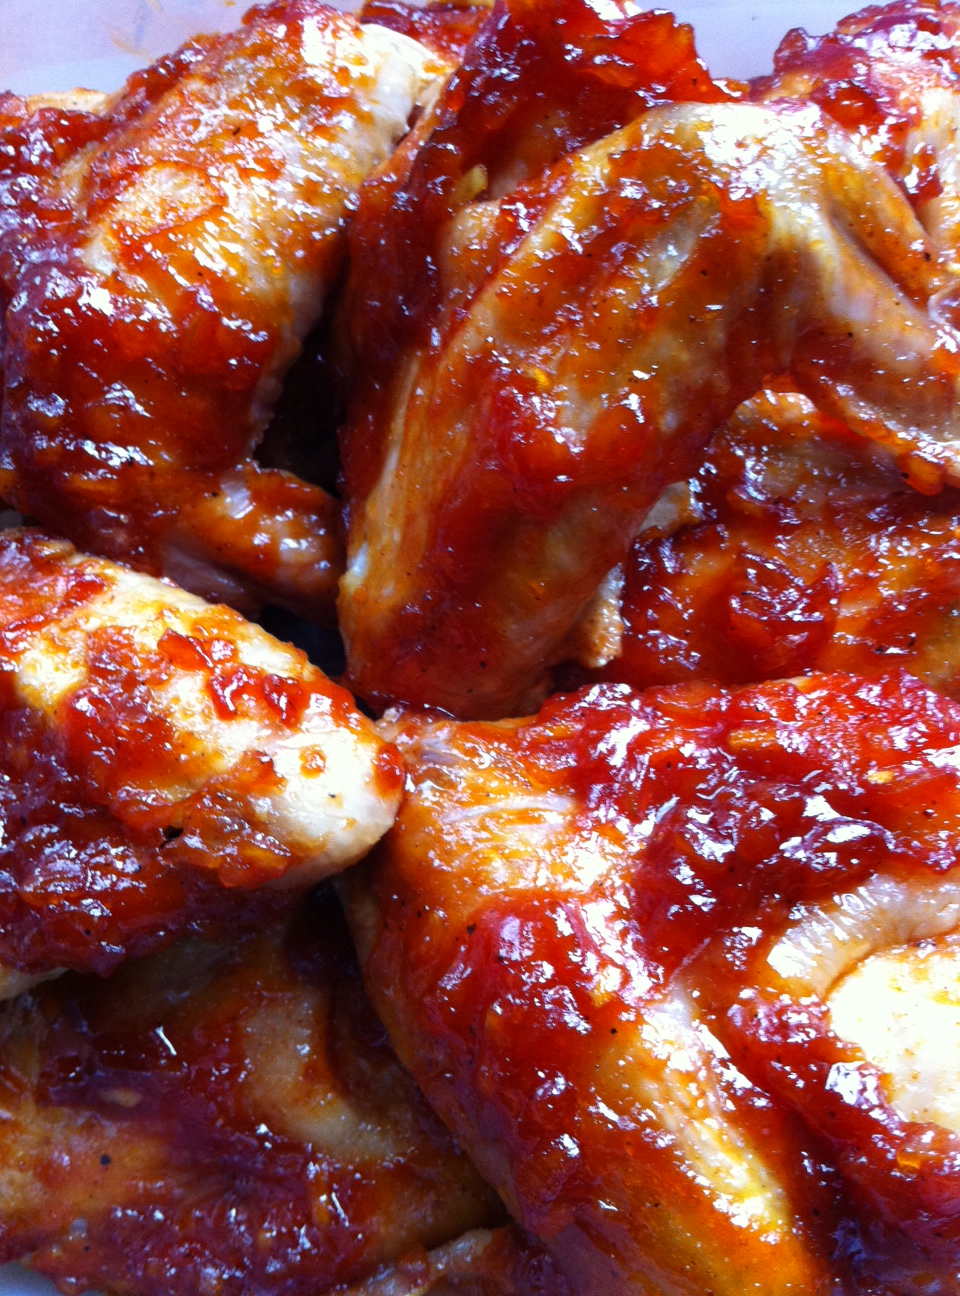
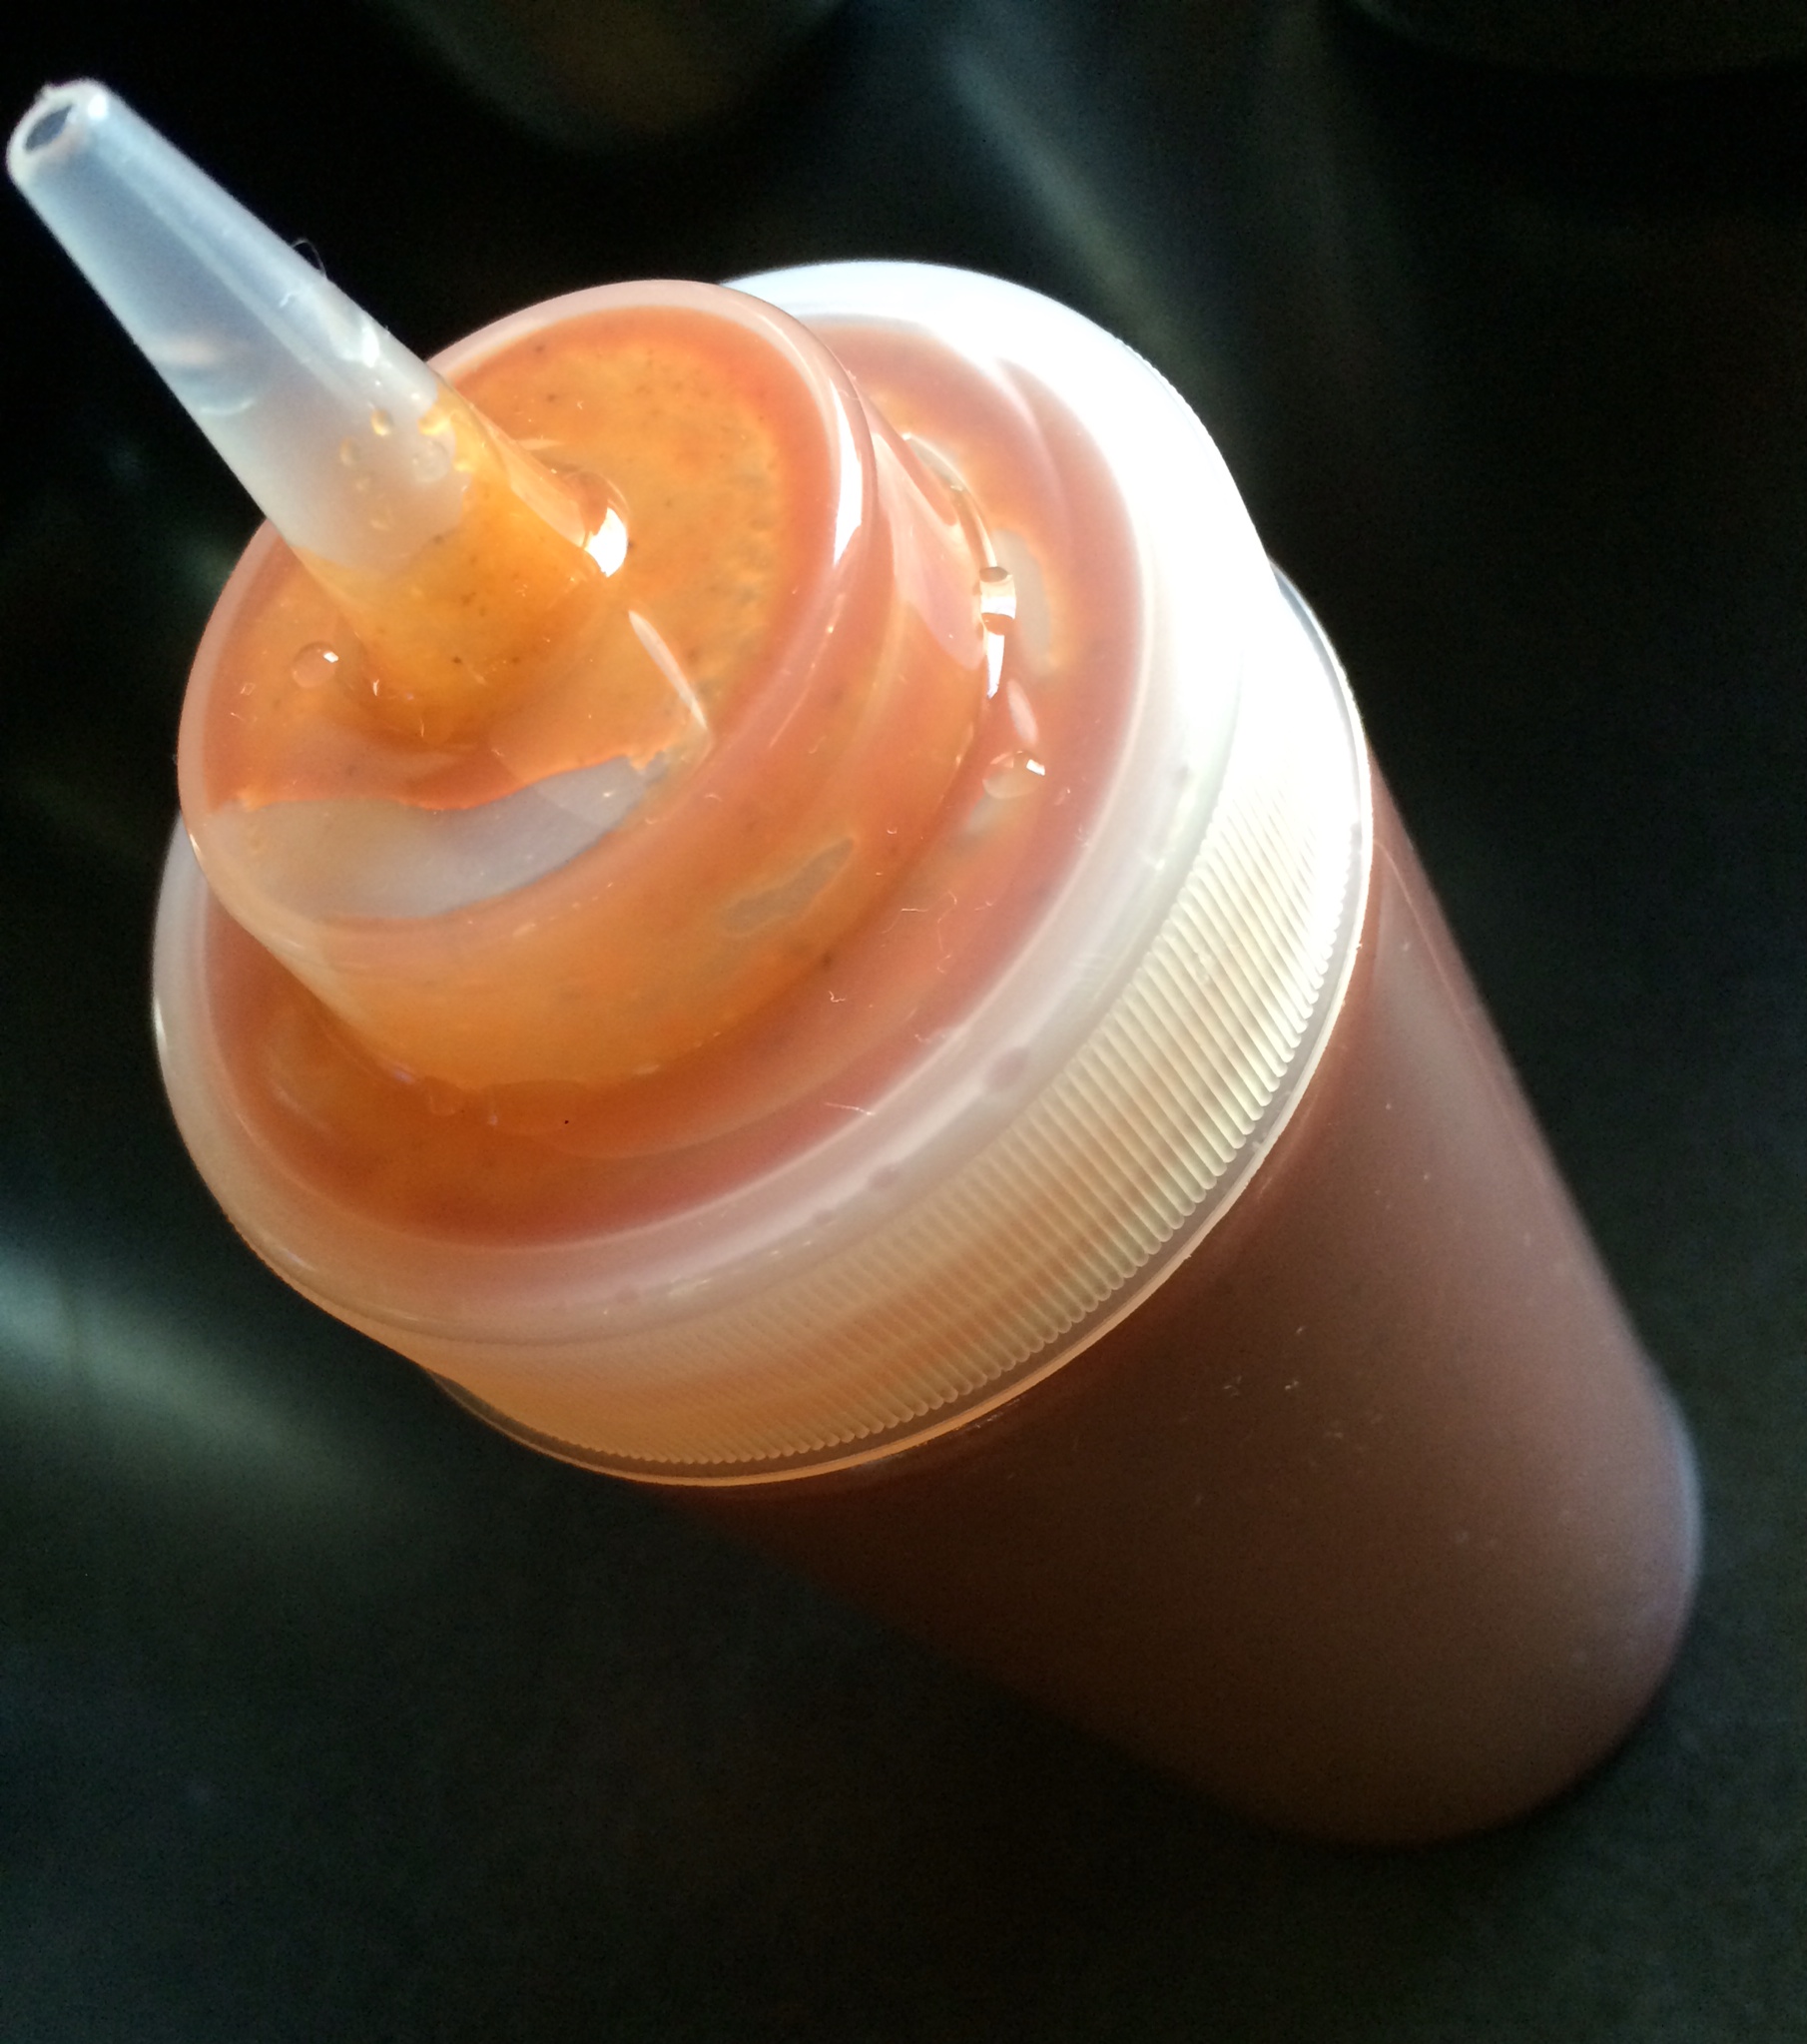
Try this sauce on your next batch of chicken wings or even a whole bird. Cook the bird almost all the way through, brushing the sauce on for the last 20 minutes so that the sugars don’t burn. Then just try to stop eating it!

Chix BBQ


ALZ GRAPEFRUIT BARBECUE SAUCE
1 cup ketchup
1/2 cup firmly packed brown sugar
Juice and zest of 1 grapefruit
3 tablespoons unsalted butter
1/4 cup dried onion flakes
1 teaspoon cayenne pepper sauce, like Frank’s Red Hot
1 teaspoon Worcestershire sauce
1 teaspoon granulated garlic
1/4 teaspoon black pepper
(no salt)

Combine all ingredients in a sauce pan. Bring to a boil and then simmer for about 20 minutes on low, until slightly thickened.

saucey

How could a sauce that’s inspired by what most people claim to be the best barbecue joint in the USA, Franklin’s Barbecue in Austin, Texas, be bad? People line up early in the morning and wait as much as four hours for a slab of brisket from this place. I’ll get there one day. In the meantime, I have the sauce…


2 cups ketchup
3/4 cup water
6 tablespoons cider vinegar
6 tablespoons white vinegar
6 tablespoons brown sugar
3 tablespoons Worcestershire sauce
1 tablespoon chili powder
2 teaspoons salt
2 teaspoons black pepper
1 1/2 teaspoons cumin


Mix all the ingredients in a saucepan and simmer until the flavors have blended, about 20 minutes. Remove from heat and cool to room temp. If you store it in an airtight container in the fridge, it’ll stay good for a few months.


This was a hit when  I brought them to a recent neighborhood party. Imagine the best of a deviled egg and a BBQ chicken sandwich, and you’ve got this appetizer that rocks in more ways than one. This is a great app you can make ahead of time: I boil the eggs and make the cole slaw the day before, then keep them in the fridge. Even the chicken can be cooked the day before and then warmed through before assembling right before your guests arrive.

_DSC6511

For the chicken:
3 cups ketchup (I use Heinz organic)
1 tablespoon apple cider vinegar
2 tablespoons soy sauce (I use La Choy: it’s gluten-free)
1 teaspoon hot sauce (I use Frank’s Red Hot)
1/4 cup + 2 tablespoons brown sugar
1 lb. boneless skinless chicken breasts


For the cole slaw:
2 tablespoons mayonnaise
1 tablespoon rice wine vinegar
1/2 teaspoon sugar (I use organic cane sugar)
2 cups finely shredded cabbage
For the deviled eggs:
6 hard-boiled eggs
1/4 cup mayonnaise
1 tablespoon mustard (I use Gulden’s)


Combine the ketchup, apple cider vinegar, soy sauce, hot sauce, and brown sugar in a Crock Pot or heavy pot with a lid. Mix well, then add the chicken breasts, making sure they’re immersed in the sauce. Cook low and slow for about 4 hours. If using a pot with a lid, place in a pre-heated 250-degree oven and cook for 6 hours.

When the chicken is cooked through, shred the meat with 2 forks. Set aside, but keep warm.

Combine all the cole slaw ingredients in a bowl, mixing well, and place in the fridge.

For perfectly hard-boiled eggs, place the eggs in a pot of cold water, and turn the heat on high. Just before the water starts to boil, put a lid on the pot and turn the heat off. Let the eggs sit in the hot water for 15 minutes. Once cooked, keep the eggs in the fridge.

Slice the eggs in half and place the yolks in a bowl with the mayonnaise and mustard. Mix well and keep in the fridge.

To assemble, take a teaspoon of the mayo/mustard/yolk mixture and place it in the cavity of one of the egg halves. Place another teaspoon of the shredded chicken on top (I like it warm, to counter the cold of the mayo and cole slaw), drizzling a little of the BBQ sauce on the meat. Then place a teaspoon of the cole slaw on top of the chicken.

Awesomesauce is an all-purpose sauce that I created a couple of years ago for a variety of dishes. Because it has a base of mayo, mustard and ketchup, it works great on burgers and fish…on lobster and crab salads and shrimp cocktail…and just about anything else you can think of.

I made a batch of Awesomesauce for taco night at the house, and decided to use the leftovers the next day to coat pieces of chicken before roasting. The chicken came out moist and delicious. And because I sprinkled some breadcrumbs on them, they had a nice added crunch.

image

For the Awesomesauce:
1/2 cup mayonnaise
1 tablespoon ketchup
1 tablespoon mustard (I like Gulden’s)
1 tablespoon dill pickle relish
1/4 teaspoon granulated garlic
1/4 teaspoon paprika
Pinch cayenne pepper
4 lbs. organic pastured chicken pieces
plain breadcrumbs (I use gluten-free)

In a bowl, combine the mayo, ketchup, mustard, dill pickle relish, garlic, paprika and cayenne. Mix thoroughly and keep in the fridge until you’re ready to use it.

Pre-heat the oven to 325.

Rub the Awesomesauce all over the chicken pieces and lay them in a sheet pan lined with non-stick aluminum foil. Lightly sprinkle the breadcrumbs over the top of the chicken.

Bake until the chicken is cooked all the way through and brown and crispy.