Posts Tagged ‘food’

Nothing says summer here in New England like a lobster roll. But I never go to a clam shack to get one. Their prices are ridiculous, the meat can be overcooked, and they often add ingredients I don’t want.

Lobster boat LTL

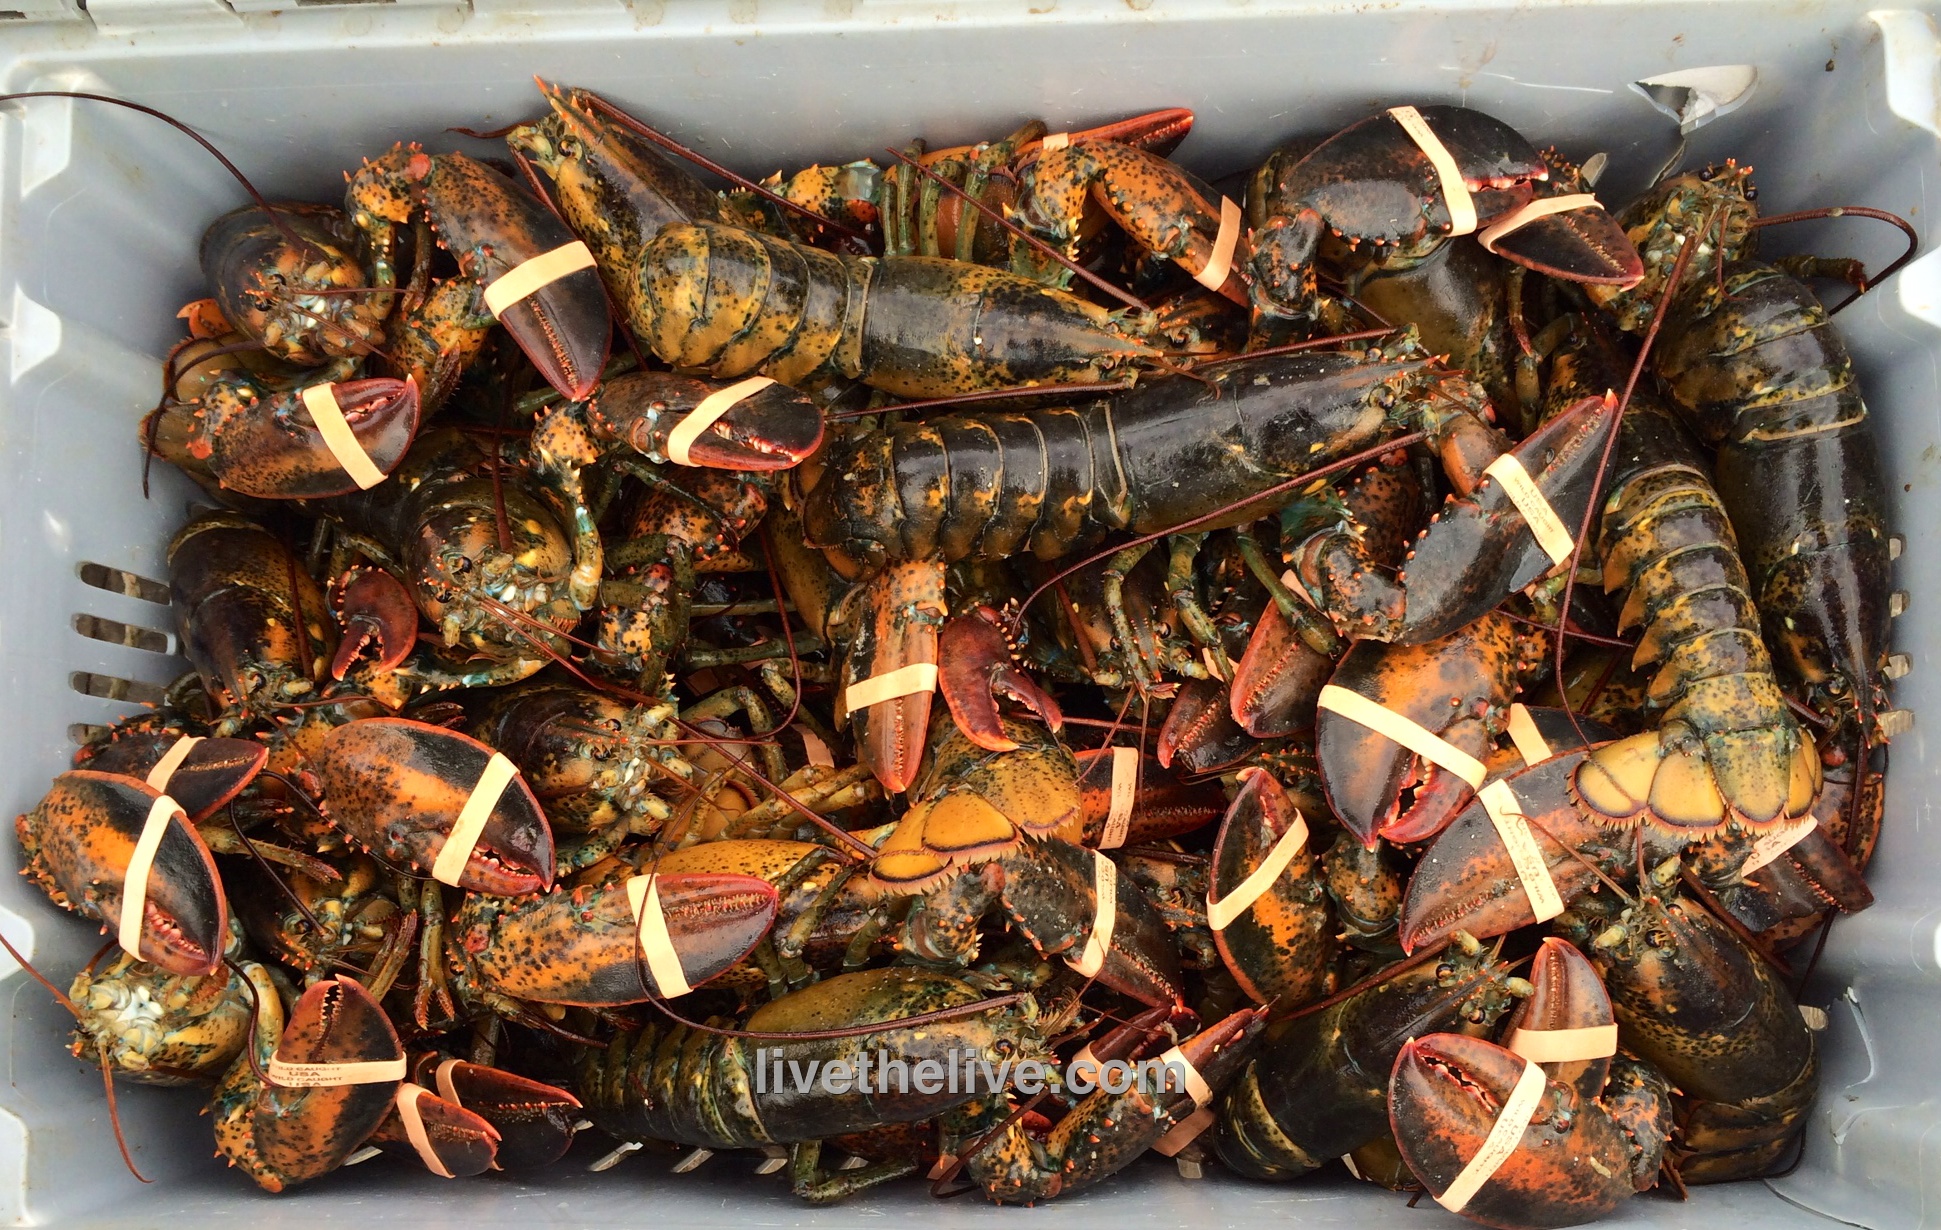
You have to start with fresh lobster. I get mine from my lobsterman buddy, Gary, just down the street at his dock in Tiverton, RI.

A view of the Sakonnet River from the back of Gary's lobster boat, the Edna Mae

A view of the Sakonnet River from the back of Gary’s lobster boat, the Edna Mae


The next step is to cook it right. I always use sea salt to salt a large pot of boiling water. I make sure the water is at a rolling boil before the lobsters go in. And I cook them for no more than about 8 minutes.
Lobster catch LTL

After the lobsters have been removed from the pot and have cooled for a few minutes, I get to work: cracking the claws and tail and removing every bit of beautiful meat I can find. Lobster lovers will tell you that the legs have some meat in them and that the tomalley (the green liver and pancreas) and roe (eggs) are delicacies not to be missed. For the purpose of making lobster salad, I don’t use these parts. But I do save the tomalley and roe for a separate treat…and I save all the legs and cleaned empty shells for lobster stock.
Lobster roll LTL


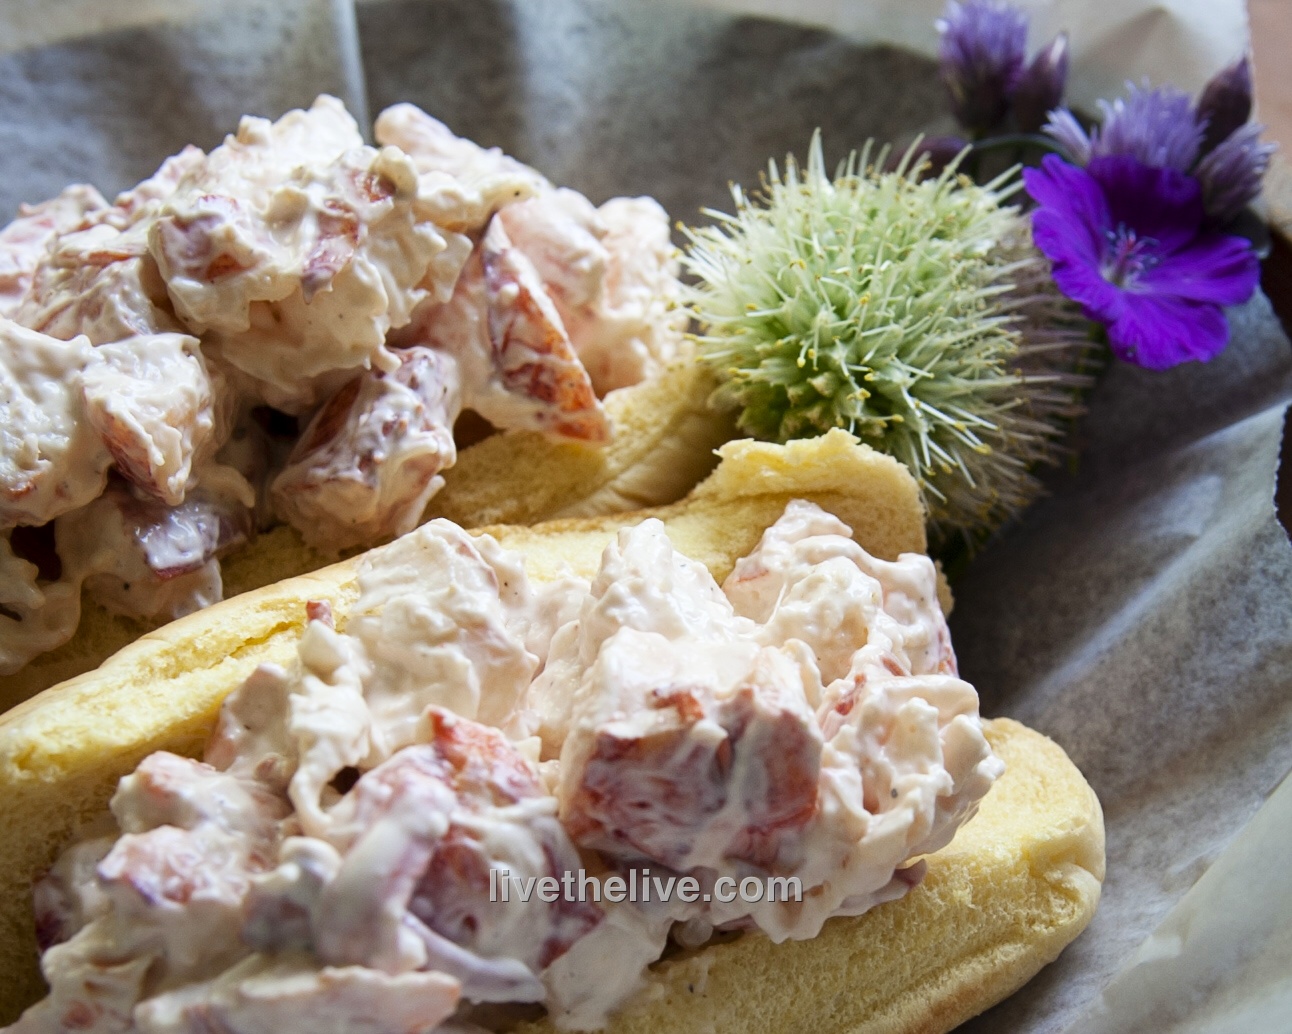
Everyone has their own opinion about lobster rolls: what goes in ‘em…and perhaps more importantly, what doesn’t. I am no exception. For me, no veggies whatsoever: no chopped celery, no lettuce, no pickle. No paprika or Old Bay seasoning. A pinch of celery salt? Sure. Mayonnaise? Only Hellman’s. White pepper, not black, and just a touch. Salt? A pinch of Fleur de sel. And my secret weapon to bring out all the flavors: the tiniest squeeze of fresh lemon juice…not enough to give it a lemon flavor…just to brighten the taste.

Measurements are really up to each person’s personal taste.

I prefer those long rolls from Martin’s potato rolls: straight out of the bag or lightly grilled with a little melted butter brushed on.

 

Sometimes you take a couple of recipes you have in your file and you combine them to get delicious results. That’s what happened when I took my basic pork dry rub and then added my version of the Franklin barbecue sauce, as featured in a previous blog.

The ribs were intense, delicious, and did not require a smoker to reach fall-off-the-bone amazingness…


Intense ribs LTL


Alz Pork Rub


Ingredients:

2 tablespoons salt

1 tablespoon black pepper

1 tablespoon granulated garlic

1 tablespoon onion powder

1 tablespoon paprika


Combine ingredients and sprinkle liberally onto meat, rubbing it in well.


The Barbecue Sauce


Ingredients:

2 cups ketchup

3/4 cup water

6 tablespoons cider vinegar

6 tablespoons white vinegar

6 tablespoons brown sugar

3 tablespoons Worcestershire sauce

1 tablespoon chili powder

2 teaspoons salt

2 teaspoons black pepper

1 1/2 teaspoons cumin


Mix all the ingredients in a saucepan and simmer until the flavors have blended, about 20 minutes. Remove from heat and cool to room temp. If you store it in an airtight container in the fridge, it’ll stay good for a few months.


To cook the ribs…


Rub the ribs with the dry rub on all sides and wrap in aluminum foil. If you have a lot of ribs, it’s okay to stack them on each other for now. Place the wrapped ribs on a sheet pan and cook in a 250-degree oven for about 4 hours.

After 4 hours, unwrap the ribs and pour off any fat. Lay the ribs flat in one layer, uncovered, on the sheet pan and brush on all sides with the barbecue sauce. Cook for 1 hour more.


I grow two varieties of bamboo in my yard, and although they are quite invasive, I have my own methods of keeping the plants in check.

One stand of bamboo is in a corner of my yard that is overrun by brambles and other nasty vines. So I have no issues with the bamboo taking over this area at all. I’d rather have a desirable invasive than an ugly one.

The other stand of bamboo is a larger variety that grows to 25 feet tall, and it requires more maintenance to keep it in the area I want it to stay in. So, when some of the shoots get in my way, I simply cut them with a hacksaw and use them in my garden.

image

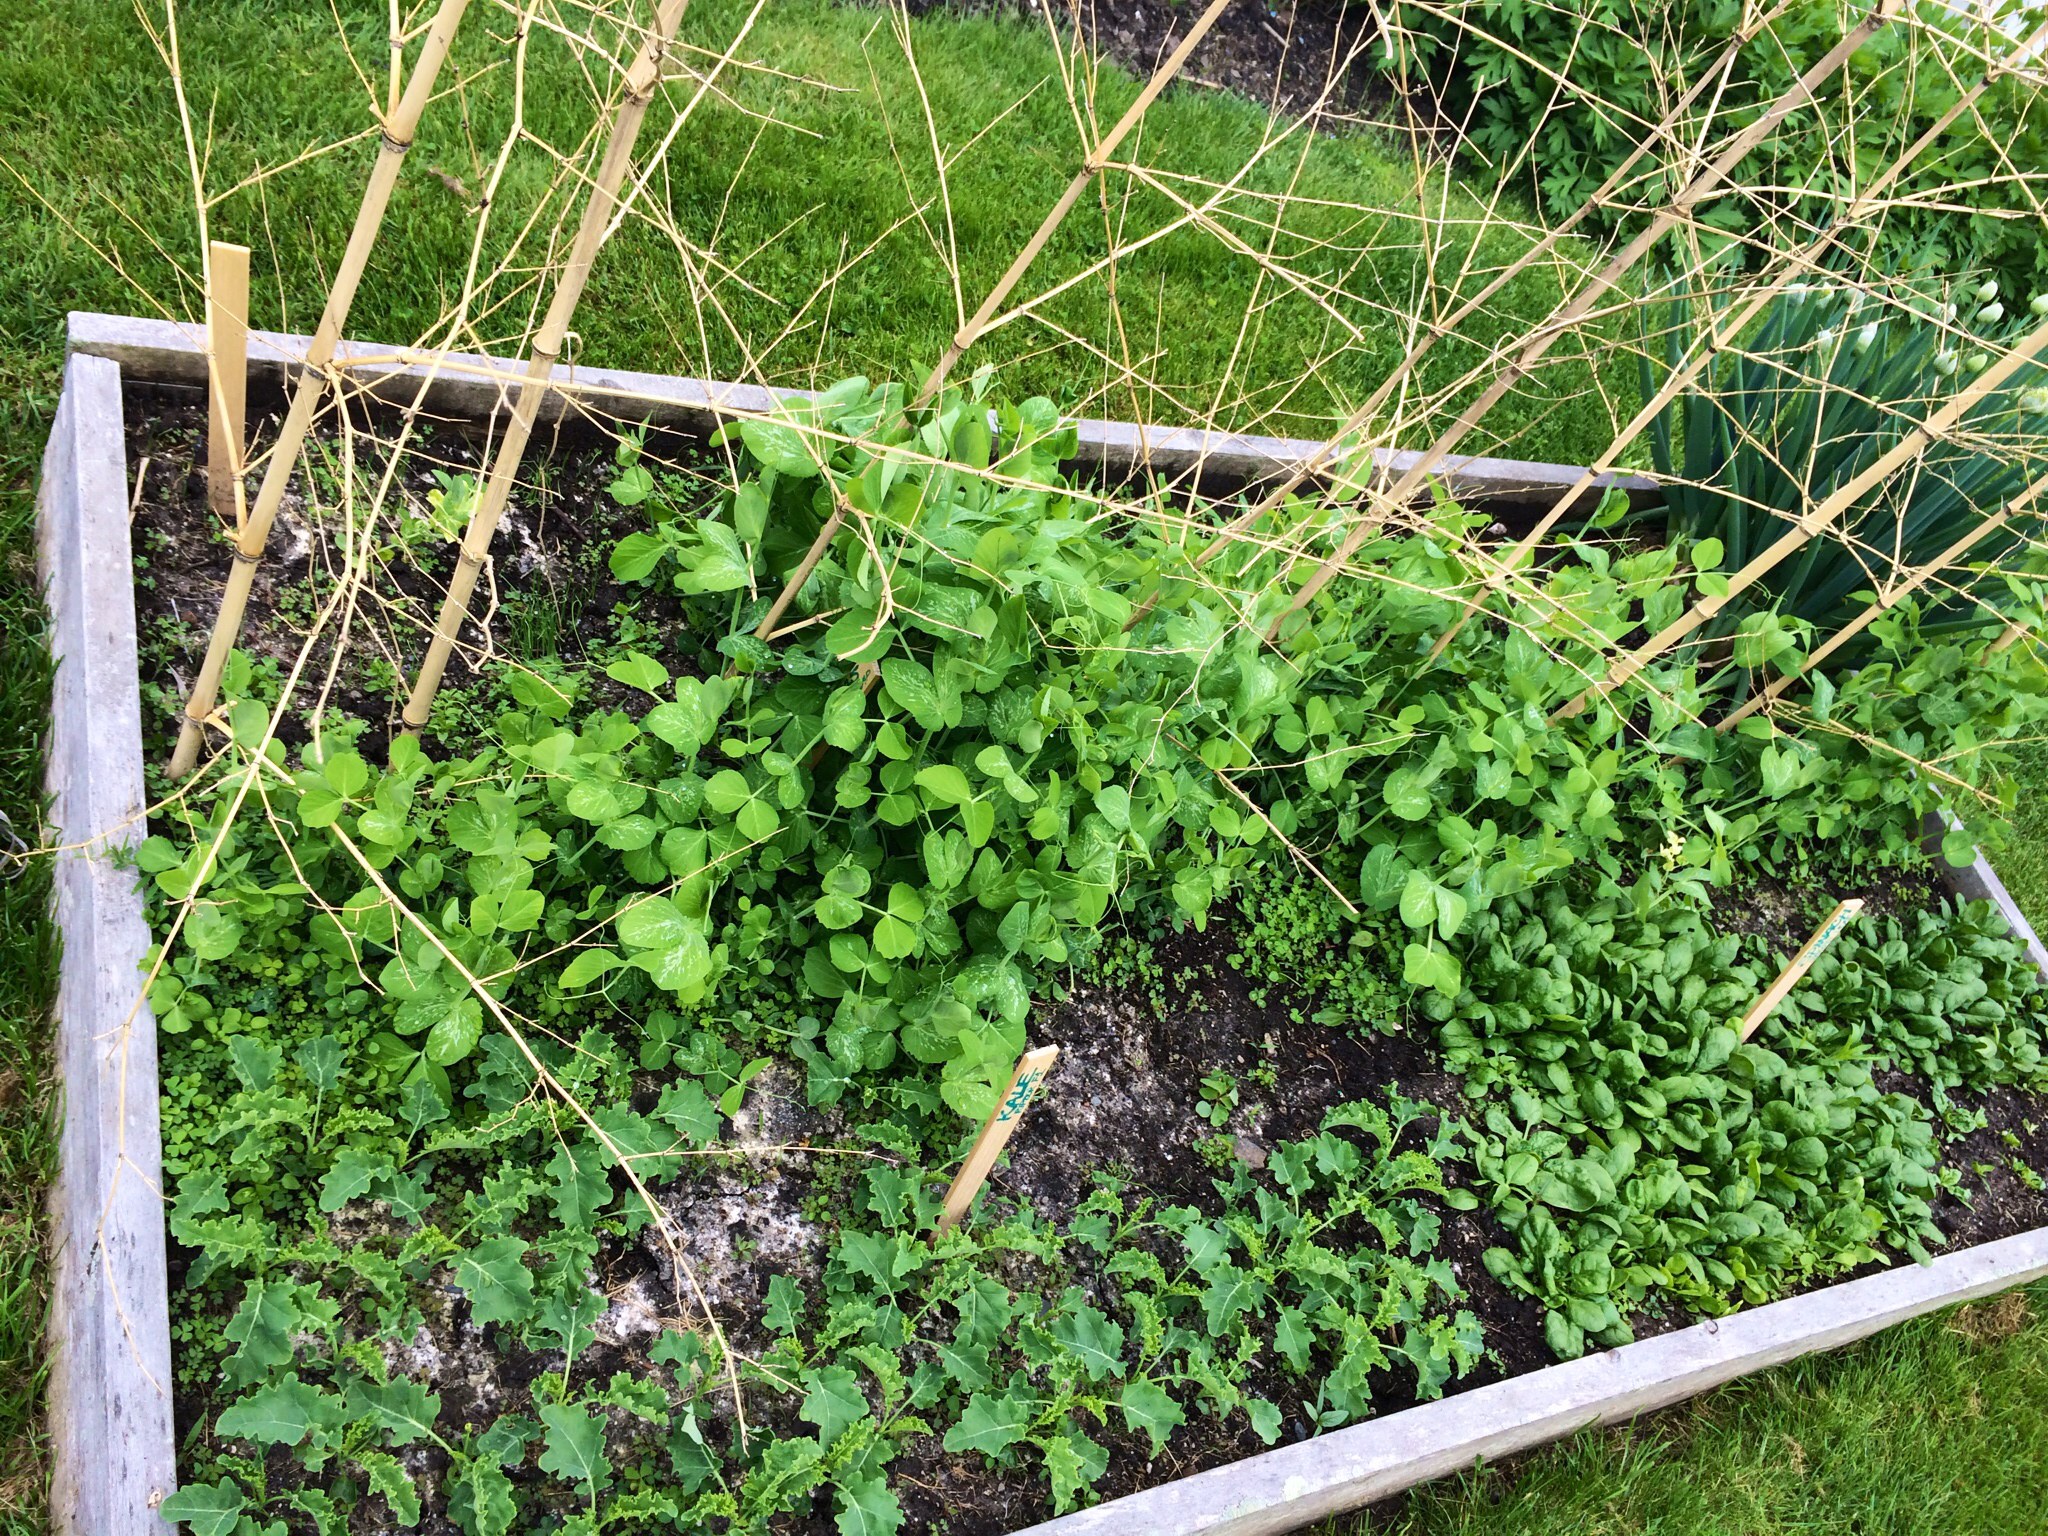
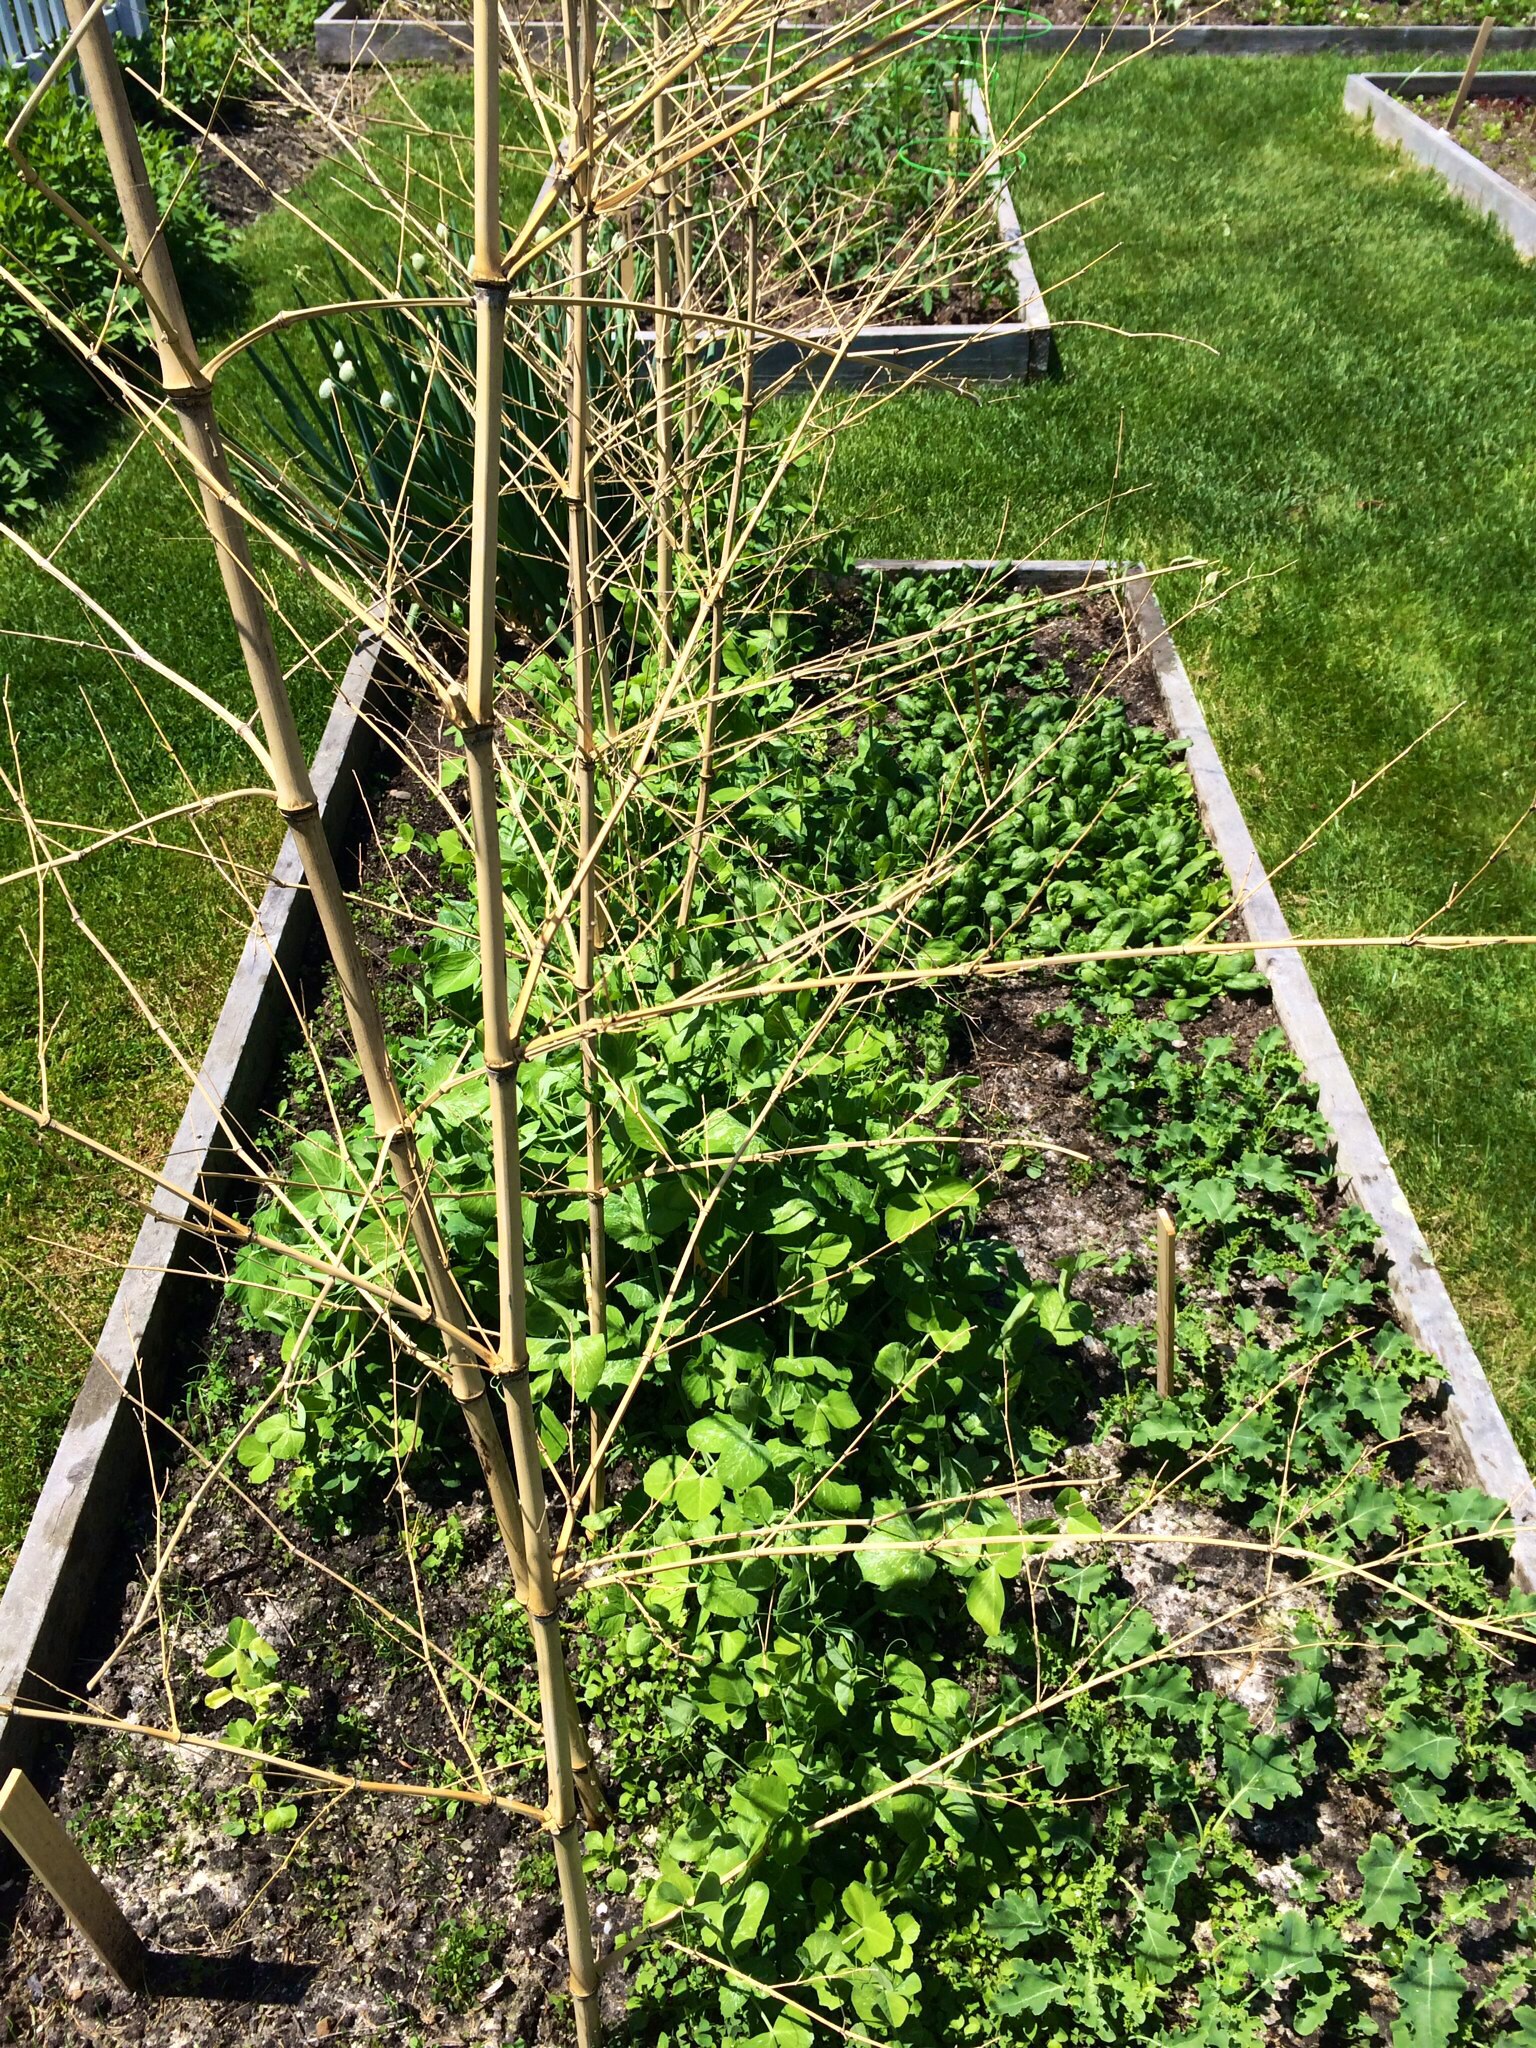
I use them as tomato stakes, supports for my cucumbers vines, and even pea brush, as shown here. For pea brush, I don’t remove the smaller side branches, which gives something for the peas to attach to.


Peas with pea brush, kale, spinach.

Peas with pea brush, kale, spinach.


A great way to give my garden a more natural look, rather than having rusty metal poles everywhere.

Though it may sound Japanese, the word “saganaki” refers to a small frying pan used in Greek cooking. The most famous of these dishes, simply called saganaki, is a fried cheese, often flamed at the end with a little ouzo.

Shrimp saganaki is one of my favorite Greek dishes, and it usually involves cooking shrimp in a tomato-based sauce with plenty of feta cheese sprinkled in. It’s a simple yet fantastic dish if the ingredients are fresh. Doesn’t hurt to be sitting in a taverna on the beautiful island of Santorini while eating it, either!

Graviera cheese

Graviera cheese

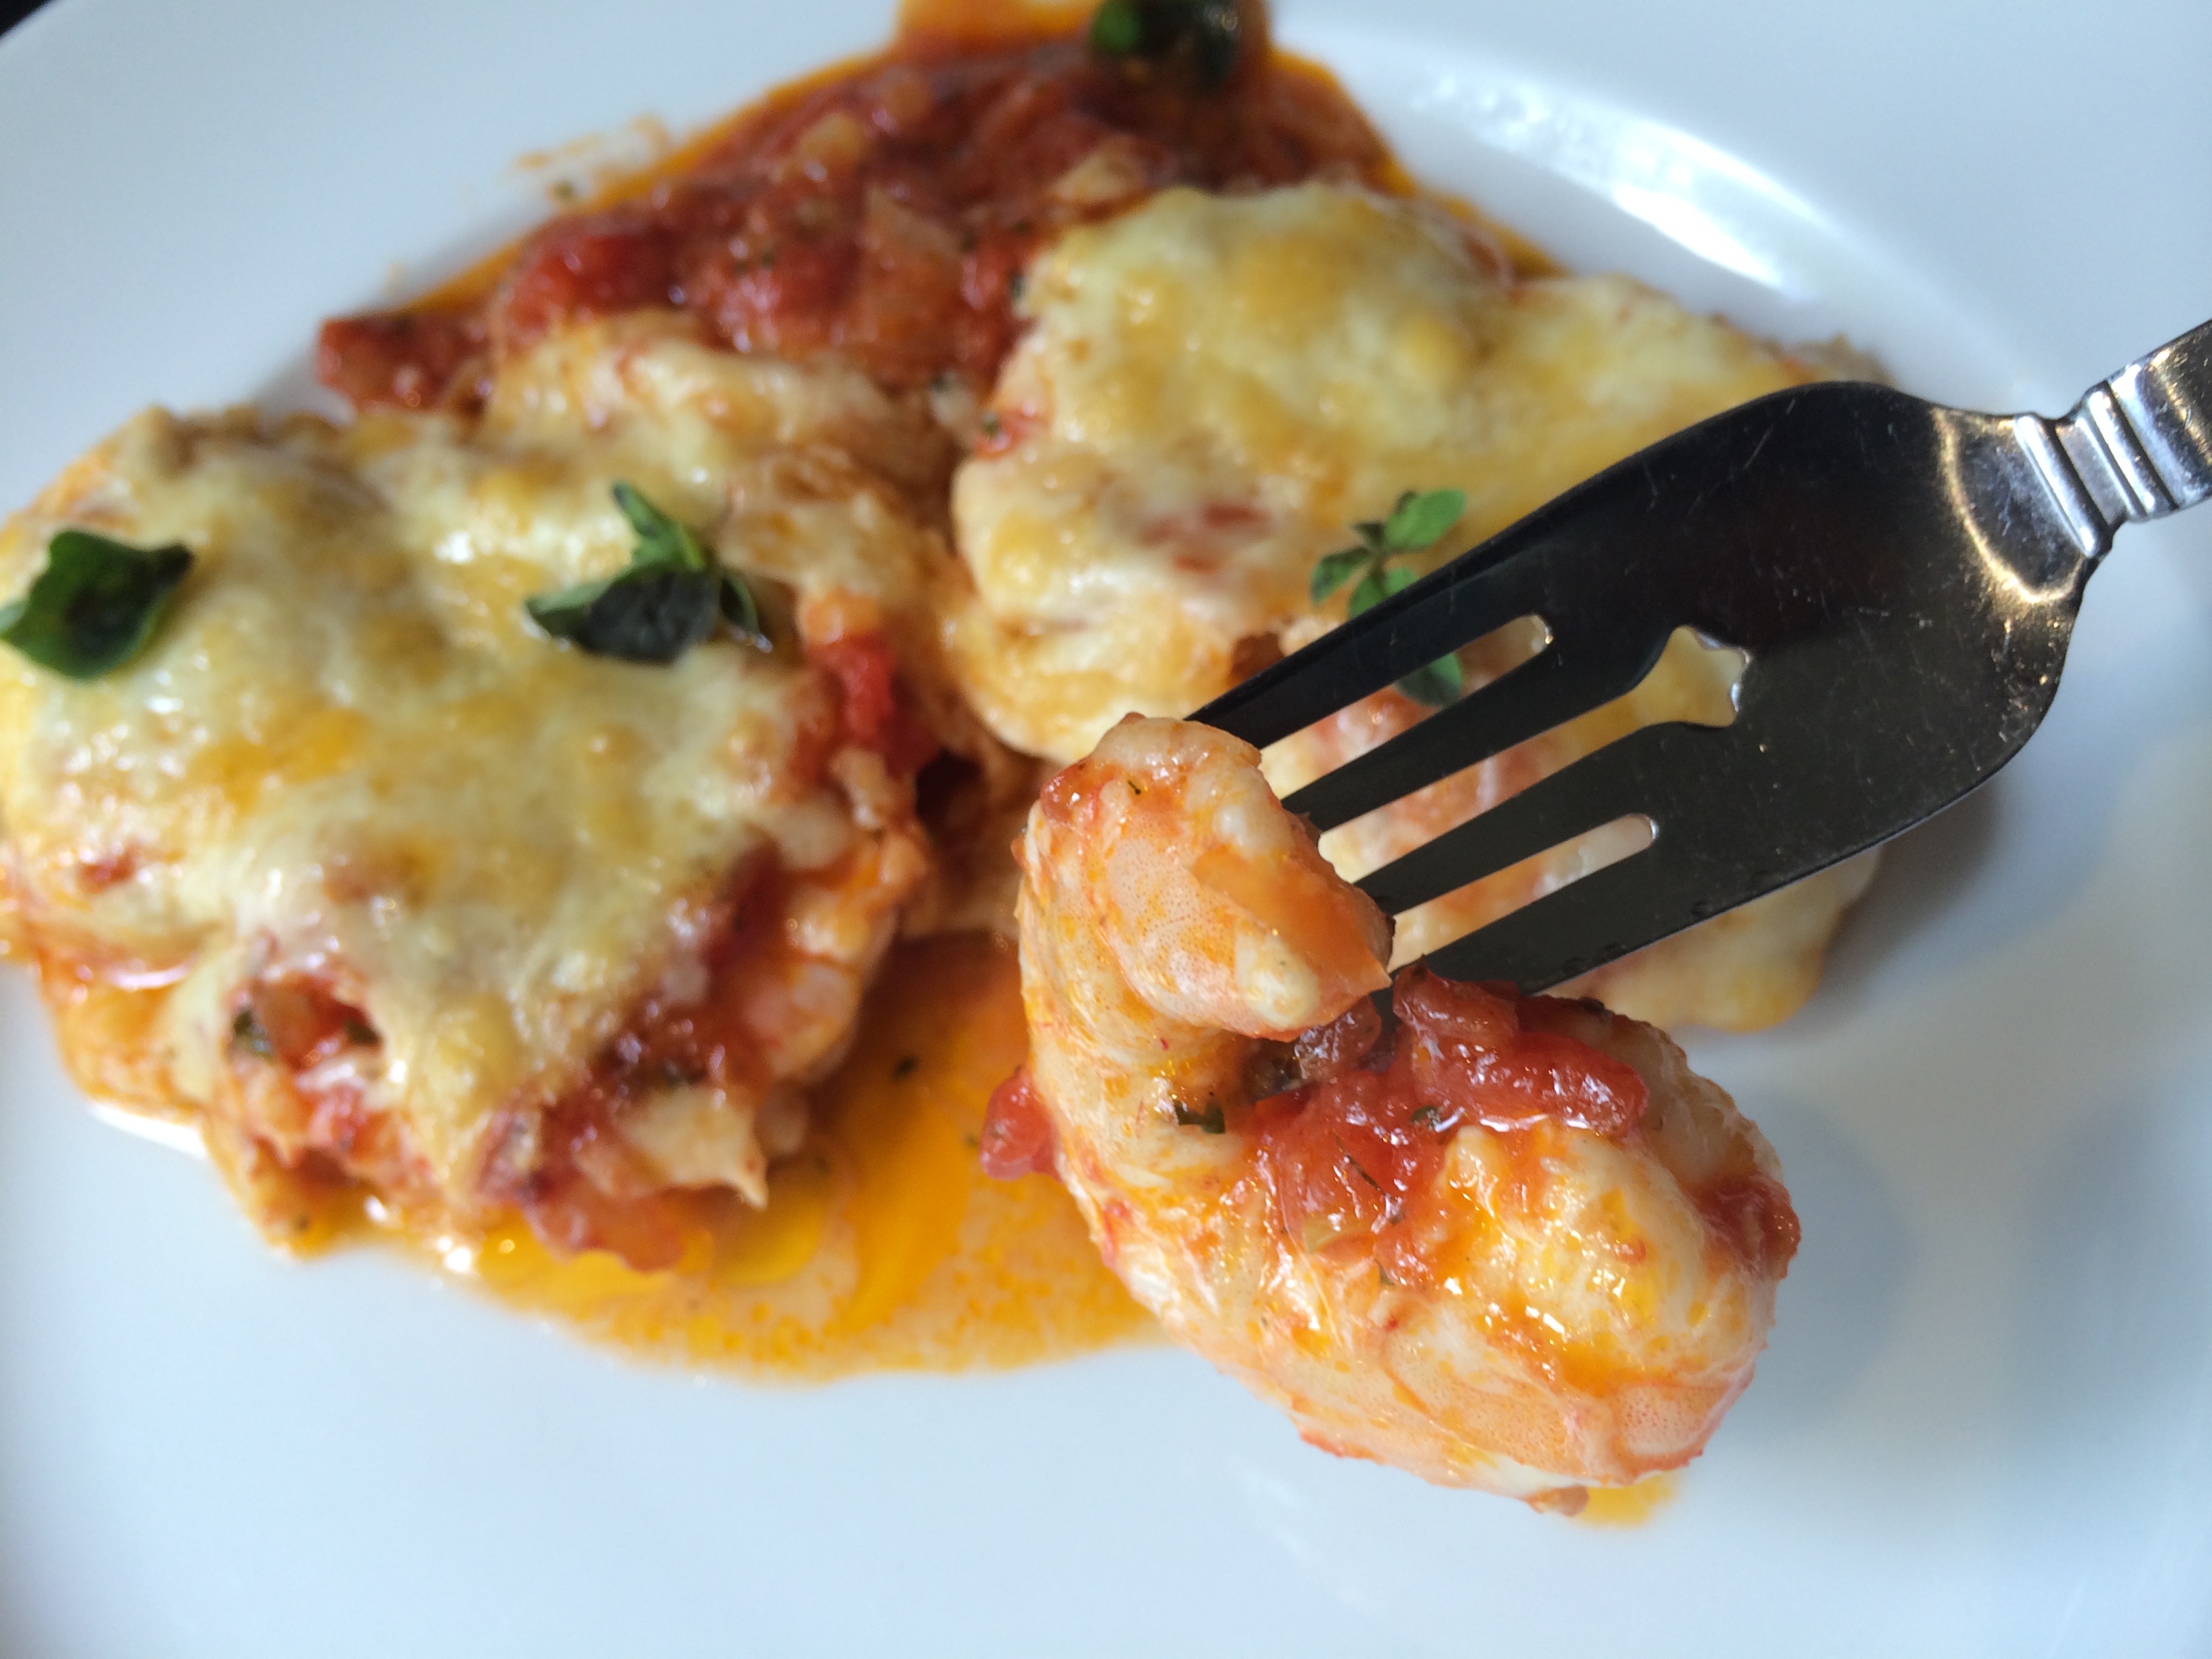
I had a slab of Graviera cheese from my most recent trip to Santorini, and decided to recreate shrimp saganaki using that instead of feta. It was pretty damn amazing…

Melty, gooey, delicious!

Melty, gooey, delicious!


Ingredients:


300 g grated Graviera cheese

1 can (28 oz) whole tomatoes

1 lb (about 24) shrimp, peeled and deveined

1 medium onion, chopped

juice of 1/2 lemon

1/4 cup olive oil

2 cloves garlic, through a press

pinch red pepper flakes

1 1/2 tablespoons fresh dill, finely chopped

1 tablespoon fresh oregano, finely chopped

1 1/2 tablespoons Ouzo

salt and pepper


Peel and devein the shrimp. Squeeze the juice of  1/2 of a lemon on to the shrimp and toss. Set aside.

In a large pan, saute the onions in the olive oil until translucent. Add garlic and cook for a few seconds more.

Crush or puree tomatoes and add to the pan. Add red pepper flakes, dill and oregano, and salt and pepper. Add Ouzo.

Let this sauce cook down for a bit until all the flavors have blended together.

Pour a layer of the sauce on the bottom of a metal broiler-proof pan. Lay the shrimp in a single layer into the sauce. Cover the shrimp with the rest of the sauce and sprinkle the grated Graviera on top.

Place the pan in the broiler and cook until the cheese is brown and bubbly.

shrimp saganaki


Whenever I serve these tuna tacos to friends, I always get requests for the recipe. It requires a bit of setting up, but you can put it together right before serving to your guests…or yourself.

I prefer to use sushi grade tuna for this dish, which is easily found in small frozen “bricks” at Whole Foods or similar stores.

SPICY SOY MARINATED TUNA ON TACO CHIPS

Marinade…
6 Tablespoons soy sauce
1 teaspoon pepper oil
Topping…
¼ cup sour cream
1 Tablespoon fresh squeezed lime juice
Chopped fresh scallions
Other Ingredients…
½ lb sushi grade raw tuna, chopped into ¼-inch cubes
Tortilla chips

Finely chopped scallions

Assemble…

Make the Topping in a bowl first, and place in the fridge. Mix marinade ingredients in a separate bowl. Chop tuna into ¼-inch cubes, and marinate in soy/oil mix for just 10 minutes, then drain. Keep cold!

Just before serving, take a tortilla chip, place 1 Tablespoon of tuna on top, top this with ½ teaspoon sour cream mixture, and garnish with chopped scallions.

Eat these quickly, before the tuna makes the tortilla soggy!


CHIVE TALKIN’

Posted: May 20, 2014 in Food, garden, pizza, Uncategorized
Tags: , , , , ,

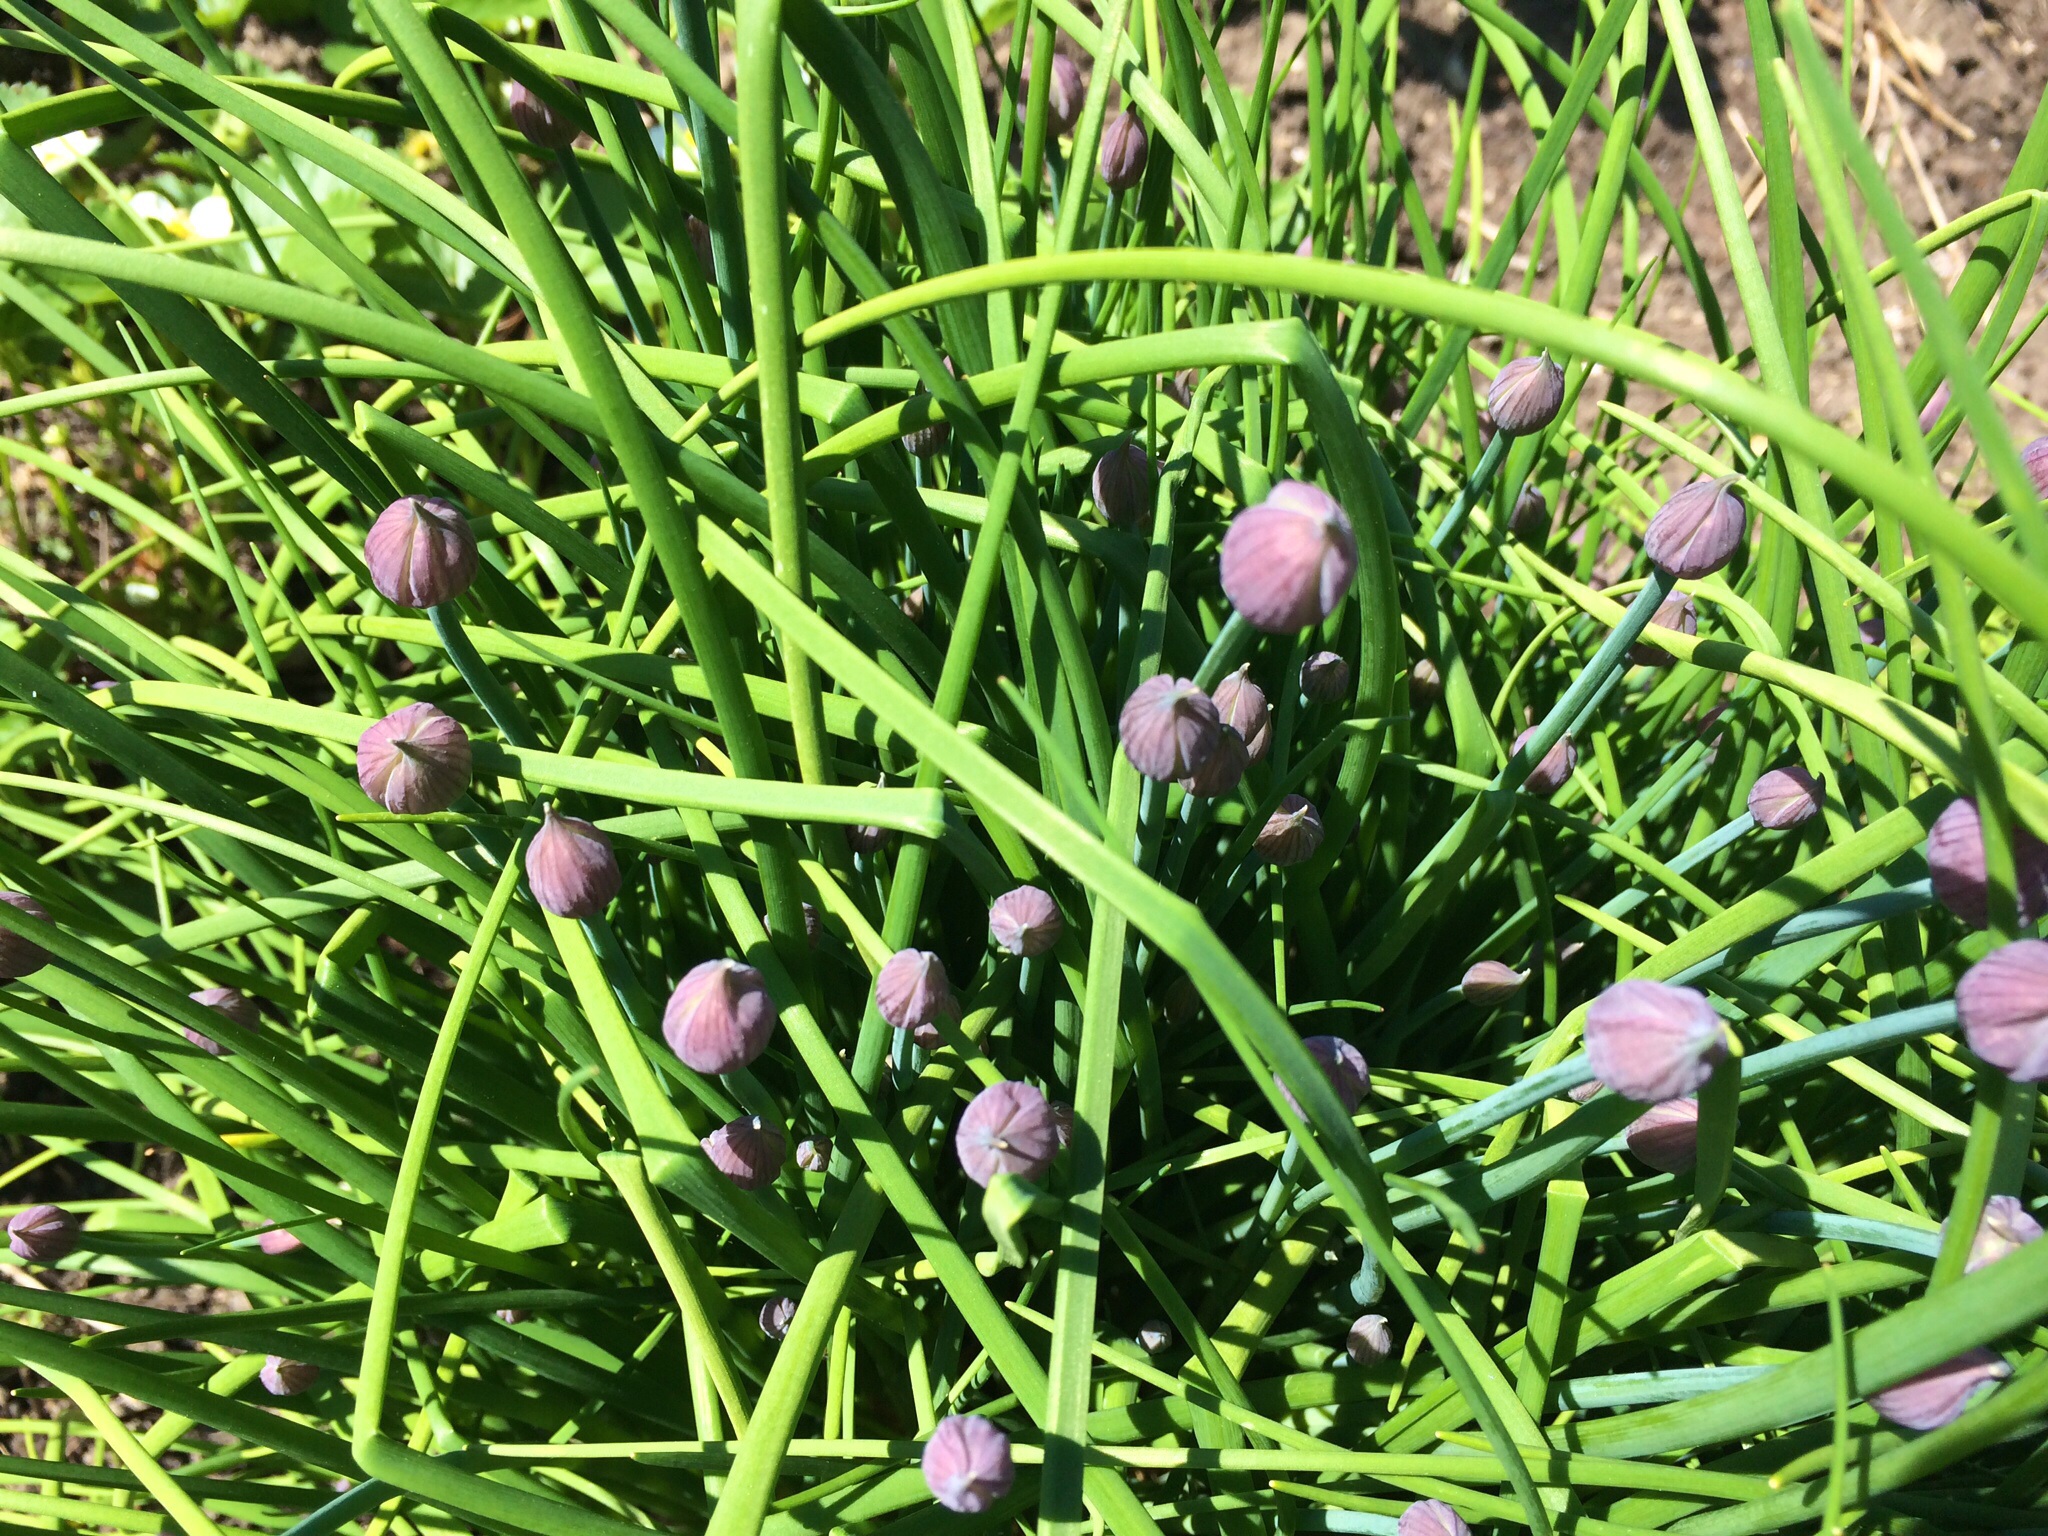
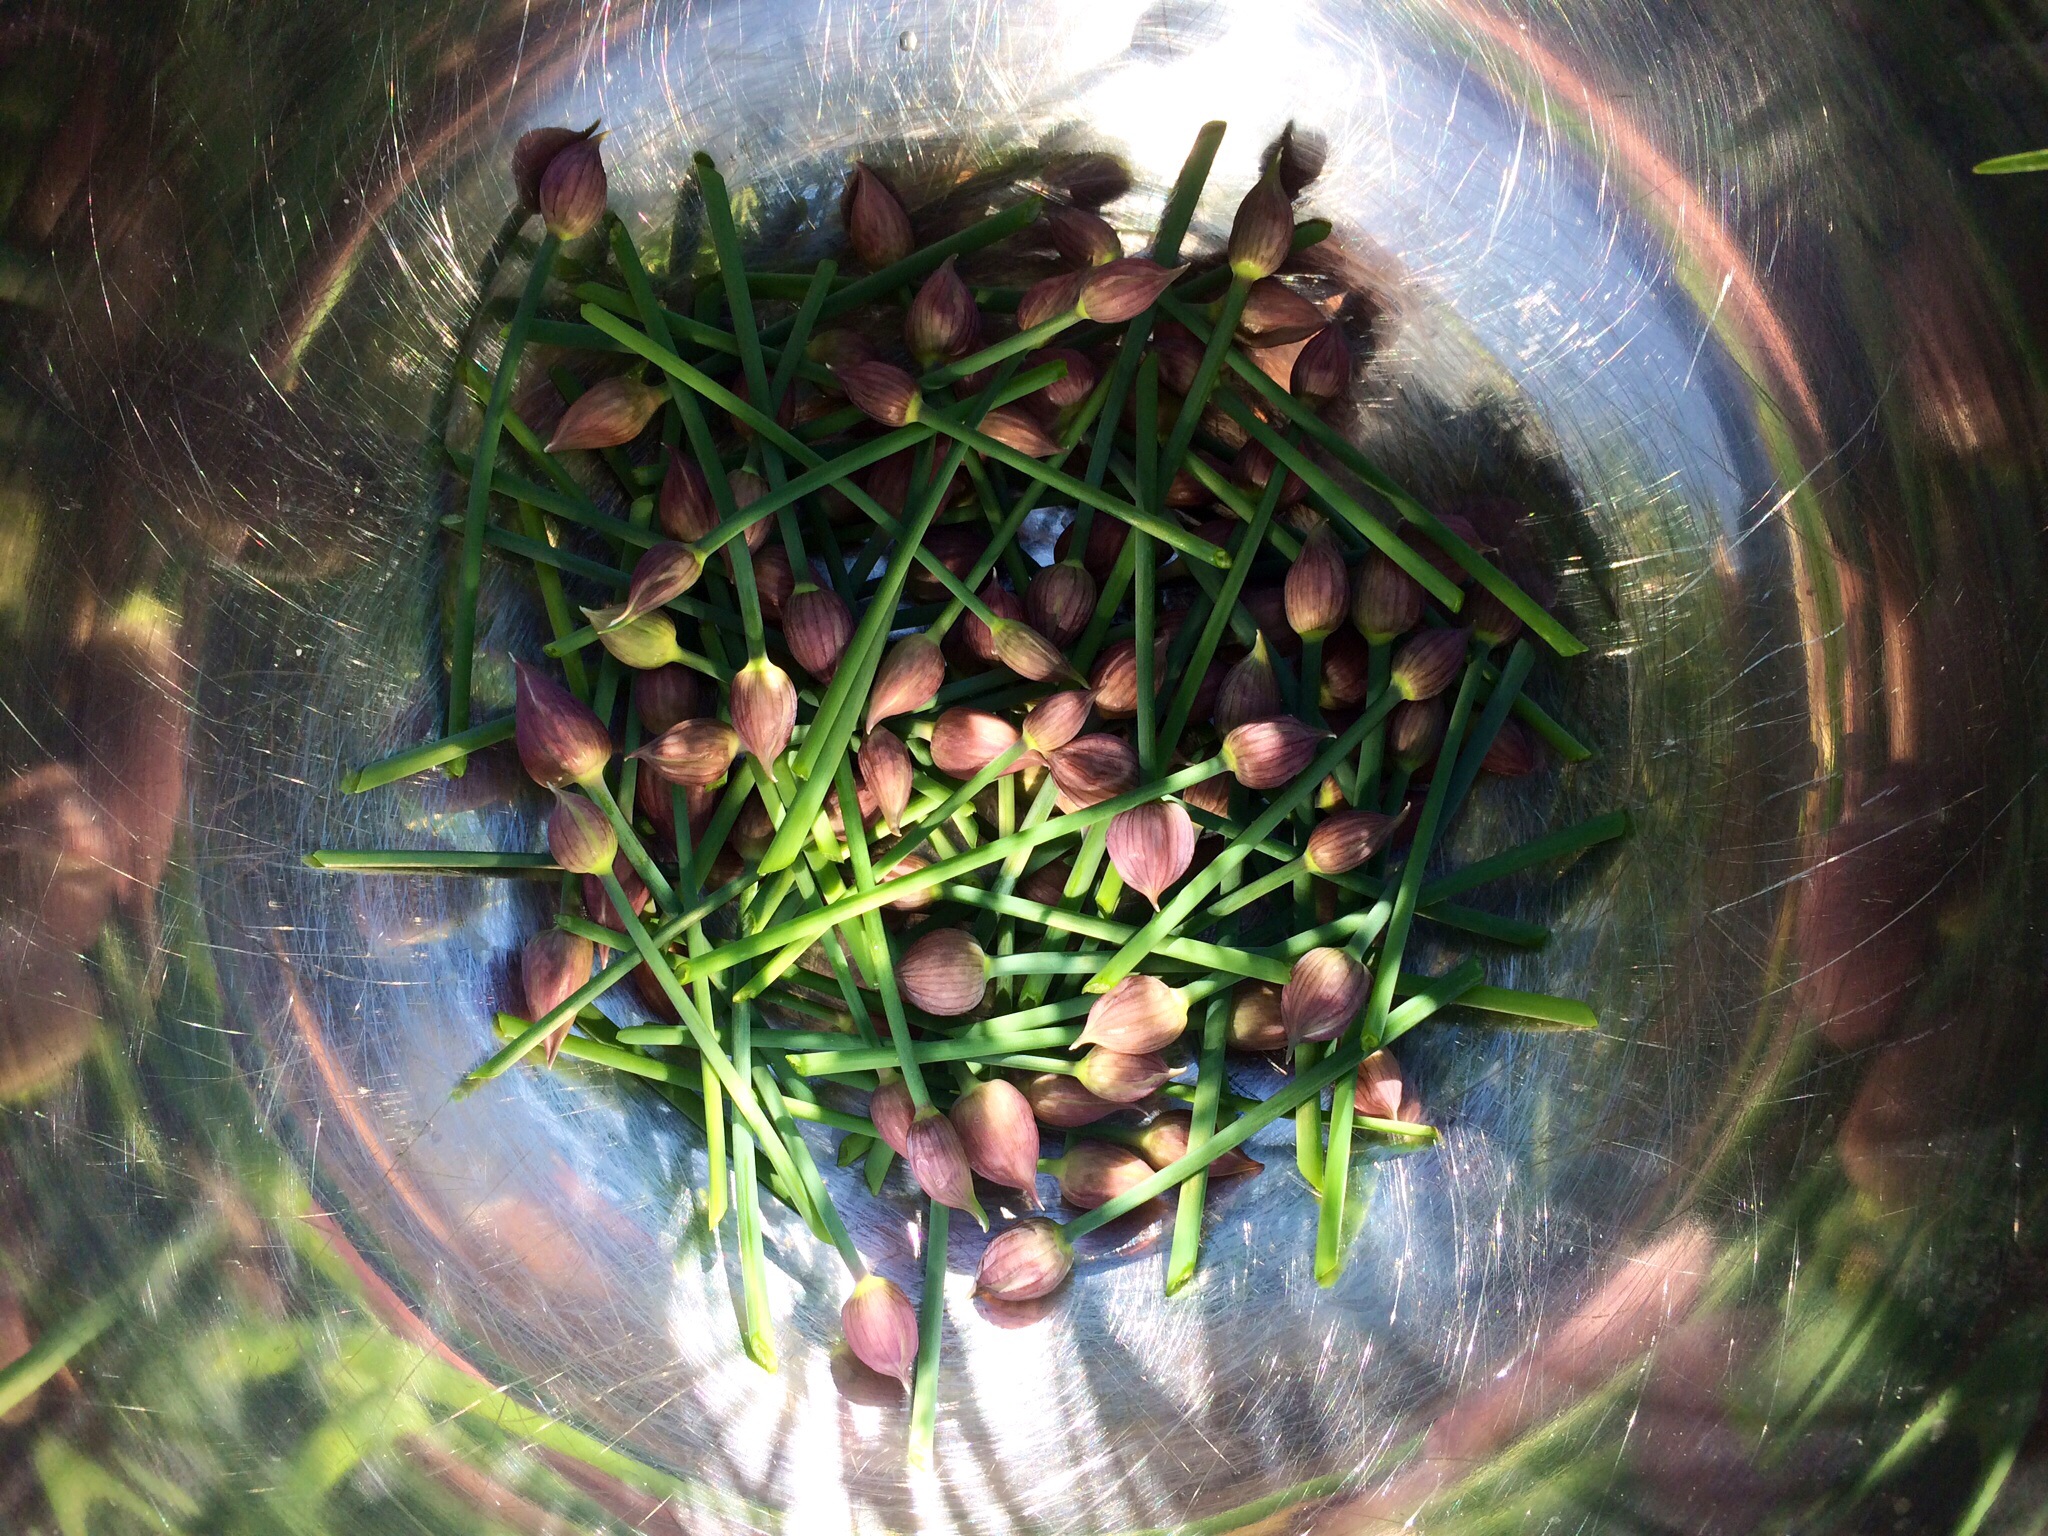
This is the time of year when the chives in my herb garden are busting out with blossoms. Before they pop, I head out every few days and snip the larger blossoms off the chive plants and wrap bunches of them in Ziploc bags and freeze them.

image

I use those blossoms over the course of the next year on my signature marinated beef and chive blossom pizza. I just take a packet of chive blossoms out of the freezer, and sauté them for just a bit in olive oil and salt and pepper, then place them on the pizza before baking.

image

The chive blossoms not only add great flavor, but they look cool on the plate, too. Great as a side for almost any meat dish.


Soy sauce, citrus and honey is always a winning combination with chicken. The addition of toasted anise seeds adds that touch of licorice without overpowering it. The sugar in the honey can make these thighs burn, so keep an eye on them. But I do like a touch of char on my chicken!

chix thighs


Ingredients:


2 teaspoons anise seed
4 cloves garlic, through a press
1/4 cup fresh lime juice
1/4 cup soy sauce
2 tablespoons honey
8 chicken thighs (about 4 lb), skin on

Toast the anise seed in a small dry skillet over medium heat, tossing until fragrant, about 2 minutes. Let it cool to room temp and then grind with a mortar and pestle or coffee grinder. (I have one I use just for spices.)
Combine anise seed, garlic, lime juice, soy sauce and honey. Pour into a large Ziploc bag and add chicken thighs. Squish around to make sure thighs are well coated.
Marinate for several,hours, or better: overnight.
Preheat oven to 450 degrees. 
Cover a sheet pan with non-stick aluminum foil and place thighs skin-side down on foil.
Cook for 15 to 20 minutes, then flip thighs over and cook another 15 to 20 minutes.

asparagus pastaAsparagus season has arrived in my garden. This is one of my favorite ways to enjoy it.
Ingredients:
4 mild Italian sausages, sliced into pieces 1/2″ thick
1 lb penne pasta
1/2 onion, finely chopped
1 cup chopped fresh trumpet mushrooms (white button mushrooms work, too)
2 cups fresh asparagus, sliced into 1-inch pieces
1 clove garlic, passed through a garlic press
1 cup homemade chicken broth
6 fresh sage leaves, finely chopped
1/2 cup freshly grated Parmigiano Reggiano cheese
extra virgin olive oil
salt and pepper
Have the pasta water boiling, and add pasta, cooking until just a bit more undercooked than al dente.
Heat a large pan, and drizzle in some olive oil. Sautee sausage pieces until browned and cooked through, but not over cooked. Remove sausages from the pan and place in a separate bowl. Remove all but 2 tablespoons of the fat left behind in the pan.
Place pan back on stove and saute onions until translucent. Add garlic, and saute for 10 seconds. Add sage, and saute for 10 seconds, stirring. Add chopped mushrooms and saute for a few minutes, then add chicken broth, and simmer until almost all the liquid has evaporated. Pour contents of the pan into the bowl with the sausages.
Return pan to the stove, add a little more olive oil, and on medium heat, saute the asparagus pieces. Cook until they are al dente, not too soft. Once the asparagus has reached this stage, return all the contents of the sausage/mushroom bowl to the pan to heat through. Drain the pasta, and add it to the pan as well, combining all the ingredients. If it looks too dry, add a little pasta water to the pan. Season with salt and pepper.
Make sure you serve this hot, with grated Parmigiano Reggiano on top, and drizzle lightly over the top with extra virgin olive oil.


LIKE BUTTAH

Posted: May 10, 2014 in Food, Recipes
Tags: , ,

Butter is like Play-Doh for foodies: you can mold it and mix it with whatever ingredients you like. Go to a fancy steakhouse, and you’ll get a slab of their “house butter” with your bread, or melted on top of your hunk of beef.

It’s incredibly easy to make your own at home…and there are no rules: add whatever you like and leave out what you don’t.

My buttah…

butter


Ingredients:


8 ounces (2 sticks) unsalted butter

1 teaspoon sea salt

1 teaspoon black pepper

1 teaspoon each: fresh rosemary, thyme, and oregano…finely chopped

pinch of granulated garlic and onion powder


Let the butter soften. Add the rest of the ingredients and combine well with a fork.

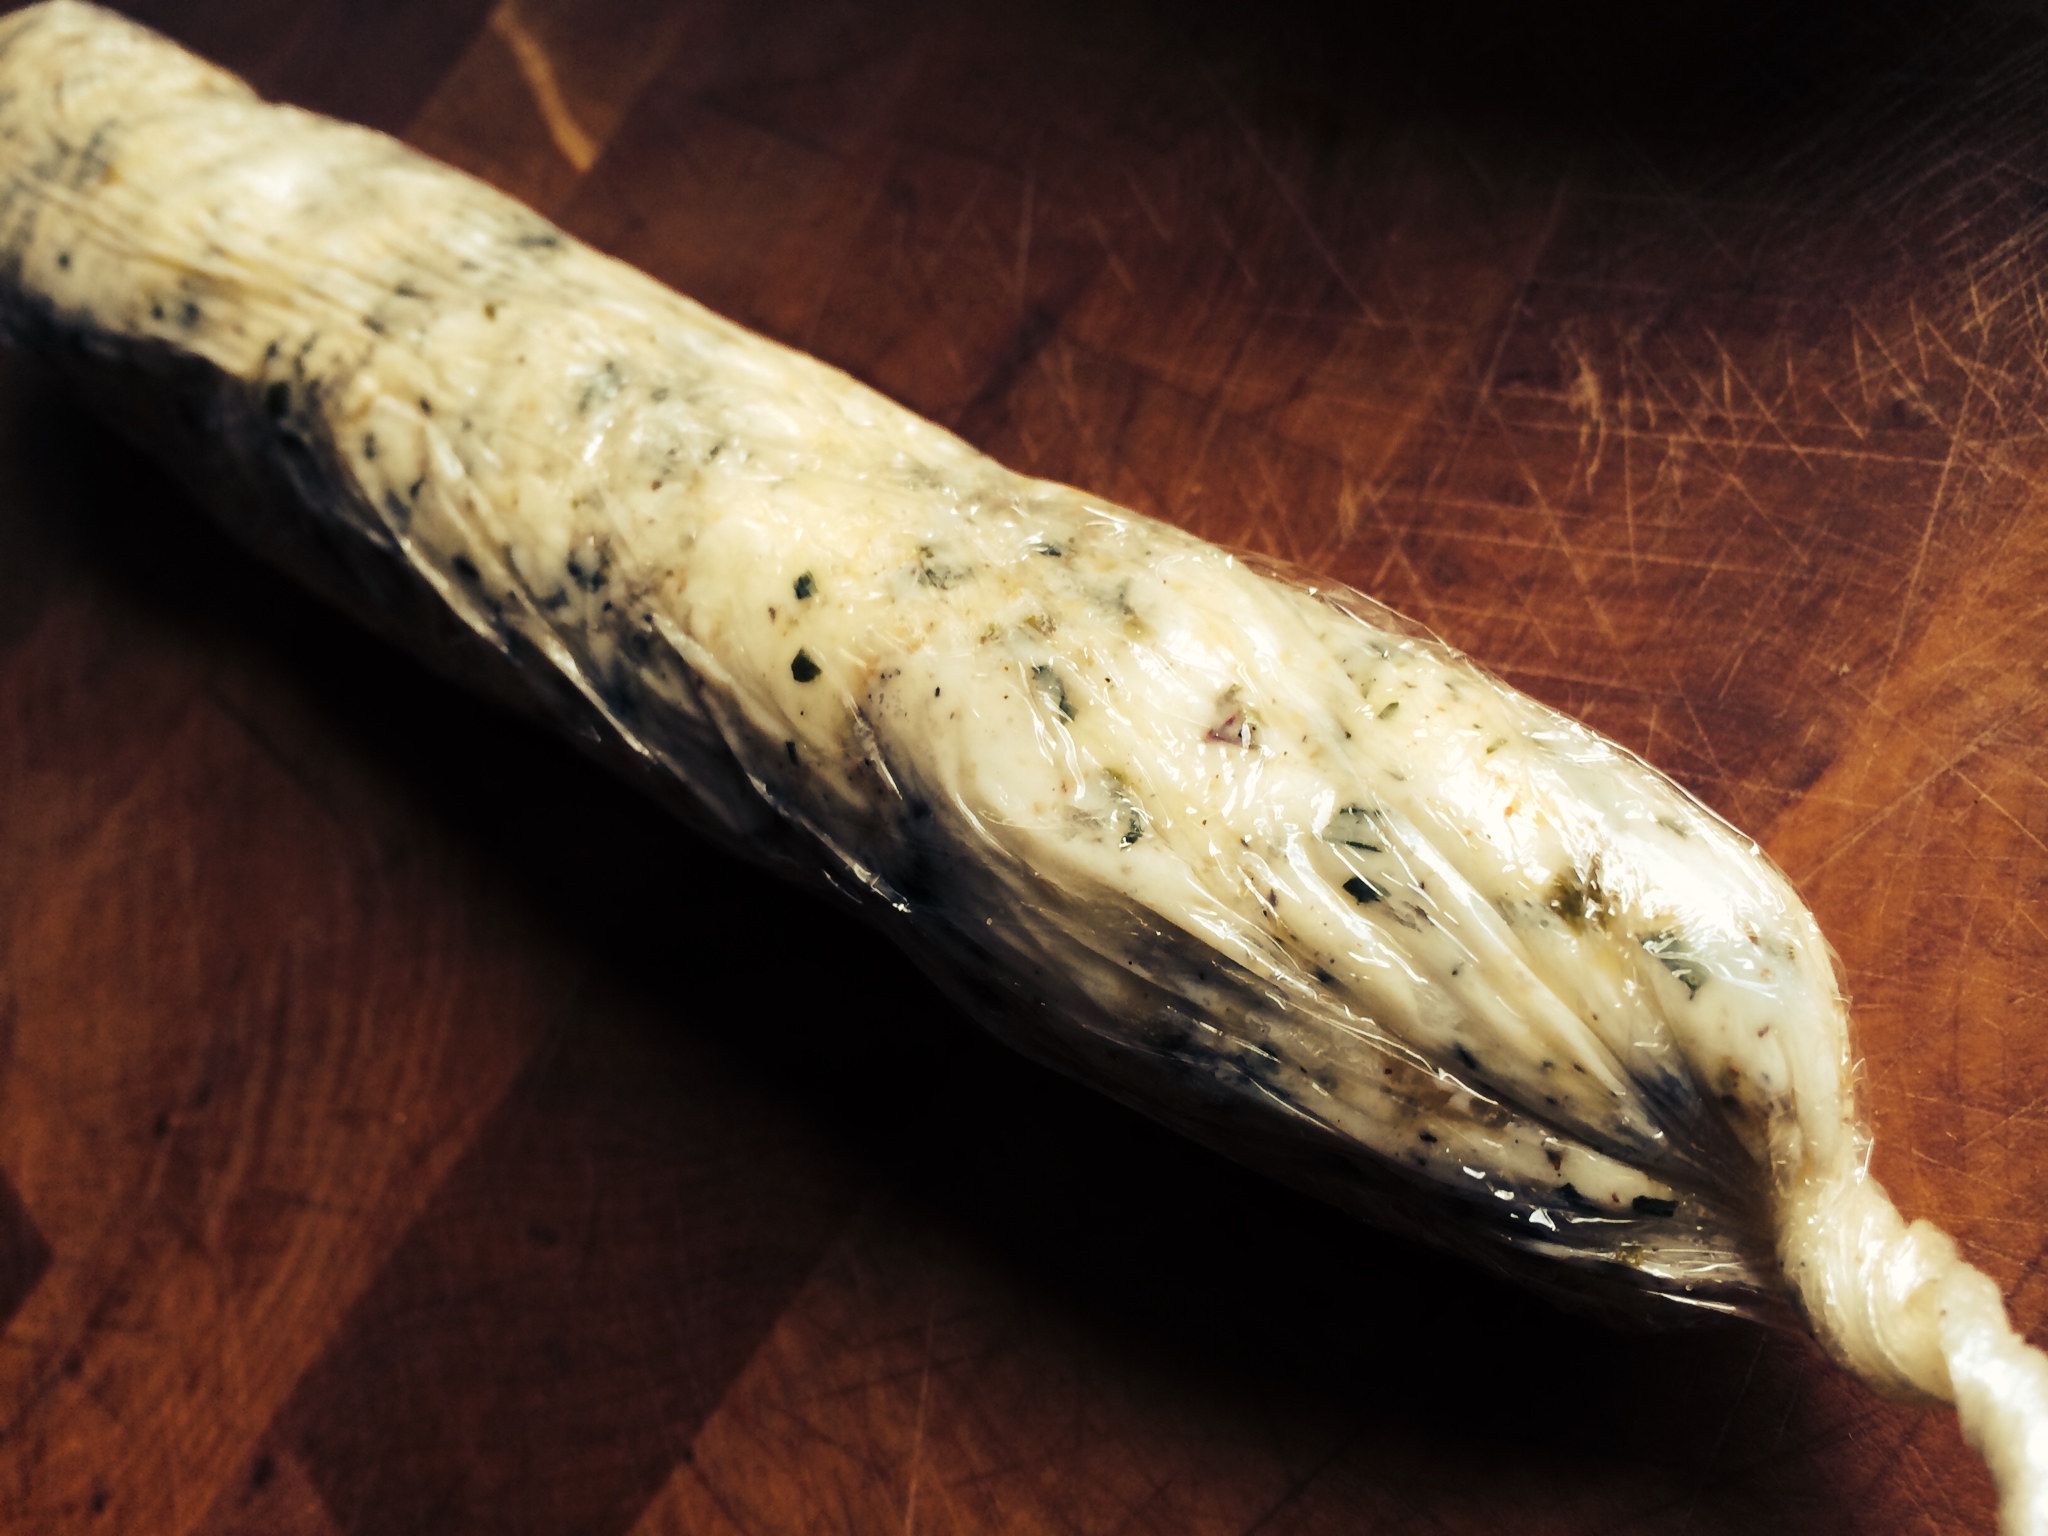
Take a piece of plastic wrap and lay it down on the counter. Smear the butter mixture onto the plastic with a spatula, forming a rough log. Roll the plastic wrap tightly lengthwise, tightening the log into a nice long round cylinder about 1 1/2″ thick. Twist the ends of the plastic wrap to remove any air bubbles.

Freeze and slice a piece off when you need it. When cooking a steak, simply let the warmth of the beef melt the slab of butter while you eat…

My name for a messy yet delicious taco on a bun. I had leftover taco meat and leftover barbecue sauce…recipes from two previous blogs. Putting them together with a sprinkling of Mexican cheese on a bun with lettuce and tomato made for one sloppy but delicious sandwich!

sloppy jose

How to make one…

For the barbecue sauce, I used the sauce inspired by Franklin’s Barbecue in Austin, Texas, as featured in my last blog: http://wp.me/p1c1Nl-qX

For the seasoned taco meat…

Ingredients:

1 teaspoon granulated garlic

1 teaspoon onion powder

1/4 teaspoon crushed pepper flakes

1 teaspoon dried Mexican oregano

1 teaspoon paprika

2 teaspoons ground cumin

1 teaspoon sea salt

1 teaspoon black pepper

1 Spanish onion, finely chopped

olive oil

2lbs. grass-fed ground beef


Combine all the spice ingredients in a bowl.

Saute the onions in a bit of olive oil until translucent. Add the beef and saute until cooked, mixing in the spice mixture a little at a time until you’ve used it all.


For the sandwich…

Take some of the taco meat and place it in a small non-stick pan and heat on medium. Squirt in as much of the barbecue sauce as you like, mixing thoroughly. Sprinkle some grated Mexican cheese on top, mixing thoroughly and letting it all melt together into one warm, gooey mess. Throw it on a bun. Add lettuce, tomato, avocado slices, whatever you like!