Posts Tagged ‘grilling’

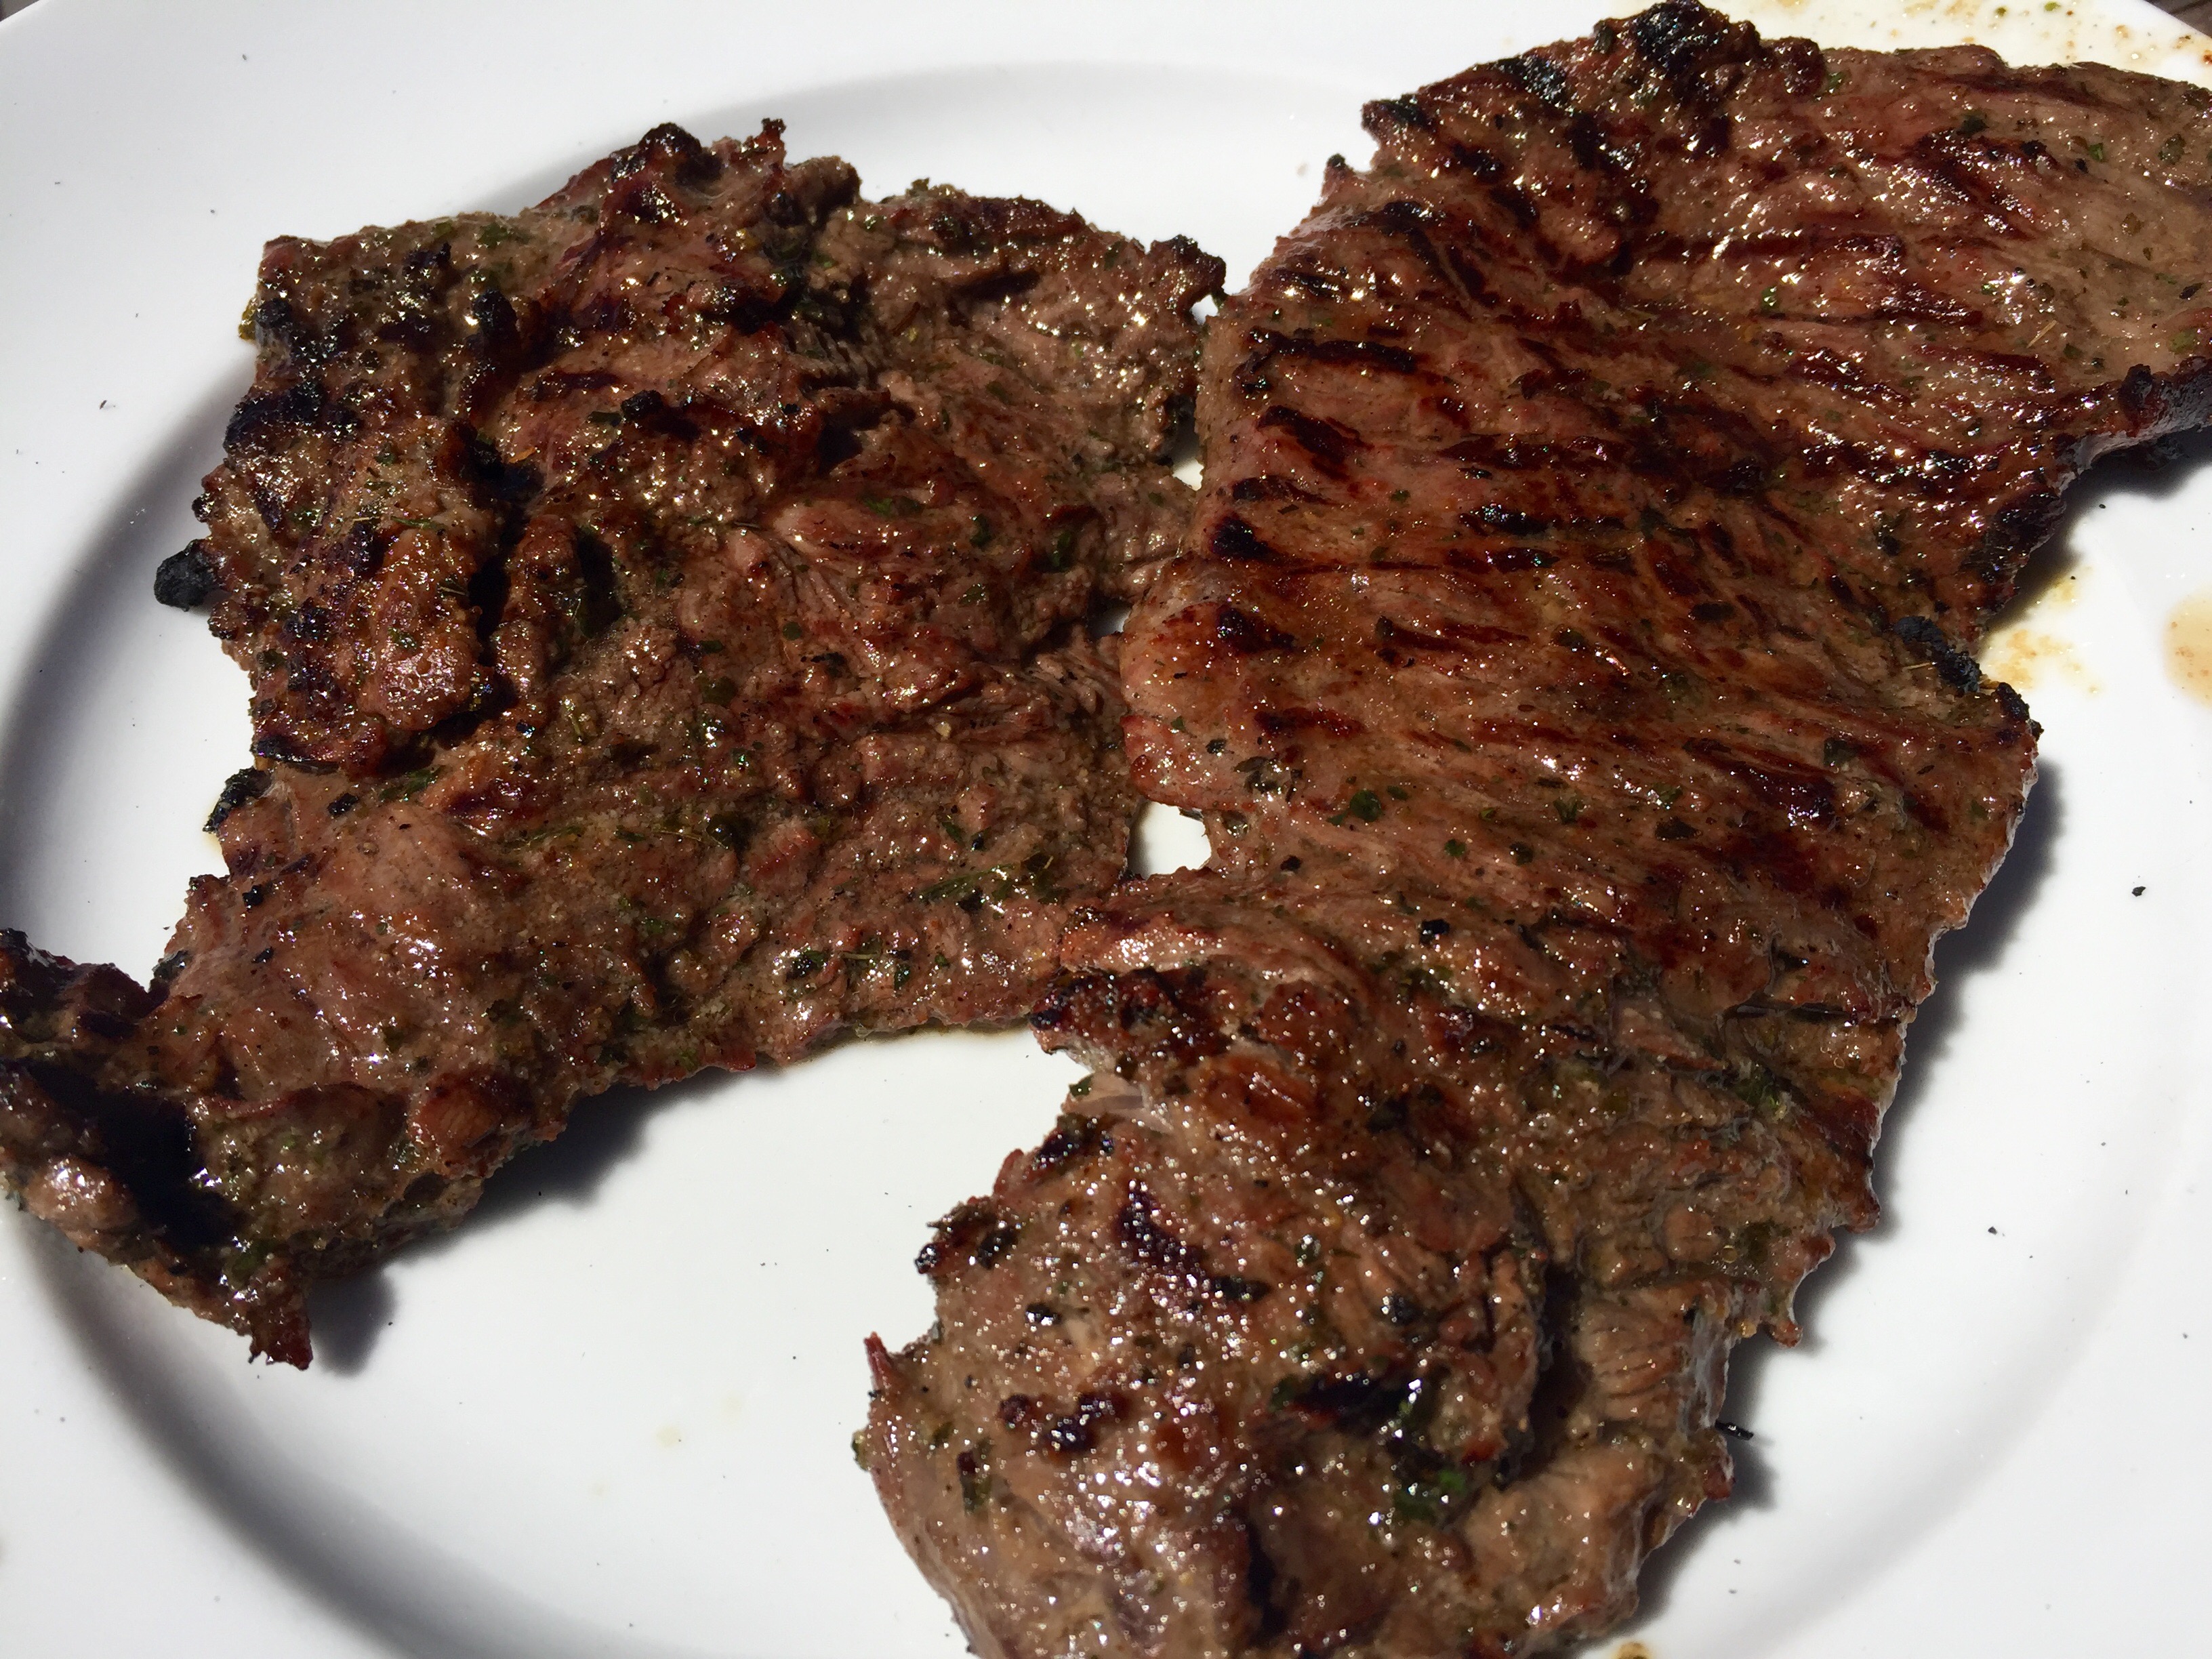
True: the inspiration behind this dish was a conversation I had with friends, talking about our early childhood days. Someone brought up the name Shari Lewis, and her famous puppet Lamb Chop. Next thing I knew, I was grilling the critter in my yard.

This is a great grilled lamb recipe that works best if you marinate it ahead of time, but it’s not absolutely necessary. Cook it indoors or outside on the grill. I used grapefruit zest and juice in the original recipe, but since I still had a Honeybell orange left in my stash, I used that this time around. Any citrus you like will work.

American lamb is different from lamb raised in New Zealand or Australia. If you like a milder flavor, go with the American lamb. Lamb from New Zealand and Australia is entirely grass-fed, making for a stronger “gamier” flavor but a healthier cut of meat, as all grass-fed meat products are.


L2


6–8 small lamb chops
1/4 cup brown mustard (I like Gulden’s)
Zest of 1 Honeybell orange
1 tablespoon Honeybell juice
1 tablespoon honey
1 teaspoon garlic salt
1/4 teaspoon black pepper
1/4 teaspoon dried thyme


In a bowl, combine the mustard, Honeybell zest and juice, honey, garlic salt, pepper, and thyme. Mix well. At this point, you can marinate the lamb by pouring the mixture in a Ziploc bag and adding the lamb to it. Marinate at least 1 hour at room temperature, or longer in the fridge.

Pre-heat a hardwood charcoal grill…or if cooking indoors, pre-heat the oven to 350, and on the stove top, heat an oven-proof pan (cast iron is best) with a little pork fat or oil.

If you marinated the lamb, remove the meat from the bag and save the marinade to baste with while cooking. Don’t use the marinade uncooked, since it made contact with raw meat.

On the grill: Grill the lamb on all sides first, then start brushing the mixture on them, flipping them, brushing again, and grilling. Keep doing this until you’ve used up all the mixture and the lamb is cooked to proper doneness. Don’t overcook it!

In the pan: Sear the lamb on all sides, then brush all sides with the marinade. Place the lamb in the oven to finish cooking, making sure you don’t overcook it. Let it rest before serving.


image

For me, deep-fried turkey is just too much damn work: finding a safe spot in the yard to blast the propane-fueled fryer so that you don’t burn your house down, standing outside and freezing your ass off while it fries, and then disposing of gallons of used oil at the end of it all. And making sure the oil is at the right temperature so you don’t get a scorched turkey on the outside and raw turkey on the inside. Sure, they now have indoor turkey fryers, but I’m not crazy about that idea, either.

I get great results by cooking my turkey in my Weber grill. The standard Weber allows you to cook up to a 15 lb. bird–big enough for my purposes–and it comes out crispy, smokey and delicious.

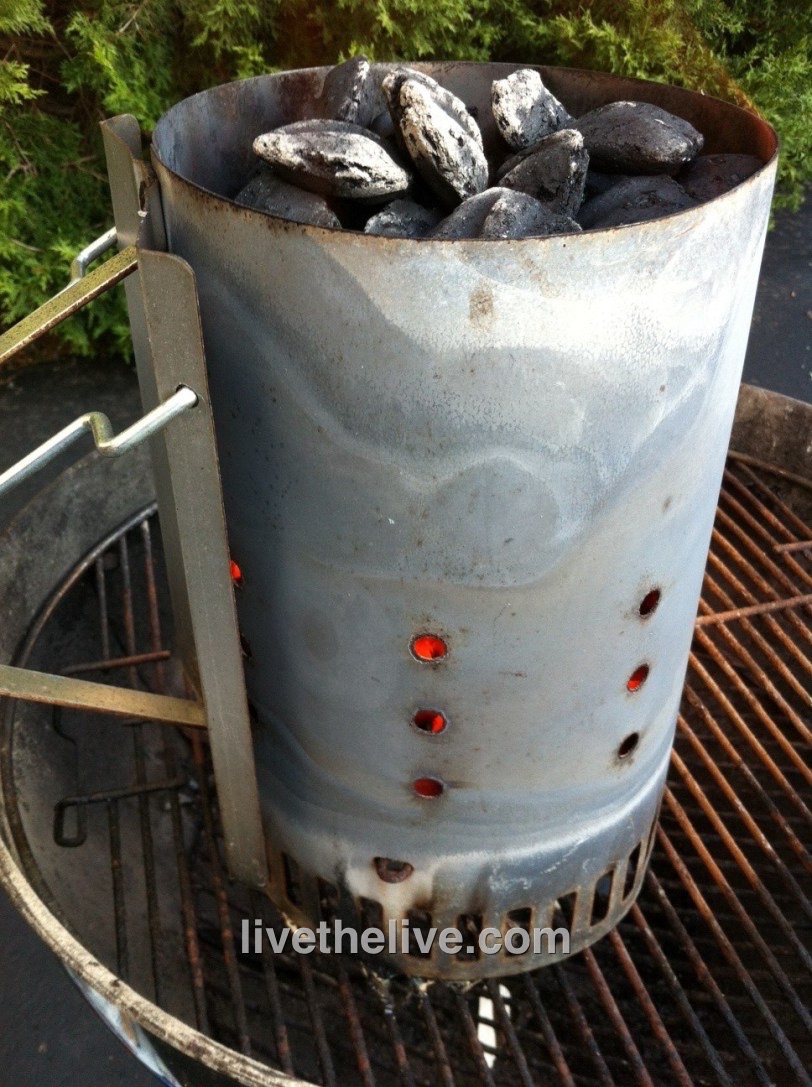
The charcoal chimney with hot coals awaits.

The charcoal chimney with hot coals awaits.

Although I’m a purist and always use natural hardwood charcoal, this recipe works best with Kingsford briquettes. The idea is for the coals to cook slowly and evenly. And, unless you want your turkey to taste like gasoline,  never use lighter fluid…always start your fire with a few pieces of crumbled newspaper under a charcoal chimney.


Weber grill, with the dome top
Kingsford charcoal briquettes (don’t use Match Lite or other pre-soaked briquettes)
Heavy duty aluminum pan (disposable)


Whole turkey, up to 15 lbs, thawed and brined (see my blog about brining a turkey)
Olive oil (to rub on turkey)
2 yellow onions, chopped
4 stalks of celery, chopped
½ lb (2 sticks) of unsalted butter, melted
1 tablespoon granulated garlic
1 tablespoon granulated onion
2 tablespoons salt
1 tablespoon pepper
Spreading the coals away from the center of the grill.

Spreading the coals away from the center of the grill.

If you want stuffing, make it separately and cook it separately. (A great recipe in my next blog.)

Light 8 to 10 lbs. of charcoal in the grill…depending on the size of the turkey and how cold it is outside.

Remove the giblets from the turkey. Place the bird in the aluminum pan.

In a small bowl, mix the granulated garlic, granulated onion, salt and pepper Add any other seasonings you like.

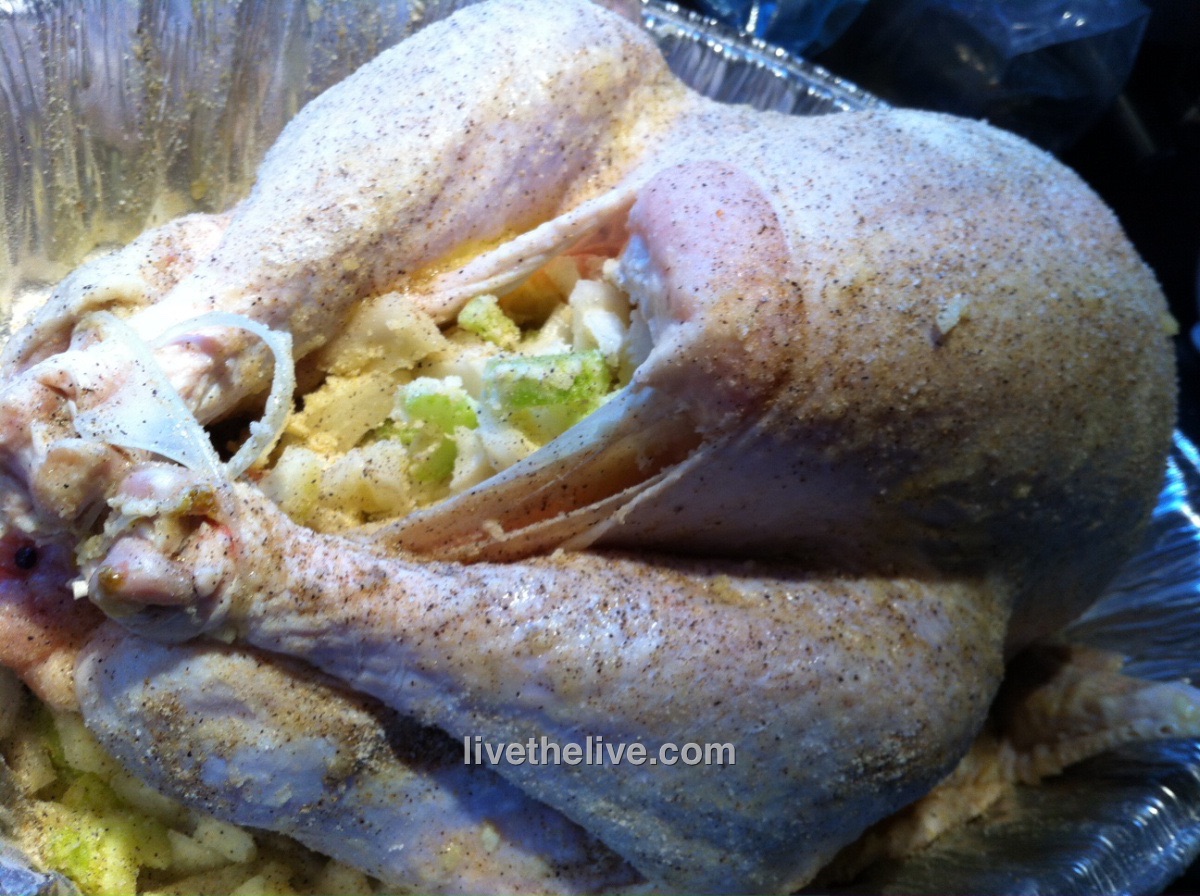
Coarsely chop the onions and celery. Place them in a another bowl. Mix with the melted butter and 1/3 of the salt/pepper/garlic powder mixture. Place a small handful of this “stuffing” mixture in the neck cavity of the turkey. Place the rest in the body cavity (where the stuffing would usually go.) You can fasten the bird with turkey skewers if you like. This “stuffing” is strictly to flavor the turkey…you don’t eat it!

The rubbed, stuffed and seasoned bird.

The rubbed, stuffed and seasoned bird.

Rub the outside of the entire turkey with the olive oil and sprinkle the rest of the garlic/onion/salt/pepper mixture on the outside of the bird. Make sure you get the bird on the bottom as well.

When the coals in the grill have ashed over, spread them to the outside edges of the Weber equally. Put the cooking grill rack in place. Place the aluminum pan with the turkey in the center of the grill, keeping it away from the direct heat of the coals. If you’re using a meat thermometer, insert the probe into the thickest part of the breast, being careful not to hit the bone. Place the lid on the grill. (You may need to bend your pan a bit.) Open the vents on the bottom of the Weber as well as the lid. Important to get air circulating!

My meat thermometer calls me from as far as 100 feet away! Time for a cocktail!

My meat thermometer calls me from as far as 100 feet away! Time for a cocktail!

No basting is necessary.

Now here’s the tough part: DO NOT OPEN THE GRILL TO CHECK ON THE TURKEY! (If you must look, shine a flashlight into the vent holes on the lid to take a peek at the pop-up timer, if there is one.) The whole point is to keep the heat inside the kettle. You’ll know your turkey is done when no more smoke or heat rises from the grill, and the turkey inside stops making sizzling noises.

Remove the turkey and let it rest at least 15 minutes before carving.

If you pull the turkey out too early and find that it still needs cooking, or if your coals die out too soon, simply place the bird in a 350-degree oven to finish. It will still have that wonderful smokey flavor from the grill.

Beautifully grilled, and perfectly cooked in less than 2 hours!

Beautifully grilled, and perfectly cooked in less than 2 hours!

It’s Labor Day weekend, and it’s all about the grill! (Hardwood, that is…not gas.) You can make this recipe in the kitchen, but a wood fire brings it to the next level.

thai chicken LTL


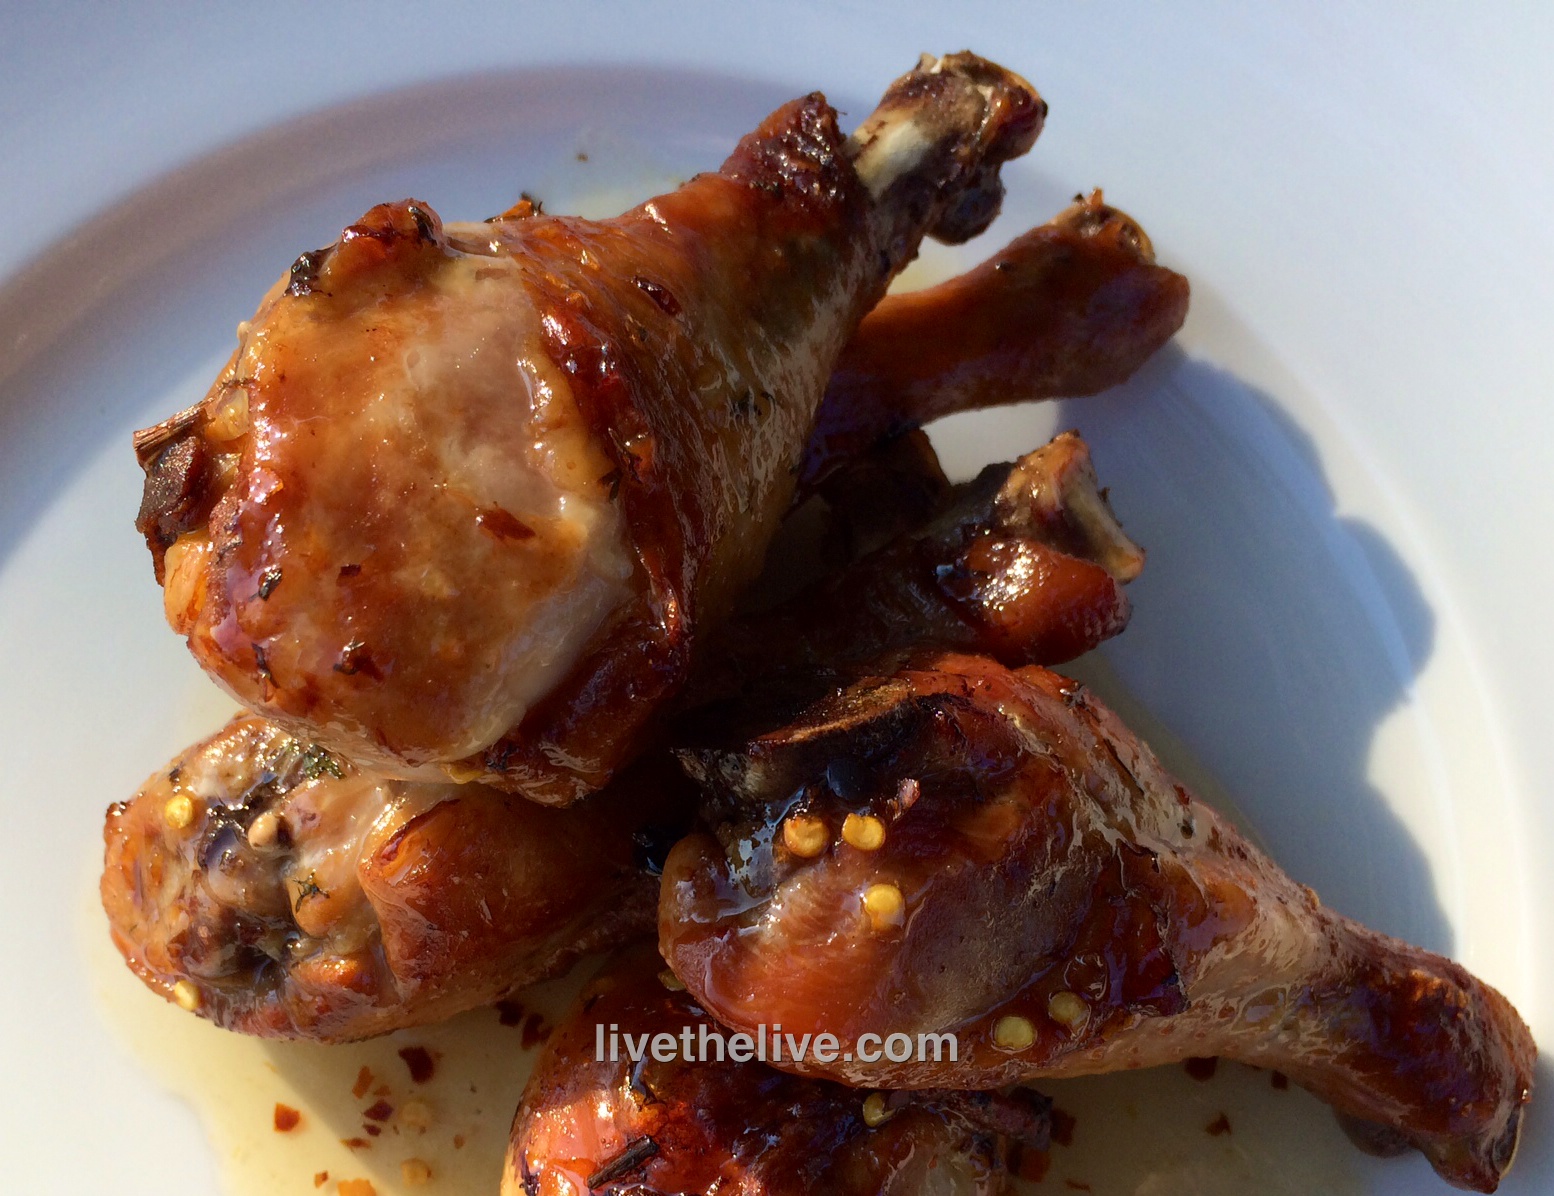
3 lbs. chicken pieces (I used drumsticks for this recipe)
2/3 cup soy sauce
1/2 cup fresh cilantro
2 tablespoons canola or peanut oil
2 garlic cloves, roughly chopped
1/2 teaspoon white pepper
1/2 cup sugar
1/4 cup white vinegar
1 teaspoon red pepper flakes or crushed dried chiles
1 teaspoon salt

Marinade: Combine soy sauce, cilantro, canola oil, granulated garlic and white pepper in a food processor and let it run. Place chicken pieces in a Ziploc bag and pour half of the marinade in. Save the other half for basting later. Seal the bag and let the chicken marinate overnight, or at least a few hours, squishing the bag around so that all the chicken gets marinated.

Sauce: In a saucepan, combine sugar, white vinegar, pepper flakes and salt. Bring to a boil and make sure the sugar dissolves. Remove from heat and let it cool to room temperature.

After marinating overnight, discard the used marinade in the Ziploc bag. Place chicken pieces over a hot hardwood fire or bake in an oven at 350, basting them with the leftover marinade until fully cooked. If the coal fire gets too hot, move the chicken to a cooler part of the grill to prevent burning. If using the oven, switch to the broiler at the end to give the chicken a nice char.

Serve with the sweet pepper sauce drizzled on top.

Skip the necktie. If your dad’s a foodie, he wants something cool this year! All of these ideas have been rigorously tested by our panel of experts (OK, just me), and get a big thumbs up. This article was originally published a few years ago, but I’d still be happy to get any of these for Father’s Day!


Masterbuilt Electric Digital Smokehouse: I’m a bit of a purist when it comes to grilling. I refuse to use a gas grill because I think there’s no difference between that and my kitchen stove. I use real hardwood charcoal, with real smoke and real flavor. But when it comes to smoking meats, basic smokers require constant maintenance so that the temperatures don’t fluctuate. With an 8-year-old daughter to take care of, that’s something I don’t have time for, especially if I’m cooking something low and slow for about 12 hours. So I have a digital smoker. I plug it in, set the time and temperature, and then periodically add wood chips through a side drawer to smoke the meat. I can literally set it and forget it. I have it cook through the night, so I wake up to a beautifully smoked slab of meat in the morning.


Cognac! How can you go wrong with booze for Father’s Day? But if you’re looking for something really special to give Dad (or your favorite blogger), it’s Kelt XO. What makes Kelt XO special is that before bottling, they place the barrels of cognac on board ships that sail the world for months at a time. During this time, the cognac gently rocks back and forth in the barrels, slowly acquiring a smoothness you can’t find in other spirits. Each bottle even comes with a tag that tells you exactly what ports around the world your cognac has been to. Worth the search at high-end liquor stores.

jack daniels


Jack Daniels smoking chips: Whether you have a smoker or not, these chips will make anything you cook taste better. Made from the old oak barrels that they use to age Jack Daniels, you get a serious hit of whiskey in every bag…and in your food. Simply toss a handful of chips you’ve soaked in water for about a half hour, and they will infuse the food on your grill with flavor. You can also use them dry, on charcoal or gas grills.


Cookbook favorites: “Jamie at Home,” by Jamie Oliver (a great combination gardening/cookbook), “Charcuterie,” by Michael Ruhlman and Brian Polcyn (the best book on how to cure and smoke meats), “Barbecued Ribs, Smoked Butts, and Other Great Feeds,” by Jeanne Voltz (my absolute barbecue Bible!), and “Martin Yan’s Feast: The Best of Yan Can Cook” by Martin Yan (the authority on Asian cooking.)


Redi-Check Remote Cooking Thermometer: Even someone who has barbecued all their lives runs the risk of burning or undercooking a roast or a large bird. Opening the grill and jabbing the meat with a thermometer several times causes the juices from the meat to run out, leaving it dry…and every time you open the grill, you lose precious heat. This is the better solution: You stick the needle into the roast or bird and leave it in there the entire time it cooks, so no juices leak out. You plug it into the monitor which then calls you when the meat is ready (from as far as 100 feet away!) You set the time or temperature, and then get to join your guests for the party.

smoking gun


Smoking Gun: There are times when you don’t need a full-on smoker. All you want to do is smoke a small piece of fish or a hunk of cheese.  You simply take some of the finely ground wood chip powder (comes with the gun) and place it in the pipe-like bowl. Light it, and the Smoking Gun will blow that smoke through a hose into the Ziploc bag where your piece of fish is waiting for its magical transformation to smoky deliciousness.


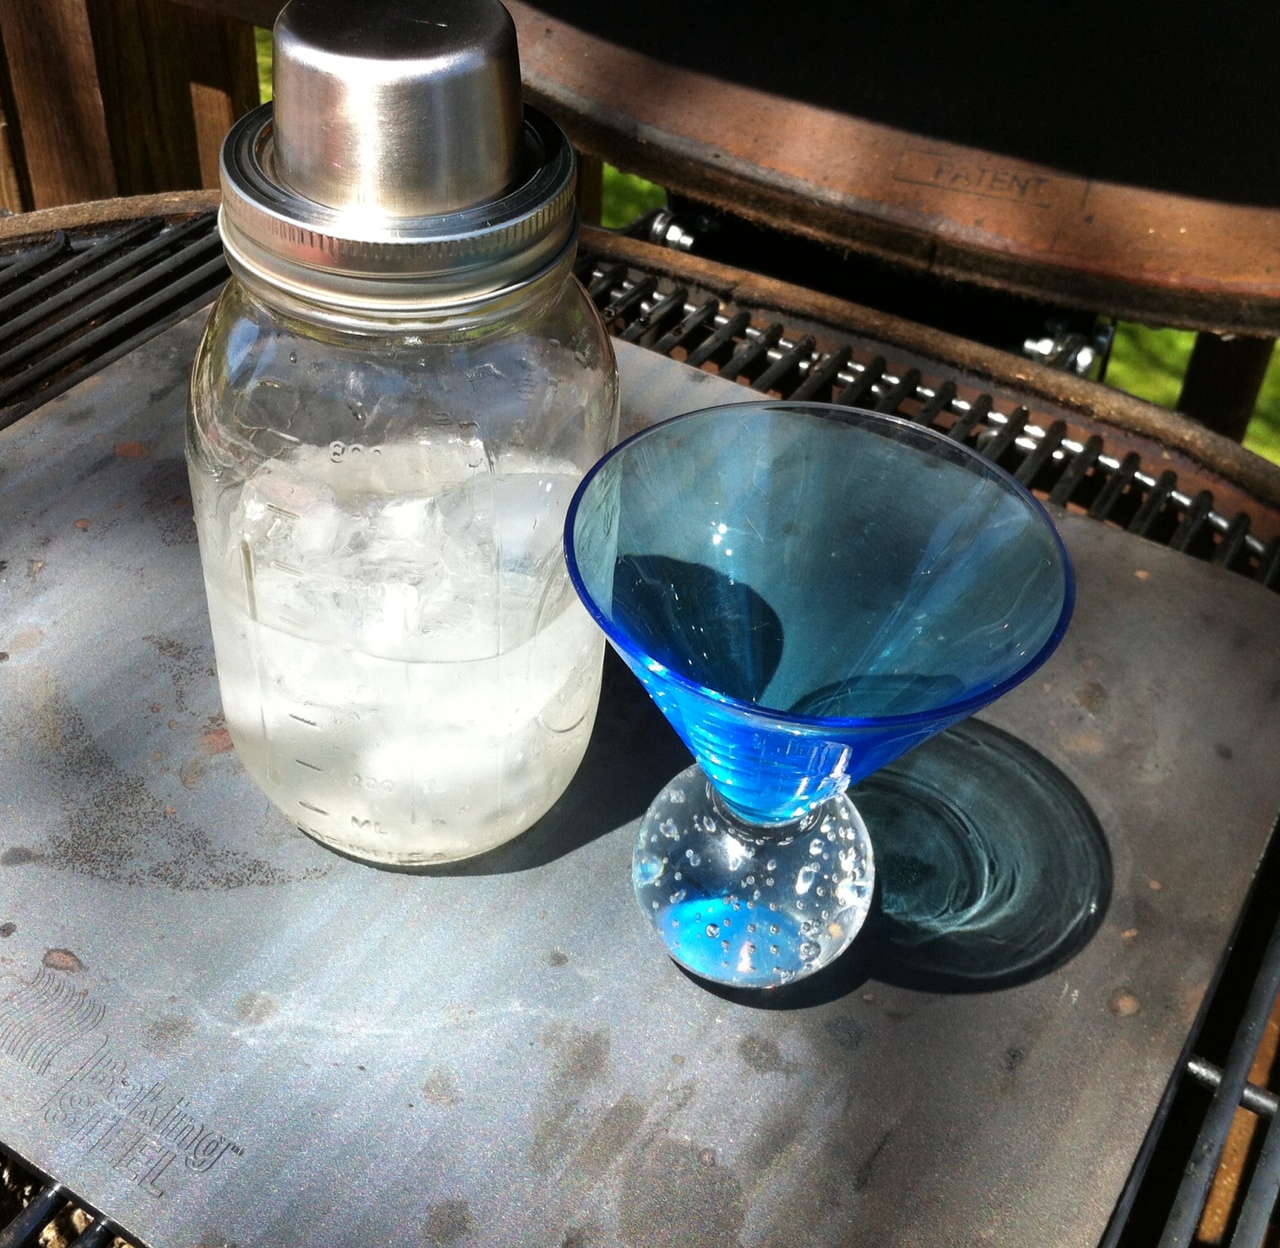
Mason jar cocktail shaker: A fun new way for Dad to make his martini. https://wandpdesign.com/search?q=mason+jar

mason jar, baking steel

And May is National Hamburger Month. How can you go wrong? First, a favorite burger recipe, then one for brisket.

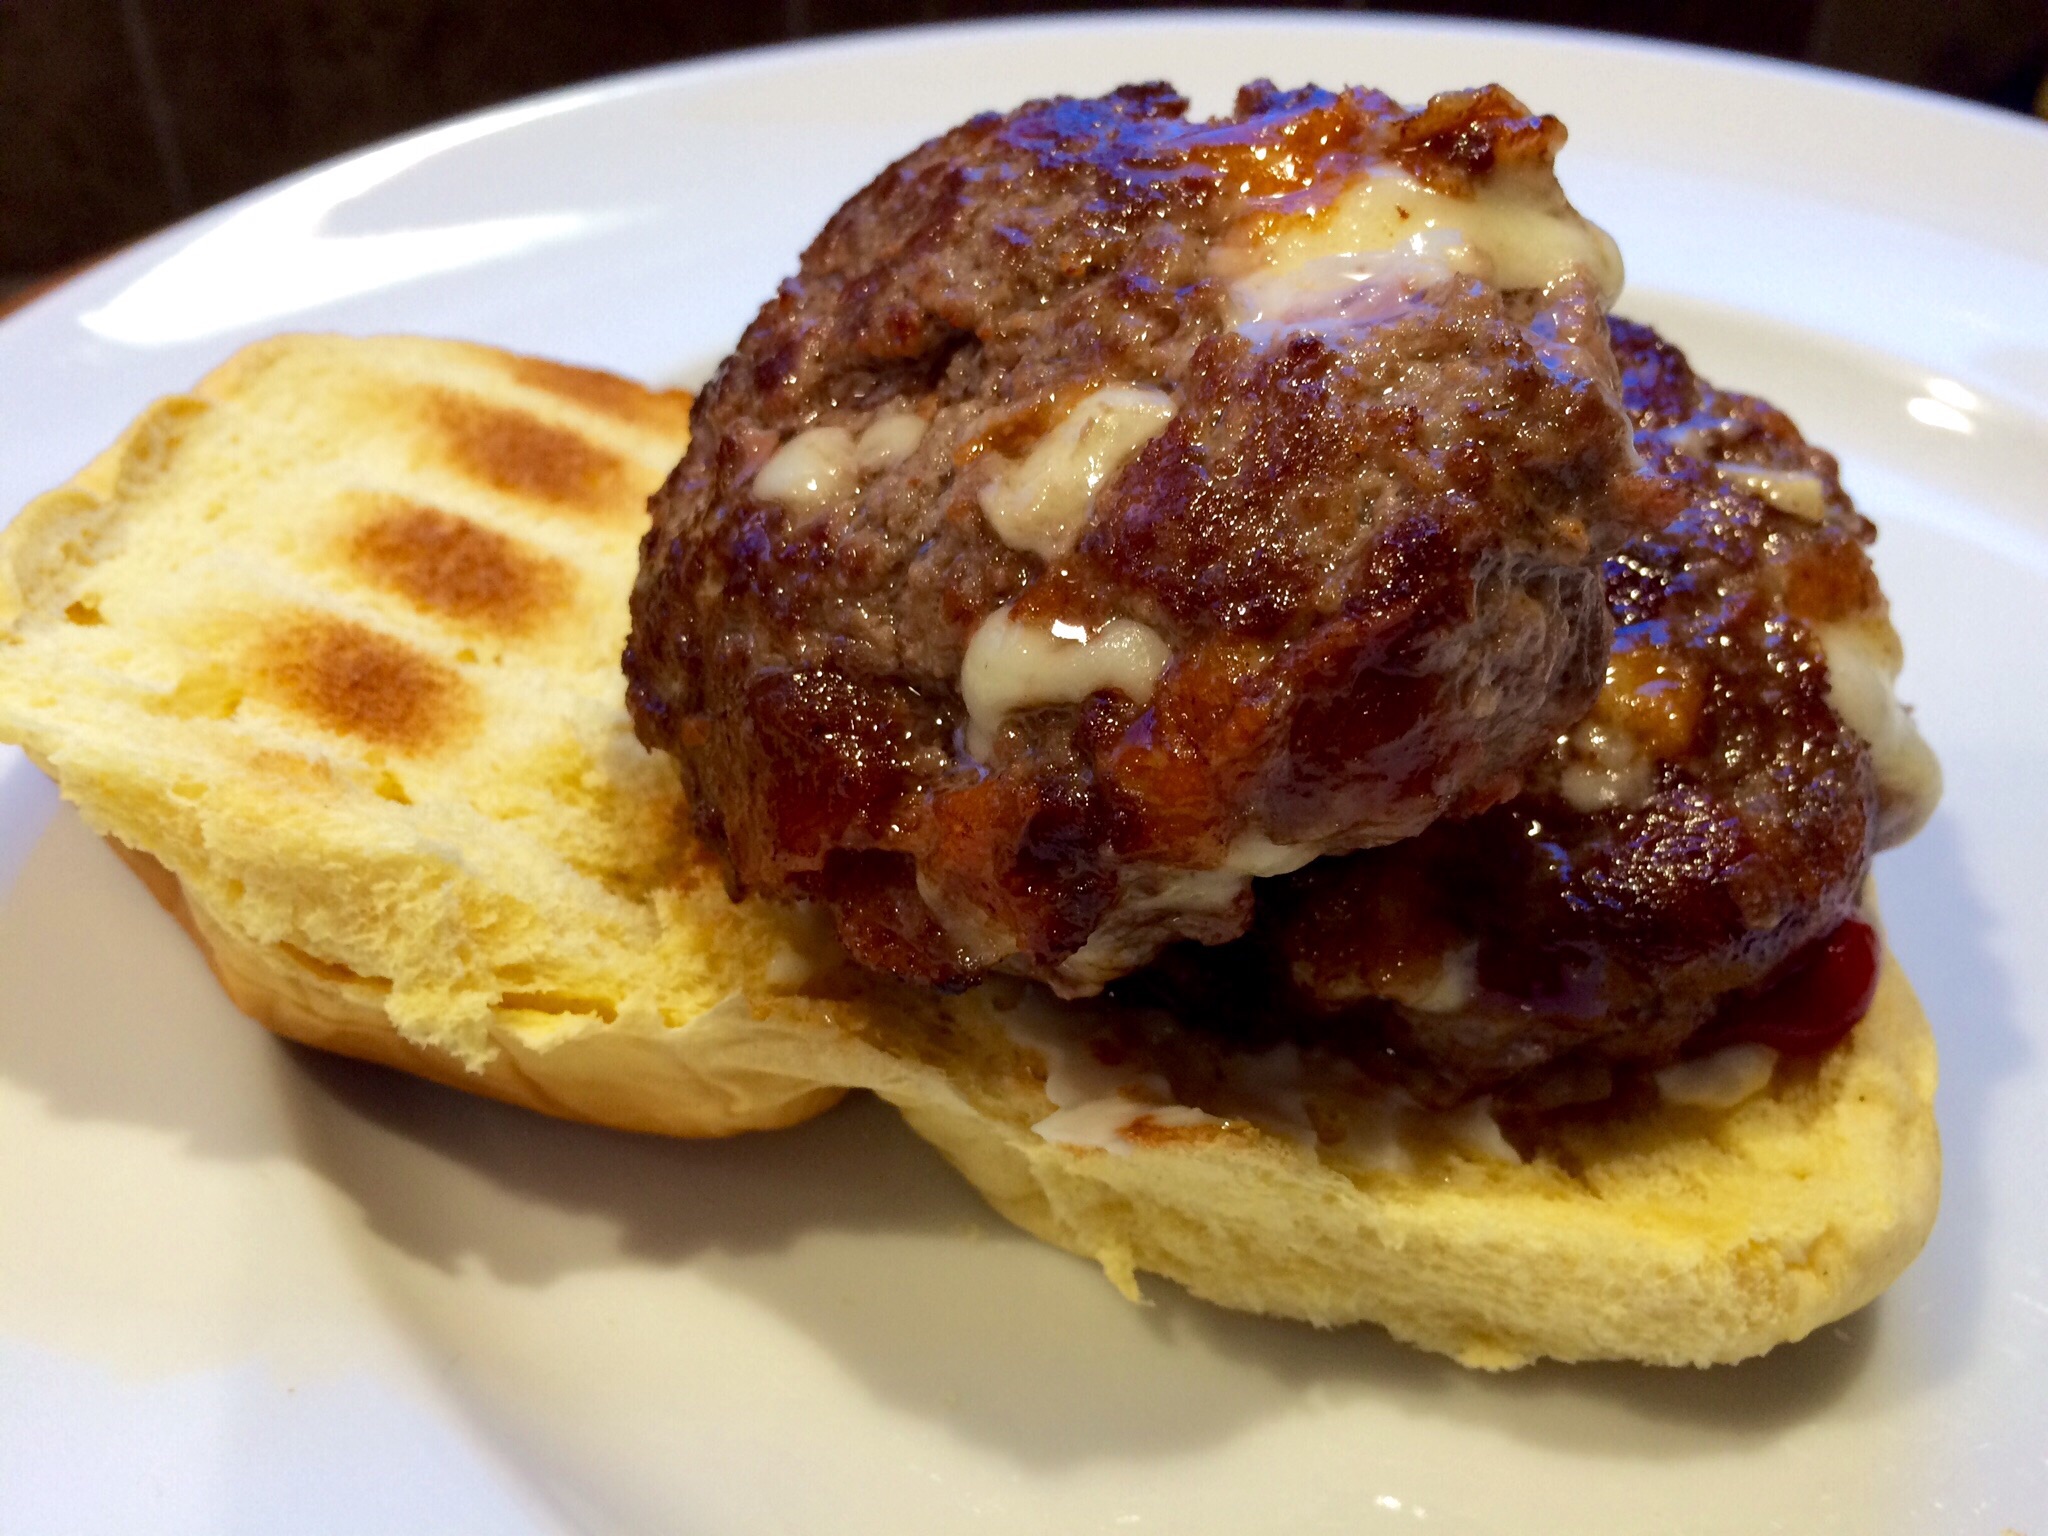
The Inside-Out Burger: If I’m making bacon cheeseburgers to bring to a barbecue, even if it’s on my back deck, instead of bringing a package of bacon and a package of cheese and a stack of burgers, I put all the ingredients inside the patties themselves. As the burgers cook, the fat from the bacon and the gooey cheese melt and combine with the burger meat to make a really tasty and moist burger.

image

2 lbs. ground beef
1/2 cup sharp cheddar cheese, cut into 1/4″ cubes
1/2 lb. bacon, cooked crisp, cooled and crumbled
garlic salt
avocado oil or pork fat

In a bowl, combine the beef, the cheese and the bacon, mixing well so that all the ingredients are evenly incorporated. Form the beef into 1/4 lb. patties. Refrigerate them until you’re ready to cook to firm them up.

Heat a cast iron skillet and add a drop of oil or pork fat. Place the burgers in the hot skillet to sear and sprinkle with the garlic salt. When browned, flip the burgers and place the skillet in a 350-degree oven to finish cooking.

image


Brisketta: There’s a wonderful Italian roasted meat dish called Porchetta (por-ketta). The classic version consists of a pork belly that is seasoned and then wrapped around a pork loin. The meat is tied, then roasted slowly for hours, basted with wine and the meat juices until the pork is cooked and the outside skin is crackly and crispy. Then it’s sliced like a log and served as a sandwich or a main dish.

I decided to use the same method of cooking for beef brisket, and I called it “Brisketta.”

image

I flipped the brisket fat-side-down on my cutting board and carefully sliced it down the middle horizontally to make two large–even thinner–slabs of meat. The bottom half, with the fatty side of the brisket, would eventually be my outside layer. The top half would be my inside layer.

image

I took the top half and slathered some of my seasonings on it. Then I rolled it tightly into a log. I slathered more of my seasonings onto the bottom half of the brisket, then rolled it around the first log, so that the fattiest side of the brisket would now be on the outside of this large meat log. I tied the meat log up tightly with butchers’ twine and let it rest in my fridge overnight.

image

7 lbs. beef brisket
1 tablespoon fennel seed, toasted and cooled
5–3″ strips of bacon, cooked and cooled
2 tablespoons oregano
2 tablespoons parsley
2 teaspoons basil
2 tablespoons salt
1 teaspoon pepper
2 teaspoons granulated onion
1 teaspoon granulated garlic
Grated zest of 2 lemons
1/2 cup olive oil

Pour the fennel seed in a hot, dry pan on the stove. Toast the seeds until they release their aroma, but don’t let them burn. Set aside to cool.

Crumble the bacon strips and place in the bowl of a food processor. Add the cooled fennel seeds, oregano, parsley, basil, salt, pepper, onion, garlic, and lemon zest.

Run the food processor and slowly pour in the olive oil, until you have a paste much like pesto.

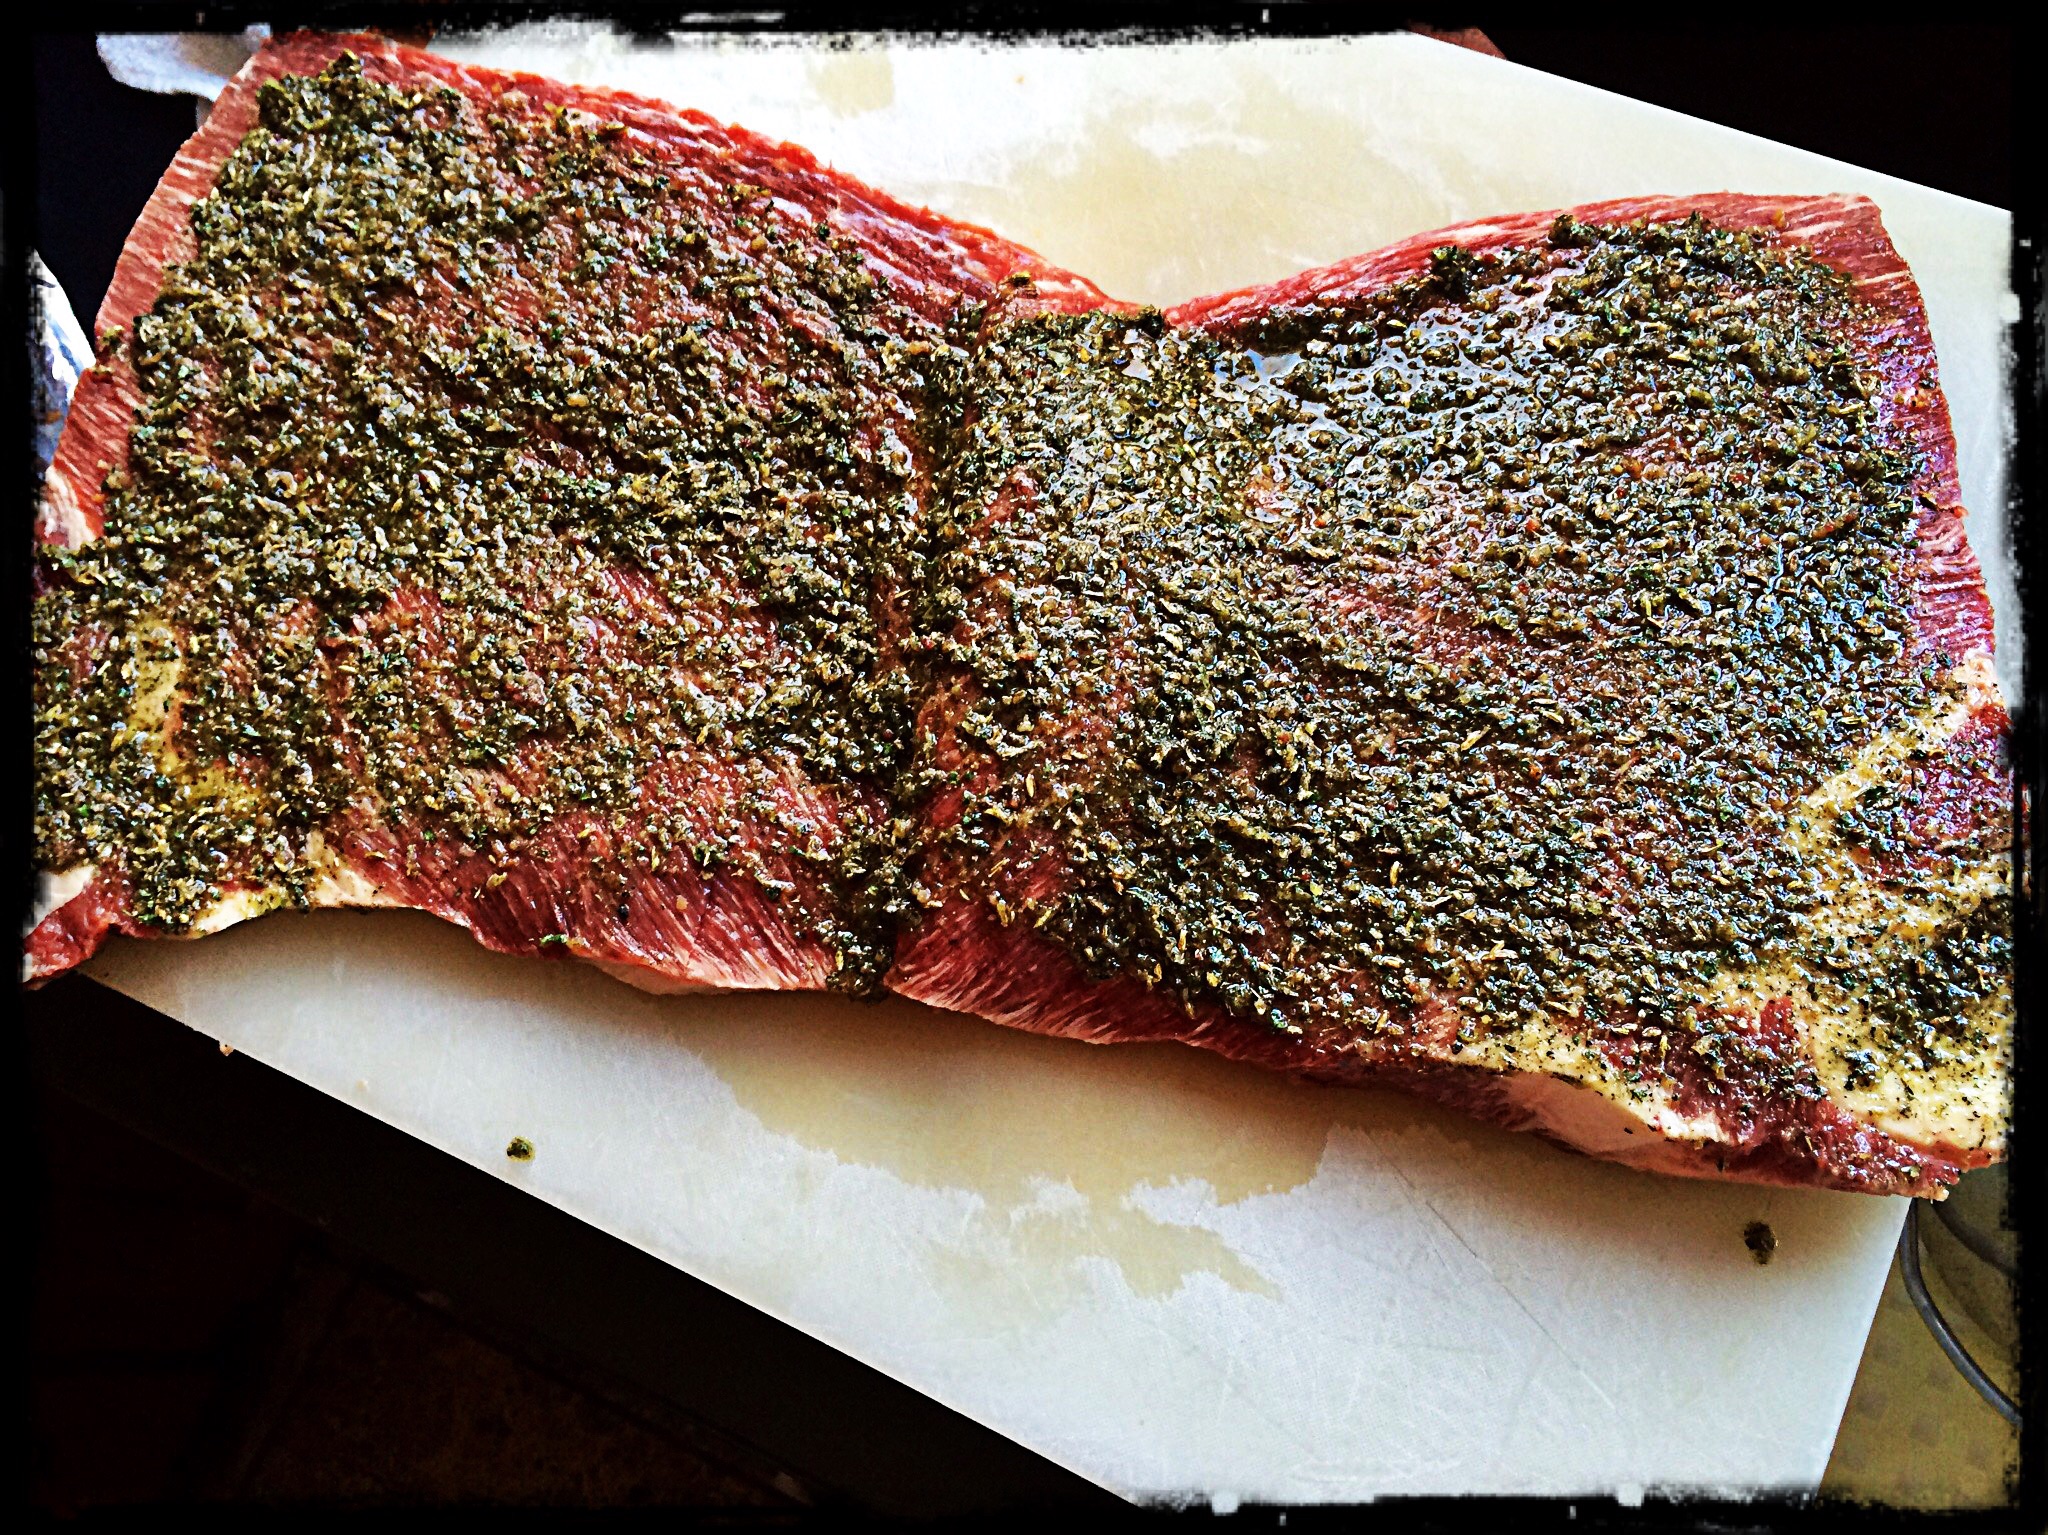
Slice the brisket in half horizontally. Save the piece with the fatty side for last, because this is the piece that will wrap around the others, with the fatty side out. Smear the rub on the first piece of brisket and roll it tightly into a log. Smear the rub on the second piece of brisket and wrap it around the first piece, making sure the fatty side is on the outside.

Once you’ve rolled both pieces into a single meat log, scored the fatty exterior with a knife and rub any leftover seasoning paste onto it. If you have none left, simply season with salt and pepper.

Tie the meat log tightly with butchers’ twine, tucking in all loose ends.

At this point, you can place the meat log in the fridge until ready to cook, remembering to remove it at least an hour before cooking so that it comes back to room temperature.

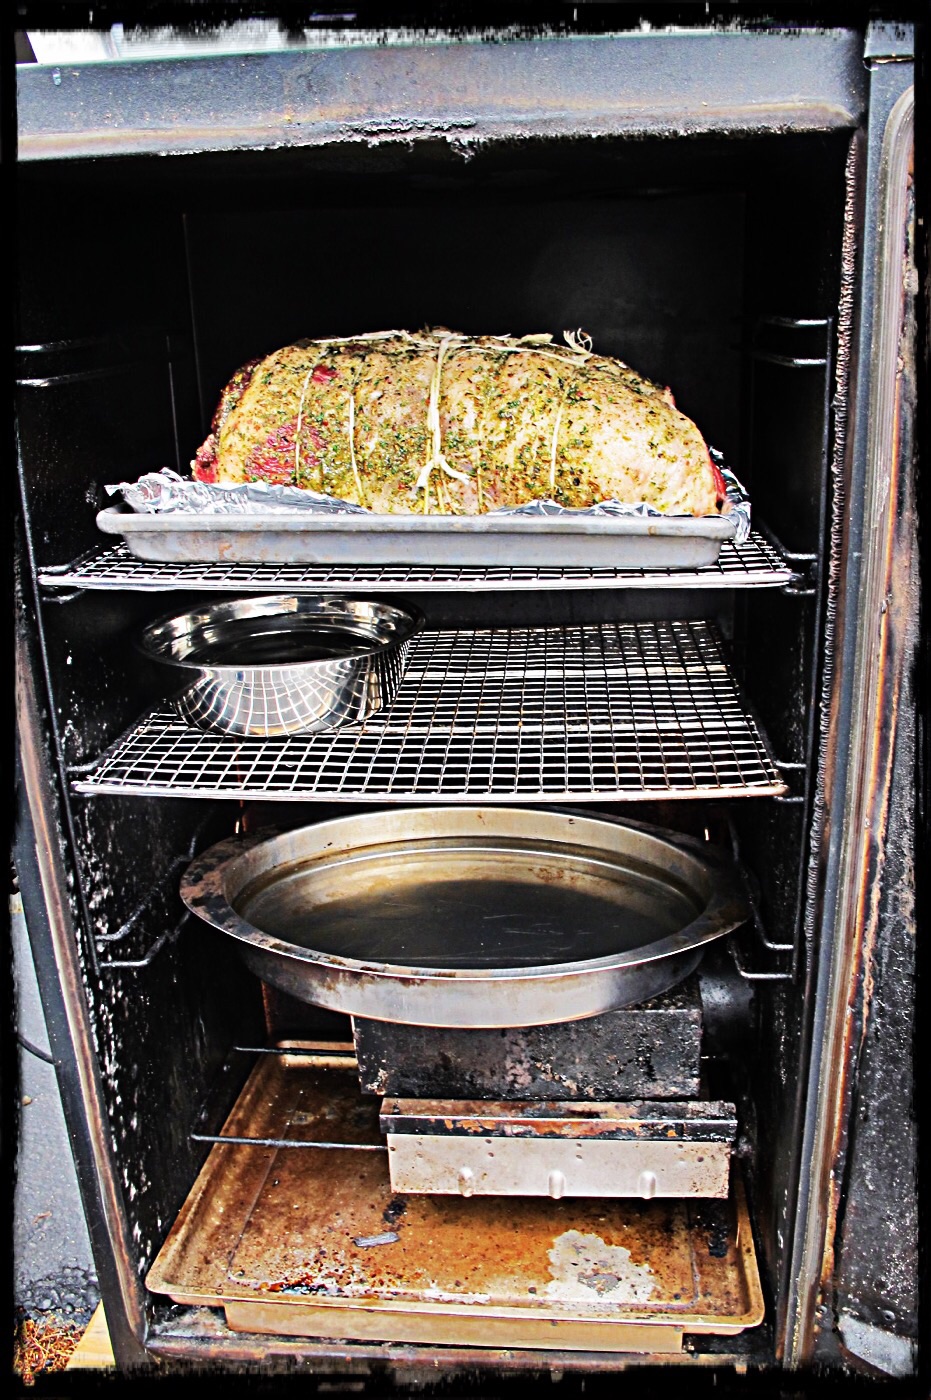
Pre-heat an oven or smoker at 250 degrees. Place the meat log directly on the grate, with a pan underneath to catch the dripping fat. Place a bowl of water in there as well, to keep the meat moist while it cooks. Cook for 4 1/2 hours, or until the interior temperature reaches 130 degrees. Let it rest an hour before slicing…if you can wait that long!

image


Who says you have to cook a burger on the grill for Memorial Day? This is one of my favorite ways to enjoy clams…and without the clam knife! I always use hardwood charcoal.

Although I live on the opposite side of Rhode Island, I love visiting my friends at American Mussel Harvesters in North Kingstown. The quality of their seafood is second to none, which is why they supply so many area restaurants with their products. They feature “restaurant ready” mussels, meaning they’ve been cleaned and de-bearded. And their “restaurant-ready” clams mean they’ve been purged to perfection! (www.americanmussel.com) I use ’em whenever I can.

image


A couple of dozen (or more) little neck clams, washed and purged
1 stick (8 oz) of unsalted butter
1/4 cup extra virgin olive oil
1/4 cup chopped parsley
1 teaspoon dried oregano
1/2 teaspoon dried basil
1 teaspoon minced garlic
1/2 teaspoon sea salt

image


The clams should be stored cold and dry until ready to use…not in water, not on ice. Place the clams in a bowl and cover with a wet dish towel in the fridge.

Because my clams have already been purged, I don’t have to do it at home. But here’s what to do if they haven’t been purged: Fill a large bowl with cold water, add sea salt and some corn meal to it, and mix it around. Add the clams to this bowl and let them purge in this liquid for at least an hour. They will suck up the corn meal and spit out sand and grit. After an hour, pour off the water/salt/meal/grit mix, and thoroughly wash the clams.

Start your hardwood charcoal grill and divide it in half: coals on one side, no coals on the other.

While the coals are heating up, grab a disposable aluminum foil tray and place it on a burner on your stove over medium heat. Add the butter, olive oil, parsley, oregano, basil, garlic and salt, and stir to combine. Once the butter has melted and everything has blended, bring the tray over to the charcoal grill and place on the side of the grill without coals. It will stay warm.

Once the coals are hot, just place the clams directly on the grill. (Use tongs, unless you want to remove all of your knuckle hair.) When they start to open, carefully flip them over, trying not to lose any of the precious juices inside the clam. Cook them for as long as you like, from raw, to more thoroughly cooked. As each one reaches its desired doneness, place it in the aluminum tray, making sure it gets swished around in the butter and herb mix.

When all the clams have been cooked and are in the tray, serve with on top of pasta…or simply eat with a fresh baguette. A glass of great white wine is a must.

image

There’s a wonderful Italian roasted meat dish called Porchetta (por-ketta). Though there are many ways to prepare it, the classic version consists of a pork belly that is seasoned and then wrapped around a pork loin. The meat is tied, then roasted slowly for hours, basted with wine and the meat juices until the pork is cooked and the outside skin is crackly and crispy. Then it’s sliced like a log and served as a sandwich or a main dish. It’s absolutely fantastic! (If you’re in New York City, go to the small restaurant called  Porchetta on the lower east side and taste this porky awesomeness the way it was meant to be.)

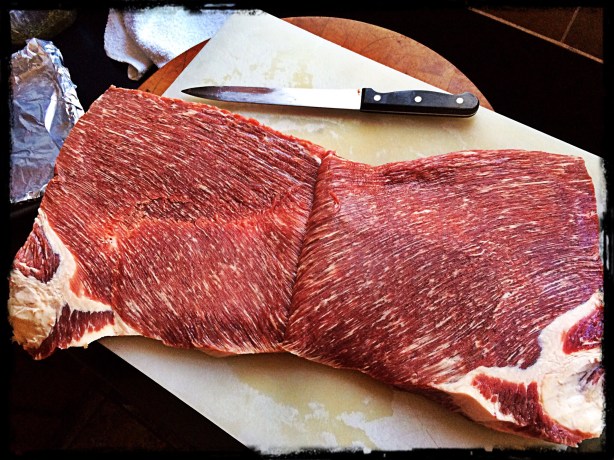
I recently purchased a beautiful hunk of grass-fed beef brisket from Pat’s Pastured, a wonderful farm here in Rhode Island.  I decided to watch the You Tube series “BBQ with Franklin” starring the lord of brisket himself, Aaron Franklin of Franklin’s Barbecue in Austin, Texas, to learn how to properly smoke it. What I learned was that the hunk of brisket Franklin was using was a bit smaller but much thicker (5 to 6 inches) and fattier than the really large but thin piece (about 1 1/2 inches) that I had purchased. If I was going to use Franklin’s method of smoking this thing, it would totally dry out.

Then I said to myself: “What if I cook it like Porchetta?” I searched through a dozen Porchetta recipes and used whatever herbs and spices I liked to make my own special seasoning for this slab of meat I now re-named “Brisketta.” For the most part, I used common ingredients in Italian cooking, but I added toasted fennel seeds, an ingredient in Porchetta, as a tip of the hat to that classic dish.
image

I flipped the brisket fat-side-down on my cutting board and carefully sliced it down the middle horizontally to make two large–even thinner–slabs of meat. The bottom half, with the fatty side of the brisket, would eventually be my outside layer. The top half would be my inside layer.

image

I took the top half and slathered some of my seasonings on it. Then I rolled it up into a log as tightly as I could. I slathered more of my seasonings onto the bottom half of the brisket, the rolled it around the first log as tightly as I could, so that the fattiest side of the brisket would now be on the outside of this large meat log. I seasoned the fatty side with any leftover seasonings I had.

Now, rather than having a piece of meat that was only 1 1/2″ thick, I had a meat log that was 6″ thick. Much easier to cook and control. I tied the meat log up tightly with butchers’ twine and let it rest in my fridge overnight.

image

The next day, I removed the meat log from the fridge and let it sit on the counter for an hour, so that it would come back up to room temperature. Meanwhile, I started my digital smoker (an electric one), setting the temperature at 250 degrees. I placed the meat log on a rack in my smoker, and a bowl of water on another rack to help keep it moist during the cooking process. I closed the smoker door, and then cooked it low and slow for about 4 1/2 hours. My smoker has a side chute that lets me drop wood chips inside, and I used slivers of oak to add some smoke. (I decided that a wood like hickory, though one of my favorites to use when smoking, would overpower the subtle seasonings I used.)

I removed the meat log from the pan and put it directly onto the grate before cooking.

I removed the meat log from the pan and put it directly onto the grate before cooking.


After 4 1/2 hours, I removed the Brisketta from the smoker and tented it with foil, letting it rest for an hour before slicing it.

image

7 lbs. beef brisket
1 tablespoon fennel seed, toasted and cooled
5–3″ strips of bacon, cooked and cooled
2 tablespoons oregano
2 tablespoons parsley
2 teaspoons basil
2 tablespoons salt
1 teaspoon pepper
2 teaspoons granulated onion
1 teaspoon granulated garlic
Grated zest of 2 lemons
1/2 cup olive oil

Pour the fennel seed in a hot, dry pan on the stove. Toast the seeds until they release their aroma, but don’t let them burn. Set aside to cool.

Crumble the bacon strips and place in the bowl of a food processor. Add the cooled fennel seeds, oregano, parsley, basil, salt, pepper, onion, garlic, and lemon zest.

Run the food processor and slowly pour in the olive oil, until you have a paste much like pesto.

Slice the brisket in half horizontally. Save the piece with the fatty side for last, because this is the piece that will wrap around the others, with the fatty side out. Smear the rub on the first piece of brisket and roll it tightly into a log. Smear the rub on the second piece of brisket and wrap it around the first piece, making sure the fatty side is on the outside.

Once you’ve rolled both pieces into a single meat log, scored the fatty exterior with a knife and rub any leftover seasoning paste onto it. If you have none left, simply season with salt and pepper.

Tie the meat log tightly with butchers’ twine, tucking in all loose ends.

At this point, you can place the meat log in the fridge until ready to cook, remembering to remove it at least an hour before cooking so that it comes back to room temperature.

Pre-heat an oven or smoker at 250 degrees. Place the meat log directly on the grate, with a pan underneath to catch the dripping fat. Place a bowl of water in there as well, to keep the meat moist while it cooks. Cook for 4 1/2 hours, or until the interior temperature reaches 130 degrees. Let it rest an hour before slicing…if you can wait that long!

Besides a ham, lamb is the classic Easter dish. And there’s no better way to prepare it than on the grill. Many people are turned off by lamb because somewhere in their past, they had a horribly cooked piece of meat that ruined it for the rest of their lives. Don’t be sheepish! Try lamb again!

If you think lamb is too “gamey,” buy American lamb over New Zealand or Australian lamb. Although the animals are mostly pasture-raised, most American lamb is larger and grain finished, which results in a milder flavor. Unfortunately, like with non grass-fed American beef, this also results in a larger, fattier animal, and a less healthy cut of meat.

I prefer 100% grass-fed lamb. You can find it from the US, but most often it comes from New Zealand. Having been to the country, I can tell you that the quality is unmatched and the grasslands in New Zealand are the most beautiful I’ve ever seen. New Zealand lamb is smaller and is slaughtered at a younger age than American lamb, making it very tender. In New Zealand, as well as many other countries, only an animal under 12 months of age and without incisors can be called “lamb.” No such labeling is required in the United States.

I love the baby lamb chops that look like miniature porterhouse steaks. You can find them in any supermarket. Here’s an easy recipe that I served at a party in my home for 40 people, many of whom claimed they didn’t like lamb or never had it before. By the end of dinner, the chops were gone!

lamb LTL


8 small lamb chops
½ cup olive oil
¼ cup balsamic vinegar
2 cloves garlic, through a garlic press
1 tablespoon fresh rosemary, chopped
1 tablespoon honey
2 teaspoons Dijon mustard
1 teaspoon dried oregano
Salt and pepper

Place the lamb meat in a plastic bag. In a bowl, combine all the ingredients for the marinade and pour over the lamb. Seal the bag and squish it around so that the marinade reaches every part of the chops. I leave it at room temp if marinating for a few hours…or in the fridge if overnight.

Before grilling, take the lamb out of the fridge and let it come back to room temperature.

Pre-heat your barbecue grill. Grill the lamb until it’s done. That means cooked no more than medium. Don’t cook it to death! If you can’t get to a grill, place the lamb chops in an oven-proof pan (cast iron is always best) and sear on all sides. Then place the pan in a 350-degree oven to cook all the way through.


Not a very complex idea. I just put the stuff that’s usually on the outside, on the inside of my burgers. Why? Why not?

If I’m making bacon cheeseburgers to bring to a barbecue, even if it’s on my back deck, instead of bringing a package of bacon and a package of cheese and a stack of burgers, I’ve got all the ingredients conveniently in the patties. And as the burgers cook, the fat from the bacon and the gooey cheese melt and combine with the burger meat to make a really tasty and moist burger.

I make 2 lbs. of burgers at a time, using 1 lb. of ground grass-fed beef and 1 lb. of pastured ground veal. For the sake of this recipe, we’ll just call it beef.

image

2 lbs. ground beef

1/2 cup sharp cheddar cheese, cut into 1/4″ cubes

1/2 lb. bacon, cooked crisp, cooled and crumbled

garlic salt

avocado oil or pork fat


In a bowl, combine the beef, the cheese and the bacon, mixing well so that all the ingredients are evenly incorporated.

Form the beef into 1/4 lb. patties. Refrigerate them until you’re ready to cook to firm them up.

Heat a cast iron skillet and add a drop of oil or pork fat. Place the burgers in the hot skillet to sear and sprinkle with the garlic salt. When browned, flip the burgers and place the skillet in a 350-degree oven to finish cooking.

image


True: the inspiration behind this dish was a conversation I had with friends, talking about our early childhood days. Someone brought up the name Shari Lewis, and her famous puppet Lamb Chop. Next thing I knew, I was grilling the critter in my yard.

This is a great grilled lamb recipe that doesn’t need any marinating before cooking.

image


Ingredients:


1/2 cup Dijon mustard (I like Maille)

Zest of 1 grapefruit

1 teaspoon grapefruit juice

1 tablespoon fresh thyme leaves, finely chopped

2 tablespoons honey

1 teaspoon garlic salt

1/4 teaspoon black pepper


In a bowl, combine mustard, grapefruit zest and juice, thyme, and honey, garlic salt and pepper. Mix well.

Pre-heat a hardwood charcoal grill.

Grill the lamb on all sides first, then start brushing the mixture on them, flipping them, brushing again, and grilling. Keep doing this until you’ve used up all the mixture and the lamb is cooked to proper doneness. Don’t overcook it!


The lamb chops I buy come in a rack like the one below. They are pre-cut, so you just thaw them and go through each one with a knife to get mini lamb porterhouses. I like to grill them on all sides before I start brushing the sauce on them.

imageimage