Posts Tagged ‘seafood’

Nothing says summer here in New England like a lobster roll. But I never go to a clam shack to get one. Their prices are ridiculous, the meat can be overcooked, and they often add ingredients I don’t want.

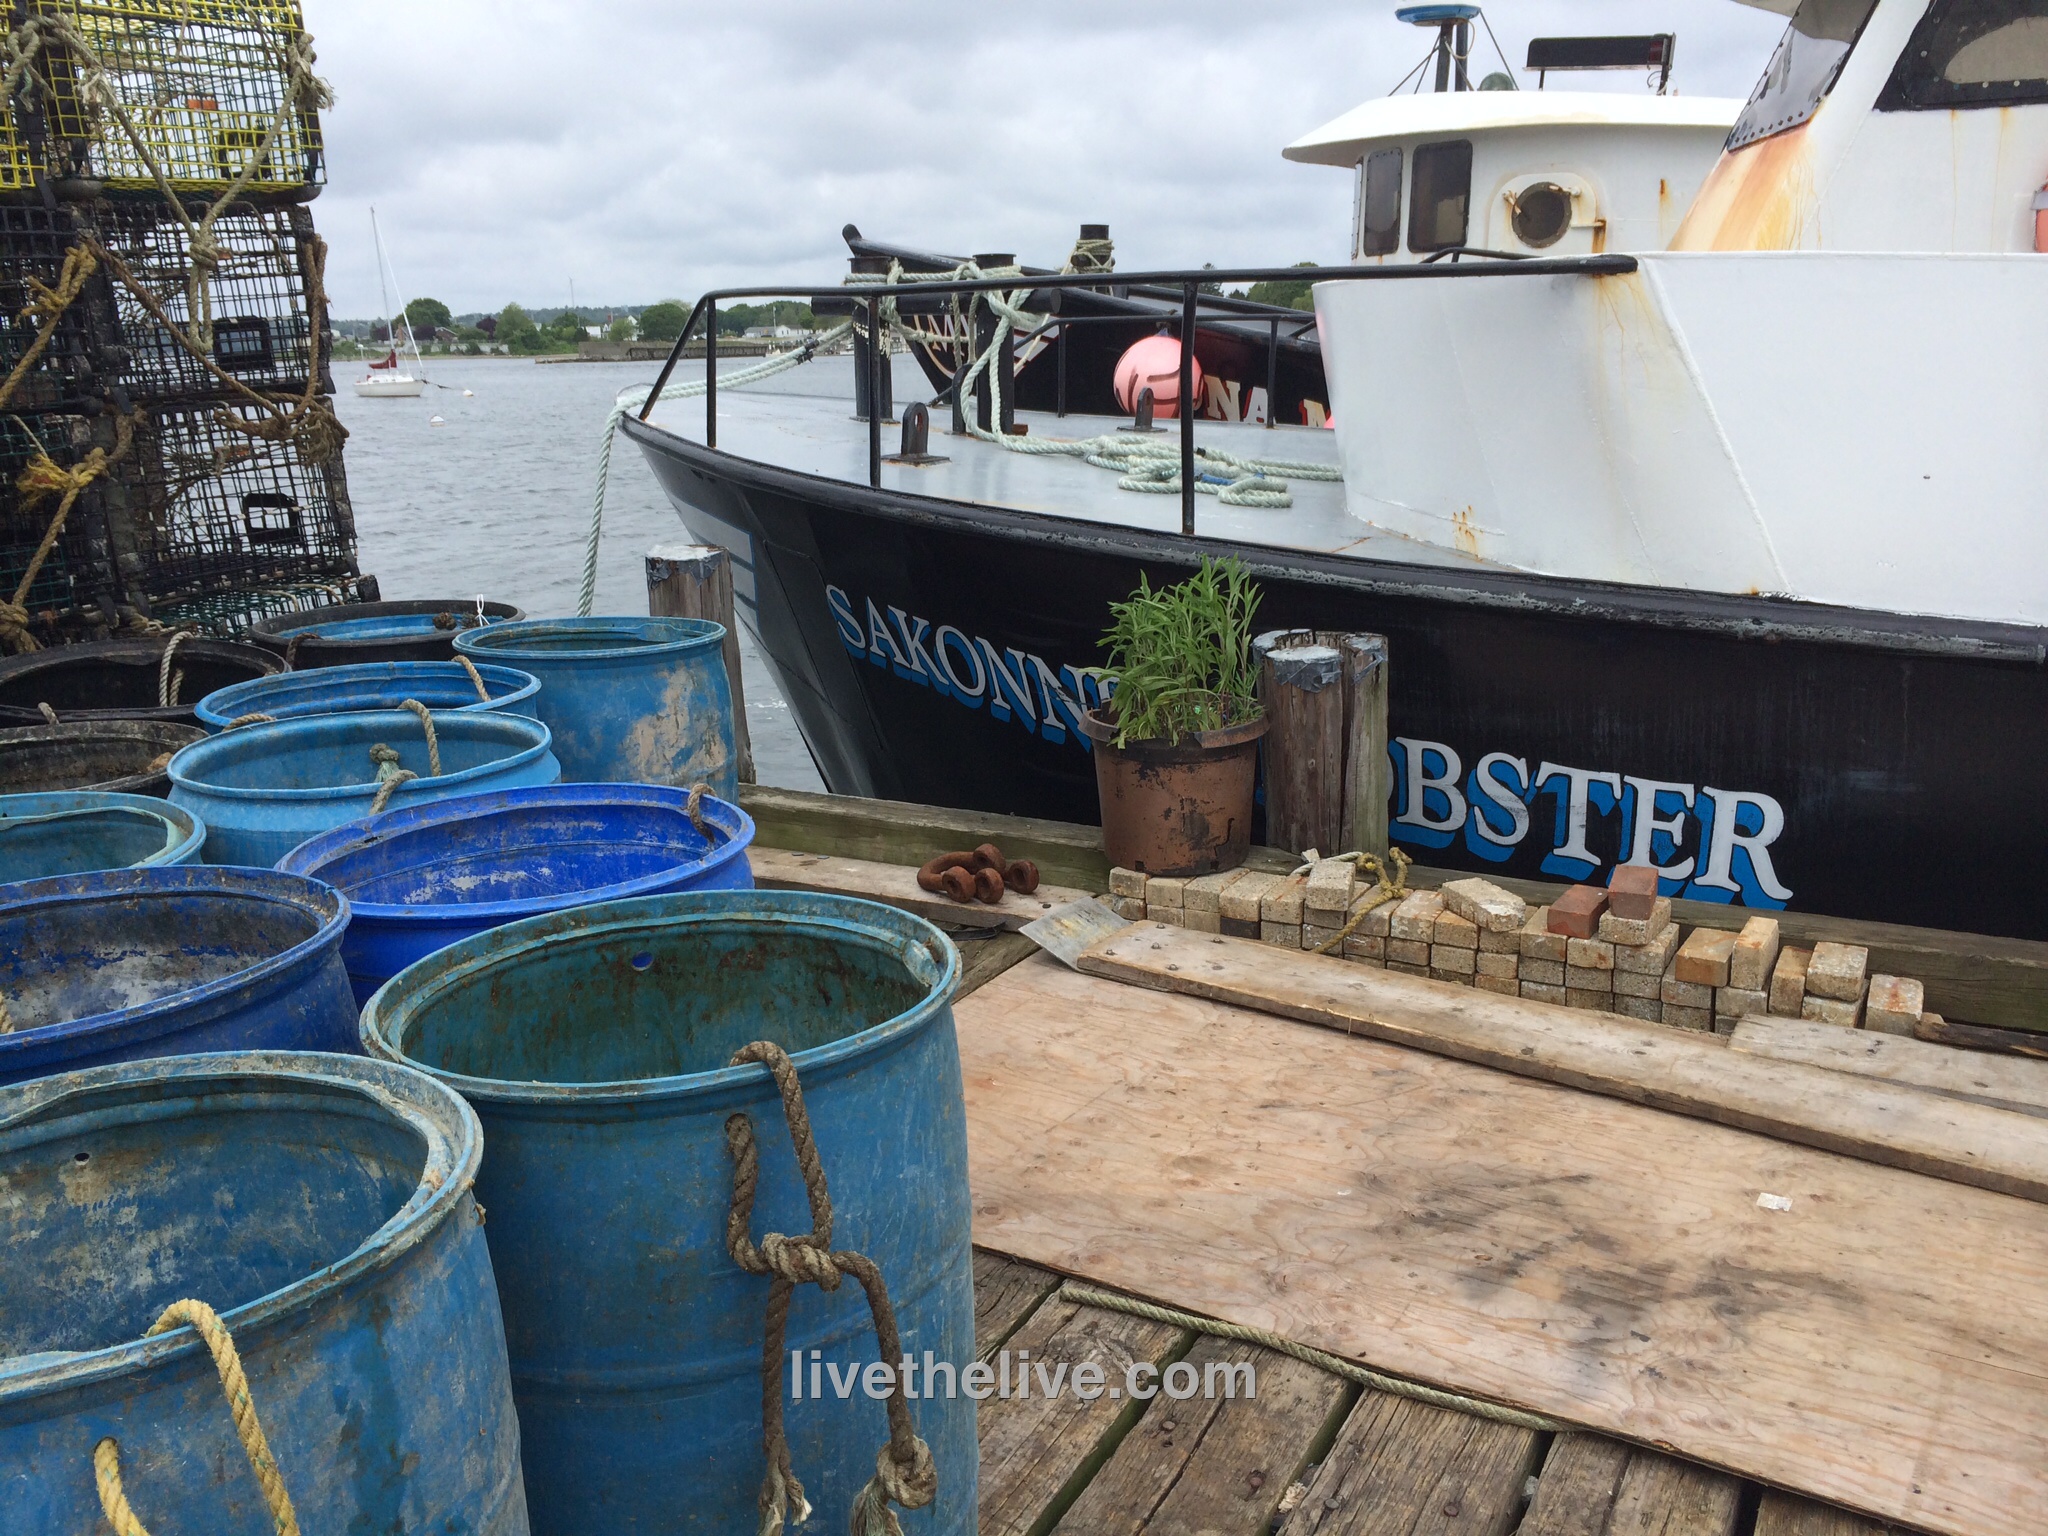
Lobster boat LTL

You have to start with fresh lobster. I get mine from my lobsterman buddy, Gary, just down the street at his dock in Tiverton, RI.

A view of the Sakonnet River from the back of Gary's lobster boat, the Edna Mae

A view of the Sakonnet River from the back of Gary’s lobster boat, the Edna Mae


The next step is to cook it right. I always use sea salt to salt a large pot of boiling water. I make sure the water is at a rolling boil before the lobsters go in. And I cook them for no more than about 8 minutes.

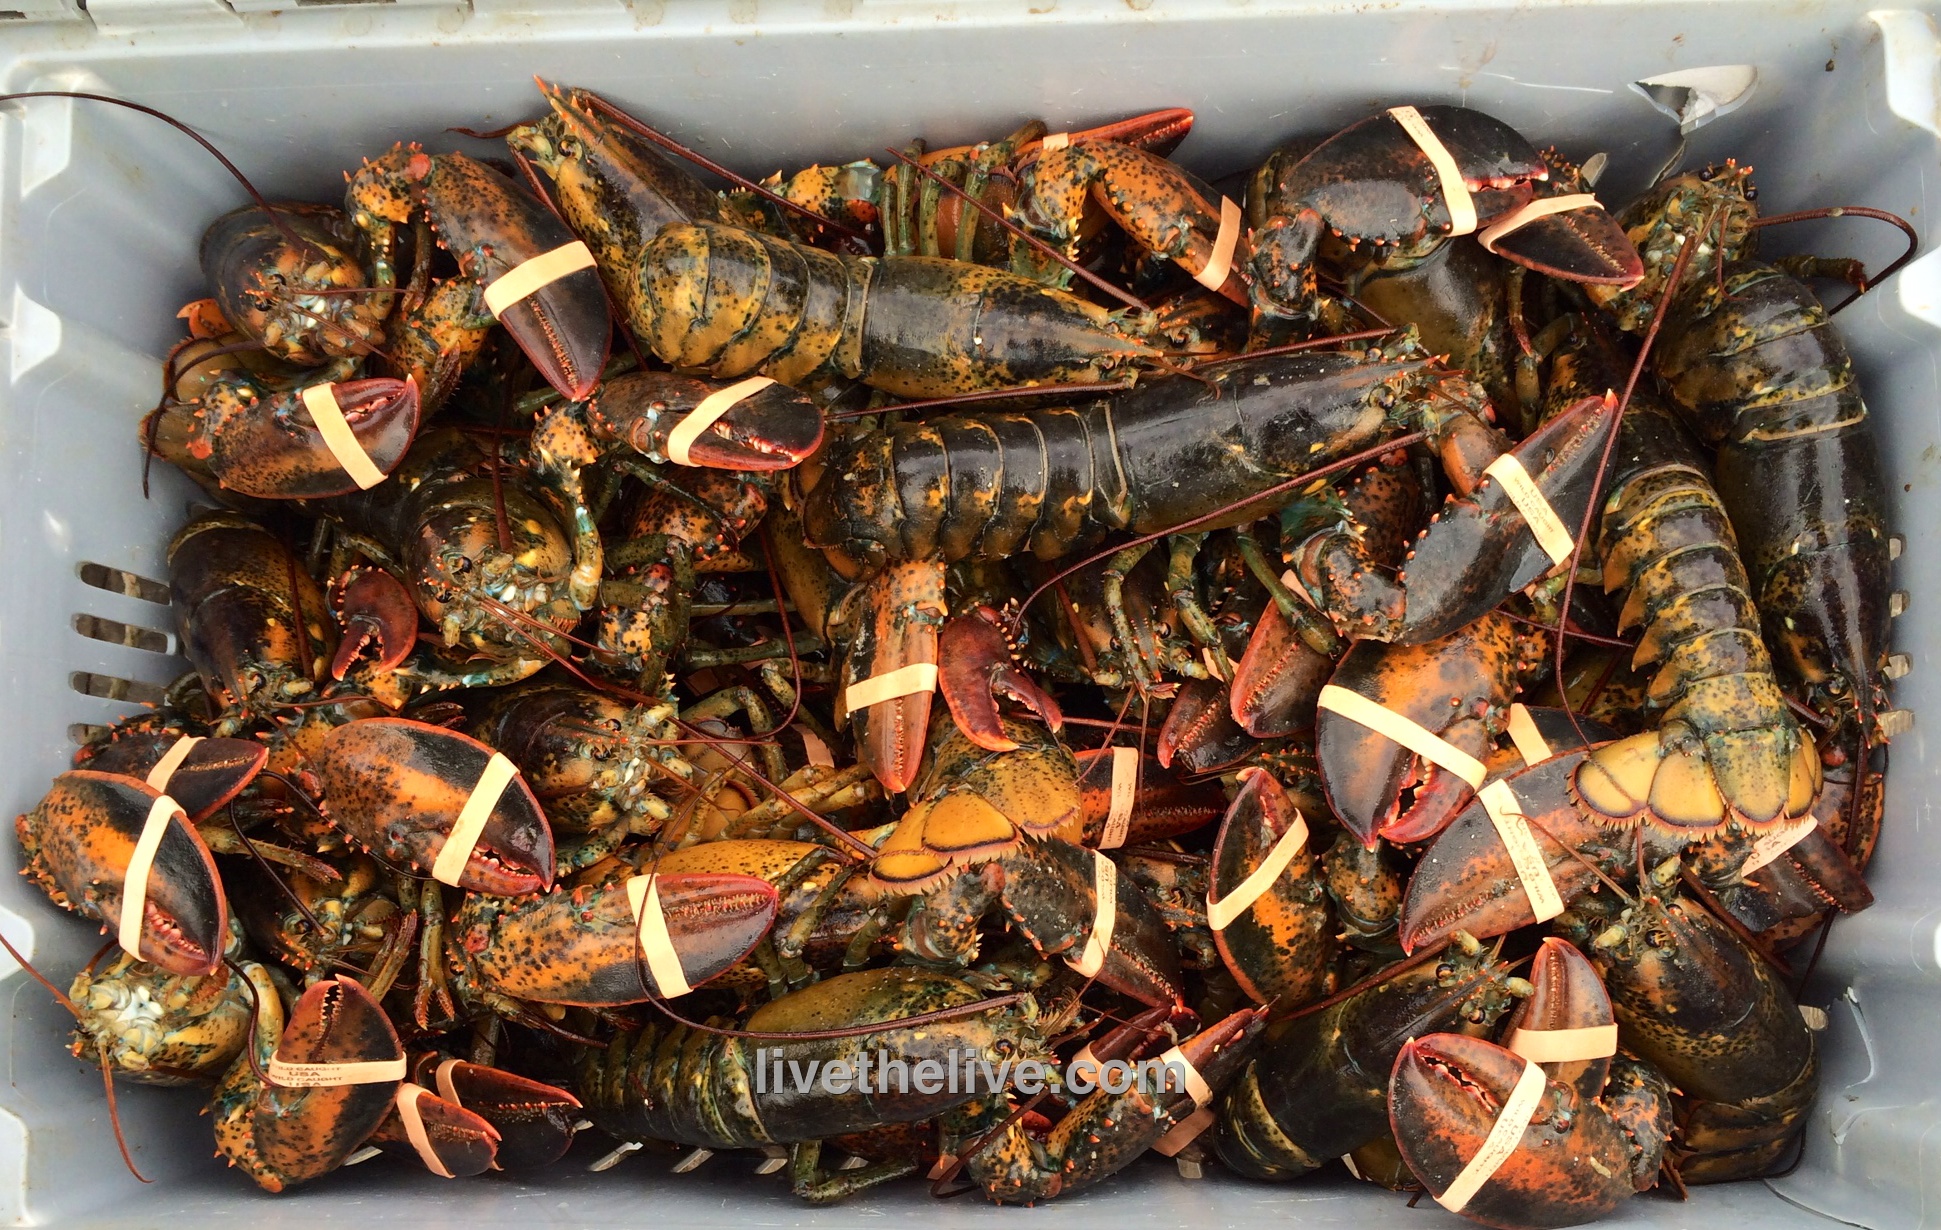
Lobster catch LTL

After the lobsters have been removed from the pot and have cooled for a few minutes, I get to work: cracking the claws and tail and removing every bit of beautiful meat I can find. Lobster lovers will tell you that the legs have some meat in them and that the tomalley (the green liver and pancreas) and roe (eggs) are delicacies not to be missed. For the purpose of making lobster salad, I don’t use these parts. But I do save the tomalley and roe for a separate treat…and I save all the legs and cleaned empty shells for lobster stock.

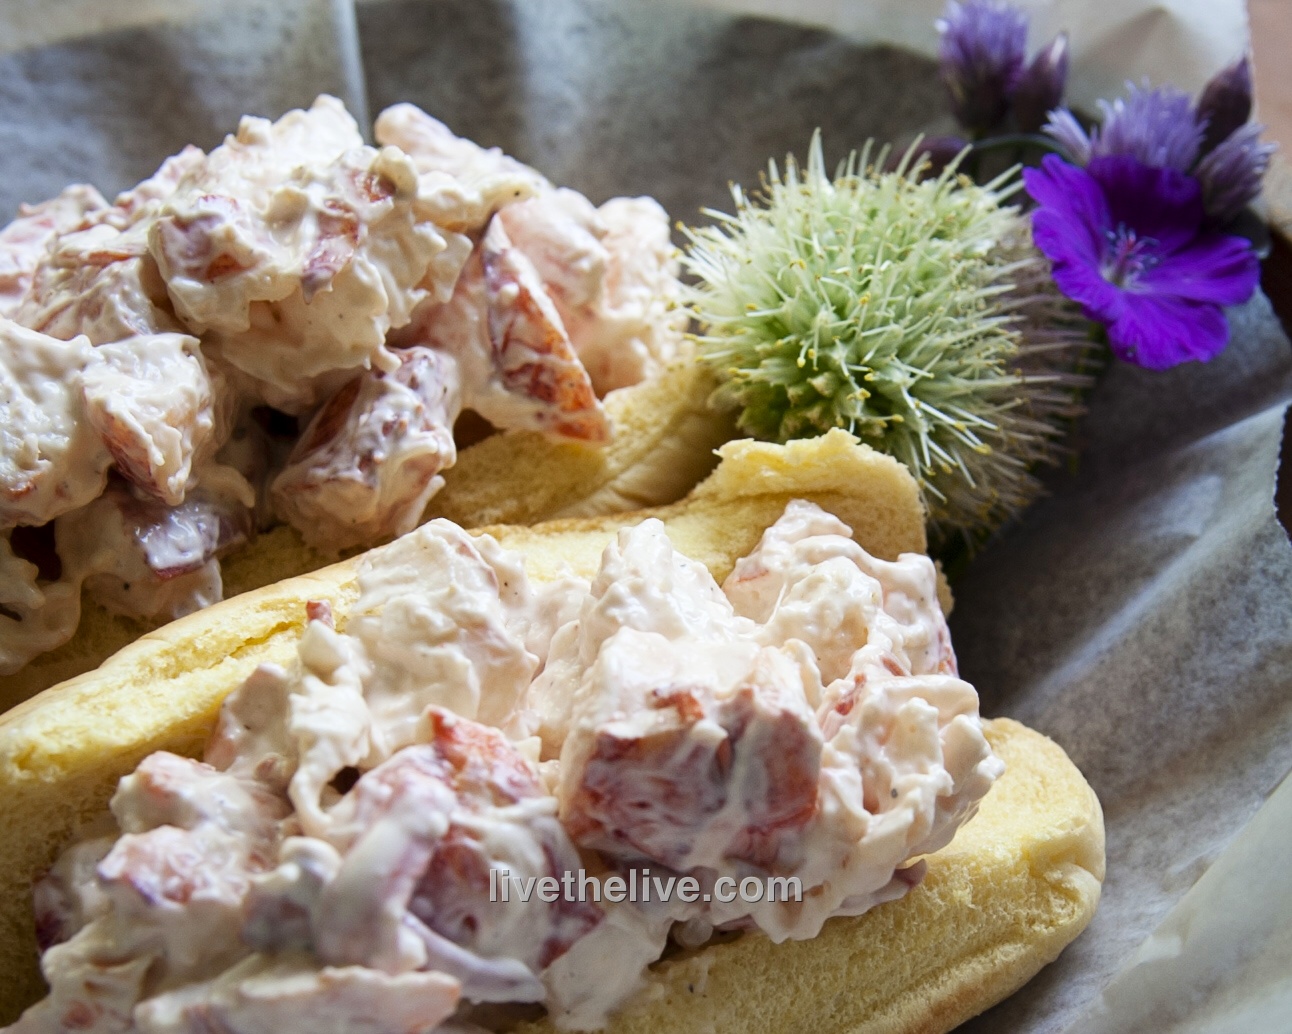
Lobster roll LTL


Everyone has their own opinion about lobster rolls: what goes in ‘em…and perhaps more importantly, what doesn’t. I am no exception. For me, no veggies whatsoever: no chopped celery, no lettuce, no pickle. No paprika or Old Bay seasoning. A pinch of celery salt? Sure. Mayonnaise? Only Hellman’s. White pepper, not black, and just a touch. Salt? A pinch of Fleur de sel. And my secret weapon to bring out all the flavors: the tiniest squeeze of fresh lemon juice…not enough to give it a lemon flavor…just to brighten the taste.

Measurements are really up to each person’s personal taste.

I prefer those long rolls from Martin’s potato rolls: straight out of the bag or lightly grilled with a little melted butter brushed on.


Though it may sound Japanese, the word “saganaki” refers to a small frying pan used in Greek cooking. The most famous of these dishes, simply called saganaki, is a fried cheese, often flamed at the end with a little ouzo.

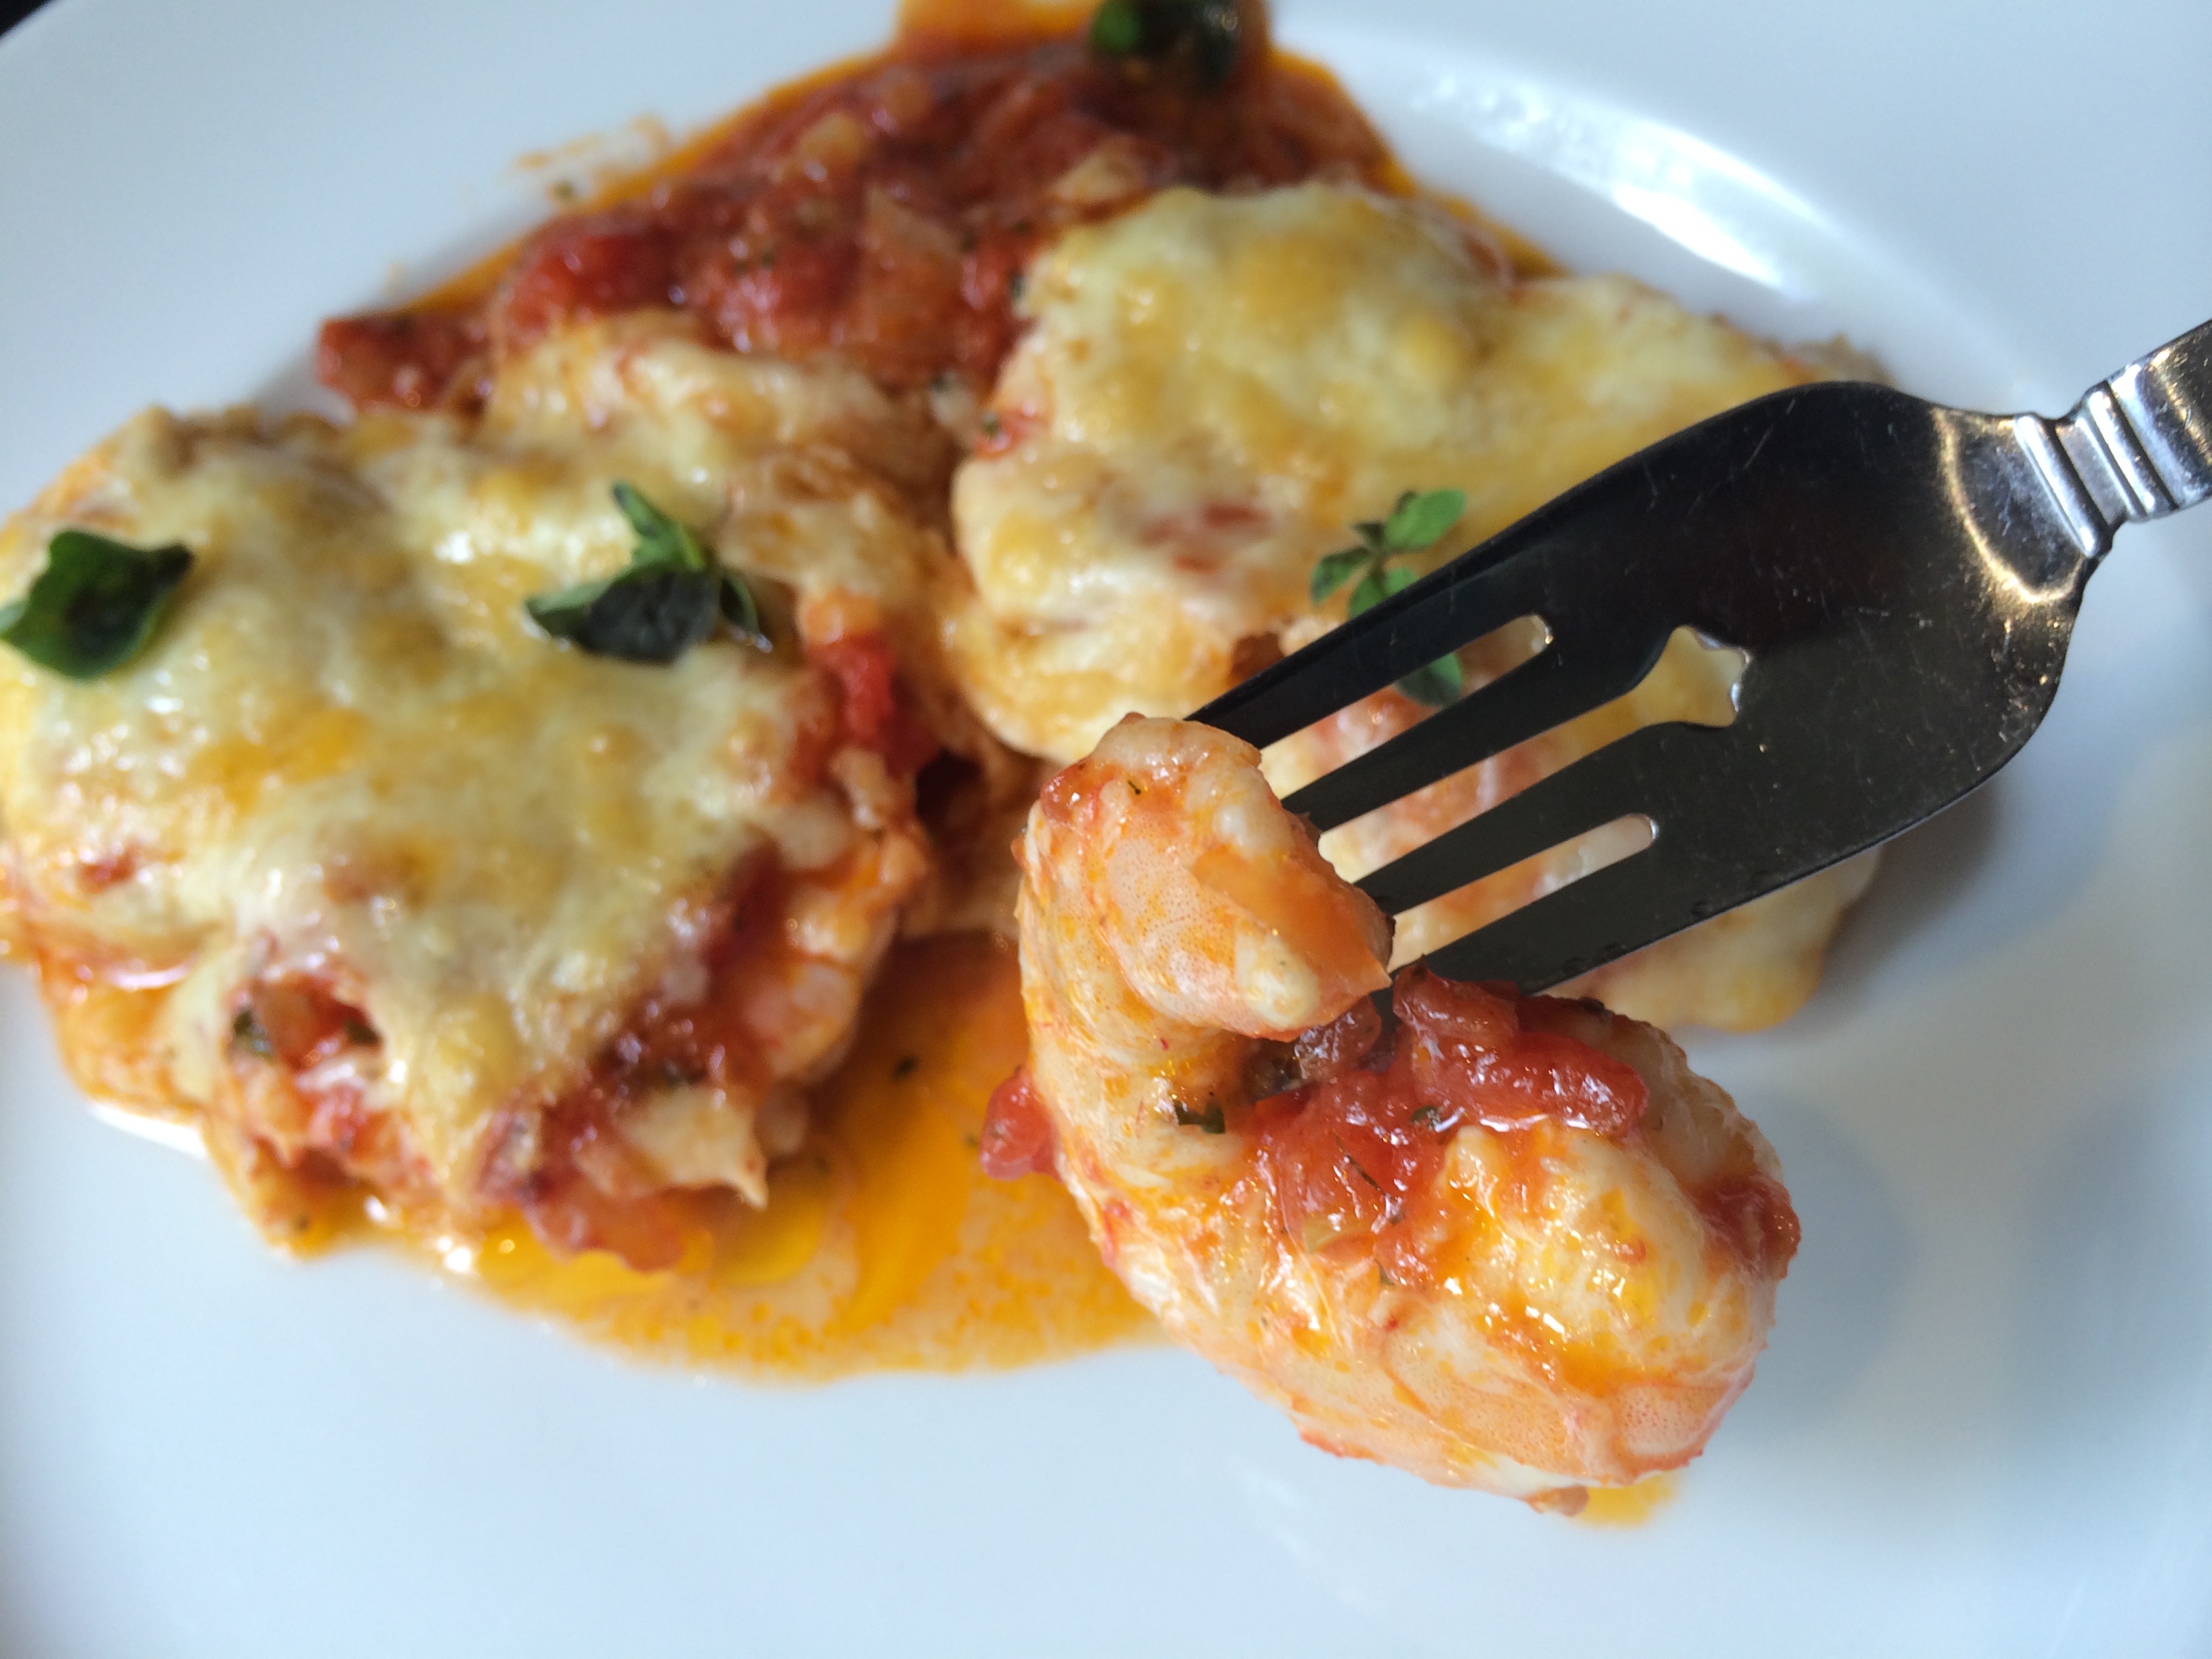
Shrimp saganaki is one of my favorite Greek dishes, and it usually involves cooking shrimp in a tomato-based sauce with plenty of feta cheese sprinkled in. It’s a simple yet fantastic dish if the ingredients are fresh. Doesn’t hurt to be sitting in a taverna on the beautiful island of Santorini while eating it, either!

Graviera cheese

Graviera cheese

I had a slab of Graviera cheese from my most recent trip to Santorini, and decided to recreate shrimp saganaki using that instead of feta. It was pretty damn amazing…

Melty, gooey, delicious!

Melty, gooey, delicious!


Ingredients:


300 g grated Graviera cheese

1 can (28 oz) whole tomatoes

1 lb (about 24) shrimp, peeled and deveined

1 medium onion, chopped

juice of 1/2 lemon

1/4 cup olive oil

2 cloves garlic, through a press

pinch red pepper flakes

1 1/2 tablespoons fresh dill, finely chopped

1 tablespoon fresh oregano, finely chopped

1 1/2 tablespoons Ouzo

salt and pepper


Peel and devein the shrimp. Squeeze the juice of  1/2 of a lemon on to the shrimp and toss. Set aside.

In a large pan, saute the onions in the olive oil until translucent. Add garlic and cook for a few seconds more.

Crush or puree tomatoes and add to the pan. Add red pepper flakes, dill and oregano, and salt and pepper. Add Ouzo.

Let this sauce cook down for a bit until all the flavors have blended together.

Pour a layer of the sauce on the bottom of a metal broiler-proof pan. Lay the shrimp in a single layer into the sauce. Cover the shrimp with the rest of the sauce and sprinkle the grated Graviera on top.

Place the pan in the broiler and cook until the cheese is brown and bubbly.

shrimp saganaki


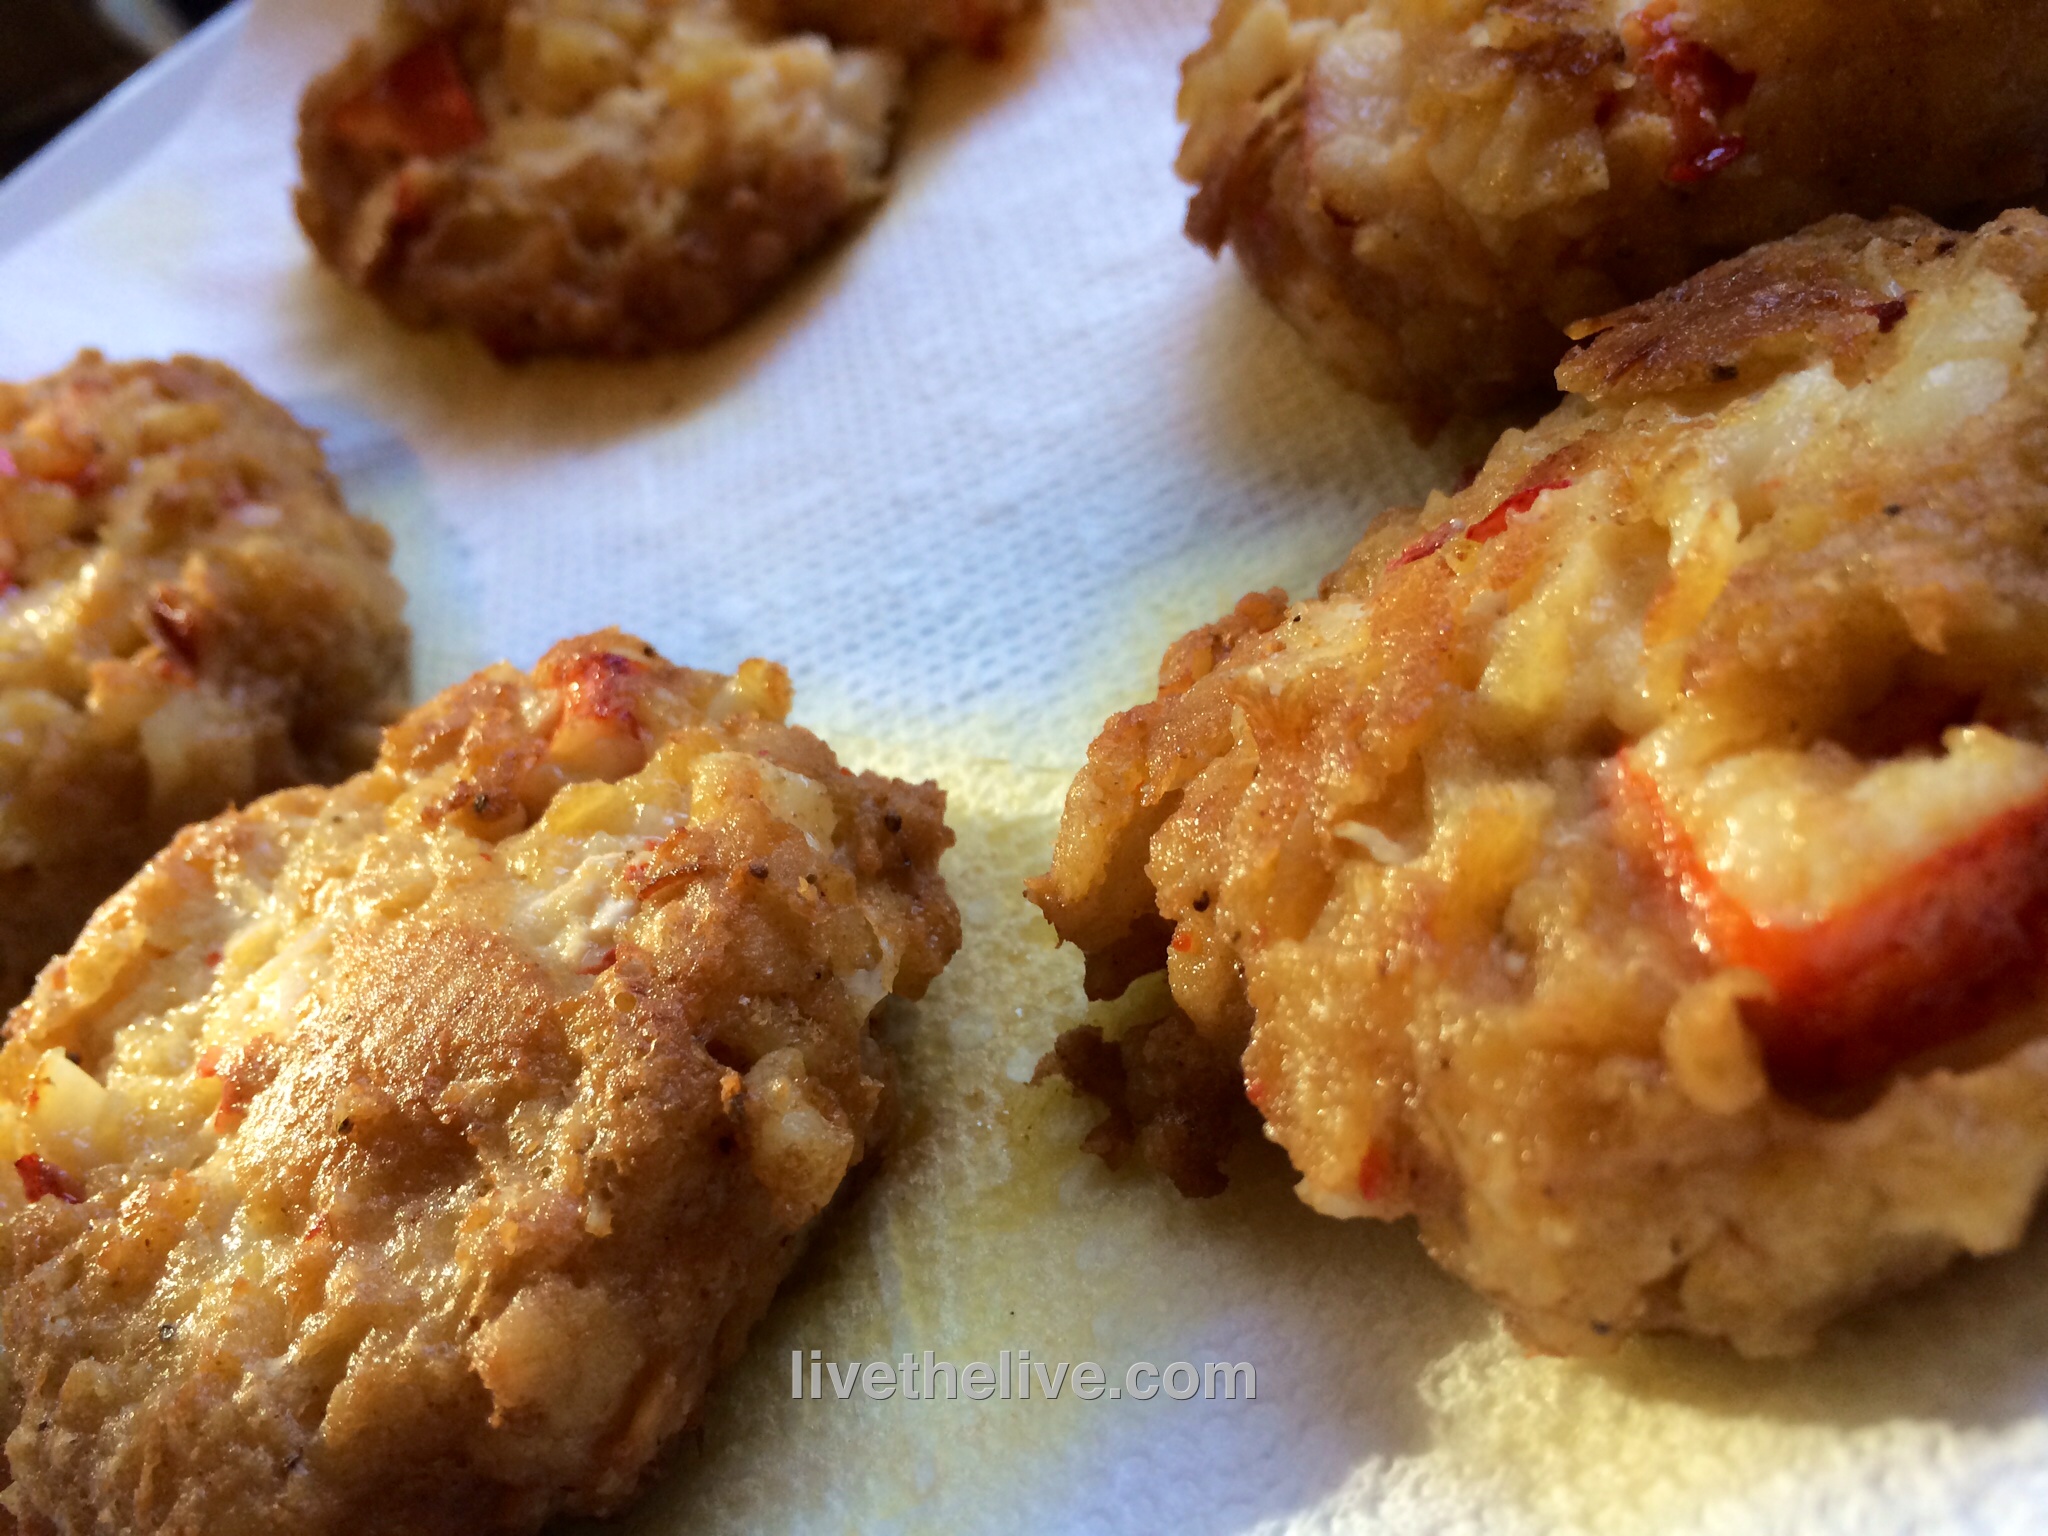
Clam fritters, conch fritters, lobster fritters…I suppose you could fritter anything. But the first time I had them with mussels, I knew that I would never fritter my life away with any other!

It was a fall afternoon in Newport, Rhode Island, at the Newport Yachting Center’s annual Oyster Festival. We’re gorging on freshly shucked oysters and clams, boiled shrimp, and…what have we here? I had never heard of a mussel fritter before, but Wendy, the lovely lady behind the counter, convinced me that her secret recipe would knock my socks off. I took one bite, then another, then another…There was no turning back.

They couldn’t be easier to make, but it is crucial to have the right fritter batter. And that starts with a product called Drum Rock fritter mix. If you live in New England, you can find it in just about any seafood department at Whole Foods. If you live further away, you can check out their website (http://www.drumrockproducts.com/index.php) or try your luck with a local brand of fritter mix.

fritter ingredients


If you’re using fresh mussels, be sure to clean them well and remove the beards. Steam them in a pot over a small amount of water. As they open, they will release their flavorful juices and you want to save every drop of that broth for the fritters. Here in New England, frozen mussel meats are available in some seafood stores. All you need to do is thaw them, steam them saving the broth, and you’re ready to go.


Ingredients:


1 lb Drum Rock fritter mix

2 cups cooked mussel meats

1/2 cup mussel broth (saved from steaming mussels)

1/4 to 1/2 cup good quality beer, such as Sam Adams Boston Lager

Peanut oil for frying


Be sure to let the batter rest. If you're waiting for guests to arrive, just cover the batter bowl with a moist towel and it will keep for several hours at room temperature.

Be sure to let the batter rest. If you’re waiting for guests to arrive, just cover the batter bowl with a moist towel and it will keep for several hours at room temperature.


Steam mussel meats until just cooked. Remove mussel meats, and reserve 1/2 cup of the broth. Pulse mussel meats in a food processor, but leave chunky…or chop by hand.

Put Drum Rock fritter mix in a large bowl. Add mussel meats, mussel broth, and beer. Stir gently until just mixed. Let it sit for 10 to 15 minutes and do not stir again.

Using a thermometer, heat oil to 350 degrees, and using a small spoon or scoop, drop fritters in hot oil, turning gently, cooking 3 to 4 minutes until golden.

Drain on absorbent paper, and season with salt and pepper immediately. Serve right away!

IMG_3043


The perfect dipping sauce for these mussel fritters is made from two ingredients: mayonnaise and Ponzu sauce, which is a citrus-based soy sauce. Combine both ingredients in a bowl. How much you use of each is a matter of personal preference. I usually use a ratio of 4 parts mayo to 1 part Ponzu.


Freshly shucked oysters and clams call for an equally amazing cocktail sauce…and this sauce kicks butt! And it features a key ingredient that you might not expect: vodka. The small amount of vodka in the mix keeps the cocktail sauce from freezing solid when stored in the freezer. Just scoop out what you need, let it thaw, and put the rest back in the freezer.

cocktail sauce

Ingredients:

2 cups ketchup

4 Tablespoons prepared horseradish

1 Tablespoon fresh lemon juice

1 teaspoon Worcestershire sauce

1/2 teaspoon Tabasco or other hot pepper sauce

5 grinds of fresh black pepper

1/4 teaspoon salt

1 teaspoon good quality vodka, like Tito’s

Combine all ingredients. Store in a tight plastic container in the freezer.

I’ve never met a ceviche I didn’t like. Sometimes, nothing can stop a serious seafood craving like sushi, sashimi or ceviche. They require the freshest seafood and veggies you can get your hands on. And other than some fine chopping, they require little else.

The acid in citrus juices basically “cooks” the seafood in a process very similar to applying heat, but when I use shrimp in ceviche, I place them in some boiling salted water first…although very briefly.

Crazy colored shrimp, thanks to blood oranges.

Crazy colored shrimp, thanks to blood oranges.

Ingredients:

For the poaching liquid…

2 quarts water

1/4 cup salt

For the ceviche…

1 pound raw wild-caught American shrimp, peeled and deveined

juice of 2 lemons

juice of 2 limes

juice of 2 oranges (I had blood oranges this time)

1 cup diced seeded peeled cucumber

1/2 cup finely chopped red onion

pinch of red pepper flakes

1 cup diced seeded tomato

1 avocado, chopped into 1/2″ pieces

1 tablespoon roughly chopped cilantro leaves, plus more for garnish

1/4 cup extra virgin olive oil

1/4 teaspoon Fleur de Sel

Combine water and 1/4 cup salt in a saucepan and bring to a boil. Add shrimp and immediately turn off the heat. Let the shrimp sit for just a minute, drain and transfer to a bowl of ice and place in fridge to cool.

Remove cooled shrimp from fridge and drain. Chop shrimp into 1/2″ pieces and place in a medium non-reactive bowl. Add lemon, lime and orange juice. Stir in cucumber, onion and pepper flakes. Refrigerate for 1 hour.

Stir in the tomato, avocado, chopped cilantro, olive oil and Fleur de Sel into the shrimp mixture. Let stand at room temperature for 30 minutes before serving. Garnish with cilantro leaves, if desired.

The inspiration for this sauce was my attempt to replicate the “Shack Sauce” they use at Shake Shack , a high-end burger joint owned by restaurateur Danny Meyer. Since it opened in New York City’s Madison Square Park in 2004, Shake Shack has expanded to many other locations around the world.

I don’t know if I captured the Shack Sauce secret. But I do know that my Awesomesauce makes every cheeseburger I grill taste amazing. It’s also fantastic for shrimp, crab or lobster salad…a dip for veggies or boiled shrimp…a dressing for tacos…and great on salads.

Awesomesauce

Ingredients:

1/2 cup mayonnaise

1 Tablespoon ketchup

1 Tablespoon yellow mustard

1 tablespoon dill pickle relish

1/4 teaspoon garlic powder

1/4 teaspoon paprika

Pinch cayenne pepper

Combine all ingredients in a bowl. Refrigerate covered for a few hours to blend flavors.

I’ve been asked to list my sources for the organic, pastured, wild-caught or grass-fed foods I use in my recipes. I’ve had many successes as well as many failures with purveyors of foods over the years, but I’ve been able to find a handful of websites that deliver what they promise.

Of course, I support my local farmers. And if they’ve got the product I’m looking for, I will buy from them first. But the convenience of ordering from home is unbeatable…and sometimes you don’t live anywhere near a farm that can supply you with what you’re looking for.

My philosophy is simple: I will pay top dollar if the quality is there. I would rather eat exceptional quality meat and seafood rarely than antibiotic-laced, hormone-injected crap every day.

When it comes to seafood, I buy wild-caught (line-caught in the case of fish) American products. I’m OK with some farmed fish, like USA catfish and trout, which are of high quality. I buy Pacific cod, not Atlantic cod, which has been depleted in its numbers. I don’t buy orange roughy or Chilean sea bass because of overfishing. Same with swordfish unless it’s local and line-caught. I never buy farmed shrimp from Asia or South America, where there are no rules about what they feed them and how badly they crowd them in nets. I don’t buy Atlantic salmon, which is farmed and comes from Norway, Canada or South America. I buy wild-caught Alaskan salmon and halibut. Farmed oysters and mussels are fine, because their habitat is about the same as in the wild, and we have great sources for them here in Rhode Island.

It’s expensive to eat well. My family is worth it. I cut corners elsewhere.

TALLGRASS

www.tallgrassbeef.com: Owned by TV journalist Bill Curtis, they sell a variety of 100% grass-fed beef steaks, burgers and dogs. Just recently, they started selling my favorite cut: the porterhouse. But more than anything, this is my go-to website for grass-fed hamburger. They sell them in 1 lb. bricks, and I’ll buy about 24 lbs. at a time. I prefer the bricks over the pre-formed burger patties, because I use them for meatballs and tacos…not just burgers. Best burger I’ve had.

pork

www.heritagepork.com: A great website for Berkshire heritage pork. This is not the pale, flavorless stuff you get in a supermarket. Berkshire pork is known in Japan as Kurobuta pork, and is considered the “Kobe” of pork. Excellent quality, beautifully marbled fat, and delicious. I’ve bought the pork chops, the ribs, pork loin and the pork belly, and none of them has disappointed. Excellent service.

salmon

www.vitalchoice.com: If you’re looking for incredible wild-caught Alaskan seafood, this is the site. Wild salmon, tuna and shellfish. Frozen right after it’s caught. Rare treats like wild Pacific spot prawns, some of the tastiest shrimp you’ll ever eat. Hard-to-find organic grass-fed Wagyu beef. (Wagyu is American Kobe beef.)


www.westwindfarms.com: Without a doubt, some of the best chicken I have ever had in my life comes from this family run farm in Tennessee. Delicious not-too-big (about 4 lb.) birds. And their chicken wings are the best ever–period. No scrawny wings here: they come with breast meat attached, making them a real treat. They also sell grass-fed beef, lamb, pork, organic products and more. I’ve tried their other products, but for me, it’s all about the chicken. If you’re in Tennessee or Georgia, they have many pick-up locations to choose from. I go the mail-order route, and I think I might be their only online customer! But their service is top-notch.


www.cajungrocer.com: My trusted go-to place for any Cajun food you could want, from Turduckens (excellent quality) to alligator sausage, to live crawfish (in season.) This is where I get all of my wild-caught American gulf shrimp. Even with shipping costs, their prices are so much better than any local seafood store. Excellent service.

Burgerssswww.smokehouse.com Burgers’ Smokehouse has been around since 1952 and they’ve got it down to a science. You won’t find grass-fed or organic products here, but you will find great bacon, ham, turkey and other smoked products. Their Thick Original Country Bacon Steak is what I always buy…12 lbs. at a time. Their cooked and spiral sliced country ham is a real treat. Not only is their service awesome, but unlike other websites that surprise you with crazy shipping costs after you’ve spent an hour getting your order together, all of Burger’s price include shipping. That rocks!

http://www.mcallenranchbeef.com: Beef of the highest quality and outstanding flavor, although not grass-fed. This historic Texas ranch, established in 1791, has been dealing with droughts which have limited their supply of beef, and their website says their beef supplies will be back to full speed by June of this year.

www.grassfedbeef.org: This is the website of Tendergrass Farms, a supplier of grass-fed beef, pastured pork, and organic meats. We’ve had some success with the beef, and we also purchased a very tasty turkey from them for Thanksgiving last year.

www.drinkupny.com: It’s time for as drink! And these guys, based in Brooklyn, NY, have just about anything you could want. It may seem silly to order your spirits online instead of going to your local liquor store, but these guys have the high-end things my local guy doesn’t…and they’ve got better prices on the stuff he does have. Shipping is fast and reasonably priced.

www.empirewine.com: Need wine? These guys are based in upstate NY and they’ve got a huge choice of excellent wines at great prices. Shipping is FAST, but make sure they ship to your state to avoid disappointment.

Coming in a future blog: my sources for the gardening season: seeds, plants and more.

On an episode of “Top Chef,” Wolfgang Puck had the competing chefs make an omelet, something you would think they could do blindfolded. They all failed. An omelet may be a simple dish, but creating a really great omelet is an art form. It’s the same with fried calamari. When I see it on a menu, I almost always order it, because it’s my litmus test for the meal ahead. If the chef screws it up, I know he or she either doesn’t have the chops, or doesn’t care, and that will reflect on the other food served as well.

To me, what makes great friend calamari are three basic elements: it needs to be wild caught in the US and properly cleaned…it needs to be fried at the right temperature for the right amount of time so that it’s perfectly cooked and not greasy…and the coating needs to be light and crispy. This recipe does it for me…

calamari

Ingredients:

1 lb. wild caught cleaned squid (thaw if frozen)

2 cups flour (I use 00 flour, but all purpose is OK, too)

2 teaspoons dried oregano

1 1/2 teaspoons paprika

1 teaspoon dried parsley

1/2 teaspoon granulated garlic

1 1/2 teaspoons salt

1/2 teaspoon black pepper

1 cup milk

1 large egg

oil, for frying ( I use non-GMO canola oil or peanut oil)

Thaw the squid and slice into bite-sized rings. In a bowl, whisk the milk and the egg together. Toss in all the squid pieces into the bowl to coat. Place the bowl in the fridge for at least 15 minutes.

In another bowl, combine flour, oregano, paprika, parsley, garlic, salt and pepper. Set aside.

Fill a large pan halfway with oil…or use a deep fryer if you have one. Preheat the oil to 350 degrees.

Working in small batches, remove the squid from the milk and egg mixture, let some of it drip off, then place the squid in the flour mixture and toss to coat. Shake off any excess flour and place immediately into the hot oil. Fry until golden brown, about 4 or 5 minutes. Serve immediately with tartare sauce, tomato sauce, hot peppers, whatever you like.

Commentary on oil: I cook almost exclusively with olive oil. But for hot frying like this recipe requires, I go with non-GMO canola oil…or peanut oil if that’s not available. Despite what you read, most oils that are hailed as “healthy:” regular canola, corn, soybean, sunflower, safflower…are bad for you. But if you fry your food at the proper temperature using good clean oil, very little oil will stay on your food.

In the past, whenever I reached for the smoker, it was always for a slab of meat: brisket, pork shoulder, ribs. I’m surprised it took me this long to finally smoke some fish. What have I been waiting for?

Brining and smoking fish, in this case a hunk of wild-caught Alaskan salmon, is really not difficult to do at all: you brine the fish in a simple salt, pepper and sugar solution for a few hours, let the hunk of fish dry, then throw it in a smoker for a couple of hours. It’s really that easy. This method is called hot smoking, not the cold smoking you often see described on packages of store-bought salmon. Cold smoking is a process that takes days and requires equipment that most homeowners don’t have, and don’t need.

About the fish: I’m not a fan of traditionally cooked or poached salmon. I like it raw or I like it smoked. I never buy Atlantic salmon or any other farm-raised salmon because of the way they raise them: in large pens out in the ocean, fed food pellets and antibiotics, over-crowded and diseased, polluting the waters around them with waste.

Wild-caught fish are just that: they eat their natural food sources. They are not crowded so they don’t need antibiotics. And you can tell the difference when you look at the beautiful bright orange flesh. Does the good stuff cost more? Of course. Worth every bit.

Though I try to make sure all the small bones have been removed from my fish, I like to keep the skin on the filet, because it helps hold it together in the smoker. I always keep the fish cold in the fridge until it is ready to be brined.

salmon

For the brine:

1 gallon water
1cup Kosher salt
1cup organic raw sugar
1/2 teaspoon freshly ground black pepper

Combine the ingredients in a large pitcher made of glass or plastic and refrigerate until very cold.

When the brine is cold, remove the fish from the fridge and place it skin down in a glass or plastic container that will hold the filet without folding it over. Carefully pour the brine over the fish and make sure the fish is covered completely with the brine. If the fish filet starts to float, place a dish on it to push it down and then put the lid over the container. Place the container back in the fridge and brine for anywhere from 6 to 12 hours. (I always go for less than more. I’d rather have less salty than too salty.)

Once the fish has been brined, remove it from the container and rinse it well under fresh water. Pat it dry with paper towels and place it where it will get air circulating all around it. I use a small rack that stands an inch over a sheet pan. If you leave the fish out at room temp, do it for no more than an hour. Otherwise, it can stay in the fridge for up to 3 hours.

As the fish dries, it will form a shiny coat on the surface called a pellicle. This will actually help the smoke molecules adhere to the fish.

Start up your smoker. I use a digital smoker that runs on electricity, so I pre-heat to 220 degrees. When the fish has dried, I place it in the middle of the smoker and then add hickory chips to the smoker. I smoke the fish for about 2 hours, until the internal temperature of the fish is about 140.

Once it is smoked, I let the fish cool to room temp before I wrap it tightly and place it in the fridge for storage. Eat it within a few days…that should not be a problem!

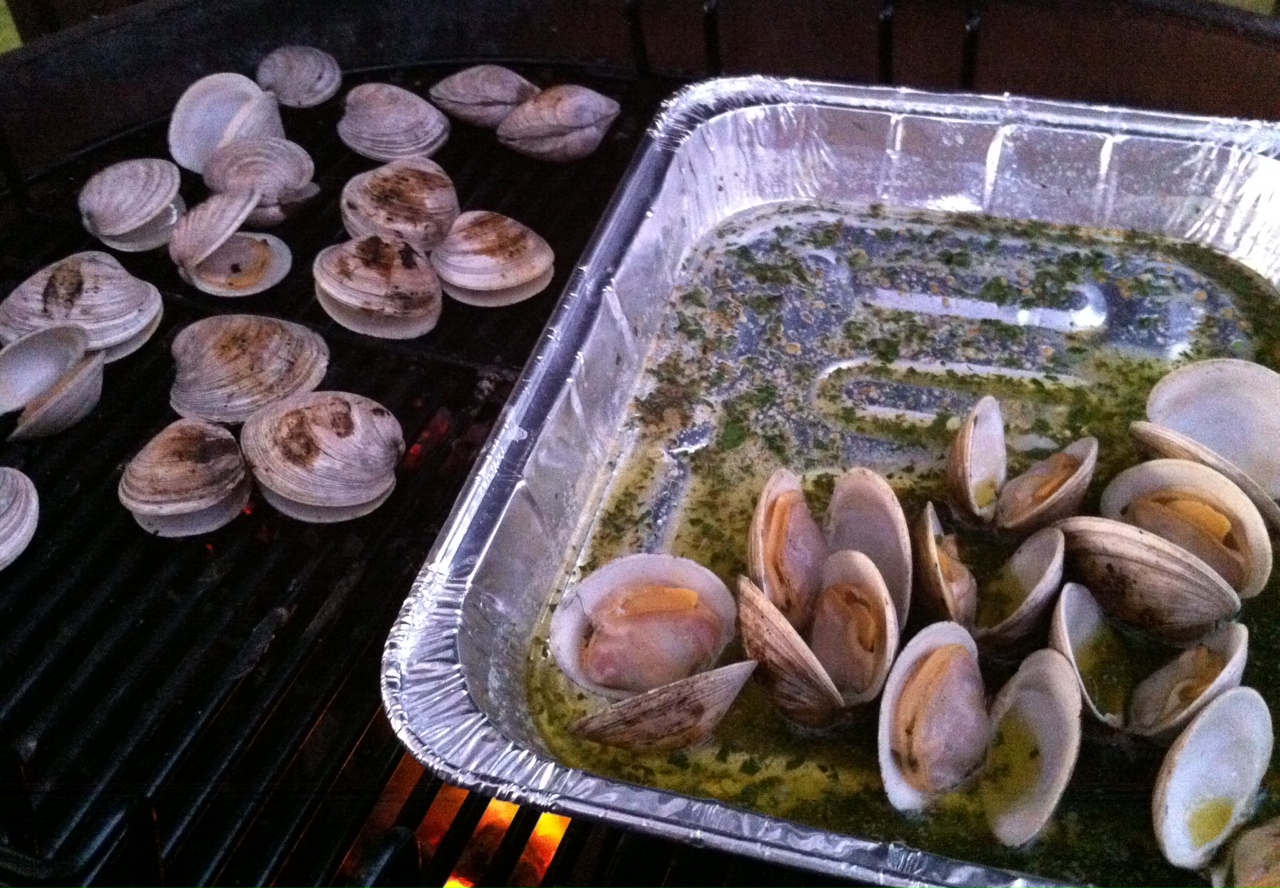
Enjoying clams without the clam knife: when you’ve got to feed a crowd, this is a delicious way to do it. Cooking clams on the grill is one of the tastiest ways to enjoy these awesome mollusks. Do it over hardwood charcoal to get that true smokey flavor.

clams on the grill

Ingredients:

A couple of dozen (or more) little neck clams, washed and purged

1 stick (8 oz) of butter

1/4 cup extra virgin olive oil

1/4 cup chopped parsley

1 teaspoon dried oregano

1/2 teaspoon dried basil

1 teaspoon minced garlic

1 teaspoon sea salt

Clams should be stored cold and dry in a fridge until ready to use…not in water, not on ice.

Fill a large bowl with cold water,add sea salt and some corn meal to it, and mix it around. Add the clams to this bowl and let them purge in this liquid for at least an hour. They will suck up the corn meal and spit out sand and grit. After an hour, pour off the water/salt/meal/grit mix, and thoroughly wash the clams.

Start your hardwood charcoal grill and divide it in half: coals on one side, no coals on the other.

While the coals are heating up, grab a disposable aluminum foil tray and place it on a burner on your stove over medium heat. Add the butter, olive oil, parsley, oregano, basil, garlic and salt, and stir to combine. Once the butter has melted and everything has blended, bring the tray over to the charcoal grill and place on the side of the grill without coals. It will stay warm.

Once the coals are hot, just place the clams directly on the grill. (Use tongs, unless you want to remove all of your knuckle hair.) When they start to open, carefully flip them over, trying not to lose any of the precious juices inside the clam. Cook them for as long as you like, from raw, to more thoroughly cooked. As each one reaches its desired doneness, place it in the aluminum tray, making sure it gets swished around in the butter and herb mix.

When all the clams have been cooked and are in the tray, serve with a fresh baguette or even over pasta. A glass of great white wine is a must.