True: the inspiration behind this dish was a conversation I had with friends, talking about our early childhood days. Someone brought up the name Shari Lewis, and her famous puppet Lamb Chop. Next thing I knew, I was grilling the critter in my yard.
This is a great grilled lamb recipe that works best if you marinate it ahead of time, but it’s not absolutely necessary. Cook it indoors or outside on the grill. I used grapefruit zest and juice in the original recipe, but since I still had a Honeybell orange left in my stash, I used that this time around. Any citrus you like will work.
American lamb is different from lamb raised in New Zealand or Australia. If you like a milder flavor, go with the American lamb. Lamb from New Zealand and Australia is entirely grass-fed, making for a stronger “gamier” flavor but a healthier cut of meat, as all grass-fed meat products are.

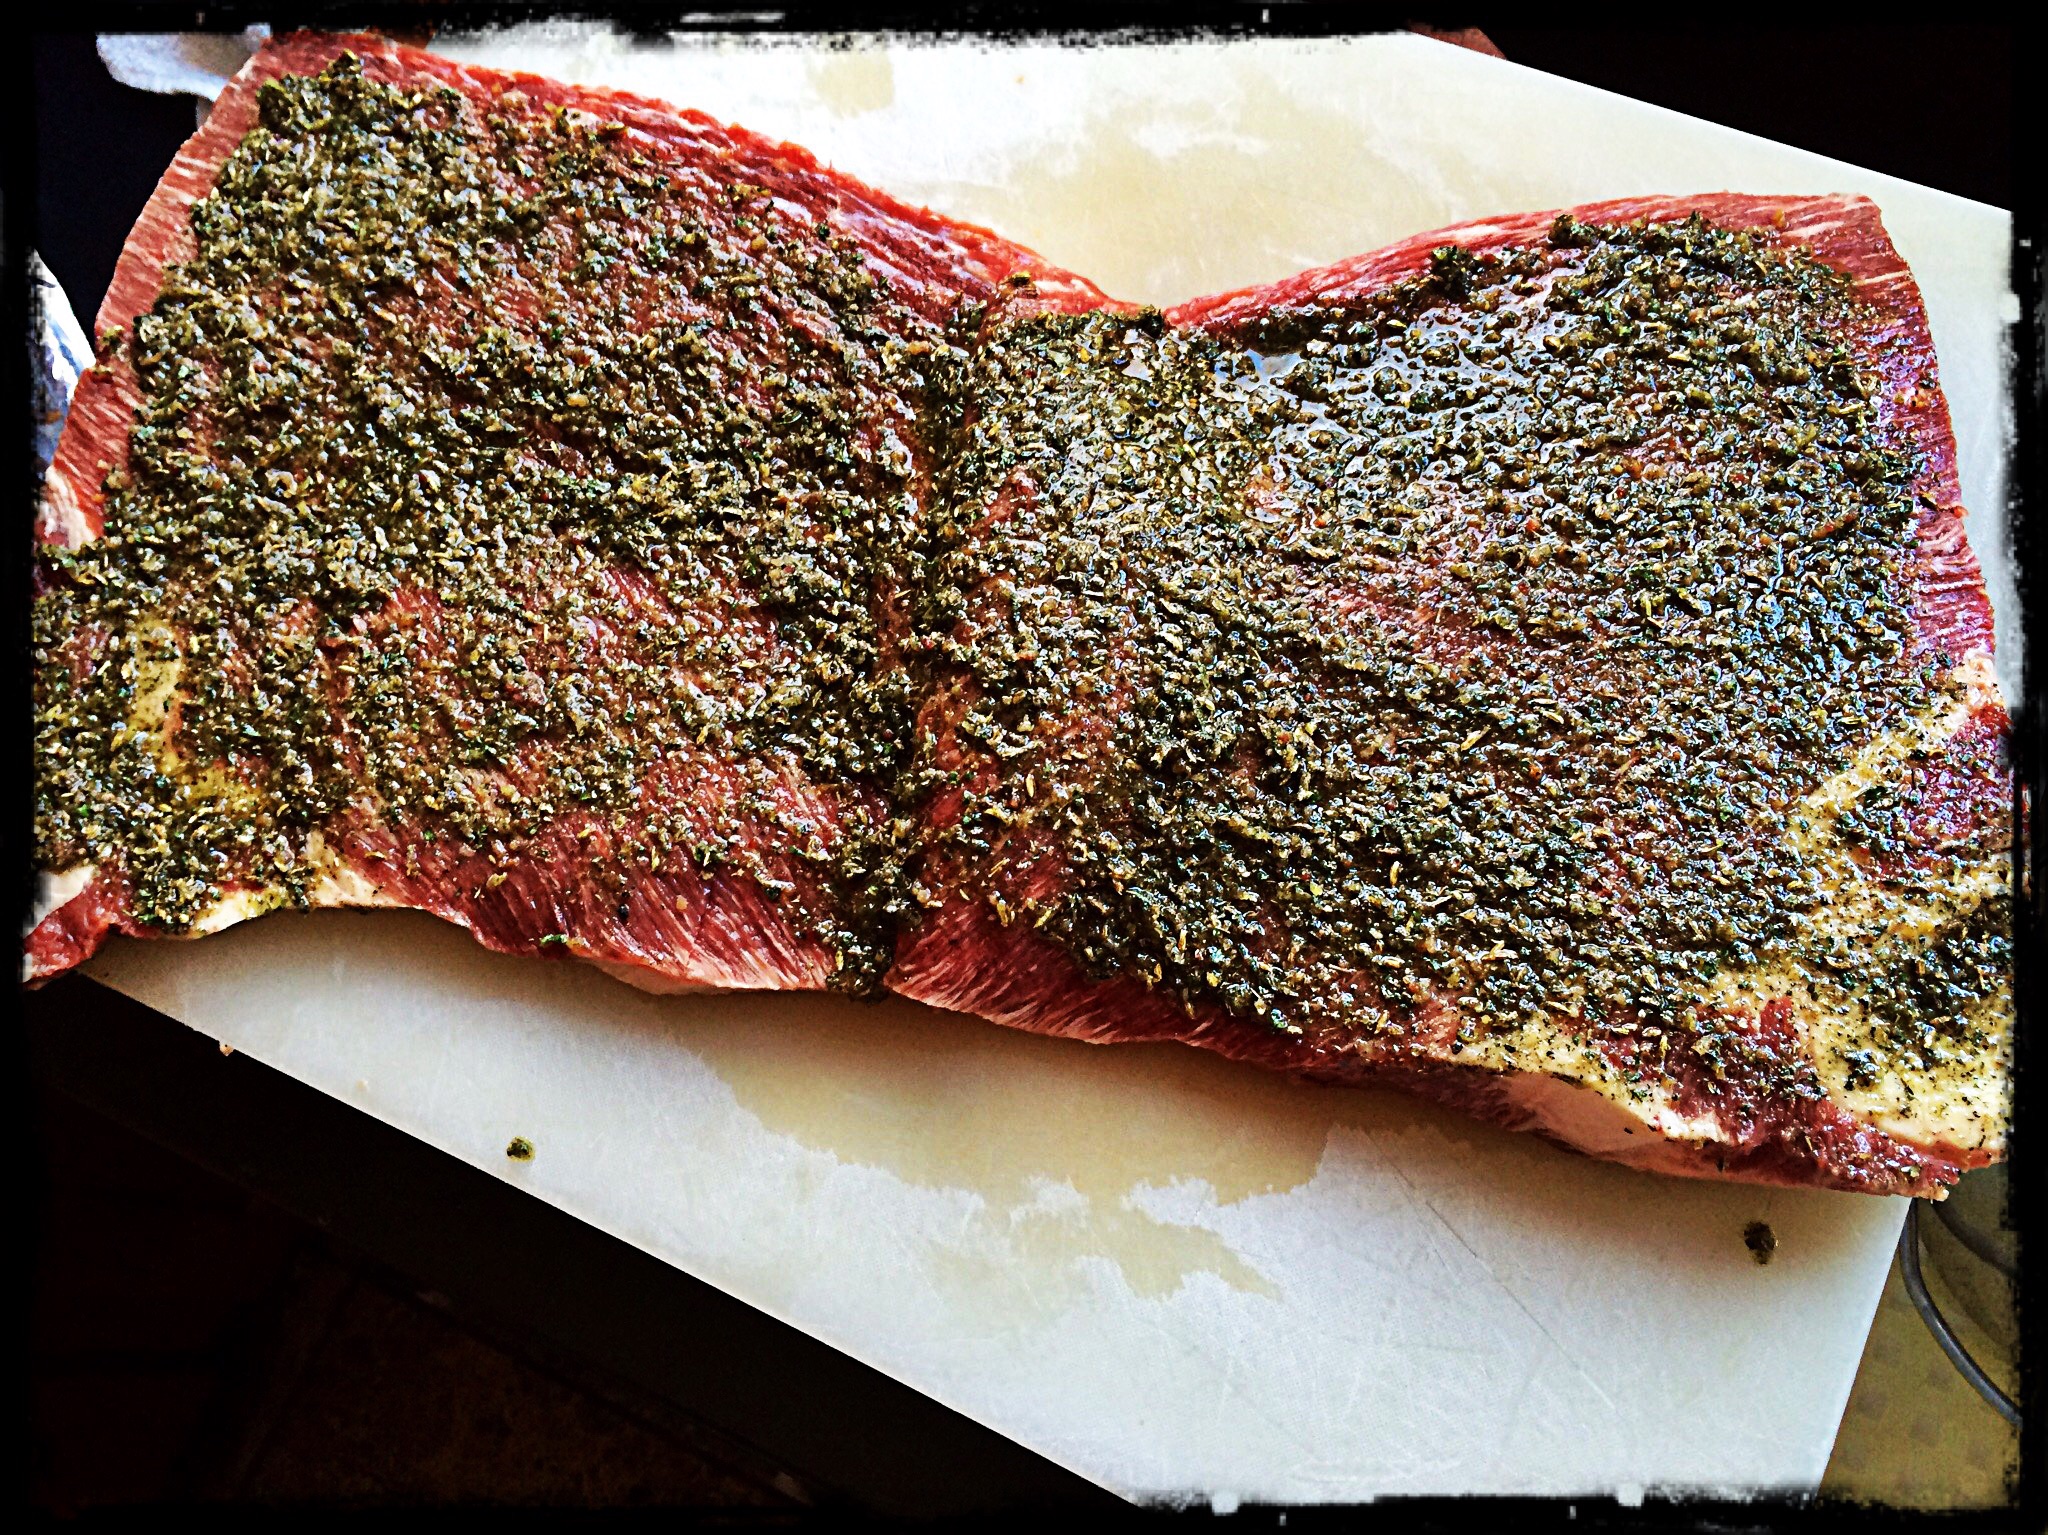
6–8 small lamb chops
1/4 cup brown mustard (I like Gulden’s)
Zest of 1 Honeybell orange
1 tablespoon Honeybell juice
1 tablespoon honey
1 teaspoon garlic salt
1/4 teaspoon black pepper
1/4 teaspoon dried thyme
In a bowl, combine the mustard, Honeybell zest and juice, honey, garlic salt, pepper, and thyme. Mix well. At this point, you can marinate the lamb by pouring the mixture in a Ziploc bag and adding the lamb to it. Marinate at least 1 hour at room temperature, or longer in the fridge.
Pre-heat a hardwood charcoal grill…or if cooking indoors, pre-heat the oven to 350, and on the stove top, heat an oven-proof pan (cast iron is best) with a little pork fat or oil.
If you marinated the lamb, remove the meat from the bag and save the marinade to baste with while cooking. Don’t use the marinade uncooked, since it made contact with raw meat.
On the grill: Grill the lamb on all sides first, then start brushing the mixture on them, flipping them, brushing again, and grilling. Keep doing this until you’ve used up all the mixture and the lamb is cooked to proper doneness. Don’t overcook it!
In the pan: Sear the lamb on all sides, then brush all sides with the marinade. Place the lamb in the oven to finish cooking, making sure you don’t overcook it. Let it rest before serving.