Archive for the ‘Carnivore!’ Category

MEATLOAF

Posted: March 24, 2015 in bacon, beef, Carnivore!, Food, pork, Recipes
Tags: , , , , ,

Few dishes scream out “comfort food” to me like meatloaf. My Mom’s meatloaf was awesome, and she’d cut a huge slab of it onto my plate, with fantastic butter-loaded Pennsylvania Dutch egg noodles on the side. I couldn’t stop eating it.

I never thought of making meatloaf when I moved away, because it gave my Mom something special to make for me when I came home to visit. She was thrilled that there was a dish she could make that I would devour every time, without hesitation. (The others were her roasted lamb and Lithuanian pierogis called koldūnai (kol-doon-ay).

But now that my Mom has moved into an assisted living facility where she can’t cook, I’ve had to take meatloaf matters into my own hands. I never got my Mom’s exact recipe. But I had an idea of what went into it, and so I gave it a shot.

The standard mix for meatloaf is one-third each ground beef, pork and veal. I went 50-50 on the beef and pork instead. And instead of layering slices of bacon on top as many people do, I used pre-cooked bacon that I chopped up and put inside the loaf.

image


1 lb. ground beef
1 lb. ground pork
1 packet Lipton onion soup mix
1/2 cup breadcrumbs
1/4 cup ketchup
4 strips of cooked bacon, chopped
2 eggs

Combine ingredients, form into a loaf and place in a loaf pan. Bake at 350 for about an hour.


If you’re not a fan of packaged ingredients like the Lipton onion soup mix, use this:

1 yellow onion, minced

1 teaspoon salt

1/2 teaspoon pepper

1/2 teaspoon garlic powder


Saute the onion in a little oil or pork fat until translucent. Let it cool, then mix in the salt, pepper and garlic. Add this mix to the other ingredients above.

March 18 is National Sloppy Joe Day.

My sandwich takes on a Mexican twist, using seasoned taco meat and a great barbecue sauce. Putting them together with a sprinkling of Mexican cheese on a bun with lettuce and tomato made for one sloppy but delicious sandwich!

sloppy jose


For the barbecue sauce…

2 cups ketchup

3/4 cup water

6 tablespoons cider vinegar

6 tablespoons white vinegar

6 tablespoons brown sugar

3 tablespoons Worcestershire sauce

1 tablespoon chili powder

2 teaspoons salt

2 teaspoons black pepper

1 1/2 teaspoons cumin


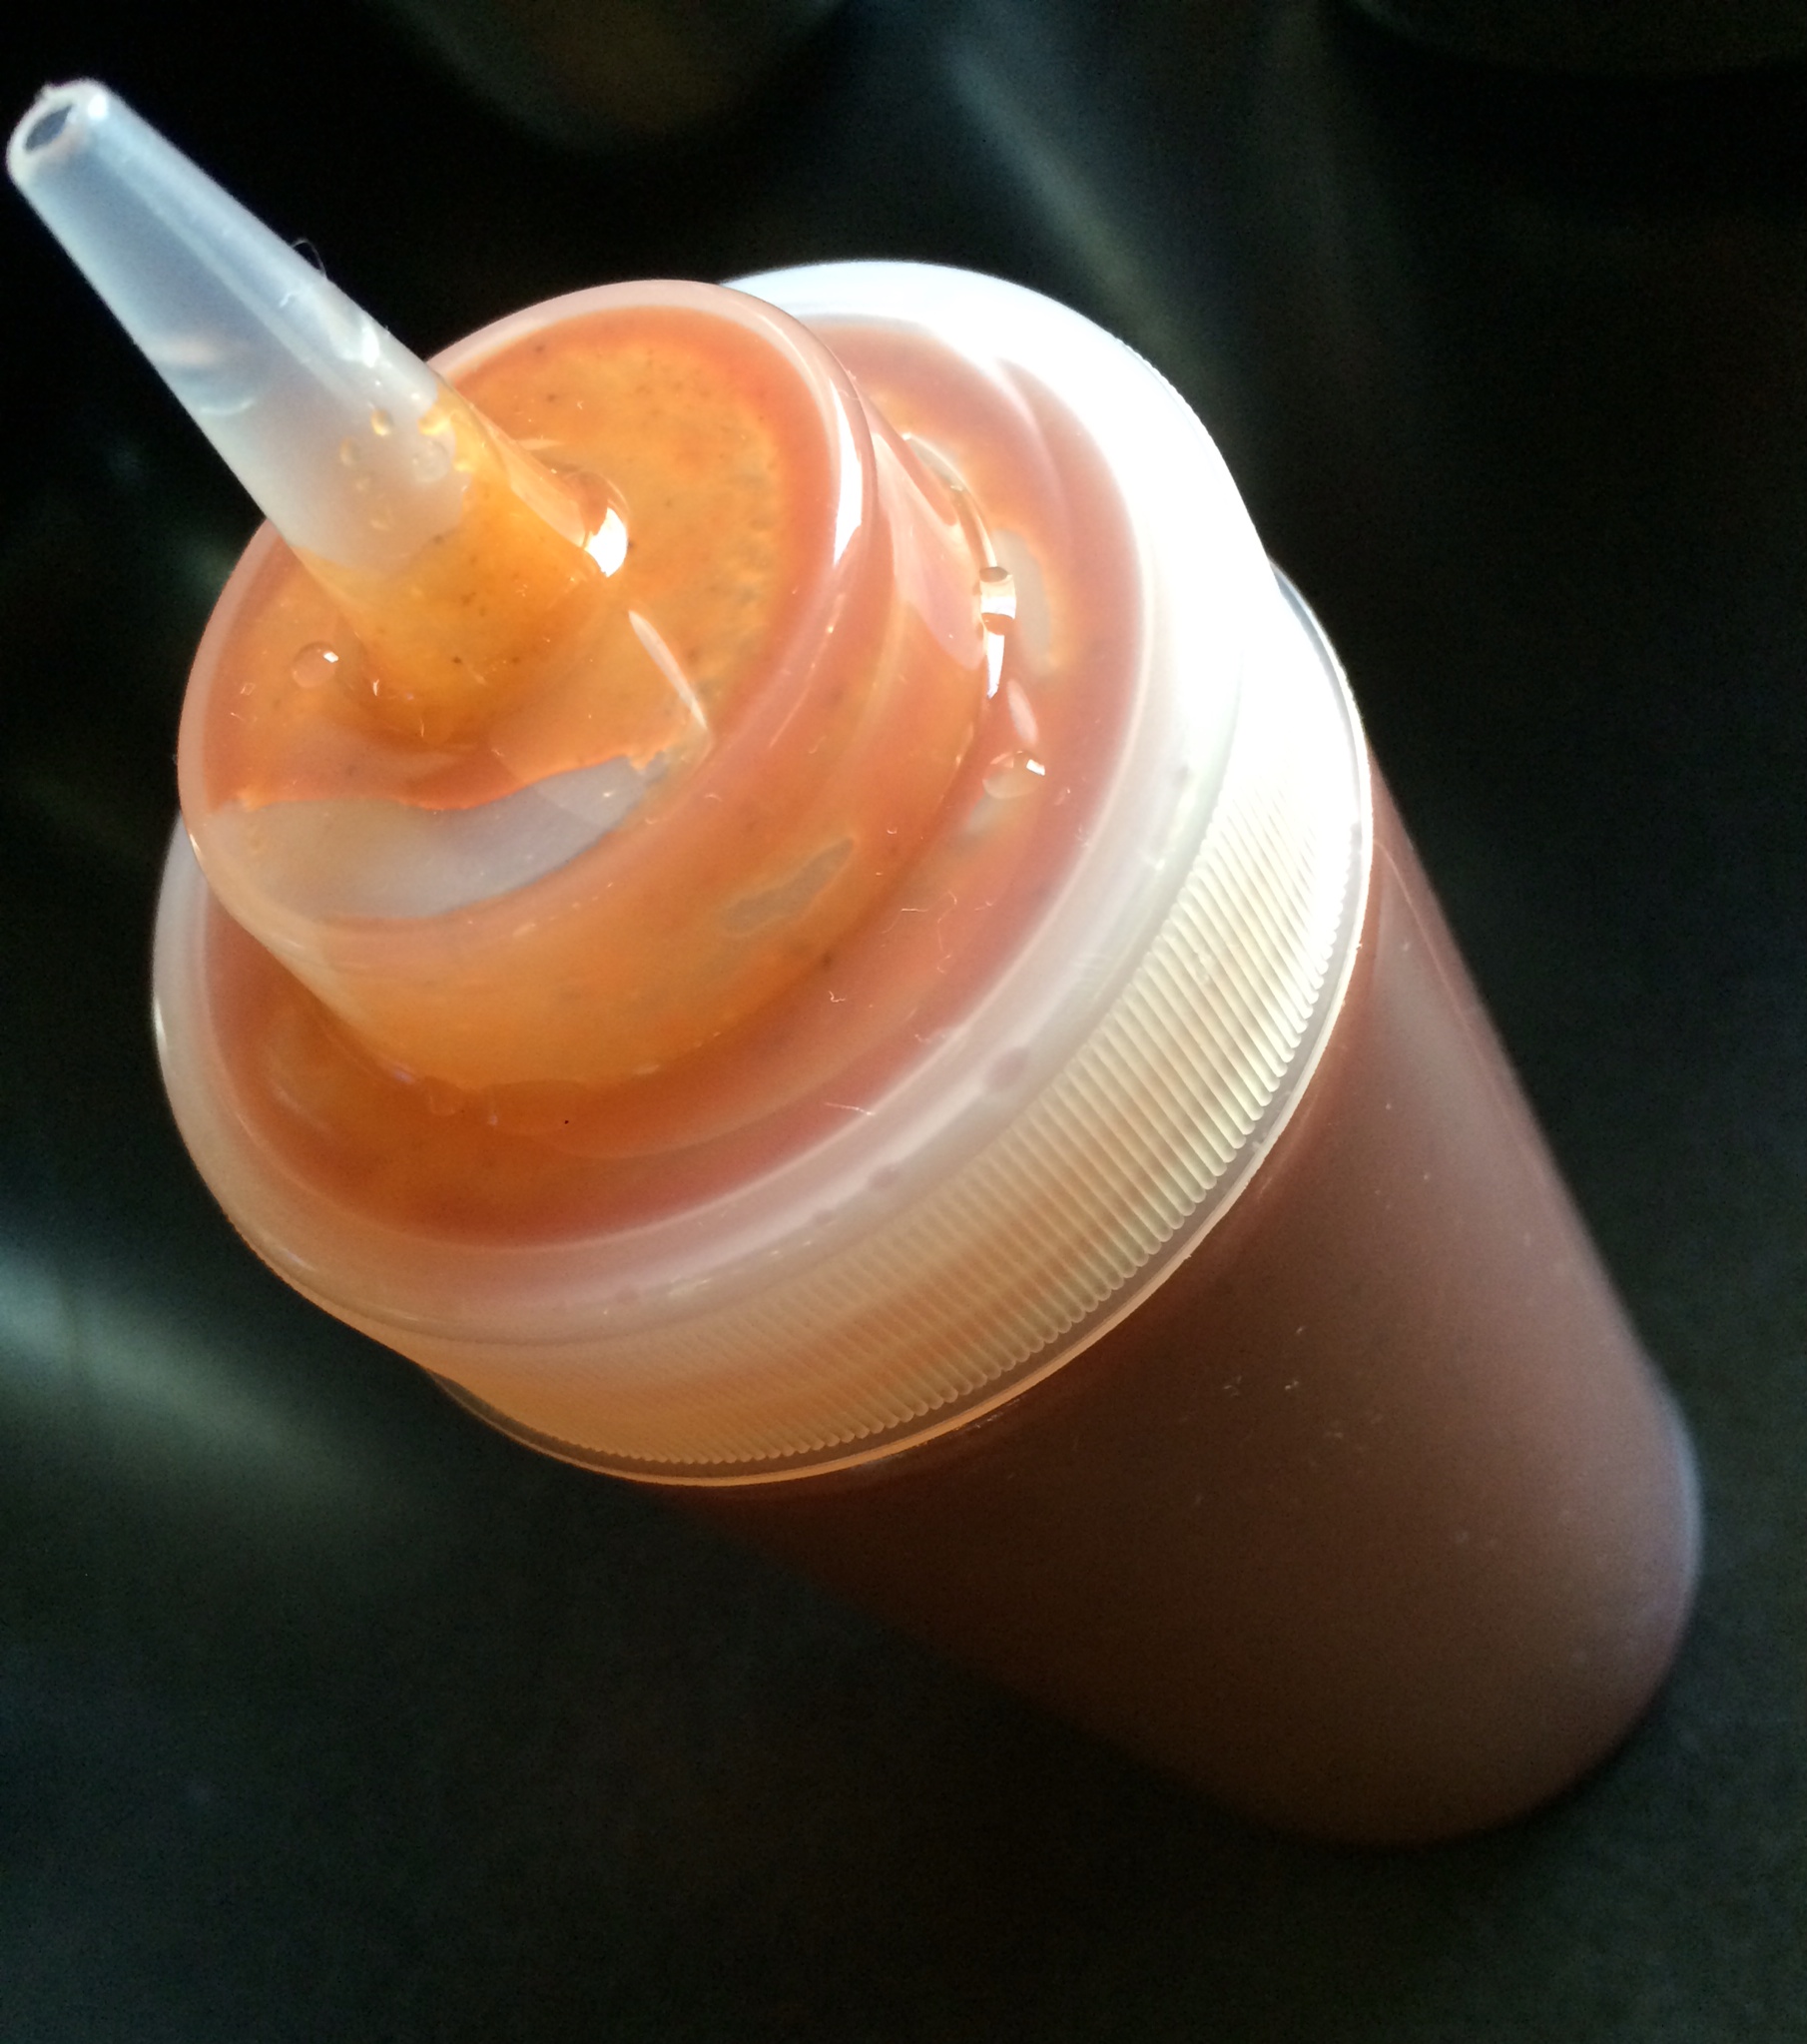
Mix all the ingredients in a saucepan and simmer until the flavors have blended, about 20 minutes. Remove from heat and cool to room temp. If you store it in an airtight container in the fridge, it’ll stay good for a few months.


For the seasoned taco meat…

1 teaspoon granulated garlic

1 teaspoon onion powder

1/4 teaspoon crushed pepper flakes

1 teaspoon dried Mexican oregano

1 teaspoon paprika

2 teaspoons ground cumin

1 teaspoon sea salt

1 teaspoon black pepper

1 Spanish onion, finely chopped

olive oil

2 lbs. grass-fed ground beef


Combine all the spice ingredients in a bowl.

Saute the onions in a bit of olive oil until translucent. Add the beef and saute until cooked, mixing in the spice mixture a little at a time until you’ve used it all.


For the sandwich…

Take some of the taco meat and place it in a small non-stick pan and heat on medium. Squirt in as much of the barbecue sauce as you like, mixing thoroughly. Sprinkle some grated Mexican cheese on top, mixing thoroughly and letting it all melt together into one warm, gooey mess. Throw it on a bun. Add lettuce, tomato, avocado slices, whatever you like!


Despite that corned beef is not an authentic Irish dish, it seems that everyone thinks they should eat it on St. Patrick’s Day. The phrase “corned beef” was actually coined by the British, and although the Irish were known for their corned beef throughout Europe in the 17th century, beef was far too expensive for the Irish themselves to eat and all of it was exported to other countries. Owning a cow in Ireland was a sign of wealth, and the Irish used theirs for dairy products, not beef. The Irish ate pork, and a lot of it, because it was cheap to raise pigs, and they traditionally prepared something like Canadian bacon to celebrate St. Patrick’s Day in Ireland.

In the 1900’s, when the Irish came to America, both beef and salt were more affordable, and the Irish, who lived in poor, tight-knit communities, often next to Jewish communities, bought much of their beef from Kosher butchers. And so many of the Irish learned how to corn their beef using Jewish techniques, but added cabbage and potatoes to the mix.

It takes about 3 weeks to make corned beef, so you won’t have it ready for this St. Patrick’s Day. But now that you know it’s not Irish anyway, that’s OK! Doing it yourself is not difficult, and you get a better quality product than that nasty slab from the supermarket that’s full of chemicals and preservatives.

Corned beef has nothing to do with corn. ‘Corning’ is a technique for preserving raw meats for long periods by soaking it in salt brine. This method was used in England before the days of commercial refrigeration. Back then, the large salt kernels used in the brine were called “corns.”

Brining is a time-honored way of preserving and it prevents bacteria from growing. Both pastrami and corned beef are made by this method. Both corned beef and pastrami usually start with a brisket of beef. Corned beef is then cooked–usually boiled–and served. Pastrami is made when the brined meat is rubbed with more spices and smoked to add extra flavor. So corned beef and pastrami are the same meat, just treated differently.

Saltpeter is an ingredient that has been used in brining beef for years. It adds the traditional red coloring to the corned beef and pastrami meat. But since saltpeter can also contain carcinogens, I leave it out. The meat may not be the usual bright red color, but the flavor and texture of the meat will not be affected.

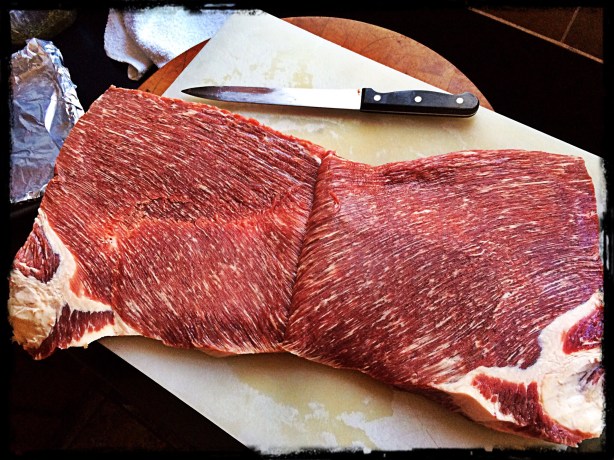
Brining the beef brisket

Brining the beef brisket

Step one: corned beef…

beef brisket (about 8-10 pounds)
2 tsp. paprika
1/4 cup warm water
3 cloves of minced garlic
2 tablespoons sugar
1 tablespoon mixed pickling spices
3/4 cup salt
2 quarts water

Place the brisket in a large container made of non-reactive material, like glass or plastic.

In the 1/4 cup of warm water, dissolve the sugar, minced cloves, paprika and pickling spices.

Dissolve the 3/4 cup of salt in the 2 quarts of water. Pour in the sugar/garlic/paprika/pickling spices mix and stir everything together. Pour the mixture over the meat in the container. Make sure the meat is totally beneath the surface of the liquid. (You may need to weigh it down to do this.) Cover the container.

Refrigerate the container and contents for 3 weeks, turning the meat once or twice per week. At the end of the third week, remove the container from the refrigerator and take out the meat. Soak the meat in several changes of fresh cold water over a period of 24 hours to remove the excess salt.

At this point, if you want corned beef, prepare and cook it using your favorite recipe. But I’m all about the pastrami!

Step two: making Pastrami…

pastrami


Brined and rinsed corned beef brisket from above recipe, patted dry with paper towels

1/4 cup Kosher salt

1/4 cup paprika

3 tablespoons coriander seeds

2 tablespoons black peppercorns

2 tablespoons yellow mustard seeds

1 tablespoon white peppercorns

3 tablespoons brown sugar

1 tablespoon granulated garlic

Combine coriander seeds, black and white peppercorns and mustard seeds in a spice grinder and grind coarsely. Place in a bowl. Add salt, paprika, brown sugar and granulated garlic. Mix well.

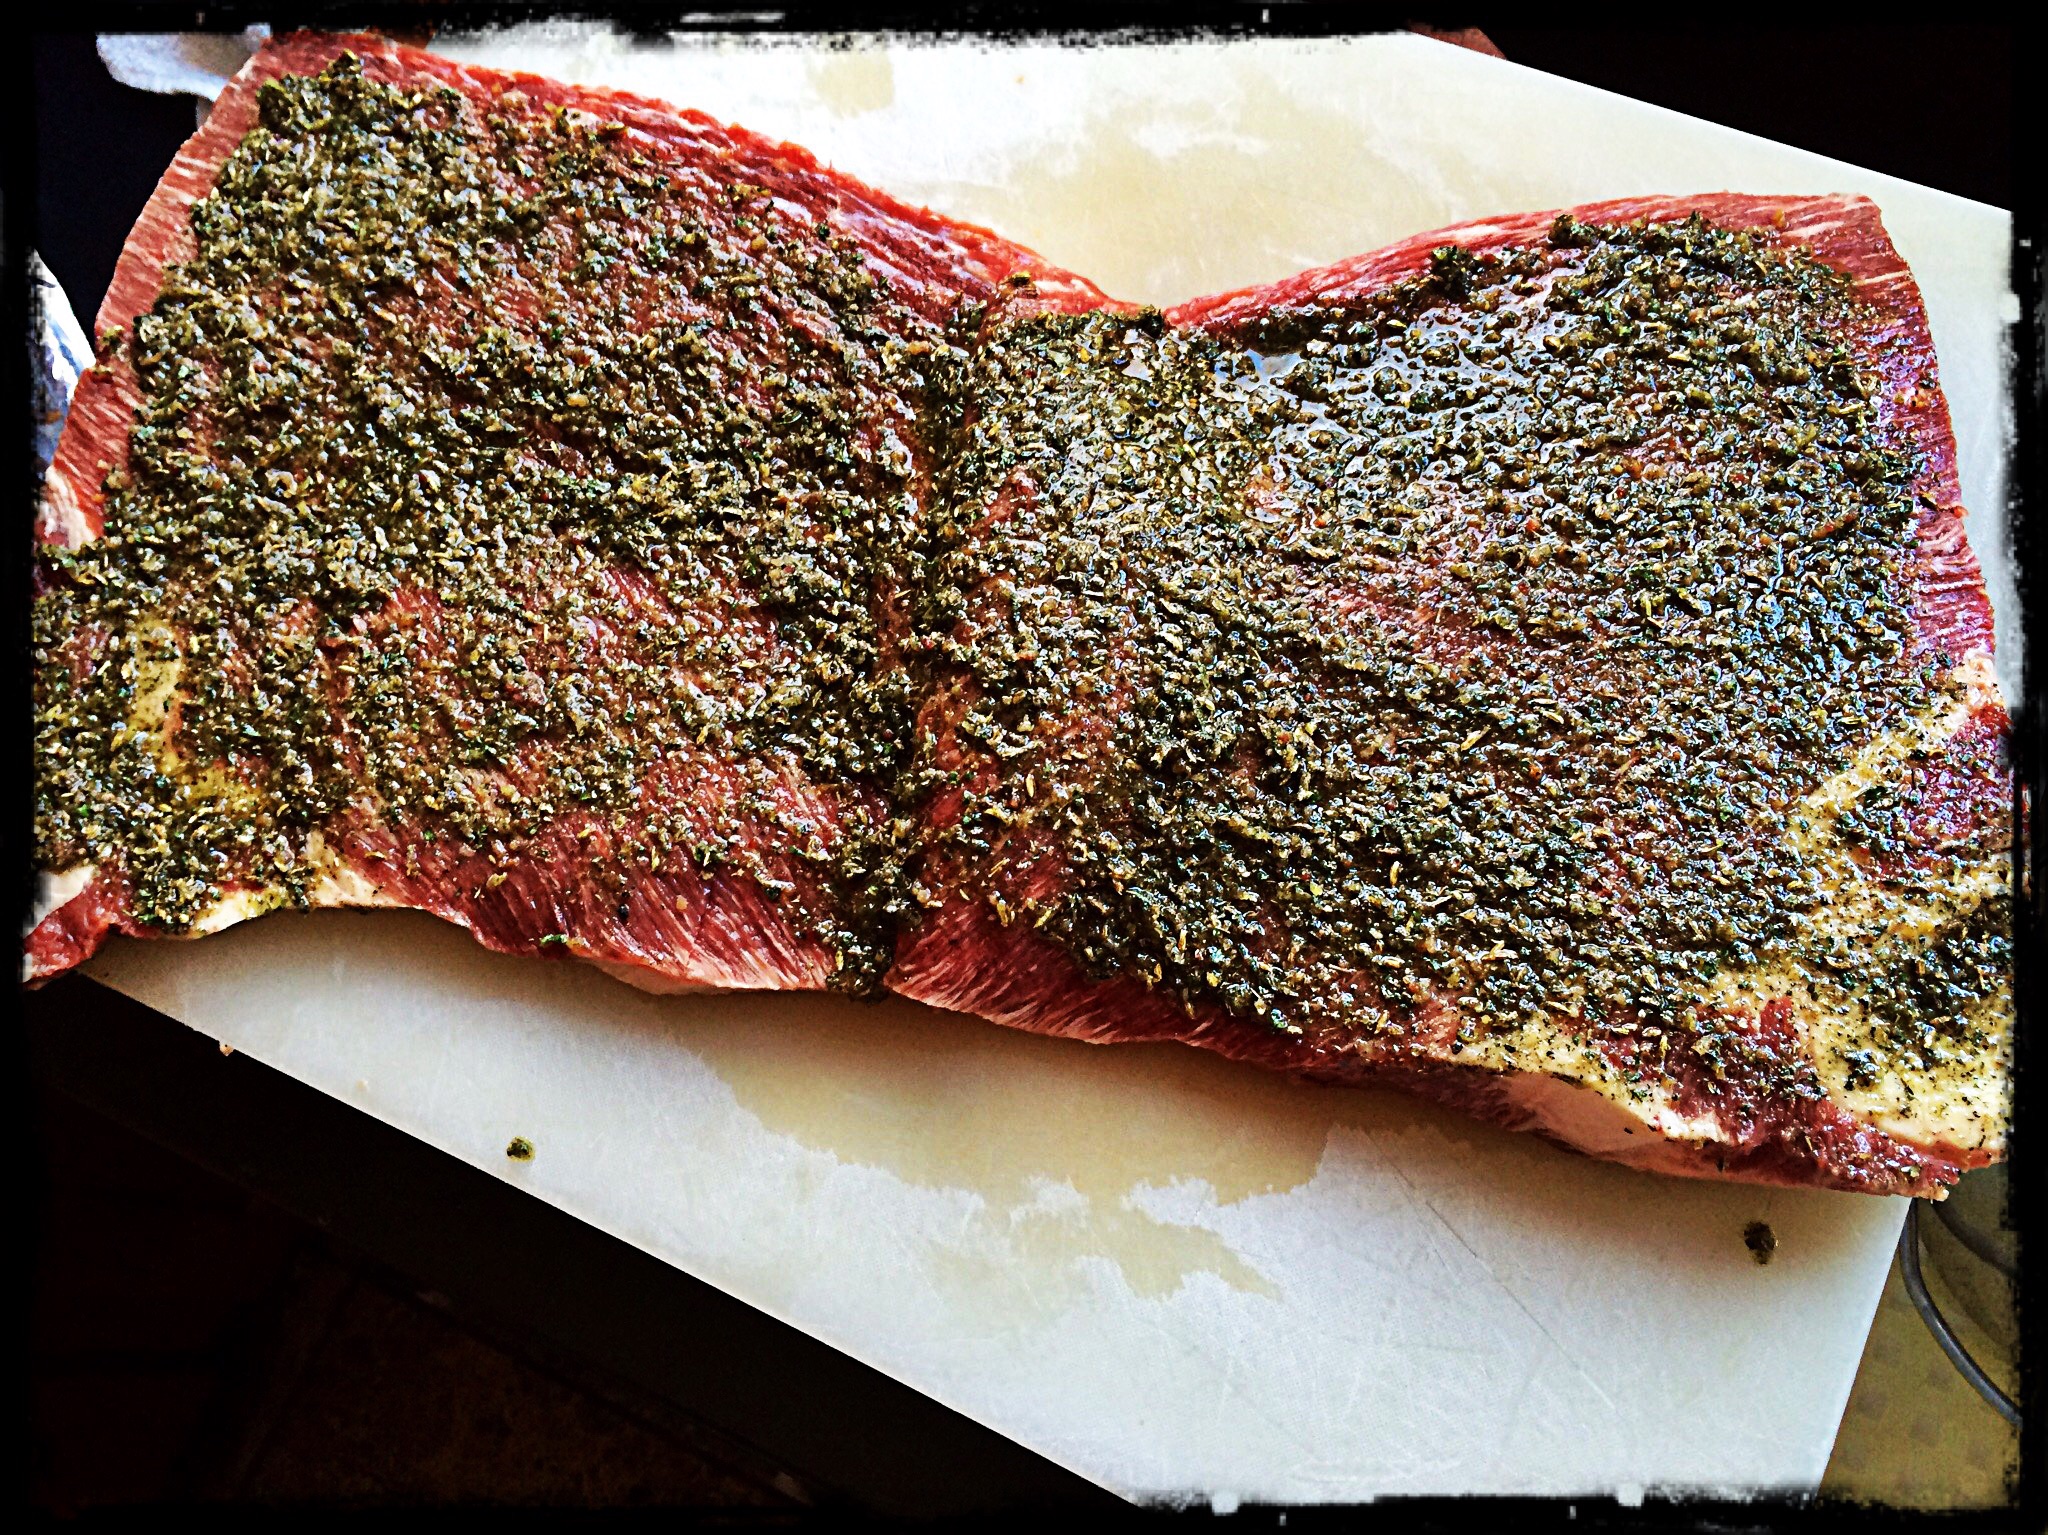
Rub the mix into the brisket well, covering all sides.

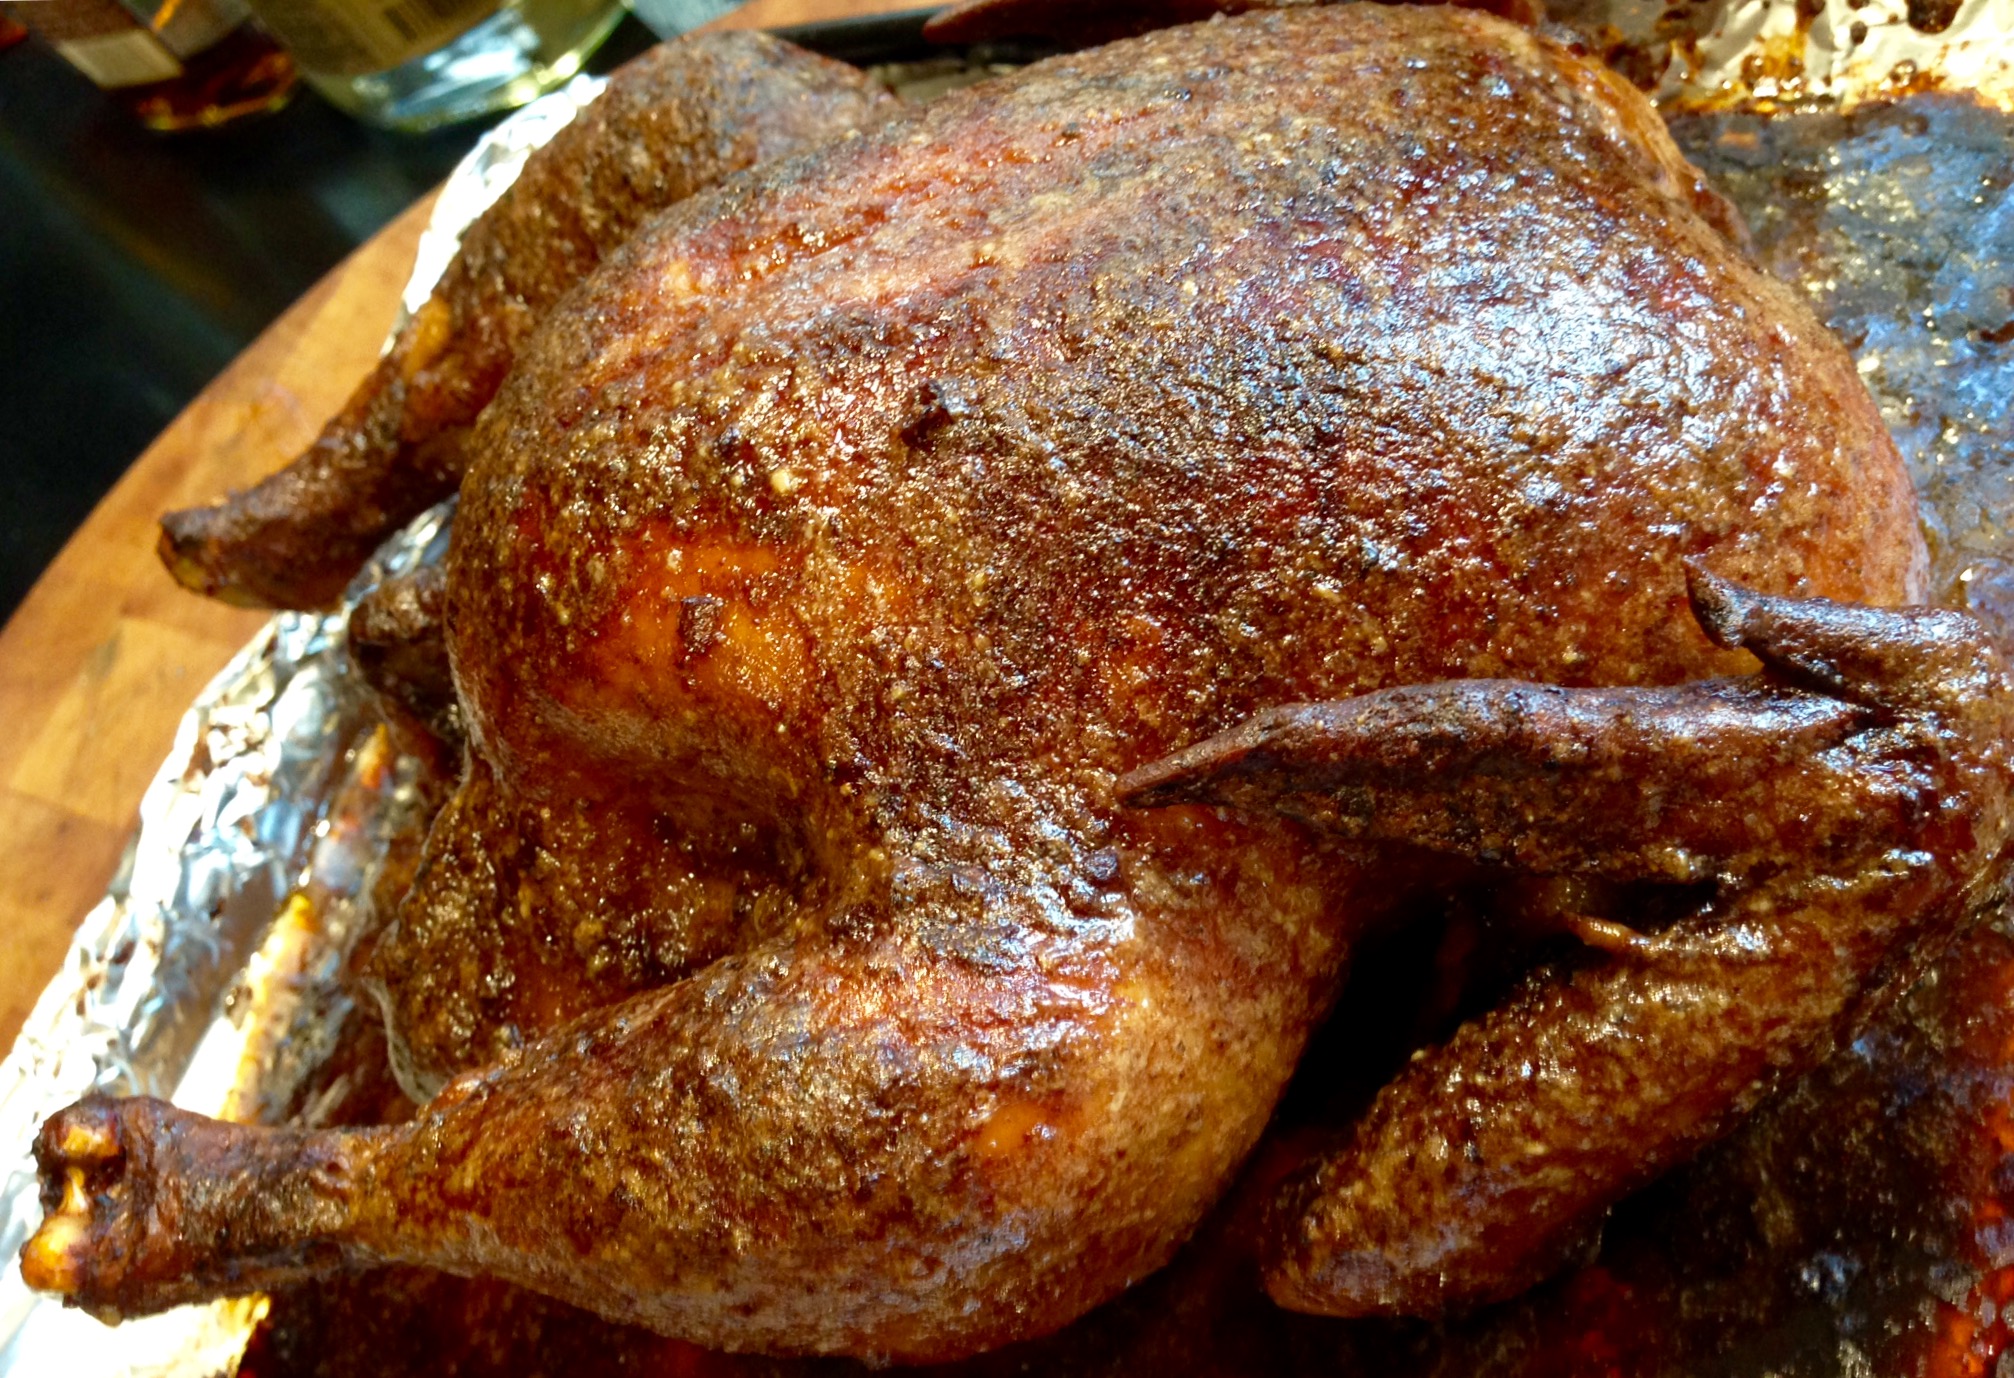
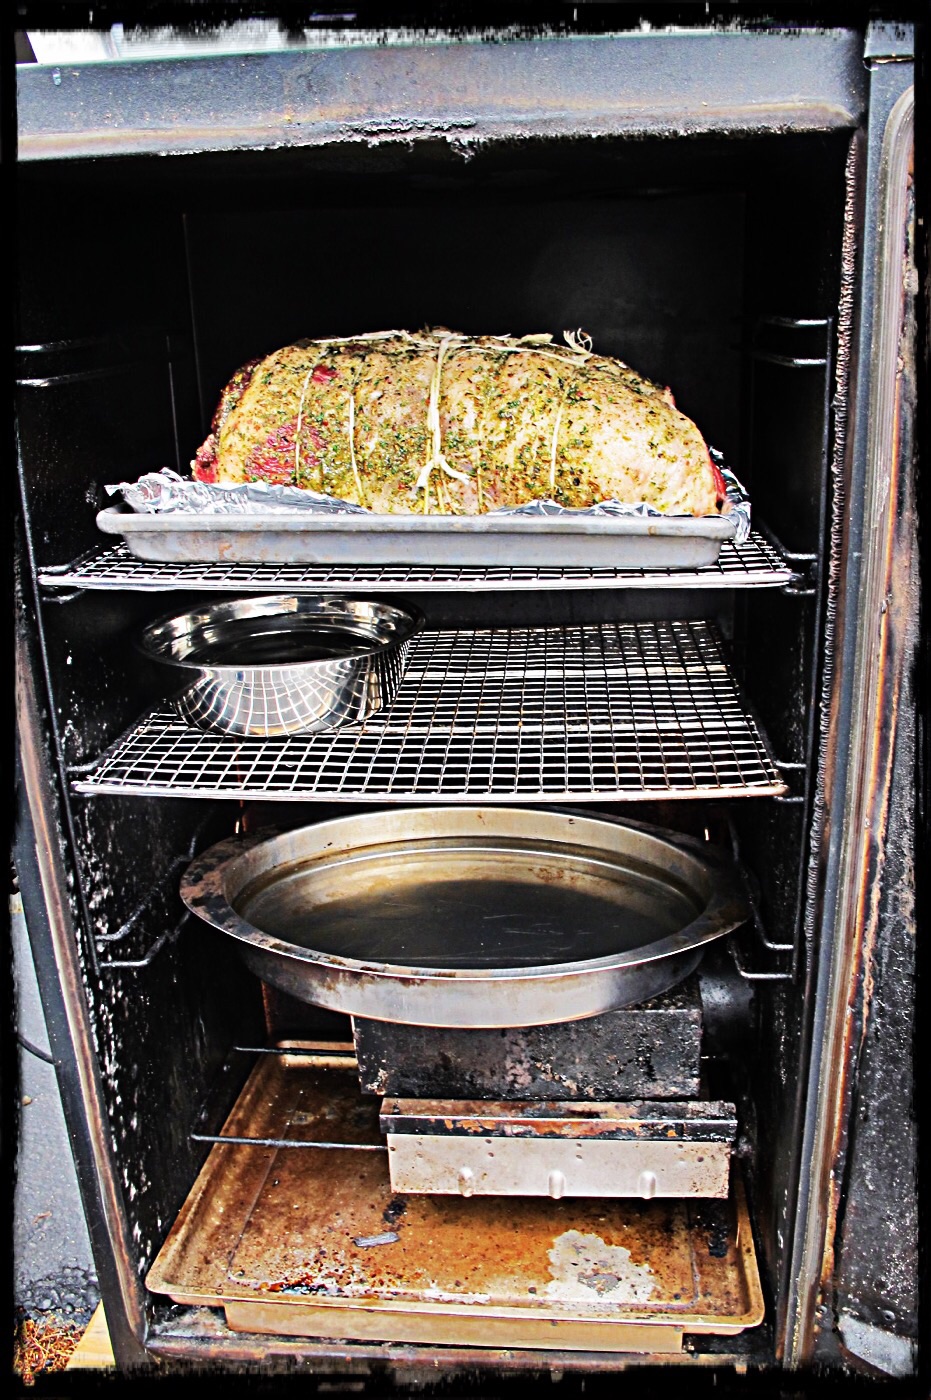
Heat smoker to 225 degrees and smoke for several hours using a less intense wood, like oak. When the internal temperature of the meat has reached 165 degrees, it’s done. It isn’t necessary to smoke pastrami as long as you would a regular brisket because the long brining time makes the meat tender.

It is very important that absolutely everything that comes in contact with the meat is very clean. (This includes your hands.) Also, make very sure that every inch of the meat reaches the 165 degrees before it is removed from the smoker. The corned beef is now pastrami.

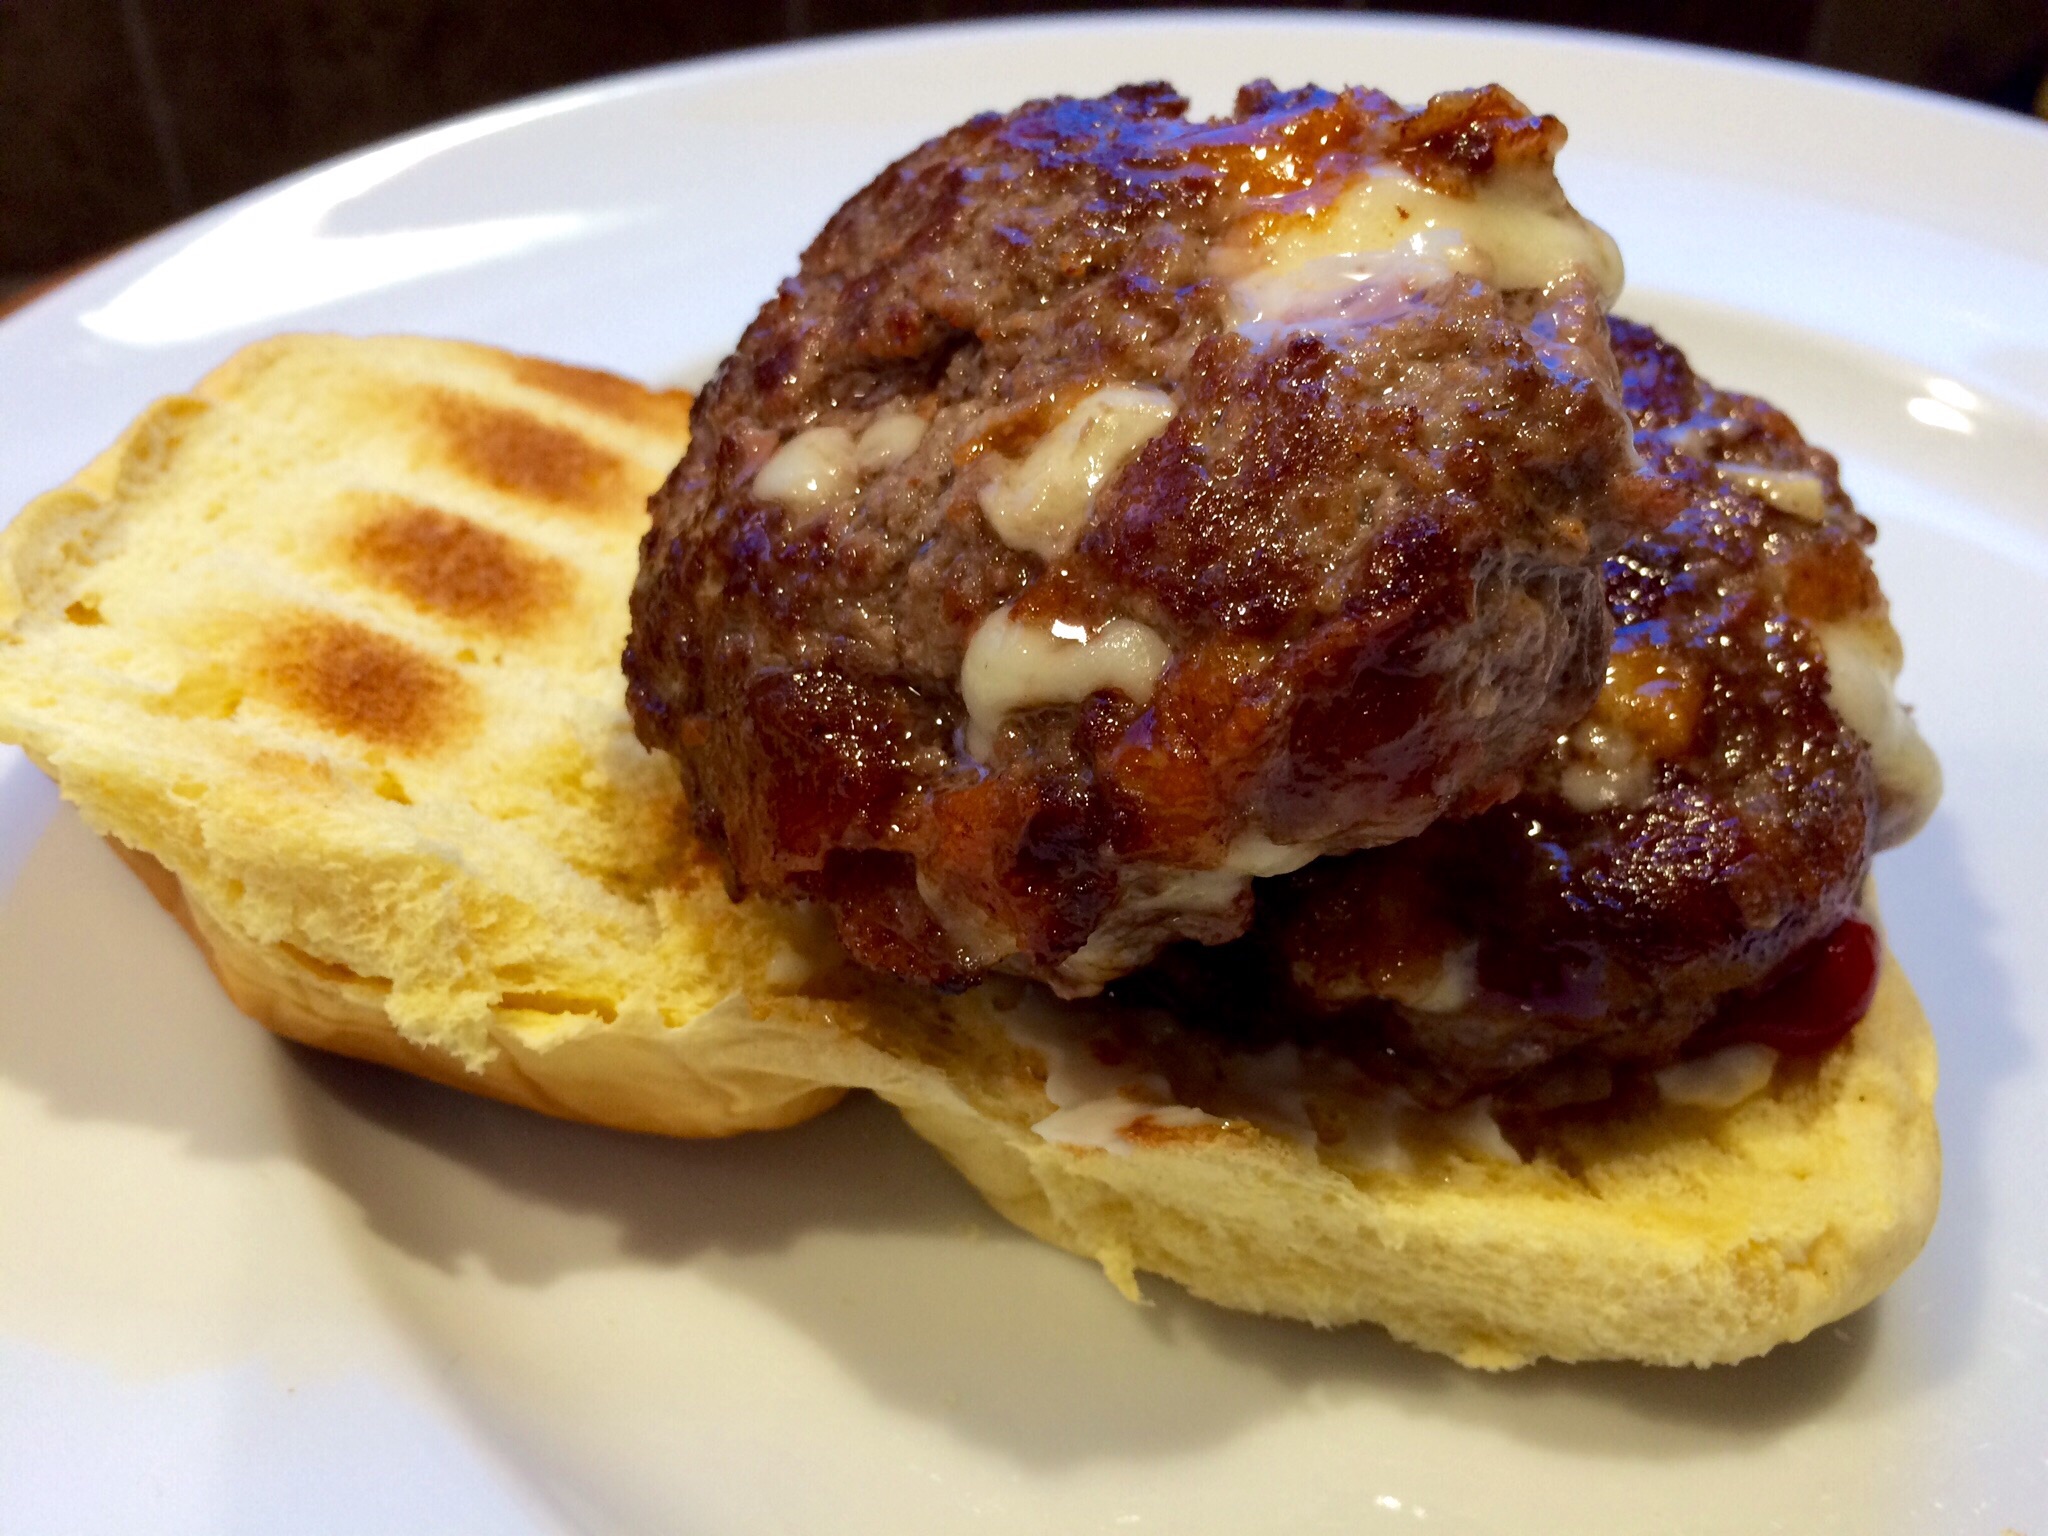
Not a very complex idea. I just put the stuff that’s usually on the outside, on the inside of my burgers. Why? Why not?

If I’m making bacon cheeseburgers to bring to a barbecue, even if it’s on my back deck, instead of bringing a package of bacon and a package of cheese and a stack of burgers, I’ve got all the ingredients conveniently in the patties. And as the burgers cook, the fat from the bacon and the gooey cheese melt and combine with the burger meat to make a really tasty and moist burger.

I make 2 lbs. of burgers at a time, using 1 lb. of ground grass-fed beef and 1 lb. of pastured ground veal. For the sake of this recipe, we’ll just call it beef.

image

2 lbs. ground beef

1/2 cup sharp cheddar cheese, cut into 1/4″ cubes

1/2 lb. bacon, cooked crisp, cooled and crumbled

garlic salt

avocado oil or pork fat


In a bowl, combine the beef, the cheese and the bacon, mixing well so that all the ingredients are evenly incorporated.

Form the beef into 1/4 lb. patties. Refrigerate them until you’re ready to cook to firm them up.

Heat a cast iron skillet and add a drop of oil or pork fat. Place the burgers in the hot skillet to sear and sprinkle with the garlic salt. When browned, flip the burgers and place the skillet in a 350-degree oven to finish cooking.

image


I learned most of my Cajun dishes from the cookbooks of one of the masters: chef Paul Prudhomme. Sometimes, I’d use some of his great seasoning ideas in my own dishes. This was one of them. I would cook huge batches of these chicken breasts for my Mardi Gras parties and there would never be any leftovers! Don’t wait for Fat Tuesday to come around again to make these yourself.

Double-dipping in the seasoning mix is a messy step, but it makes them extra crunchy and flavorful.

Single-dipped breasts are at the top. The extra crunchy double-dipped are at the bottom.

Single-dipped breasts are at the top. The extra crunchy double-dipped are at the bottom.


1 cup all-purpose flour

1 tablespoon salt

1 1/2 teaspoons sweet paprika

1 teaspoon granulated onion

1 teaspoon granulated garlic

1 teaspoon basil

1/2 teaspoon white pepper

1/2 teaspoon cayenne pepper

1/2 teaspoon black pepper

1/2 teaspoon dried thyme

1/2 teaspoon gumbo file (file powder), optional


2 pounds boneless, skinless chicken tenders or breasts

3 eggs

oil for frying (I like using avocado oil and some pork fat for flavor)


Cut the chicken breasts into manageable pieces. If they’re thick, slice them horizontally to make two thinner breasts. A thick piece of chicken won’t cook all the way through.

Combine the flour, salt, paprika, onion, garlic, basil, white pepper, cayenne, black pepper, thyme and gumbo file in a bowl. Mix well.

In another bowl, crack and scramble the eggs.

Single dip: Dip the chicken in the egg and then the flour mixture. Shake off an excess and place in a pan with oil that has been heated to 350 degrees on a thermometer.  Fry until it’s cooked all the way through. Drain on paper towels.

Double-dip: Dip the chicken pieces in the egg, then the seasoning mix, then the egg, then back in the seasoning mix and place directly in a pan with oil heated to 350 degrees on a thermometer. Fry the chicken until it’s cooked all the way through and golden brown. Drain on paper towels.


If you need to feed a crowd, just double or triple the recipe. I used to make a 10x batch for my Mardi Gras parties!

This recipe is gluten-free if you substitute GF flour for the all-purpose flour.


The “paste” used in this dish is really more like a citrusy pesto that you smear all over the meat before cooking, preferably the day before. The citrus flavors work really well with the pork, and the initial high-heat cooking really gets the fat crispy and delicious.

image

Ingredients:

1 pork loin, about 8 lbs. (I use Berkshire pork)


zest of 2 oranges

zest of 1 lemon

1 tablespoon fresh rosemary, chopped

1 tablespoon fresh sage, chopped

1 tablespoon Kosher salt

2 teaspoons black pepper

3 cloves garlic, through a press

1/4 cup olive oil


In a food processor bowl, combine the orange and lemon zest, the rosemary, sage, salt and pepper, and garlic. Pulse the processor just to mix, then turn it on and add the olive oil slowly, in a stream, until you get what resembles an oily pesto.

Score the fatty side of the pork loin with a knife in a diamond pattern. Rub the paste on all sides of the pork, but especially into the cracks of the fatty side.

Lay the loin down on a rack, raised off a sheet pan, fatty side up. Place it in the fridge, unwrapped, overnight.

The next day, about an hour before cooking, remove the loin from the fridge and let it come back to room temperature.

Pre-heat the oven to 450 degrees.

Bake the pork loin at 450 for 20 minutes, then cut the heat to 350 and cook until the pork reaches a temperature of 140 degrees (light pink). Let it rest for 15 minutes before serving.

image

There are few carbs in this preparation, because I use just the zest of the citrus and not the juice.

GMO’s, SIMPLIFIED

Posted: February 2, 2015 in beef, Carnivore!, chicken, Food, pork
Tags: , , , , ,

I think many of those that don’t think GMO’s are a bad deal probably don’t really understand the situation.

My friends at FireFly Farms in Stonington, Connecticut (www.fireflyfarmsllc.com), understand GMO’s better than most. They raise heritage breeds of pork, pastured chickens, and rare cattle. They are family owned and certified humane. You should follow them on Facebook.

Max Mule, by Kelly Milukas

Max Mule, by Kelly Milukas

This was a recent post on FireFly owner Van Brown’s Facebook page. I’m reprinting with his permission. It’s simple and to the point.

Hi everyone.

I have been thinking about the debate on GMO’s and labeling.

A lot.

Let’s imagine a world where there are two types of pudding cups.

The Blue Pudding Cup definitely will not hurt your kid.

The corporation that makes The Red Pudding Cup states that all the negative tests about The Red Pudding Cup are wrong and they have made lots of tests themselves showing that The Red Pudding cup is okay.

You know The Blue Pudding Cup is safe. There are tests both ways, remembering that many of the tests were funded by The Red Pudding Cup Corporation, so the best you can know is The Red Pudding Cup pudding will probably not hurt your kid. At least according to The Red Pudding Cup Corporation.

You know one pudding cup is okay for your children. You have to have a question about the other pudding cup.

Which pudding cup would you buy to feed to your child?

One last thought?

Would it be okay for The Red Pudding cup to put their pudding into a Blue Pudding Cup so no one would know which type of pudding they are feeding their children… your children?
Van

I was going to post my “deflated meatballs” recipe, but I decided to go with a classic for the big game! No need to freeze my butt off outdoors for these amazing ribs. I can stay in the kitchen. As the glaze cooks down, it gets sticky, gooey and delicious.
 image
For the marinade:
 ¾ cup soy sauce
 1/4 cup hoisin sauce
Other ingredients:
5 lbs pork ribs
Zest and juice of 1 lemon
2 whole star anise
2 cinnamon sticks (3”)
1/2 cup honey
4 cups chicken broth
Mix the soy sauce and the hoisin in a bowl, and set aside. These are the marinade ingredients.
If the ribs are large, cut them into individual pieces. If smaller, cluster 2 or 3 ribs together. Place in a large pot. Cover with water and bring to a boil. Boil for 5 minutes. Drain.
Place the ribs on a sheet pan lined with non-stick aluminum foil or with a rack and coat with the marinade. Let them sit for 10 minutes.
Pre-heat the oven to 350 degrees. Bake the ribs in sheet pan for 30 minutes.
While the ribs are baking, start the sauce in a large non-stick pan or pot: combine the lemon zest and juice, star anise, cinnamon sticks, honey and chicken broth. Bring it to a boil, then reduce it to a simmer.
When the ribs have finished baking, add them to the sauce pot and simmer (covered) for at least 15 minutes or until the rib meat is tender.
Turn the heat on high, uncover the pot and cook until the sauce is reduced to a glaze that coats the ribs. Reduce the heat as the sauce thickens to avoid the sugars in honey from burning. When the ribs are sticky and gooey, they’re ready!


On my low-carb/no carb diet, I can enjoy pork, chicken, beef…any carnivorous delight I choose. What makes them bad for me is the rub and sauce that I put on them, which usually has a good amount of sugar. So I came up this alternate pork rib dry rub recipe.

I used the juice of two oranges in this recipe, but it’s mainly in the marinade which is later poured off. With 5 pounds of ribs, I think the carb intake is minimal. Using the orange zest adds extra citrus flavor.

image

Zest and juice of 2 oranges

1 teaspoon black pepper

3 tablespoons seasoned salt

2 tablespoons good quality (not the expensive stuff) balsamic vinegar

5 lbs. Berkshire pork ribs (I like the St Louis style)


In one bowl, combine the zest of 2 oranges, 1 teaspoon of black pepper, 3 tablespoons of seasoned salt. Combine so that the zest dries out. Set aside.

Cut the ribs into smaller pieces. I like making double-rib cuts and not single. Place all the ribs in a large Ziploc bag.

In another bowl, combine the juice of the 2 oranges (about 1 cup) and 2 tablespoons good quality balsamic vinegar. Mix the two well then pour into the Ziploc bag with the ribs to marinate for at least a couple of hours at room temperature, or in the fridge overnight.

Pre-heat the oven to 450°.

Line a sheet pan with aluminum foil with extra over the sides. Remove the marinated ribs from the bag and lay them down on the foil, trying to keep them in one layer.

Sprinkle both sides of the ribs with the orange zest, salt and pepper seasoning. Rub it into the ribs well. Fold the foil over, wrapping the ribs tightly.

Placed the sheet pan with the ribs in the oven and cook at 450° for 30 minutes. Then reduce the oven temperature to 325.

Cook for 2 hours more, then open up the foil and cook another hour.


Of course, if you’re not on a low carb diet, feel free to slather these bad boys with your favorite sauce. My grapefruit barbecue sauce would work well with these: http://wp.me/p1c1Nl-qX

BURGER HACK

Posted: January 20, 2015 in barbecue, beef, Carnivore!, Food
Tags: , , ,

I’ve bought many burger presses in my day, and I’ve found that the meat gets stuck inside them after pressing, making removal somewhat difficult. Some presses have so many parts to them, they get lost in my cabinet or jam up the dishwasher. Frankly, every one that I’ve bought over the years was a waste of money.

Chances are, somewhere in your storage area, you’ve got a wide mouth Mason jar with a metal top, composed of a flat lid and the band that goes around it and screws onto the jar top. As long as they’re not rusty, you can use them to make perfect quarter-pound burgers. If they are rusty, you can buy a half-dozen lids and bands for just a few bucks in any supermarket.

image

I get my burger meat in 1-lb. packs. If they’re frozen, I let them thaw wrapped. Then I cut the meat into quarters, simply eyeballing it. Each quarter-pound of meat fits quite nicely into the Mason jar top. I flip the top over and press down to compact it, then push the flat lid through the band, and out pops a perfect quarter-pound burger.

Once I’ve got all my burgers made, I place them on a small sheet pan lined with non-stick aluminum foil and keep them in the fridge until I’m ready to cook.

The lid and band go in the dishwasher, and can be used over and over.