Archive for the ‘Food’ Category
PASTA WITH ASPARAGUS AND SAUSAGE
Posted: May 21, 2021 in asparagus, Carnivore!, cheese, Food, Italian, pork, Recipes, sausageTags: asparagus, food, pasta, recipes, sausage
4 mild Italian sausages, sliced into pieces 1/2″ thick
THE PERFECT COFFEE STEAK RUB
Posted: May 15, 2021 in beef, Carnivore!, Food, grilling, RecipesTags: beef, food, grilling, recipes, rubs, steak
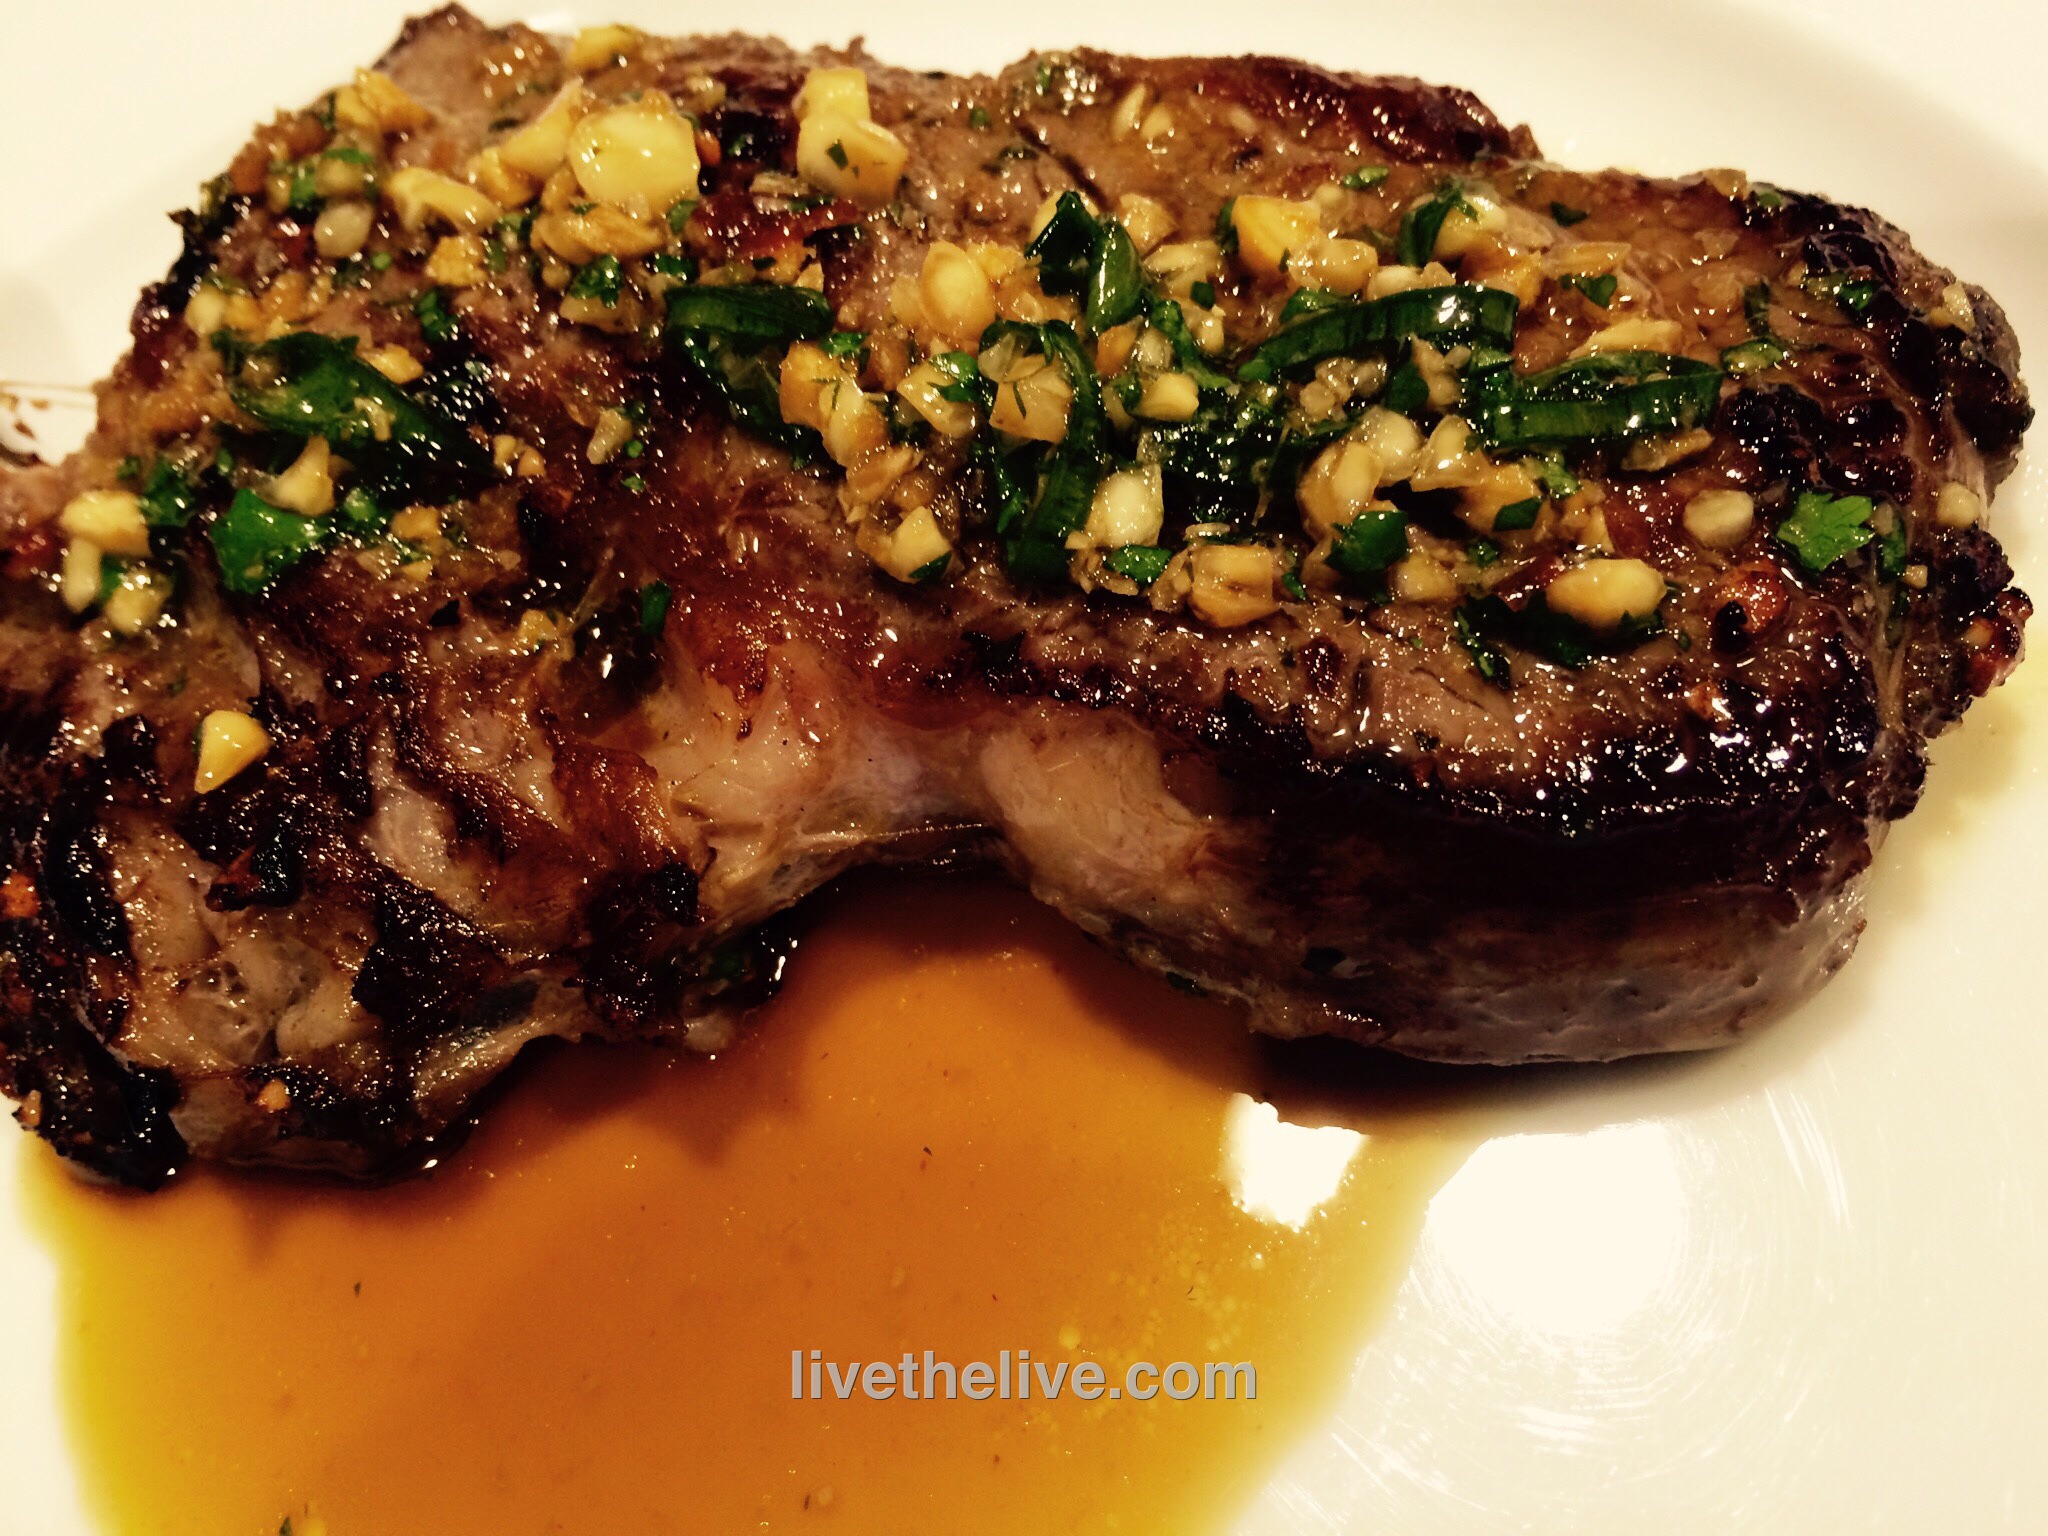
I rarely order beef at a restaurant, because I can usually make a better steak at home. For one thing, I use humanely raised grass-fed beef, something few restaurants offer. And I can cook it for less than a third of the price of a steakhouse. Granted, most steakhouses dry-age their beef, a time-consuming process of taking slabs of beef and keeping them in a fridge for weeks until a certain amount of moisture is sucked out of the meat, intensifying the flavor. I can do that at home in my fridge, but it takes a lot of time and effort.
There is one steak that I couldn’t match for the longest time, and that was the Capital Grille’s bone-in Kona crusted dry-aged NY strip. I would have dreams about that steak! It was time to find a way to make something that would satisfy my craving for that amazing steak at home.
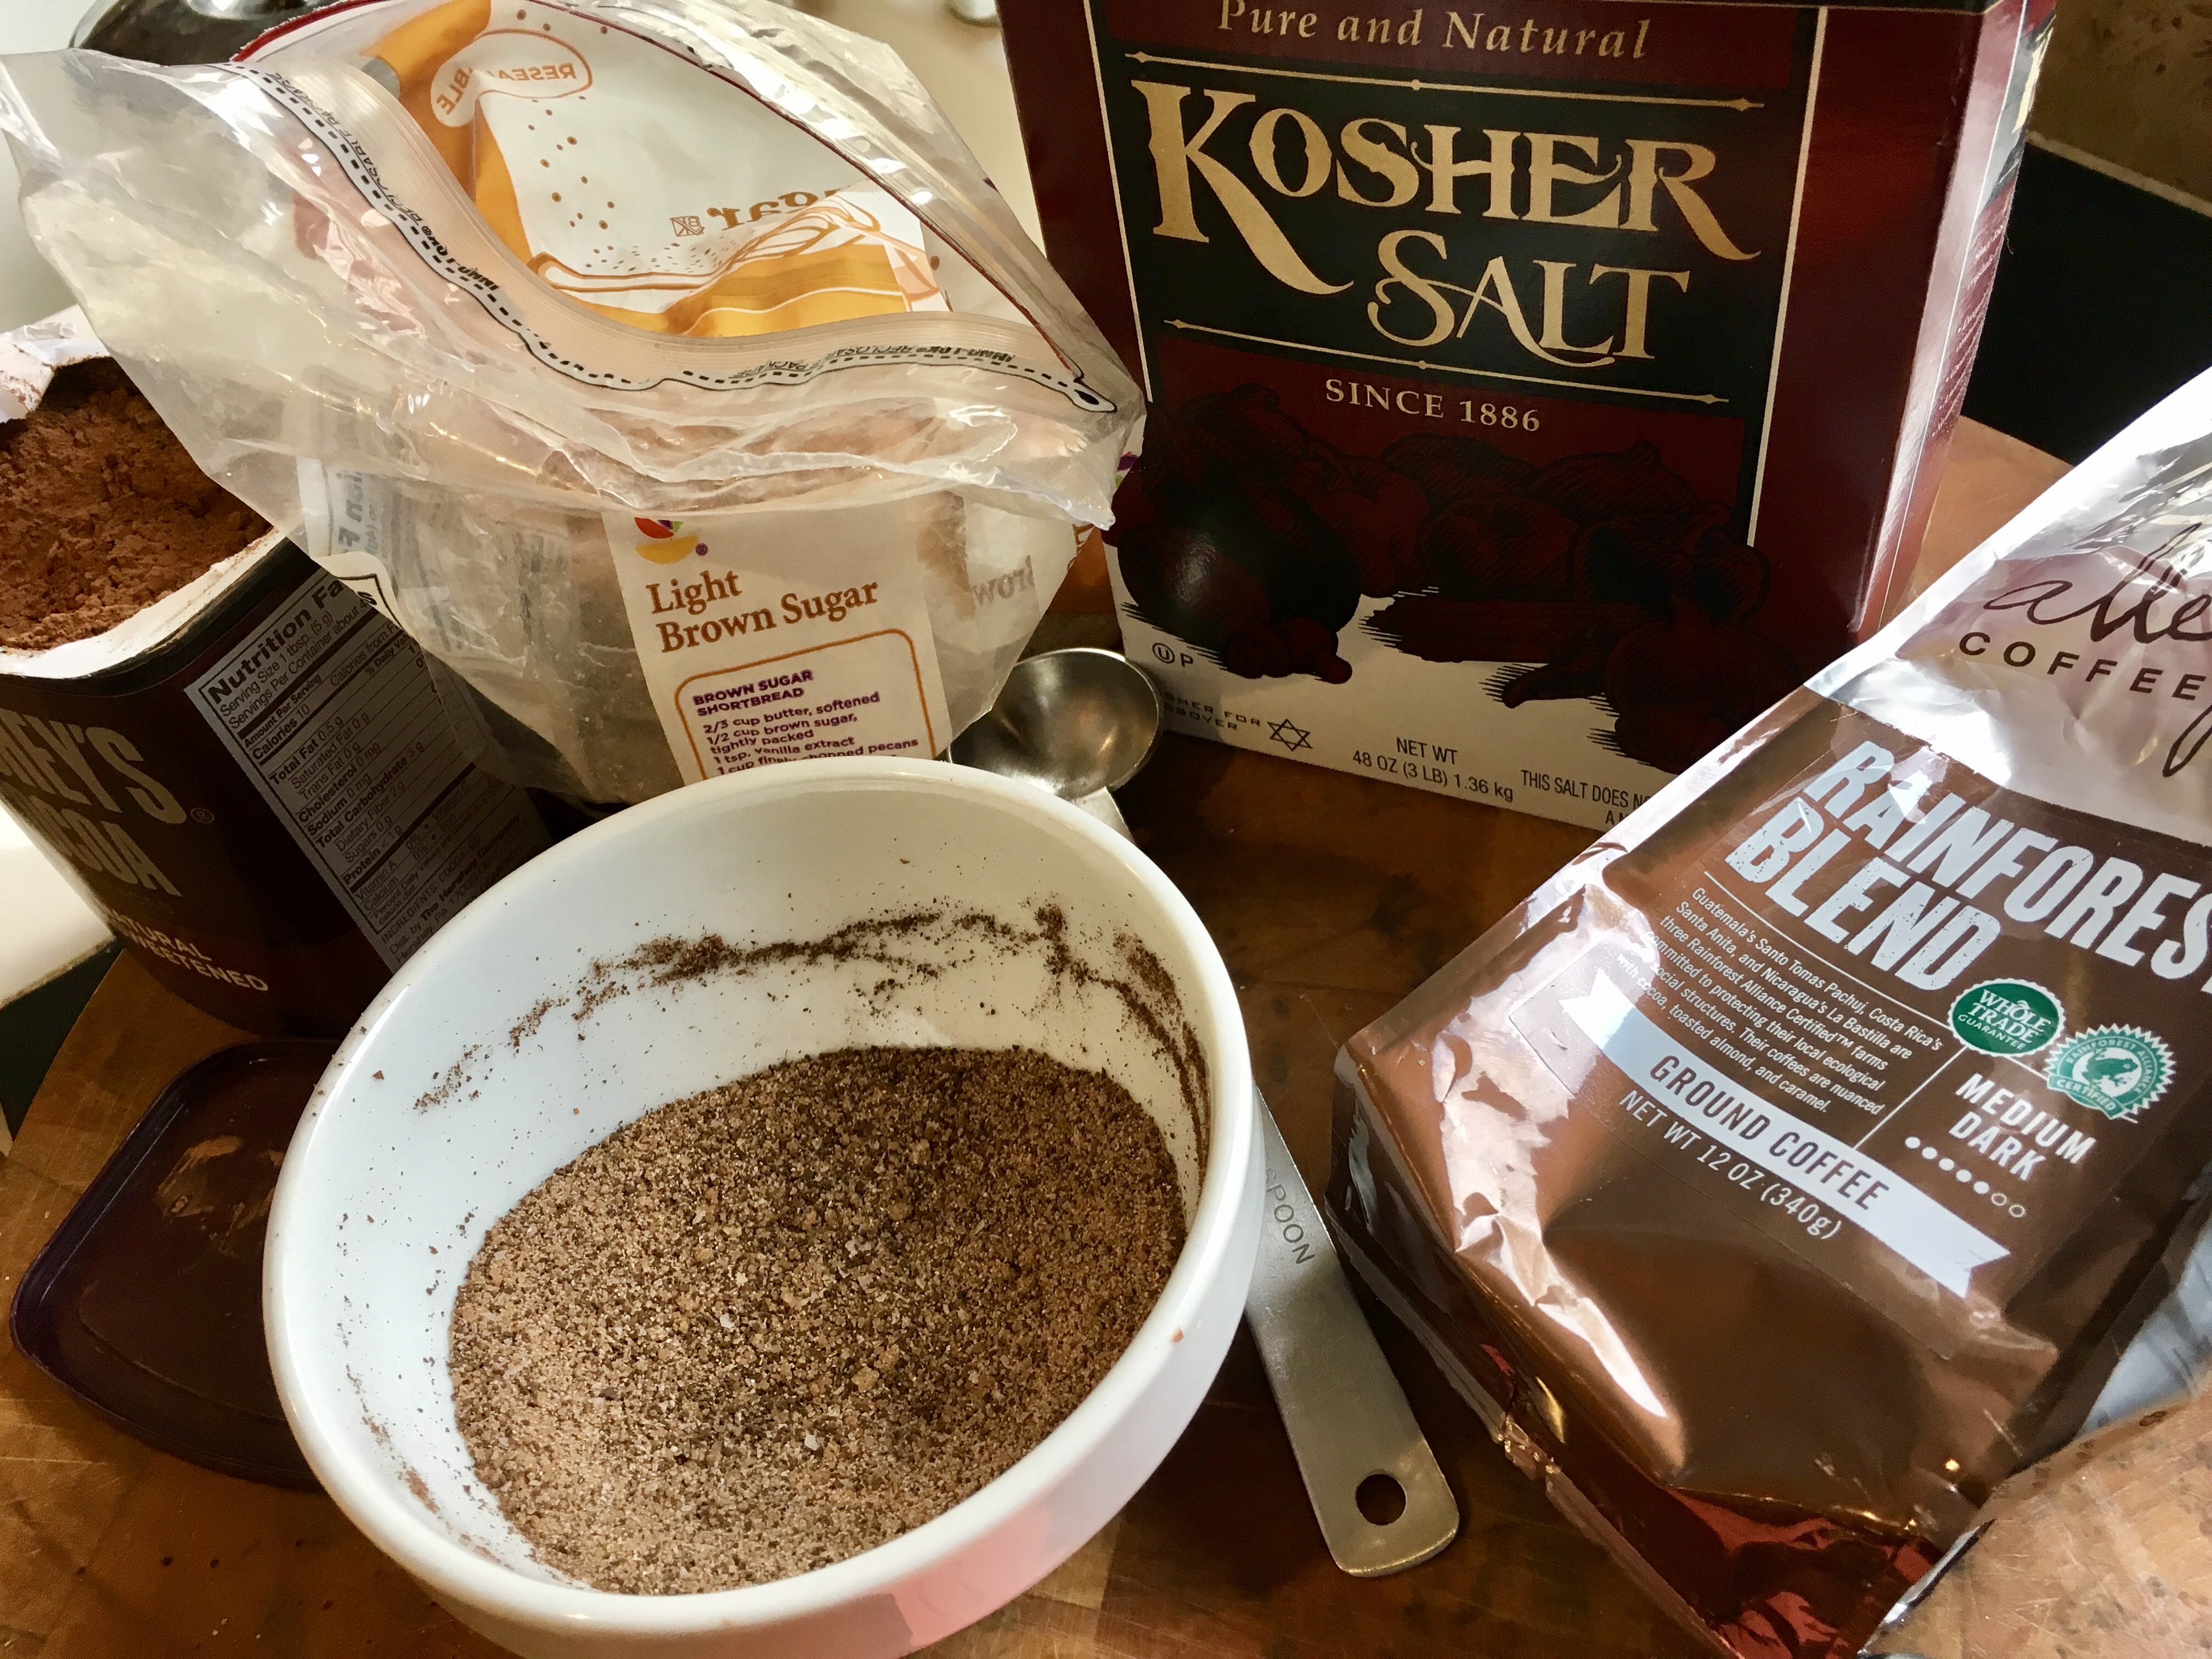
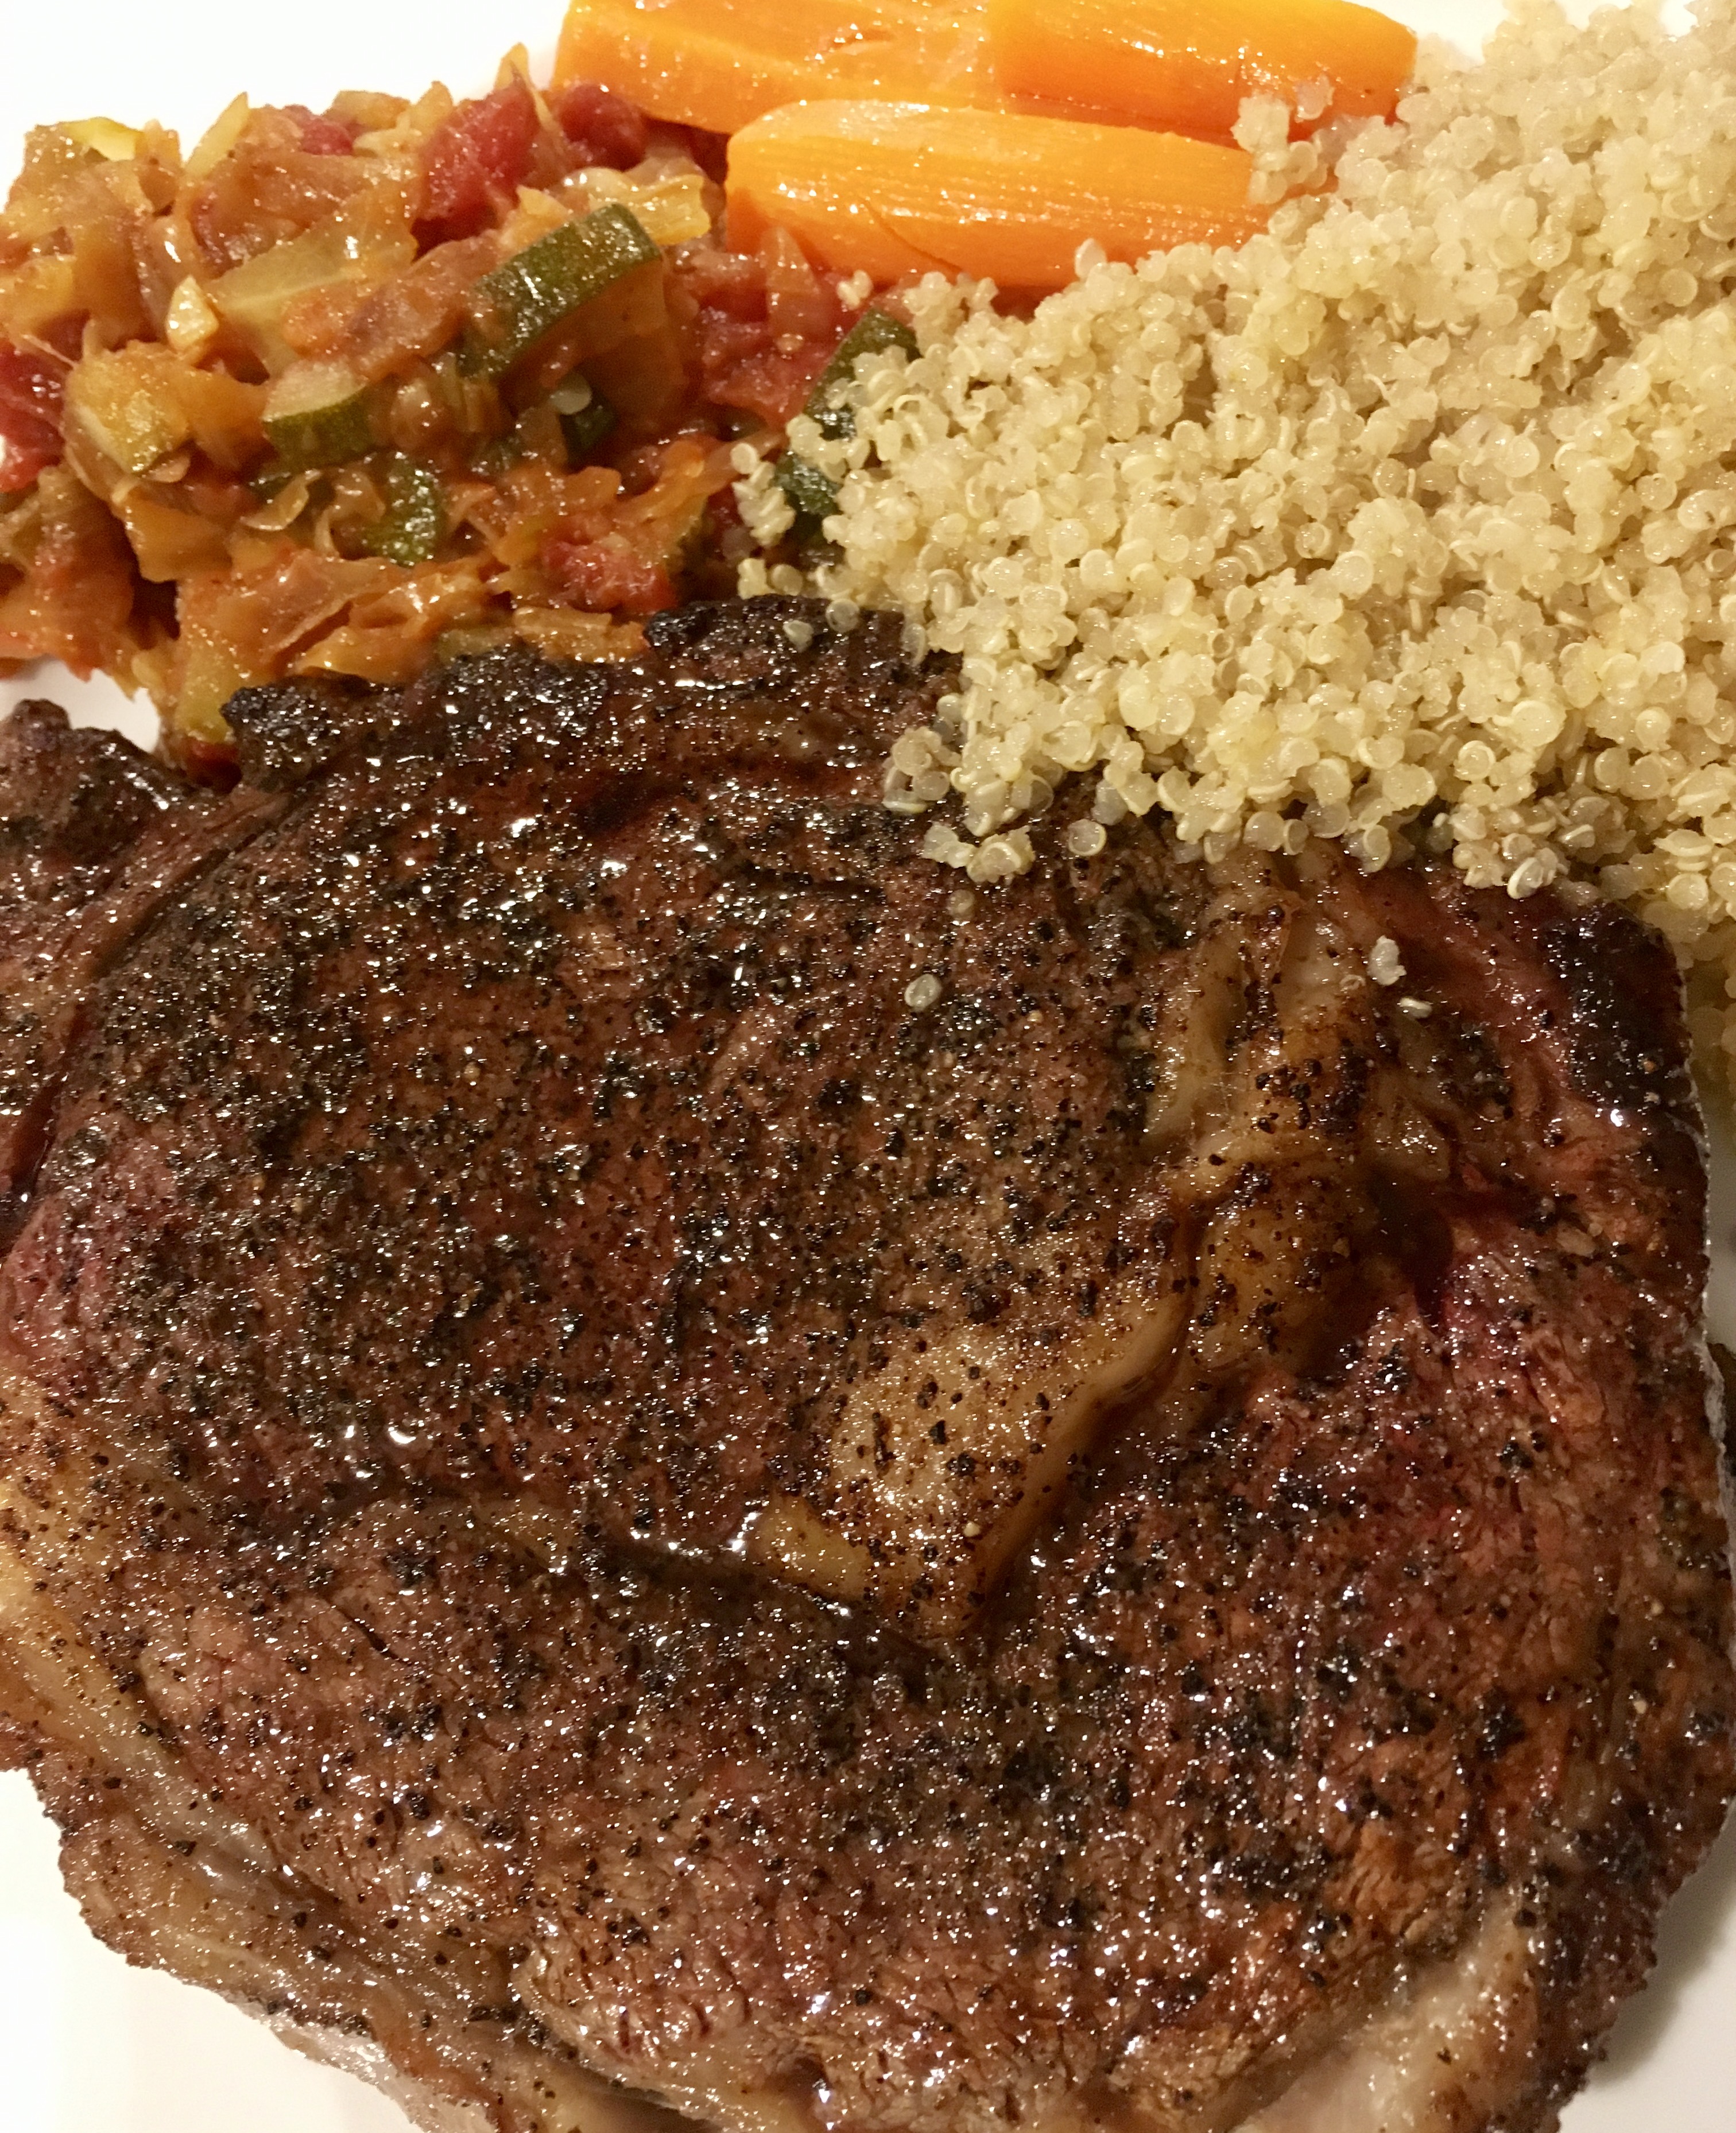
Looking at a variety of coffee rub recipes on-line, I started the slow and steady process of combining ingredients in just the right proportions, tasting as I went. What I came up with really accentuated the flavor of the beef I was cooking, better than I had imagined!
3 tablespoons brown sugar
1 tablespoon Kosher salt
1 tablespoon ground coffee (use your favorite)
1 teaspoon granulated garlic
1 teaspoon granulated onion
1 teaspoon unsweetened cocoa powder
Combine the ingredients, mixing well, and keep them in a tightly sealed container at room temperature.
The secret ingredients are the brown sugar and the cocoa. The brown sugar gives the steak a caramelized crust when cooking, and the cocoa rounds out the flavors and gives the beef an extra “umph!”
When using, sprinkle the seasoning liberally on both sides of the steak before cooking. I like to add bacon fat to a cast iron skillet, searing the steak on all sides and then finishing it in the oven. But let’s face it: nothing beats the grill!
THE PERFECT LOBSTER ROLL
Posted: May 5, 2021 in fleur de sel, Food, lobster, Rhode Island, salt, seafoodTags: food, lobster, lobster roll, NEW ENGLAND, recipes, Rhode Island, seafood
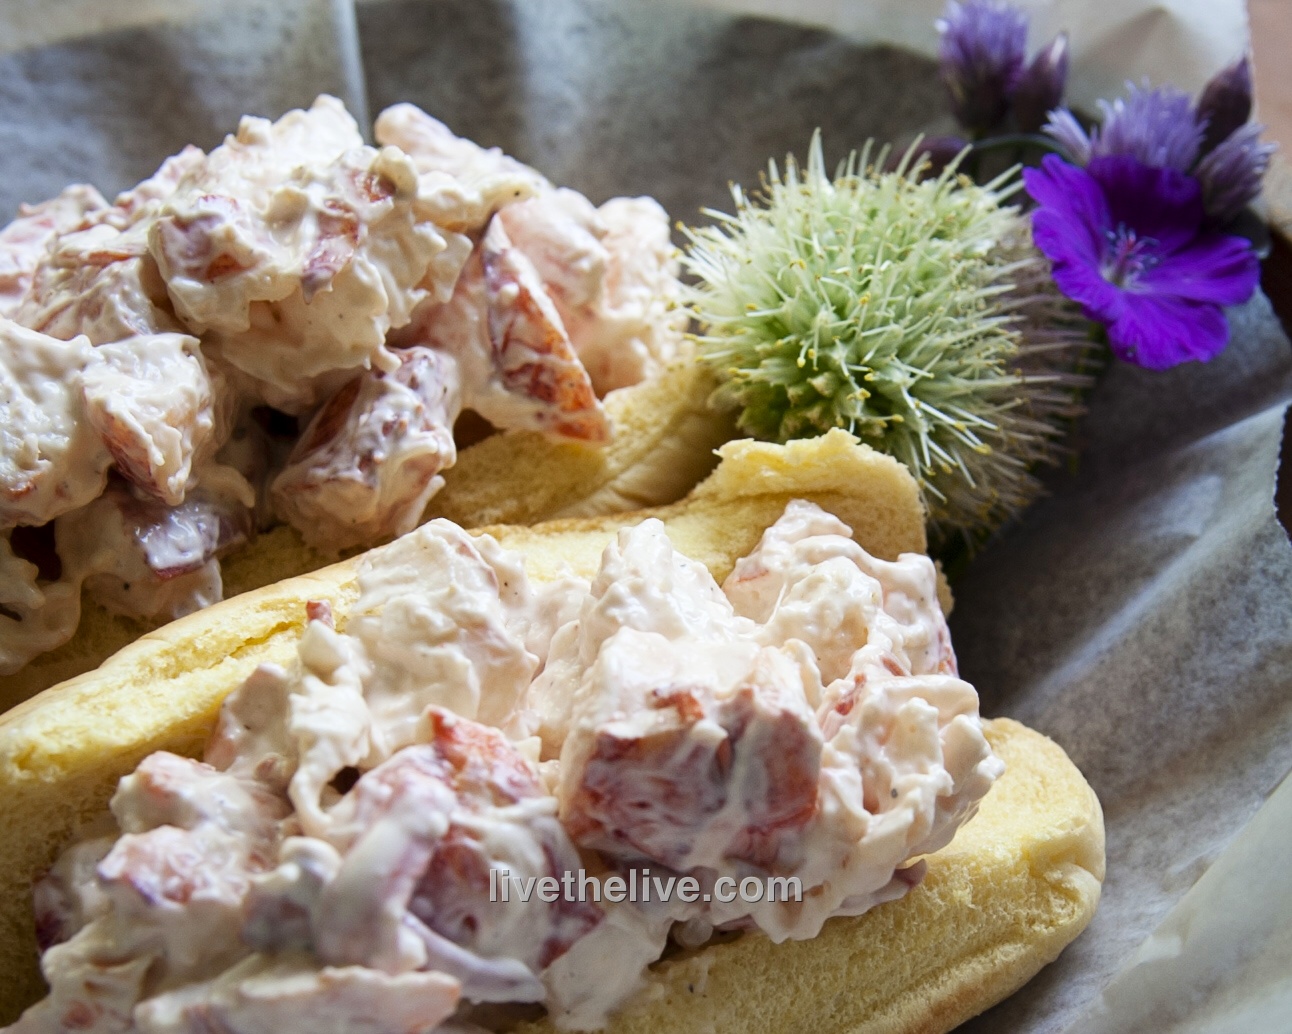
Our annual BOYZ weekend at my house is over, and it was a huge success. No small factor in that success was the food we all brought to the table. I made my lobster rolls, and got thumbs-up from all who tried them.
Last year, I was having dinner at The Boat House restaurant in Tiverton, RI, with my buddy, Lee, who lives in Maine half the year, and we started talking about what makes the perfect lobster roll.
Often, when you go to a restaurant and order one, they’ll first ask if you want it cold with mayonnaise or warm with butter. (A warm lobster roll with melted butter, we were told by our bartender, Cayce, is called “Connecticut style.”) The three of us discussed the mayonnaise-to-lobster ratio, and other significant factors. The final conclusion was that everyone likes their lobster roll a little differently.
It’s certainly easy to go to a clam shack or seafood restaurant to get one, but nothing beats making one yourself.

The lobster roll at The Back Eddy in Westport, Massachusetts. Delicious and fresh. But it breaks one of my cardinal rules about lobster rolls. (Go to the bottom of the page.)
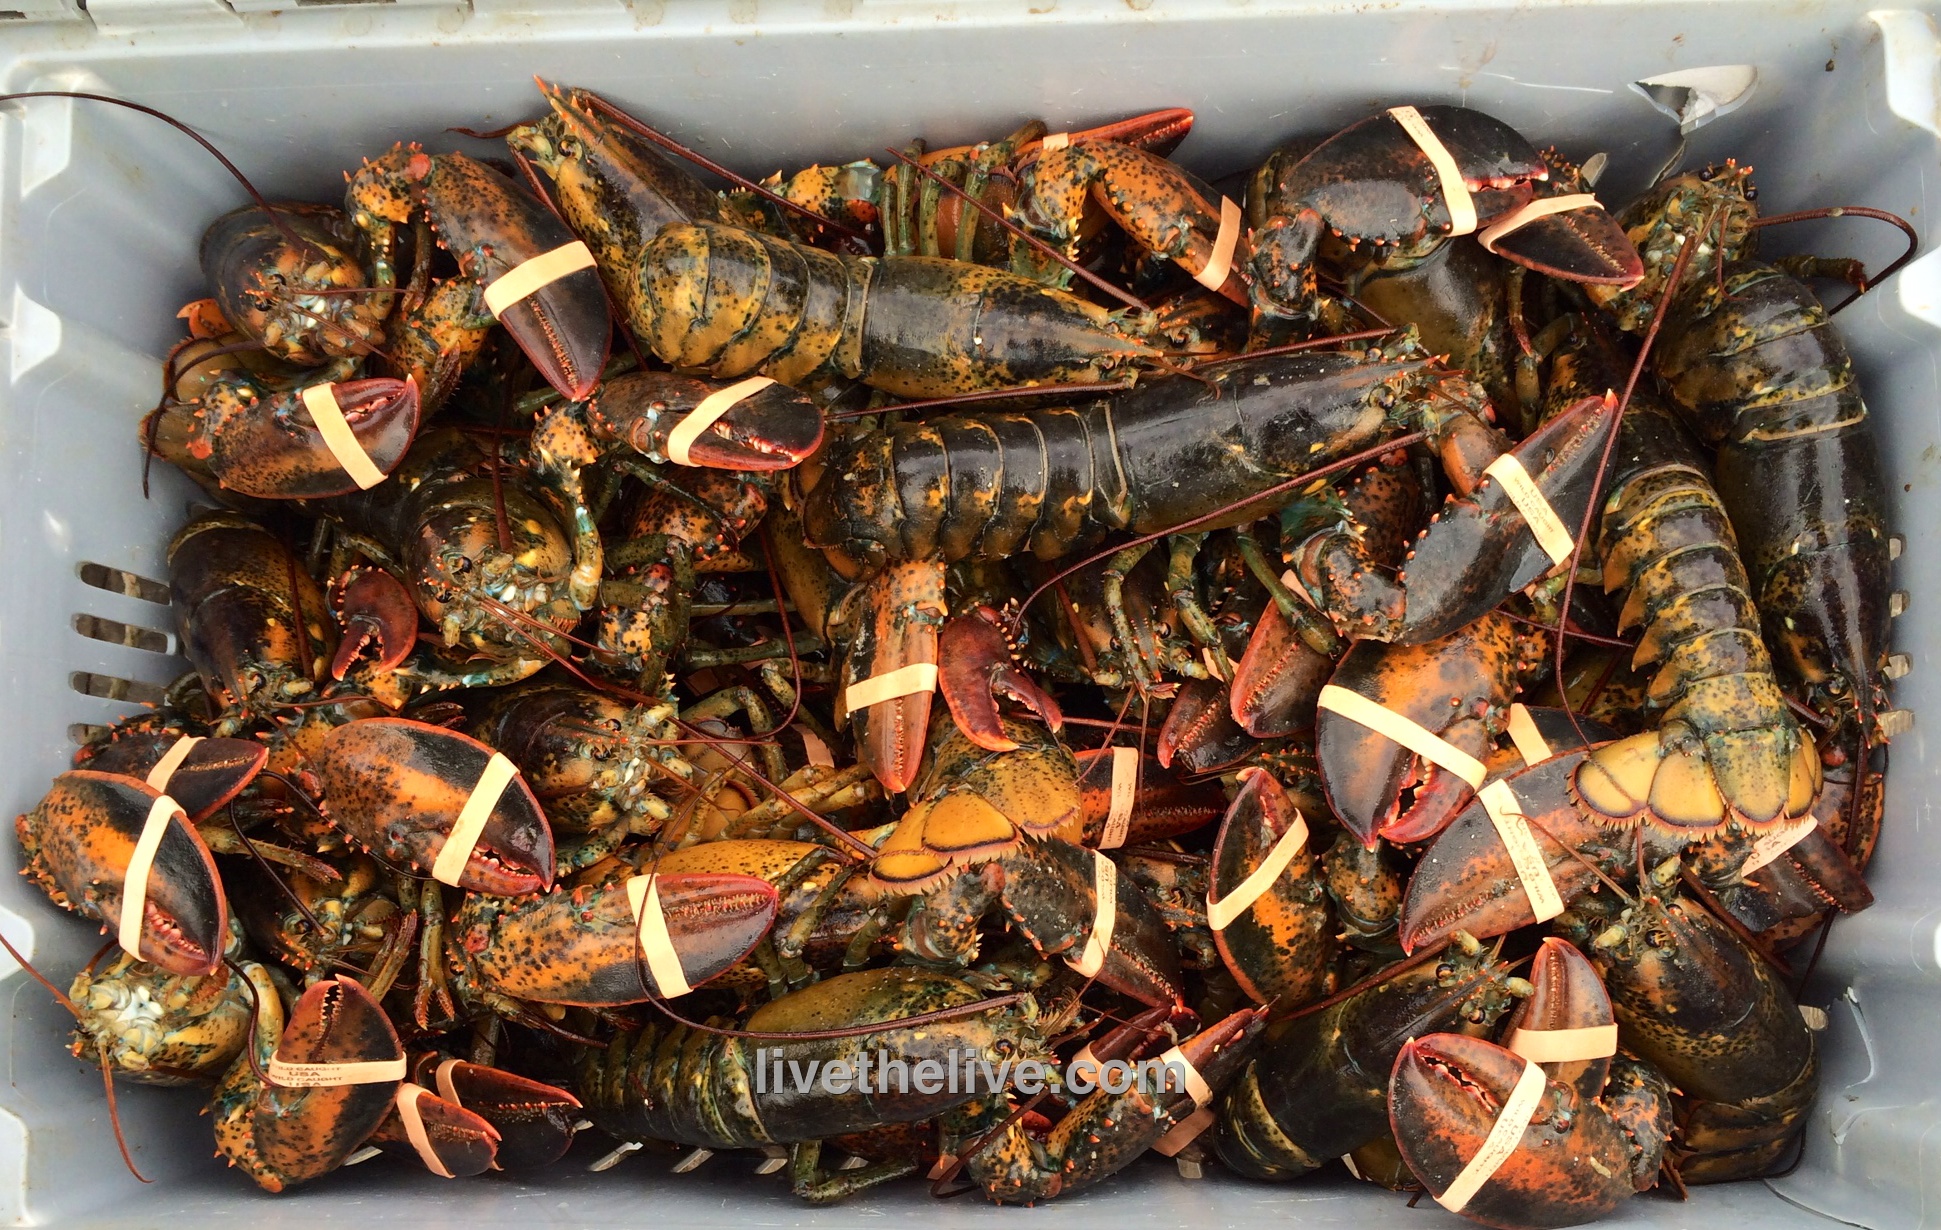
When I make my own lobster rolls, freshness is key. I always start with live lobsters. I get them from my lobster man buddy, Gary, just down the street at his dock in Tiverton, RI. Gary’s brother runs the Sakonnet Lobster Company on Sakonnet Point in Little Compton, RI.
Once you’ve bought your live lobster, the next step is to cook it right. Some people steam and some people boil. I’ve always been a boiler myself. I fill a large pot half-way with water and add sea salt. I bring it to a rolling boil before the lobsters go in. And then I do the math…
I boil my lobsters for 10 minutes for the first pound. I add 3 minutes per pound for each additional pound thereafter. For example, a 2-pound lobster should boil for 13 minutes and a 1 1/2-pound lobster should boil for 11 1/2 minutes. And if I’m boiling more than one lobster, the same rule applies: 3 2-lb. lobsters = 6 pounds. So 10 minutes for the first pound, plus 3 minutes x 5 for each extra pound (that’s 15) for a total of 25 minutes. (These times are for hard shell lobsters. I reduce the boiling time by 3 minutes if I’m cooking soft-shell lobsters.)
Remember, you’re going by total weight of all the lobsters, because the more you have, the longer it takes the water to return to the boil once you put them in.
A larger lobster is not always better. My uncle used to buy the largest lobster he could find, and it was impressive when he placed at the center of the dinner table. But the meat was like rubber. And personally, I felt bad for the old lobster that made it that far in life. His last days should’ve been in the ocean, not on a plate.
My maximum lobster size is 2 lbs. But at 1 1/2 pounds, you have the perfect ratio of meat-to-shell…with lots of delicious meat that is still sweet and tender. It’s perfect.
After the lobsters have been removed from the pot and have cooled for a few minutes, I get to work: cracking the claws and tail and removing every bit of beautiful meat I can find. Lobster lovers will tell you that the legs have some meat in them and that the tomalley (the green liver and pancreas) and roe (eggs) are delicacies not to be missed. For the purpose of making lobster salad, I don’t use these parts. But I do save the tomalley and roe for a separate treat…and I save all the legs and cleaned empty shells for lobster stock.
Cleaning lobster legs is easy: simply remove all the legs from the body and place them flat on a cutting board. Grab a rolling pin, and one at a time, roll the pin over the lobster legs, starting at the claw end and working your way up. Like a tube of toothpaste, the meat will squeeze right out of the leg!
Now for the important stuff. What goes in a lobster roll, and more importantly, what doesn’t… I have very strong opinions in this matter.
First, there should NEVER be anything green in a lobster roll! No celery, no pickle, and it certainly shouldn’t be sitting on a bed of lettuce! Nothing should be crunchy in a lobster roll! The magic is in the texture of the perfectly cooked lobster meat. Don’t mess with it!
NO paprika or Old Bay seasoning!
A pinch of celery salt? Yes!
Mayonnaise? Only Hellman’s!
White pepper, not black, and just a touch.
Salt? A pinch of Fleur de Sel or other fine finishing salt.
And the secret weapon to bring out all the flavors: the tiniest squeeze of fresh lemon juice…not enough to give it lemon flavor…just to brighten the taste.
As for the roll, you can’t go wrong with Martin’s potato long rolls: soft and squishy straight out of the bag, or to take a page from the Connecticut-style lobster roll lovers: lightly grill the rolls and brush them with a little melted butter!
WHAT IS REAL BALSAMIC VINEGAR?
Posted: May 1, 2021 in Food, RecipesTags: balsamic, food, modena, recipes, vinegar
Despite what many of the labels on the bottles say, there are really only two kinds of balsamic vinegar: the highly prized, DOP-regulated, aceto balsamico tradizionale (or traditional balsamic vinegar)—and everything else.
Much like the olive oil market, the world of balsamic vinegar has been so messed up and confused that what most of us consider to be balsamic vinegar really has nothing to do with the genuine article.
Aceto balsamico tradizionale is the pinnacle of all vinegars: produced by hand in small quantities using methods that are hundreds of years old, it has the consistency of maple syrup, and costs anywhere from $150 to $400 for a 3.4 ounce bottle.
That doesn’t mean there aren’t any good (even excellent) less expensive balsamic vinegars out there. It just means you have to do a lot of label reading to make sure you’re getting a good thing.
DOP stands for Denominazione de Origine Protetta, meaning food products whose origins are identifiable in the taste, texture or “perfume” of the product and produced in a specific region with all the ingredients coming from that region. This is all carefully overseen by the Italian government and it is a big deal when it comes to quality.
In order to bear the name aceto balsamico tradizionale, every aspect of its creation, from grape to bottle, is carefully regulated by DOP standards. The vinegar undergoes a lengthy transformation that takes a minimum of 12 years. To keep competition fair, each producer is allotted a specific number of bottles he can sell, which is indicated by a numbered tag on the bottle’s neck. Bottles from Modena are usually bulb-shaped, while bottles from Reggio nell’Emilia are bell-shaped. A red cap means the vinegar is at least 12 years old, while a vinegar that is 25 years of age or more has a gold cap.
Back in the 1980’s, when the balsamic vinegar craze hit the United States, many chefs looking for exotic ingredients in their dishes started using balsamic vinegar. It became an overnight sensation, and the demand was too great for these small handmade batch producers to handle. And so the market for inexpensive balsamic vinegars was born: vinegars that bear little resemblance to the real thing, using ingredients like cider or red wine vinegar, sugar and artificial coloring.
So can you buy a good vinegar if you don’t have wads of money to spend?
Well, the next step down from the top-shelf stuff is called aceto balsamico condimento—what we see in the stores as Balsamic Vinegar of Modena (although some are produced outside of Modena) and they average in price from $20 to $60 a bottle. They’re kept in less expensive wood barrels, and are aged less than 12 years.
And then there’s the stuff you commonly find on supermarket shelves.
Some simple tips on what to look for on the ingredients label: Since the really good stuff is very expensive and should never be cooked or reduced, look for high quality non-DOP balsamic vinegars. Look for those from Modena and Reggio nell’Emilia with Consorzio di Balsamico Condimento on the label to guarantee the age. Even if this stuff is too expensive for you, at the very least, make sure that “grape must” is the first ingredient on the label and that its acidity is not above 7 percent.
I recently found a bottle of balsamic vinegar under the brand name Modenaceti. A 16.9 oz. bottle goes for about 15 bucks on Amazon. Is it the good stuff? No, but it’s great in a salad dressing or a marinade. The only ingredient listed is balsamic vinegar of Modena, and its acidity is 6%.
Here’s a really good and simple recipe you can make with this inexpensive vinegar. Of course, finding a good port is similar to finding good balsamic. Find something in a lower price range that you be willing to drink, and use that in cooking as well.
PORT WINE/BALSAMIC VINEGAR STEAK SAUCE
½ cup port wine
½ cup balsamic vinegar
¼ cup red grapes, sliced lengthwise (optional)
Place the ingredients in a small sauce pan over medium-high heat and reduce by half. Use this sauce on steaks, burgers, even ribs.
CLASSIC CAESAR SALAD AND THE STORY BEHIND IT
Posted: April 14, 2021 in Food, RecipesTags: Caesar, food, recipes, SALAD
For my family, a Caesar salad is the only salad to serve on special occasions. But it all starts with a little history…
If someone told me that the classic Caesar salad was invented in Tijuana, Mexico, I’d say they were crazy. But that’s one bizarre truth in the creation of one of the world’s most iconic salads.
Famous restaurateur, Caesar Cardini, ran a restaurant in San Diego back in the early 1900’s. But when Prohibition hit the states, he opened another location in Mexico…Tijuana, to be exact, luring many of the day’s Hollywood stars across the border. They could gamble in Mexico, and they could feast on food and alcohol at Cardini’s.
The story goes that one July 4th, they were running out of food, and thinking quickly, Cardini created a salad at the spur of the moment, using only the ingredients he could find in the kitchen. Having the chef assemble the salad tableside meant it came with a grand performance, and word quickly spread of the incredible “Caesar salad.” (Cardini named it after himself.) Cardini’s is still at its original Tijuana location, and they serve thousands of Caesar salads, with a flamboyant tableside show, to tourists.
Though Cardini didn’t believe anchovies should be in his salad (they say Worcestershire was used instead), anchovies were eventually added when his brother, Alex, tweaked the recipe years later. (The Worcestershire was removed.)
It needs to be said that raw egg yolks are used in Caesar salad, and if you’re not comfortable using them because of salmonella concerns, you shouldn’t. Sometimes coddled eggs (slightly boiled) are used. Some stores, though not many, sell pasteurized eggs in the shell. I haven’t had a chance to use them–or even find them. Many recipes contain a variety of egg substitutes. But for me, it ain’t a Caesar without raw egg, so I’m willing to take my chances.
This Caesar recipe was introduced to me by my wife, and remains the best I’ve ever had.
The first really important ingredient to get is a wooden bowl. No other bowl will do. We have an old wooden bowl at home with almost mystical properties that is used for nothing but our Caesar salad, and I have to say that it makes all the difference in the world.
Once you have the bowl, what matters most is the freshest, best quality ingredients you can find: farm-fresh eggs, not supermarket ones…Parmigiano Reggiano, not generic Parmesan. The best quality extra virgin olive oil. Fresh lemon juice. Freshly cracked black pepper. High-quality anchovies. And organic Romaine lettuce. (Organic bibb or leaf lettuces make great substitutes.)
After that, it’s all about the love.
4 raw egg yolks
8 oz. good quality extra virgin olive oil
2 tablespoons Dijon mustard
fresh garlic (optional…see below)
1 1/2 teaspoons black pepper
4 anchovies
the juice of 1 lemon
4 oz. grated Parmigiano Reggiano cheese
2 heads organic Romaine lettuce, washed, stems removed, torn by hand
Place the egg yolks in the wooden bowl and whisk them until well mixed.
While whisking the yolks, pour the olive oil in the bowl VERY SLOWLY, whisking all the time, never stopping. Keep pouring the olive oil slowly until you’ve whisked all of it into the eggs and you get a beautiful emulsion.
Keep whisking and add the Dijon mustard, then the black pepper.
In a separate small bowl, mash the anchovies with a fork–even better, use a mortar and pestle, if you have one. Don’t leave any chunks. Slowly add the mashed anchovies to the wooden bowl, mixing them in with the whisk to combine the ingredients. You want them to dissolve completely in the dressing.
Once the dressing has reached its desired consistency, add the lemon juice and whisk some more.
Whisking slowly, sprinkle in the Parmigiano Reggiano.
When it’s all mixed together, dip a finger in the dressing and give it a taste. Does it need more lemon juice to cut the oil? Slice a second lemon and add a little. Taste again. Is the tartness of the cheese dancing on your tongue? If not, grate more and add a little more. Enough black pepper? There should be enough salt from the anchovies and cheese.
If you think you’ve “got it,” add the Romaine leaves to the salad bowl and toss gently to coat the lettuce.
When serving, top each salad serving with a little more cheese. Extra anchovies are optional.
If you’re saying “where’s the garlic?” …you’re right. Every good Caesar needs some. This recipe would use about 1 tablespoon of fresh, finely chopped garlic, added after the mustard. If I’m cooking alone, I always add the garlic. But we have people in our household that are allergic to garlic, so when family is here, we leave it out. The flavors of the dressing are so deliciously intense, you’ll be surprised how good it is without it!
POKE AND SOME DELICIOUS VARIATIONS
Posted: April 6, 2021 in Food, Recipes, seafood, UncategorizedTags: food, poke, recipes, salmon, seafood
When I started a new diet last year, one of the major changes in my eating habits was to incorporate more seafood and less meat into my meals. Seafood has a lot more protein and fewer calories. In fact, shrimp, lobster and oysters are some of the most delicious low-calorie foods you can enjoy, running about 1 calorie per gram. It’s what you add to them–oils, melted butter, batter–that makes them high in calories.
I’ve always loved sushi, but again, on a diet, I need to limit my intake of unnecessary calories, and rice is big on that list. I’ve found that I can use a lot less rice, or maybe none at all, when I make poke…and I get all the satisfaction of sushi or sashimi.
My two favorite fishes to eat raw are ahi tuna and wild-caught Alaskan salmon, like sockeye. There are many great purveyors of this super-high quality seafood online, and I usually buy a decent amount of fish at one time–hermetically sealed and frozen in 4-ounce packages–to last me a long time. (The price is often much better when you buy in quantity, because they have to be shipped frozen overnight.)
There are many ways to prepare poke, and the only limitations are what’s in your fridge. The first recipe, using salmon, is closer to a traditional poke recipe you’d find in a restaurant.
6.5 ounces wild-caught Alaskan salmon, in the refrigerator (thawed, if previously frozen)
1 tablespoon soy sauce
2 teaspoons sesame oil
1 teaspoon rice vinegar
1/2 teaspoon fresh lemon juice
1/3 cup chopped raw cashews
1 scallion, green and white parts finely chopped
3 oz. wild-caught Alaskan sockeye salmon, cubed
1 tablespoon capers
1/2 small Vidalia or sweet onion, sliced very thin
1/2 tomato, seeds removed, sliced thin
1/4 of a toasted plain bagel
1 tablespoon cream cheese
2 teaspoons Everything Bagel seasoning
1 chopped hard boiled egg
“MEXICAN” CHICKEN WINGS
Posted: April 3, 2021 in Carnivore!, chicken, Food, Recipes, tacoTags: chicken, food, Mexican, recipes, taco, wings
I’ve got dozens of chicken wing recipes, but even so, sometimes I just want something different. I decided to take my favorite taco seasonings recipe and adapt it to chicken wings. Caramba! One of the tastiest wings I’ve made in a long time!
This is such an easy and delicious recipe to make, even for a crowd. At your next party, just double or triple the recipe, as needed.
2 teaspoons salt
2 teaspoons cumin
2 teaspoons oregano
1 teaspoon paprika
1 teaspoon granulated onion
1/2 teaspoon granulated garlic
1/2 teaspoon pepper
avocado oil
4–5 lbs. chicken wings
Preheat the oven to 375.
Combine the salt, cumin, oregano, paprika, onion, garlic, and pepper in a bowl. Mix well.
Cover a baking sheet with aluminum foil and spread the wings out on the sheet. Sprinkle the wings with the avocado oil and rub the oil all over the wings. This will help the wings cook evenly, and it’ll help the seasonings stick to the wings.
Turn the wings bottom-side-up and sprinkle with the seasoning mix. Flip the wings over and sprinkle them again, coating them evenly.
Place the baking sheet in the oven and bake for about 45 minutes.