Archive for the ‘Recipes’ Category

MANLY MEAT SAUCE

Posted: January 29, 2016 in bacon, beef, Food, Italian, pasta, Recipes
Tags: , , , , ,

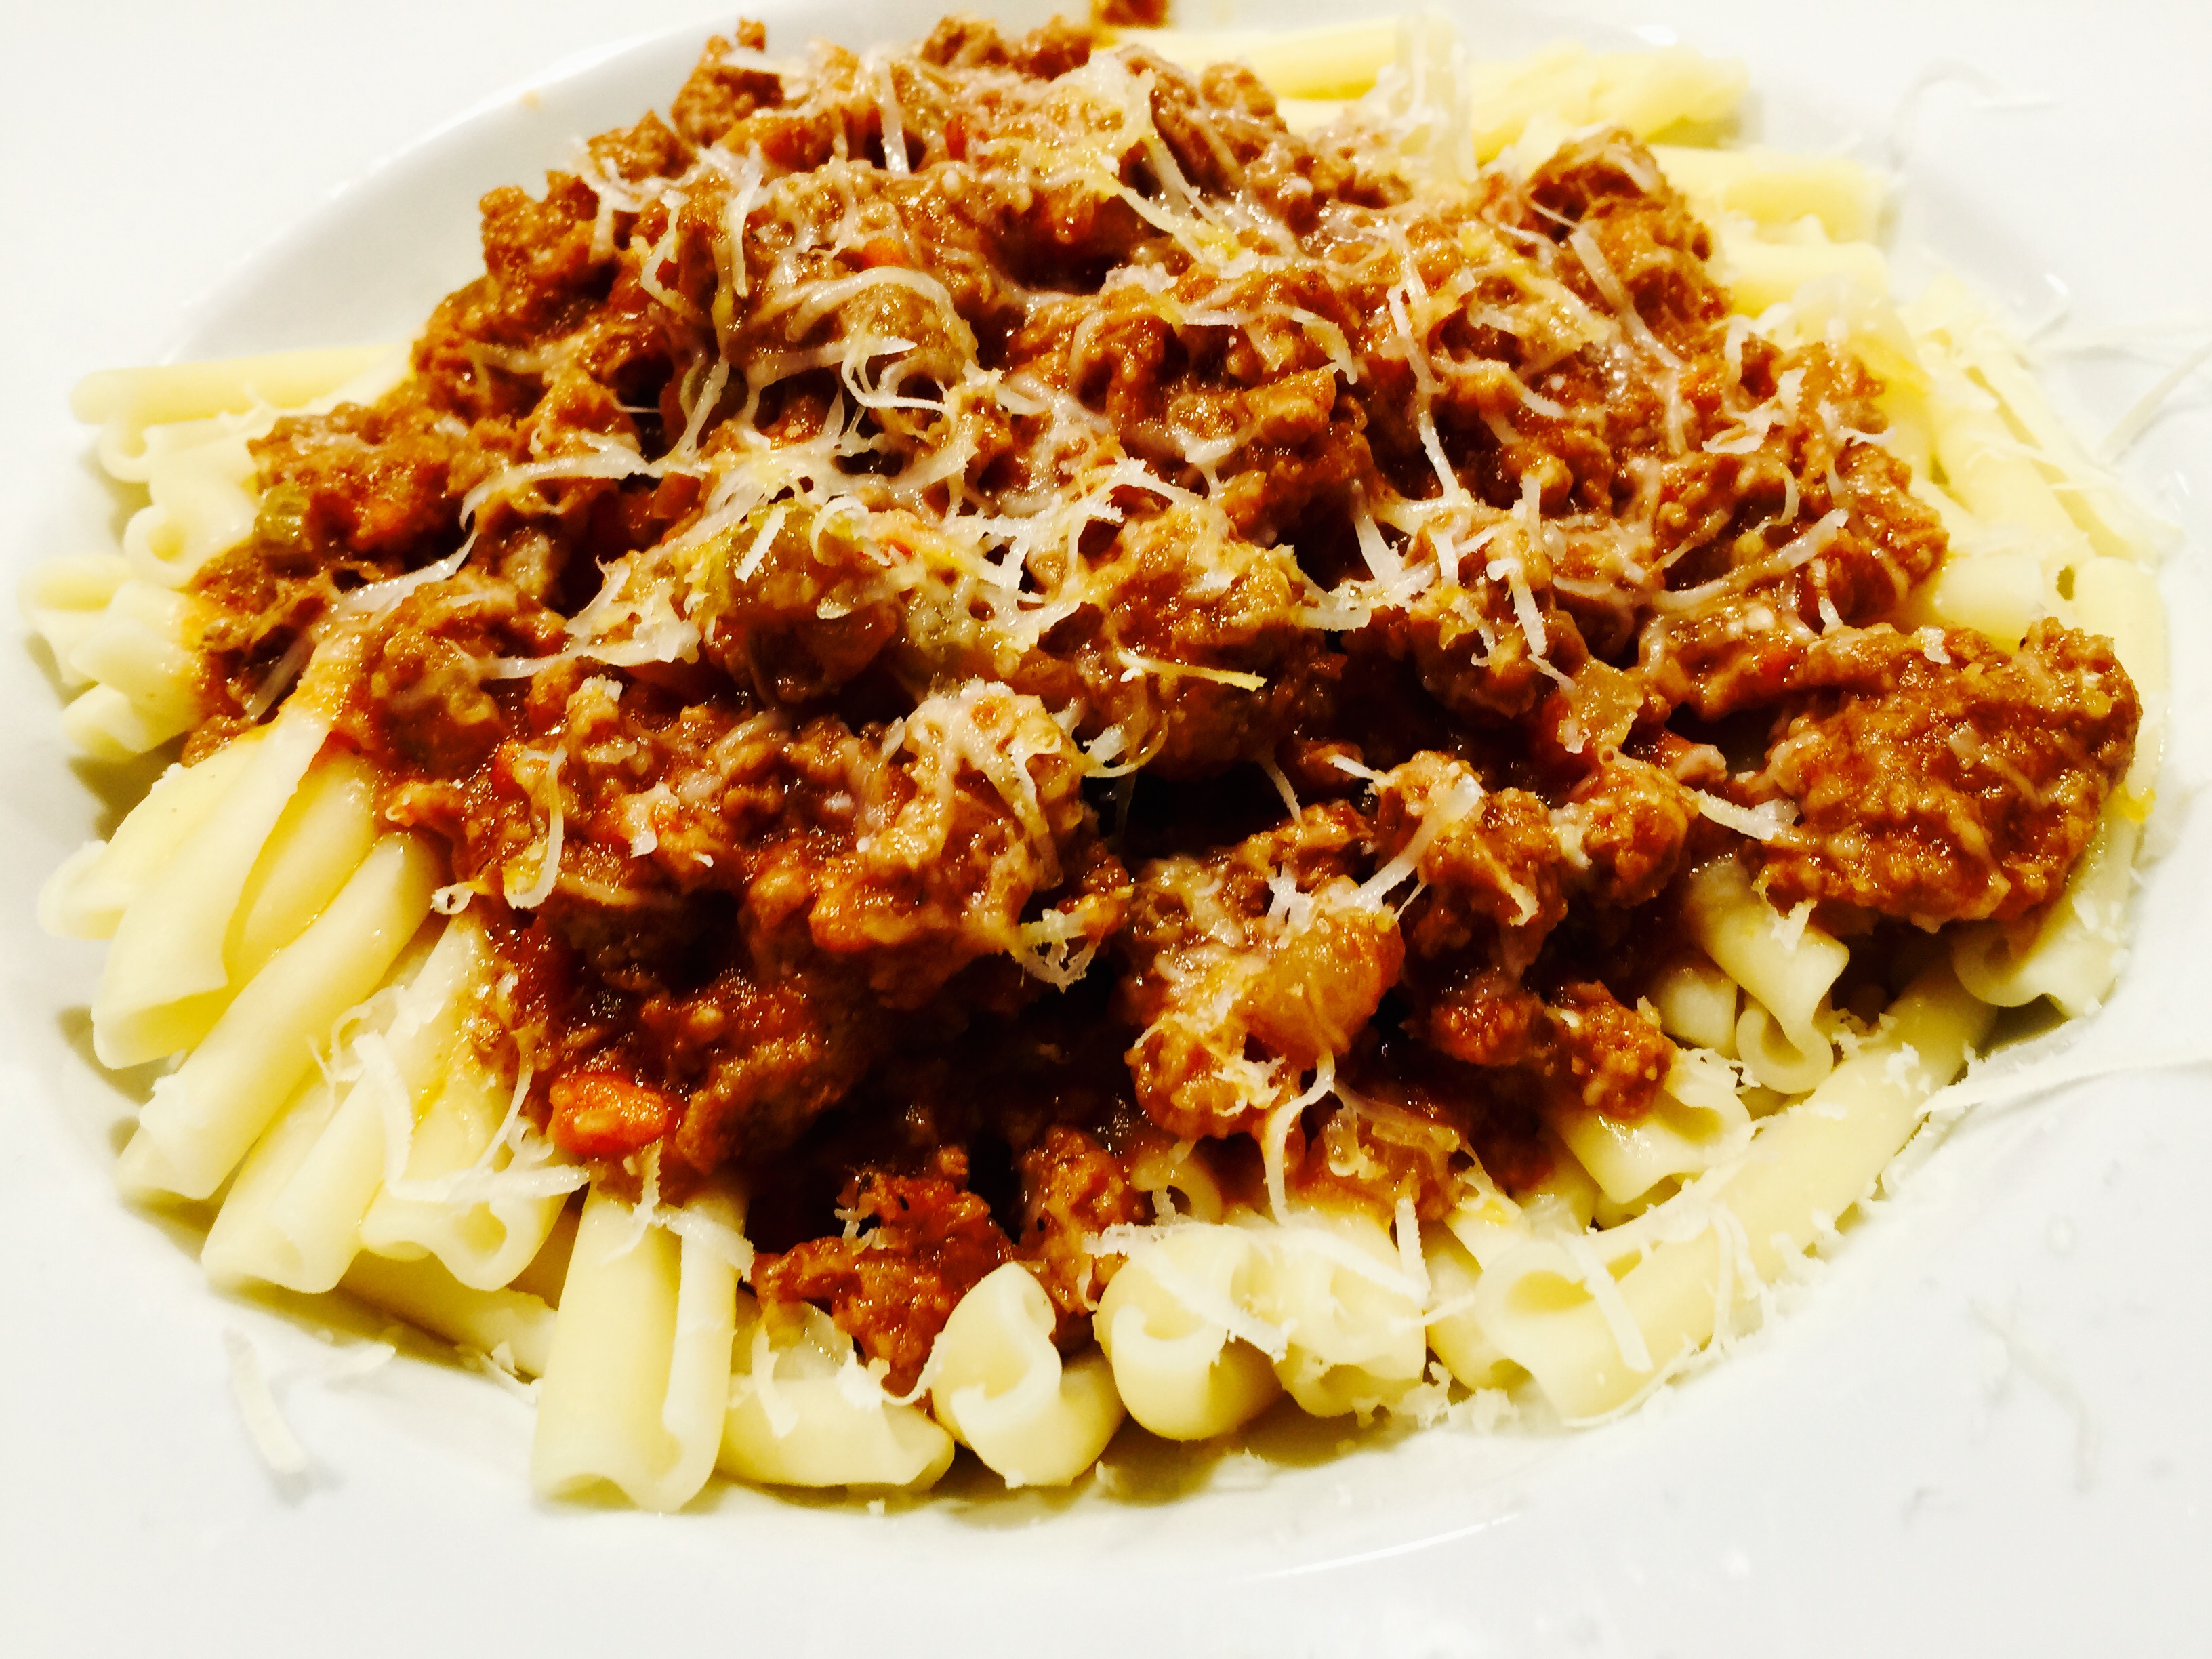
Although my daughter goes crazy for my Ragu Bolognese (http://wp.me/p1c1Nl-Pc), pasta with meat sauce is one of the easiest things to make, with ingredients you probably have in your home. This sauce is really rich with flavor, and once you put all the ingredients together, it requires nothing more from you than an occasional stir every now and then.

image


1/4 cup olive oil
3 strips bacon, finely chopped, raw or pre-cooked
1 onion, finely chopped
1 teaspoon garlic salt
2 lbs. ground beef (I use grass-fed beef)
2 cans (28 oz. each) whole tomatoes
1 tablespoon dried oregano
1 tablespoon dried basil
2 tablespoons dried parsley
2 teaspoon salt
1/2 teaspoon black pepper
1 teaspoon anise seed
1 teaspoon fennel seed
2 bay leaves
1 small can (6 oz.)  tomato paste

image


In a large pot, heat the olive oil and add the bacon. Once the bacon is sizzling, add the onions and cook until the onions are translucent. Add the garlic salt and mix. Add the ground beef and cook until it has browned.

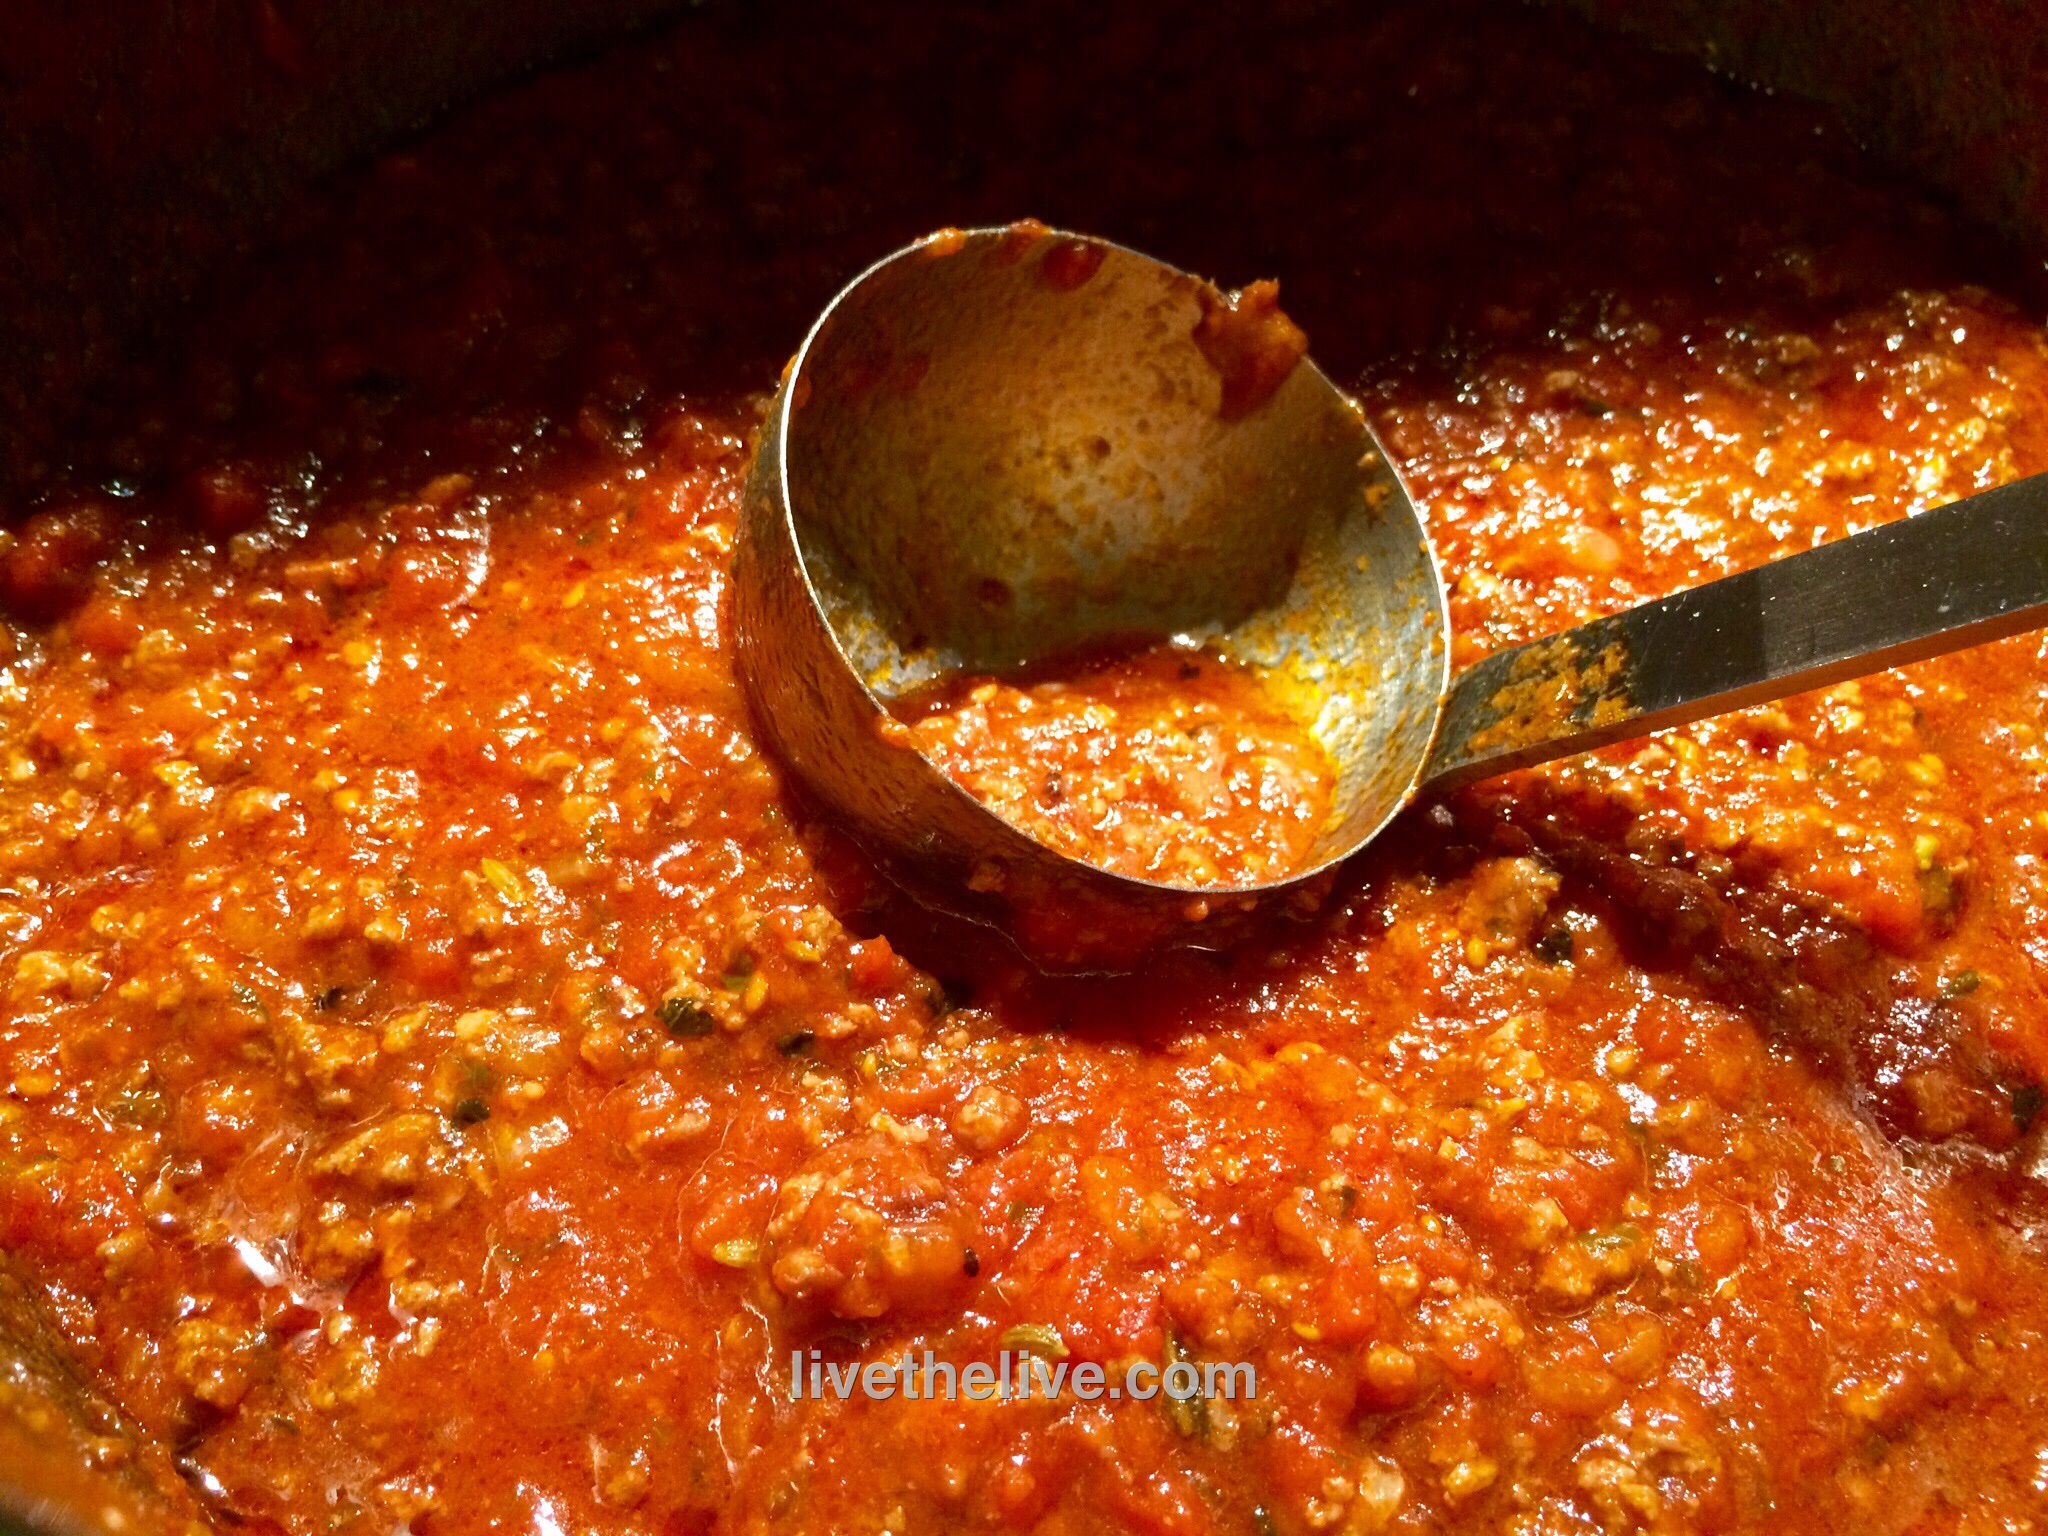
Pour the 2 cans of whole tomatoes into a food processor and blend until chunky…or go the old-fashioned route and simply squeeze the tomatoes with your hands, breaking them up. Pour the contents of both cans into the pot and stir well. Cook over medium heat, stirring, until the orange tomato foam disappears.

Add the oregano, basil and parsley and stir. Add the salt and pepper and stir. Add the anise seed and fennel seed and stir. Throw in the 2 bay leaves and stir. (I think you get the idea, there’s a lot of stirring going on!)

When the sauce starts to boil, add the tomato paste and stir well. Let it come up to a boil again–the paste thickens best at high heat–then turn the heat down to a simmer and cover the pot.

Let the sauce simmer for several hours. Whenever you walk by, give the sauce a good stir.

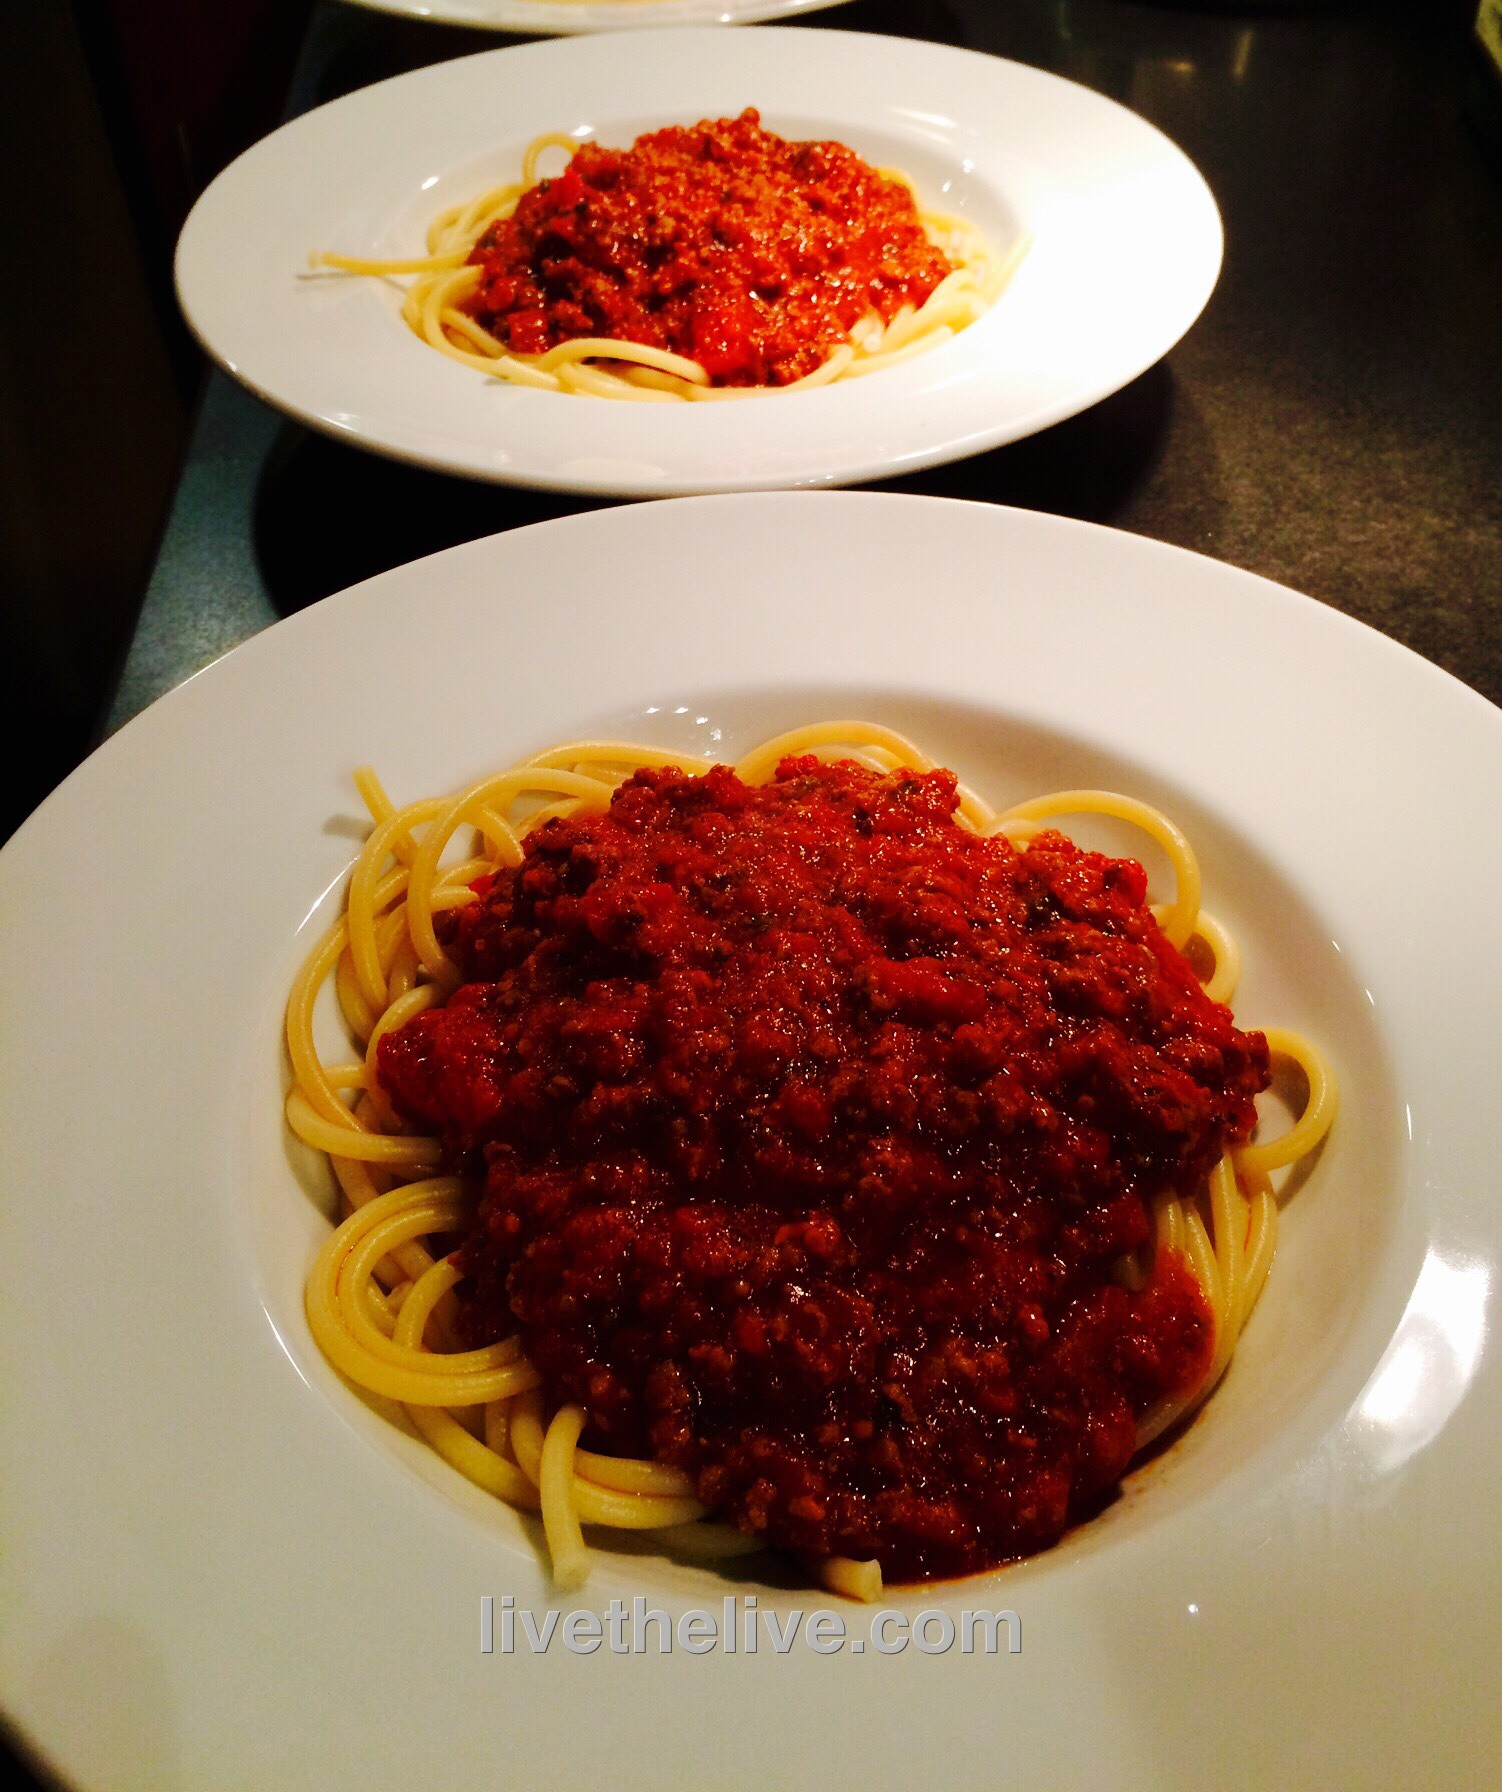
Serve over pasta, with some grated Parmiggiano Reggiano.

image


With snow coming our way this weekend in New England, it’s time for some serious comfort food.

A couple of years ago, when I received a shipment of venison from my father-in-law, an avid hunter that lives in the Upper Peninsula of Michigan, I knew that although I could certainly use beef for this dish, it would be absolutely stellar with venison. And I knew that I couldn’t miss with a local brew from my buddy, Sean Larkin of Revival Brewing Company (www.revivalbrewing.com), with his Double Black IPA…

image

Unfortunately, I haven’t been able to find gluten-free alternatives for this recipe. You can buy GF beer and flour, but the puff pastry is what makes the dish. A GF pie crust would be an alternative, but once you have it with puff pastry, you’ll never want it any other way!

Olive oil
3 red onions, peeled and chopped
3 cloves of garlic, peeled and chopped
3 tablespoons butter, plus extra
3 carrots, peeled and chopped
3 celery stalks, trimmed and chopped
10 oz. baby bella mushrooms, chopped
3 lbs. venison, cut into 3/4″ cubes
A few sprigs of fresh rosemary, leaves picked and chopped
Sea salt and black pepper
2 bottles (24 oz.) Revival Brewing Company Double Black IPA, with a swig for the cook
3 tablespoons flour
12 oz. freshly grated cheddar cheese
1 1/2 pounds store-bought puff pastry (all butter is best)
1 large egg, beaten

image


Pre-heat the oven to 375.

In a large oven-proof pan, heat a few tablespoons of the olive oil. Add the onions and fry gently for about 10 minutes. Turn the heat up and add the garlic, butter, carrots, celery and mushrooms. Stir well, then add venison, rosemary, a pinch of salt and about a teaspoon of pepper.

Saute on high for about 4 minutes, then add the beer, making sure you take a swig for luck! Stir in the flour and add just enough water to cover. Bring to a simmer, cover the pan with a lid or foil, and place in the preheated oven for about 1 1/2 hours.

Remove after 1 1/2 hours and stir. Put it back in the oven and cook another hour, until the meat is cooked and the stew is rich, dark and thick. If it’s still liquidy, place the pan on the stove top and reduce until the sauce thickens. (You don’t want a soupy stew or you’ll get soggy puff pastry later.) Remove the pan from the heat and stir in half the cheese. Season with salt and pepper to taste and set aside to cool.

Depending on whether your puff pastry comes in sheets or a block, you’ll need to use a rolling-pin to get it into sheets about 1/8″ thick. Butter a good-sized pie dish or an oven-proof terrine. Line the dish with the sheets of pastry, letting the pastry hang over the sides. Pour in the stew, even it out with a spatula, and add the rest of the grated cheese on top.

Use another 1/8″ thick sheet of pastry (or a couple if they’re not wide enough) to cover the top of the pie dish. Lightly crisscross the top with a knife, then fold over the overhanging pieces of pastry over the lid, making it look nice and rustic. Don’t cut or throw any of the pastry away! Use as much as you can, since everyone will want some.

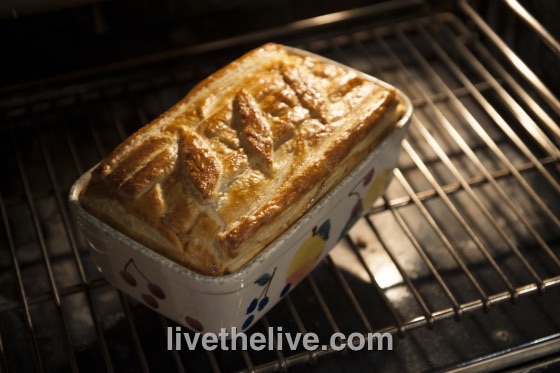
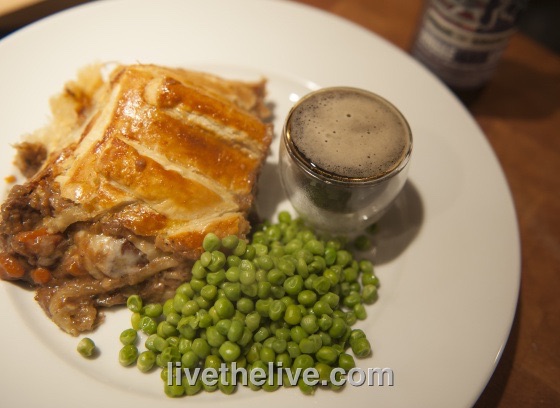
Brush the top with the beaten egg and then bake the pie on the bottom of the oven for about 45 minutes, until the pastry has cooked, and it’s beautifully puffed and golden. Serve with a side of peas (and beer!)

image


This was a hit when  I brought them to a recent neighborhood party. Imagine the best of a deviled egg and a BBQ chicken sandwich, and you’ve got this appetizer that rocks in more ways than one. This is a great app you can make ahead of time: I boil the eggs and make the cole slaw the day before, then keep them in the fridge. Even the chicken can be cooked the day before and then warmed through before assembling right before your guests arrive.

_DSC6511

For the chicken:
3 cups ketchup (I use Heinz organic)
1 tablespoon apple cider vinegar
2 tablespoons soy sauce (I use La Choy: it’s gluten-free)
1 teaspoon hot sauce (I use Frank’s Red Hot)
1/4 cup + 2 tablespoons brown sugar
1 lb. boneless skinless chicken breasts


For the cole slaw:
2 tablespoons mayonnaise
1 tablespoon rice wine vinegar
1/2 teaspoon sugar (I use organic cane sugar)
2 cups finely shredded cabbage
For the deviled eggs:
6 hard-boiled eggs
1/4 cup mayonnaise
1 tablespoon mustard (I use Gulden’s)


Combine the ketchup, apple cider vinegar, soy sauce, hot sauce, and brown sugar in a Crock Pot or heavy pot with a lid. Mix well, then add the chicken breasts, making sure they’re immersed in the sauce. Cook low and slow for about 4 hours. If using a pot with a lid, place in a pre-heated 250-degree oven and cook for 6 hours.

When the chicken is cooked through, shred the meat with 2 forks. Set aside, but keep warm.

Combine all the cole slaw ingredients in a bowl, mixing well, and place in the fridge.

For perfectly hard-boiled eggs, place the eggs in a pot of cold water, and turn the heat on high. Just before the water starts to boil, put a lid on the pot and turn the heat off. Let the eggs sit in the hot water for 15 minutes. Once cooked, keep the eggs in the fridge.

Slice the eggs in half and place the yolks in a bowl with the mayonnaise and mustard. Mix well and keep in the fridge.

To assemble, take a teaspoon of the mayo/mustard/yolk mixture and place it in the cavity of one of the egg halves. Place another teaspoon of the shredded chicken on top (I like it warm, to counter the cold of the mayo and cole slaw), drizzling a little of the BBQ sauce on the meat. Then place a teaspoon of the cole slaw on top of the chicken.

I’m not a jealous guy. But when I saw my buddy, Lee, post a photo of himself and his family sipping Painkillers at my all-time favorite beach bar, the Soggy Dollar on the island of Jost Van Dyke in the British Virgin Islands, I have to admit, I wasn’t happy.

I mean, when I heard he was going to vacation in St. Thomas, I was the one who told him to go there. But seeing them sipping Painkillers on that amazing white sand was just too much to handle.

The Painkiller is one of the tastiest rum drinks you can make, and one that certainly brings you back to the Caribbean. And it was invented at the Soggy Dollar. Located on White Bay, a stretch of the whitest most beautiful sand in the Caribbean, surrounded by beautiful turquoise waters, there is no dock. You have to anchor your boat offshore and swim…hence the name: the Soggy Dollar.

SOGGY1

Daphne Henderson was the owner of the Soggy Dollar years ago, and she is credited for inventing the Painkiller, which used Pusser’s rum, a British rum that is readily available here in the United States. Charles Tobias, a businessman that received permission from the British Royal Navy to commercialize Pusser’s rum in 1980, tasted the Painkiller and realized the potential of this amazing drink. He took some Painkillers home to the island of Tortola, where he experimented in recreating that drink, coming up with what he thought was something that was as good as—if not better than—the original. He called it the Pusser’s Painkiller.

Tobias never found out what Daphne Henderson’s original recipe was, but when he brought his own Pusser’s Painkillers back to the Soggy Dollar, and had a tasting battle between the two recipes, his recipe apparently won 10 out of 10 times. With 4 Pusser’s bars and restaurants in the Caribbean and 2 more in the states, Tobias quickly made the Pusser’s Painkiller the signature drink of these now-famous establishments…and perhaps the most popular drink among the sailing community in the US, Caribbean and West Indies.

The drink itself is simple…

PUSSER’S PAINKILLER
4 parts pineapple juice
1 part cream of coconut
1 part orange juice

Combine these 3 ingredients, with lots of fresh grated nutmeg in a glass with ice. How much Pusser’s rum you use depends on how hammered you want to get! A Pusser’s #2 uses 2 parts rum…a Pusser’s #3 uses 3 parts rum…and a Pusser’s #4 uses 4 parts rum!

I’ve had several Pusser’s #4’s back in the day when there was a Pusser’s bar on the island of St John in the USVI many years ago. I’ve also sampled them in the BVI at the 2 Pusser’s locations on Tortola.  But I still prefer going back to Jost Van Dyke and knocking back a few at the place where the Painkiller was born, the greatest beach bar on planet Earth: the Soggy Dollar Bar.

I don’t know when I’ll get a chance to go back. But my bathing suit is already packed. Me, below, in happier days…

SOGGY2

And now I hear my buddy, Rick, is on his way to the Soggy Dollar, sailing from Tortola. I think I’ll avoid Facebook for a few days.

Awesomesauce is an all-purpose sauce that I created a couple of years ago for a variety of dishes. Because it has a base of mayo, mustard and ketchup, it works great on burgers and fish…on lobster and crab salads and shrimp cocktail…and just about anything else you can think of.

I made a batch of Awesomesauce for taco night at the house, and decided to use the leftovers the next day to coat pieces of chicken before roasting. The chicken came out moist and delicious. And because I sprinkled some breadcrumbs on them, they had a nice added crunch.

image

For the Awesomesauce:
1/2 cup mayonnaise
1 tablespoon ketchup
1 tablespoon mustard (I like Gulden’s)
1 tablespoon dill pickle relish
1/4 teaspoon granulated garlic
1/4 teaspoon paprika
Pinch cayenne pepper
4 lbs. organic pastured chicken pieces
plain breadcrumbs (I use gluten-free)

In a bowl, combine the mayo, ketchup, mustard, dill pickle relish, garlic, paprika and cayenne. Mix thoroughly and keep in the fridge until you’re ready to use it.

Pre-heat the oven to 325.

Rub the Awesomesauce all over the chicken pieces and lay them in a sheet pan lined with non-stick aluminum foil. Lightly sprinkle the breadcrumbs over the top of the chicken.

Bake until the chicken is cooked all the way through and brown and crispy.


I think half my childhood was spent in the kitchen, watching my Mom and grandmother make koldūnai (kohl-doo-nayh), the Lithuanian version of a pierogi, by hand at lightning speed. Some Lithuanian cooks would make the dough, roll it out into a large flat sheet with a rolling-pin, then cut circles out with a glass or a cookie cutter. But my Mom and grandmother used a different method: they’d roll the dough into a log, cut it into 1″ pieces, and then twirl each piece in their hands to make a flat pancake that they would then fill with a spoonful of meat or mushrooms. It blew my mind that they could crank out over a hundred of these perfectly shaped dumplings in no time, placing them on a cookie sheet and freezing them until it was time to cook them.

One of the main reasons koldūnai beat pierogis every time is the filling. My Mom would mix ground beef with chopped onions sautéed in butter, a couple of eggs, and milk crackers soaked in milk. She’d add salt and pepper, then take a spoonful of the raw meat mixture and plop it in my mouth. “Enough salt?” she’d ask. My sisters and I loved the taste of the raw beef like that…probably why I always order beef tartare when I see it on a restaurant menu.

The other stuffing, usually reserved for special holidays like Christmas and Easter, was made from mushrooms. Italy may lay claim to the porcini, but the fact of the matter is, Lithuania is porcini heaven. And when they’re dried and reconstituted, their incredible flavor is so intense, you don’t need many of them to flavor a large amount of cheaper button mushrooms. We’d get our dried boletes from relatives in Lithuania every year…the real deal. Mom would place a handful in some boiling water and let them steep until they swelled up and could easily be chopped and added to the other mushrooms. She’d then pour the mushroom liquid into the pan as well, not wasting a bit of that magical porcini flavor. The mushrooms were simply sautéed in butter, cooled, then used to fill the koldūnai.

Common pierogi fillings are potatoes or sauerkraut. I think the Lithuanians got this round.
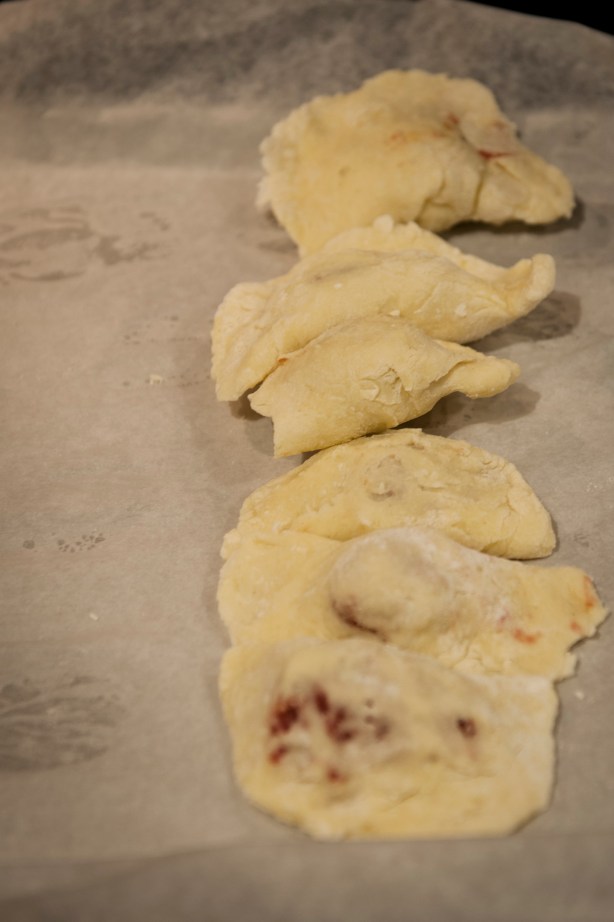
Not perfect, but not bad for a first attempt. I made sure the exposed meat was covered by dough before placing in the freezer. otherwise, they would open up in the boiling water and make a mess.

Not perfect, but not bad for a first attempt. And the GF dough was tough to deal with at first. I made sure the exposed meat was covered by dough before placing in the freezer. Otherwise, they would open up in the boiling water and make a mess.


So this past Christmas Eve, I decided it was time to try my hand at making koldūnai. As I recall, my Mom simply mixed water with flour and a little salt to make the dough, kneaded it into a log, and off she went. My challenge was a bit more daunting: I needed to make them gluten-free as well. My sister, whose family lives the GF lifestyle, told me that they simply exchange all-purpose flour for gluten-free flour and it works fine. But my experience in trying to bake bread or make pizza dough with gluten-free flour told me that the dough would be tough to work with and would lack the elasticity found in dough made with gluten, so I wanted another option. I found an old recipe on-line that still used the individual GF ingredients (rice flour, potato starch, tapioca flour, etc.) before the advent of Cup 4 Cup, the all-purpose gluten-free flour I now use religiously. I decided I’d substitute my go-to flour for those ingredients and add it to the rest of the recipe. What I got was a soft dough that was relatively easy to work with, just a little sticky.

The biggest challenges I had with making my koldūnai was my own clumsiness and lack of experience. Once I got the hang of it, things moved along steadily, and it didn’t take long for me to make 24 gluten-free koldūnai–not all perfect, but not bad for a first try.

Since my wife is allergic to mushrooms, I had to skip them this time around and used a ground beef filling instead. And, by my daughter’s special request, I also made 4 mac-and-cheese koldūnai, also gluten-free using GF mac-and-cheese.

The ground beef filling was easy…

1/2 onion, finely chopped
1 pat of butter
1 lb. ground beef
1 egg
1/2 cup breadcrumbs (I use gluten-free)
1/4 cup milk


Finely chop the onion and saute it in a little butter until translucent. Let it cool, then add it to 1 lb. of thawed ground beef. Add the egg, the breadcrumbs, and the milk. Season with salt and pepper. Mix ingredients thoroughly and keep the meat in the fridge until ready to use.
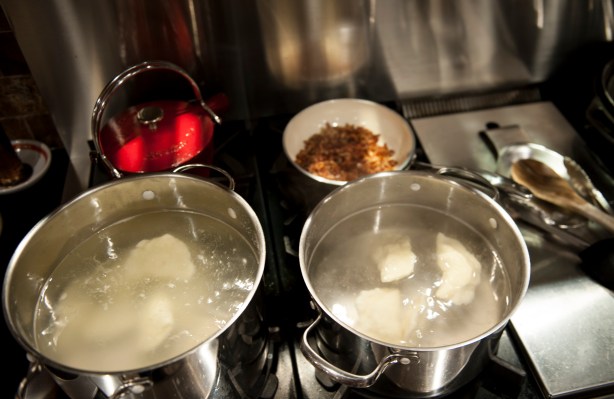
 

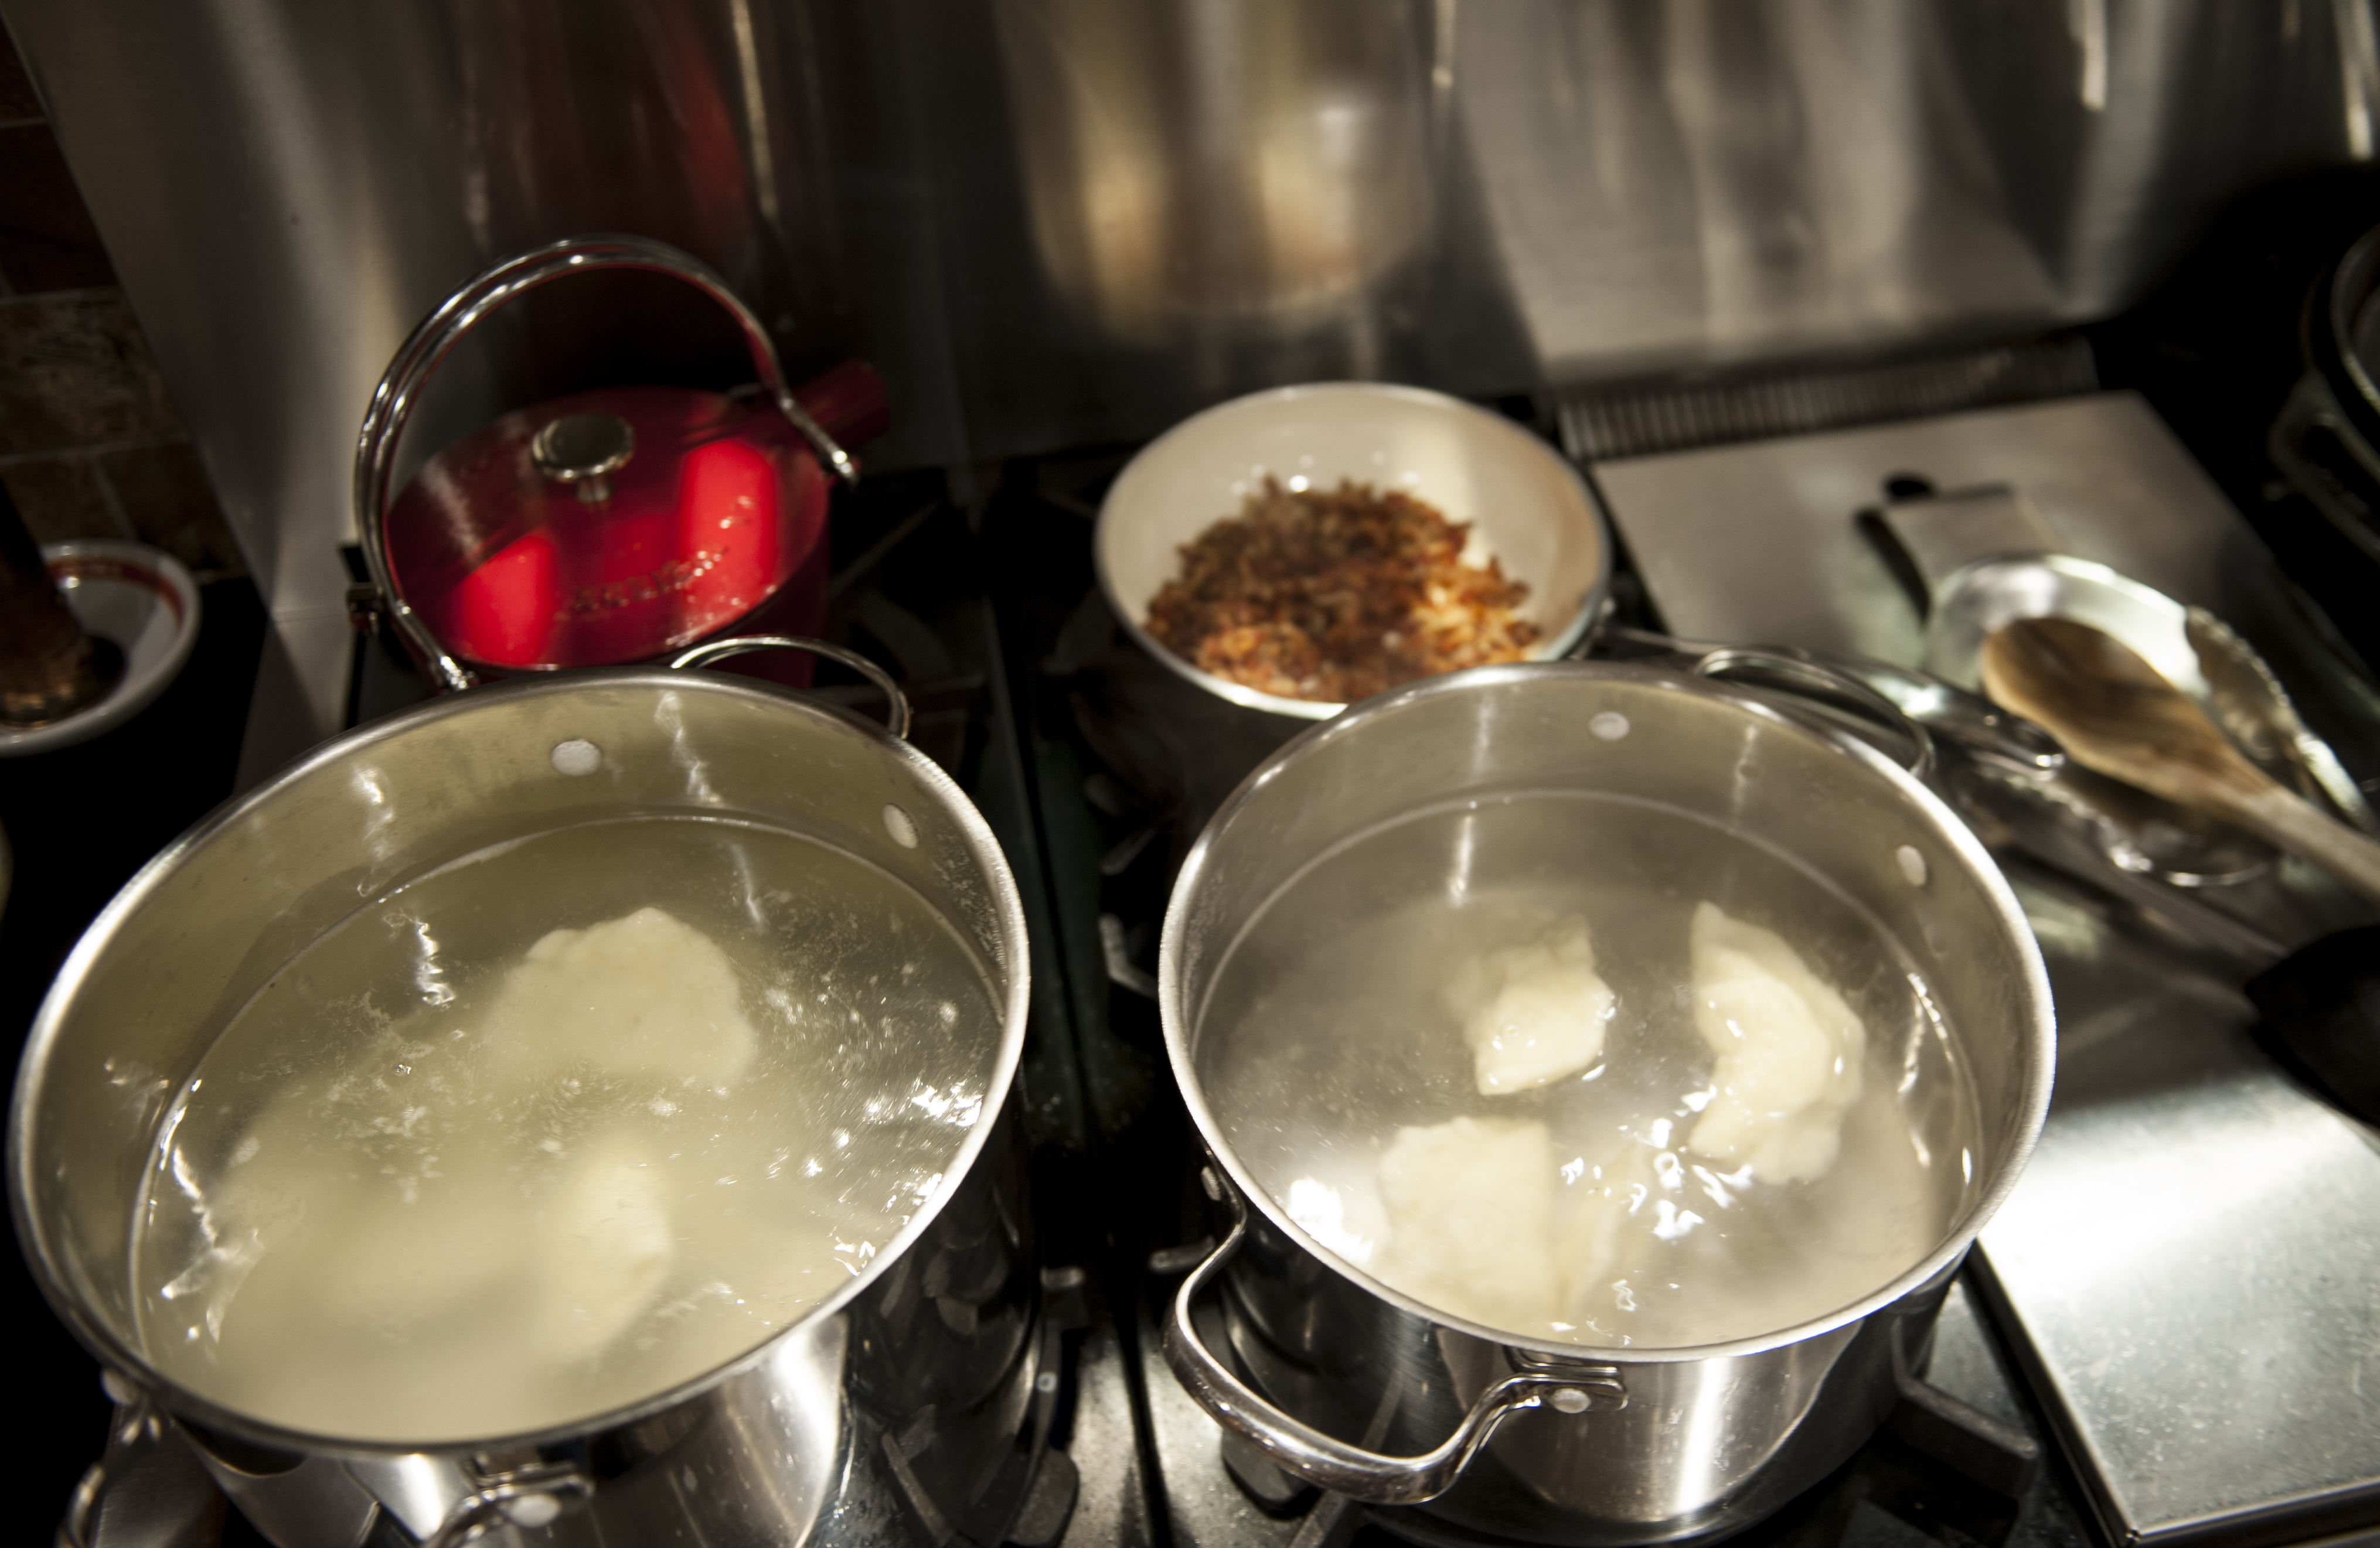
Two pots of boiling salted water: one for the meat-filled koldūnai, and one for the mac-and-cheese filled koldūnai.

Two pots of boiling salted water: one for the meat-filled koldūnai, and one for the mac-and-cheese filled koldūnai.


1 lb. bacon, finely chopped
1 large onion, finely chopped

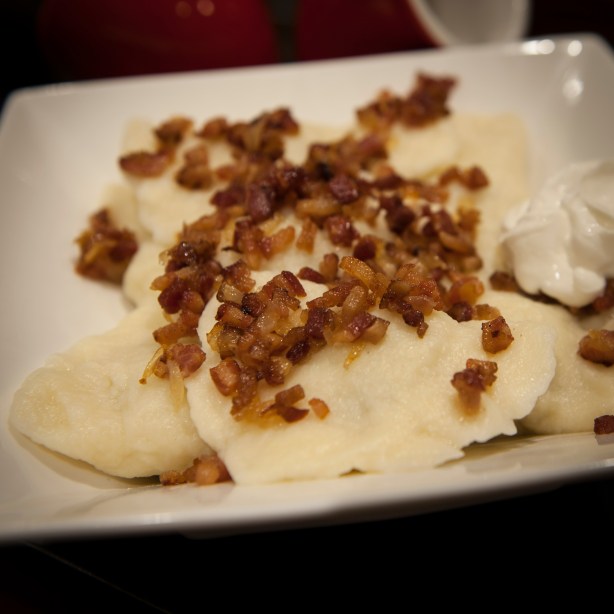
In a large pan, fry the chopped bacon until it’s almost crisp. I don’t drain the fat, but you can if you’re a wuss. Add the chopped onions and cook until they are soft. Set aside. These are called spirgučiai, (spir-guh-chay) and they are sprinkled on top of the finished koldūnai, just before serving. (My Mom always kept a stash in a container in the fridge, and sprinkled them on anything and everything.)
duni 4

1/2 cup cottage cheese
1 large egg
1/4 cup milk
1 tablespoon olive oil or avocado oil (I don’t ever use canola or vegetable oils)
1/2 teaspoon salt
1 cup gluten-free flour (I use Cup4Cup)

Place the flour in a bowl. In a blender, combine the cottage cheese, egg, milk olive oil and salt. Blend until smooth. Pour the liquid ingredients into the bowl with the flour and knead by hand, forming a dough.

Dust a board with more flour, and move the flour from the bowl onto the board. Knead it into a long log, about a foot long and 1 1/2″ thick. Cut it into 12 equal pieces, about 1″ wide.

Take one cut piece, and using your thumbs, twirl the dough around, flattening it into a small pancake. (Feel free to use a small rolling-pin, if that’s easier.) Place a teaspoon of filling in the center of the pancake, then fold one side over so that it meets the edges of the other side. Press with your fingers to make the two halves stick together and form a seal. (You may need to dab a little water on one edge with a small pastry brush to help make it sticky enough to seal it.)

Place the koldūnai on a sheet pan lined with parchment paper, and when you’re done, place the sheet pan in the freezer.

Get a large pot of salted water boiling. Drop the koldūnai in gently, being careful not to overcrowd them…about 6 at a time. If the dough is thin, the koldūnai will be ready when they float up to the surface. A thicker dough will need longer cooking. The best way to know if they’re done is by taking one out, cutting it open and having a look (and taste!)

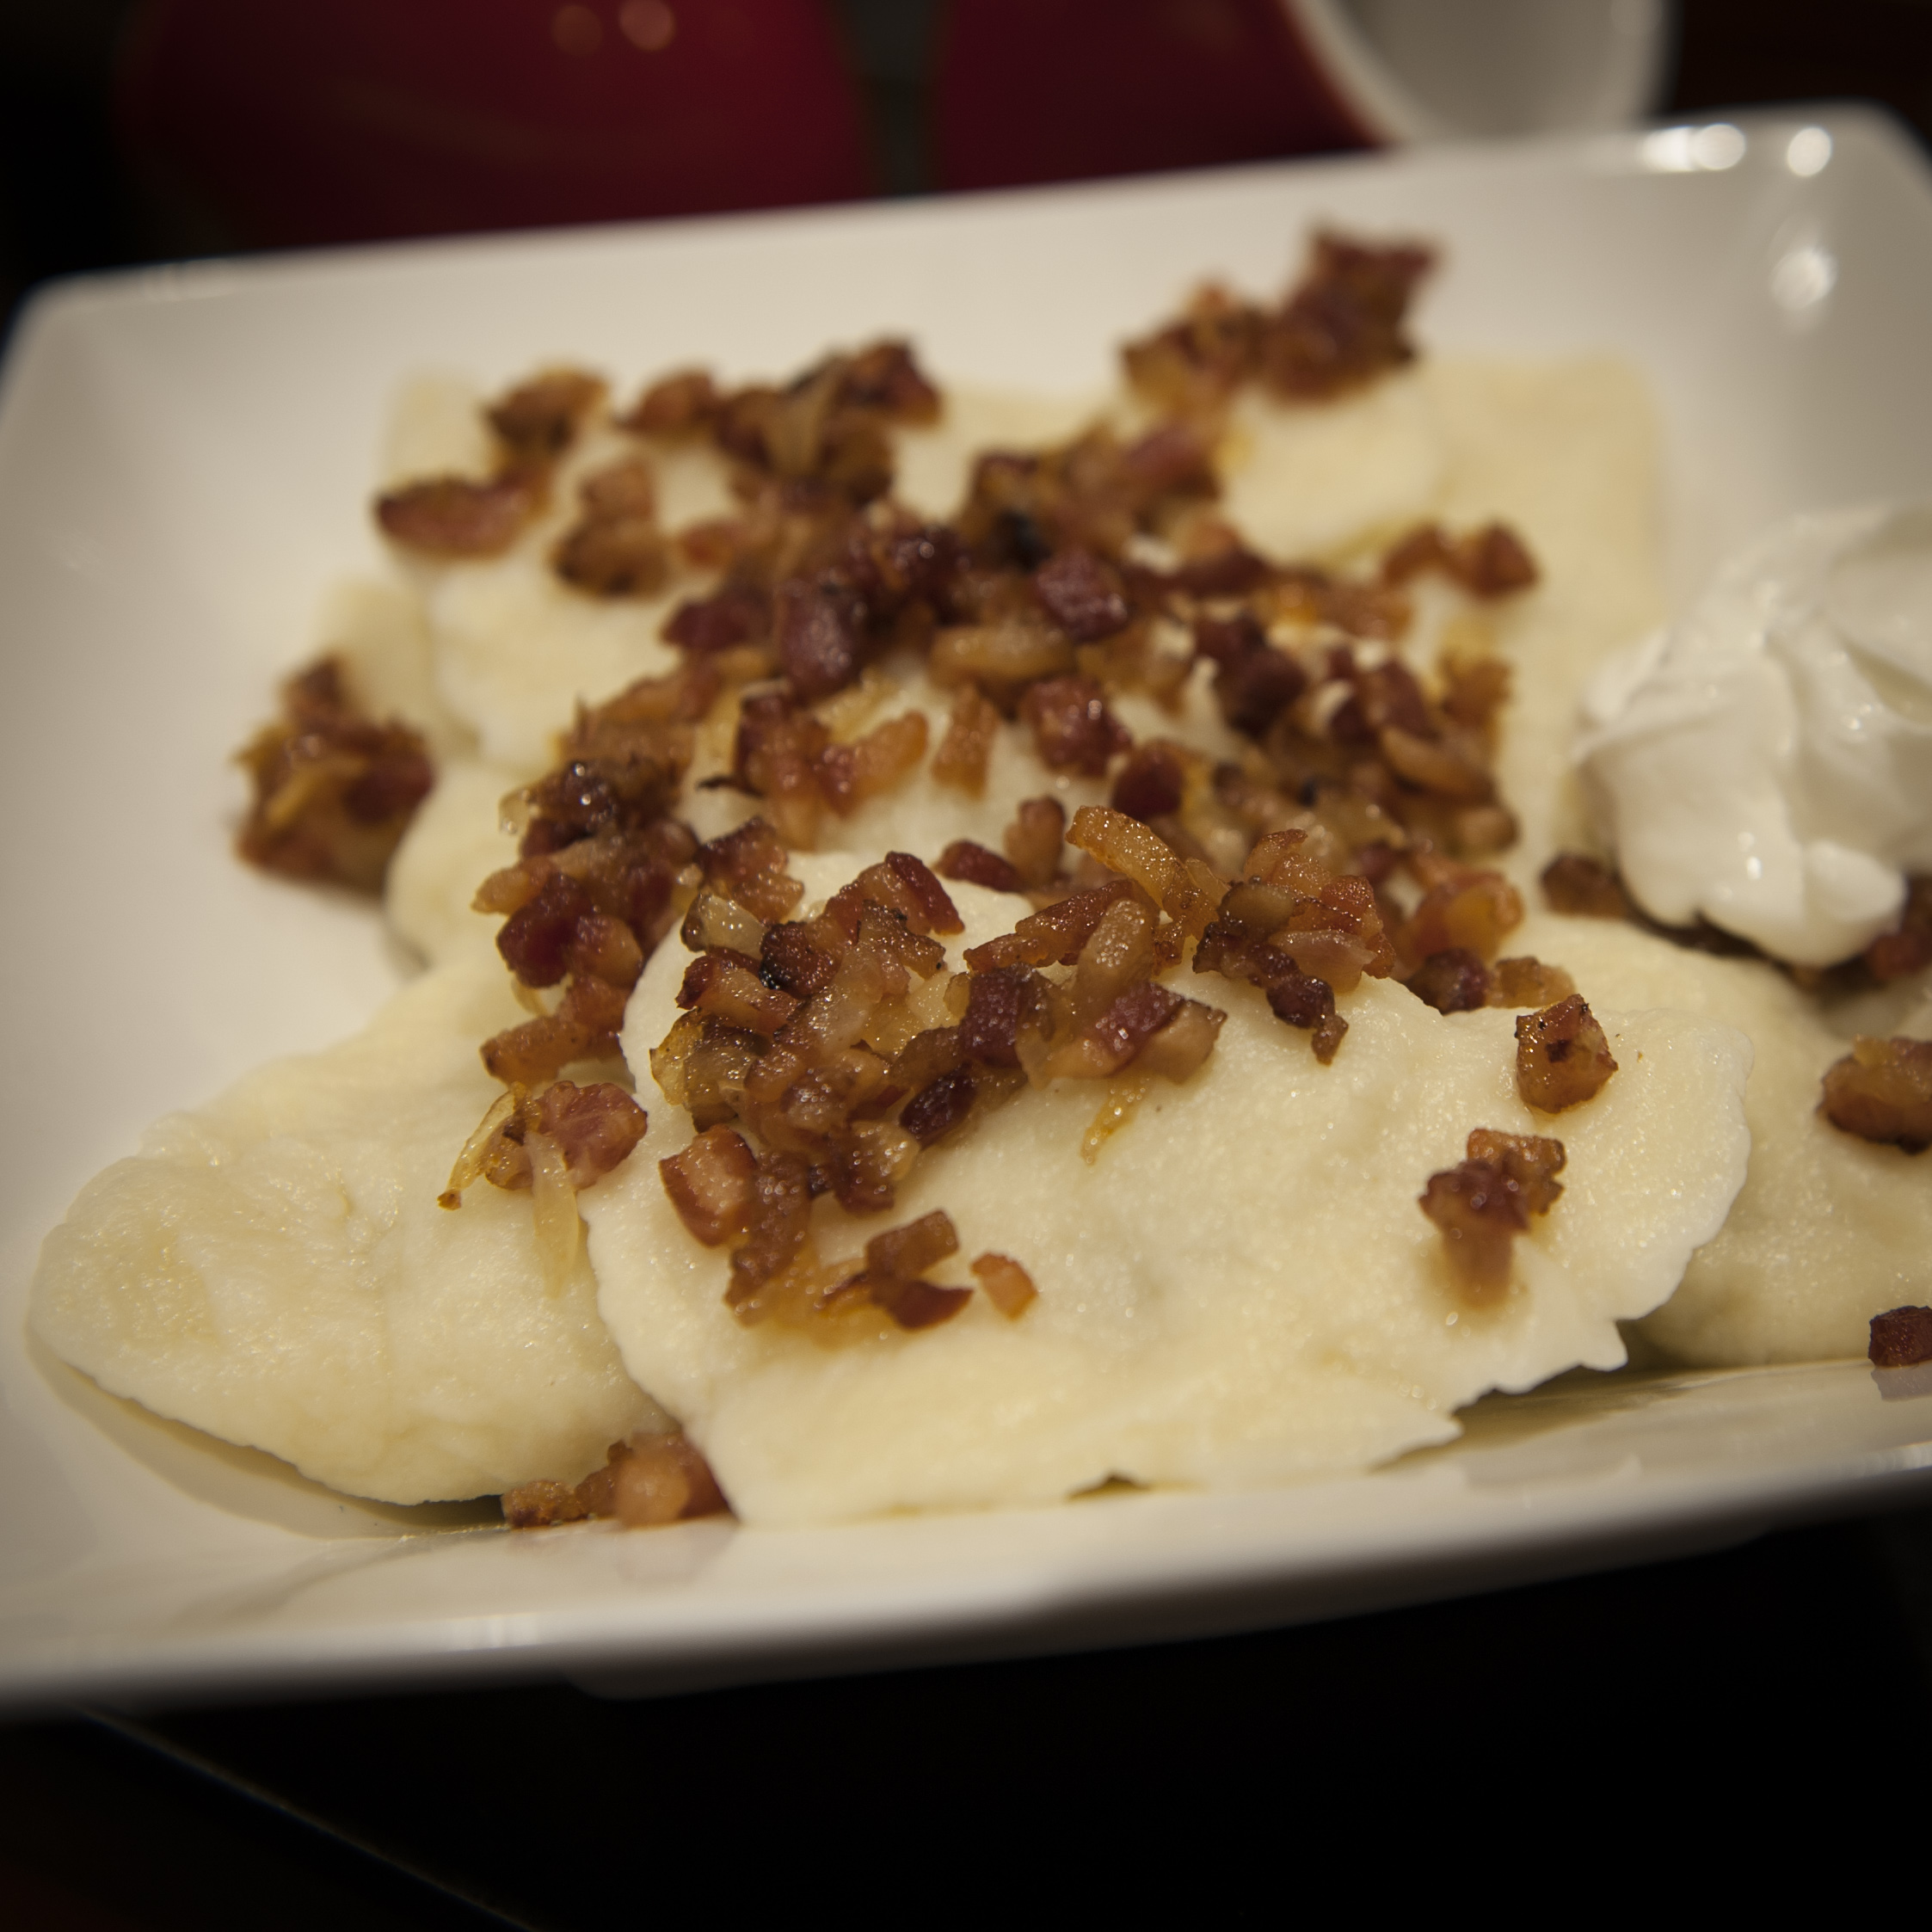
When plating, sprinkle generously with spirgučiai, and serve with sour cream.

Mac-and-cheese koldūnai!
Mac-and-cheese koldūnai!


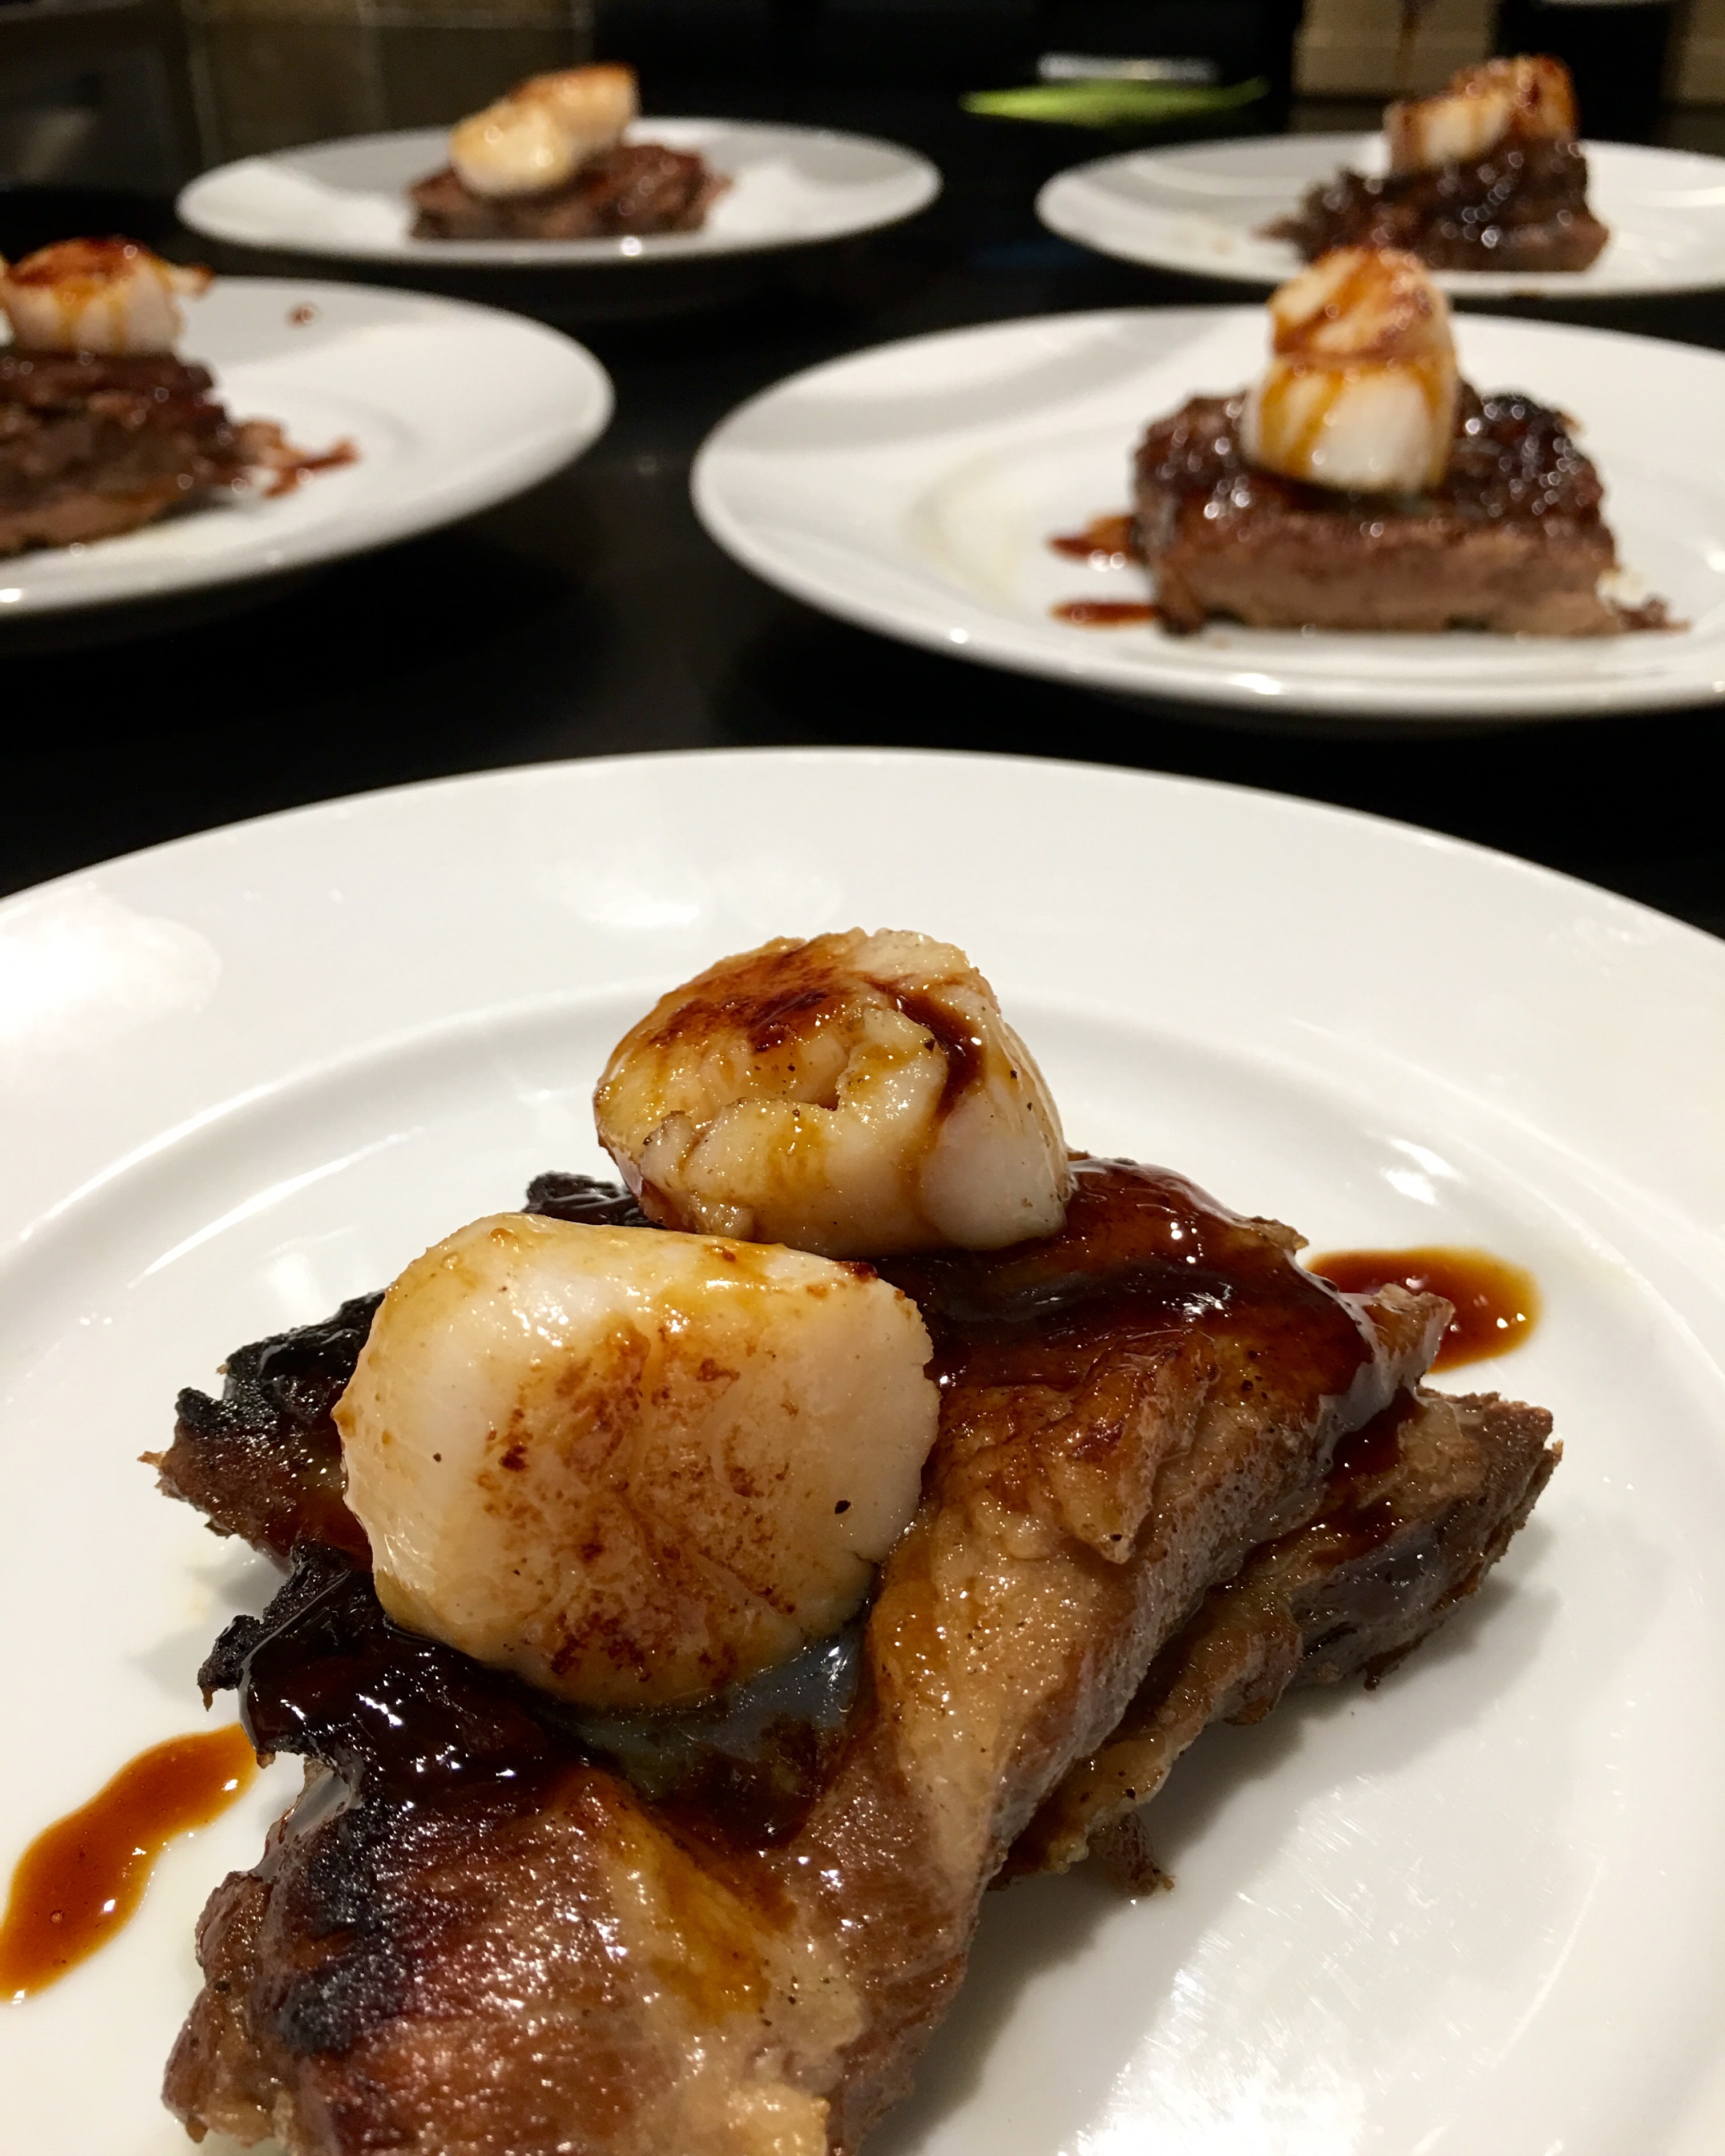
The is a killer recipe that I’ve waited a long time to prepare. My hats off to chef Chuck Hughes for the inspiration. My hats off to my buddy, Dr. Chezwick, who sent me a gift of wild boar bellies. Locally caught Rhode Island scallops in season complete the dish.

FullSizeRender (9)

For the pork belly…
3 lbs. fresh pork belly (I used wild boar belly)
salt and pepper
1–2 tablespoons leaf lard or olive oil
1 carrot, coarsely chopped
1 celery stalk, coarsely chopped
1 onion, roughly chopped
1 fennel bulb, quartered
2 sprigs fresh thyme
1 teaspoon black peppercorns
4 cups beef stock
1 cup hard cider or apple juice

Pre-heat the oven to 350.

Season the belly with salt and pepper. On medium-high heat, melt the leaf lard, then sear the meat on all sides in an oven-proof pot big enough to hold it in one layer. Add the carrot, celery, onion, fennel, thyme and peppercorns and continue cooking for another 5 minutes, until caramelized.

Add the beef stock and the cider. Cover the pot with a lid or seal with aluminum foil, and braise the belly in the oven for 3 hours, until tender.

Remove the pot from the oven, carefully remove the pork belly, and put it on a plate. Cover it with foil. If you’re cooking earlier in the day, you can place the belly in the fridge at this point.

Strain the leftover braising liquid from the pot and discard the vegetables and thyme. Skim off the excess fat. If starting this dish earlier in the day, you can put this liquid in the fridge and the fat will harden, making it easier to remove.

FullSizeRender (8)

For the glaze…
braising liquid, strained
1 tablespoon espresso
1 tablespoon honey

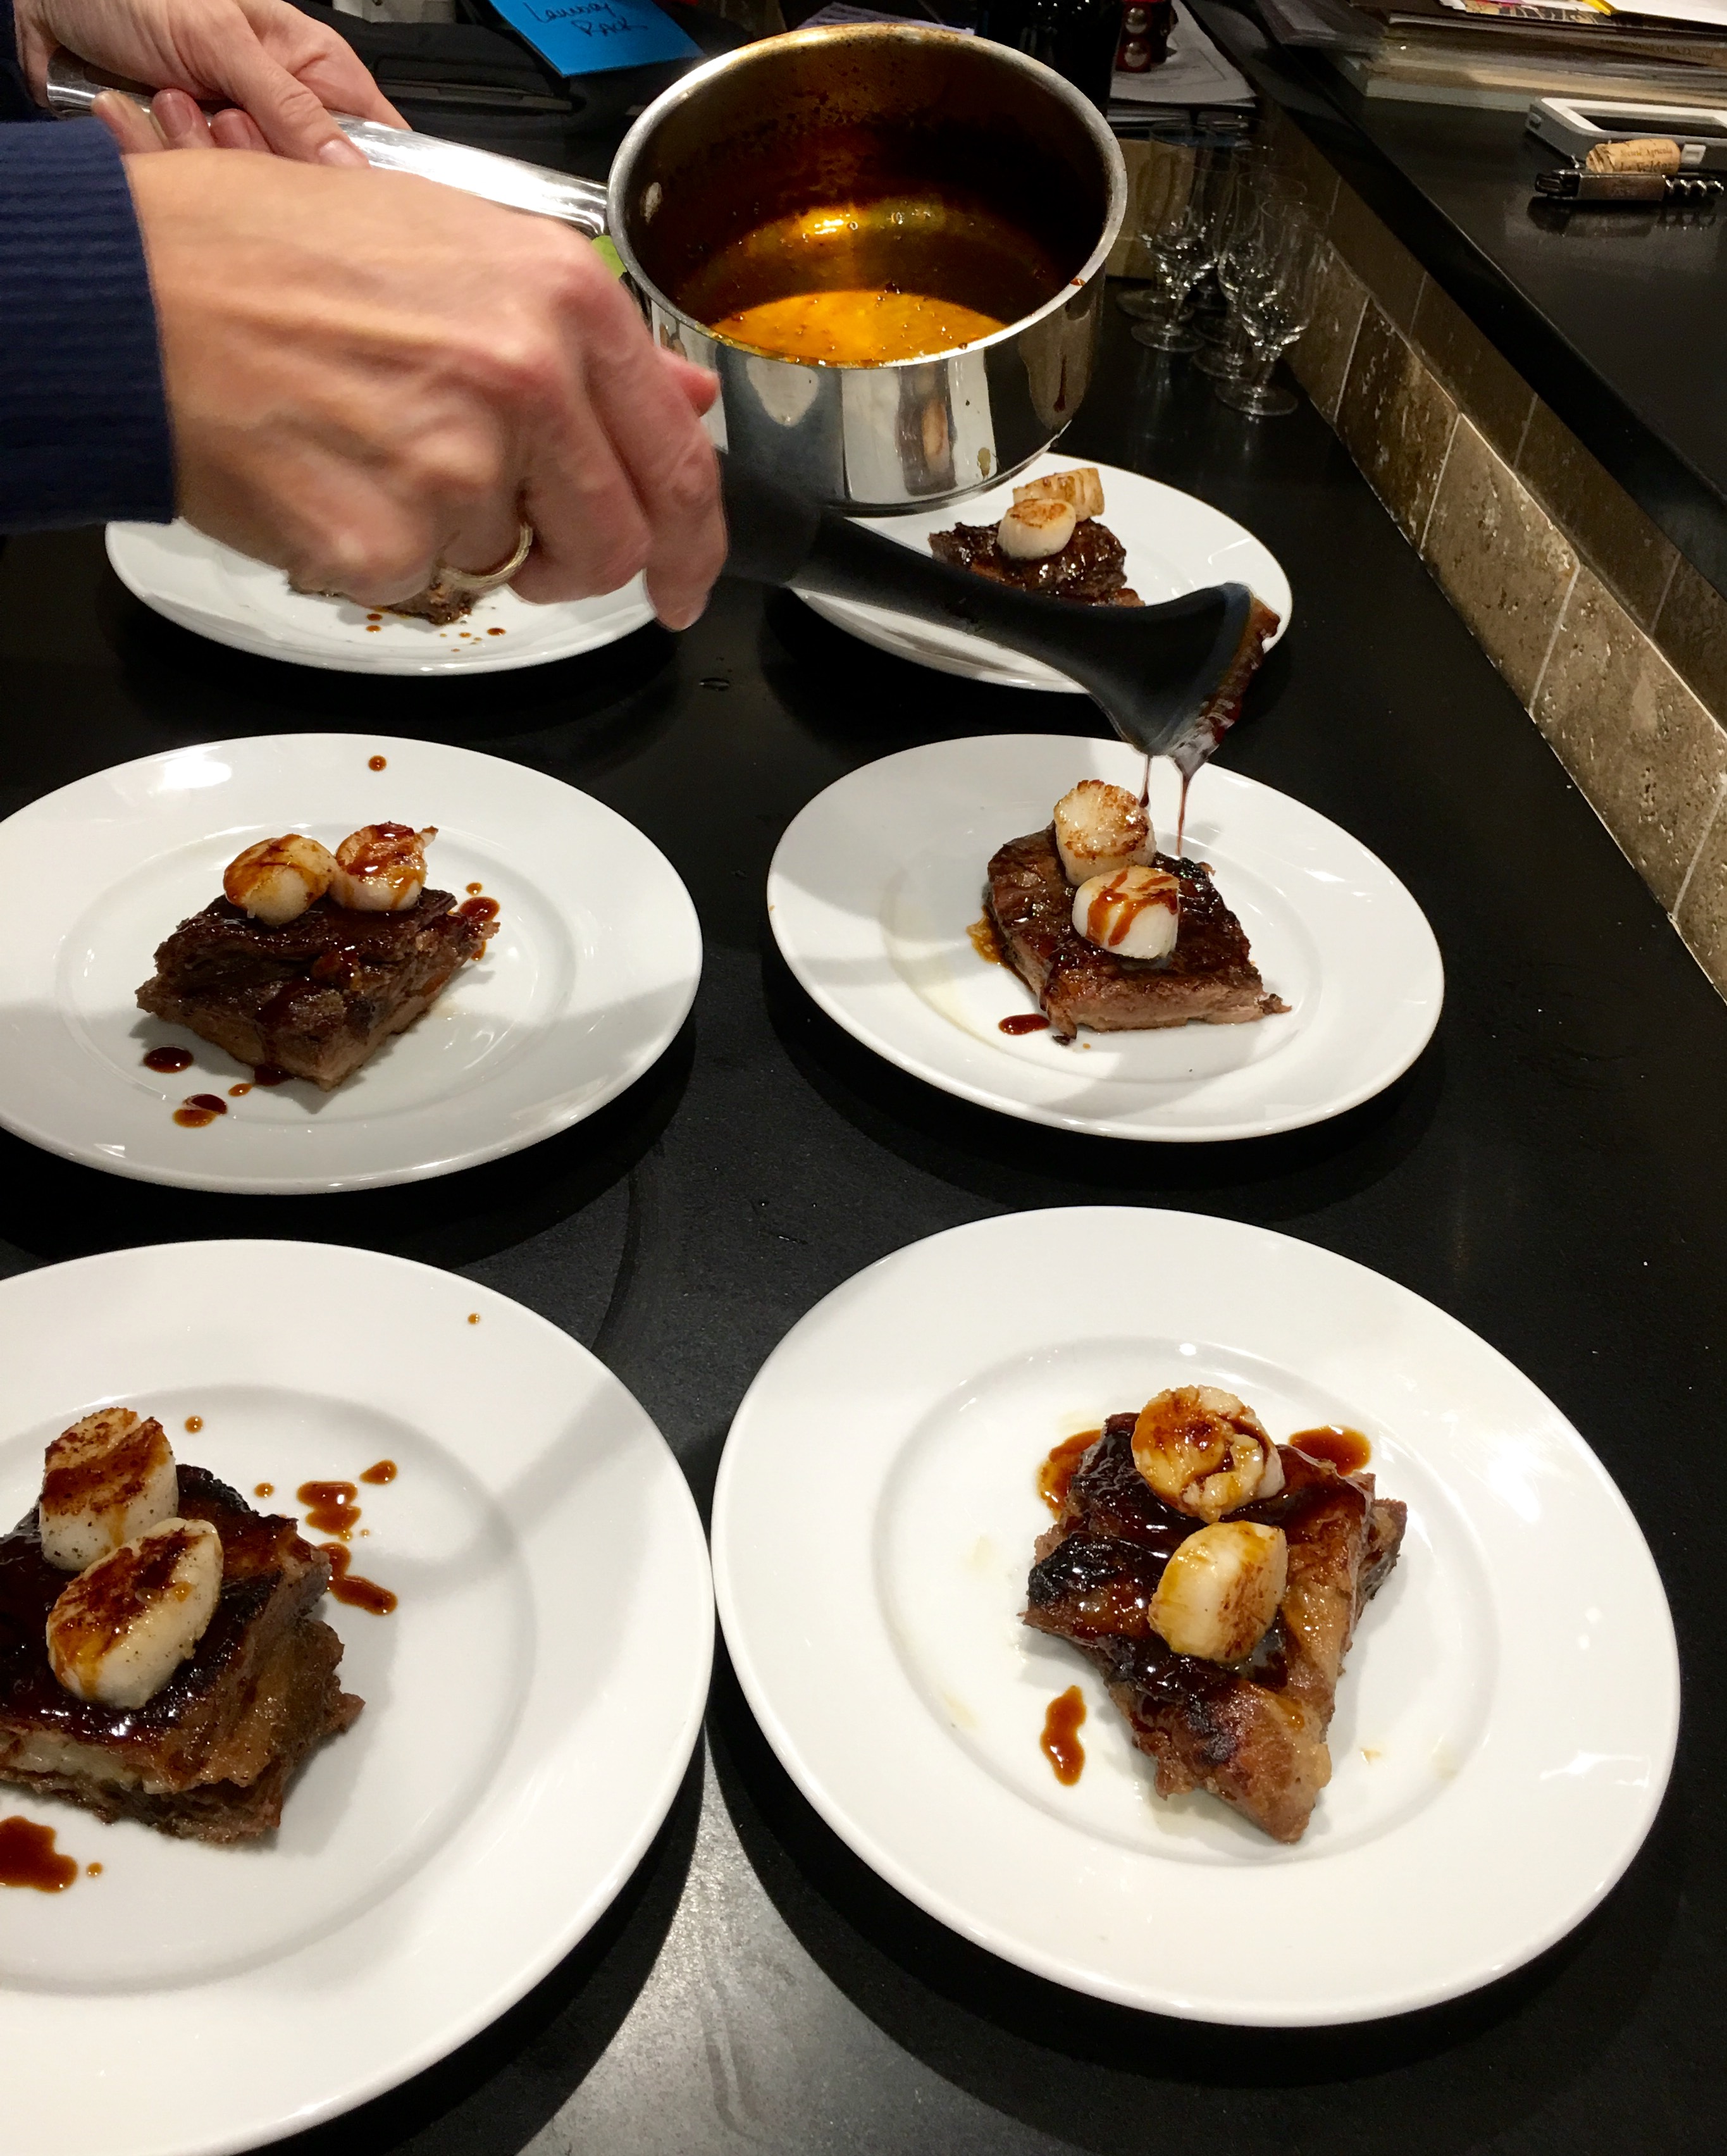
In a small saucepan, reduce the brazing liquid by half, then add the espresso and honey. Cook a few more minutes until the sauce thickens. When it coats the back of a spoon, it’s ready. Set aside.

For the scallops…
Fresh scallops
salt and pepper

When you’re ready to serve, heat a pan on high heat with a little more leaf lard. Cut the belly into equal pieces and sear on all sides for about a minute. Place the scallops in the same pan, season with salt and pepper, and sear them on both sides, being careful not to overcook them.

To serve, place the belly on a plate. Top with a scallop or two. Drizzle glaze over the top. Season with Fleur de Sel or sea salt and serve immediately.

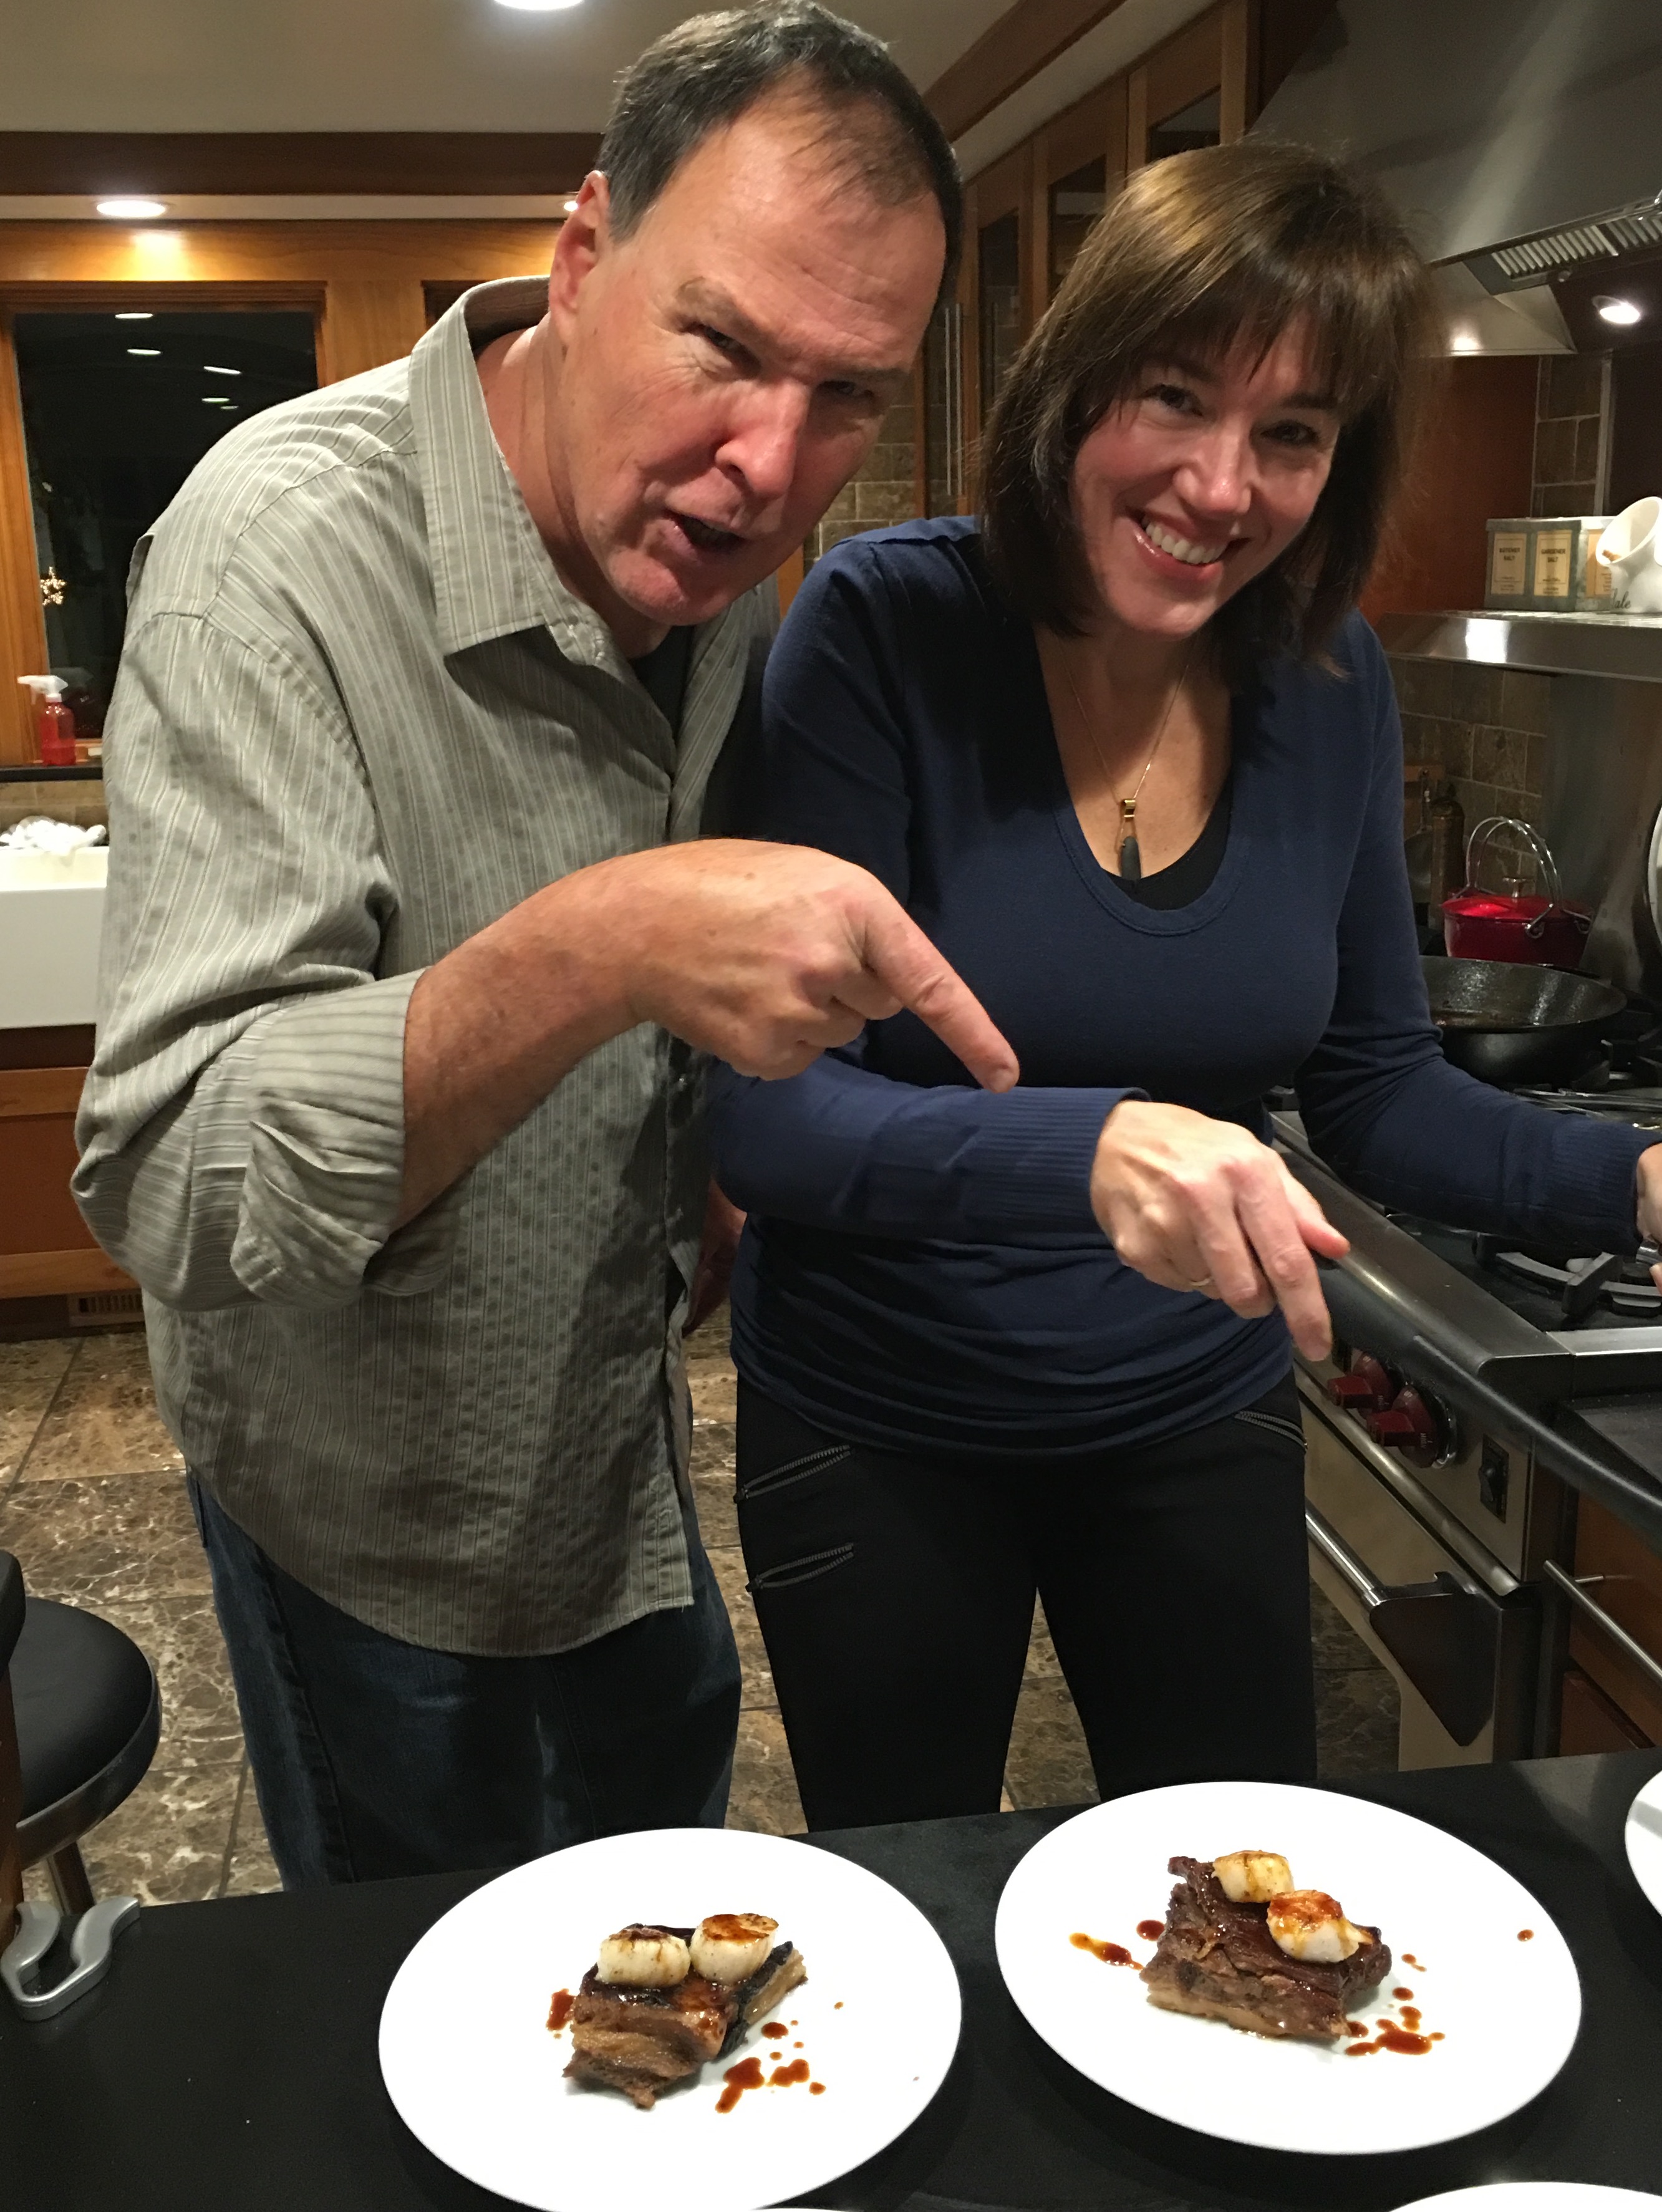
Always good to have a lovely food stylist around to make it look pretty.

Always good to have a lovely food stylist around to make it look pretty.


“WE NEED PIE”

Posted: December 9, 2015 in Food, Recipes
Tags: , , , , , , ,

Back in my younger days, when I could consume mass quantities of carbs without gaining a pound, I baked a wicked good apple pie, and I baked it often. While most apple pie bakers argued over which was better, a crust made with shortening or or one made with butter, my pie crust recipe used both.

These days, I don’t bake apple pies very often. I might bake a galette on occasion, but that’s about it. Besides dealing with the calories, I live in a house where I need to cook gluten-free because of my wife’s allergies, so things like pie were 86-ed off the menu.

Although I can find really good gluten-free flour (the brand I use is called “Cup 4 Cup”), it has its limitations. It’s great for dusting shrimp or fish before frying, or coating a pork chop before cooking, but the dough lacks elasticity, and never holds up well for pizza or pie crusts.

Brands of pre-made gluten-free products, however, are getting better. What once was only found in a gourmet store at a ridiculous price, is now found at the local supermarket at a reasonable price. Freschetta, the frozen pizza company, makes a gluten-free 4-cheese pizza that is absolutely delicious.

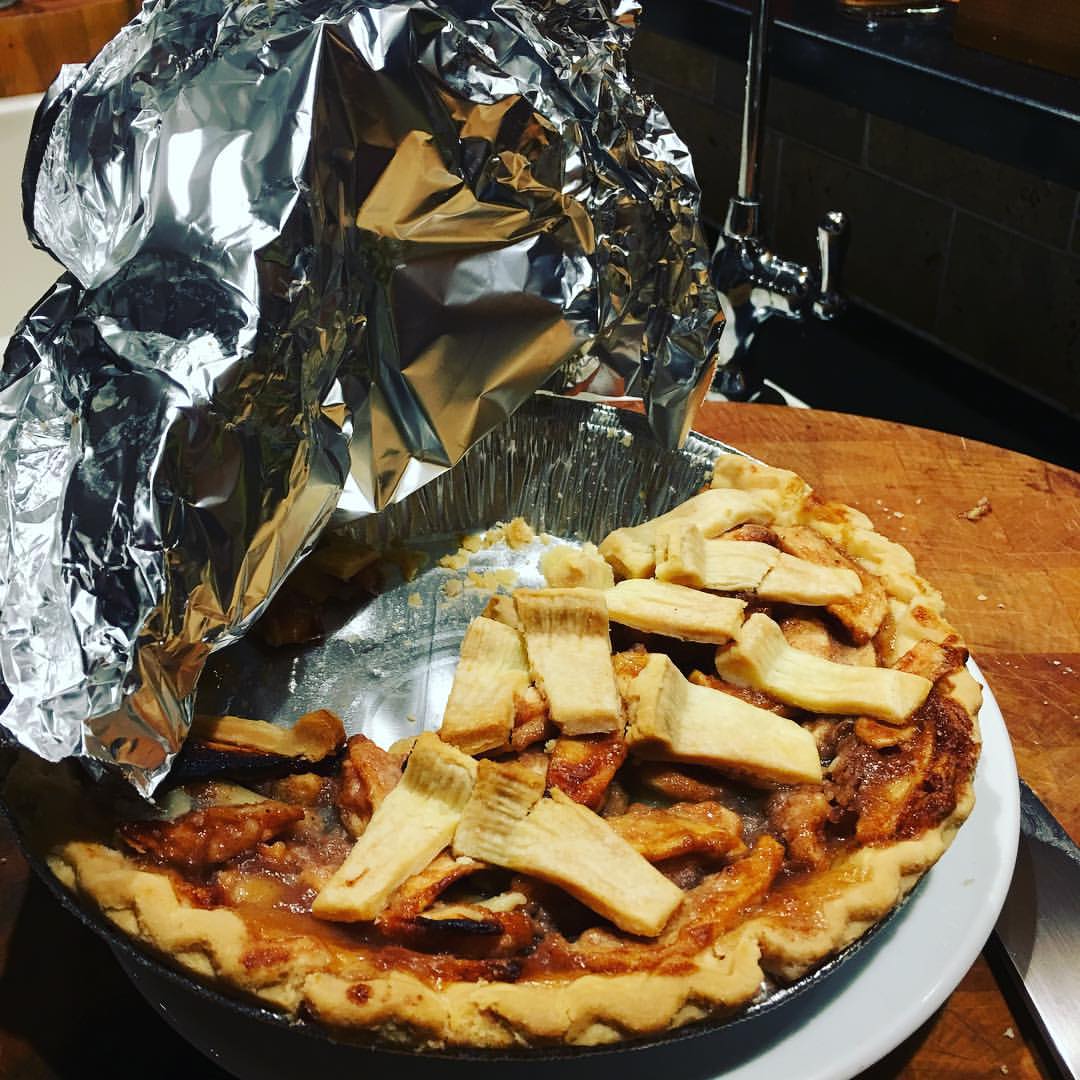
And the other day, I found a 2-pack of frozen GF pie crusts at Whole Foods. No way I couldn’t give that a try. I used one pie crust to hold the pie filling, and I sliced up the second one to decorate the top of the pie. Worked great.

Looks like apple pie is back on the menu!


FullSizeRender

pie dough
2 1/2 pounds apples: peeled, cored and sliced about 1/4″ thick (I like Gala)
1/2 cup sugar
3/4 teaspoon ground cinnamon
pinch of ground nutmeg
1/8 teaspoon ground allspice
3 heaping tablespoons all-purpose flour (I use GF)
4 tablespoons butter, cut into small pieces


Pre-heat the oven to 350.

Place the apple slices in a large bowl and add the sugar, cinnamon, nutmeg, allspice and flour. Mix well.

Pour the apple mixture into the pie plate that already has the pie crust in it. Dot the top of the apples with the butter and either seal the top with more dough, or decorate with whatever pattern of dough makes you happy. If you’re sealing the top with a full layer of dough, make sure you poke a few holes for steam to escape while cooking.

Place the pie on a cookie sheet (to catch any spills) and bake for 30 minutes, with foil wrapped around the edges of the crust to keep it from burning. Then remove the foil and bake about 30 minutes more, until the crust is golden.

12304212_10208013940245236_826204537007565530_o


Many years ago, my wife and I visited the Amalfi coast, and we spent several nights on the beautiful island of Capri. On our last night, we dined at the legendary Grand Hotel Quisisana, and our incredible meal ended with a glass of the most delicious limoncello I’ve ever had.

I asked the waiter if it was possible to get the recipe for it, and he made a big deal about the fact that it was a “secret.” Though disappointed, I understood, and I left Capri thinking that I would never taste that limoncello again.

Two weeks later, now back at home, I was reading the latest issue of Conde Nast Traveler, and there in black and white, was the Quisisana limoncello recipe! WTF?

My twist on the recipe: instead of lemons, I use grapefruit. I’ve tried other citrus, too, like oranges, but grapefruit-cello is fantastic!

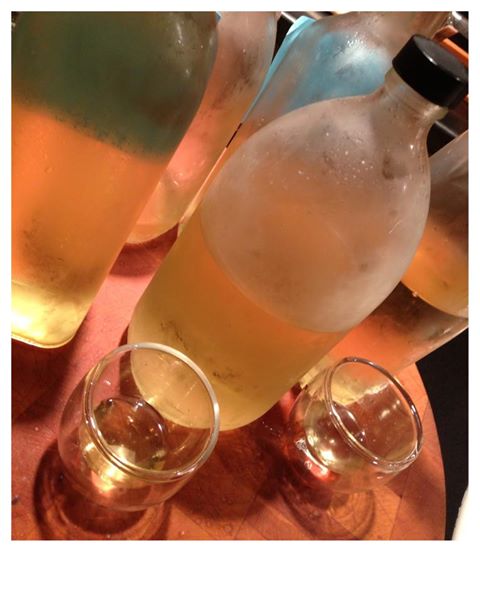
Sampling vintage limoncello and grapefruit-cello, aged 2 years or more

4 lbs. lemons or grapefruit, zest only
2 750-ml bottles 100 proof vodka (I prefer Absolut)
5 1/2 cups sugar
6 cups filtered water

Peel the zest off all the lemons, making sure you don’t get any of the white pith that could make the limoncello bitter. Place all the zest in the bottom of a glass jar with a lid that can hold all the vodka.

Pour the vodka on top of the lemon zest pieces, seal the container, and keep at room temperature for a week, swirling the jar around gently once a day.

On the sixth day, combine the sugar and water in a pot over medium-high heat, and stir until all the sugar completely dissolves. Remove from the heat, cover, and let it thoroughly cool to room temperature (overnight is best.)

On day seven, strain the lemon zest, pouring the infused vodka into a clean glass jar. Discard the lemon zest.

Pour the sugar/water mixture into the vodka and mix well.

At this point, you can pour the finished product into individual bottles, but let it mellow for about a month before drinking.

I keep my limoncello refrigerated.

Fettucini alla Bolognese is my daughter’s go-to dish when we visit one of our favorite Italian restaurants,  Il Corso, on W 55th St. in New York. But we only go there once a year, so it was about time that I tried my hand at Bolognese at home. The dish isn’t difficult, but like many great dishes, the better the quality of the ingredients, the better the result.

I use grass-fed ground veal that I get down the road from a local dairy farm: Sweet & Salty Farm. I use ground Berkshire pork, full of “good fat.” And I use guanciale, a cured pork product that comes from the cheek (jowl) of the pig. I buy the Berkshire pork jowls raw and cure them myself. The rest of the ingredients are organic, when available.

FullSizeRender

5 tablespoons extra virgin olive oil
3 tablespoons butter
1 medium onion, finely chopped
1 carrot, finely chopped (1/3 cup)
1 stalk celery, finely chopped (1/3 cup)
1 clove garlic, thinly sliced
1 lb. ground veal
1 lb. ground pork
1/2 cup finely chopped guanciale
1 small can (6 oz.) tomato paste
1 cup ground tomatoes
1 cup milk
1 cup white wine (I use an un-oaked chardonnay)


Place the olive oil and butter in a large sauce pan with a heavy bottom over medium heat. Once the butter has melted, add the onion, carrot, celery and garlic. Keeping the heat on medium, sweat the veggies and allow them to get soft but not brown, about 10–15 minutes.

Turn the heat on high and add the guanciale. Stir it around to keep it from sticking. Let the guanciale cook for a minute, then add the veal and the pork, constantly stirring until the meat browns.

Once the meat has browned, add the tomato paste, ground tomatoes, milk and wine. Once it comes to a boil, reduce the heat to a medium-low, and let it simmer for 60–90 minutes, stirring occasionally.

Traditionally, ragu Bolognese is served by placing a portion of cooked pasta in a pan, and adding just enough sauce to have it cling to, not drip from, the pasta. It’s not soup!

To keep this dish gluten-free, I use GF pasta. Our favorite brand is Garofalo.

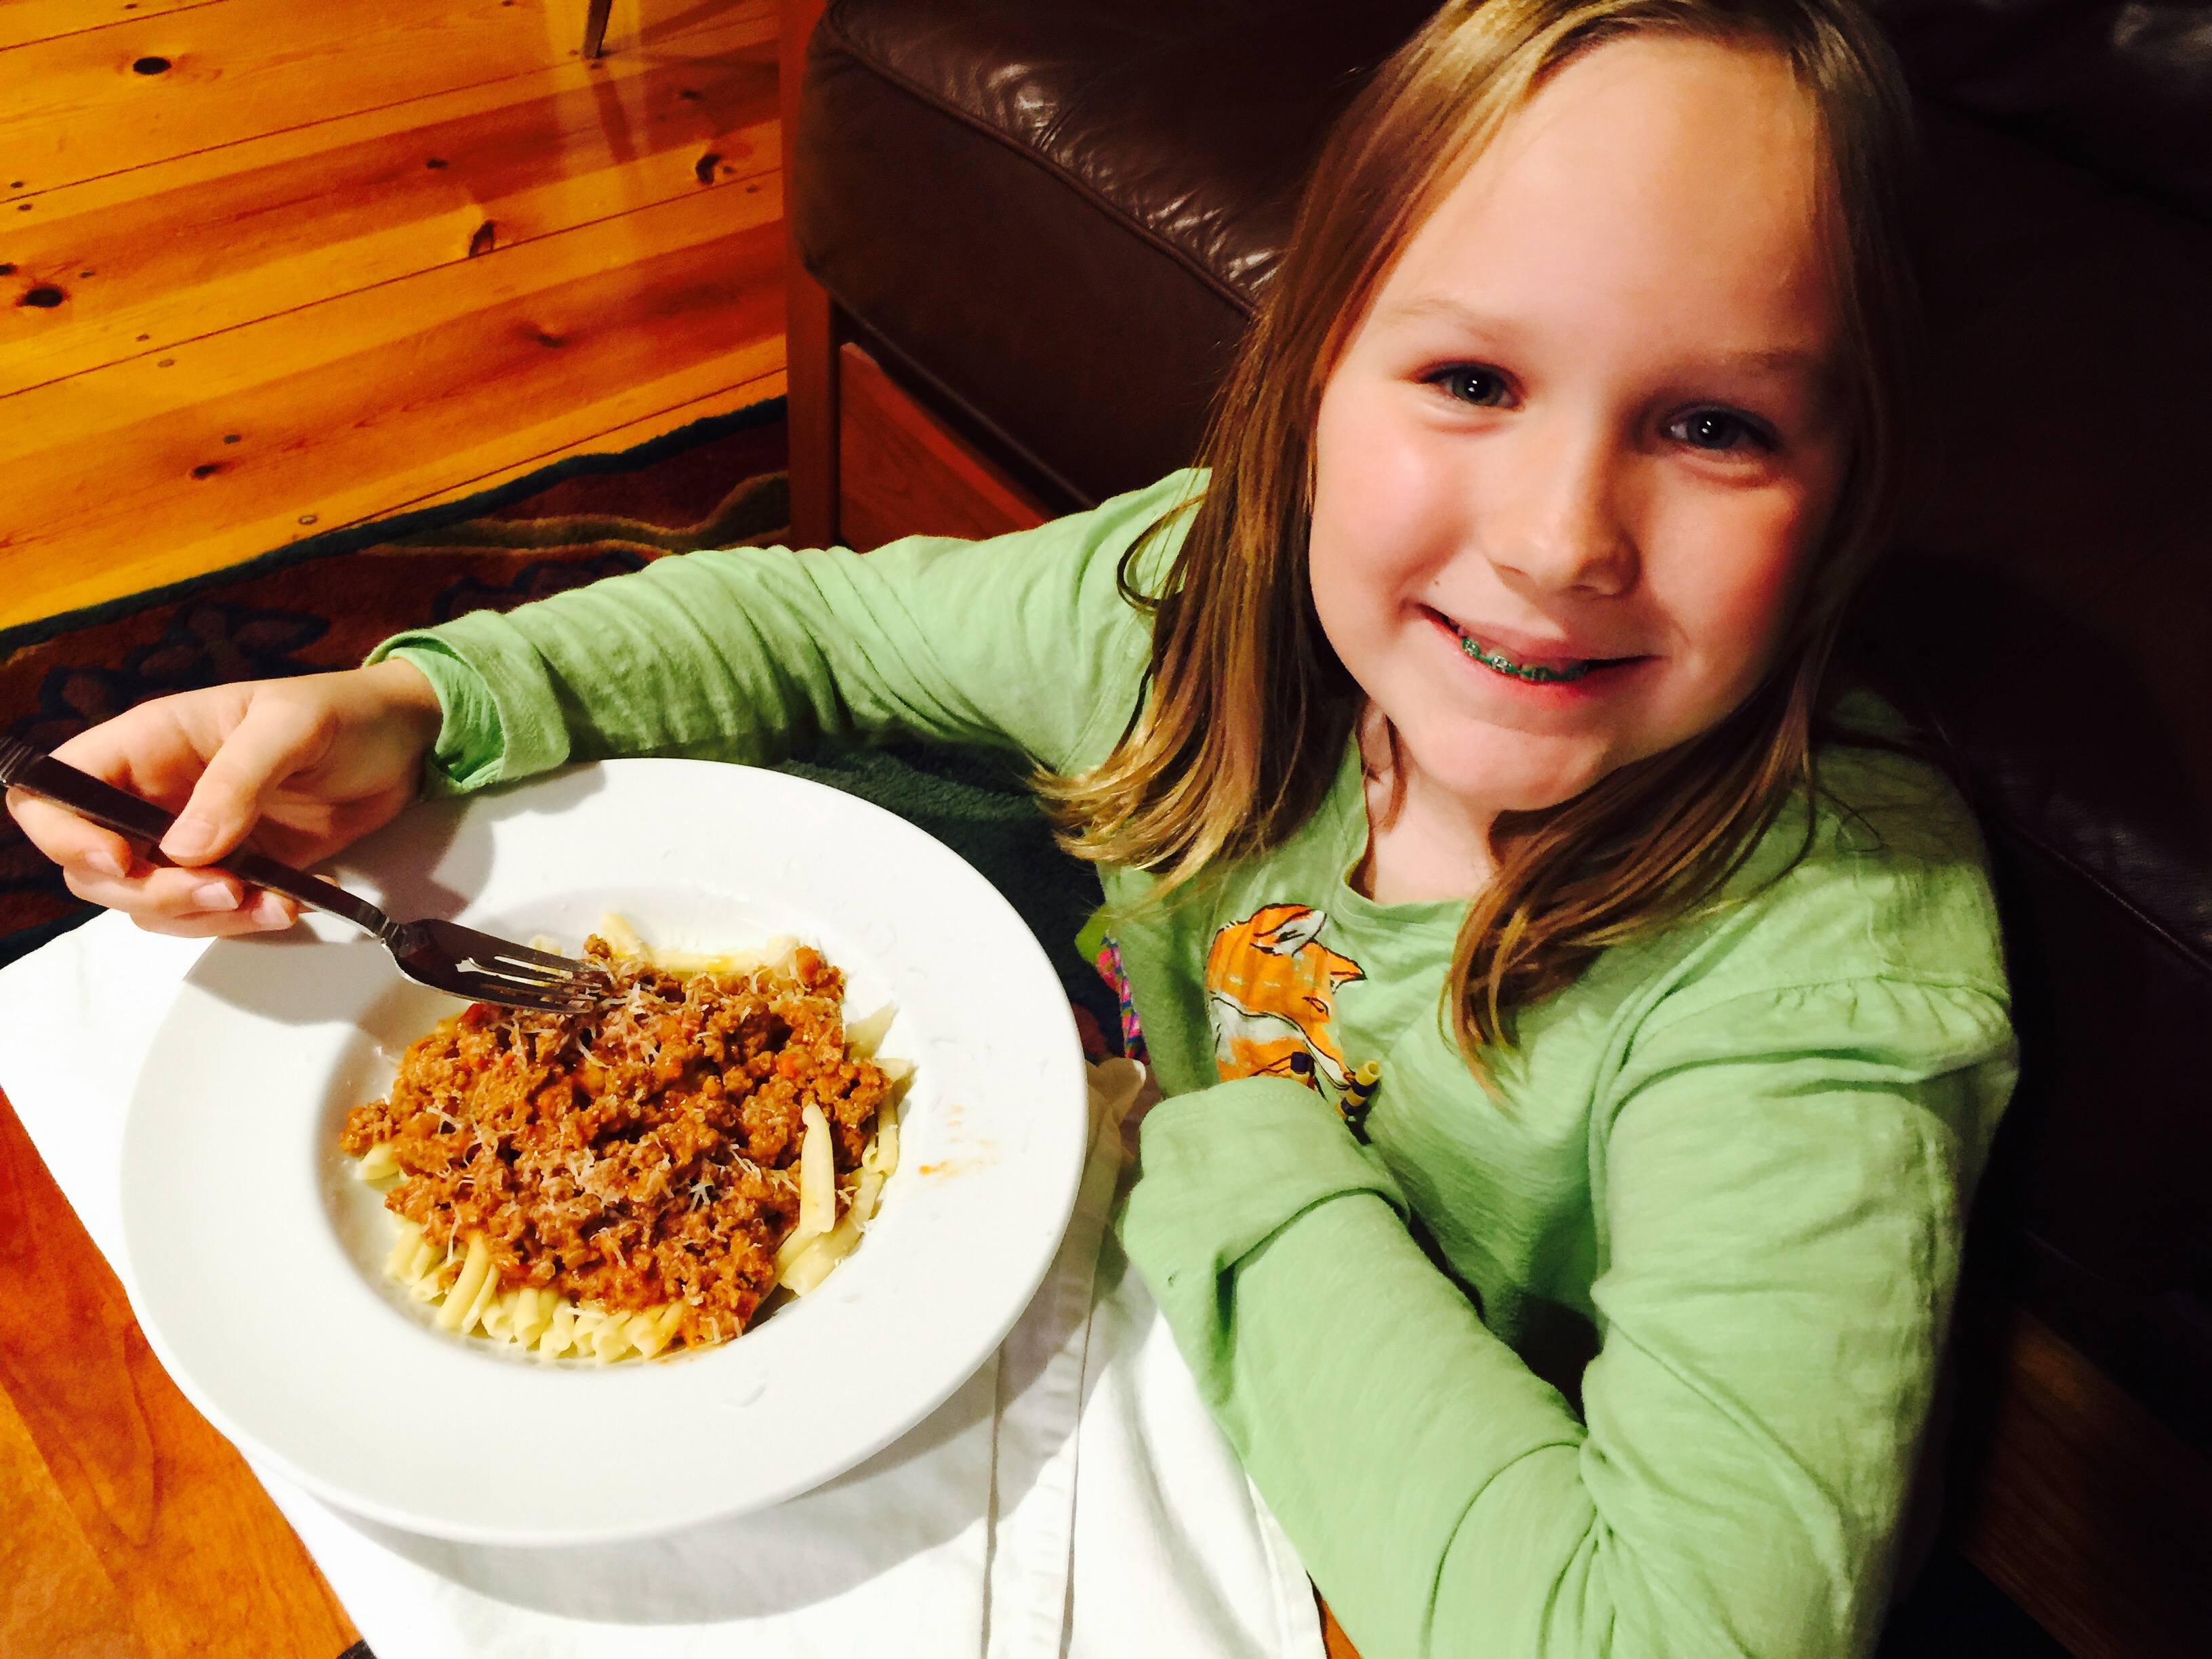
If she's happy, I'm happy!

If she’s happy, I’m happy!