Archive for the ‘Uncategorized’ Category

If there’s a dish that my Mom made all the time, but I didn’t appreciate until I got older, this is it. Stuffed cabbage, cabbage rolls, or balandėliai, as we say in Lithuanian, was a staple in our home and one of my Dad’s favorite foods. 

I had seen my Mom make these beauties so often in my childhood, I didn’t even need to check online recipes out for guidance. That doesn’t mean I make them exactly like Mom, but my version came out pretty damn good. I think Mom would be proud.

image


4 strips of bacon, chopped
1 yellow onion, finely chopped
1 teaspoon salt
1/2 teaspoon pepper
1/2 teaspoon granulated garlic
1 lb. ground grass-fed beef
1 lb. ground pastured pork
1/2 cup breadcrumbs
2 eggs
1 large head cabbage
1 pint homemade chicken stock
750 mg diced tomatoes (1 Pomi container)
1 teaspoon thyme
1 teaspoon salt
1/2 teaspoon pepper
1/4 teaspoon granulated garlic
1/4 teaspoon granulated onion

Chop the bacon into small pieces and fry them until crisp. Finely chop the onion, and add it to the bacon in the pan, cooking until the onions are translucent. Add the salt, pepper and garlic. Mix well, and remove from the heat. Let it cool to room temperature.

In a large bowl, combine the beef, pork, breadcrumbs, eggs, and cooled bacon and onion mixture. Place in the fridge to firm up.

Let a large pot of salted water come to a boil. Core the cabbage, leaving the leaves whole, and carefully immerse the head of cabbage into the hot water. Little by little, the outermost leaves of the cabbage will come off the head, and you can remove them with tongs, so you don’t burn yourself with the hot water. Set the leaves aside to cool, and continue doing this until you can no longer remove leaves from the remaining head of cabbage.

Remove the remaining head of cabbage from the hot water, and using your hands or a knife, break it into flat pieces. Line the bottom of a roasting pan with the pieces. These will keep the stuffed cabbage from burning and sticking to the bottom.

Time to roll the stuffed cabbage. Take the meat out of the fridge. Lay a cabbage leaf flat on the counter, and add some of the meat mixture inside. Roll the cabbage around the meat, folding the sides in as you go, much like a burrito. You might need to slice away the thickest part of the leaf stem to make rolling easier. Lay the stuffed cabbage in the roasting pan on top of the leftover cabbage pieces. (Unlike Mom, I don’t use toothpicks to hold the stuffed cabbage rolls together.)

Continue stuffing and rolling the cabbage leaves until you’ve got a pan full of them, shoulder-to-shoulder.

In a blender, combine the chicken stock, diced tomatoes, thyme, salt, pepper, garlic and onion. Pour this mixture over the top of the cabbage rolls in the roasting pan, covering them.


If you have leftover cabbage, you can place another layer of them on top. Otherwise, cover the roasting pan with foil and place in a pre-heated 350 degree oven. Cook for an hour.


After an hour, remove the foil and cook further for another 45–60 minutes.


image


It’s hard to believe the weather we’ve had here in Rhode Island. Though we’ve had some cool temperatures at night, daytime highs have stayed in the 70’s for the last few weeks. Vegetables as well as flowers have thrived.

With cooler, windier and rainier weather now here, I thought I should go out to the garden and take some photos of what’s blooming before it all finally goes away for the season.

Globe amaranth, or gomphrena.


Mandevilla has a southern exposure in front of my wife’s art studio, but it will go in soon and join the other houseplants for the winter.


Petunias, sown from seed in early spring.


One of many dahlias, which will be dug up soon. I store the tubers in the garage for the winter, then start them in pots in the spring before planting in the garden.


Impatiens never lasted this long! A perfect spot, hidden from the sun and wind.


Nasturtiums. Though they’re annuals, these peppery-tasting edibles do re-sow themselves.


A lone rose.


Gazania loves the warm sun.


Calendula self-sows every year. Another edible.


Galliarda, with a friend.


Rudbeckia. It comes back every year.


TUNA TARTARE

Posted: October 24, 2017 in Uncategorized
Tags: , , , , , ,

Tuna season is back here in New England. I go to the Aquidneck Farmers Market just outside of Newport, RI on weekends and get my fresh seafood from The Local Catch, because I want local, sustainable seafood. (www.thelocalcatch.com)

For me, the only way to eat tuna is raw, and not just sushi or sashimi. Most restaurants serve tuna seared on the outside and raw on the inside, and you can tell the quality of the tuna just isn’t there. It usually needs to be drowned in soy sauce to have any taste at all.

So finding different ways to marinate quality tuna at home is a great way to get my fix.

The first step is to get the best quality tuna I can afford. That means buying it in season from local fishermen, and buying more than I need. When I find a really nice large slab of tuna, I take it home and cut it into individual portions (about 1 lb. each), wrap them well and freeze them for future use.

Even though tuna rarely has parasites, I don’t usually eat it fresh off the boat. Maybe I’m a little paranoid, but I like the idea of freezing it for about a week. Technically, you need to freeze fish at a temperature of -4°F (-20°C) or below for 7 days, for parasites to be killed. (In the United States, this is required by law of all fish served at sushi restaurants, with tuna being the only exception.) My freezer doesn’t reach -4°F, so maybe I’m wasting my time. But freezing the tuna also makes it easier to cut into small cubes.

Most marinades or ceviches feature lemon or lime as the citrus component. I really enjoy the freshness of grapefruit, and it really works here. This recipe was literally created by opening my fridge and pantry, and grabbing whatever looked good.

fullsizerender-10

1 lb. excellent quality raw tuna
juice of 1 grapefruit
1 teaspoon grapefruit zest
2 teaspoons low-salt soy sauce
1/2 teaspoon wasabi powder
1/2 teaspoon hot pepper sauce (I use Frank’s Red Hot)
1/2 teaspoon black pepper
1/2 teaspoon sesame oil
1/4 teaspoon sea salt (I use Fleur de Sel)
1 tablespoon chopped scallions, green part only
sesame seeds (optional)
cubed avocado or plain guacamole


If you’re starting with frozen tuna, allow it to thaw just enough that you can cut it into small cubes easily. Place the cut tuna in a bowl and keep it in the fridge.

In another bowl, combine all the other ingredients, except the sesame seeds and avocado. Pour these ingredients onto the tuna and mix well. Put the tuna back in the fridge to marinate for at least an hour.

When you’re ready to serve, use a slotted spoon to place the tuna on a plate, to keep it from being too runny. Top with a sprinkling of sesame seeds, if you like, and serve with fresh cubed avocado, or even plain guacamole.

fullsizerender-6


ASIAN SLAW

Posted: October 19, 2017 in Food, garden, Recipes, Uncategorized
Tags: , , , ,

I love cole slaw. It’s awesome with any grilled food, but I especially love the classic pulled pork/cole slaw combo. Visiting the local farm stand the other day, the cooler weather crops were in, and there was a beautiful head of cabbage just sitting there, waiting for me to take it home.

The farm stand had this beautiful purple cabbage, but use green if you like!


I wanted to try something different from the basic cole slaw recipe I usually make, and so I took my ingredients in an Asian direction. I think I came up with something that really rocks…and it goes great with a plate of Asian-inspired spare ribs!


Shredded veggies, ready for the dressing.


1 medium-sized head of cabbage, cored and shredded
1 carrot, shredded
1 tablespoon sesame seeds
1 cup mayonnaise
2 tablespoons rice vinegar
2 teaspoons sesame oil
2 tablespoons honey
I like to give the cabbage different textures, so I wash and then quarter the cabbage, removing the center core (which is, by the way, totally edible and was given to me by my Mom as a treat when I was a kid. Hey, it’s a Lithuanian thing.) So I hand slice one-quarter of the cabbage as thinly as I can with a knife. The other three-quarters go in a food processor to slice more thinly. I put the carrot through the machine as well. I put the veggies in a large bowl and add the sesame seeds.

Veggies and dressing mixed.

To make the dressing, in a separate bowl, combine the mayo, rice vinegar, sesame oil and honey, whisking to mix thoroughly.

Rice vinegar is not rice wine vinegar. Make sure you use the good stuff. Here’s one brand I use.

Add the dressing to the veggies, and mix well. Refrigerate for a few hours, mixing every hour to combine as the veggies release their juices and make the slaw more flavorful and “wet.”
Pork is magical. And though I’ve loved pork chops and store-bought bacon all my life, it’s only been in the last decade that I’ve learned to appreciate other cuts of pork and how they’re prepared.

Over the years, I’ve learned to cure and smoke my own bacon, from heritage breeds like Berkshire. I’ll make my own pork sausage on occasion. But the desire to make a classic Italian dish, genuine spaghetti carbonara, required that I learn how to cure an unusual cut of pork I’ve never used before.

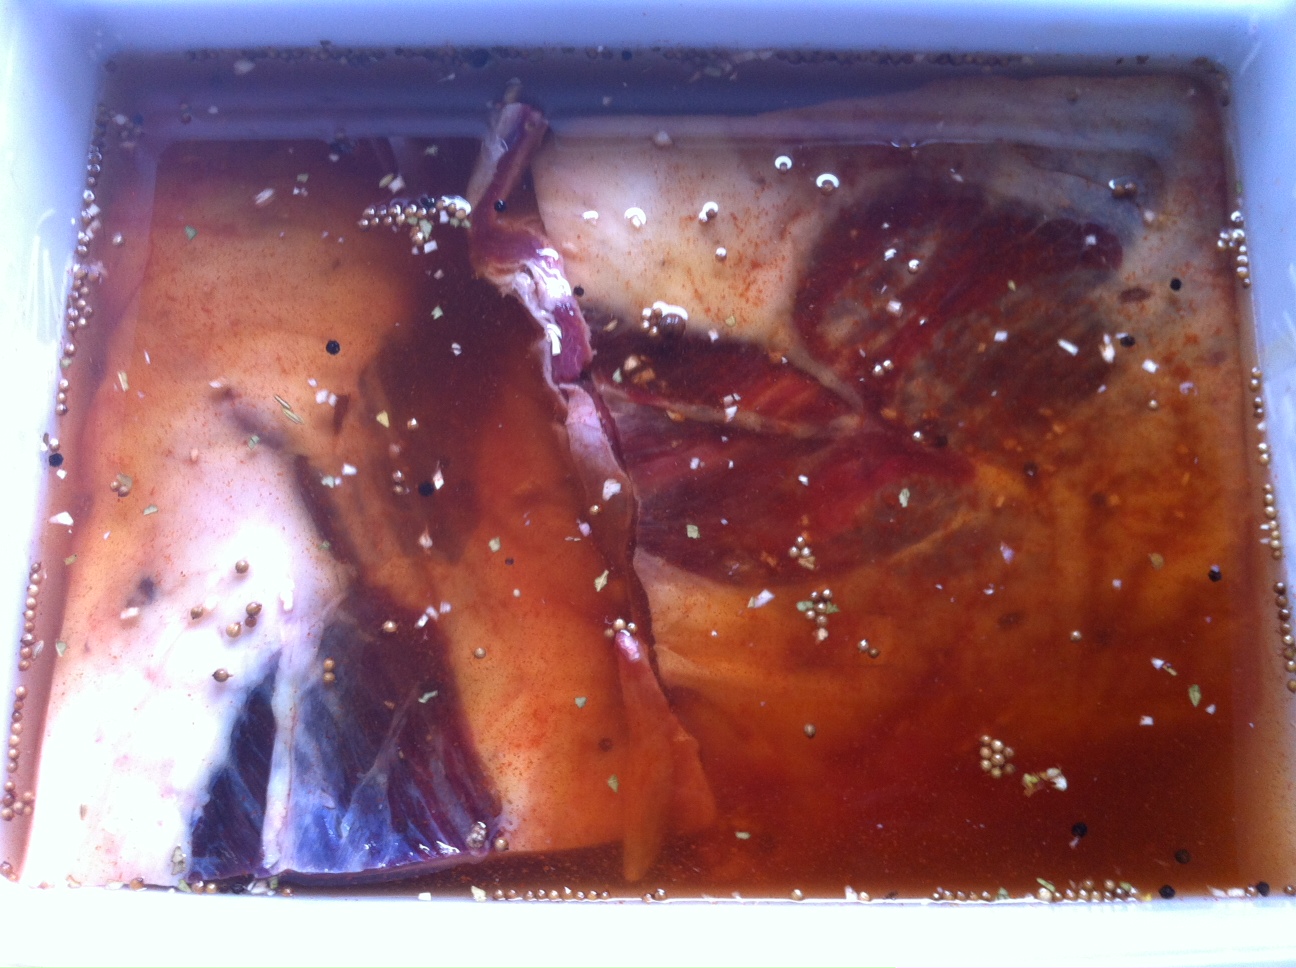
In the beginning, I could only find huge jowls that required them to be cut and weighed to mix with the right amount of cure.

Looking at carbonara recipes online, everyone said the same thing: “Though the genuine dish uses a cured cut of pork called guanciale, it’s hard to find so use pancetta or bacon.” Although both pancetta and bacon meats are quite tasty (both come from the belly of the pig…bacon is smoked, pancetta is not) the flavor and texture is not the same as a pork cheek, or jowl. That’s what guanciale is made from. So I needed to find a source.
I started with a local restaurant, the Back Eddy in Westport, Massachusetts. Being a buddy of the owner and chef (and bribing them with alcohol), I asked if they’d order me some jowls. They did, and that worked well for a while. But I didn’t want to keep bothering them every time I wanted more howls, so I eventually found my own source on line that supplied me with massive jowls weighing many pounds each. (See the photo above.) They were good, but a pain to work with. Eventually, that company went out of business.
I finally found my go-to pork website: http://www.heritagepork.com. They sell a variety of pork products made from the breed of pig known as Berkshire, also called kurobuta. It’s a delicious breed with wonderful fat that’s healthy and full of flavor. And conveniently, they sell pork jowls in 2-pound packs, with 4 1/2-pound jowls in a pack.
My curing process is simple: sugar, salt, peppercorns, and fresh thyme. I cure the jowls for about 3 weeks. I rinse them once they’ve cured, and pat them dry. Then they’re ready to use and any extra guanciale freezes really well.
Once I made my first batch, there was no turning back!

Pork jowls with a good sprinkling of the cure, ready to be wrapped.

 2 lbs. raw pork jowls
1/2 cup basic dry rub (recipe below)
1/2 cup brown sugar
1 teaspoon whole black peppercorns
a handful of fresh thyme sprigs
Combine the dry rub, brown sugar, and peppercorns in a bowl.
On a large work surface, lay down several sheets of plastic wrap, overlapping each other to keep the cure from leaking through to the counter underneath. Sprinkle half of the salt mixture onto the plastic wrap in an area where the jowls will lay. Scatter a half-dozen thyme sprigs on top of the salt mixture. Lay the pieces of pork jowl on top of the salt mix and thyme, then top the jowls with the rest of the salt mix, covering them evenly, and top with more thyme sprigs.
Fold the plastic wrap over the jowls as tightly as you can, pressing the salt mix into the meat. If the wrap is loose, use more wrap to really tighten the salt cure around the meat. Then place the entire pork-wrapped package in a container that will hold the liquid that will ooze out during the curing process. If the plastic wrap still isn’t too tight around the jowls, weigh it down with something heavy to press down on the pork. You really want the salt to make contact with the meat. Place the container in the fridge to cure for 3 weeks.
Every couple of days, remove the weight off the jowls and flip the plastic wrap package over, so that the top is now the bottom. Add the weight and return it to the fridge. You want the cure to get at every part of the pork. Don’t pour off any liquid that forms…it will help the curing process.
In about 3 weeks, the pork jowls will feel firmer. This is a sign they’ve been properly cured. Remove them from the plastic wrap, rinse them thoroughly under cold clean water, then pat them dry with paper towels.

Cured, rinsed and dried guanciale. Cut the jowls into smaller pieces before freezing. A little goes a long way!

At this point, you can cut the jowls (now officially guanciale!) into smaller pieces, wrapping each well and placing them in freezer bags. They will keep in the freezer for a long time.
Many guanciale recipes tell you to hang the meat in the fridge for at least a week after curing, but I haven’t really found the need to do that if I’m keeping them frozen. The drying process keeps the meat from getting moldy, but that’s only if you keep it in warmer temperatures.
Now that you’ve got guanciale, make that spaghetti carbonara you’ve always dreamed about! It’s also great chopped and fried and sprinkled on pizza, and sautéed with vegetables or mixed with scrambled eggs.
The Basic Dry Rub
Every good cure starts with a good dry rub. This one’s extremely simple but requires a special ingredient: pink salt. This is not pink Himalayan salt. This is a very special curing salt that must be used in small amounts. It contains nitrites which will help preserve the meat and give it a good color. Many people get bent out of shape over nitrites these days, so you need to decide whether you want to use pink salt or not. I do, because I don’t eat pounds of guanciale like a lab rat.
1 1/2 cups Diamond Crystal Kosher Salt
1/2 cup organic turbinado  sugar
5 teaspoons pink curing salt
Combine these ingredients and mix well. Store it in a tightly sealed plastic bag in your pantry.
Note: the reason I give the brand name for the salt is because all salt does not weigh the same! A cup-and-a-half of Morton Kosher Salt, for example, will weigh more and will throw off the recipe.

Why is it that we rarely visit historic sites that are in our home town?

Though I grew up in New York, and I visit often, it’s been over 40 years since I made the trip to the Statue of Liberty. But now that I’ve got a 10-year-old daughter, I thought it was an important trip for us to make together. That, combined with a trip to Ellis Island, where my father and his siblings arrived in this country, is a must-visit for anyone who may have forgotten in these politically heated days that we were once a nation that welcomed all those in need of sanctuary, including, perhaps, our own parents and grandparents.

If you’re going to go to the Statue of Liberty–and you should–here are some tips to make that trip as easy as possible…

Despite all the websites you see, there is only one sanctioned service that takes you to the Statue of Liberty, and it requires that you buy your tickets several months ahead of time. The website is: http://www.statueoflibertytickets.com.

You’ve got several choices for tickets: a reserved ferry ticket, a reserved ferry ticket with pedestal access, and a reserved ferry ticket with crown access (seasonal.) I signed my daughter and myself up for the crown access tickets. (Climbing up to the torch has been closed off for many years now.) The climb to the crown requires that you take the elevator to the pedestal where you go up one flight of stairs. From there, you show them your special wristband, and they allow you access to a winding staircase that leads you up to the crown. The steps are very narrow–about 19″ wide–with about 6’2″ of headroom. Though it’s a sturdy staircase, you’re bound to get a little dizzy if you look over the edge as you slowly ascend to the crown. There are a couple of points on the way up where you can step out to take a breather, but once you’re going up, there is no way to change your mind and go back down. It’s one way!

Going up!


When you reach the crown, you’re greeted by two park rangers who will give you a lot of information or just simply take your picture. Linger for a bit, soak in the view, but don’t stay too long, because there’s a line of people behind you waiting their turn. The stairs seem to be even narrower on the way down, posing as much, if not more of, a challenge.


Temperatures in the crown can be 20 degrees hotter than outdoor temps, and we visited on a 90-degree day, so we certainly worked up a sweat.


Back packs and other cumbersome items are not allowed on the steps up to the crown (but a bottle of water is allowed), so lockers are offered for a few bucks for you to store your belongings for the ascent.


A view of Manhattan from the crown.


Some tips if you plan on visiting the Statue of Liberty


Ferries leave from Battery Park in Manhattan, though you can also leave from New Jersey. See the website for details.

You will be screened twice, airport TSA-style. The first screening takes place before you step onto the ferry from Battery Park. Just like at the airport, you’ll need to remove belts, and place all metallic objects in a plastic container that rolls through an x-ray machine. The second time, you get screened before you’re allowed into the pedestal area of the statue.

Tickets are non-refundable. Crown tickets require that you show up at the ticket booth with ID, so give yourself extra time for that. Otherwise, you can just print your tickets online.

Get the earliest ferry you can. The crowds get bigger and crazier as the day goes on, and you’ll be standing in long lines if you get to Liberty Island in the afternoon. It’s especially important to get there early if you’re planning on climbing to the crown. Standing on that winding staircase jammed with hundreds of people above/in front of you is not where you want to be!

Don’t be late but don’t be too early for your ferry, either. We had a 10AM ferry, but got there at 8:40. They wouldn’t let us in line until 9:20.

Although access to Liberty Island is year-round, crown access tickets are seasonal. They shut down during some winter months. So plan ahead.

Snack bars and gift shops are located on the ferries, Liberty Island, and Ellis Island.

Ferries run from Battery Park, to Liberty Island, then to Ellis Island, then back to Battery Park about every 20–30 minutes.


Cooler fall weather always gets us craving for comfort foods, and this is one we discovered on a trip to Spain in 2014. Croquettes are the Spanish equivalent of chicken nuggets: they’re found on every kids’ menu…and my daughter ordered them just about everywhere we went! So it’s no surprise that I “got the order” to make a batch of croquettes this weekend!

image

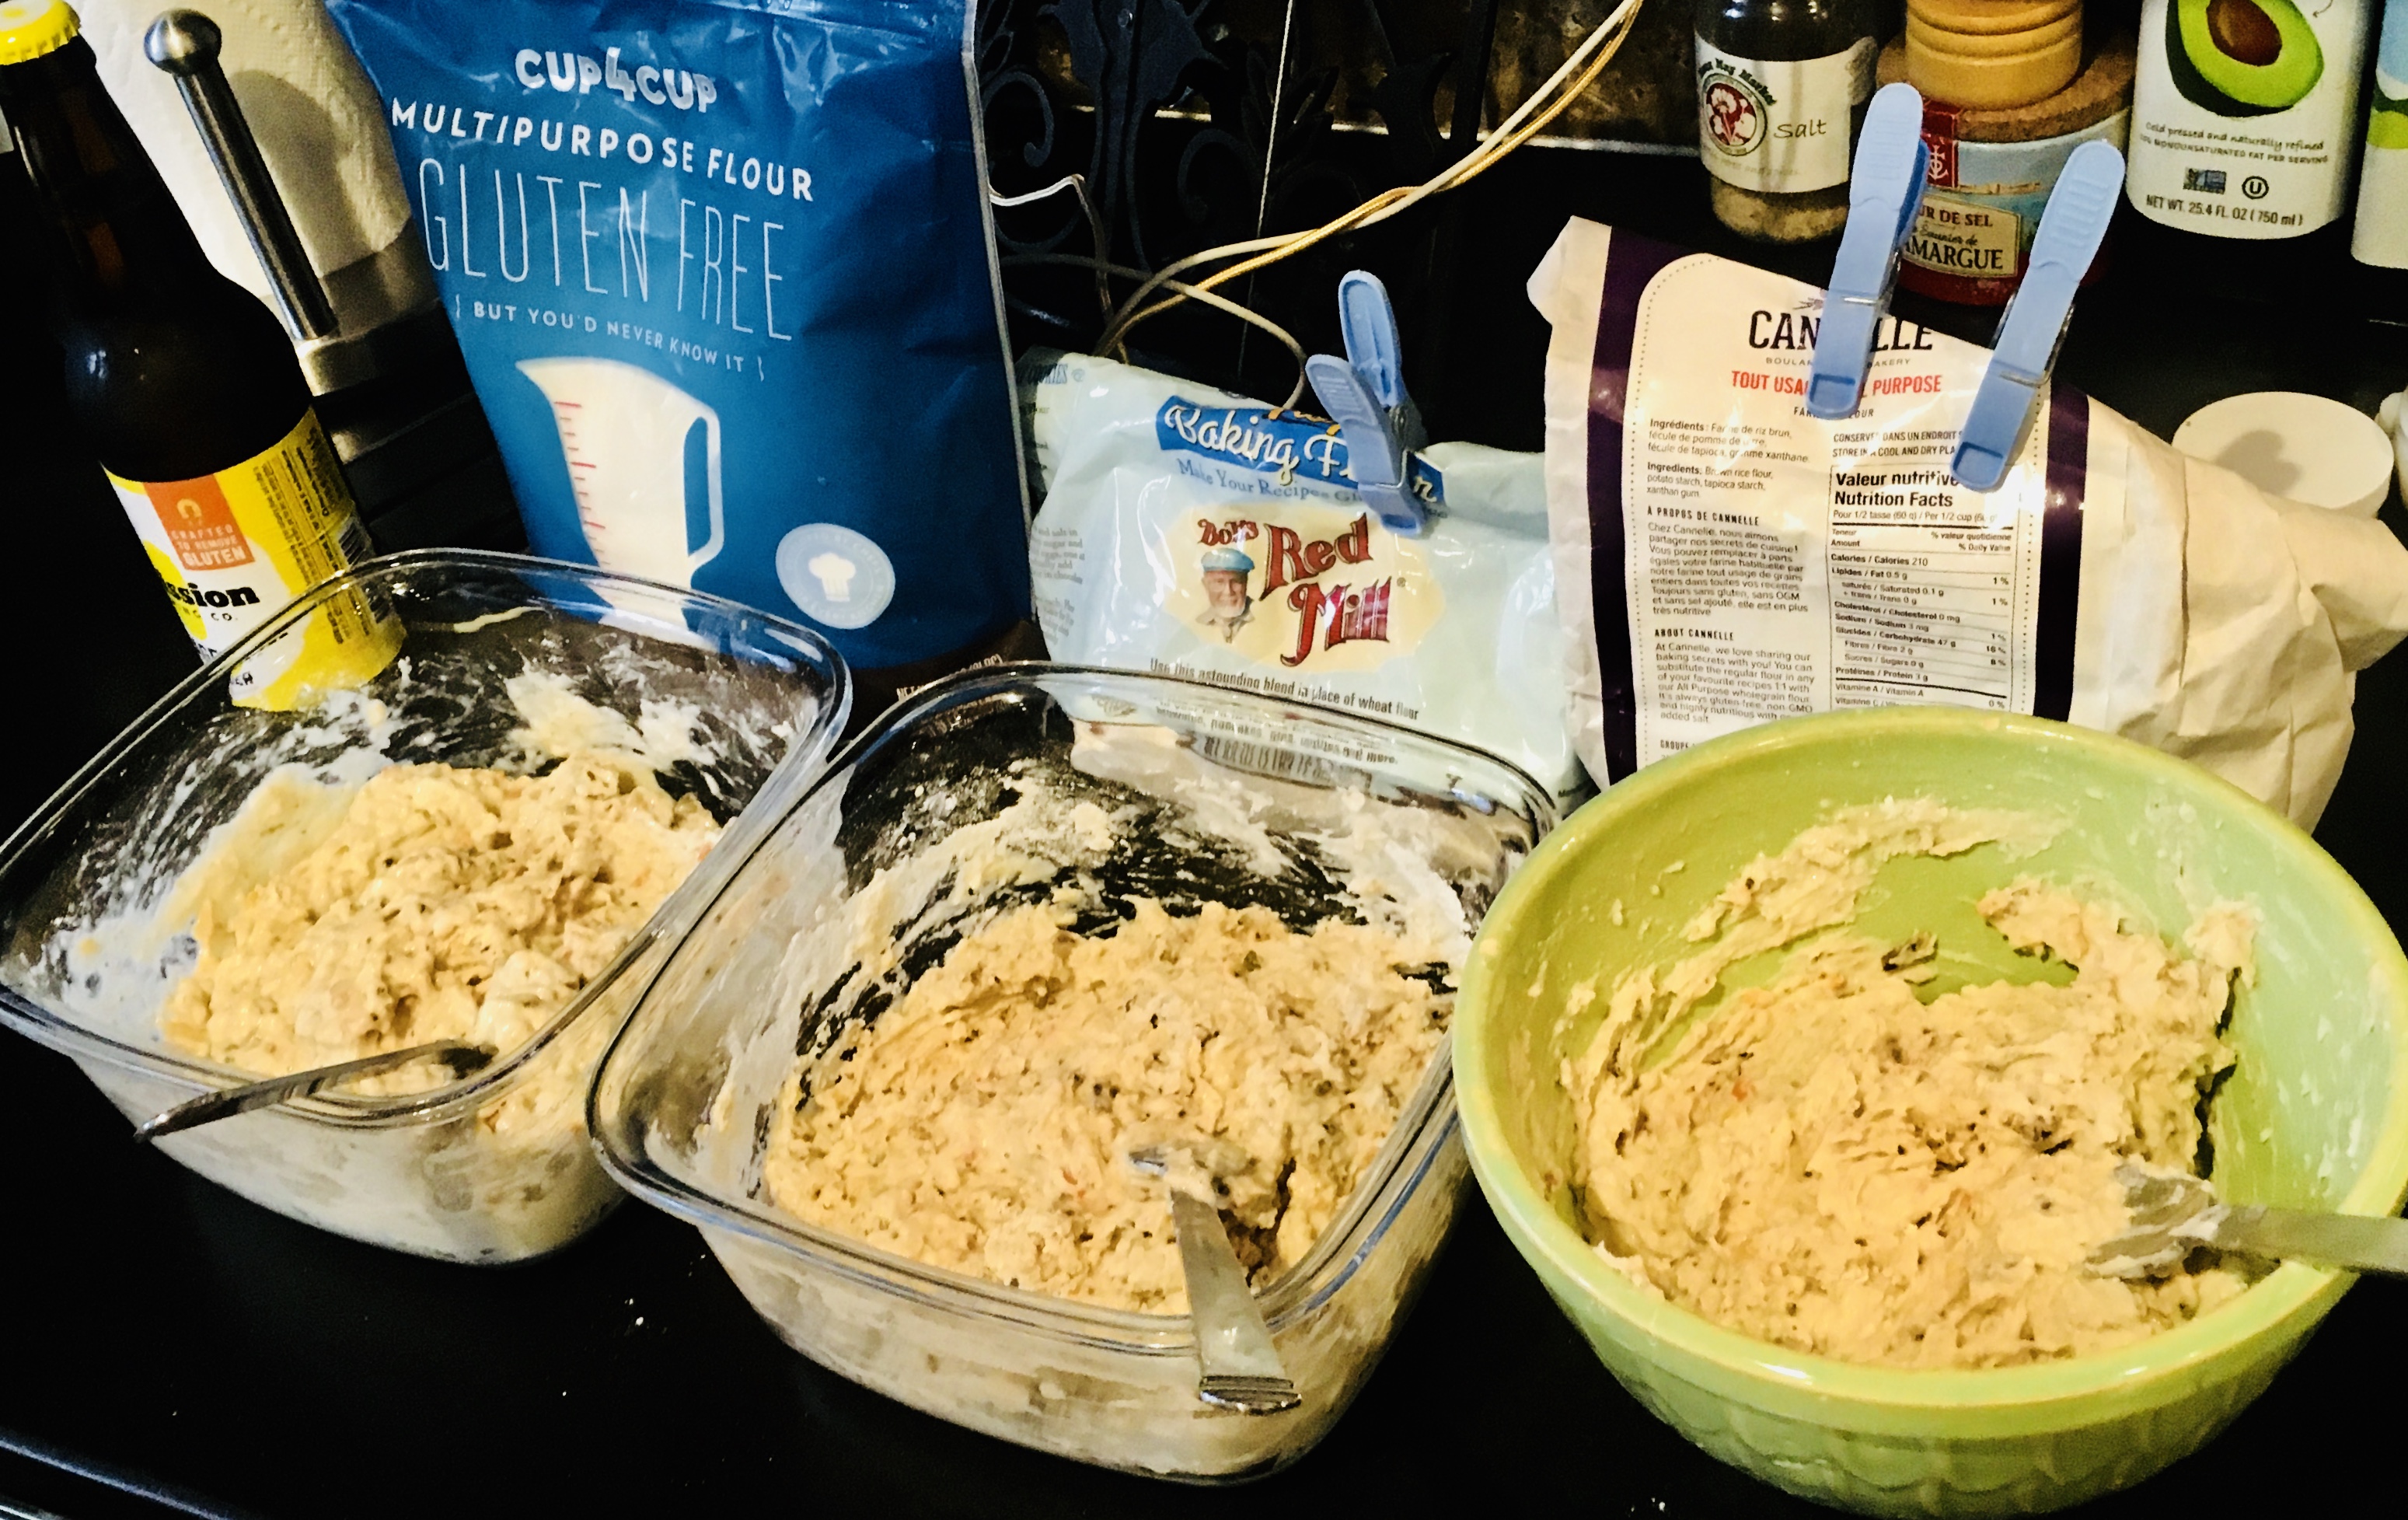
I found a great recipe for croquettes in Saveur magazine, and decided to try it out. I was a bit clumsy at making them at first–they do need a bit of finesse–but by the end of the batch, I got the hang of it. And to make them gluten-free, I simply substituted GF flour and breadcrumbs for the all-purpose flour and Panko.

image


2 lbs. potatoes, peeled and cut into 1″ cubes
4 tablespoons unsalted butter
1 onion, minced
1/4 to 1/2 cup heavy cream
6 oz. cheddar cheese, grated
6 oz. ham, finely chopped
salt and pepper
1 cup all-purpose flour (or gluten-free flour like Cup4Cup)
2 eggs
2 cups Panko breadcrumbs (or gluten-free breadcrumbs)
avocado oil for frying


image

Peel the potatoes, cut them into 1″ cubes and boil them in salted water until tender. Drain and set them aside.

Melt the butter in the same pot the potatoes were in, then add the onions and saute until translucent. Put the potatoes back in the pot and add 1/4 cup of the heavy cream. Mash the potatoes with a potato masher until smooth. Add more cream, if needed, but be careful not to make it mushy.

Add the cheese and mix until it has melted in. Add the ham and mix again. Season with salt and pepper.

Pour the contents of the pot into a metal bowl and place it in the freezer to cool, stirring every 10 minutes until the mashed potato mix is cold, but not frozen.

Line up three bowls: flour (or GF flour) in the first bowl, eggs (scrambled) in the second bowl, Panko (or GF breadcrumbs) in the third.

Remove the mashed potato mix from the freezer, and with floured hands, grab enough to gently roll a small meatball in your hands. (I’ve found that starting with a round shape makes it easier to work with.)

Roll the ball in the flour, then the egg, then drop in the Panko and roll again. With the ball in your hand, gently squeeze into a tubular shape, and then place it on a sheet pan lined with non-stick aluminum foil. Continue with the rest of the potato mixture. (You may need to add another egg or two if you run out.)

Once you’ve rolled all the croquettes, place the sheet pan in the freezer for 20 minutes to firm up.

Heat a pan with 2″ of oil to 350 degrees. Remove the croquettes from the freezer, and working in small batches, fry them until golden brown. Place on paper towels, and quickly season lightly with salt while hot, if desired.

image


The croquettes freeze really well, so this batch goes a long way. Once they’ve been fried, let them cool completely to room temp. Place them in Ziploc freezer bags and store in the freezer. When it’s time to cook them, let them thaw for about 15 minutes, then place in a pre-heated 325 degree oven for another 15 minutes.


I was cleaning out the pantry recently, and there, in a corner where I haven’t looked for years, was a green 5-liter jug with a plastic cap on it. It brought a smile to my face because although I haven’t seen it in many years, it reminded me of a wonderful trip my wife and I took to Italy when we were still dating.
Our first European trip together was to explore Rome, the Isle of Capri, and the Amalfi coast. We stayed at many wonderful hotels, including an old castle, and we made an effort to sample the local cuisine when possible.
At one of our stops, we walked through a small, quaint village and found a local eatery named Da Roketa (The Rocket.) As I recall, the food was homemade and fantastic, the bread to die for, and the homemade olive oil from the family’s own olive trees something you wanted to drown in.
Much to the surprise of the owners of the restaurant, we asked if we could buy their olive oil to take home to the states with us, and we somehow wound up with this massive 5-liter jug, which we carried with us throughout the rest of our trip.
Although this was after 9/11, the limitations about carrying on liquids had not yet been established, so I ducked taped the plastic cap securely, making sure there’d be no leaks, and I placed the jug in a small duffel bag, cushioned by clothing. I carried that bag right onto the plane!
But first I had to get through security…
Placing my duffel bag on the conveyor belt in Rome as we walked through the x-ray machines, one look at the security agent’s face and it was clear I was going to get pulled side.
The female agent asked me what was in the bag and I matter-of-factly told her: olive oil. She didn’t believe me, so I opened the bag for her and there was my beautiful 5-liter bottle, nestled in some “fragrant” dirty laundry. She looked at it, and her stern look morphed into a smile: “It looked like a bomb on the x-ray screen!”
I explained about the amazing food at Da Roketa, and how we were obsessed with the olive oil. She chuckled, shook her head, and let me zip it up and walk away with it.
The rest of our journey, even when we landed at customs in the United States, was uneventful.
I doubt that even now, even if I checked my luggage, I’d be allowed to bring in an un-hermetically sealed container of olive oil into the states the way I did that day.
We used that olive oil every opportunity we had, and yes, we did eventually finish it.

We recently invited our closest friends, neighbors and family members to our home to celebrate life after my wife’s last year of health issues. (We are grateful the prognosis is good!) We called it our FLY party (F*ck Last Year!) and it was a huge success.

Pre-party prep!

We went all-out this time, taking our “usual” 100-person summer party to the next level, renting a large tent and tables…hiring a staff to serve food and drinks and clear the tables and park cars…hiring a bartender…enlisting the culinary services of Rocket Fine Street Food of Providence and bringing in the best shucking oysters in Rhode Island with 401 Catering and Events.

Unlike past years, where I would spend all day cooking a few appetizers and ran around cleaning the yard all night–barely chatting with the very friends I’ve invited–this time, we coughed up the extra cash to hire people to do the work, allowing us to actually be part of the party!

What a fun night! Great food and drink…great friends.

If you’re in Providence, look for the Rocket truck! Go to their website (www.rocketstreetfood.com) and check out where they’ll be on their calendar. It’s worth the effort.

If you’ve got a big event, and are looking for the best Rhode Island oysters, go with the guys that supply the best east coast restaurants with the best the Ocean State has to offer. No gig is too big! Max, Brian and their staff are professional and truly some of the nicest guys you’ll ever meet. and they’re passionate about the quality of their oysters! Start here: www.401catering.com.


Just because you’ve got a garden full of fresh veggies, it doesn’t mean you have to gorge on nothing but salads! Sometimes, a refreshing cocktail is just what you need after a long day of yard work. This one fits the bill!


4 fresh cucumbers, peeled and seeded
Small ice cubes
1 cup loosely packed fresh mint leaves
2 teaspoons granulated organic cane sugar
3 tablespoons fresh lime juice
1/2 cup vodka (I like Tito’s)
1 oz. orange liqueur (I like Cointreau)


Peel and seed the cucumbers. Coarsely chop them and then purée in a food processor until smooth. Strain through a fine sieve, pressing the solids to extract as much liquid as possible. Or, if you have one, use a juicer. Set the cucumber juice aside.

To a large glass pitcher, add the mint leaves, sugar and lime juice. Muddle the ingredients so that the mint leaves release their oils. Add 3/4 cup (at least) of the cucumber juice. Add the vodka and Cointreau. Muddle again briefly.

Fill tall drinking glasses with ice cubes. Strain the cocktail into glasses. Garnish with a cucumber spear or mint.