There seems to be some confusion about the spelling of whiskey and/or whisky, but the use of the letter “e” (or the lack thereof) is not random. Here’s the best explanation I’ve found…
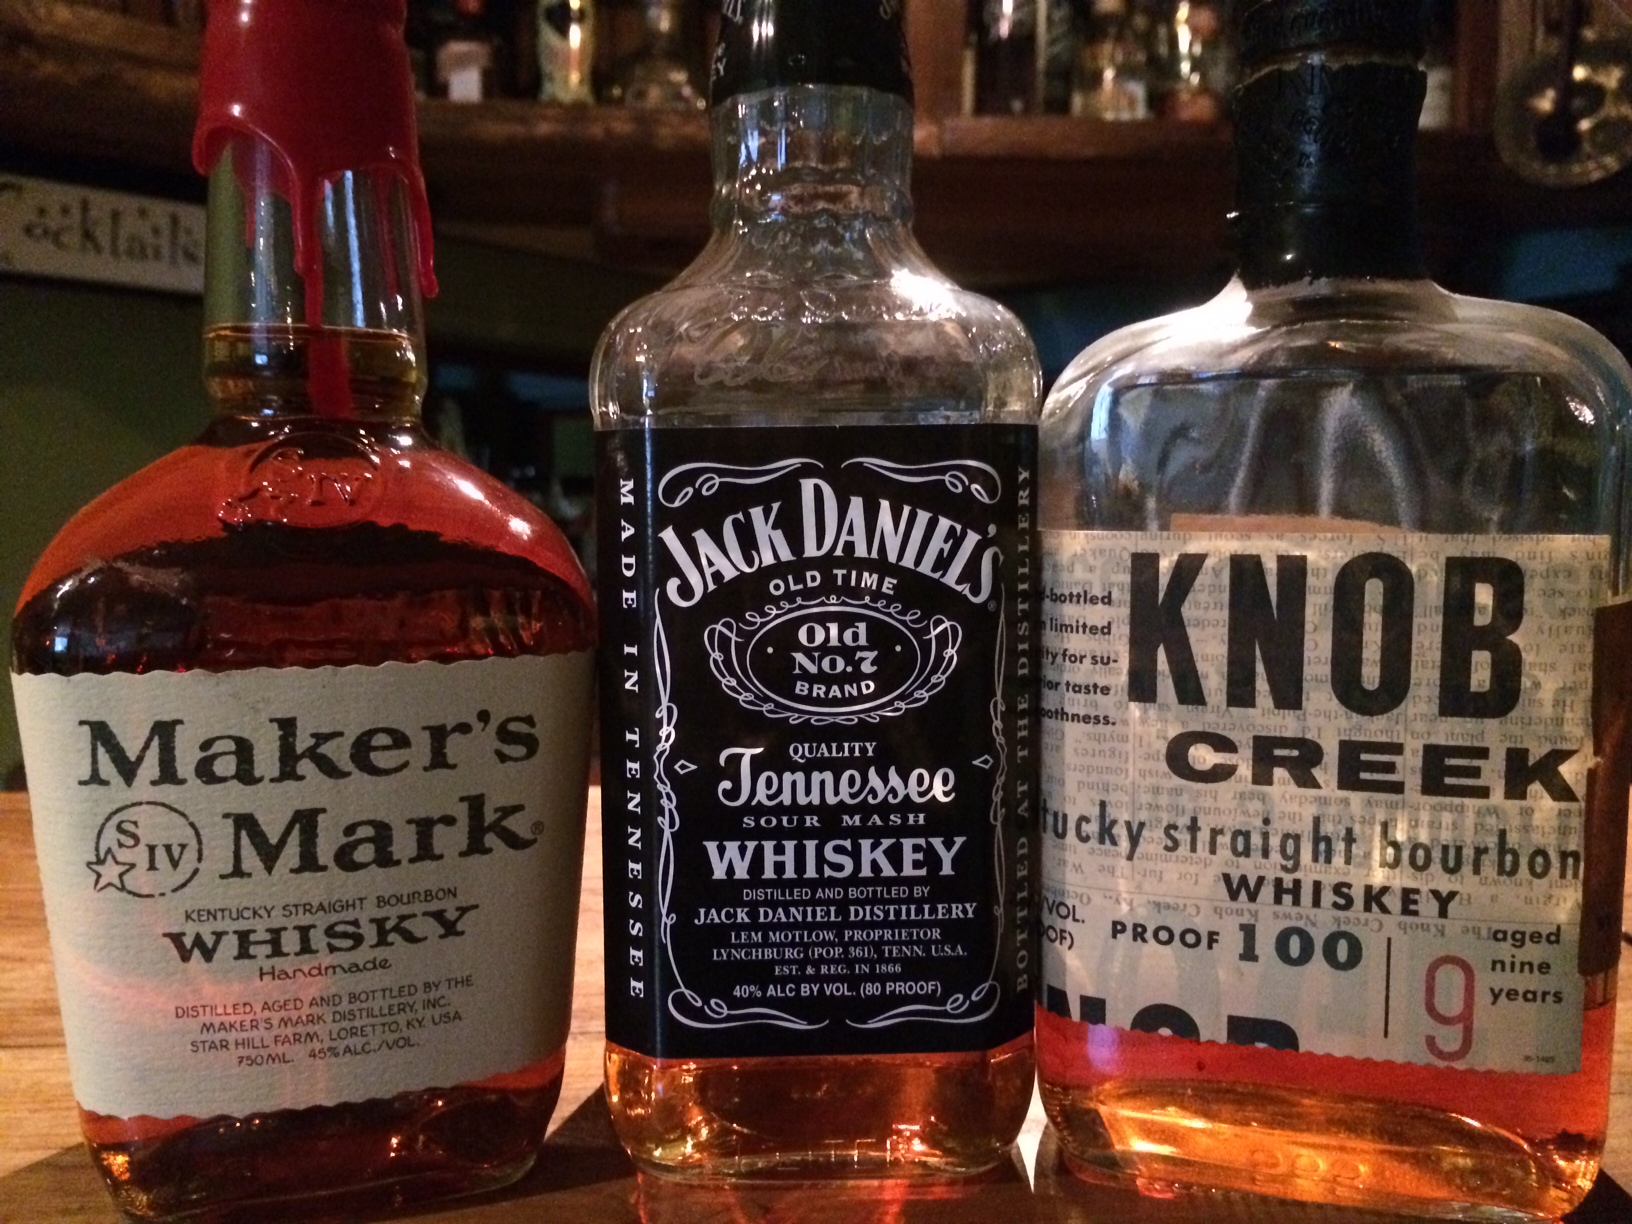
The spelling whisky (plural whiskies) is generally used for those distilled in Scotland, Wales, Canada, and Japan. Whiskey (with an e; plural whiskeys) is used for the spirits distilled in Ireland and in the United States. The BATF (Bureau of Alcohol, Tobacco and Firearms) in 1968 specified “whisky” as the official U.S. spelling, but allowed labeling as “whiskey” in deference to tradition. Most U.S. producers still use the “whiskey” spelling, though as you can see, Maker’s Mark chooses not to.
International law reserves the term “Scotch whisky” to those whiskies produced in Scotland. Scottish law specifies that the whisky must be aged for a minimum of three years and one day, in oak casks. Whiskies produced in other countries in the Scotch style must use another name. Similar conventions exist for “Irish whiskey,” “Canadian whisky,” and “Bourbon whiskey.” In North America, as well as in Continental Europe, the abbreviated term “Scotch” is usually used for “Scotch Whisky.” In England, Scotland, and Wales, the term “whisky” almost always refers to “Scotch Whisky”, and, as I learned when I traveled to Scotland, nobody calls it “Scotch.”

And while we’re on the topic, what is bourbon?
Bourbon is a type of whiskey.
Today, “bourbon” has a specific legal meaning that has little to do with its geographic origins. That definition, now federal law, has existed in its present form only since about the end of the 19th century. According to federal law, bourbon must be at least 51% corn, distilled at less than 160 proof, and aged for at least two years in new, charred oak barrels. (There are some other requirements, but those are the main ones.) Bourbon also must be made within the borders of the United States. In other words, a foreign product that meets all the other requirements still cannot be sold in the U.S. as bourbon.
As I learned on my tour of the legendary Oban distillery in Scotland, the reason why bourbon must be aged in new, charred oak barrels goes back to the days of Prohibition. Once alcohol was legalized again, the coopers union wanted to make sure they had job security. So they convinced the government to require new barrels for every new batch of bourbon made. Once that barrel is used, it can’t be used for bourbon again. The Scottish, always frugal, would then buy all those barrels from American distilleries, and use them to age their own whiskey. So those barrels don’t ever go to waste. (Companies like Diageo, that own Bulleit bourbon in the US and Oban whisky in scotland avoid the middleman buy shipping their own used barrels from America to scotland for reuse.)
Contrary to popular belief, there has never been a legal requirement that bourbon be made in Kentucky, which is why most Kentucky producers call their product “Kentucky Bourbon.” Today there are some, but not many, examples of non-Kentucky bourbon left: Virginia Gentleman, Bowman’s, and Woodstone Creek Straight Bourbon are a few.
Still confused? My advice is to sit back with your favorite glass of whisky, whiskey or bourbon…and just enjoy. Cheers!