Archive for the ‘Carnivore!’ Category

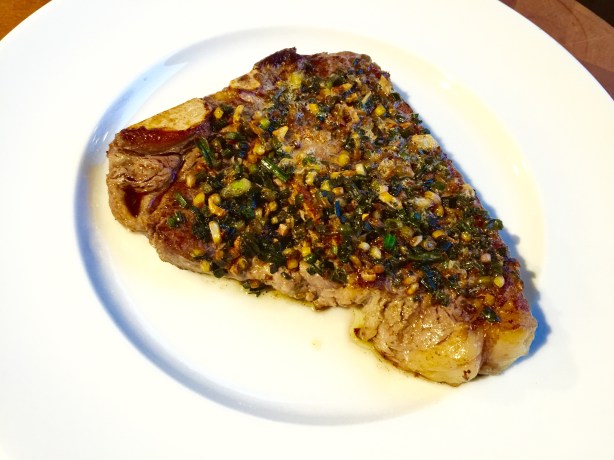
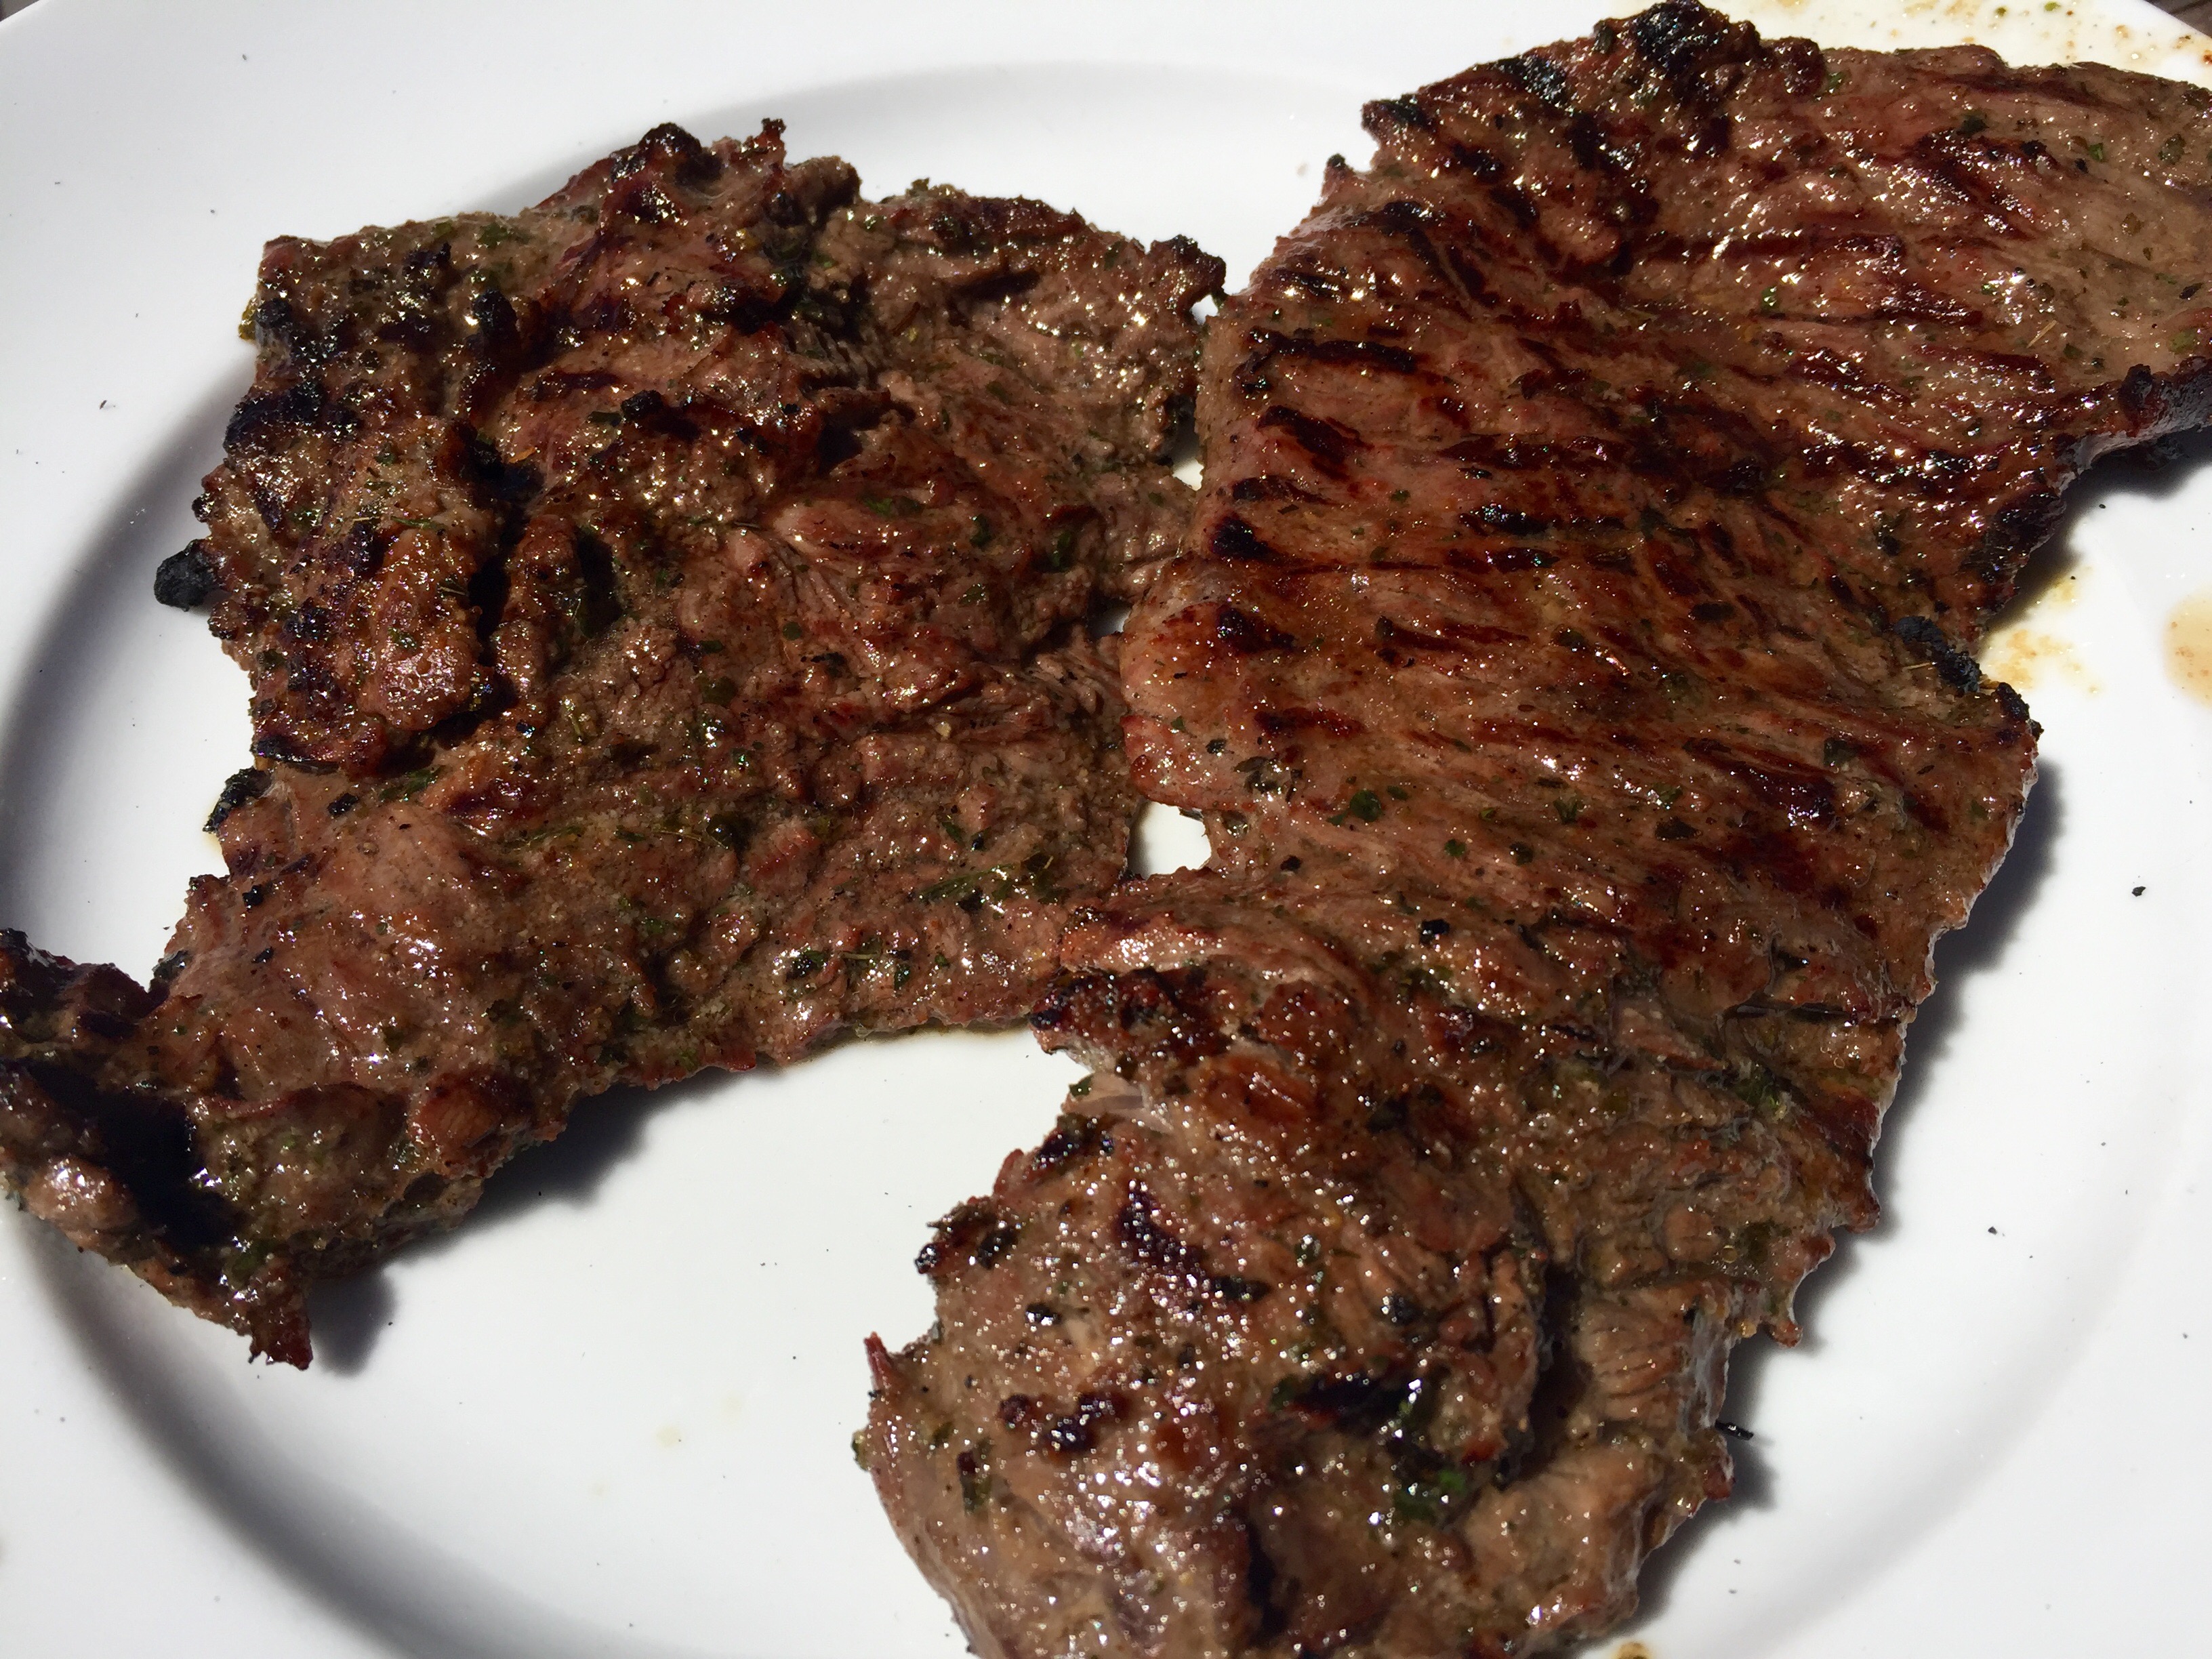
The original recipe called for skirt steak, but I didn’t have any in my freezer. I did have a fat rib eye, though, so once I thawed it, I sliced it lengthwise to get two large, thin steaks which would easily suck up the marinade I was going to make. And the rib eye was nicely marbled, so it stayed juicy and tender.

image


For the marinade:
1/4 cup toasted sesame oil
1/4 cup soy sauce (I use La Choy to keep it gluten-free)
2 tablespoons each finely chopped ginger, garlic, cilantro and unsalted dry roasted peanuts
2 scallions, minced
1 tablespoon each of light brown sugar, lime juice and chile oil


2 lbs. beef rib eye
1/4 cup chicken stock

In a bowl, whisk together the sesame oil, soy sauce, ginger, garlic, cilantro, peanuts, scallions, sugar, lime juice and chile oil. Transfer half to a shallow dish.
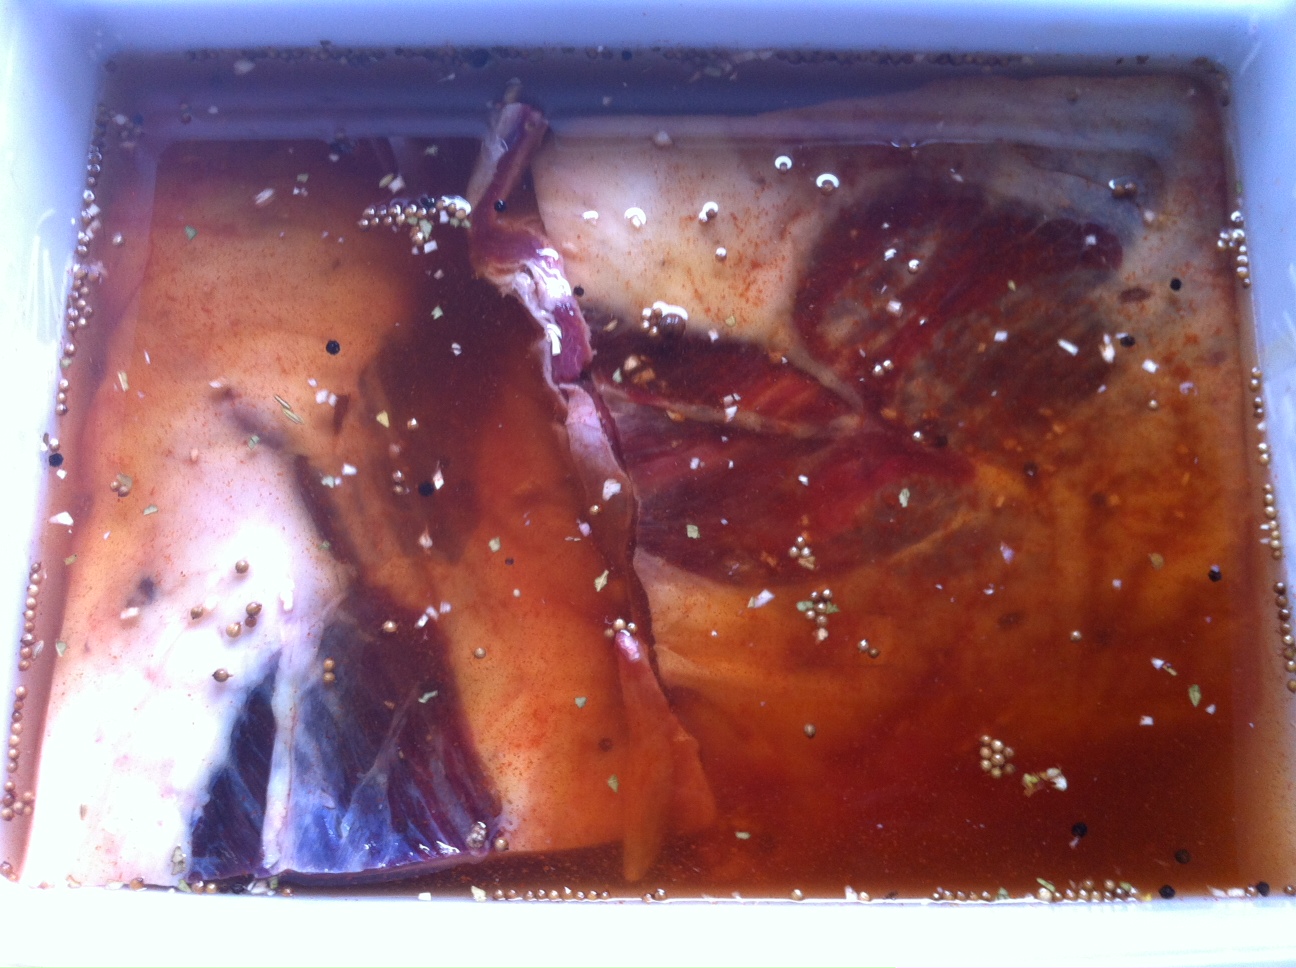
Add the steak to the dish and turn to coat. Cover and refrigerate overnight. Refrigerate the remaining marinade.

The next day, light a grill. While it’s warming up, add the chicken stock to the reserved marinade. Heat it in a sauce pan and then let it cool. This will be the dipping sauce for the beef. (I like it at room temp.)
Bring the steak to room temp, season with salt and pepper, and grill over high heat until medium-rare, 5 minutes.

Too cold to light a grill? Heat a cast iron pan, add a few drops of avocado oil, and sear the beef on both sides before placing it in a pre-heated 375-degree oven to finish cooking.


True: the inspiration behind this dish was a conversation I had with friends, talking about our early childhood days. Someone brought up the name Shari Lewis, and her famous puppet Lamb Chop. Next thing I knew, I was grilling the critter in my yard.

This is a great grilled lamb recipe that works best if you marinate it ahead of time, but it’s not absolutely necessary. Cook it indoors or outside on the grill. I used grapefruit zest and juice in the original recipe, but since I still had a Honeybell orange left in my stash, I used that this time around. Any citrus you like will work.

American lamb is different from lamb raised in New Zealand or Australia. If you like a milder flavor, go with the American lamb. Lamb from New Zealand and Australia is entirely grass-fed, making for a stronger “gamier” flavor but a healthier cut of meat, as all grass-fed meat products are.


L2


6–8 small lamb chops
1/4 cup brown mustard (I like Gulden’s)
Zest of 1 Honeybell orange
1 tablespoon Honeybell juice
1 tablespoon honey
1 teaspoon garlic salt
1/4 teaspoon black pepper
1/4 teaspoon dried thyme


In a bowl, combine the mustard, Honeybell zest and juice, honey, garlic salt, pepper, and thyme. Mix well. At this point, you can marinate the lamb by pouring the mixture in a Ziploc bag and adding the lamb to it. Marinate at least 1 hour at room temperature, or longer in the fridge.

Pre-heat a hardwood charcoal grill…or if cooking indoors, pre-heat the oven to 350, and on the stove top, heat an oven-proof pan (cast iron is best) with a little pork fat or oil.

If you marinated the lamb, remove the meat from the bag and save the marinade to baste with while cooking. Don’t use the marinade uncooked, since it made contact with raw meat.

On the grill: Grill the lamb on all sides first, then start brushing the mixture on them, flipping them, brushing again, and grilling. Keep doing this until you’ve used up all the mixture and the lamb is cooked to proper doneness. Don’t overcook it!

In the pan: Sear the lamb on all sides, then brush all sides with the marinade. Place the lamb in the oven to finish cooking, making sure you don’t overcook it. Let it rest before serving.


image

With snow coming our way this weekend in New England, it’s time for some serious comfort food.

A couple of years ago, when I received a shipment of venison from my father-in-law, an avid hunter that lives in the Upper Peninsula of Michigan, I knew that although I could certainly use beef for this dish, it would be absolutely stellar with venison. And I knew that I couldn’t miss with a local brew from my buddy, Sean Larkin of Revival Brewing Company (www.revivalbrewing.com), with his Double Black IPA…

image

Unfortunately, I haven’t been able to find gluten-free alternatives for this recipe. You can buy GF beer and flour, but the puff pastry is what makes the dish. A GF pie crust would be an alternative, but once you have it with puff pastry, you’ll never want it any other way!

Olive oil
3 red onions, peeled and chopped
3 cloves of garlic, peeled and chopped
3 tablespoons butter, plus extra
3 carrots, peeled and chopped
3 celery stalks, trimmed and chopped
10 oz. baby bella mushrooms, chopped
3 lbs. venison, cut into 3/4″ cubes
A few sprigs of fresh rosemary, leaves picked and chopped
Sea salt and black pepper
2 bottles (24 oz.) Revival Brewing Company Double Black IPA, with a swig for the cook
3 tablespoons flour
12 oz. freshly grated cheddar cheese
1 1/2 pounds store-bought puff pastry (all butter is best)
1 large egg, beaten

image


Pre-heat the oven to 375.

In a large oven-proof pan, heat a few tablespoons of the olive oil. Add the onions and fry gently for about 10 minutes. Turn the heat up and add the garlic, butter, carrots, celery and mushrooms. Stir well, then add venison, rosemary, a pinch of salt and about a teaspoon of pepper.

Saute on high for about 4 minutes, then add the beer, making sure you take a swig for luck! Stir in the flour and add just enough water to cover. Bring to a simmer, cover the pan with a lid or foil, and place in the preheated oven for about 1 1/2 hours.

Remove after 1 1/2 hours and stir. Put it back in the oven and cook another hour, until the meat is cooked and the stew is rich, dark and thick. If it’s still liquidy, place the pan on the stove top and reduce until the sauce thickens. (You don’t want a soupy stew or you’ll get soggy puff pastry later.) Remove the pan from the heat and stir in half the cheese. Season with salt and pepper to taste and set aside to cool.

Depending on whether your puff pastry comes in sheets or a block, you’ll need to use a rolling-pin to get it into sheets about 1/8″ thick. Butter a good-sized pie dish or an oven-proof terrine. Line the dish with the sheets of pastry, letting the pastry hang over the sides. Pour in the stew, even it out with a spatula, and add the rest of the grated cheese on top.

Use another 1/8″ thick sheet of pastry (or a couple if they’re not wide enough) to cover the top of the pie dish. Lightly crisscross the top with a knife, then fold over the overhanging pieces of pastry over the lid, making it look nice and rustic. Don’t cut or throw any of the pastry away! Use as much as you can, since everyone will want some.

Brush the top with the beaten egg and then bake the pie on the bottom of the oven for about 45 minutes, until the pastry has cooked, and it’s beautifully puffed and golden. Serve with a side of peas (and beer!)

image


It’s mind-blowing how many new and exciting restaurants keep popping up in Portland, Maine, and even more interestingly, how they’re all thriving! With a great arts scene, historic New England waterfront, and a young crowd eager to spend their money, Portland is just exploding.

I work in Providence, Rhode Island, a city whose food scene has had a lot of attention in the last few years in a variety of national magazines. But really creative restaurants here are hard to find, perhaps five in the entire city. In Portland, you’ll find five on one block!

Portland is big enough to be a destination, and small enough that you can park your car once and walk everywhere you want to go all day and into the night.

Oysters at Eventide.

Oysters at Eventide.

Three of the best restaurants in town just happen to be owned by the same three guys: Andrew Taylor, Arlin Smith and Mike Wiley. They called their company AMA LLC, though now I think they go by the name Big Tree Hospitality. All three restaurants are located right next door to each other on Middle Street: Hugo’s, Eventide, and The Honey Paw. If you go nowhere else in Portland, hit this one block. If you’re just passing through for lunch, it’s right off 295. Just take the Franklin Street exit.

The block. From left to right: The Honey Paw, Eventide, and Hugo's. And if you stay at the Hampton Inn, like we did, you walk less than a block!

The block. From left to right: The Honey Paw, Eventide, and Hugo’s. And if you stay at the Hampton Inn, like we did, you walk less than a block!


The bar at Eventide.

The bar at Eventide.

Our love of Portland started years ago with Eventide, an oyster bar serving the freshest and most creative small seafood plates in the city: a killer brown butter lobster roll, tuna crudo that rivals the best sushi anywhere, blackboard special plates like char tartare, and a dozen oyster choices served with inventive accouterments, our favorite being the pickled red onion ice. Our non-seafood-eating daughter loved the buttermilk fried chicken bun and Eventide burger. And probably the most ignored-but-shouldn’t-be entry on the menu is the fish sandwich: best you ever had or I’ll eat it for you. They use pieces of fresh-caught hake, a fish that’s somewhat unknown unless you’re a local. A full bar and a surprisingly friendly staff, despite the fact they’re jamming all day long.

The amazing fish sandwich at Eventide.

The amazing fish sandwich at Eventide.

Hugo’s made Portland a food destination thanks to its previous chef/owner, Rob Evans, who sold it in 2012 to concentrate on his newer joint: Duckfat. The three guys: Taylor, Smith, and Wiley, worked there before it closed down and they grabbed the opportunity to take over, bringing a cutting-edge American menu served over a series of exciting tasting courses. Whether you’re a carnivore, vegetarian or seafood lover, you’ll find some wonderful choices here. Our night featured raw and cooked beef selections, lamb bolognese, ankimo (monkfish liver) and unusual veggie plates like sunchokes and smoked parsnips.

FullSizeRender (21)

Paul, the bartender, is a mixologist of the finest kind. My wife sipped on a Jasmine Fizz before we plunged into the eclectic and inspired wine list chosen by Big Tree Hospitality’s wine director, Brian Flewelling, who happened to be our server that night.

My wife enjoyed a sip of my Pappy's as well.

My wife enjoyed a sip of my Pappy’s as well.


And it didn’t hurt that they had three kinds of Pappy Van Winkle bourbon on their shelves…something I haven’t seen anywhere else. (These are the bottles that go for over $1500 on line.) Needless to say, Paul the bartender and I bonded over a taste of the 20-year-old Pappy.

A bourbon conversation between my newest best friend, Paul and myself.

A bourbon conversation between my newest best friend, Paul, and myself.

The third and newest restaurant in the group is The Honey Paw, featuring an eclectic Asian menu. The intense flavors come from all over Asia, and we wondered how these young chefs could be so knowledgeable. We found out that the company flies its employees to countries like Singapore and Malaysia on a regular basis to give them the experience they need to create and serve this amazing food. I swear, I wanna work for these guys! I haven’t seen any company anywhere treat its employees with such respect, and all of that trickles down to how they treat the food, the community, and their customers.

The Honey Paw's mind-blowing albacore tuna sashimi.

Beautiful plates at The Honey Paw.

Like their other two restaurants, The Honey Paw sources most of its ingredients from local farms. So when we ordered a plate of coppa, it was housemade from rare mulefoot hogs raised in Maine, topped with pickled husk cherries.

FullSizeRender (9)

I’m a huge fan of whole-fried fish, but very few restaurants take on that challenge. Even many of my favorite New York Chinese restaurants no longer feature that on the menu. The whole fried black bass I had at The Honey Paw is something I will have every time I return.

FullSizeRender (10)


We did leave the block, eventually! Though not big on atmosphere, Sur Lie was another restaurant in the long list of new establishments in the city featuring small plates full of exciting flavors.

FullSizeRender (18)

We enjoyed tapas like a plate of “Surryano” ham, the West Virginia version of Spanish Serrano…fried milk-braised cauliflower…Hiramasa (Yellowtail Amberjack) crudo…carrot agnolotti (pasta)…and a nicely cooked hanger steak. Good food, good service, and a nice selection of Greek wine.

We walked a lot in Portland. Loads of small shops, art galleries, and stores with collectibles. We hit a couple of comic book stores with our daughter, who’s in that phase…art galleries that enticed my wife, the artist…and an unusual shop with rare, collectible barware in the storefront and an actual bar in the back to do some serious sipping: a place called Vena’s Fizz House.

FullSizeRender (12)

One of the more interesting products they sell at Vena’s was a variety of infusion kits: dried fruits and spices just waiting for vodka or tequila to bring their flavors to life…

FullSizeRender (11)

Sometimes we did jump in the car to get to the other side of town. Portland boasts one of the largest–and coolest–Whole Foods stores ever. The selection is fantastic, and they sell wine and local spirits in a special section that comes with its own wine expert to help you make the right choices!

A short hop down the road from Whole Foods is a line of distilleries and breweries on Fox Street just waiting for thirsty customers. We stopped in to Maine Craft Distilling for a tasting of their creations.

FullSizeRender (6)

Here’s the thing that tells you you’re in Maine: we arrived at Maine Craft Distilling, and they told us they were sold out of just about every spirit because of the holidays. But they still poured us free tastings of all their booze! That would not happen anywhere else. Their logic was: if you like it, you won’t forget it and you’ll buy it the next time around. Friendly and informative, and their blueberry spirit called Blueshine, is worth a trip back.

IMG_0812

Back along the waterfront, on Commercial Street, we tucked into the Flatbread Company, a wildly popular pizza joint that now has 15 locations in Maine, Massachusetts, New Hampshire and even Hawaii. Great pizza (with gluten-free options), salads, and an awesome view of the water.

FullSizeRender (14)

Watching these talented chefs work the oven is better than television. I could watch all night!

Watching these talented chefs work the oven is better than television. I could watch all night!

A must-stop at least once on any Portland trip is the classic Porthole. Featured on “Diners, Drive-Ins and Dives,” they open for breakfast and rock all through the night. I dropped in for some breakfast to go on New Year’s morning, watching those at the bar chug down their Bloody Marys: a little hair of the dog after a long partying night.

IMG_0678

Perhaps my biggest disappointment of the trip (and mainly because it has received so much hype from magazines and friends) was The Portland Hunt and Alpine Club. I was told not to go here for the food, so we passed on that. But while my wife and daughter spent some time in the shops nearby, I decided to go in and check the place out for a cocktail.

FullSizeRender (17)


The bartender was friendly enough, and when I asked for a Manhattan with his choice of bourbon (he used Baker’s), he made it with flair and it tasted good. But it was also something I could make at home just as easily. I don’t know…maybe I needed to order something else. Maybe I should give the place a try in the light of a summer day and not a cold winter’s night. It just seemed kind of dumpy and not at all what I was expecting: uncomfortable metal benches at the bar, a stuffiness in the air like the vents in the kitchen weren’t working. I need to come back and give these guys another chance.


For more on Portland, Maine, check out my blog from July of 2013. A lot has changed in a year and a half, but there’s still some good info there. http://wp.me/p1c1Nl-g3


Awesomesauce is an all-purpose sauce that I created a couple of years ago for a variety of dishes. Because it has a base of mayo, mustard and ketchup, it works great on burgers and fish…on lobster and crab salads and shrimp cocktail…and just about anything else you can think of.

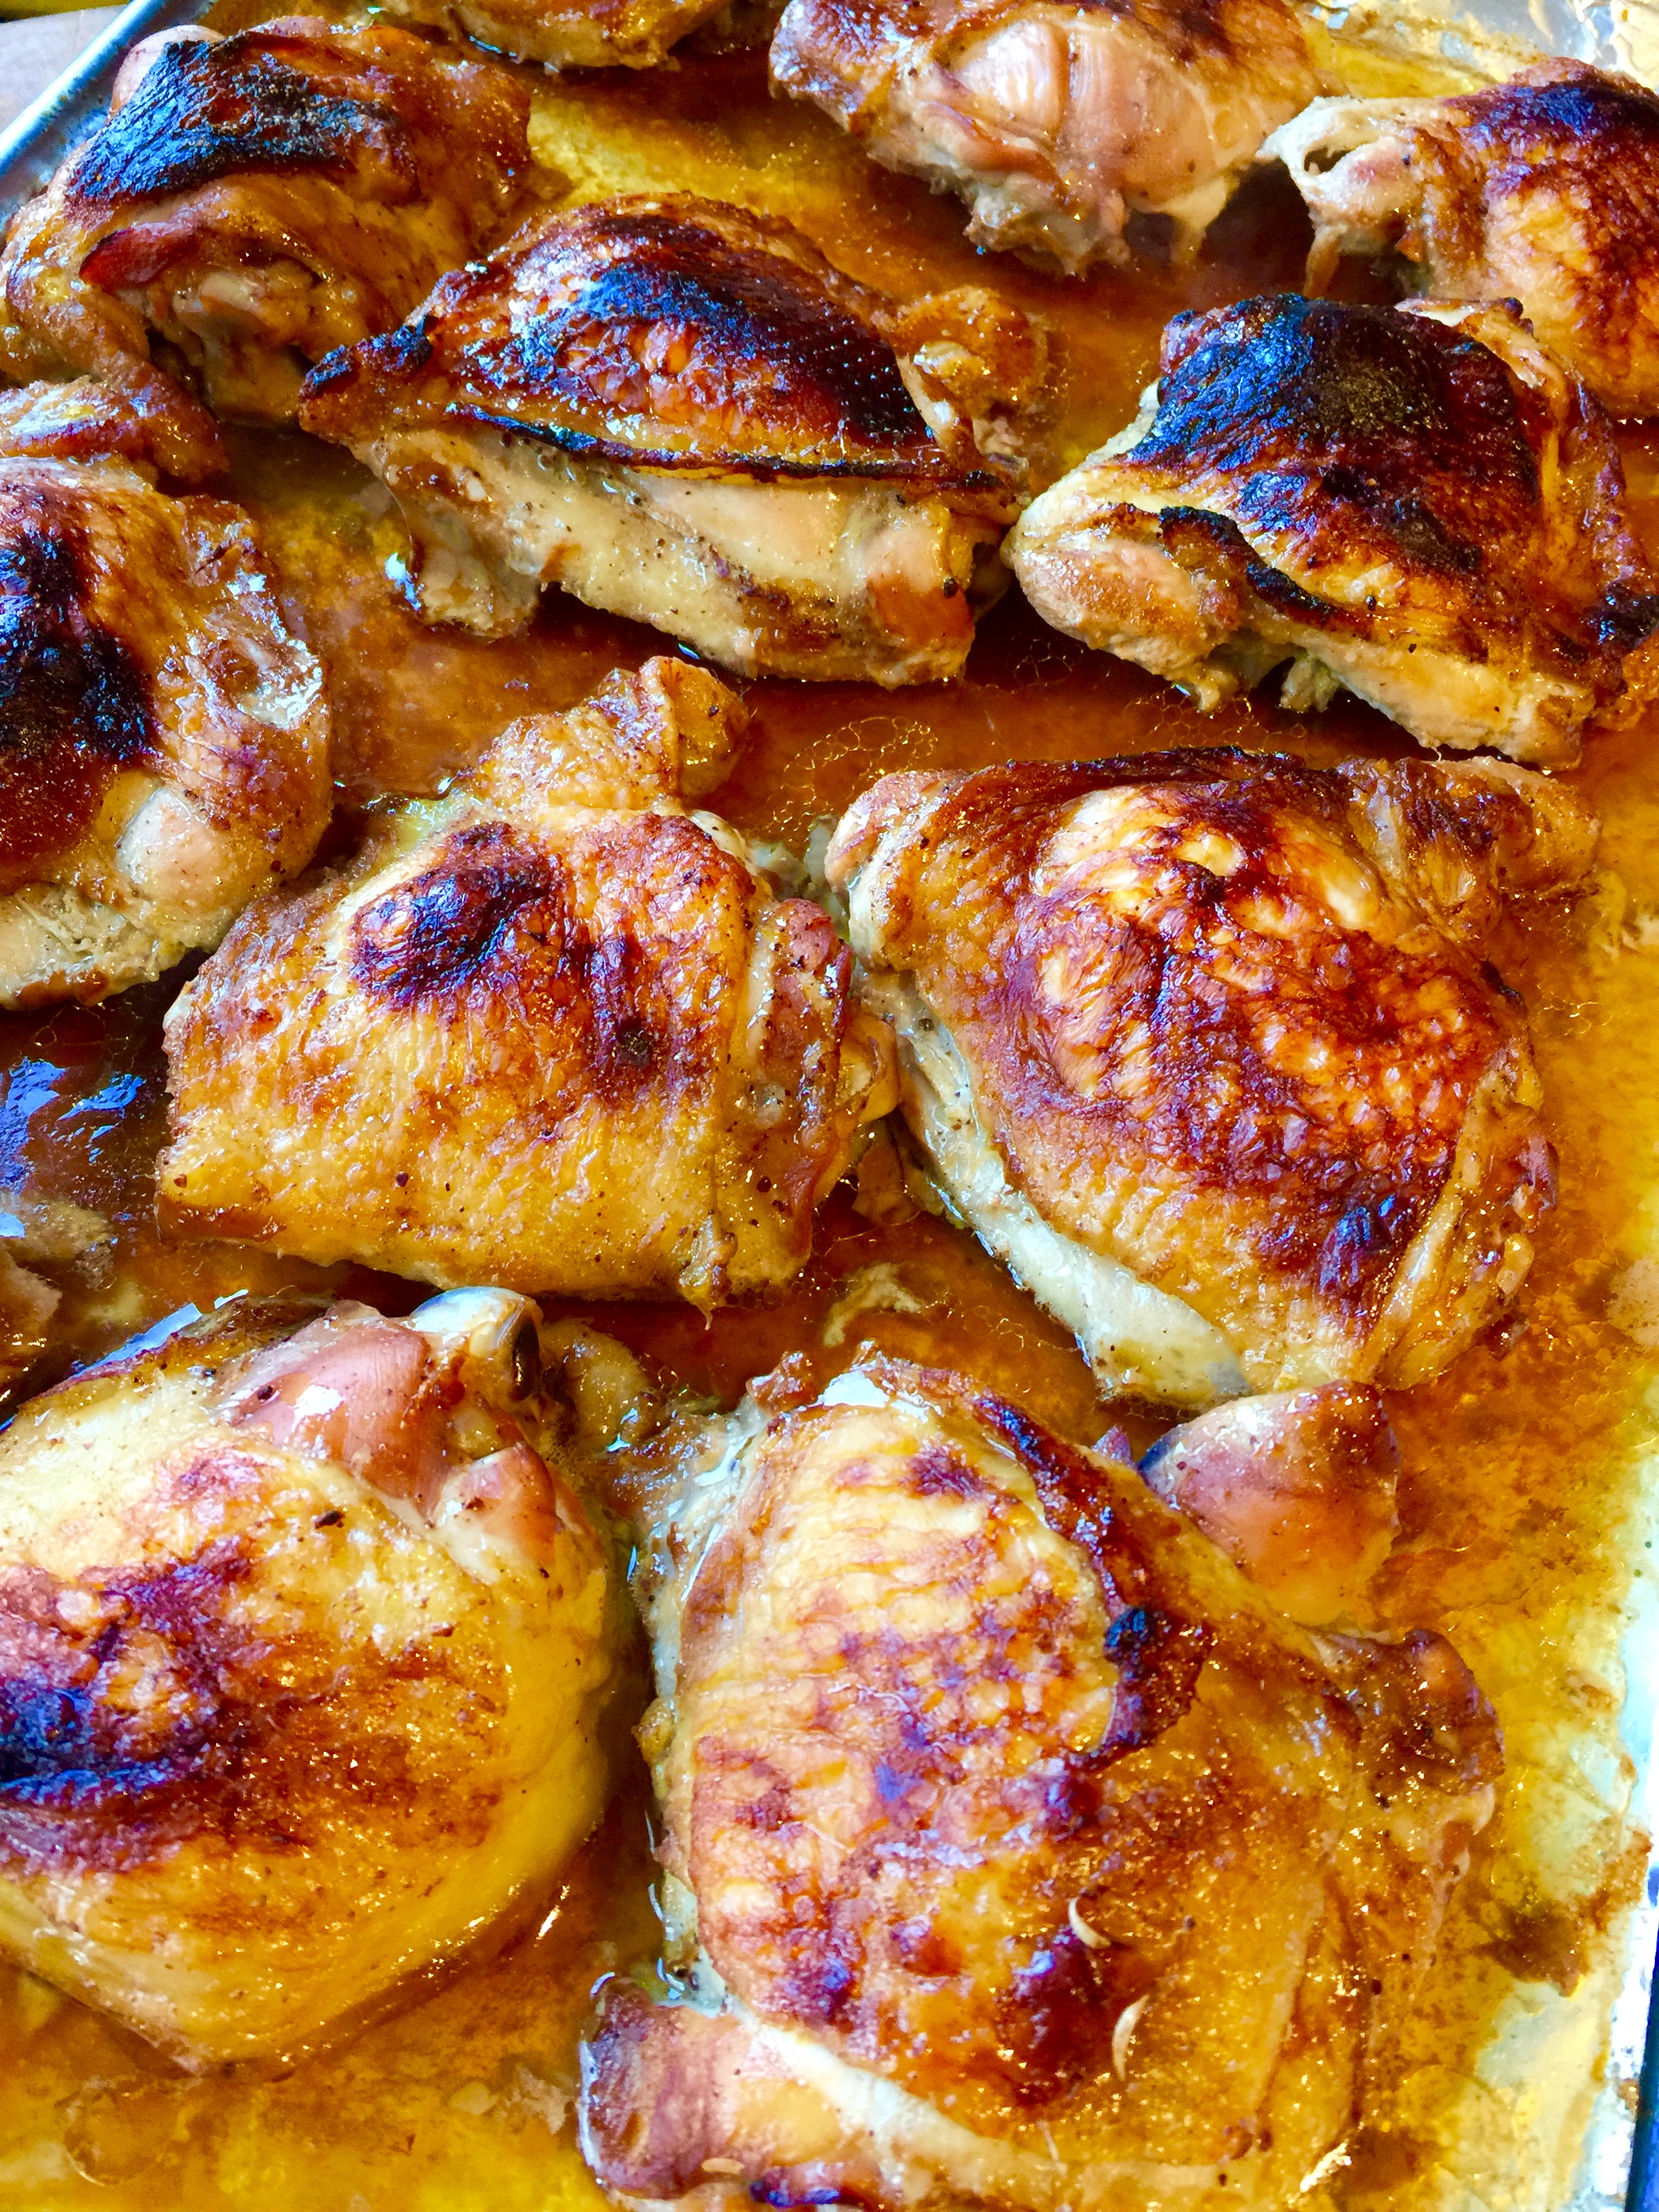
I made a batch of Awesomesauce for taco night at the house, and decided to use the leftovers the next day to coat pieces of chicken before roasting. The chicken came out moist and delicious. And because I sprinkled some breadcrumbs on them, they had a nice added crunch.

image

For the Awesomesauce:
1/2 cup mayonnaise
1 tablespoon ketchup
1 tablespoon mustard (I like Gulden’s)
1 tablespoon dill pickle relish
1/4 teaspoon granulated garlic
1/4 teaspoon paprika
Pinch cayenne pepper
4 lbs. organic pastured chicken pieces
plain breadcrumbs (I use gluten-free)

In a bowl, combine the mayo, ketchup, mustard, dill pickle relish, garlic, paprika and cayenne. Mix thoroughly and keep in the fridge until you’re ready to use it.

Pre-heat the oven to 325.

Rub the Awesomesauce all over the chicken pieces and lay them in a sheet pan lined with non-stick aluminum foil. Lightly sprinkle the breadcrumbs over the top of the chicken.

Bake until the chicken is cooked all the way through and brown and crispy.


The is a killer recipe that I’ve waited a long time to prepare. My hats off to chef Chuck Hughes for the inspiration. My hats off to my buddy, Dr. Chezwick, who sent me a gift of wild boar bellies. Locally caught Rhode Island scallops in season complete the dish.

FullSizeRender (9)

For the pork belly…
3 lbs. fresh pork belly (I used wild boar belly)
salt and pepper
1–2 tablespoons leaf lard or olive oil
1 carrot, coarsely chopped
1 celery stalk, coarsely chopped
1 onion, roughly chopped
1 fennel bulb, quartered
2 sprigs fresh thyme
1 teaspoon black peppercorns
4 cups beef stock
1 cup hard cider or apple juice

Pre-heat the oven to 350.

Season the belly with salt and pepper. On medium-high heat, melt the leaf lard, then sear the meat on all sides in an oven-proof pot big enough to hold it in one layer. Add the carrot, celery, onion, fennel, thyme and peppercorns and continue cooking for another 5 minutes, until caramelized.

Add the beef stock and the cider. Cover the pot with a lid or seal with aluminum foil, and braise the belly in the oven for 3 hours, until tender.

Remove the pot from the oven, carefully remove the pork belly, and put it on a plate. Cover it with foil. If you’re cooking earlier in the day, you can place the belly in the fridge at this point.

Strain the leftover braising liquid from the pot and discard the vegetables and thyme. Skim off the excess fat. If starting this dish earlier in the day, you can put this liquid in the fridge and the fat will harden, making it easier to remove.

FullSizeRender (8)

For the glaze…
braising liquid, strained
1 tablespoon espresso
1 tablespoon honey

In a small saucepan, reduce the brazing liquid by half, then add the espresso and honey. Cook a few more minutes until the sauce thickens. When it coats the back of a spoon, it’s ready. Set aside.

For the scallops…
Fresh scallops
salt and pepper

When you’re ready to serve, heat a pan on high heat with a little more leaf lard. Cut the belly into equal pieces and sear on all sides for about a minute. Place the scallops in the same pan, season with salt and pepper, and sear them on both sides, being careful not to overcook them.

To serve, place the belly on a plate. Top with a scallop or two. Drizzle glaze over the top. Season with Fleur de Sel or sea salt and serve immediately.

Always good to have a lovely food stylist around to make it look pretty.

Always good to have a lovely food stylist around to make it look pretty.


For me, deep-fried turkey is just too much damn work: finding a safe spot in the yard to blast the propane-fueled fryer so that you don’t burn your house down, standing outside and freezing your ass off while it fries, and then disposing of gallons of used oil at the end of it all. And making sure the oil is at the right temperature so you don’t get a scorched turkey on the outside and raw turkey on the inside. Sure, they now have indoor turkey fryers, but I’m not crazy about that idea, either.

I get great results by cooking my turkey in my Weber grill. The standard Weber allows you to cook up to a 15 lb. bird–big enough for my purposes–and it comes out crispy, smokey and delicious.

The charcoal chimney with hot coals awaits.

The charcoal chimney with hot coals awaits.

Although I’m a purist and always use natural hardwood charcoal, this recipe works best with Kingsford briquettes. The idea is for the coals to cook slowly and evenly. And, unless you want your turkey to taste like gasoline,  never use lighter fluid…always start your fire with a few pieces of crumbled newspaper under a charcoal chimney.


Weber grill, with the dome top
Kingsford charcoal briquettes (don’t use Match Lite or other pre-soaked briquettes)
Heavy duty aluminum pan (disposable)


Whole turkey, up to 15 lbs, thawed and brined (see my blog about brining a turkey)
Olive oil (to rub on turkey)
2 yellow onions, chopped
4 stalks of celery, chopped
½ lb (2 sticks) of unsalted butter, melted
1 tablespoon granulated garlic
1 tablespoon granulated onion
2 tablespoons salt
1 tablespoon pepper
Spreading the coals away from the center of the grill.

Spreading the coals away from the center of the grill.

If you want stuffing, make it separately and cook it separately. (A great recipe in my next blog.)

Light 8 to 10 lbs. of charcoal in the grill…depending on the size of the turkey and how cold it is outside.

Remove the giblets from the turkey. Place the bird in the aluminum pan.

In a small bowl, mix the granulated garlic, granulated onion, salt and pepper Add any other seasonings you like.

Coarsely chop the onions and celery. Place them in a another bowl. Mix with the melted butter and 1/3 of the salt/pepper/garlic powder mixture. Place a small handful of this “stuffing” mixture in the neck cavity of the turkey. Place the rest in the body cavity (where the stuffing would usually go.) You can fasten the bird with turkey skewers if you like. This “stuffing” is strictly to flavor the turkey…you don’t eat it!

The rubbed, stuffed and seasoned bird.

The rubbed, stuffed and seasoned bird.

Rub the outside of the entire turkey with the olive oil and sprinkle the rest of the garlic/onion/salt/pepper mixture on the outside of the bird. Make sure you get the bird on the bottom as well.

When the coals in the grill have ashed over, spread them to the outside edges of the Weber equally. Put the cooking grill rack in place. Place the aluminum pan with the turkey in the center of the grill, keeping it away from the direct heat of the coals. If you’re using a meat thermometer, insert the probe into the thickest part of the breast, being careful not to hit the bone. Place the lid on the grill. (You may need to bend your pan a bit.) Open the vents on the bottom of the Weber as well as the lid. Important to get air circulating!

My meat thermometer calls me from as far as 100 feet away! Time for a cocktail!

My meat thermometer calls me from as far as 100 feet away! Time for a cocktail!

No basting is necessary.

Now here’s the tough part: DO NOT OPEN THE GRILL TO CHECK ON THE TURKEY! (If you must look, shine a flashlight into the vent holes on the lid to take a peek at the pop-up timer, if there is one.) The whole point is to keep the heat inside the kettle. You’ll know your turkey is done when no more smoke or heat rises from the grill, and the turkey inside stops making sizzling noises.

Remove the turkey and let it rest at least 15 minutes before carving.

If you pull the turkey out too early and find that it still needs cooking, or if your coals die out too soon, simply place the bird in a 350-degree oven to finish. It will still have that wonderful smokey flavor from the grill.

Beautifully grilled, and perfectly cooked in less than 2 hours!

Beautifully grilled, and perfectly cooked in less than 2 hours!

Thanksgiving is only a couple of weeks away. Time to talk turkey! No matter what method you prefer to cook your bird, brining it beforehand will make it tastier and juicier. And it’s easy to do.

It’s basic high school science: the brine has a greater concentration of salt and water than the molecules of the protein (in this case, a turkey) that is soaking in it. By simple diffusion, the protein molecules suck up the salty water and keep it. When you cook the meat, some of the water evaporates, but the meat still has far more moisture in it than it would have without the brine soaking, and the result is a moister, more delicious bird.

Some people use giant syringes to inject their turkeys with crazy solutions, but I think that the old way is still the best when it comes to brining. Get a big pot, fill it with the brine, and soak the bird in it. Done.

Here’s my tried-and-true turkey brining recipe. Once the brining is done, you can cook the turkey whatever way you like best. I use a method where I grill it inside a Weber grill with charcoal. It comes out smokey and absolutely amazing. I’ll have that info in the next blog.

image

1 gallon of water
2 onions
3 carrots
3 stalks celery
1 cup kosher salt
1 tablespoon black peppercorns
1/2 cup light brown sugar
1 1/2 teaspoons whole allspice
4 bay leaves
1 gallon of ice water
14–15 lb turkey, thawed

Pour the first gallon of water in a large pot. Quarter the onions, carrots and celery (no need to peel them) and add to the water. Add salt, black peppercorns, brown sugar, allspice, and bay leaves.

Let the pot come to a boil for a few minutes. Remove it from heat and let the brine cool down to room temperature.

Remove the giblets from the turkey and place the bird in a container just big enough to hold it and 2 gallons of liquid.

Pour the now-cooled brine over the turkey, then pour in the gallon of ice water.


Make sure the turkey doesn’t float up by placing a plate on top. Put the turkey container in the fridge for 4 to 6 hours, flipping the turkey over in the container halfway through.

Drain the turkey, pat it dry with paper towels, and then cook it using your favorite recipe.


I love fried chicken. And despite what most people think, fried food is really not that bad for you if you fry it properly. I use clean avocado oil every time, sometimes adding bacon fat or pork fat if I have it. And I get the oil to the right temperature: two key factors that will result in crispy chicken that isn’t bogged down with grease. What makes this recipe great is that I get all the benefits of crispy fried chicken without all the grease and without standing watch over it the whole time.

You can use any chicken parts for this recipe. Fry the chicken until it just turns golden brown and then finish it in the oven.


10 lbs. large chicken wings or chicken pieces
Avocado oil, for frying

For soaking:

1 quart buttermilk
1 tablespoon hot sauce (I use Frank’s Red Hot)

For the seasoned flour:

2 cups all purpose flour (I use gluten-free flour)
1 tablespoon sea salt
1 teaspoon freshly ground black pepper
1 teaspoon paprika
1 teaspoon granulated garlic
1 teaspoon onion powder
1 teaspoon basil
1 teaspoon oregano

Open the bottle or carton of buttermilk and add 2 teaspoons of hot sauce. Close the container and shake to combine. Place the chicken pieces in a Ziploc bag, cover with the buttermilk, and seal the bag, letting the chicken soak in it for at least several hours. Overnight is best.

image


Pre-heat the oven to 350 degrees.

In a bowl, combine the flour, salt, pepper, paprika, granulated garlic, onion powder, basil and oregano. Mix well.

After the chicken has soaked in the buttermilk, remove the pieces one at a time, leaving the buttermilk on them as you toss the pieces into the seasoned flour. Shake off the excess flour, and then set the pieces aside on a metal baking rack placed on a sheet pan.

Pour the oil into a large heavy-bottomed stock pot to a depth of 1-inch. Heat the oil to 360 degrees on a thermometer.

image

Working in batches, place the chicken pieces in the oil, being careful not to overcrowd them. Fry the chicken until it is golden brown on both sides, then place each piece back on the metal baking rack set on the sheet pan.

Once all the chicken has been fried, place the sheet pan in the oven for 30 to 40 minutes, until it’s fully cooked and crispy.

image


Feast!

ASIAN CHICKEN

Posted: October 10, 2015 in Carnivore!, chicken, Food, Recipes
Tags: , , , ,

When I’m jonesing for really good Chinese food, I have to make it myself. I live in the boonies, nowhere near my favorite Chinatown restaurants of Boston or New York City. This chicken satisfies my cravings.

image

1 pastured whole chicken, about 5 lbs.
Soy sauce
Coconut oil
1 tablespoon Chinese Five Spice
1 teaspoon granulated garlic
1 teaspoon salt
1/2 teaspoon pepper
4 tablespoons soy sauce
4 teaspoons sesame oil
1 tablespoon honey
1 tablespoon peanut butter
1 tablespoon orange juice
2 teaspoons rice vinegar
1/4 teaspoon Sambal chili paste

Pre-heat oven to 325.

Rub the chicken with the soy sauce, and then rub it with the coconut oil.

In a bowl, combine the Chinese Five Spice, garlic, salt and pepper. Rub this all over the bird, placing some in the body cavity as well.

In a separate bowl, combine the glaze ingredients: soy sauce, sesame oil, honey, peanut butter, orange juice, rice vinegar and Sambal.

Cook the bird until it’s about 10 minutes before it’s done. Then brush the glaze on the bird and return it to the oven for 5 minutes. Do this twice.

Let the bird rest before carving.