Archive for the ‘Food’ Category

Maybe you saw the story in the news recently: the nephew of Colonel Sanders himself revealed the 11 secret herbs and spices that made KFC’s original recipe chicken a worldwide success. He claimed he worked for his uncle for many years and had to make huge batches of the seasoning mix. The article reduced the amounts to a more user-friendly version, which I put together last night.

You have to understand something…although I’m a big proponent of grass-fed this and pastured that, I have a weakness. My kryptonite is KFC’s original recipe chicken. There’s a KFC right next door to a local Home Depot in my area and my car literally drives itself to the pick-up window…I can’t help it. I justify the consumption of grease by asking for no sides–no biscuit, no nothing. I get one breast and one thigh, and I drive off, steering my car with my knees as I indulge in my dirty secret.

Making the KFC chicken recipe at home means I do have some control over product quality. I use pastured or organic chicken. I use clean oil. And I oven-fry my chicken, meaning I fry it in oil until golden brown, then finish the cooking process in the oven.

I have to say, the recipe really works! Maybe if I placed the real KFC side-by-side with my home-made chicken, I’d notice a difference. But it was pretty damn close and absolutely delicious! If I could change one thing, I would use smaller chicken pieces next time. I used large pieces and the meat-to-breading ratio was off. Though it was mighty tasty, I was craving more breading per bite.


2 cups all-purpose flour
4 tablespoons paprika
1 tablespoon black pepper
1 tablespoon celery salt
1 tablespoon dried mustard
1 tablespoon garlic salt
1 tablespoon ground ginger
2 teaspoons white pepper
1 1/2 teaspoons thyme
1 1/2 teaspoons basil
1 1/2 teaspoons oregano
1 teaspoon salt
1 cup milk
1 egg
5 lbs. chicken pieces…your choice
oil, for frying


Combine the flour and the “11 herbs and spices” in a bowl. Mix well.

In another bowl, whisk together the milk and the egg. Add the chicken pieces to this bowl and let the chicken soak in it for 10 minutes.

Pre-heat the oven to 350 degrees.

Pour a couple of inches of the oil into a pan with high sides and heat to 340 degrees, using a thermometer. Don’t go too high up, because oil expands when hot and could spill over.

Take the chicken pieces and coat them with the seasoning mix one at a time, making sure you coat them well. Carefully place the chicken in the hot oil. Don’t overcrowd the pan…work in small batches. Too much chicken could cause the oil to spill over the top.

Fry the chicken pieces until golden…no need to cook them all the way through. Place the pieces on a baking sheet lined with non-stick aluminum foil. When all the chicken has been fried, place the baking sheet in the oven and cook until the chicken pieces reach an internal temperature of at least 160 degrees.


An article recently appeared in Eater, showing how you can make the famous Shake Shack burgers. (https://www.eater.com/2017/5/13/15629654/recipe-shake-shack-burger?yptr=yahoo) But the one thing missing was the “Shack Sauce.” I’m here to help with that!

If I haven’t completely captured the taste of it, I’ve come pretty darn close. I do know that my Awesomesauce makes every cheeseburger I grill taste amazing. It’s also fantastic for shrimp, crab or lobster salad…a dip for veggies or boiled shrimp…a dressing for tacos…and great on salads.

Awesomesauce


1/2 cup mayonnaise
1 tablespoon ketchup
1 tablespoon yellow mustard
1 tablespoon dill pickle relish
1/4 teaspoon garlic powder
1/4 teaspoon paprika
Pinch cayenne pepper

Combine all the ingredients in a bowl. Refrigerate it covered for a few hours to blend the flavors.

Sometimes the best ideas come from out of nowhere.

I had 5 lbs. of beautiful St. Louis-style heritage Berkshire (also known as Kurobuta) pork ribs thawing in the fridge, and I knew I wanted to create a new sauce or glaze with them, but I was feeling less than inspired. Our food-loving friends, Don and Johanna, showed up at our door with a gift they bought in Maine, at a shop called LeRoux Kitchen. It was a bottle of maple balsamic vinegar. It smelled wonderful…and tasted even better! I knew I had what I was looking for.


By the way, if Don (a talented local artist: http://www.doncadoret.net) and Johanna (a talented teacher) aren’t your friends, you can easily make your own maple balsamic vinegar by combining a 1/2 cup of balsamic (not the super-expensive kind, but the $9-a-bottle kind) with 2 teaspoons of maple syrup. Add more or less maple to taste. (That’s what I’ll be doing when this bottle runs out!)


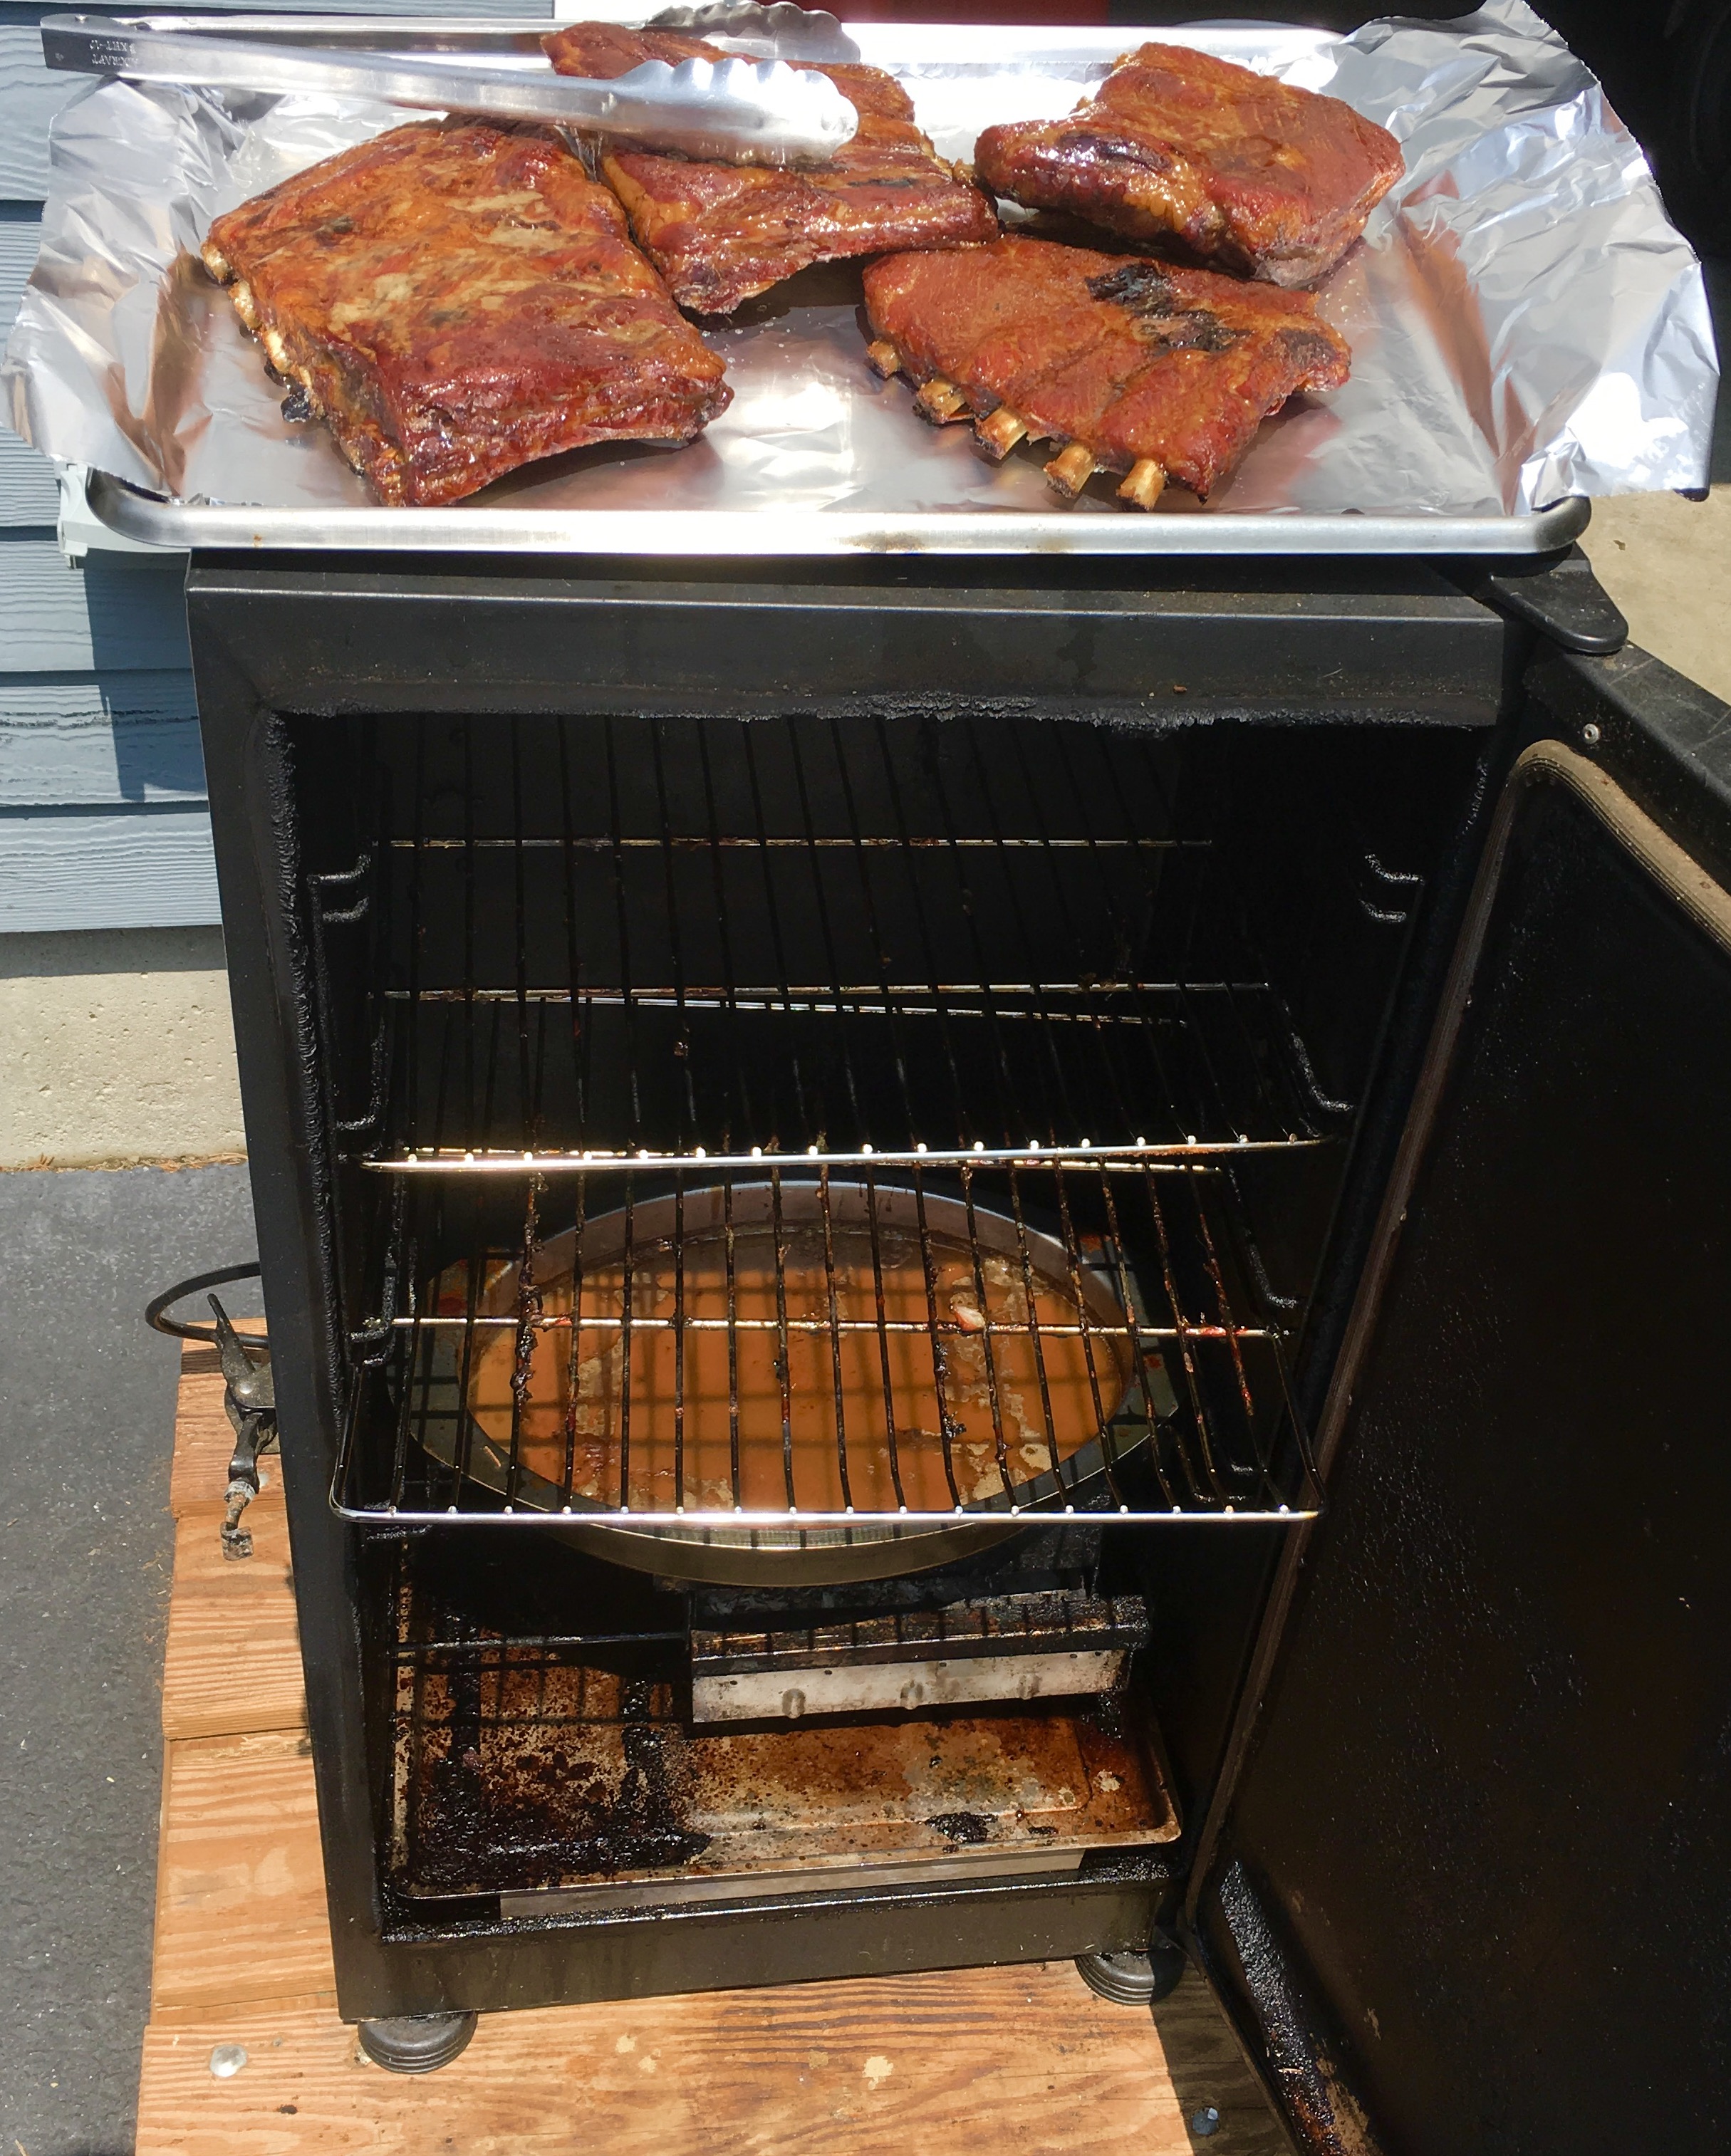
Yup…my smoker…she’s been used a few times!


I use an electric digital smoker made by Masterbuilt. I like the fact that I can set the temperature and time, and not have to constantly watch it. It has a side chute where I can add smoking chips when I want, and the results are consistent. I suppose some grilling fanatics might say I’m cheating, but a digital smoker allows me to live a life, hang out with my family, do some yard work. I don’t have time to babysit.

I chose to smoke my ribs for about 4 hours in the smoker, lightly seasoning them first with Lawry’s Seasoned Salt, adding hickory chips to the smoker only once to give them a “light smoke.”


Brushing with glaze, then wrapping in foil.


Although I always use a water bath in my smoker, the ribs still come out visibly dry, so I like to brush them with a glaze, wrap them in foil and finish the cooking process in the oven. The glaze flavors the meat and also adds a little steam that tenderizes it.

5 lbs. pork ribs (I get St. Louis-style Berkshire pork)
Lawry’s Seasoned Salt

1 cup water
1/2 cup maple balsamic vinegar
1/4 cup brown sugar
1/2 teaspoon granulated onion
1/2 teaspoon granulated garlic
1/2 teaspoon cayenne pepper sauce (I like Franks’ Red Hot)


Prepare the ribs by removing the inedible skin on the back of the rack. The easiest way to do this is to cut a little “tab” of skin, then pull it with your fingers. Holding the skin with a dry paper towel will help your grip. I cut the racks in half to fit my smoker.

Season the ribs lightly with Lawry’s Seasoned Salt on both sides and place them into a 240-degree smoker for 4 hours, smoking lightly with hickory wood.

In a saucepan over high heat, combine the water, maple balsamic vinegar, brown sugar, onion, garlic, and cayenne pepper sauce. Stir well, and let it come to a boil. Let it reduce by half, leaving it still watery. Set aside.

After 4 hours, remove the ribs from the smoker, placing them on a sheet of aluminum foil. (I use Reynold’s Non-Stick Foil, since the glaze will be sticky.) Brush both sides of the ribs with half of the glaze, and place the ribs meat-side-down on the foil before sealing the it around the ribs. Place the aluminum foil packets on a baking sheet, then into a pre-heated 250-degree oven.

While the ribs are cooking in the oven, turn the heat up on the remaining half of the balsamic glaze in the sauce pan and reduce it until it starts to thicken. Once you reach that stage, turn the heat off and set it aside.


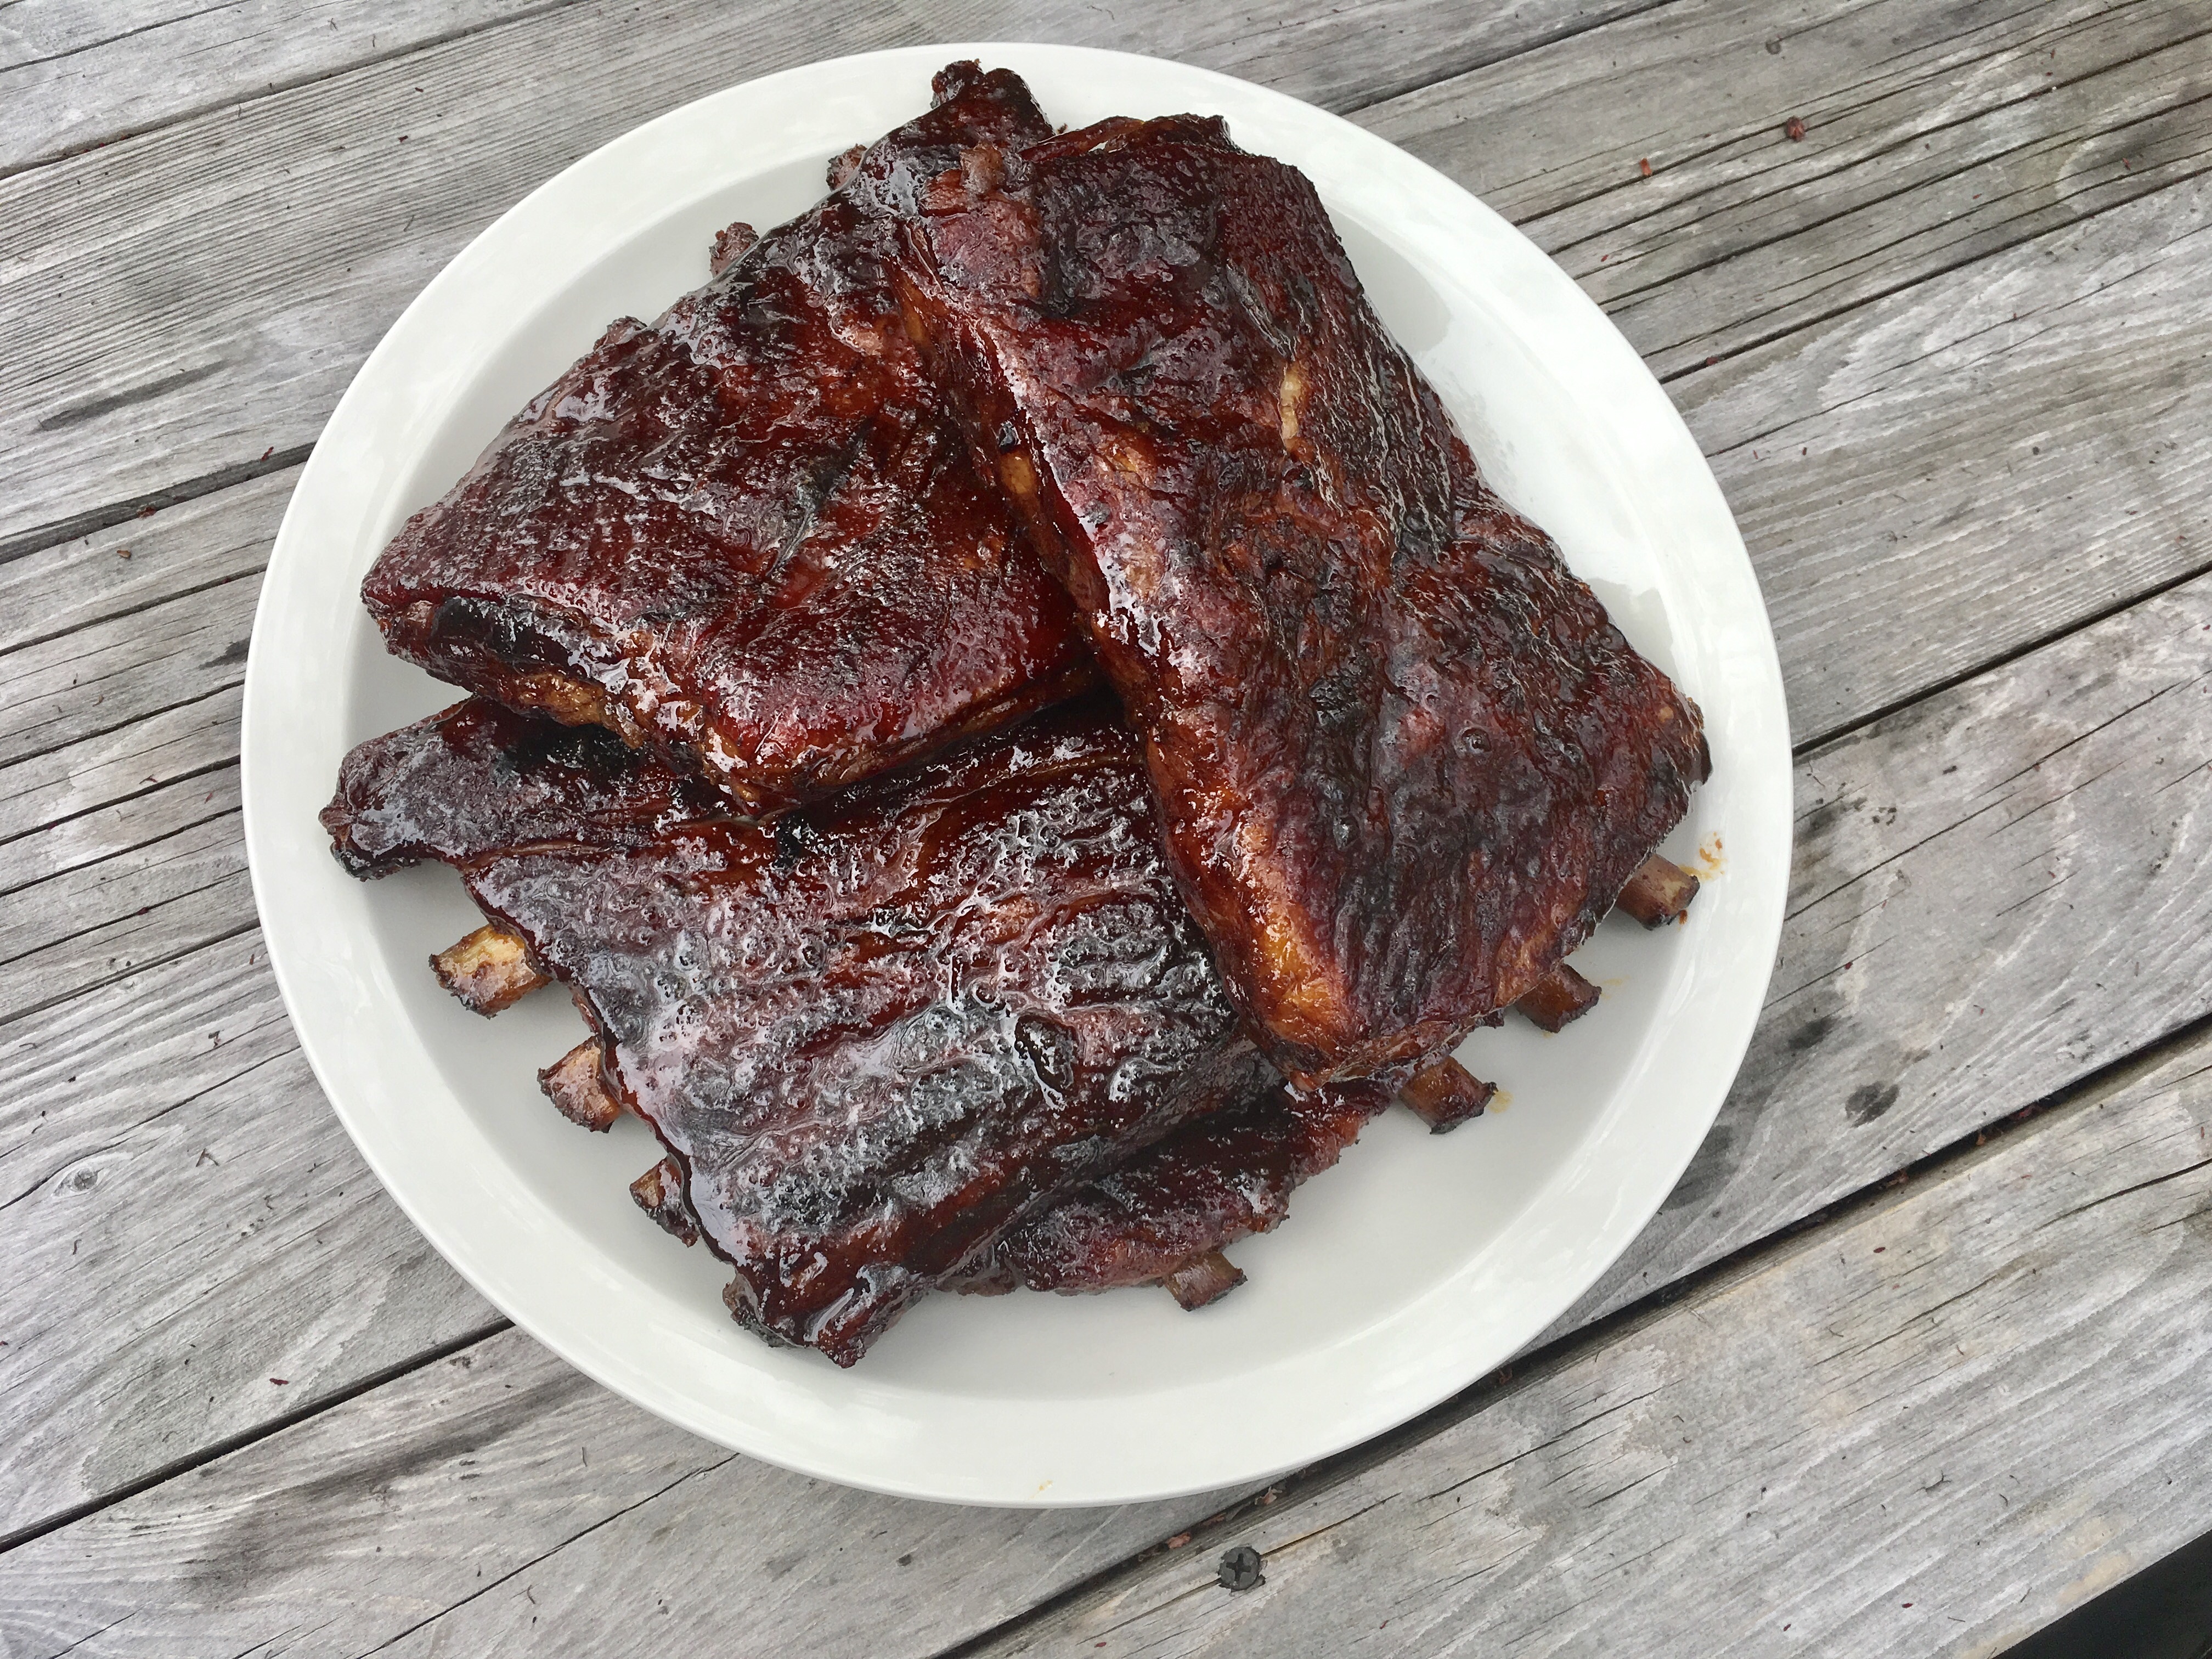
Remove the ribs from the oven after 2 hours. Open the foil packets so that the ribs are now exposed. Brush the bottom of the ribs (which should be facing up), then flip the ribs over and brush the meaty side. The ribs should be falling off the bone at this point, which means they’re ready to serve.


PICKLING BEETS

Posted: May 10, 2017 in beets, Food, pickling, Recipes
Tags: , , ,

Growing up in a Lithuanian family, there was a small group of foods that I had to love to survive, since they constantly appeared on the dinner table: potatoes, cabbage, mushrooms, herring, and beets. Fortunately for me, I loved them all, despite my Mom’s desire to boil everything to death.

One of the many uses for beets, besides a cold summer soup and a hot winter soup, was pickling. Pickled beets are an excellent side dish for any hearty meat dish. (I love ’em with kielbasa!)  Store-bought pickled beets pack way too much sugar in every jar, so it was time to make my own. The addition of hard-boiled eggs to the mix is a personal one. If you don’t like ’em, leave ’em out and add more beets.

A real time saver is a product called Love Beets, which you can find in any supermarket. If you use them, you can skip the roasting of the beets altogether.

beets


4 to 8 beets, scrubbed (your favorite variety)
1 cup apple cider vinegar
1 cup water
3 garlic cloves, crushed
3 tablespoons sugar
2 teaspoons whole black peppercorns
1 tablespoon Kosher salt
1 red onion, sliced
4 hard-boiled eggs, peeled (optional)
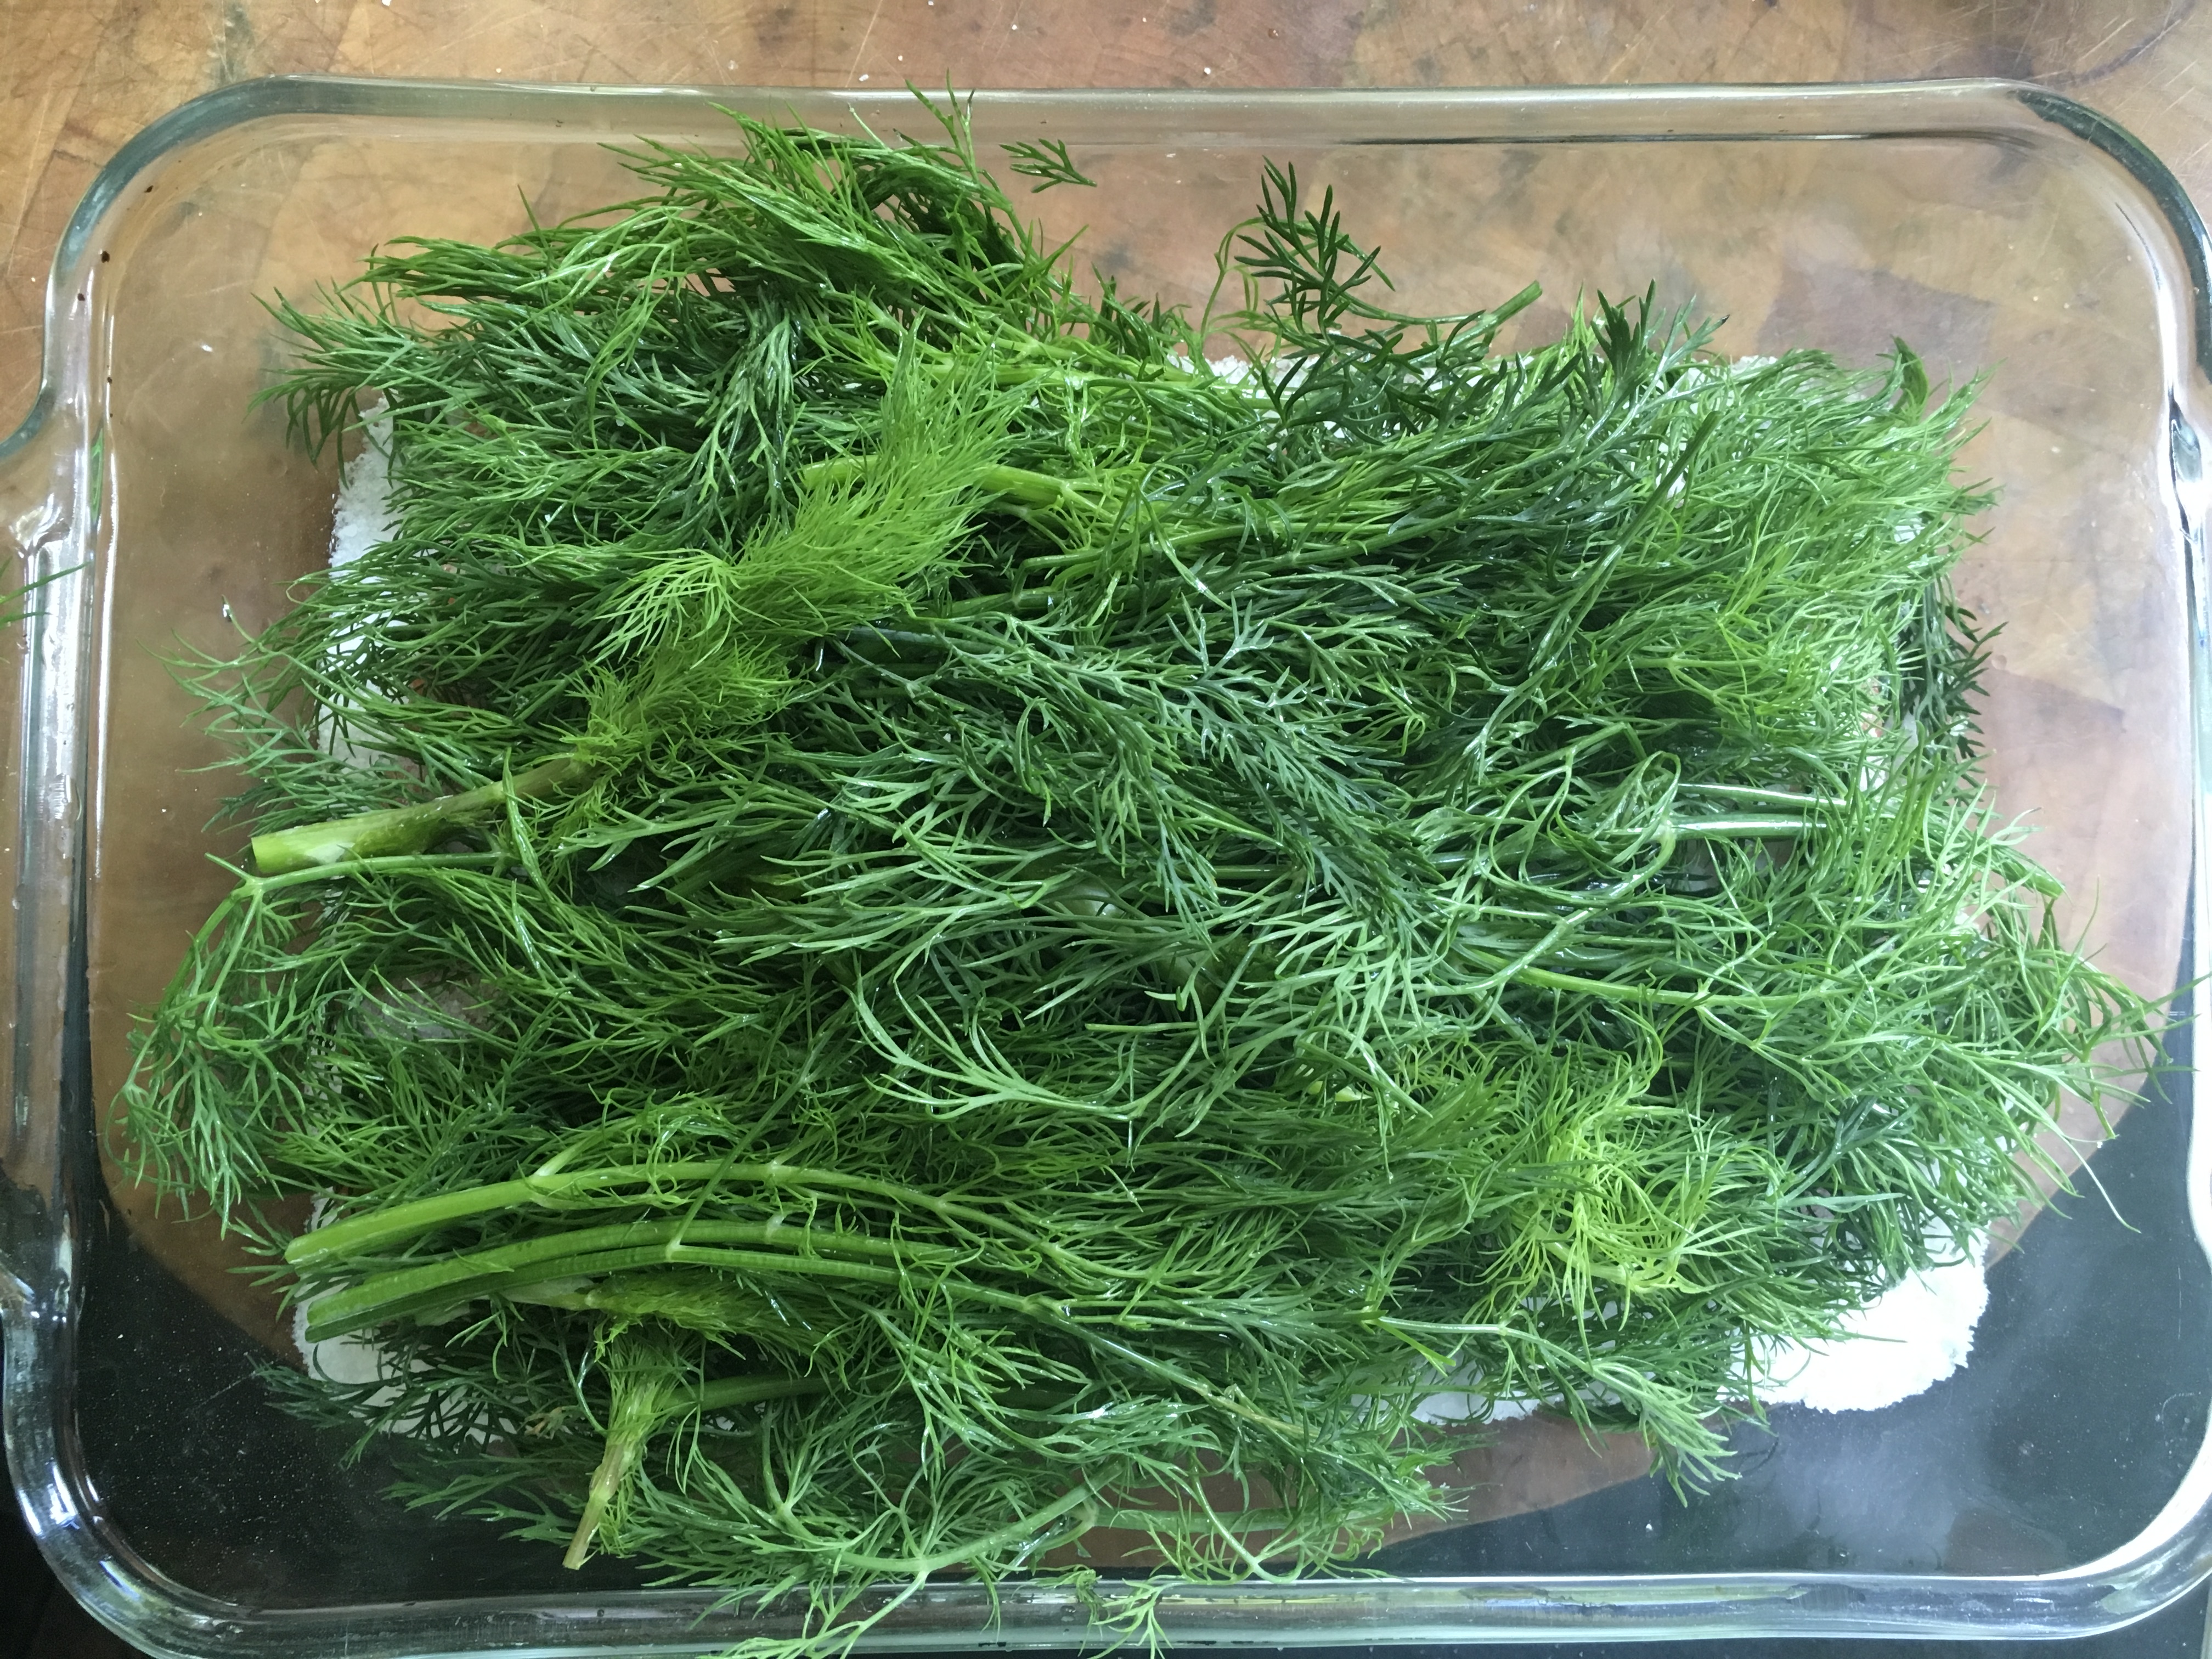
6 fresh dill sprigs

Pre-heat the oven to 450. Wrap the beets in foil and roast for about an hour, until tender. When they’re cool enough, carefully peel and quarter them.

In a medium saucepan, combine the vinegar, water, garlic, sugar, peppercorns and salt. Bring it to a boil and simmer over moderately high heat, stirring until the sugar has dissolved. Let the pickling liquid cool to warm, about 15 minutes.

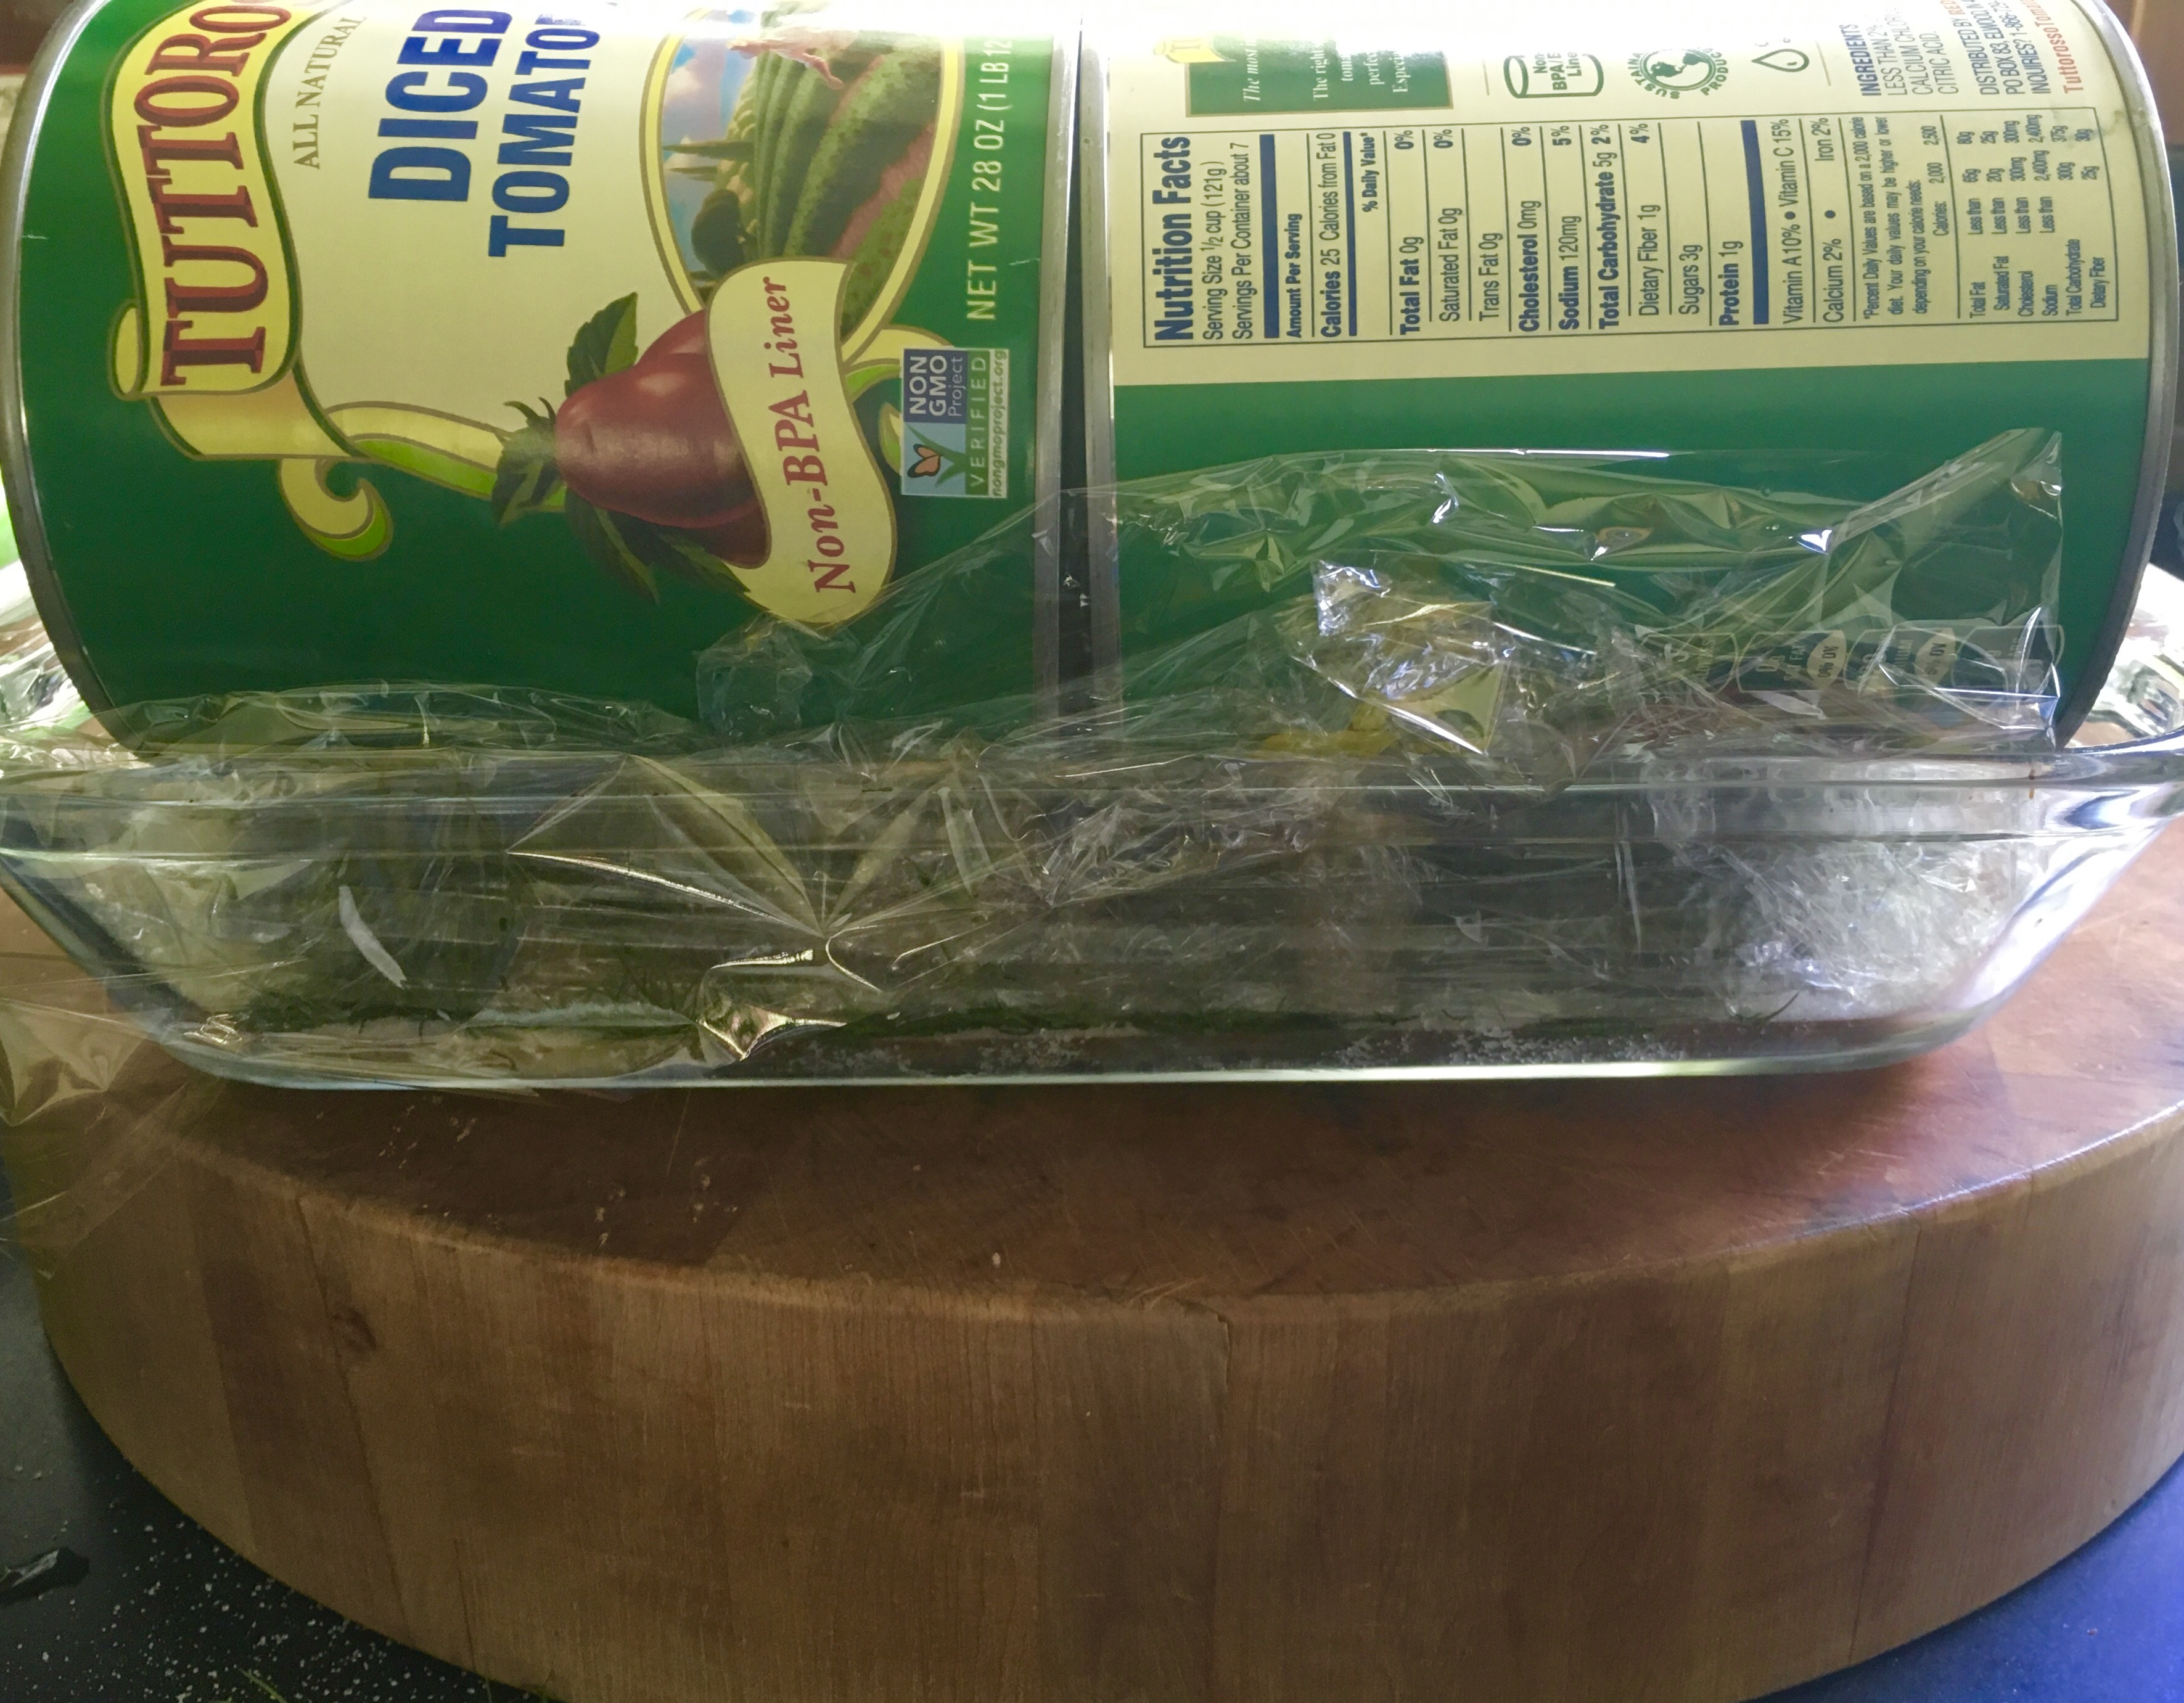
In a heat-proof glass jar or container, layer the beets, onion, eggs and dill sprigs and then cover with the pickling liquid. Let it stand at room temp for 2 hours, then place it in the fridge overnight.

They stay fresh for a week, but they won’t last that long!

I’ve got dozens of chicken wing recipes,  but even so, sometimes I just want something different. I decided to take my favorite taco seasonings recipe and adapt it to chicken wings. Caramba! One of the tastiest wings I’ve made in a long time!

This is such an easy and delicious recipe to make, even for a crowd. At your next party, just double or triple the recipe, as needed.

2 teaspoons salt
2 teaspoons cumin
2 teaspoons oregano
1 teaspoon paprika
1 teaspoon granulated onion
1/2 teaspoon granulated garlic
1/2 teaspoon pepper
avocado oil
4–5 lbs. chicken wings


Pre-heat the oven to 375.

Combine the salt, cumin, oregano, paprika, onion, garlic, and pepper in a bowl. Mix well.

Cover a baking sheet with aluminum foil and spread the wings out on the sheet. Sprinkle the wings with the avocado oil and rub the oil all over the wings. This will help the wings cook evenly,  and it’ll help the seasonings stick to the wings.

Turn the wings bottom-side-up and sprinkle with the seasoning mix. Flip the wings over and sprinkle them again, coating them evenly.

Place the baking sheet in the oven and bake for about 45 minutes.


Here in Rhode Island, we have access to amazing seafood year-round. My friend Gary, is a lobster man. My neighbor farms oysters. And for anything else, I go to my friends’ farms: Simmons Organic Farm in Middletown, RI and Wishing Stone Organic Farm in Little Compton, RI…great places for veggies, bakery goods and pastured meats.
I was on a mission to find fresh mussels the other day, and in the process, stumbled upon fresh bay scallops, piled high on ice at a local farmers’ market. Unlike like the larger sea scallops or bomster scallops, bay scallops are small and sweet, about the size of a mini-marshmallow…hard to find and my absolute favorites.
 image
As far as I’m concerned, there is no better way to eat a fresh scallop than right out of the shell with just a little marinade on top, popping these beauties into my mouth literally as they’re still pulsing on the shell.
Scallops are a bit trickier to open and clean than clams or oysters (at least for me) but all it took was a little practice while sipping a Chopin martini and I got the hang of it in no time.
There are two marinades that I use when serving up raw scallops. The acidity in these marinades will cook the scallop a little, like in ceviche, though eating them raw is perfectly fine if they’re super-fresh.
“MILLS TAVERN” MARINADE
The first place my wife and I ever had a raw scallop was at Mills Tavern, a highly rated restaurant in Providence, RI. Freshly shucked scallops (in large flat shells) were served on ice with a tangy red marinade. We never got the recipe from the restaurant, but this is our version of that marinade.
3 tablespoons rice wine vinegar
2 tablespoons Grenadine
1/2 teaspoon fresh finely grated ginger
2 teaspoons finely chopped scallions
 Combine all the ingredients and chill before using.
 image
ALZ CEVICHE MARINADE
1/4 cup freshly squeezed orange juice
1 1/2 tablespoons freshly squeezed lemon juice
1 1/2 tablespoons freshly squeezed lime juice
2 tablespoons soy sauce
1 tablespoon + 1 teaspoon peanut oil
1/2 teaspoon honey
1 1/2 teaspoons fresh finely grated ginger
2 tablespoons finely chopped scallion
2 small dried chili peppers, finely chopped
 Combine all the ingredients and chill before using.

image


I know, you’re saying you can just buy gluten-free bread crumbs. Like this stuff here…

The problem with this is that it’s all rice, made into little nuggets that’ll crack your tooth. Oh, and they taste bad, too. I never bought pre-made regular bread crumbs, so when I had to start cooking gluten-free for my wife, I wanted something better than stale breadcrumbs from a can.

I buy loaves of Udi’s Gluten-Free Whole Grain Bread and keep them in the freezer. When I need breadcrumbs, I take some of the bread out of the package and toast it in my toaster oven until golden brown. I crumble the bread into my food processor, and whizz it around until I’ve got the breadcrumb consistency I like. That’s it.

One taste of these breadcrumbs–that come from actual bread–and you’ll never go back.

If I want Italian flavored breadcrumbs, I mix them with parsley, oregano, basil, granulated garlic, granulated onion, salt and pepper. I also add a small amount of all-purpose flour (Cup4Cup GF flour) to lighten up the mix.

I use these GF breadcrumbs on everything: to coat chicken before frying for chicken parmigiana, to coat pork chops before roasting in the oven, to use in stuffed clams–anywhere I would use normal breadcrumbs. And I have to say, no one can tell the difference.

CHIMICHURRI

Posted: April 23, 2017 in beef, Food, grilling, marinade
Tags: , , ,

Chimichurri is a green sauce usually used with grilled meats. This pesto-like condiment originated in Argentina and is also commonly used in Nicaragua and Uruguay. Though some recipes include cilantro, many insist the original is made only with parsley. Chimichurri also makes an excellent marinade for grilled meats.

My buddy, Lee, a chemist and avid chimichurri fan, is the inspiration for my version of this sauce. It’s incredibly easy to make. Just make sure to use fresh ingredients, and it’s always a good idea to wash all the veggies before using.

chimi


1 bunch flat-leaf parsley, chopped
1/4 cup water
1 medium onion, chopped
3 cloves garlic, minced
3–4 tablespoons fresh oregano, leaves only (or 1 tablespoon dry)
1 tablespoon paprika
1 teaspoon crushed bay leaf
1 tablespoon coarse sea salt
1 teaspoon freshly ground black pepper
pinch red pepper flakes
1/4 cup red wine vinegar
1/2 cup extra virgin olive oil

Place all the parsley and the water in a food processor and begin to chop. When the parsley is in small pieces, stop the processor and add the remaining ingredients, except the vinegar and olive oil. Start the processor again and slowly pour in the vinegar, then the olive oil. Mix and chop, do not puree. Allow it to rest for at least 30 minutes, but overnight in the fridge is best.

I marinated 2 grass-fed beef ribeyes in chimichurri overnight. The next day, I let the beef come to room temperature and I wiped the marinade off the steaks. I discarded the marinade, then I re-seasoned the beef with a little salt and pepper and pan seared them, finishing them in a 350-degree oven until medium-rare. A little dipping of fresh chimichurri on the side.

Grass-fed beef ribeyes with chimichurri

Grass-fed beef ribeyes with chimichurri

Fast food is a relative term.
What we Americans think of as fast food is not what, say, the Italians think of as fast food. We think of drive-thru burger joints serving greasy, salty and fatty food. Swallow a burger, pop a Crestor. The Italians think fast food is something that simply doesn’t take all day to cook! If you can use the freshest of ingredients, and serve it in the time it takes to sip a half a bottle of wine while chatting with a friend, it’s fast food Italian-style.
Years ago, when my wife and I were visiting the island of Capri in Italy, one of the dishes we enjoyed was an incredibly simple pasta and tomato dish called spaghetti sciue-sciue (pronounced “shwee-shwee.”) We were told that sciue-sciue was loosely translated as “quick-quick,” although a check on the web said that it also translates to “improvisation” in Italian. And though quick it was (that is, by Italian standards), it was one of the most memorable dishes we had on our trip. It could be because of our surroundings: the famous Faraglioni rocks all around us at a small seaside restaurant called Da Luigi ai Faraglioni. We took the small shuttle boat from Marina Piccola, which made its way through those stacks jutting out of the Bay of Naples, and landed at this historic restaurant, built in 1936. People come here not only to dine, but to spend the day sunbathing and swimming. (Check out the amazing photos here. http://www.capri.com/en/c/da-luigi-ai-faraglioni)
So the reason Da Luigi’s sciue-sciue was so amazing certainly was, in part, the location…but it was also very much due to the use of the freshest and best possible ingredients…and they didn’t mess around with them too much.
The best time to make this dish is when tomatoes are at their absolute best in your area. But if you can get your hands on some beautiful cherry tomatoes off-season (they seem to be tastier than larger tomatoes in the winter months), it’s worth having a go at it as well.


 1 small can (6 oz.) tomato paste
½ cup extra virgin olive oil
2 hot Italian dried peppers, finely chopped
¼ cup white wine
8 to 10 chopped plum or cherry tomatoes (as ripe as possible)
12 to 15 torn fresh basil leaves
½ stick (4 oz.) unsalted butter
1 ball of fresh mozzarella (about 12 oz.)
1 lb. of spaghetti, or better yet, bucatini (Using GF pasta will keep this whole dish gluten-free)
Sea salt
Fleur de Sel (optional)
Heat a large pot of salted water to a boil and toss the pasta in.
Almost burn—as in “heavily caramelize”—the tomato paste in a large pan with the olive oil, salt, and the dried peppers. Add the white wine to de-glaze, and simmer until reduced by half.
Add the chopped tomatoes and simmer on medium heat until they start to break apart. Hand tear the mozzarella ball into shreds and add to the sauce, stirring gently. Add the basil.
Add the butter, gently stirring until it melts.
When the pasta is slightly firmer than al dente, drain it and add it to the pan with the sauce.
Serve immediately, finishing with a little Fleur de Sel.


Finito!

I’m addicted to garlic salt. Garlic salt made by the Essex Garden Club in Essex, CT. It’s not available on-line. In fact, there are only 2 places I know you can get it. One is the annual “May Market,” where worshippers of this salt, like me, can replenish their pantry. This year, the date of the May Market  is May 13th, from 9AM to 2PM. (www.essexgardenclubct.org)

If I miss the May Market, my only other chance is to go to a local gift shop called Gracie’s Corner, on the main drag in Essex. But they’ve got a limited supply, so I beg my Essex friends to go there and buy 6 jars at a time for me. I used to be able to have them shipped directly from the shop, but a few years ago they told me they don’t ship anymore. I was heartbroken.


This should last me a couple of weeks!

What makes the Essex Garden Club garlic salt so amazing is that you actually see pieces of garlic and herbs in it. I’m not sure what they do to it and how they do it, but it’s so damn good, I’ve got to put it on everything. Case in point: garlic salt chicken thighs!

The thighs can take the high heat without drying out because they’ve got more fat than other cuts. The skin gets so crispy, you’d think it has breadcrumbs on it, but it’s simply a glorious garlic salt crust!


3 lbs. chicken thighs
olive oil
2 tablespoons Essex Garden Club garlic salt
1 tablespoon granulated onion
1 tablespoon oregano
1 tablespoon parsley
1 teaspoon pepper


Pre-heat the oven to 400 degrees.

Combine the garlic salt, onion, oregano, parsley, and pepper in a bowl.

Rub the thighs with olive oil and place them on a baking sheet lined with foil. Season both sides with the garlic salt mixture.


Cook the thighs for about 20–25 minutes, until the skin is crisp and golden.