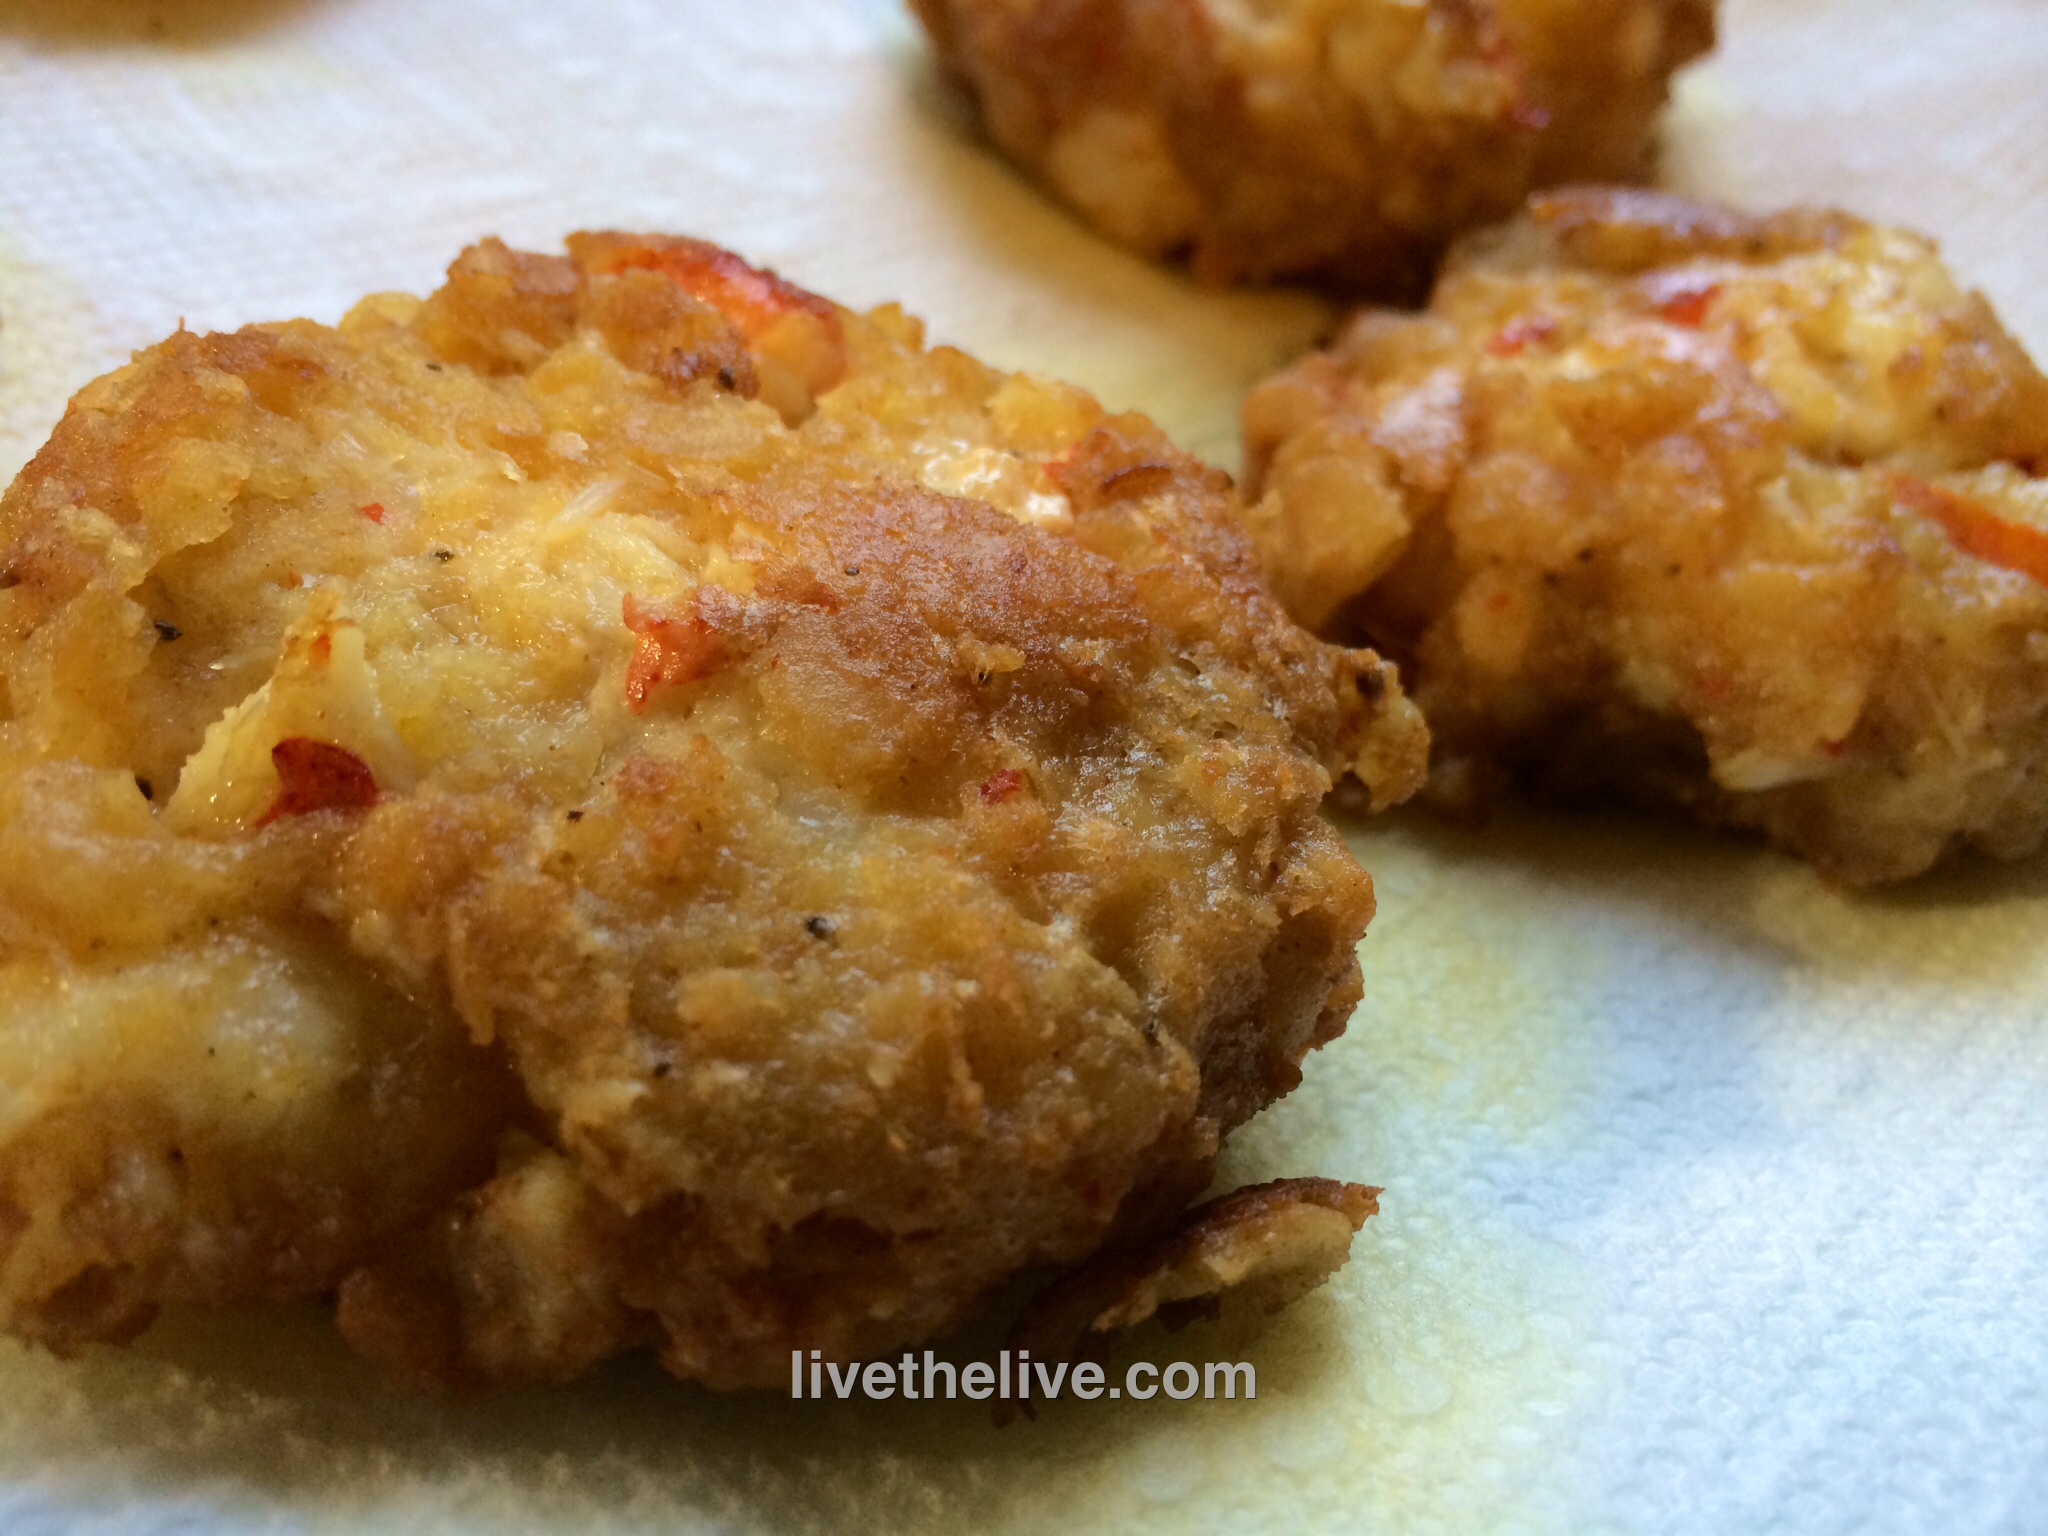
Great fried shrimp is like sea candy…you just can’t get enough. This recipe is easy and really delicious. Never use anything but wild-caught American shrimp!

1 lb. wild-caught USA shrimp
1/2 cup all-purpose flour (I use Cup4Cup GF flour to keep it gluten-free)
1/2 cup yellow corn meal
2 tablespoons Paul Prudhomme Seafood Magic seasoning
1 teaspoon sea salt
1 raw egg, scrambled
avocado oil or pork fat, for frying
Combine the flour, corn meal, Prudhomme seasoning (see below) and salt in a bowl. Set aside.
Scramble the egg in another bowl and set aside.
Peel and de-vein the shrimp. Remove the entire shell, or leave the tip of the tail, depending on your preference.
Heat a pan with an inch of the oil. When it reaches 325 degrees, it’s ready for frying.
Dip the shrimp in the egg, and shake off any excess. Then toss the shrimp in the flour mixture, shaking off any excess. Carefully place the shrimp in the pan of oil.
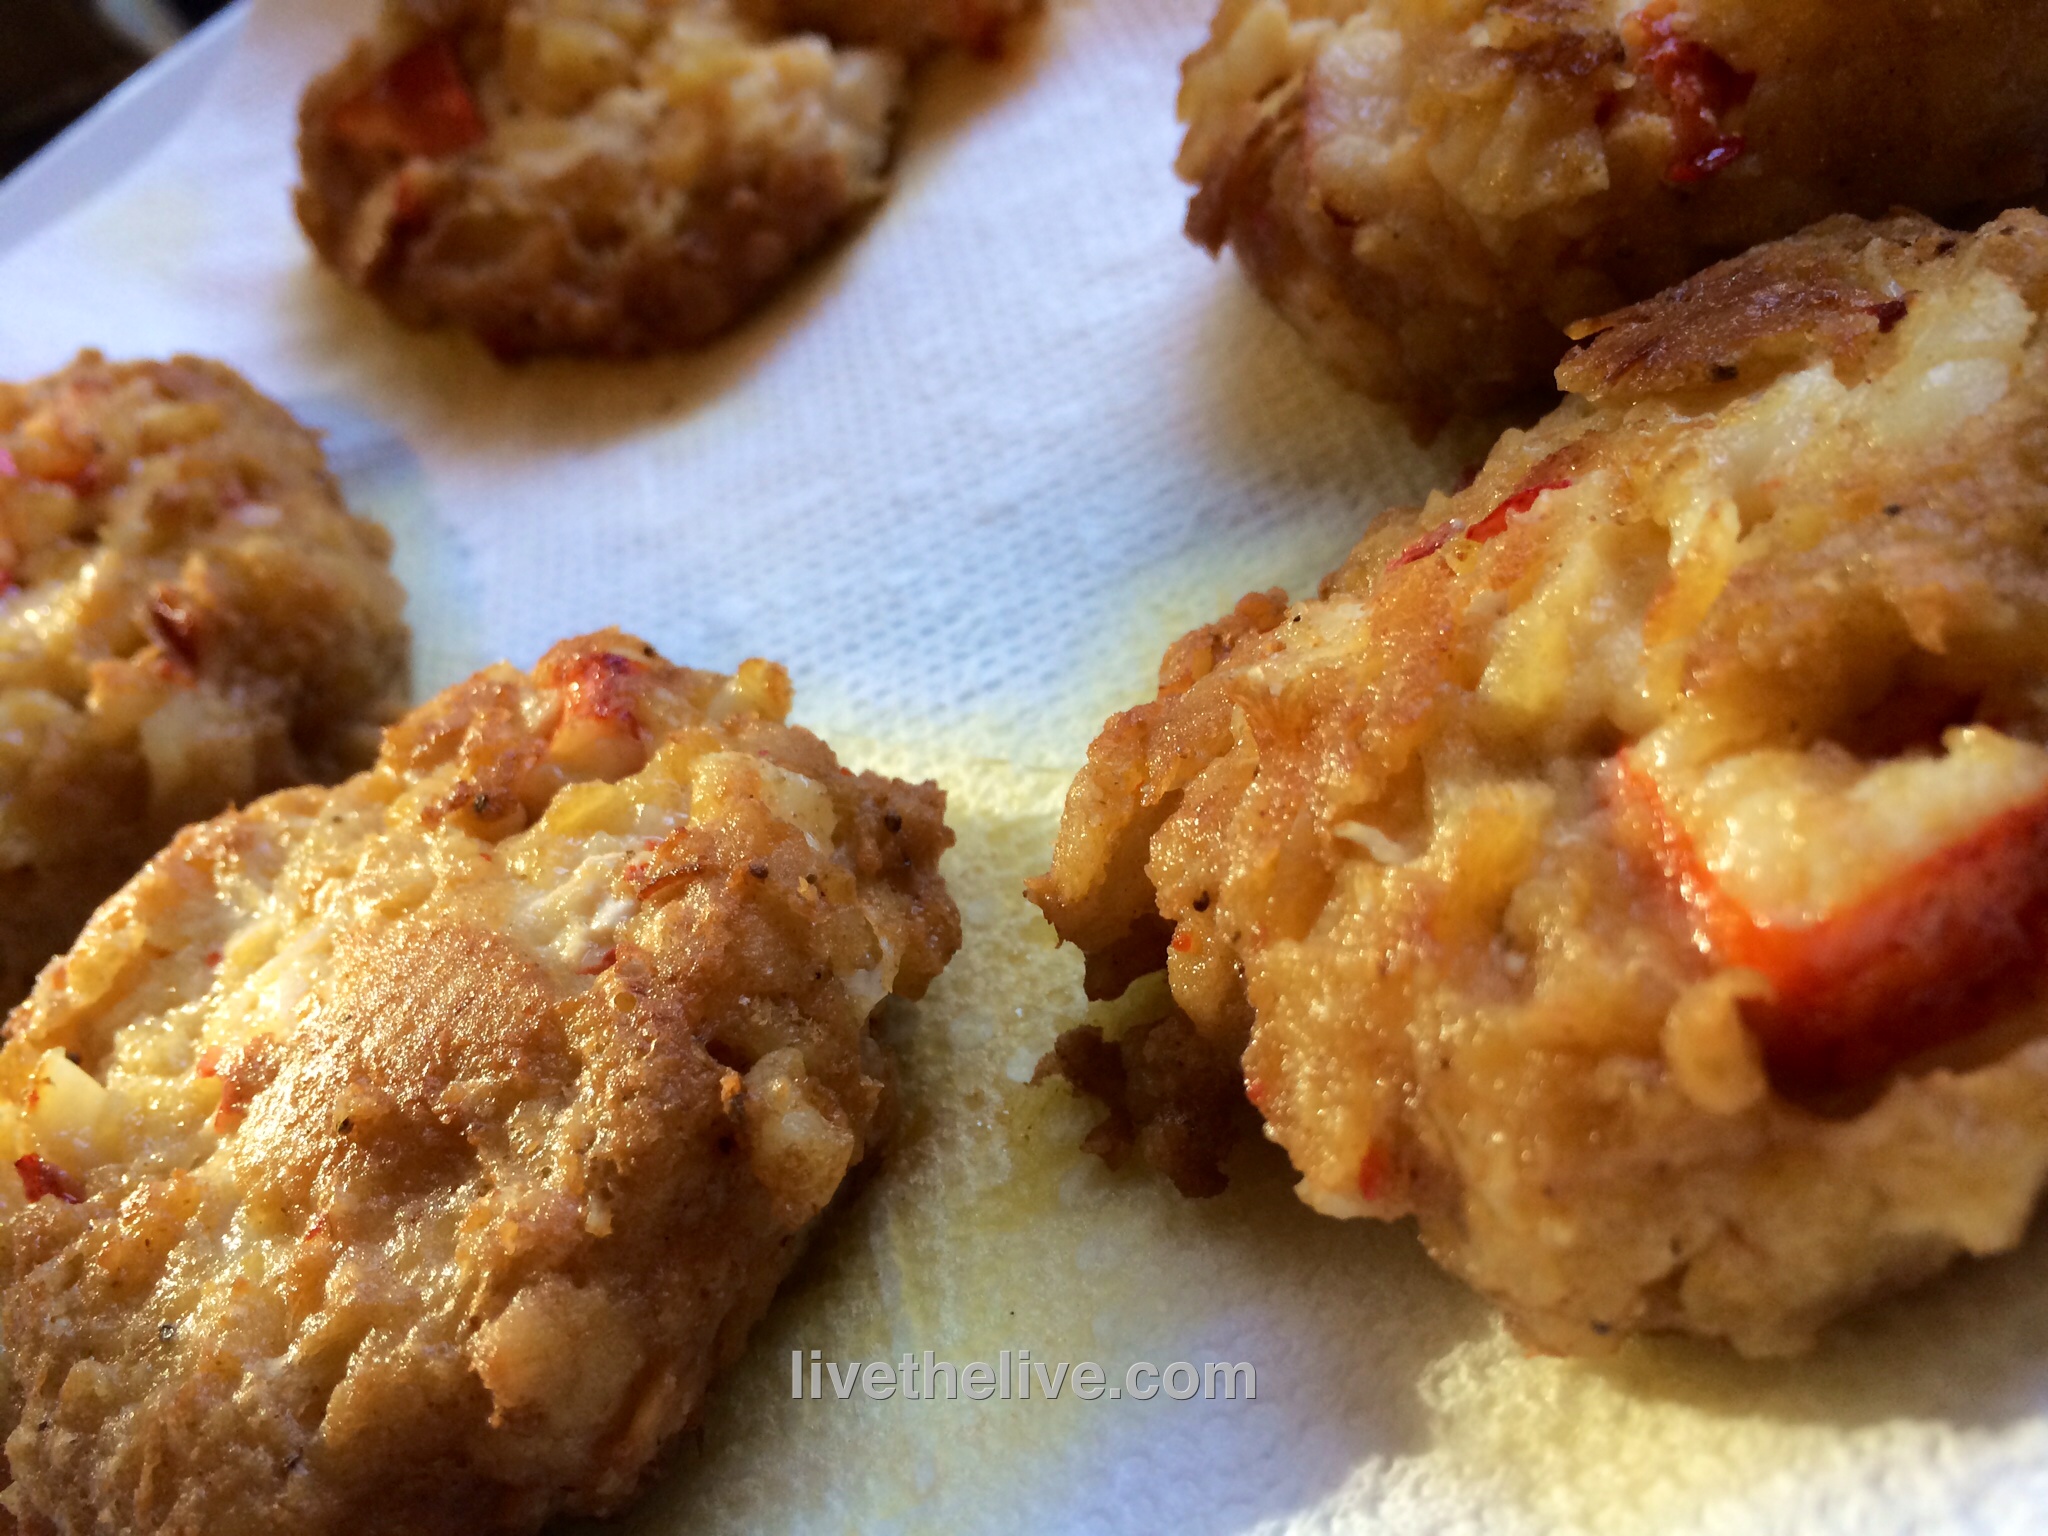
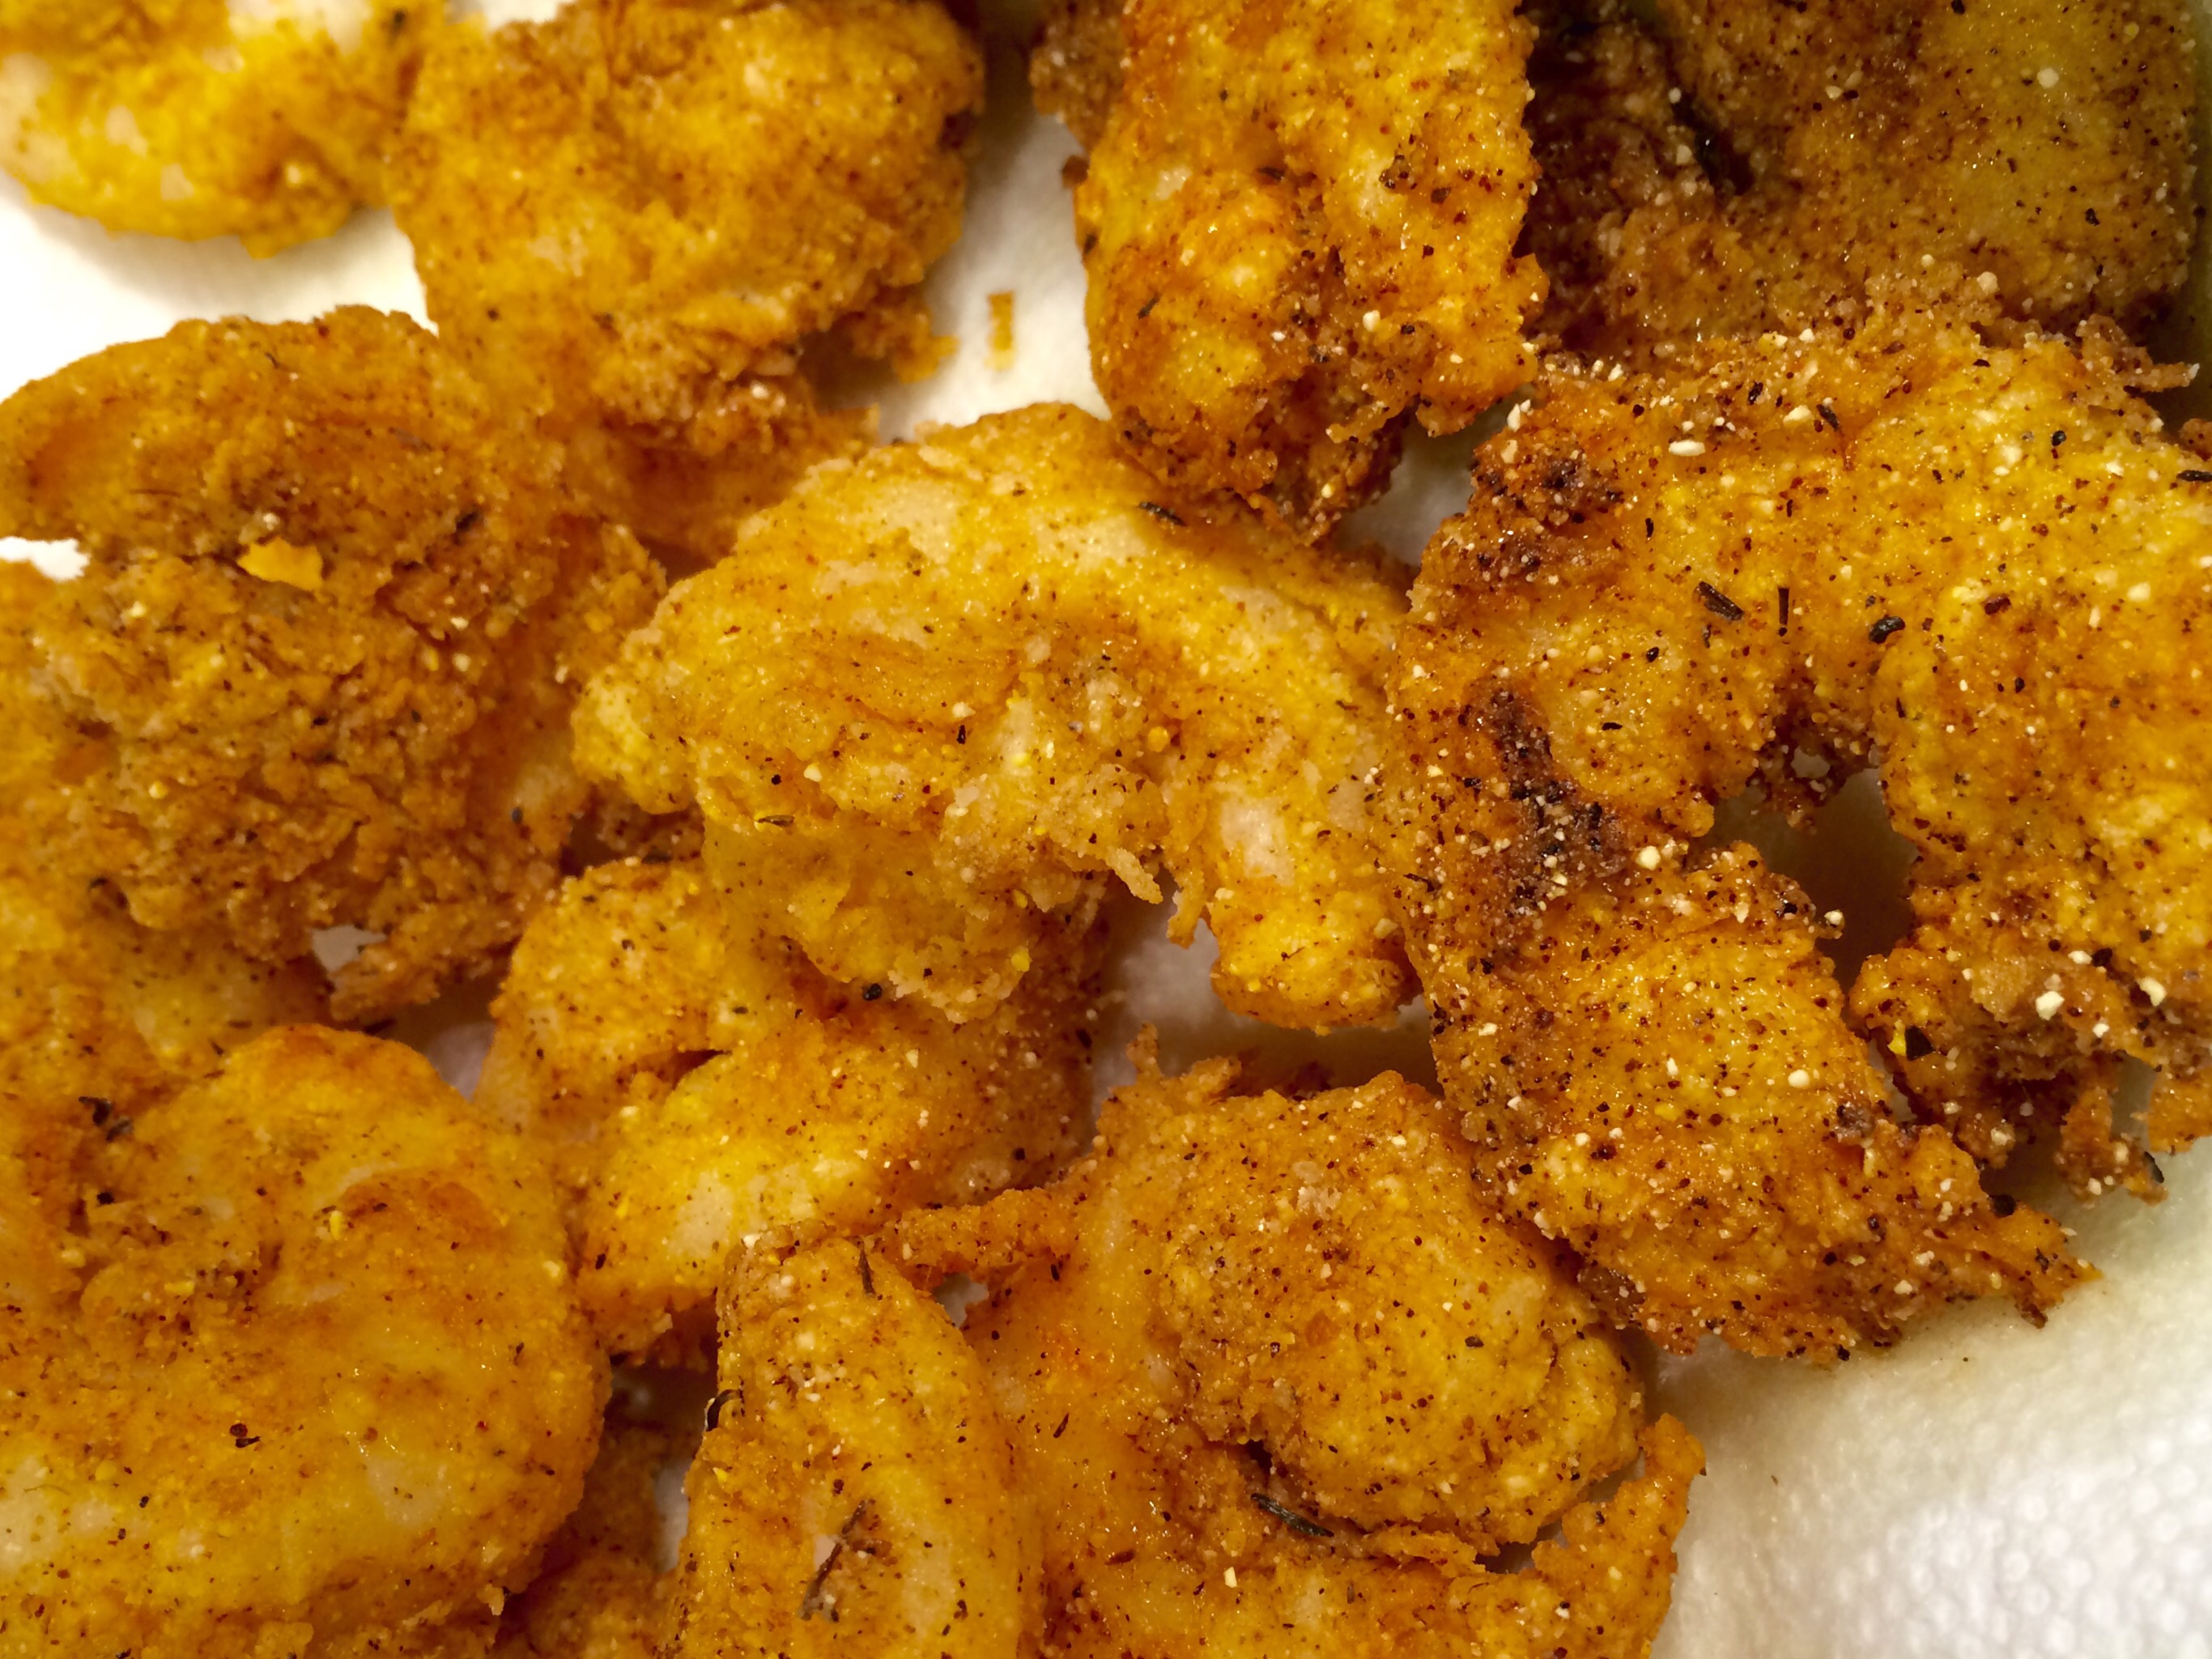
Cook the shrimp for about 45 seconds, flip them over, and cook for another 45 seconds, until they’re golden brown. Don’t crowd the pan and never over-cook shrimp!
Drain on paper towels and serve immediately!

The shrimp are delicious by themselves, but here’s an easy remoulade to make along with them…
1 cup mayo
1/4 cup Gulden’s Spicy Brown mustard
1/4 teaspoon granulated garlic
1 tablespoon dill pickle relish
1/2 teaspoon Frank’s Red Hot
Pinch cayenne pepper
1/2 teaspoon salt
1/4 teaspoon white pepper
Combine the ingredients and keep in the fridge until ready to use.
It’s a bit of a cheat, but I find the Paul Prudhomme Seafood Magic seasoning has great flavor and works really well for this. I also use it on fish: simply pan sauté a filet in butter, and sprinkle on the seasoning. I originally started with the small jar found in most supermarkets, but then quickly graduated to the jumbo size can I found online!

If you want to make your own seafood seasoning, a combination of salt, pepper, garlic powder, onion powder, paprika and cayenne will get you a result that’s pretty close to the Prudhomme seasoning.