Archive for the ‘Recipes’ Category

I think I spent half of my childhood in the kitchen, watching my Mom and grandmother make koldūnai (kohl-doo-nayh), the Lithuanian version of a pierogi, by hand at lightning speed. They would roll a simple dough into a log about 1″ in diameter, then cut it into 1″ pieces, twirling each piece between their fingers to make a flat pancake, filling each with a small spoonful of meat or mushrooms, then fold it over, crimping the edges to make a crescent-shaped dumpling. It blew my mind that they could crank out over a hundred of these little masterpieces in no time, placing them on a cookie sheet and freezing them until it was time to cook.

Always on the lookout to make my job easier, I discovered a new tool this year: a device that makes faster work of koldūnai production, though they do come out much smaller. It’s a ravioli maker, and the Lithuanian purists I chatted with on social media didn’t like it. I was willing to give it a try if it meant that I could save myself a lot of time.
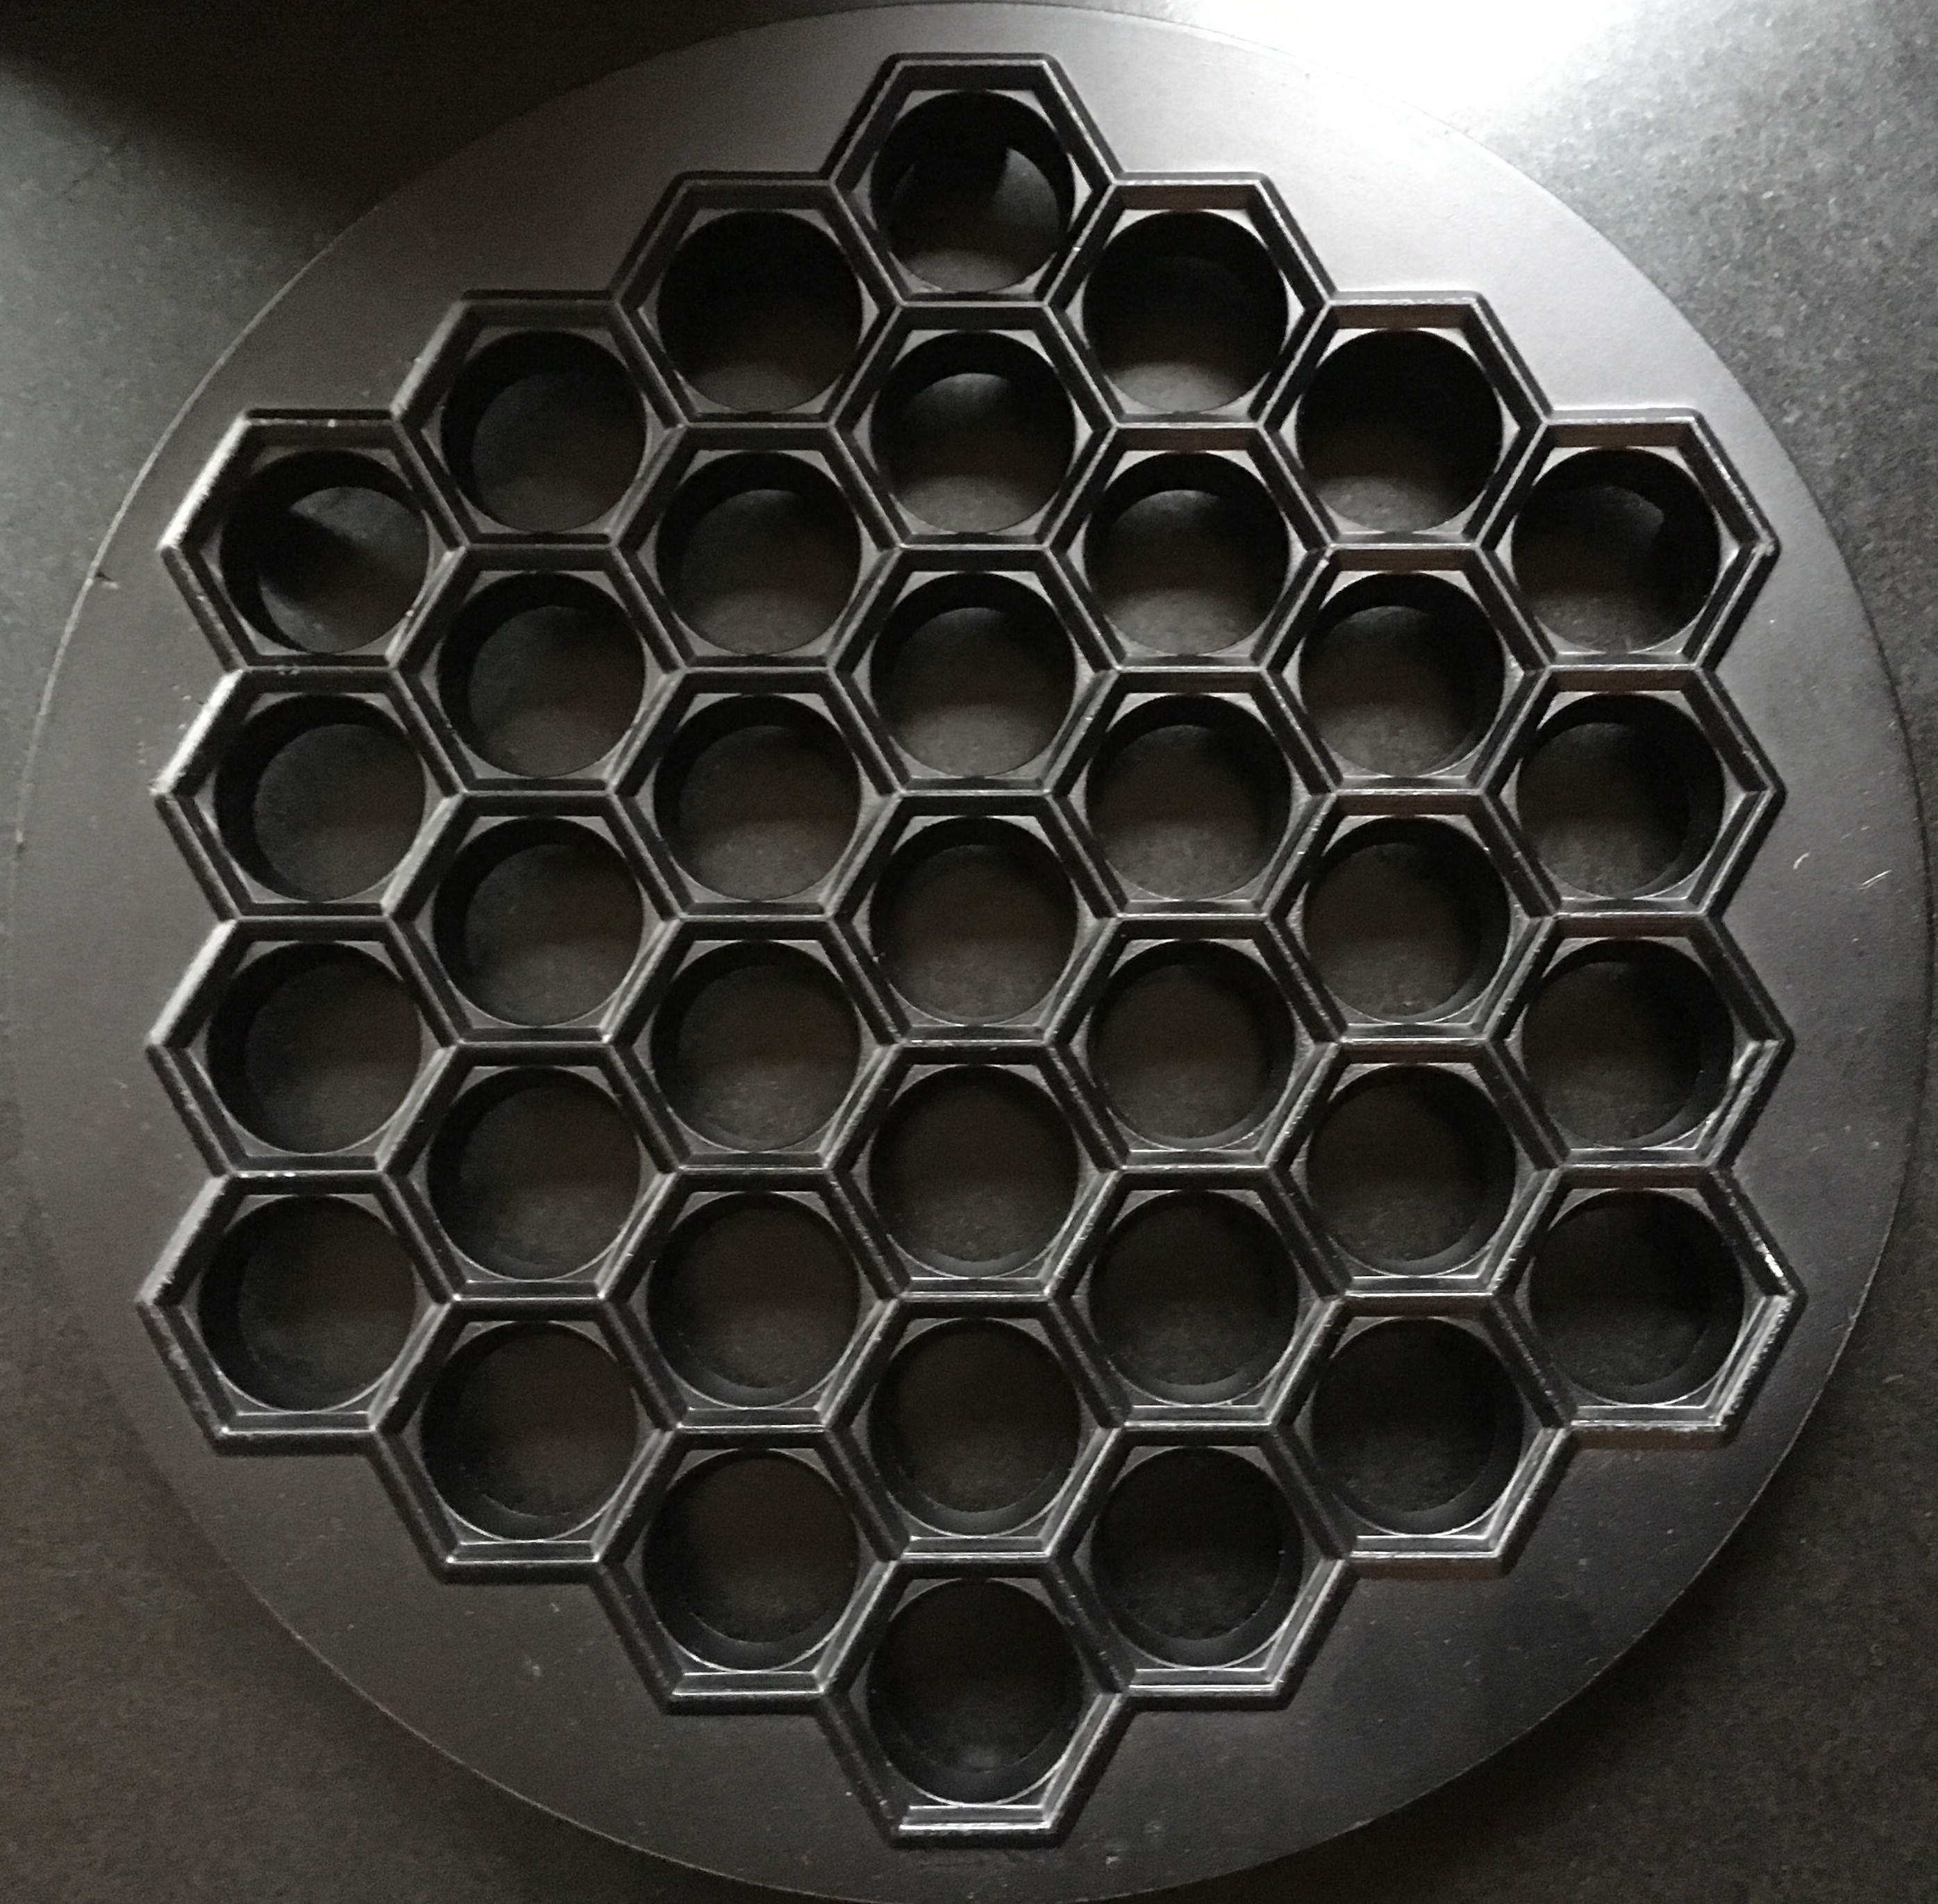
Simply roll out a sheet of dough on top of it.

Add a spoon of filling (in this case, ground beef) in each area.

Then roll out another sheet of dough on top of that and press down with a rolling pin.
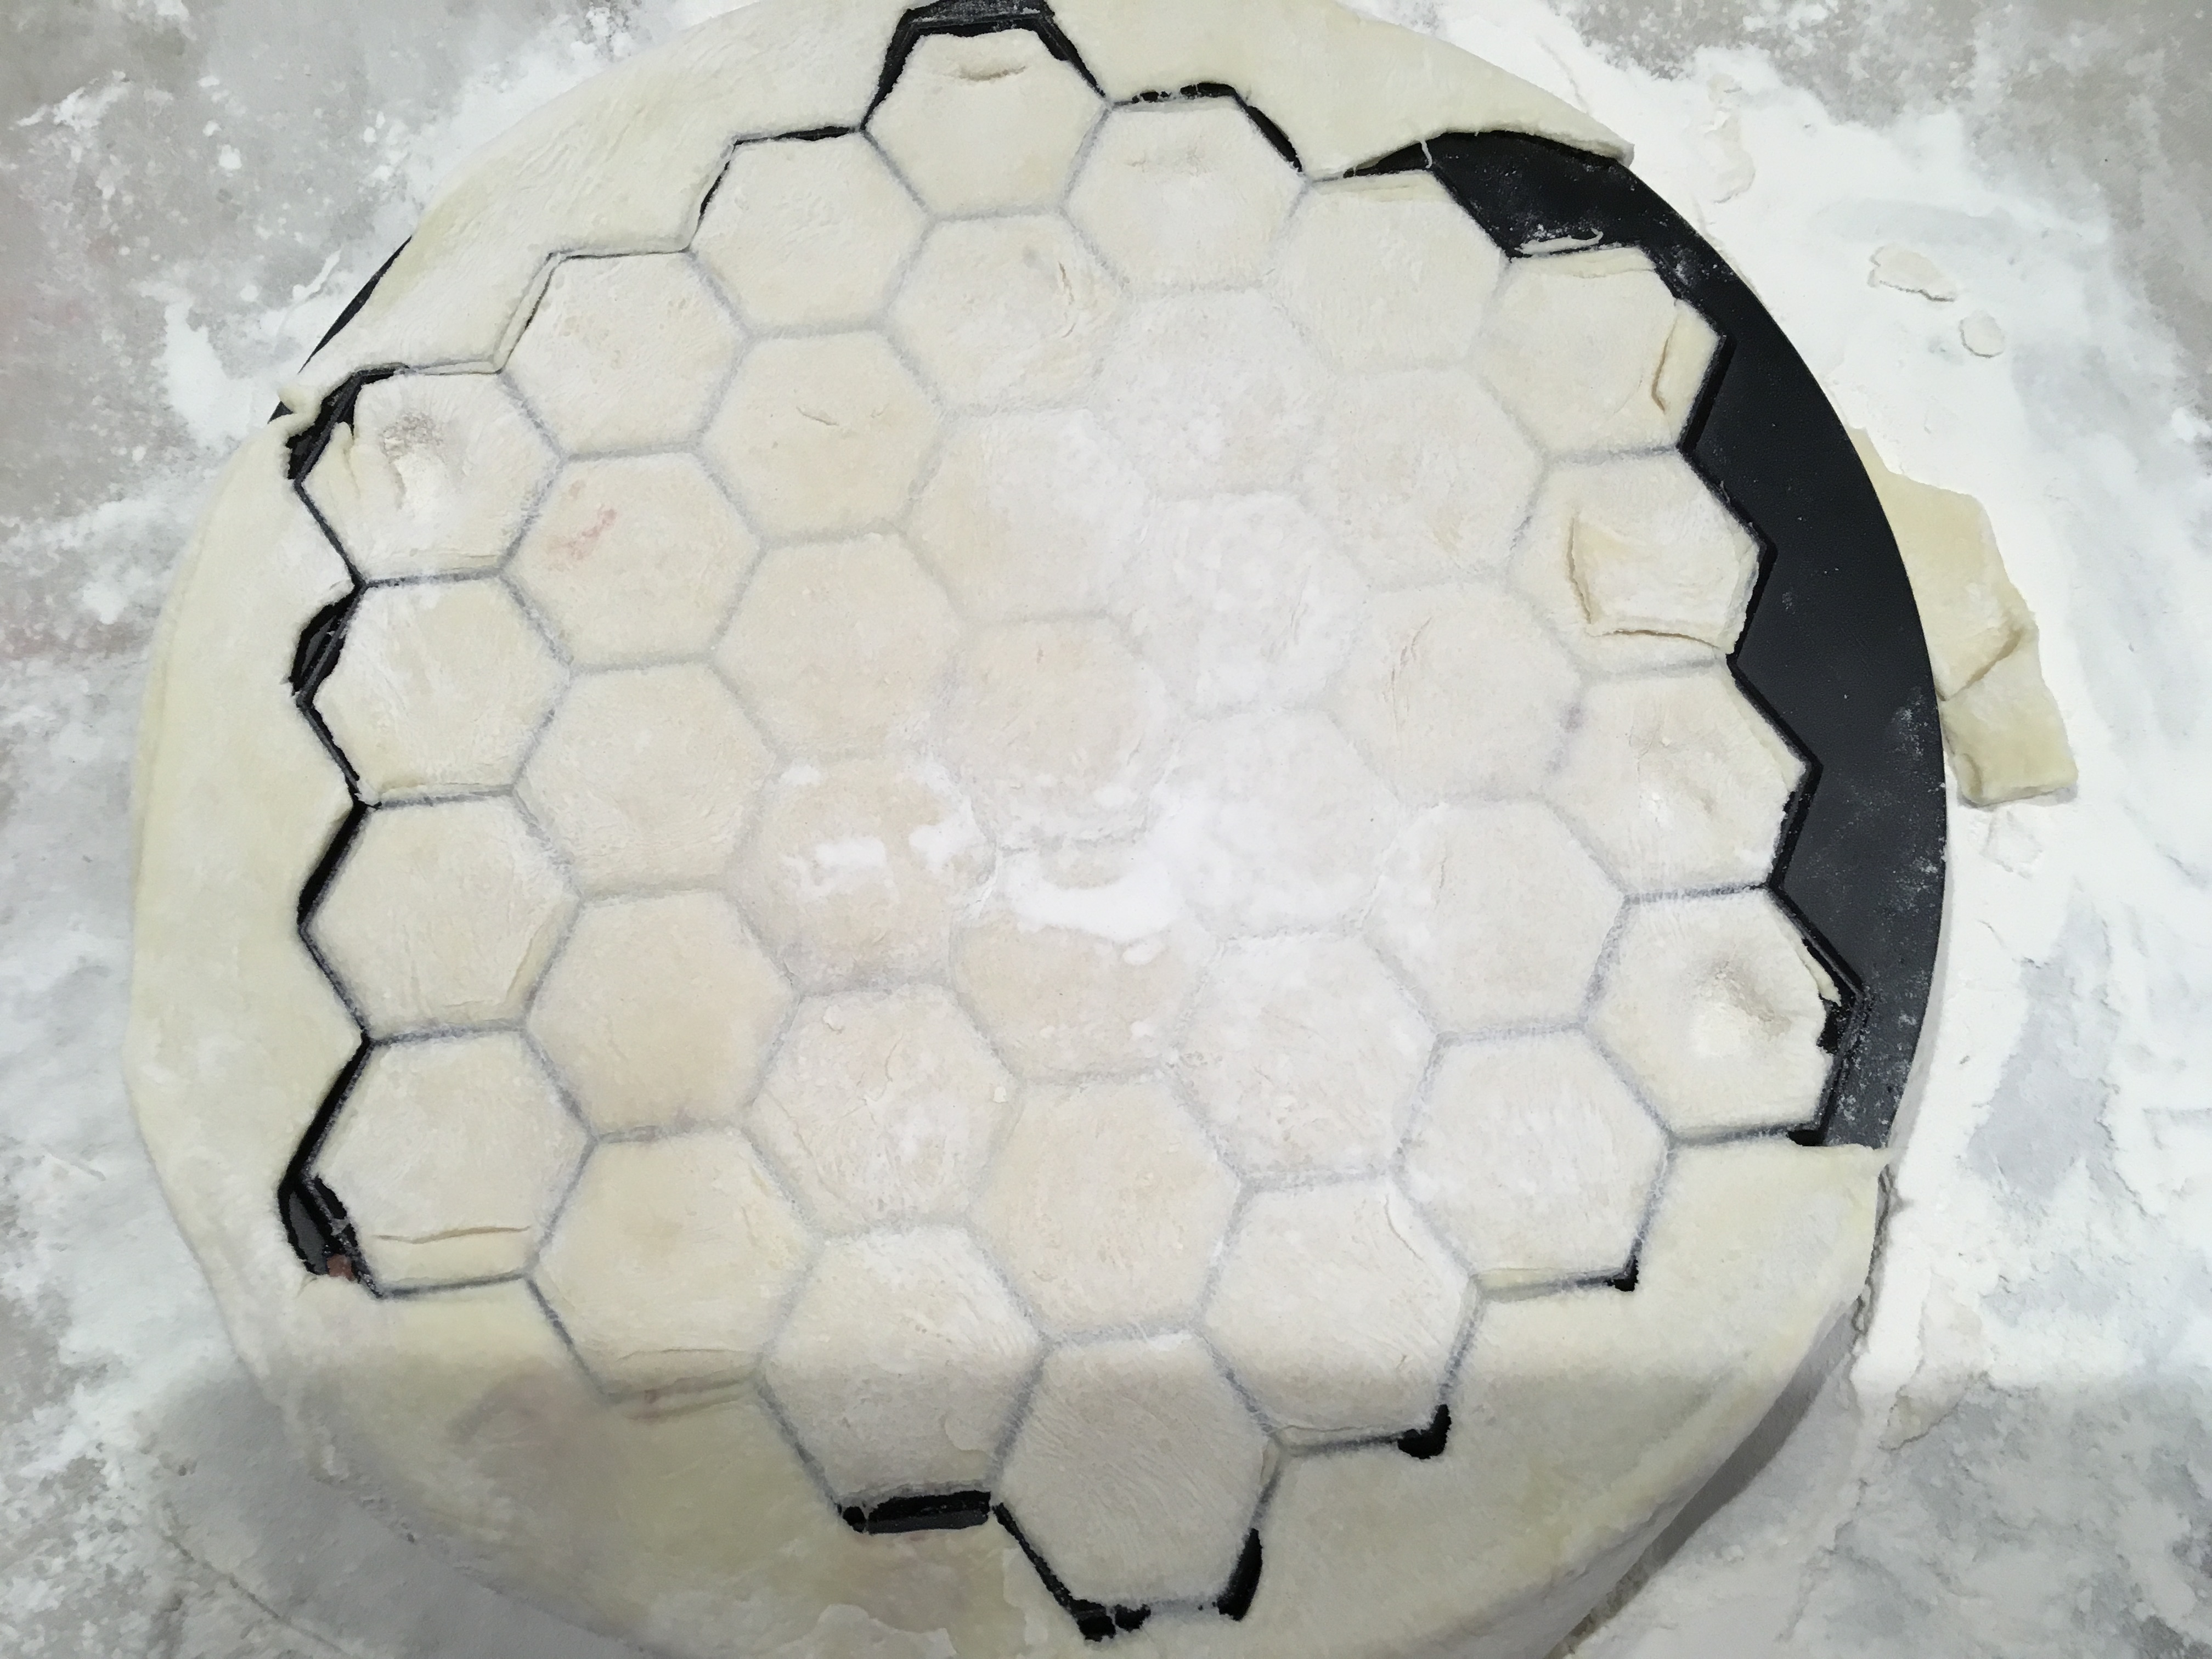
Voila! Out pop 37 mini-koldūnai at once!

I first tried it with gluten-free dough, with limited success. The dough needs to have elasticity for the device to work properly and that’s something that is sorely lacking in any gluten-free dough I’ve made over the years. Gluten-free dough tends to dry out quickly and simply break rather than bend. But, that said, I managed to make a decent amount of them so that my wife, who maintains a gluten-free diet, could enjoy them, too.
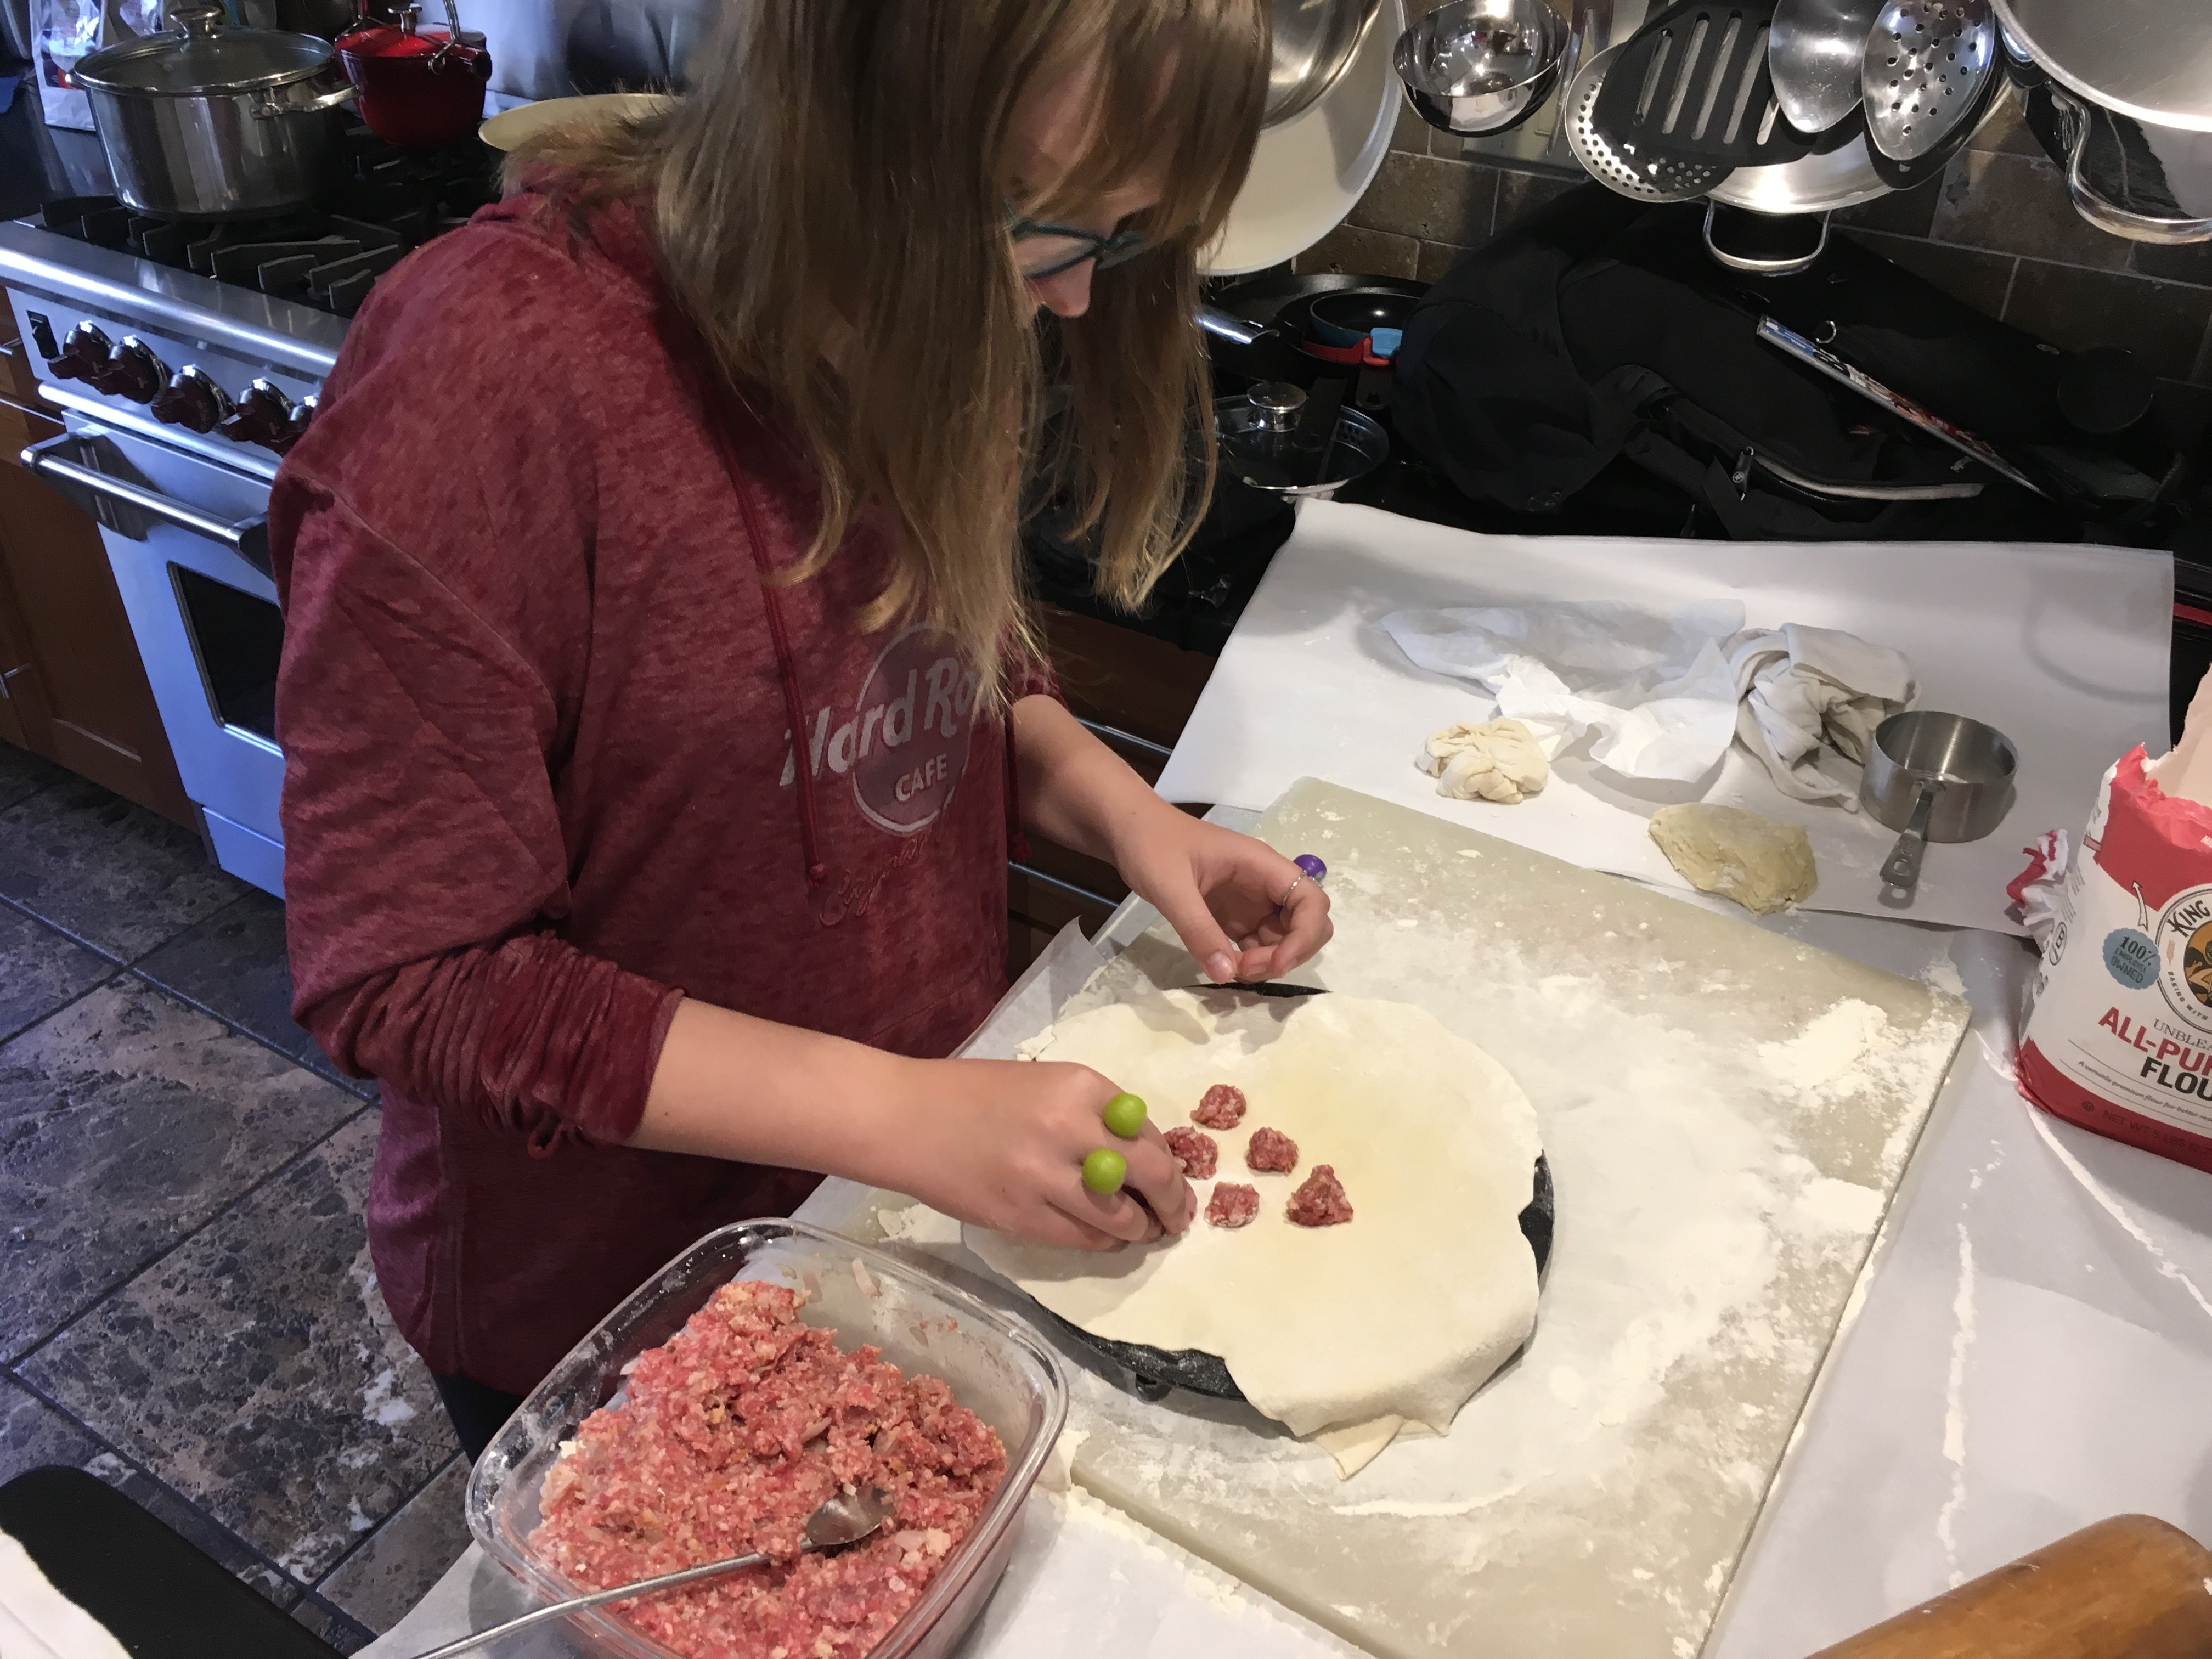
 

Always great to have a helper in the kitchen!


One of the main reasons Lithuanian koldūnai beat Polish pierogis is the filling. For me, standard pierogi fillings like potatoes, cheese, and sauerkraut just don’t cut it. My Mom would mix ground beef with chopped onions sautéed in butter, a couple of eggs, and milk crackers soaked in milk. She’d add salt and pepper, then spoon that mixture into her koldūnai.

The other stuffing, usually reserved for special holidays like Christmas Eve and Easter, was made from mushrooms. Italy may lay claim to the porcini, but the fact of the matter is, Lithuania is porcini heaven. And when they’re dried and reconstituted, their incredible flavor is so intense, you don’t need many of them to flavor a large amount of regular button mushrooms. We’d get our dried boletes from relatives in Lithuania every year…the real deal. Mom would place a handful in some boiling water and let them steep until they swelled up and could easily be chopped and added to the other mushrooms. She’d then pour the mushroom liquid into the pan as well, not wasting a bit of that magical porcini flavor. The mushrooms were simply sautéed in butter, cooled, then used to fill the koldūnai.


I found that my Mom’s log method was too much work. I rolled the dough out with a rolling pin, then cut with a glass. Yes, that’s mac-and-cheese in the forefront.

A few years ago, I decided it was time to try my hand at making koldūnai. As I recall, my Mom simply mixed water with flour and a little salt to make the dough, kneaded it into a log, and off she went. I decided to go with the rolling pin and glass cutting method, in addition to the ravioli maker, because I wanted to compare the classic crescent-shaped koldūnai with the newer mini’s.

The biggest challenges I had with making my own koldūnai was my clumsiness and lack of experience. Once I got the hang of it, things moved along steadily, and it didn’t take long for me to make a decent batch–not all perfect, but not bad for a first try.

Since my wife is allergic to mushrooms, I had to skip them this time around and used the ground beef filling instead. And, by my daughter’s special request, I also made mac-and-cheese koldūnai. (Patty’s Pierogis, a restaurant in nearby Fall River, Massachusetts, and featured on Food Network’s “Diners, Drive-Ins and Dives,” is where she first had them.)

I keep my fillings, whether it’s the mac-and-cheese or the ground beef, gluten-free, so I can use them in GF as well as regular koldūnai. There’s no difference in the taste. Gluten-free mac-and-cheese is easily found in a box in supermarkets everywhere. Here’s the beef recipe…


1/2 onion, finely chopped
1 pat of butter
1 lb. ground beef
1 egg
1/2 cup breadcrumbs (I use gluten-free)
1/4 cup milk


I make my gluten-free breadcrumbs with Udi’s frozen GF bread that I toast, then chop in a food processor. I think it tastes better than store-bought GF breadcrumbs in a can.

Finely chop the onion and saute it in the butter until translucent. Let it cool, then add it to 1 lb. of thawed ground beef. Add the egg, the breadcrumbs, and the milk. Season with salt and pepper. Mix the ingredients thoroughly and keep the meat in the fridge until you’re ready to use it.
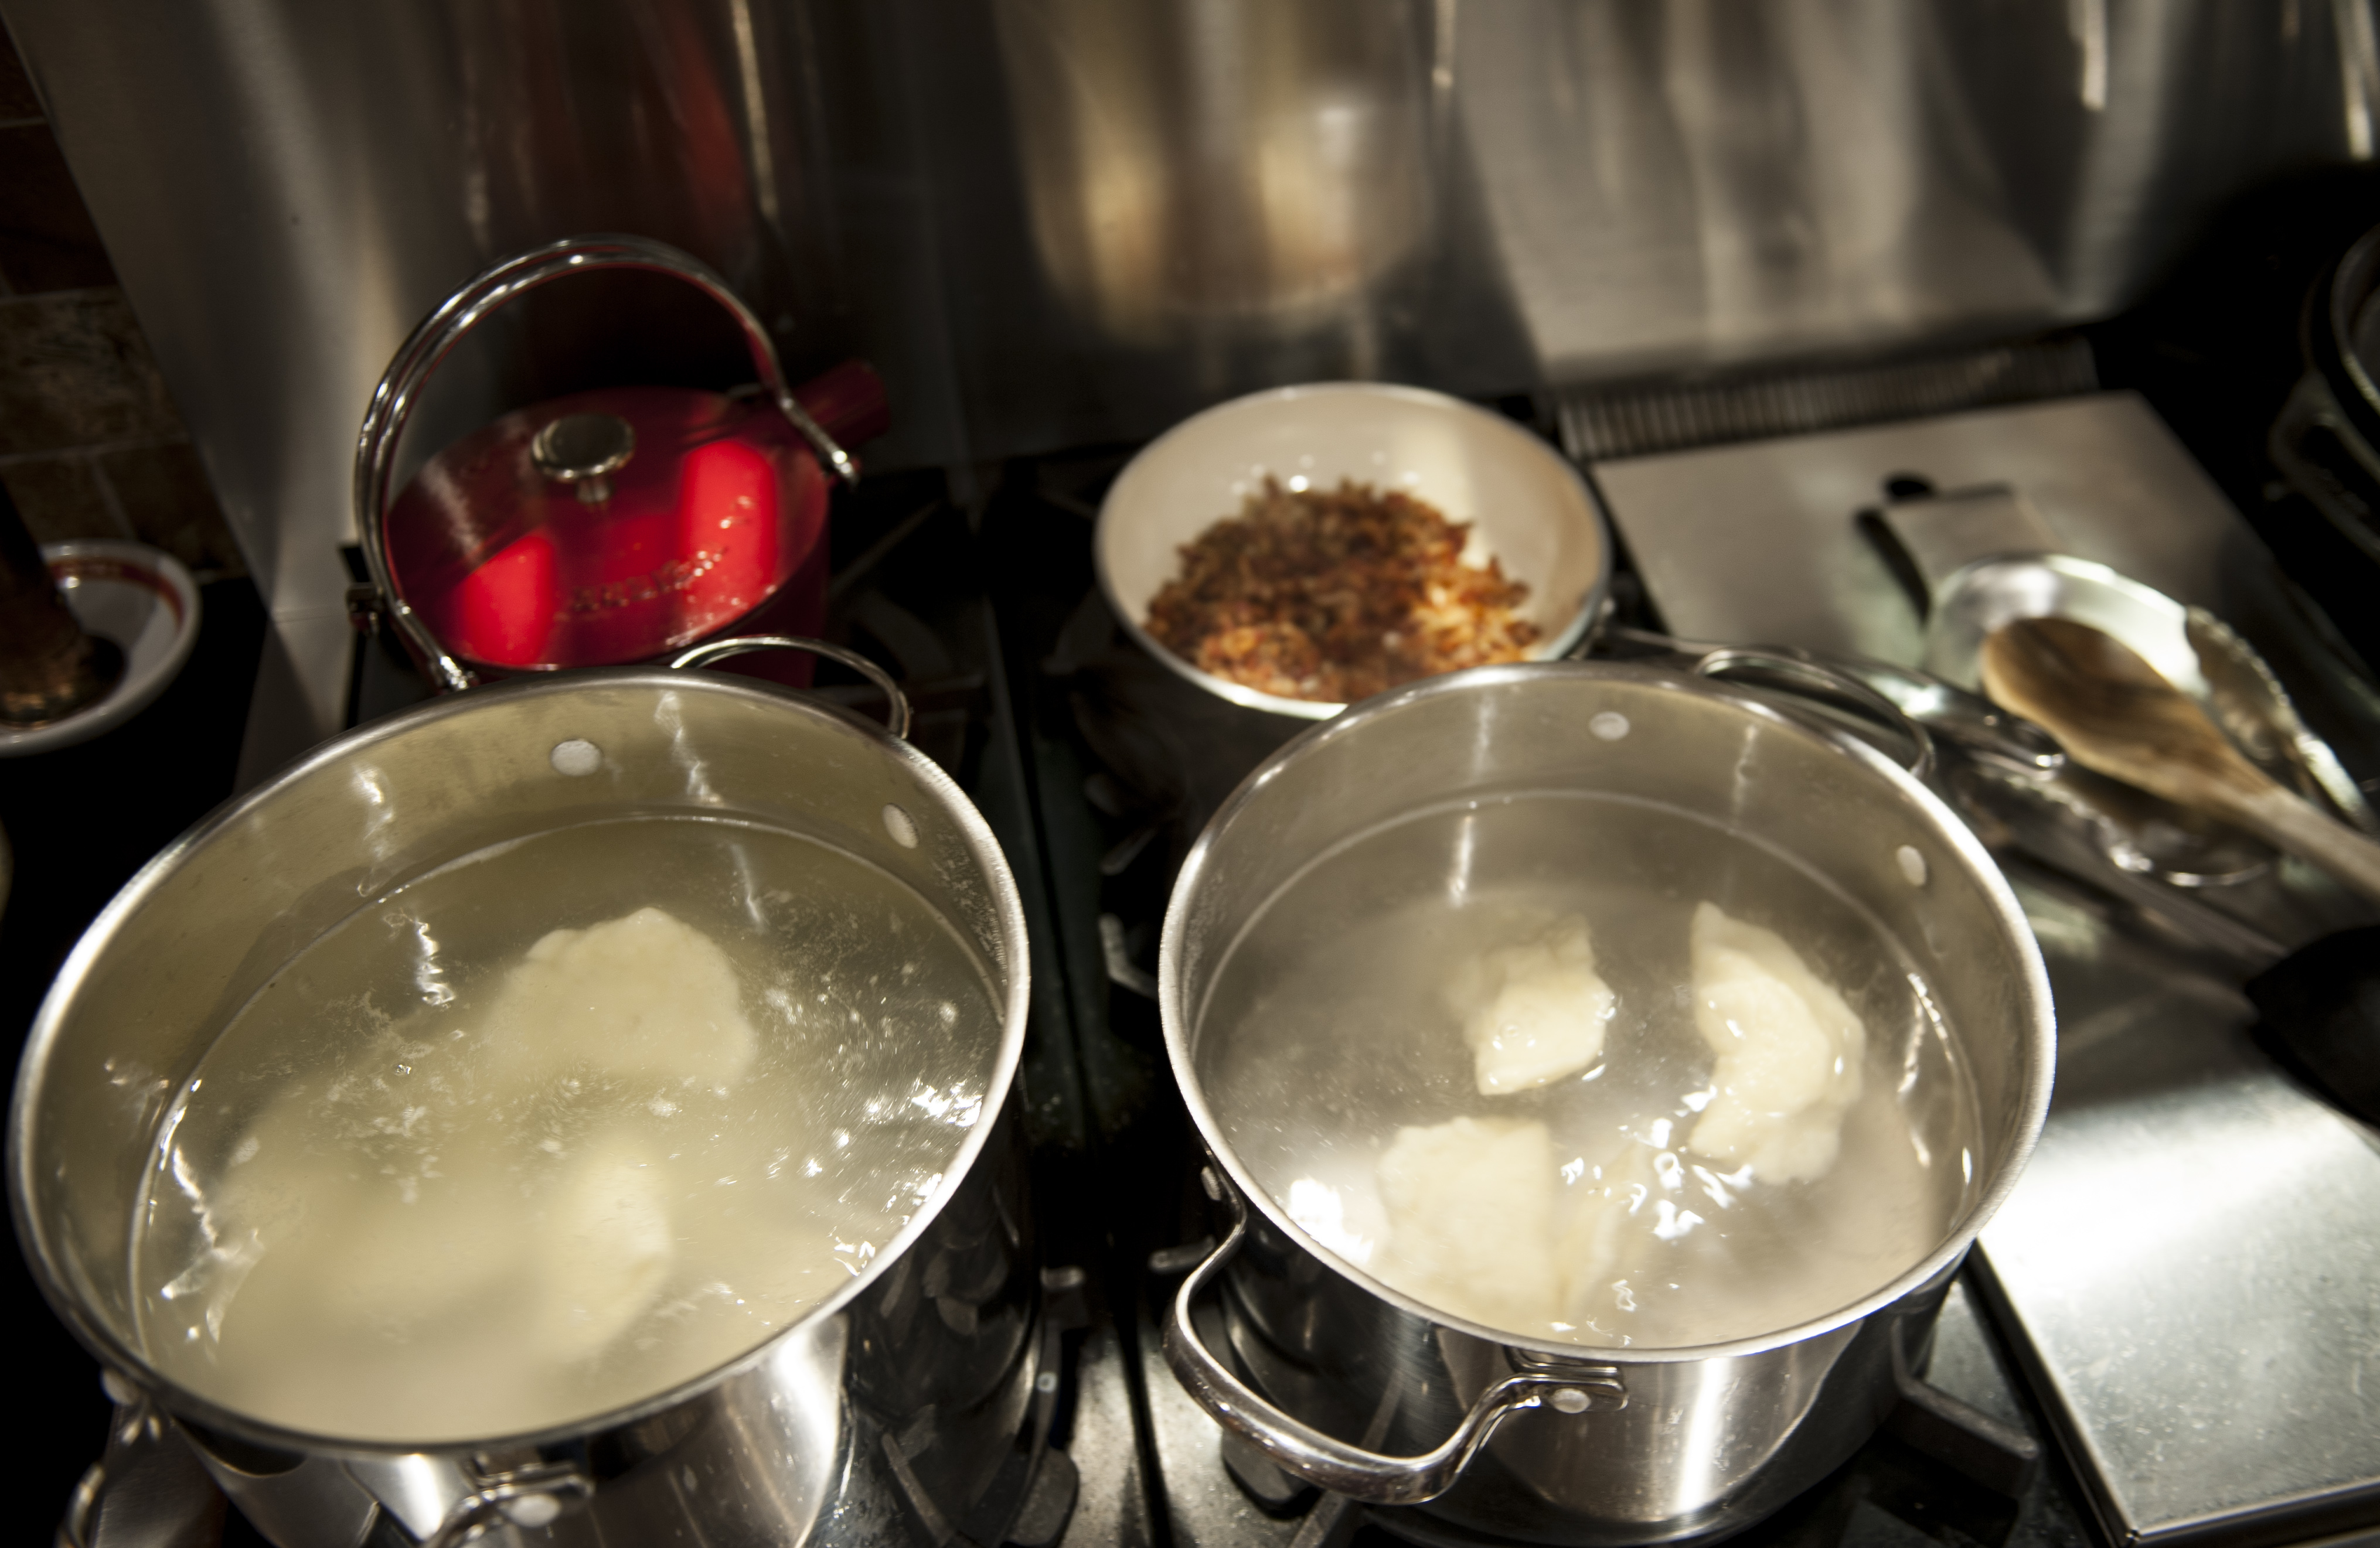
 

Two pots of boiling salted water: one for the meat-filled koldūnai, and one for the mac-and-cheese filled koldūnai.

Two pots of boiling salted water: one for the meat-filled koldūnai, and one for the mac-and-cheese filled koldūnai.


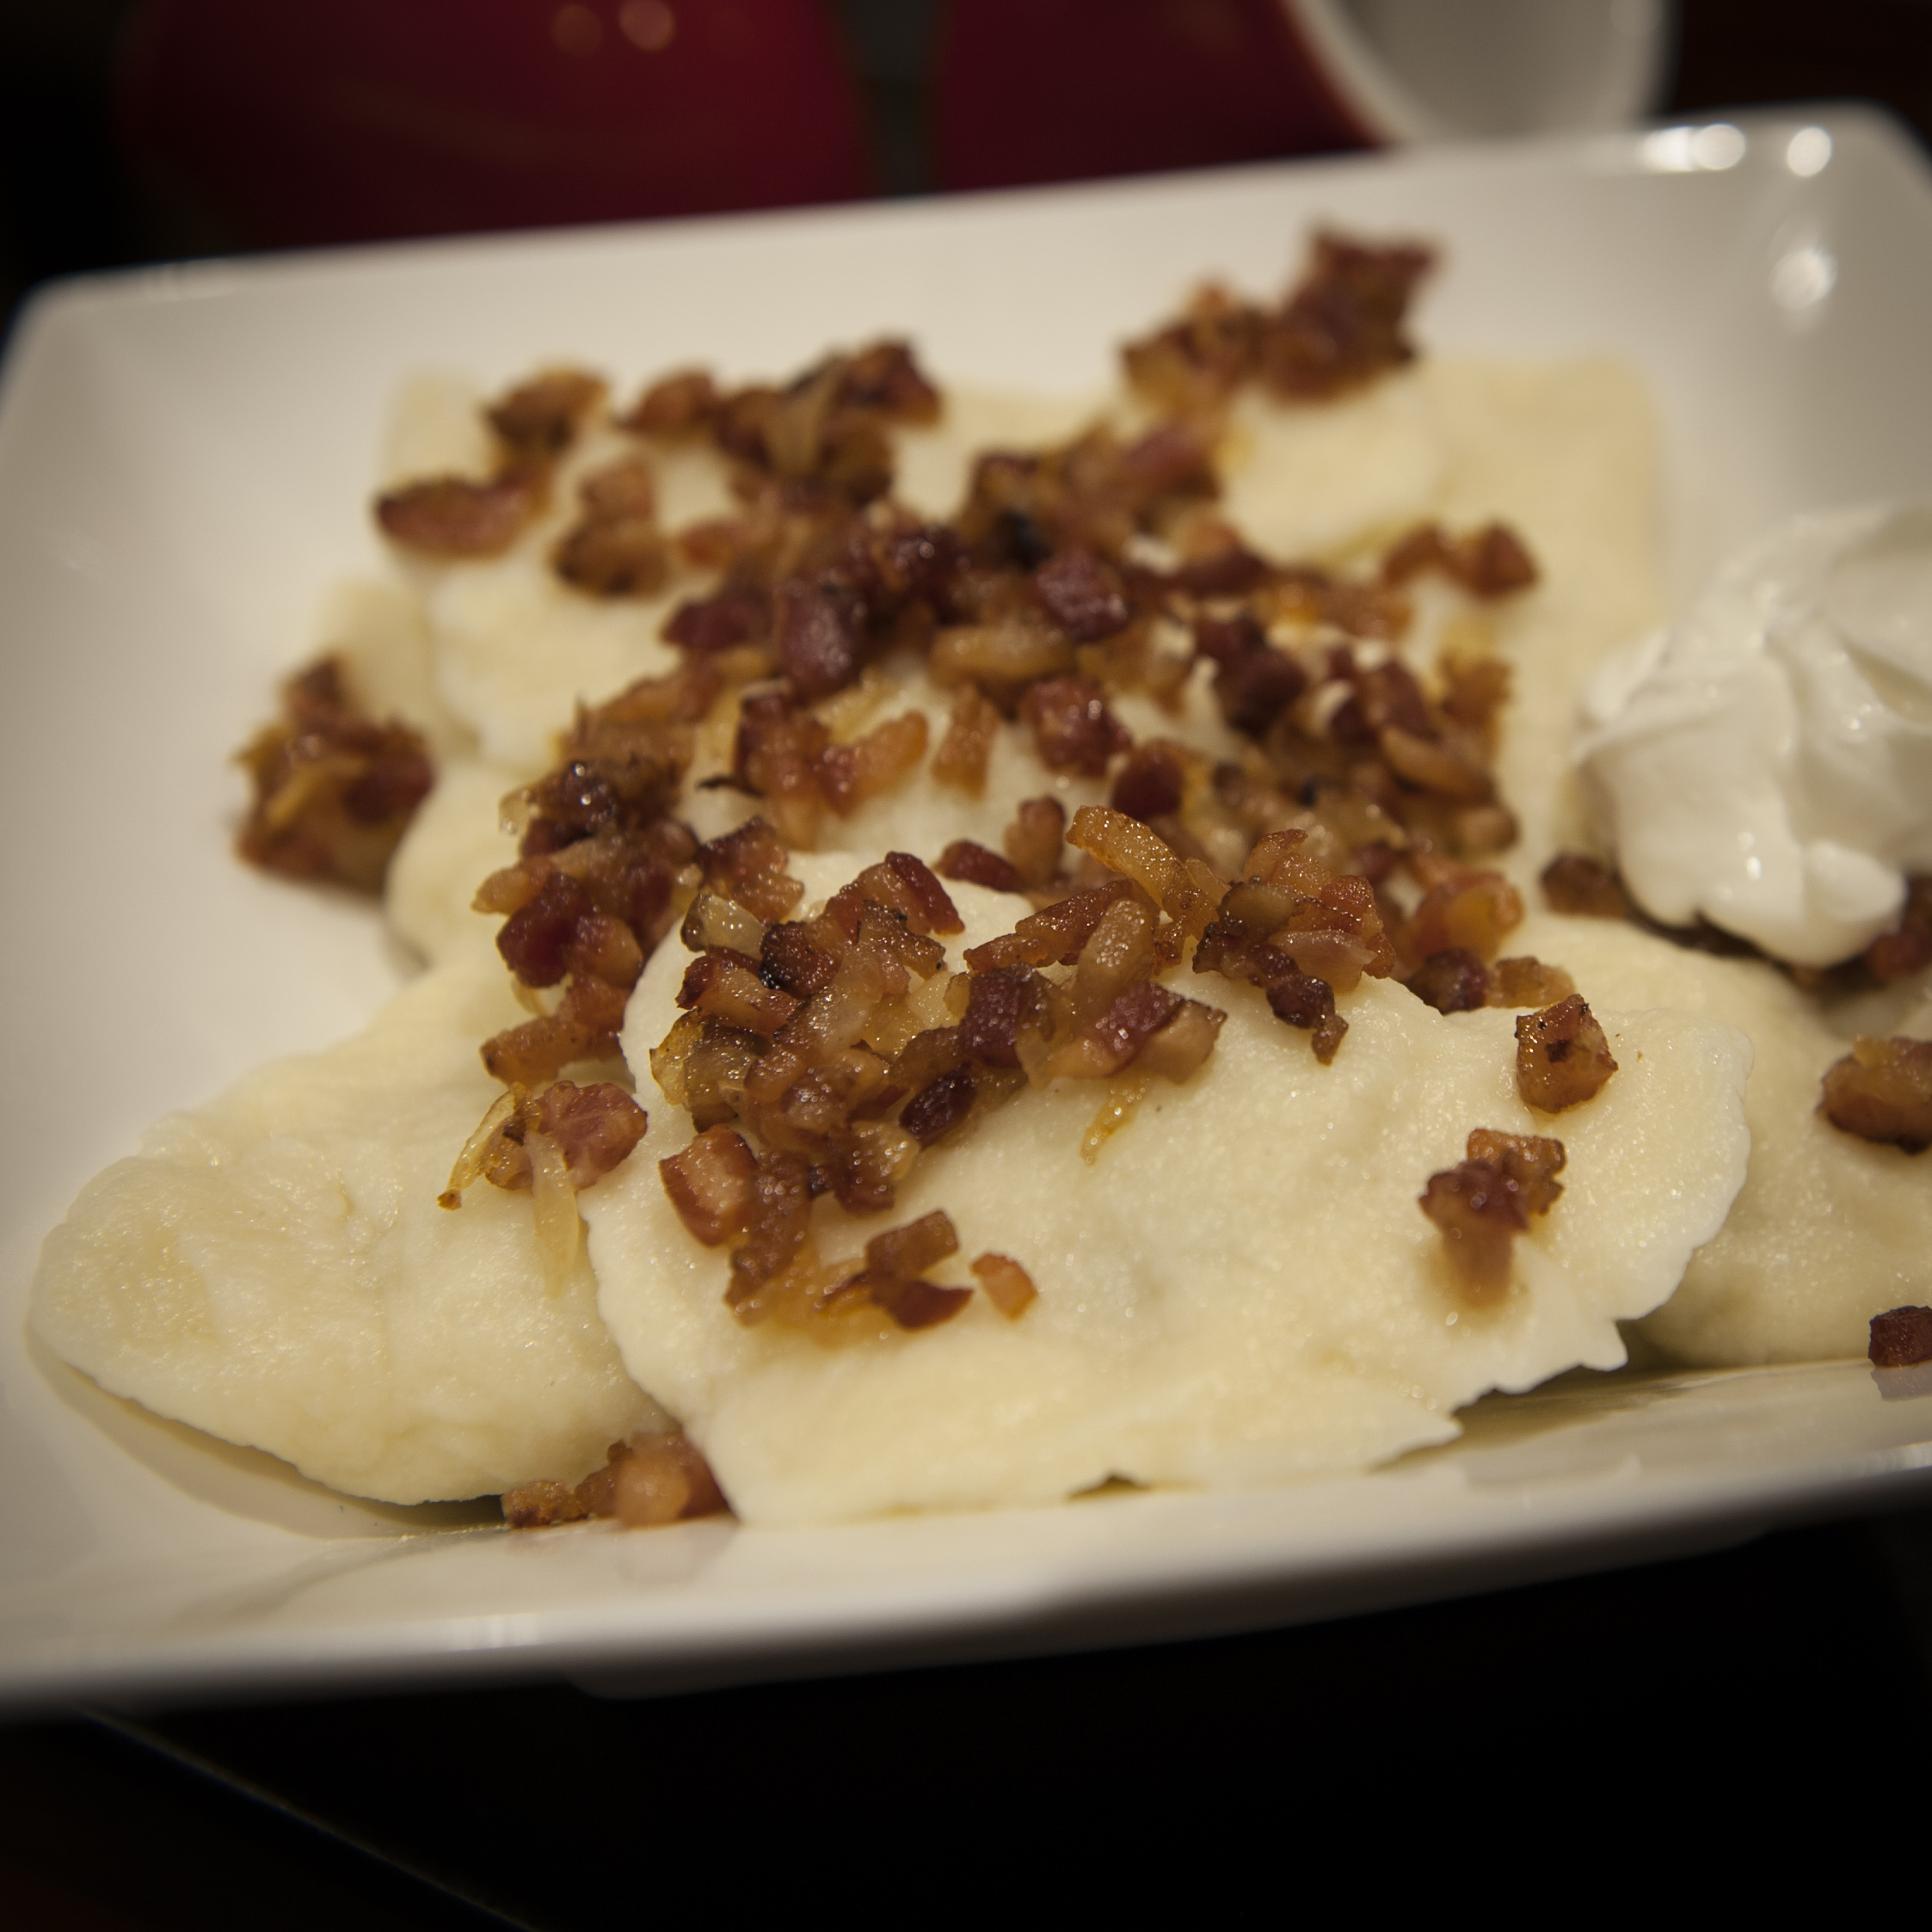
In my childhood home, you cannot possibly serve koldūnai without sour cream on the side and without spirgučiai (spir-guh-chay), chopped and fried bacon and onions that are sprinkled on top.

1 lb. bacon, finely chopped
1 large onion, finely chopped

In a large pan, fry the chopped bacon until it’s almost crisp. I don’t drain the fat, but you can if you’re a wuss. Add the chopped onions and cook until they are soft. Set aside.  (My Mom always kept a stash of spirgučiai in a container in the fridge, and sprinkled them on anything and everything.)
 

duni 4

Making the dough is simple. I add an egg to my Mom’s original recipe.

2 cups all-purpose flour (gluten-free or regular)
1 cup water
1 teaspoon salt
1 raw egg, scrambled


Combine the ingredients in a bowl, mixing with your hands. Keep adding flour in small amounts until the dough isn’t wet and sticky. When it forms a nice ball, remove it from the bowl and place it on a floured surface and knead it a bit more. Cut the ball into quarters, and work with these smaller pieces of dough.

If you’re using the ravioli maker method, each quarter will  make one sheet of dough for the top or bottom of the ravioli maker. If making them by hand, each sheet will give you about 8 crescent-shaped koldūnai.

For the rolling-pin method, roll each quarter out until the dough is about 1/8″ thick. Using a rocks glass as your cutter, cut circles out of the dough. Add a small spoonful of filling in the center of the dough, then fold the edges over and pinch them with your fingers. Flip it over and pinch again, making sure none of the filling seeps out. A tight edge means the koldūnai won’t break open when you put them in boiling water.
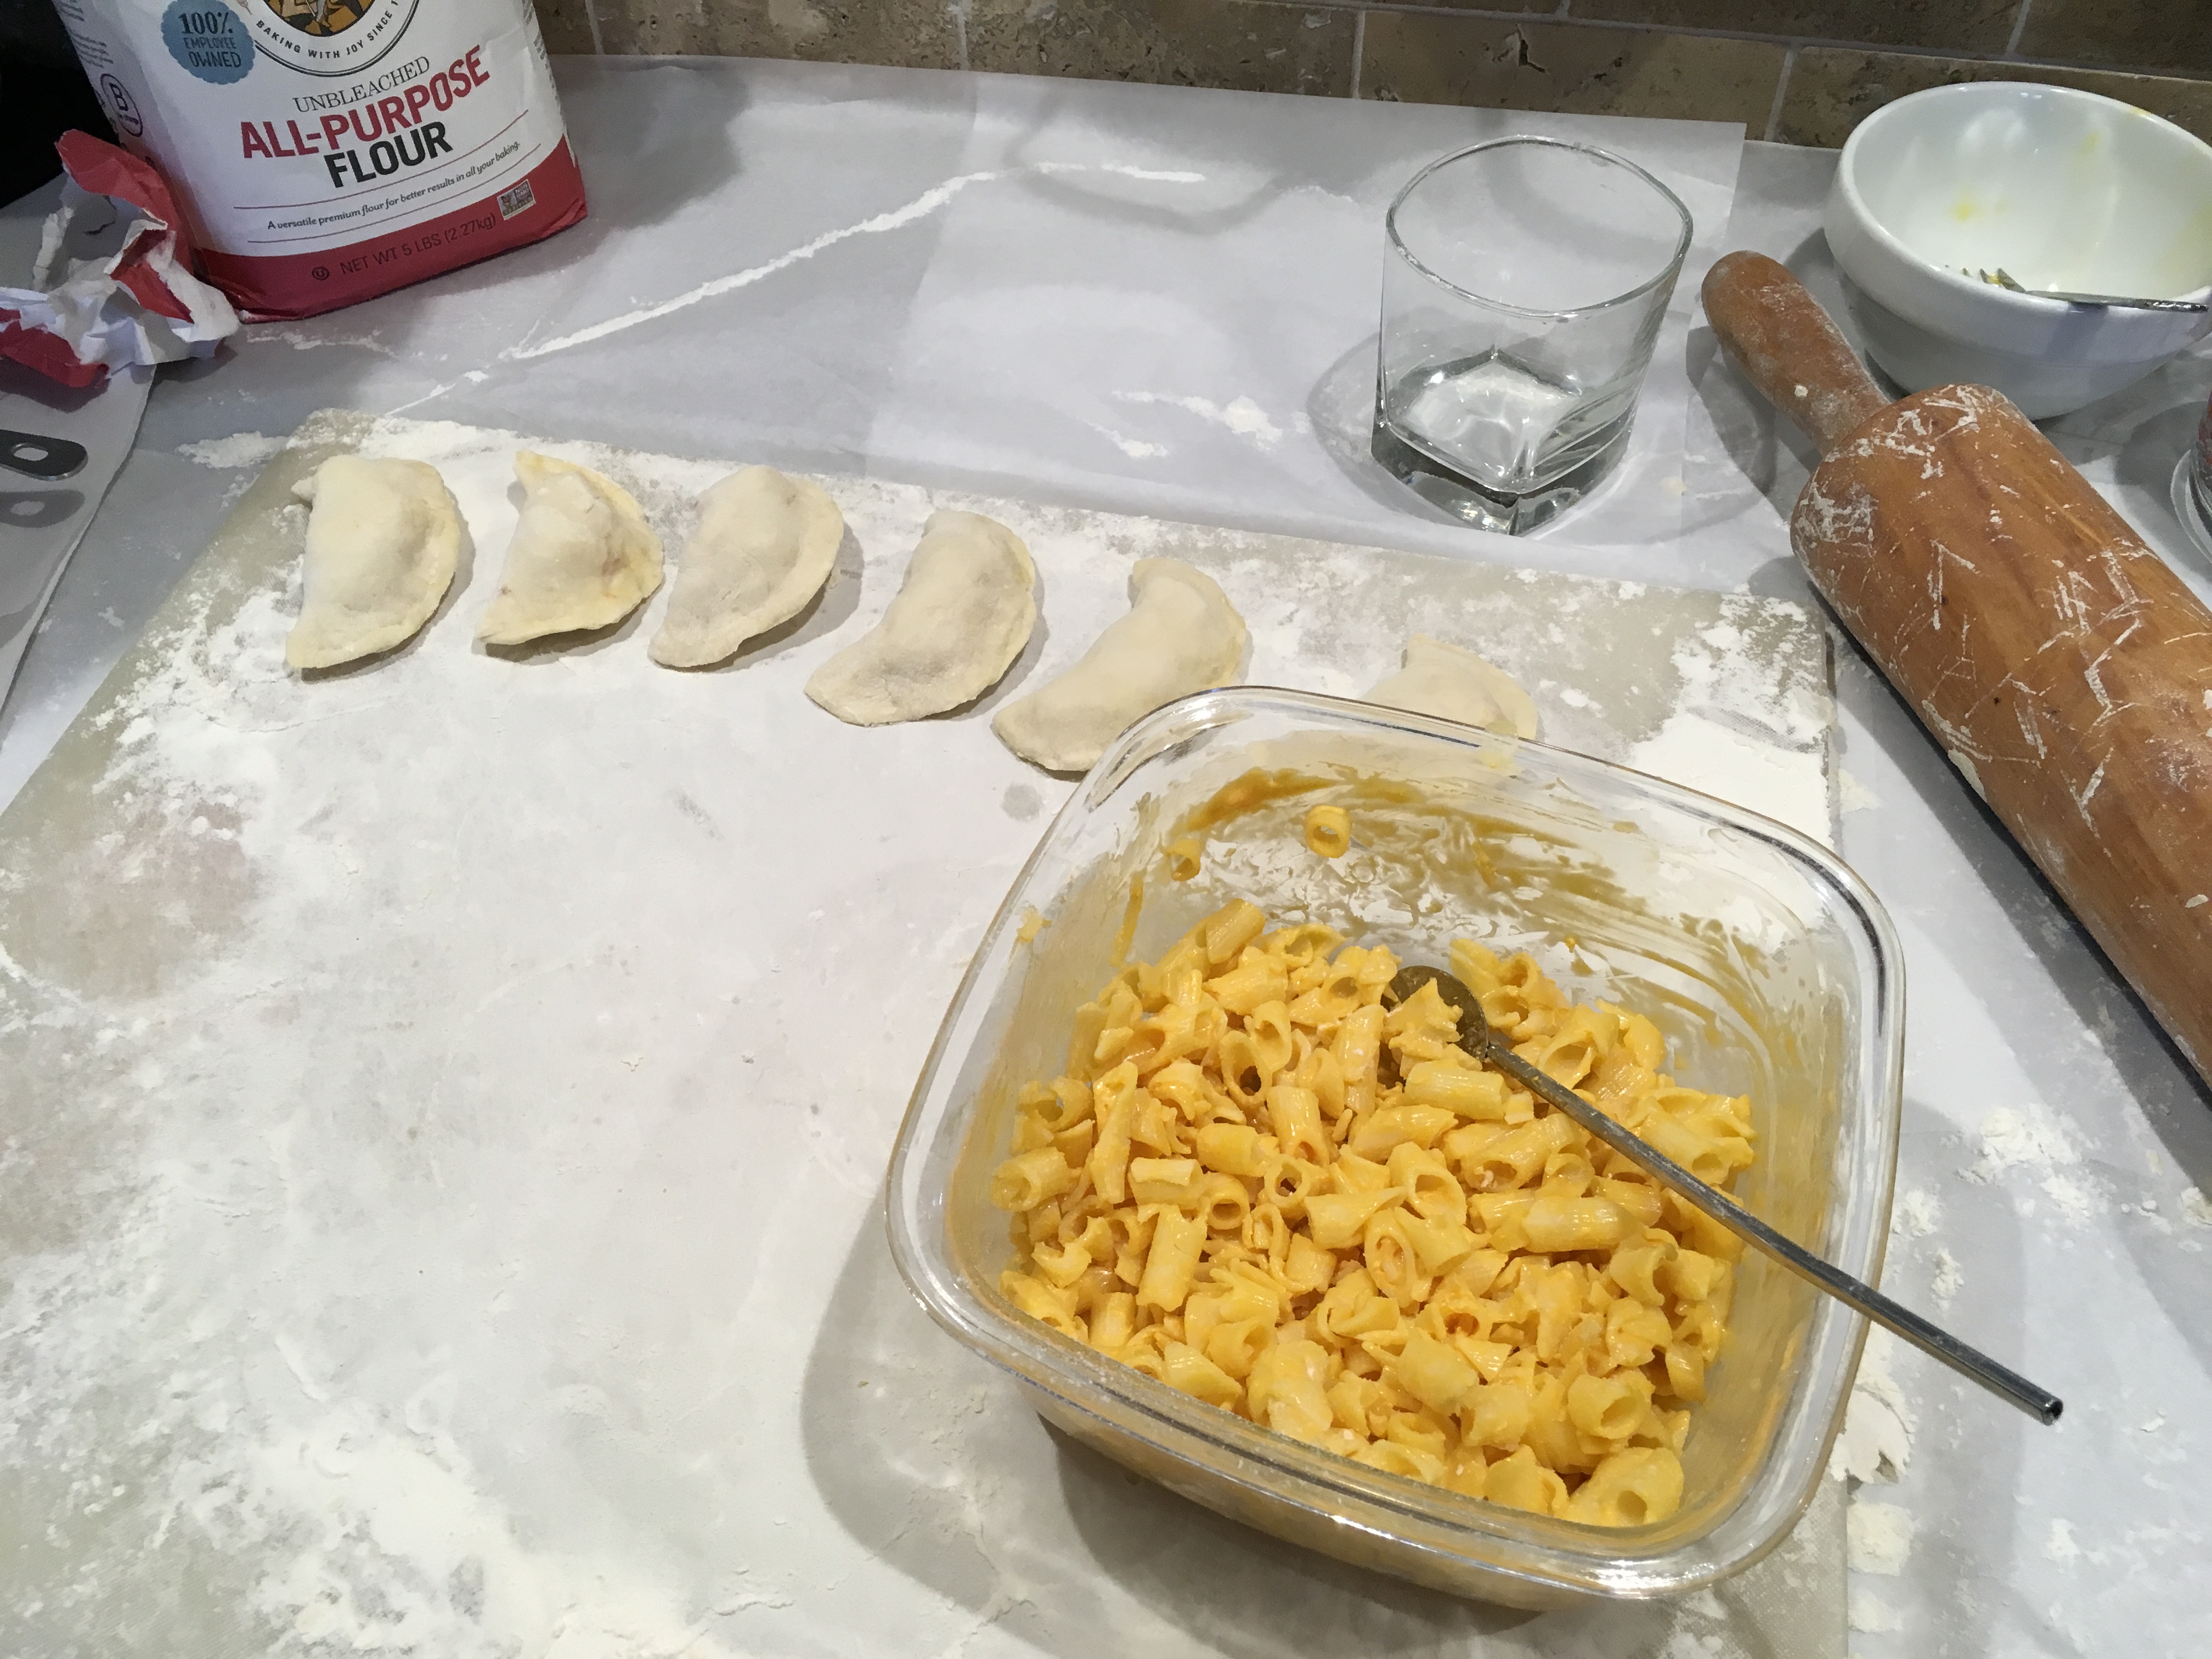
Some stuffed with mac and cheese!


Place the koldūnai on a sheet pan lined with parchment paper, and when you’re done, place the sheet pan in the freezer.

Get a large pot of salted water boiling. Drop the koldūnai in gently, being careful not to overcrowd them. If the dough is thin, the koldūnai will be ready when they float up to the surface. A thicker dough will need longer cooking. The best way to know if they’re done is by taking one out, cutting it open and having a look (and taste!)

When plating, sprinkle generously with spirgučiai, and serve with sour cream on the side.


My conclusion: When all is said and done, the old ways are still the best. Although the ravioli maker did a good job, in many ways it was just as time-consuming. And the finished mini-raviolis did not have the dough-to-filling ratio that I find so satisfying with classically made koldūnai. We sampled both side-by-side, and there really was a difference. I’m sticking with the classic methods for now! Mom will be proud.


The hand-painted Christmas trees in the photos are from our friend, Don Cadoret, an artist here in Tiverton, RI. Check out all of his work at: http://www.doncadoret.net.

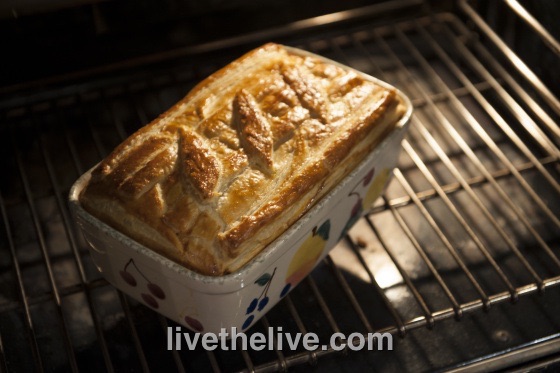


Winter is here. It’s time for some serious comfort food.

Years ago, when I received a shipment of venison from my father-in-law, an avid hunter that lives in the Upper Peninsula of Michigan, I knew that although I could certainly use beef for this dish, it would be absolutely stellar with venison. And I knew that I couldn’t miss with a local brew from my buddy, Sean Larkin of Revival Brewing Company (www.revivalbrewing.com), with his Double Black IPA…

image


Unfortunately, I haven’t been able to find gluten-free alternatives for this recipe. You can buy GF beer and flour, but the puff pastry is what makes the dish. A GF pie crust would be an alternative, but once you have it with puff pastry, you’ll never want it any other way!

Olive oil
3 red onions, peeled and chopped
3 cloves of garlic, peeled and chopped
3 tablespoons butter, plus extra
3 carrots, peeled and chopped
3 celery stalks, trimmed and chopped
10 oz. baby bella mushrooms, chopped
3 lbs. venison, cut into 3/4″ cubes
A few sprigs of fresh rosemary, leaves picked and chopped
Sea salt and black pepper
2 bottles (24 oz.) Revival Brewing Company Double Black IPA, with a swig for the cook
3 tablespoons flour
12 oz. freshly grated cheddar cheese
1 1/2 pounds store-bought puff pastry (all butter is best)
1 large egg, beaten

image


Pre-heat the oven to 375.

In a large oven-proof pan, heat a few tablespoons of the olive oil. Add the onions and fry gently for about 10 minutes. Turn the heat up and add the garlic, butter, carrots, celery and mushrooms. Stir well, then add venison, rosemary, a pinch of salt and about a teaspoon of pepper.

Saute on high for about 4 minutes, then add the beer, making sure you take a swig for luck! Stir in the flour and add just enough water to cover. Bring to a simmer, cover the pan with a lid or foil, and place in the preheated oven for about 1 1/2 hours.

Remove after 1 1/2 hours and stir. Put it back in the oven and cook another hour, until the meat is cooked and the stew is rich, dark and thick. If it’s still liquidy, place the pan on the stove top and reduce until the sauce thickens. (You don’t want a soupy stew or you’ll get soggy puff pastry later.) Remove the pan from the heat and stir in half the cheese. Season with salt and pepper to taste and set aside to cool.

Depending on whether your puff pastry comes in sheets or a block, you’ll need to use a rolling-pin to get it into sheets about 1/8″ thick. Butter a good-sized pie dish or an oven-proof terrine. Line the dish with the sheets of pastry, letting the pastry hang over the sides. Pour in the stew, even it out with a spatula, and add the rest of the grated cheese on top.

Use another 1/8″ thick sheet of pastry (or a couple if they’re not wide enough) to cover the top of the pie dish. Lightly crisscross the top with a knife, then fold over the overhanging pieces of pastry over the lid, making it look nice and rustic. Don’t cut or throw any of the pastry away! Use as much as you can, since everyone will want some.

Brush the top with the beaten egg and then bake the pie on the bottom of the oven for about 45 minutes, until the pastry has cooked, and it’s beautifully puffed and golden. Serve with a side of peas (and beer!)


It takes a few weeks for this limoncello recipe to be ready, so plan ahead!

Many years ago, my wife and I visited the Amalfi coast, and we spent several nights on the beautiful island of Capri. On our last night, we dined at the legendary Grand Hotel Quisisana, and our incredible meal ended with a glass of the most delicious limoncello I ever had.

I asked the waiter if it was possible to get the recipe of the limoncello, and he made a big deal about the recipe being a “secret.” Though disappointed, I understood, and I left Capri thinking that I would never taste that limoncello again.

Two weeks later, now back at home, I was reading the latest issue of Conde Nast Traveler, and there in black and white, was the Quisisana limoncello recipe! WTF?

After making many batches of this limoncello, I started experimenting with other citrus, and the most successful by far was with grapefruit. Now I make a batch of each every year. Note: the recipe calls for 100-proof vodka. Most vodka is 80-proof, so you’ll need to go to a liquor store with a better selection to find it.


Four ingredients, easy to make. The toughest part is waiting for it to mellow a bit.


4 lbs. lemons, zest only
2 750-ml bottles 100 proof vodka (I prefer Absolut)
5 1/2 cups sugar
6 cups filtered water

Peel the zest off all the lemons, making sure you don’t get any of the white pith that could make the limoncello bitter. Place all the zest in the bottom of a glass jar with a lid that can hold all the vodka.

Pour the vodka on top of the lemon zest pieces, seal the container, and keep at room temperature for a week, swirling the jar around gently once a day.

On the sixth day, combine the sugar and water in a pot over medium-high heat, and stir until all the sugar completely dissolves. Remove from the heat, cover, and let it thoroughly cool to room temperature (overnight is best.)

On day seven, strain the lemon zest, pouring the infused vodka into a clean glass jar. Discard the lemon zest.

Pour the sugar/water mixture into the vodka and mix well.

At this point, you can pour the finished product into individual bottles, but let it mellow for about a month before drinking.

I keep my limoncello refrigerated.

When it comes to grilling, lamb is often overlooked. Some people think the taste of lamb is too gamey. The really good lamb, grass-fed Australian or New Zealand lamb, can have that taste. Most American lamb is a bit milder, so give that a try. Even so, I like to mix 1 lb. of ground lamb with 1 lb. of ground beef (I like grass-fed beef.)

Don’t wait until summer to make these burgers! If you’re a hardy soul like me, you’re grilling in the dead of winter. But these burgers are just as tasty if you pan-sear them and finish them in the oven.


lamburger


1 lb. ground lamb
1 lb. ground beef
2 tablespoons + 2 teaspoons extra Virgin olive oil
4 tablespoons minced Spanish onion
2 1/2 teaspoons Dijon mustard
1 teaspoon each fresh parsley, mint, and dill, finely chopped
1 teaspoon dried Greek oregano
1/2 teaspoon cumin
1 large clove garlic, squeezed through a garlic press
1 scallion, finely chopped, green part only
1 teaspoon salt
1/2 teaspoon black pepper

Heat 2 tablespoons of the olive oil in a skillet over medium heat. Add the onions. Cook until browned, about 6 minutes. Transfer the onions to a plate and let them cool.

In a bowl, mix the onions, the lamb, beef, mustard, parsley, mint, dill, oregano, cumin, garlic, scallions, salt and pepper.

Form the meat into slider-sized patties. Place them on a baking sheet covered with non-stick foil, and place the baking sheet in the fridge.

Don’t let the lamburgers get too cold in the fridge…just enough to firm the meat up a bit. If it gets too cold, give it a few minutes at room temp to warm up again.  Grill the burgers until cooked to medium.

If you’re cooking indoors, heat some lard or avocado oil in an oven-proof pan. Sear the burgers well on both sides, then place the pan in the oven to finish cooking.

Place the burgers on slider buns with lettuce and tomato, and smear the bun with the feta cheese dressing or tzaziki. Recipes for both are below.


My recipe for feta cheese dressing works really well with lamburgers. If you’re skipping the bun and serving the burger with a salad, you might want to try my tzaziki recipe.

Feta Cheese Dressing:
3/4 cup plain Greek yogurt
1  cup mayo
1 teaspoon Worcestershire sauce
1/2 teaspoon cayenne pepper sauce, like Franks Red Hot
1 teaspoon Dijon mustard
1/2 teaspoon granulated garlic
1/2 teaspoon salt
1/2 teaspoon ground black pepper
4–5 oz. crumbled feta cheese

Combine all the ingredients in a bowl. Mix well. Cover and refrigerate. If you can wait a day, it’s even better.

FullSizeRender (14)

Tzaziki:
1 pint plain yogurt
1/3 cup extra virgin olive oil
1 tablespoon white balsamic vinegar
1 teaspoon dill weed
1/2 teaspoon granulated garlic
1 English cucumber, peeled and grated
Salt

Combine all the ingredients, except the cucumber, in a bowl.

With the cuke: peel it, then finely grate it into a bowl. (If you’re using a regular cucumber and not an English cuke, scoop the seeds out of it before grating.) Add a pinch of salt and let it sit for a few minutes. Then scoop out the mashed cucumber with your hands and squeeze as much liquid out of it as you can. Add the cucumber to the bowl with the other ingredients. Mix well. Discard the cucumber liquid.

Cover and refrigerate the tzaziki. Again, if you can do it a day ahead, it’ll taste even better!


Stuffies, or stuffed clams, are a very personal matter here in Southern New England. There are as many stuffies recipes as there are chowder recipes, and everyone thinks they’ve got the best one. Most stuffies that I’ve had in restaurants, like most meatballs I’ve had, have too much bread and not enough of the good stuff.


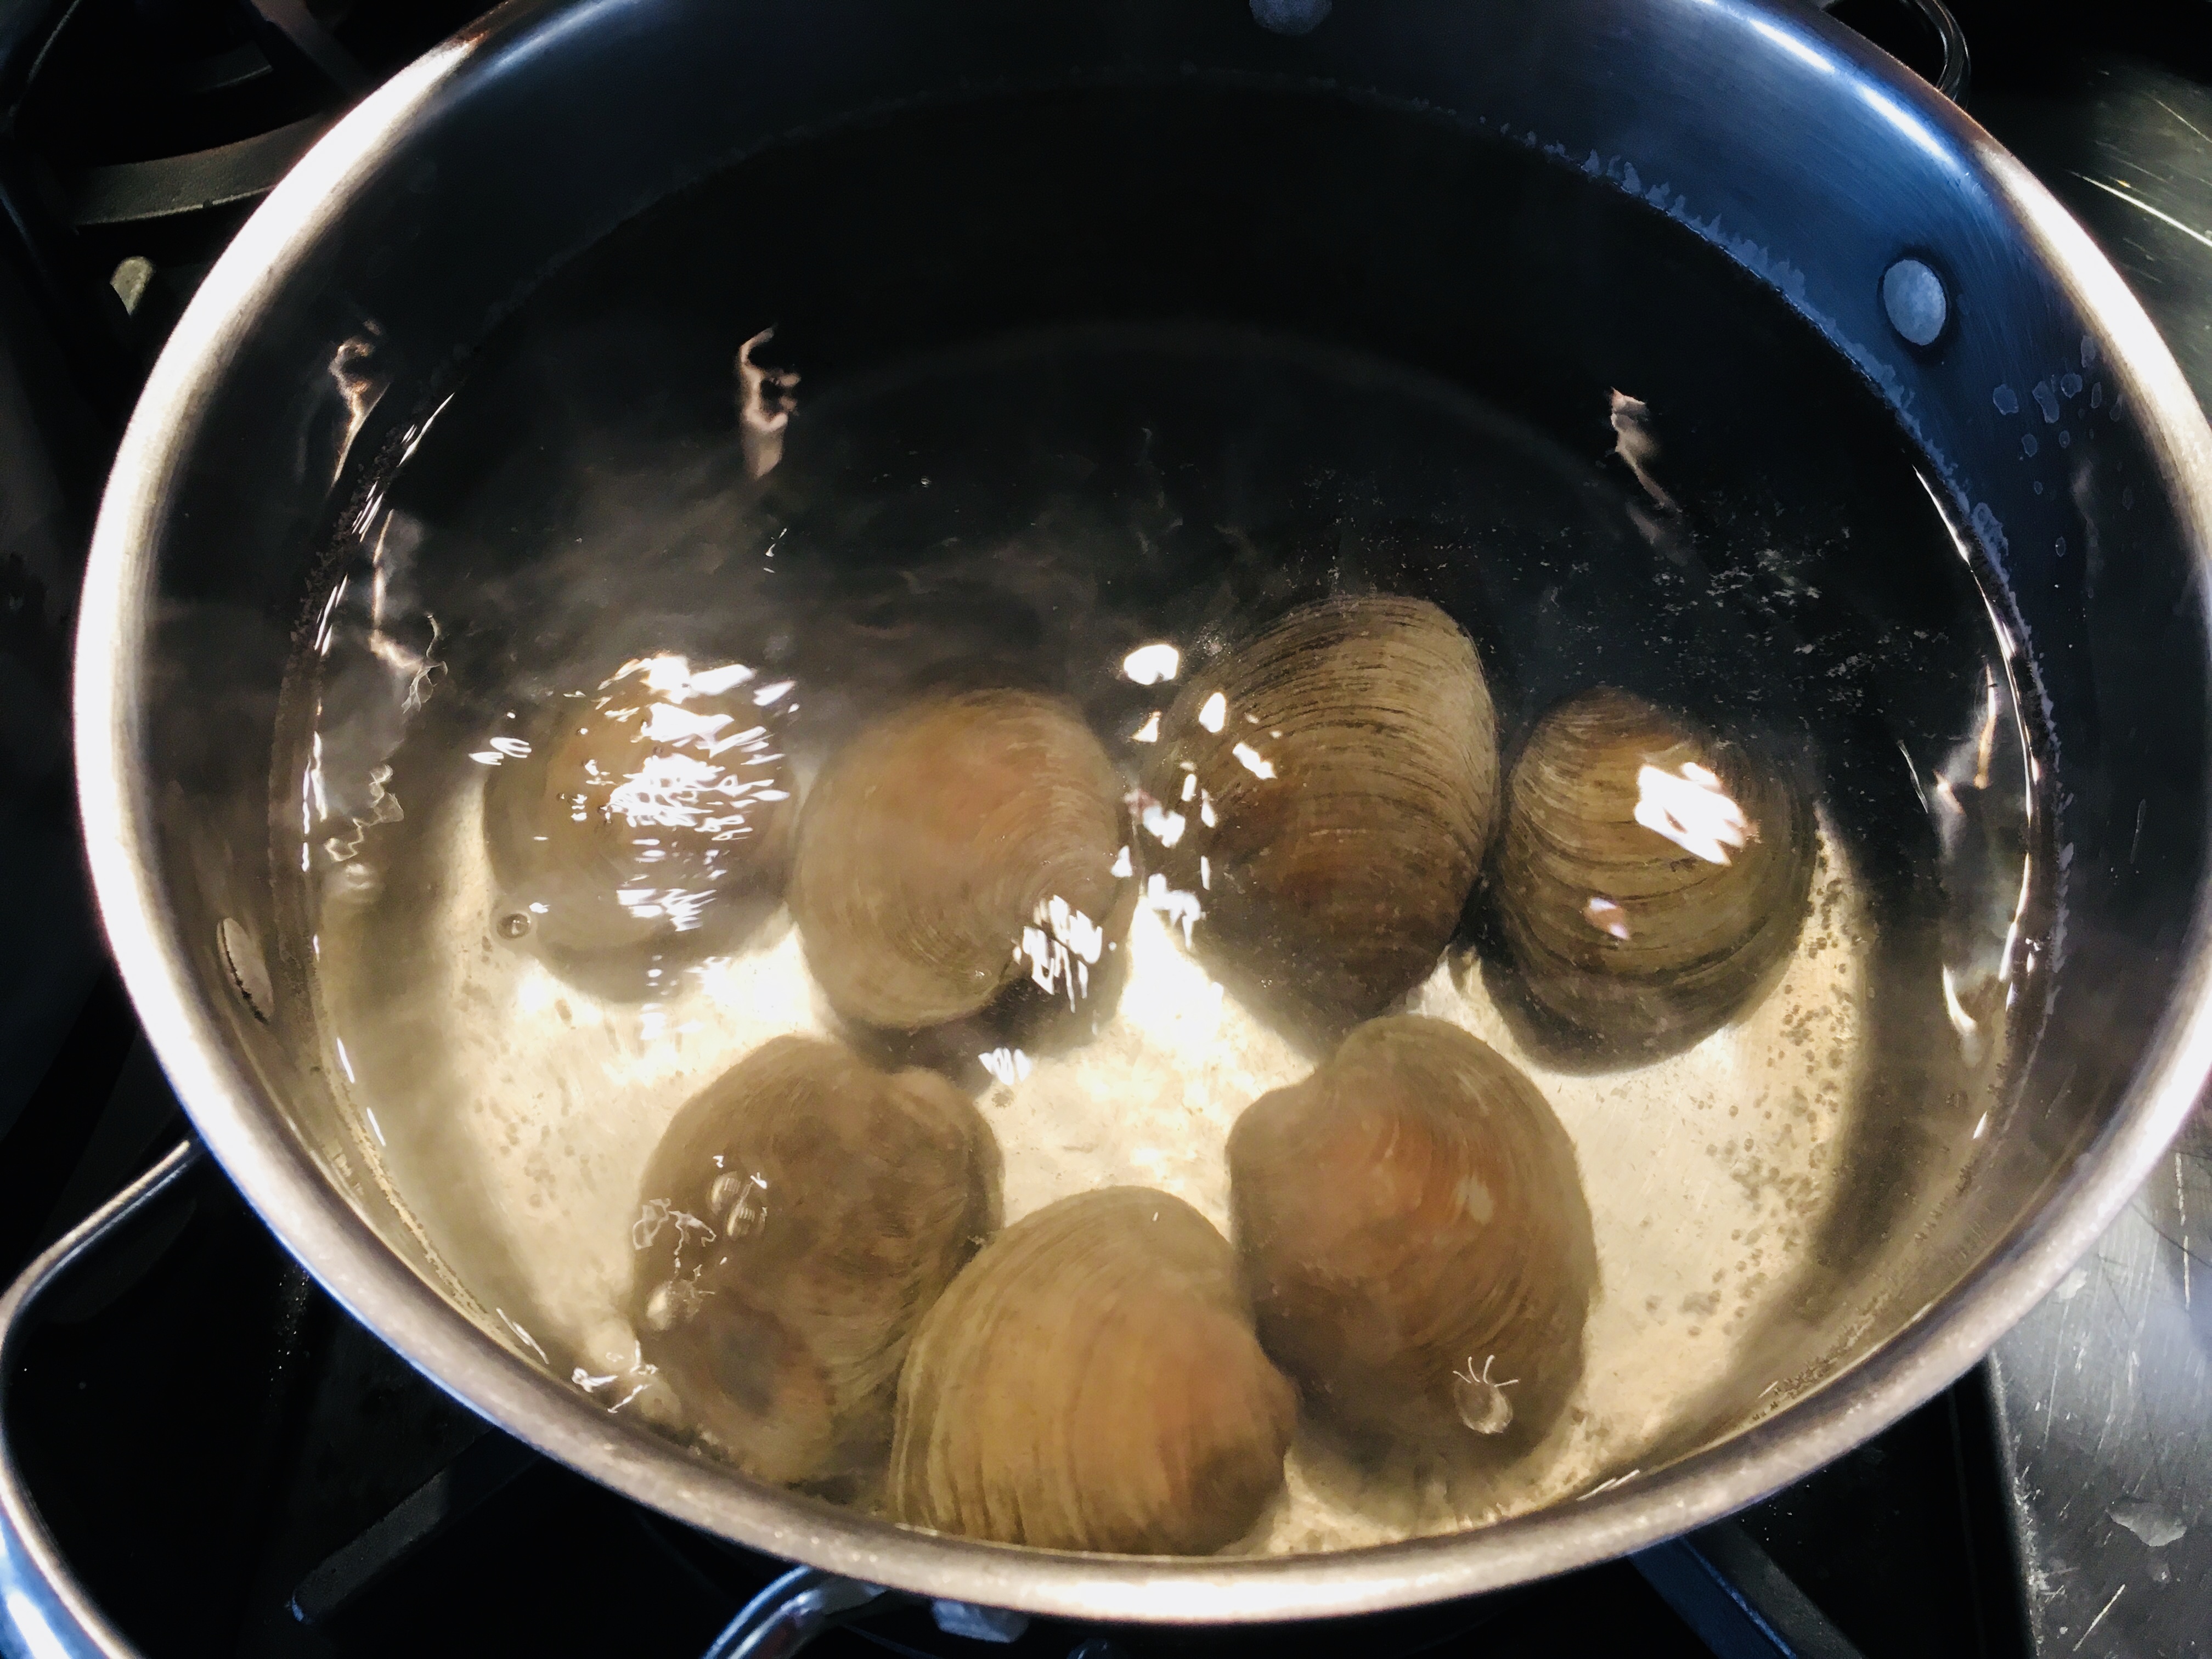
I use medium-sized clams for this recipe and not the traditional quahog, a large clam often used in chowders that I find to be too chewy. Dropping the clams in hot water in the beginning helps make opening the clams a lot easier.


Just 30 seconds in boiling water is all it takes.


This recipe requires quite a bit of fresh sage, which can be expensive off-season. I grow sage in my garden, then snip a ton of it at the end of the growing season, placing it in freezer bags and squeezing all the air out. I will even measure out 1 1/4 cups of fresh sage leaves (what I need for each batch), then place that amount in the freezer bag, so I don’t need to measure later.


Freezing the sage makes it easier to chop finely later on.


I use Portuguese chourico (since I live near Fall River and New Bedford, Massachusetts, the Portuguese capitals of America), and I think their flavor is best.

This recipe makes a lot of stuffies, but they freeze well so you can have them when you want.

This recipe is gluten-free…and you’ll never be able to tell the difference! But if that doesn’t matter to you, use toasted Portuguese bread instead of gluten-free bread.


stuffies


4 dozen medium neck clams
1.5 pounds chopped chourico, skin removed (I use Mello’s from Fall River, Mass.)
3 onions, finely chopped
3 tablespoons garlic, finely chopped
3 cups frozen or fresh corn kernels
3 cups toasted and coarsely ground bread (I use Udi’s Soft & Hearty Whole Grain bread to keep it gluten-free)
3/4 cup chopped fresh oregano (or 1 tablespoon dried)
1 1/4 cups chopped fresh sage (don’t use dried)
Salt and pepper
Butter
Sambal chili paste
Mayonnaise

In a large pot of boiling water, drop the clams in, about a dozen at a time. Remove them after about 30 seconds, before they open. Place them in a bowl to cool. Do this with all the clams.

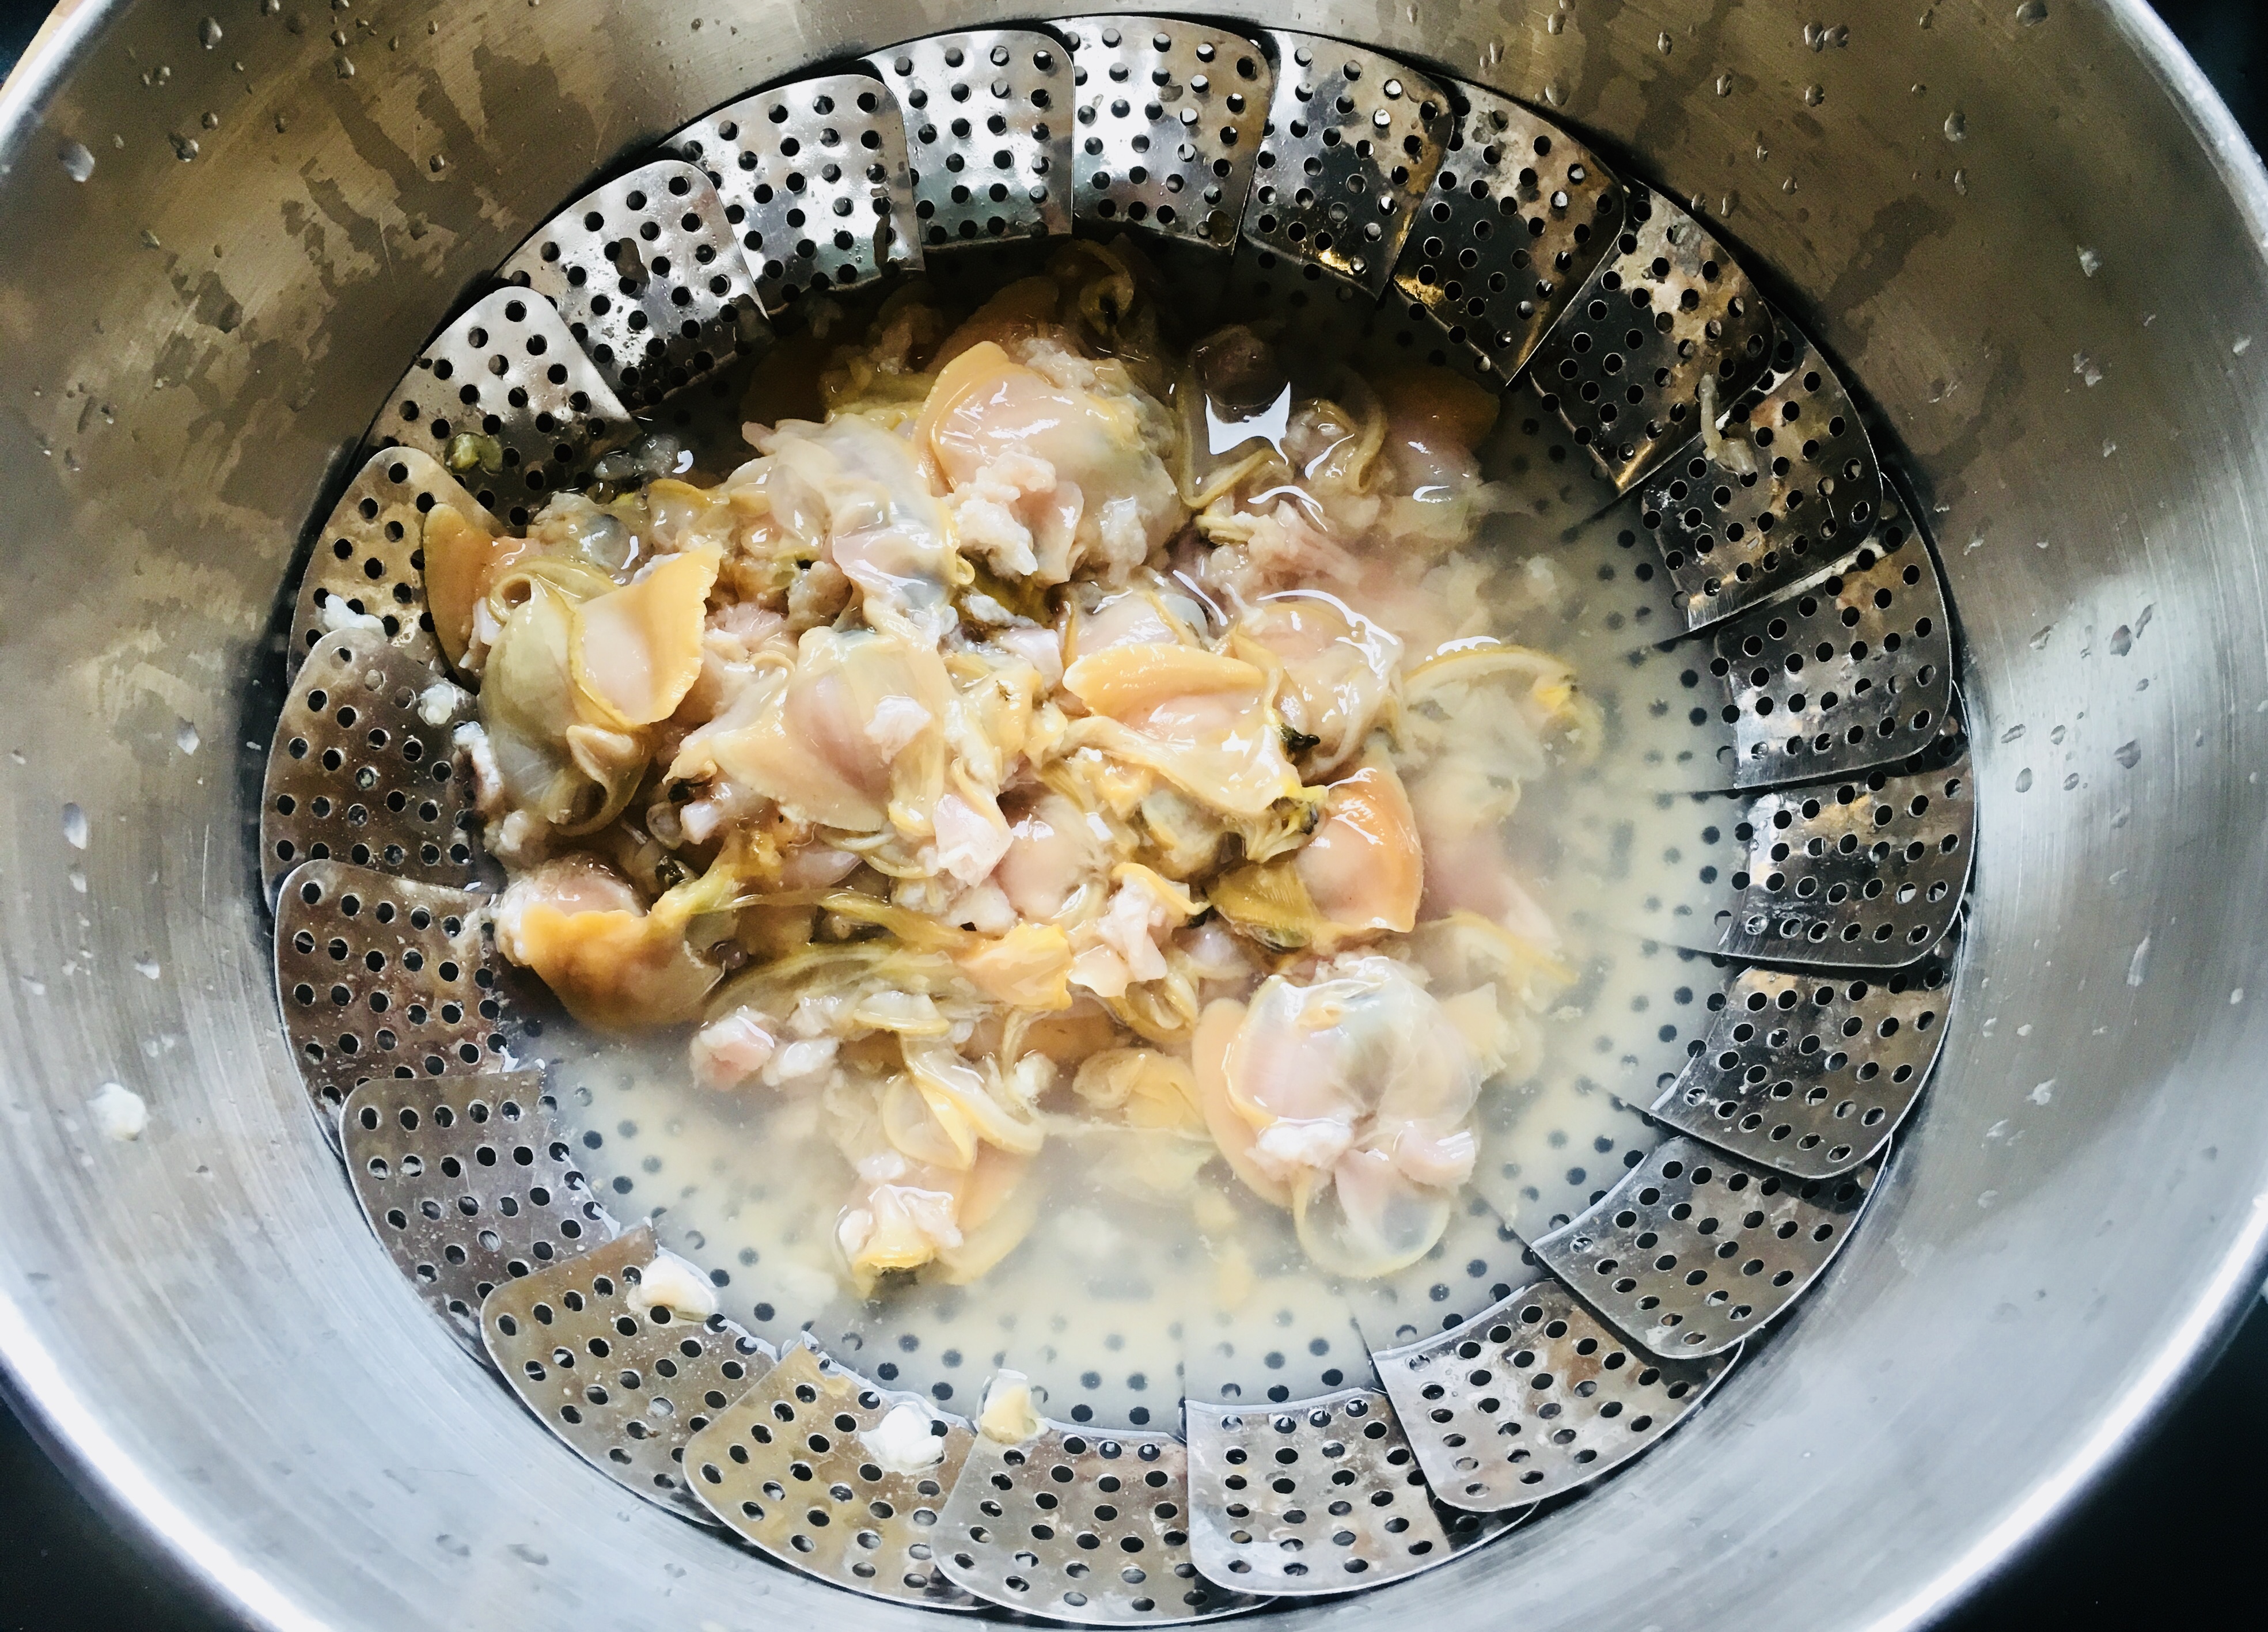
Open the clams with a clam knife over a bowl with a strainer, making sure you save all the liquid from the clams. Put the clam shells to the side. Throw away any broken shells, and wash the empty shell halves thoroughly, making sure there are no broken pieces.


I use a strainer to keep the sediment away from the clam meats.


Take the clam meat pieces out of the strainer, leaving the clam juice behind in the bowl. Move the clam meat to a cutting board or food processor and chop them to medium-fine. Set them aside.

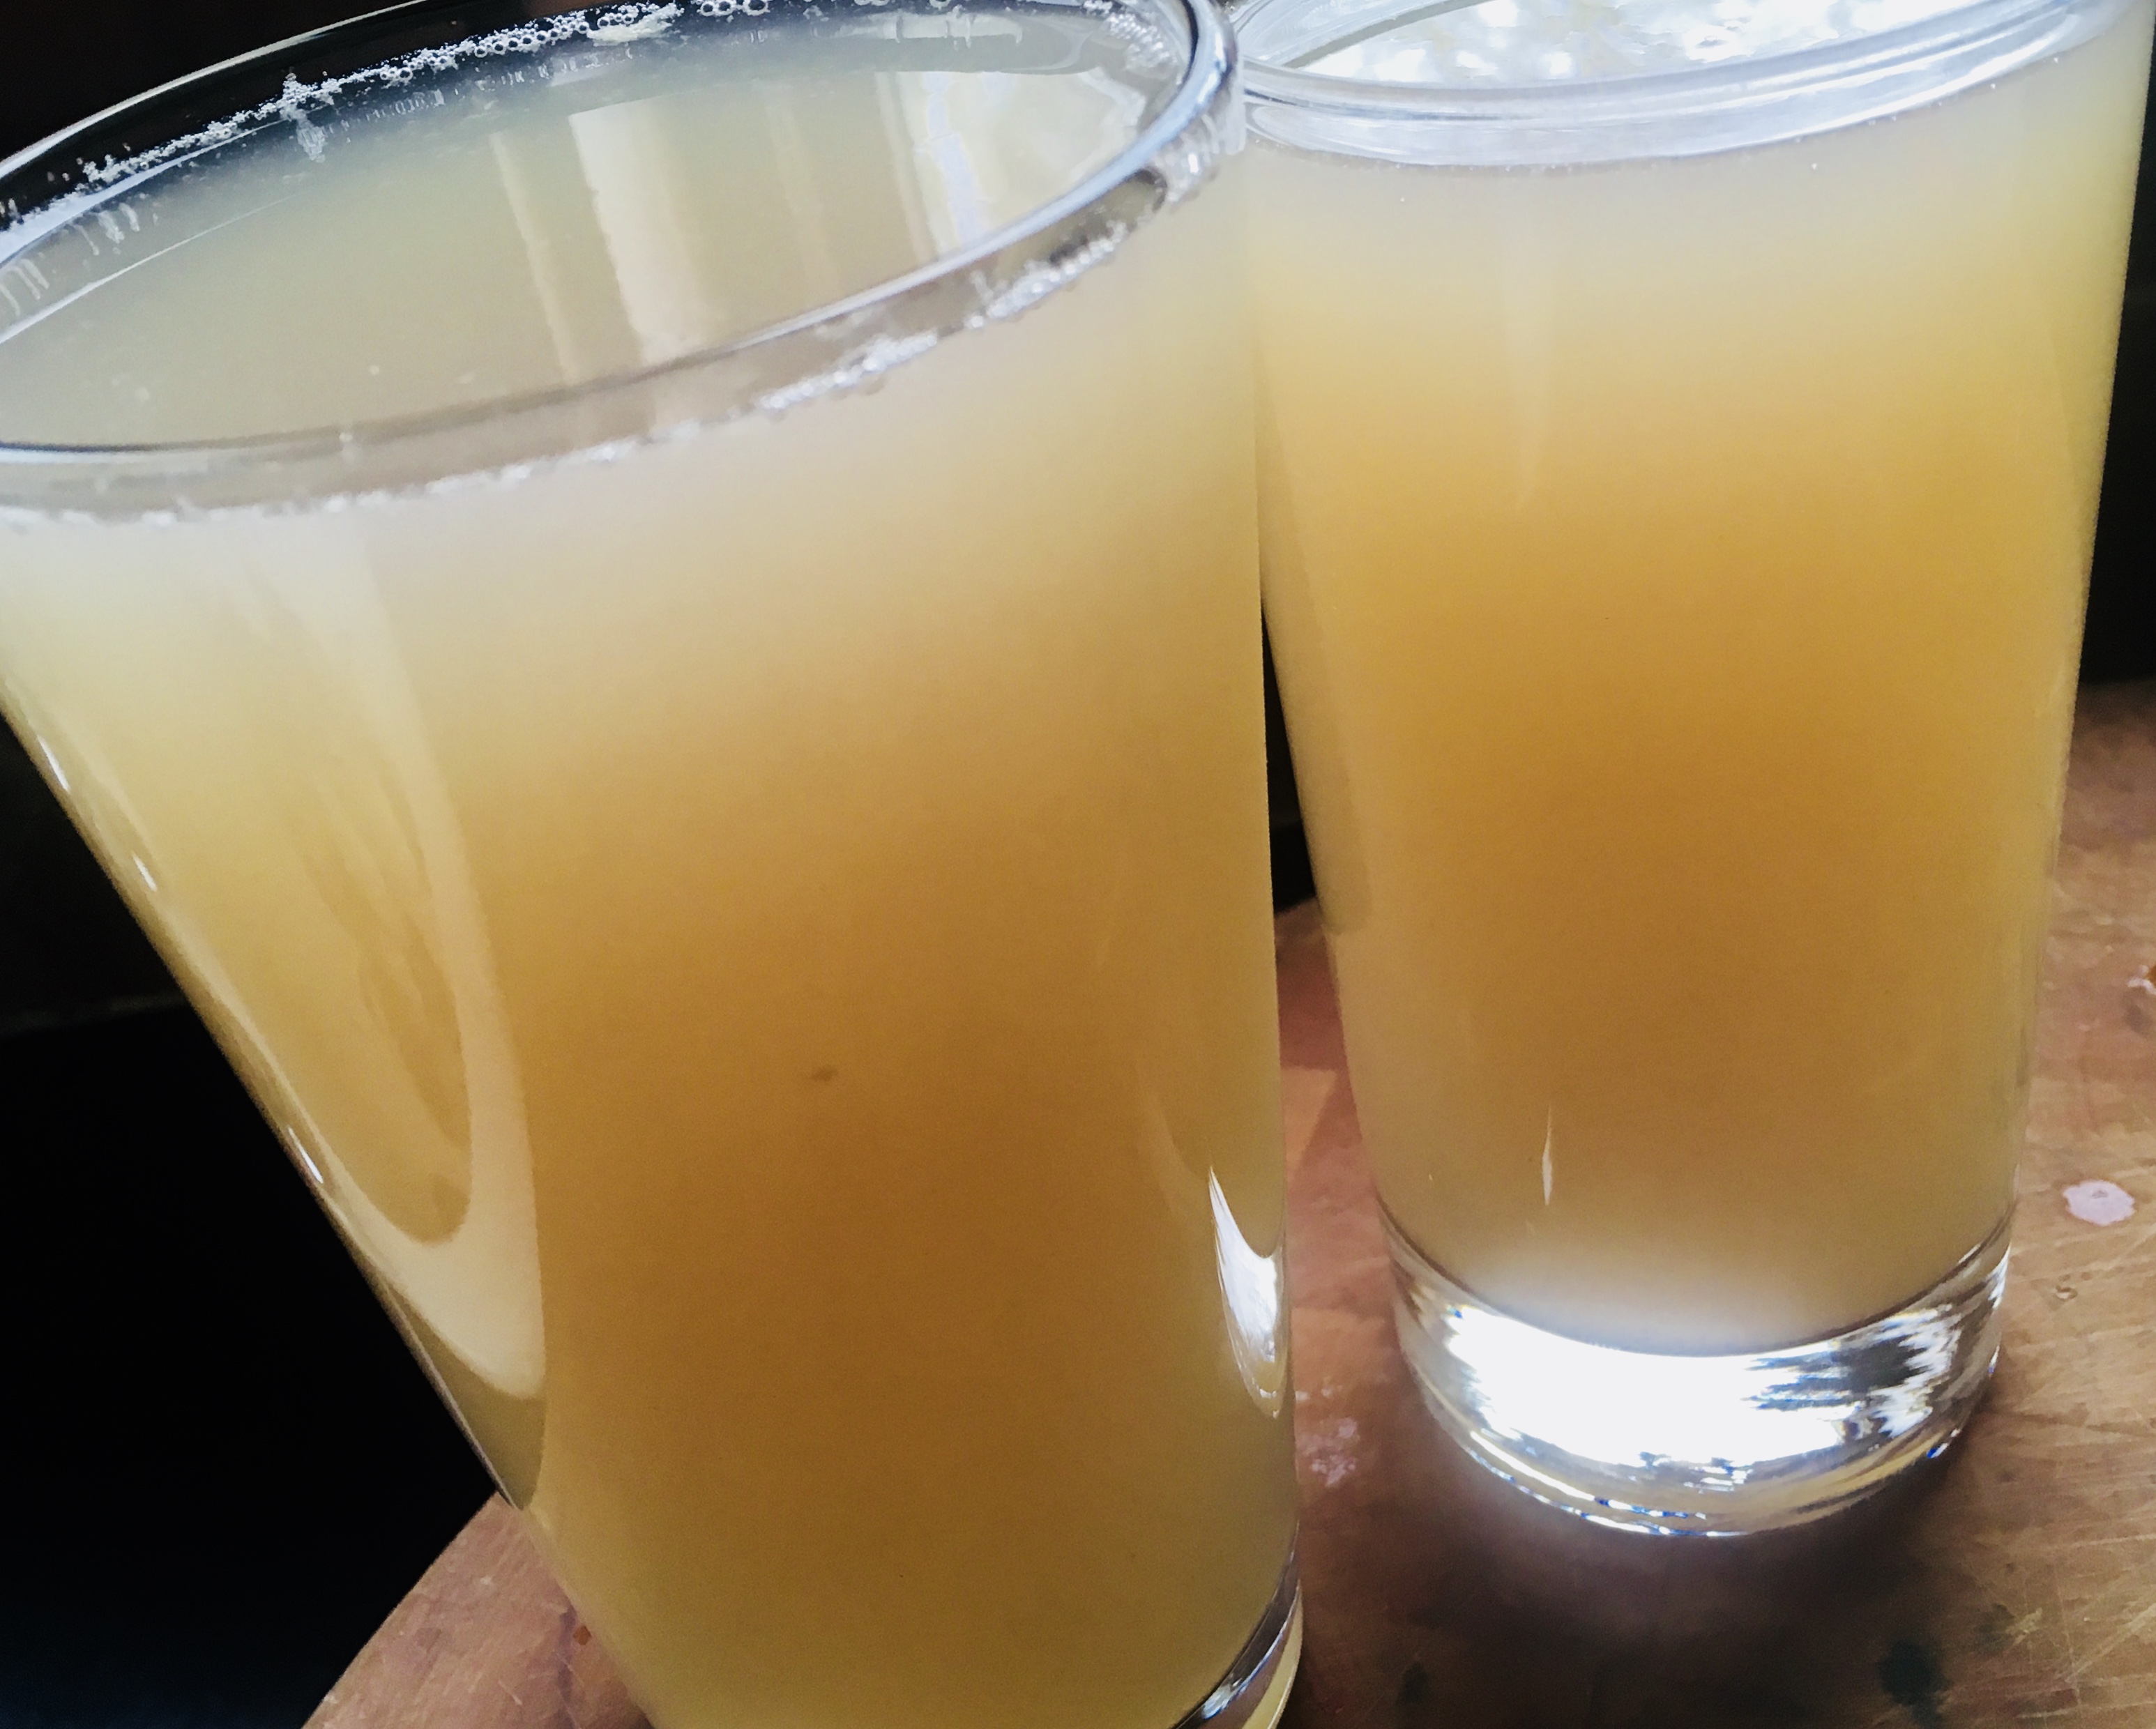
I pour the clam juices carefully from the bowl to tall drinking glasses, being careful not to let the sediment get in. Then, after some time, I pour off the clam juice from the glasses, leaving even more of the sediments behind. I find that the tall glasses make it easier to see the sediments, and maximize the amount of clam juice I get.


I let the clam juices sit in their tall glasses for a while, so that even more sediments get left behind.


In a large frying pan, add the olive oil, onions, and chourico and cook them on medium heat for a few minutes. Add the oregano and sage and cook a few more minutes. Add the corn and cook a few more minutes, a little more if the corn was frozen. Add the chopped clams and stir, cooking for a few more minutes. Add the breadcrumbs a little at a time until you have a nice balance of bread and other ingredients. Add the clam juice a little at a time as well, so that you can add all the breadcrumbs, but the mix isn’t runny. There’s lots of flavor in the clam juice, so use as much as you can! Season it all with salt and pepper.

Remove the pan from the heat and fill the empty clam shells with the stuffing.

At this point, you can freeze the clams. I put them on small sheet pans in the freezer until they harden, then I wrap them 6 at a time, and put them in freezer bags. Keep them frozen!


Ready for the freezer!


To make the aioli, mix the mayonnaise and Sambal in a bowl, to taste. Sambal is hot, so a little goes a long way. Keep it covered and refrigerated.


When you’re ready to bake, remove the clams from the freezer and place them on a sheet pan in a pre-heated 350 degree oven. Top each clam with a small ¼” square piece of butter. Bake them about 15 minutes, until the clams are sizzling and light brown. Top each with a small dab of aioli.

Like hot dogs and Slim Jims, jerky is one of those “mystery meats” we love but don’t really know how it’s made or what part of the animal it comes from. It’s also the only thing my nieces and my co-workers want for Christmas this year, so I’m making huge batches!
Really excellent beef jerky is a rare treat, and once you have it, you will never go back to that rancid, preservative-filled dog meat you find in a bag at the supermarket. And the best part is: it’s easy to make.
Shop around for a really nice slab of London broil or similar cut. You don’t need to buy an expensive piece of grass-fed beef, but the better the meat, the better the jerky. Remove all the gristle and fat that may be on the meat and then slice it against the grain and on a diagonal, into 1/4″ thick slices. Toss all the meat in a Ziploc bag. Once you’ve done that, all you need to do is make the marinade, marinate the beef overnight, and then dry it the next day. Your final product will be a flavorful beef jerky that is so good, you’ll find it very hard to stop eating it…or to share it.
If you use gluten-free soy sauce and teriyaki sauce (La Choy is the brand I use, found in any supermarket), this recipe can be considered gluten-free. Be careful: regular soy sauce, and even some tamari sauces, have wheat in them. Read the label!
I just received a nice slab of venison loin from my brother-in-law, the hunter. Venison jerky is next!
image
1 tablespoon salt
1 1/2 tablespoons granulated garlic
1 teaspoon black pepper
1 teaspoon fresh minced peeled ginger
2/3 cup brown sugar
1 cup teriyaki sauce (I use La Choy brand. It’s gluten-free.)
1 cup soy sauce (I use La Choy brand. It’s gluten-free.)
8 lbs. raw, lean beef, like London broil, cut into 1/4″ thick diagonal slices, against the grain of the meat
Mix all the ingredients except the meat in a large bowl. Place the meat in a large Ziploc bag, pour the marinade inside, seal it, and refrigerate overnight. Squish the bag around once in a while, to make sure all the meat surfaces make contact with the marinade. Keep the bag in a bowl to prevent any accidental spillage in your fridge!
The next day, pour off the marinade and discard it. Using a food dehydrator, dry the meat by laying strips in a single layer. You can also dry them in a 140 degree oven on racks slightly elevated off a baking sheet. Drying could take several hours to half a day, depending on how dry and chewy you like your jerky.
Jerky in the dehydrator.

Jerky in the dehydrator.

This recipe makes a lot of jerky, but it stores really well in the freezer. I put small amounts into individual freezer bags, then place all of them in one large freezer bag. Thaw as needed.

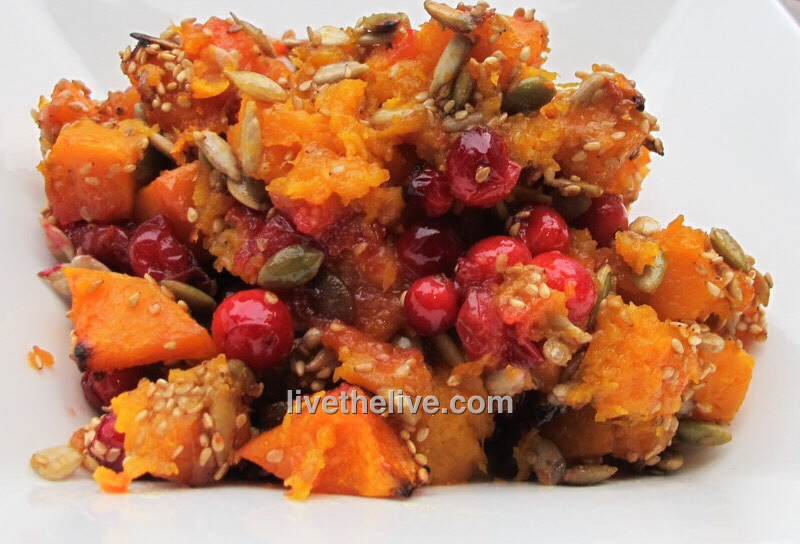
My Mom loves that nasty, gooey cranberry log that oozes out of the can. It would hit the bowl with a splurt and would wiggle for about an hour. I’m more than happy to avoid that and make this delicious side dish, which has become mandatory at our Thanksgiving table every year.

image


1 medium-sized butternut squash, washed and peeled with seeds removed
Olive oil
Salt
1 cup fresh cranberries
¼ cup sunflower seeds
¼ cup pumpkin seeds or pepitas
¼ cup sesame seeds
¼ cup maple syrup, more if you like it really sweet

image

Pre-heat the oven to 400 degrees.

Once you’ve washed, peeled and seeded the butternut squash, cut it into ½” chunks. Sprinkle a little olive oil and salt on them and toss them to coat. Then spread the squash cubes in a single layer on a baking sheet. Bake for about 30 minutes or until golden on the edges.

Remove the squash from the oven and pour the cranberries into the hot tray. Mix gently. Pour the squash/cranberry mix into a smaller, deeper baking pan.

Increase the oven to 425.

In a separate bowl, combine the sunflower seeds, pumpkin seeds and sesame seeds. Sprinkle the seeds evenly over the squash/cranberry mixture. Drizzle the maple syrup over everything and place the baking pan in the oven. Cook for another 20 minutes, until the seeds have roasted.


This is a great appetizer when you’ve got guests visiting over the holidays. You can make the pesto ahead of time, and serve it in just a few minutes.

Chourico (or chorizo in Spanish) is as important to the Portuguese as bacon is to us Lithuanians. Here in Southern New England, they pronounce it “sha-rees,” not the exaggerated “chaw-reezo,” like you hear on “Chopped.”

I was joking with a friend the other day that if I won the lottery, I could buy a lifetime supply of chourico at my favorite store: Mello’s in Fall River, Mass. His response was: “Is there such a thing as a lifetime supply of chourico?!”

Good point!

If you’ve had really great chourico, you’re always looking for new ways to include it in your cooking. Arugula is one of the easiest greens to grow in the spring or fall garden. And it’s readily available in any supermarket produce section.

Inspired by chef Chuck Hughe’s recipe, this is a great chourico appetizer that’s really easy to make. Whip up the arugula pesto ahead of time and keep it in the fridge. Then when guests come, just slice the chourico, saute it in a pan until brown, and serve.

fullsizerender

3 cups fresh baby arugula
1/2 cup walnuts
1/2 cup olive oil
1 clove garlic
1 teaspoon salt
1/4 teaspoon pepper
1/2 cup + one tablespoon grated Parmigiano Reggiano or other good quality parmesan cheese
2 lbs. chourico, sliced into 1/2″ pieces

Combine the arugula, walnuts, olive oil, garlic, salt, pepper and the 1/2 cup of cheese in a food processor or blender and blend until smooth. Set the tablespoon of cheese aside for garnishing later.

fullsizerender-1

Remove the casing from the chourico and slice it into 1/2″ thick pieces. Saute the chourico in a pan until both sides are caramelized and golden.

Place the chourico on a plate, topping with some of the pesto. Sprinkle a touch of the grated cheese to garnish. Serve immediately, while the chourico is still hot!


fullsizerender-3


If someone told me that the classic Caesar salad was invented in Tijuana, Mexico, I’d say they were crazy. But that’s one bizarre truth in the creation of one of the world’s most iconic salads.

Famous restaurateur, Caesar Cardini, ran a restaurant in San Diego back in the early 1900’s. But when Prohibition hit the states, he opened another location in Mexico…Tijuana, to be exact, luring many of the day’s Hollywood stars across the border. They could gamble in Mexico, and they could feast on food and alcohol at Cardini’s.

The story goes that one July 4th, they were running out of food, and thinking quickly, Cardini created a salad at the spur of the moment, using only the ingredients he could find in the kitchen. Having the chef assemble the salad tableside meant it came with a grand performance, and word quickly spread of the incredible “Caesar salad.” (Cardini named it after himself.) Cardini’s is still at its original Tijuana location, and they serve thousands of Caesar salads, with a flamboyant tableside show, to tourists.

Though Cardini didn’t believe anchovies should be in his salad (they say Worcestershire was used instead), anchovies were eventually added when his brother, Alex, tweaked the recipe years later. (The Worcestershire was removed.)

It needs to be said that raw egg yolks are used in Caesar salad, and if you’re not comfortable using them because of salmonella concerns, you shouldn’t. Sometimes coddled eggs (slightly boiled) are used. Many recipes contain a variety of egg substitutes. But for me, it ain’t a Caesar without raw egg, so I’m willing to take my chances.

The Caesar salad that I compare all others to is the one my wife first made me when we were dating. I don’t want to say that it convinced me to marry her, but it certainly factored into the equation!

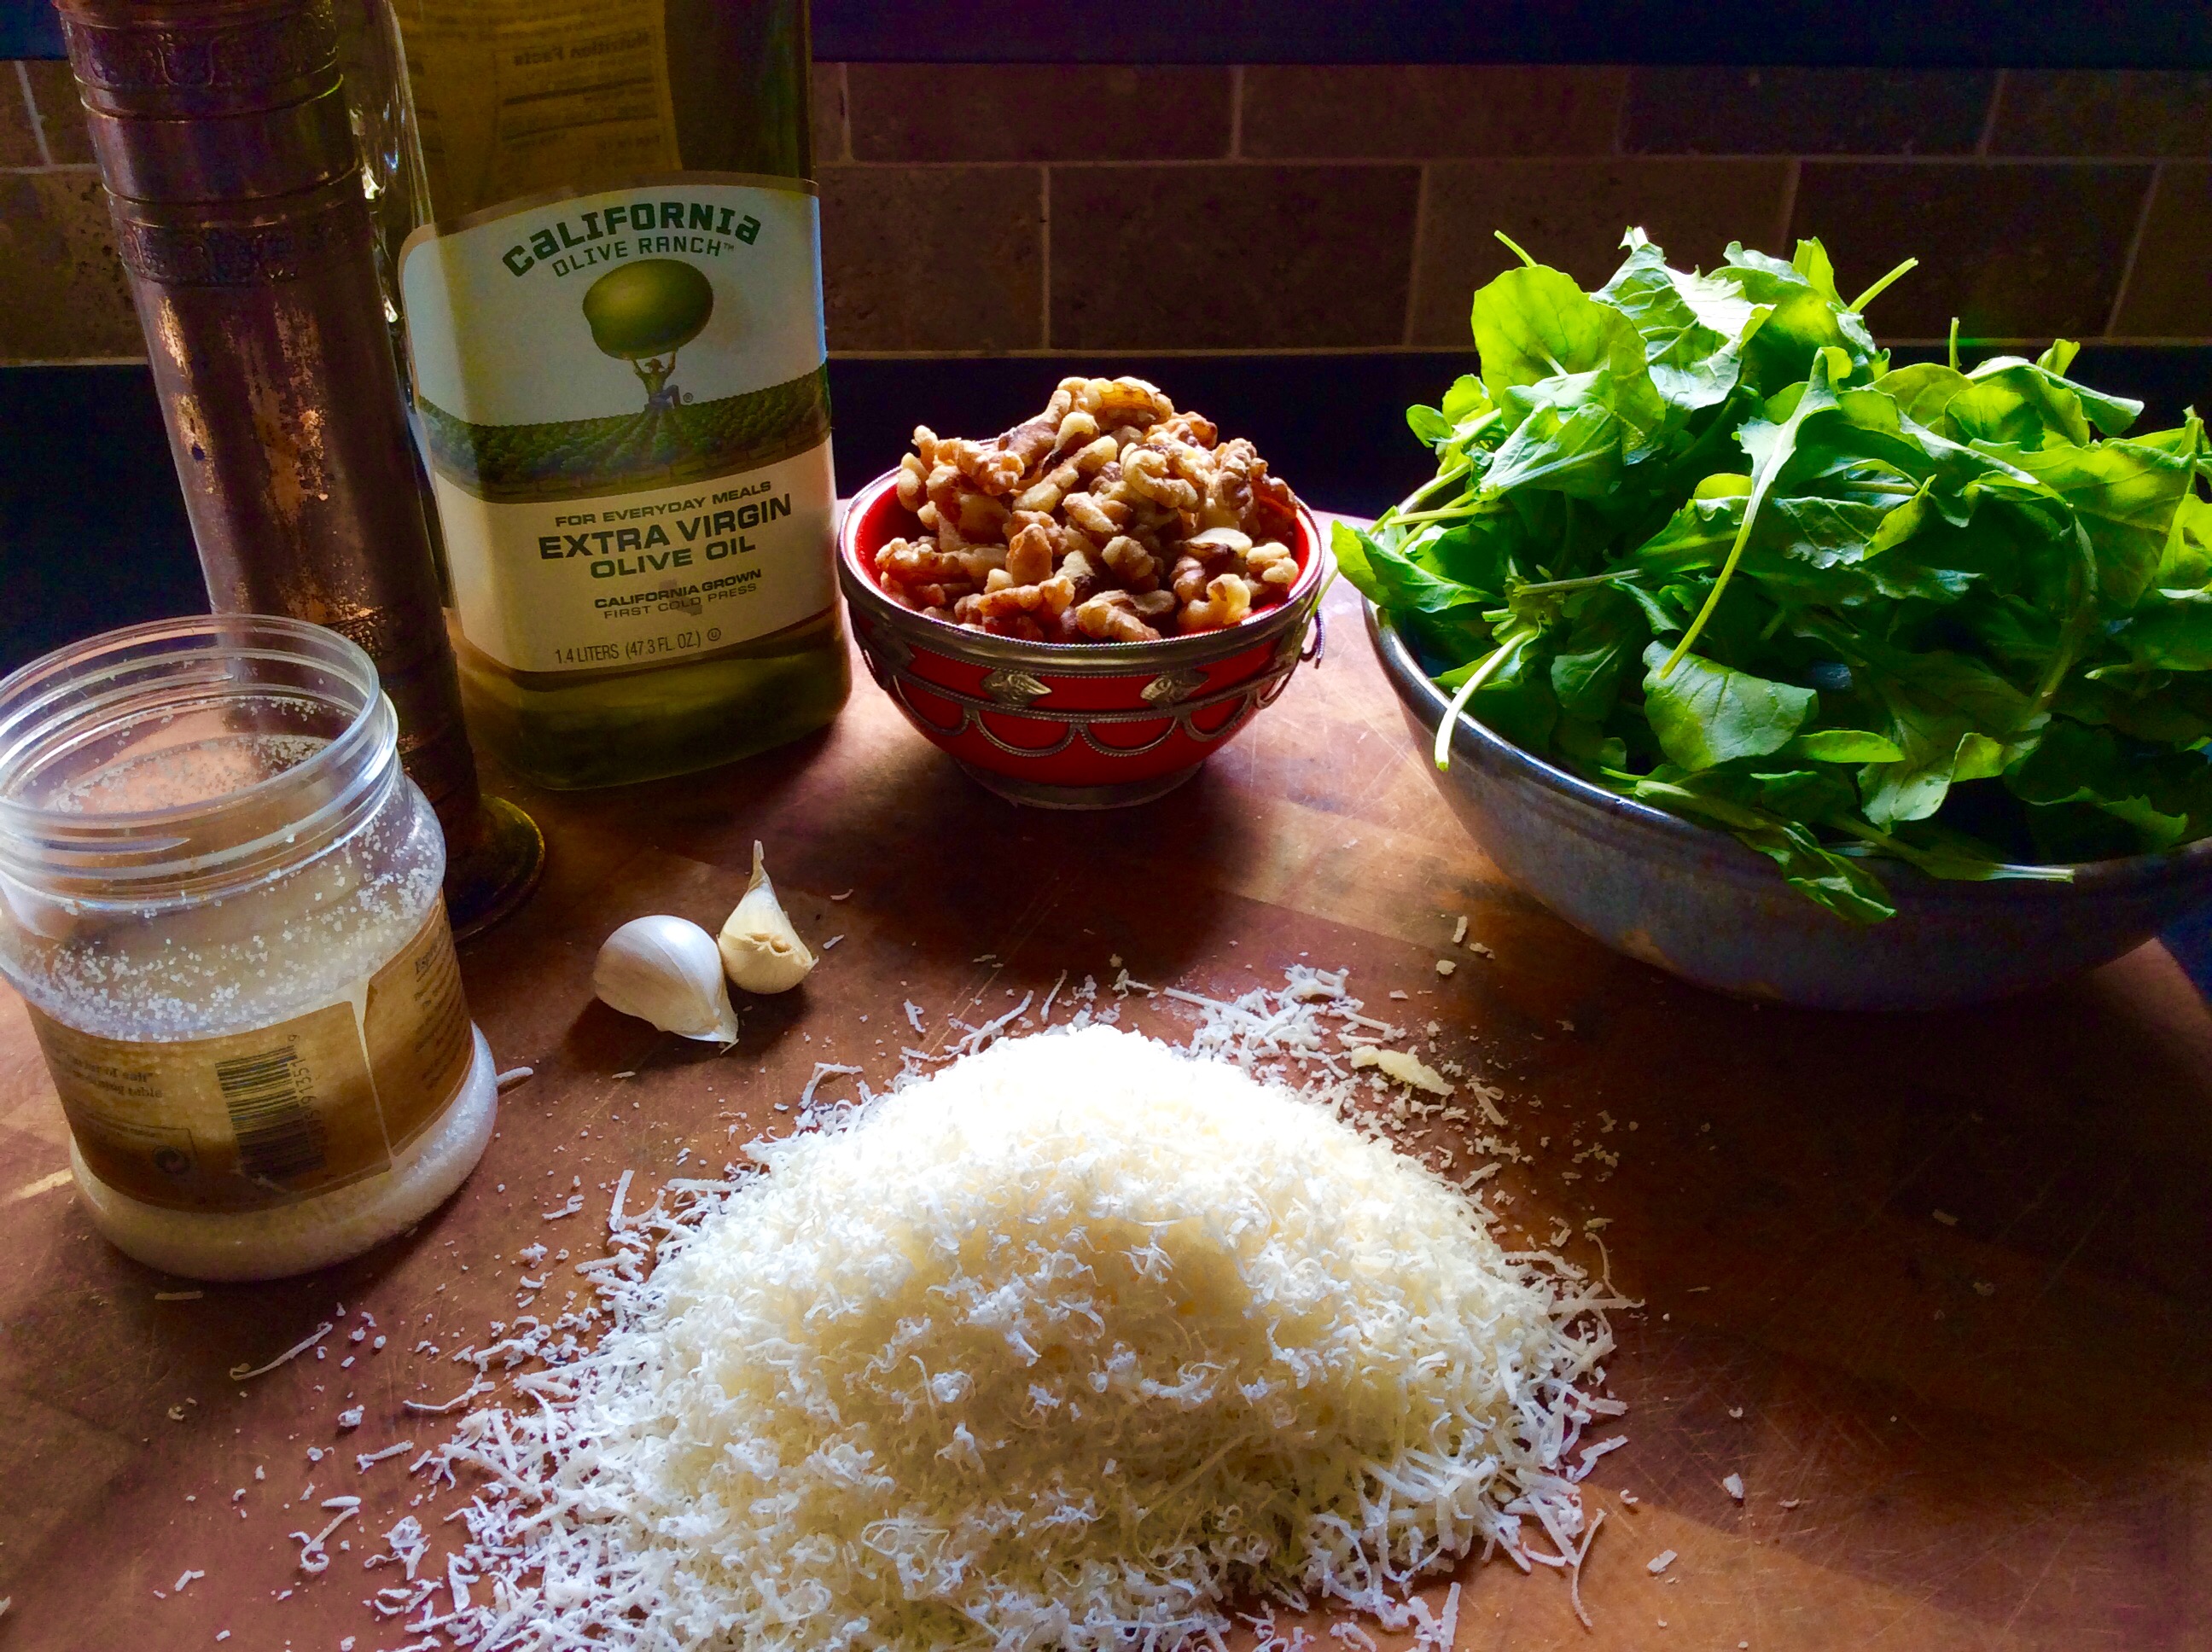
The ingredients.

In presenting this Caesar salad recipe, she reminded me that she had promised the friend who first made this recipe for her that she would never reveal all of its secrets. But the great thing about recipes is that one slight change is all it takes to make someone else’s recipe your own…and that’s exactly what I did. No promises broken!

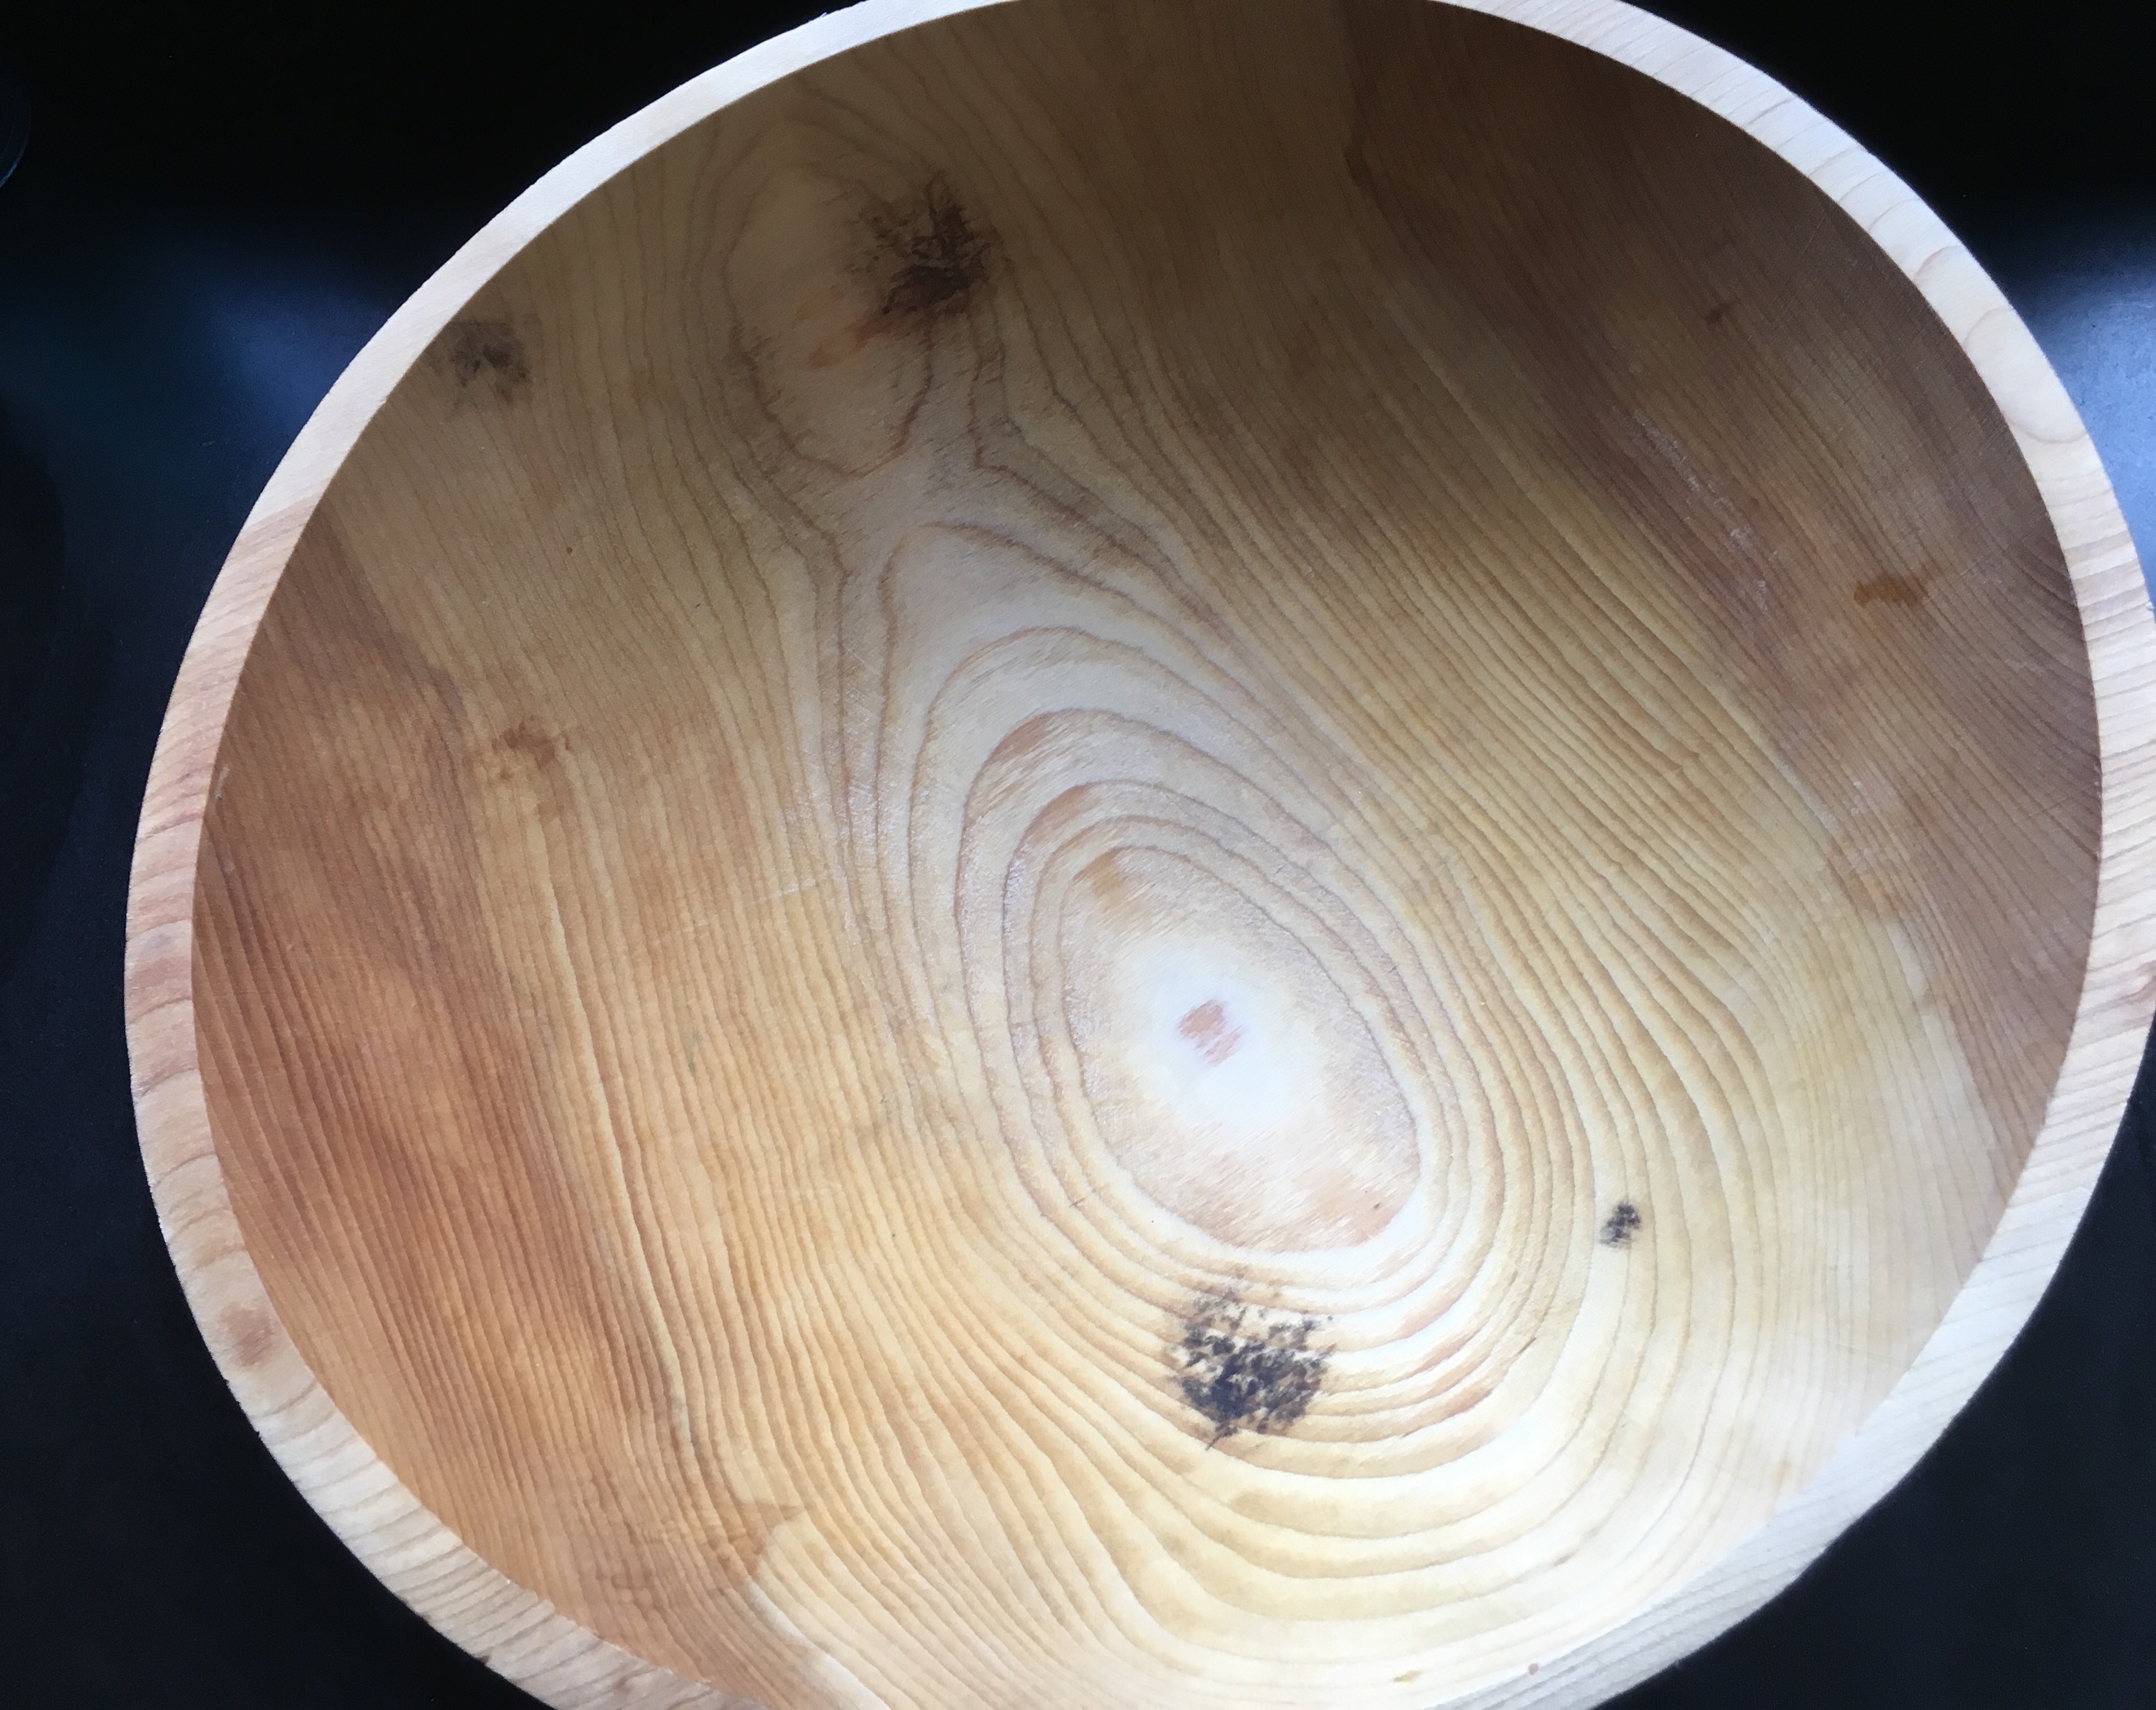
The first really important ingredient to get is a wooden bowl. No other bowl will do. We have an old wooden bowl at home with almost mystical properties that is used for nothing but our Caesar salad, and I have to say that it makes all the difference in the world.


The mystical wooden bowl. Years of Caesar salads have given it a special seasoning.

Once you have the bowl, what matters most is the freshest, best quality ingredients you can find: farm-fresh eggs, not supermarket ones…Parmigiano Reggiano, not generic Parmesan. The best quality extra virgin olive oil. Fresh lemon juice. Freshly cracked black pepper. High-quality anchovies.

After that, it’s all about the love.

The process begins…

4 egg yolks
8 oz. good quality extra virgin olive oil
2 tablespoons Dijon mustard
1 1/2 teaspoons black pepper
4 anchovies
the juice of 1 lemon
4 oz. grated Parmigiano Reggiano cheese
2 heads Romaine lettuce, washed, stems removed, torn by hand


Place the egg yolks in the wooden bowl and whisk them until well mixed.

While whisking the yolks, pour the olive oil in the bowl VERY SLOWLY, whisking all the time, never stopping. Keep pouring the olive oil slowly until you’ve whisked all of it into the eggs and you get a beautiful emulsion.

Keep whisking and add the Dijon mustard, then the black pepper.

Add the anchovies, mashing them with the whisk as you combine the ingredients. Don’t leave any chunks of anchovy. You want it to dissolve completely in the dressing.

Once the dressing has reached its desired consistency, add the lemon juice and whisk some more.

Whisking slowly, sprinkle in the Parmigiano Reggiano.

When it’s all mixed together, dip a finger in the dressing and give it a taste. Does it need more lemon juice to cut the oil? Slice a second lemon and add a little. Taste again. Is the tanginess of cheese dancing on your tongue? If not, grate more and add a little more. Enough black pepper? There should be enough salt from the anchovies and cheese.

If you think you’ve “got it,” add the Romaine leaves to the salad bowl and toss gently to coat the lettuce.

When serving, top each salad serving with a little more cheese. Extra anchovies are optional.


If you’re saying “where’s the garlic?” …you’re right. Every good Caesar needs some. This recipe would use about 1 tablespoon of fresh, finely chopped garlic, added after the mustard. If I’m cooking alone, I always add the garlic. But we have people allergic to garlic in our household, so when family is here, we leave it out. The flavors of the dressing are so deliciously intense, you’d be surprised how good it is without it!


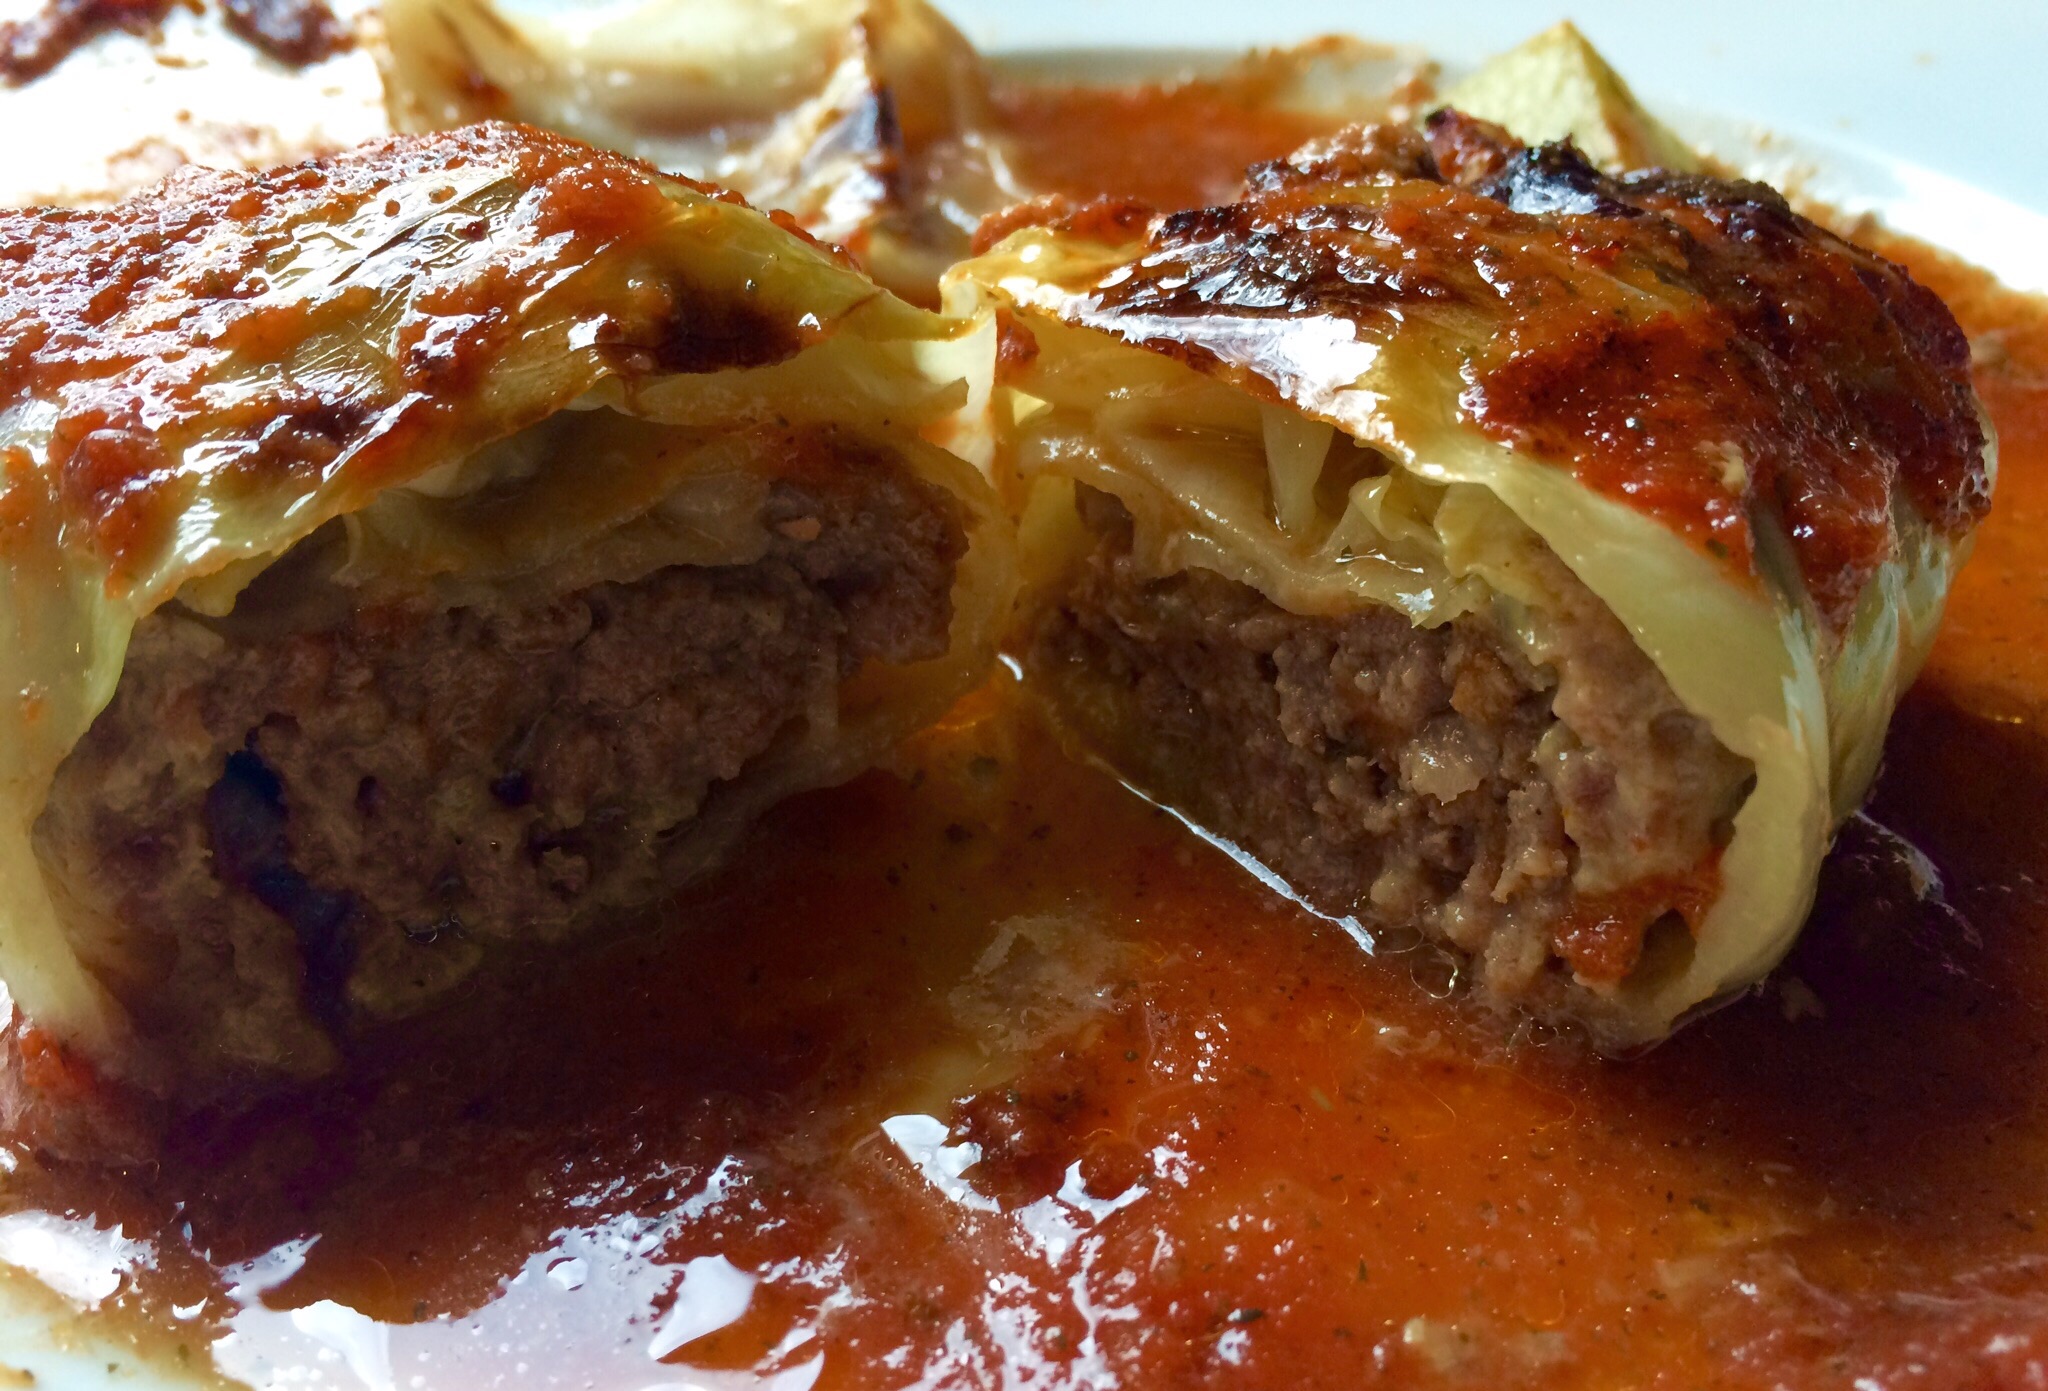
If there’s a dish that my Mom made all the time, but I didn’t appreciate until I got older, this is it. Stuffed cabbage, cabbage rolls, or balandėliai, as we say in Lithuanian, was a staple in our home and one of my Dad’s favorite foods. 

I had seen my Mom make these beauties so often in my childhood, I didn’t even need to check online recipes out for guidance. That doesn’t mean I make them exactly like Mom, but my version came out pretty damn good. I think Mom would be proud.

image


4 strips of bacon, chopped
1 yellow onion, finely chopped
1 teaspoon salt
1/2 teaspoon pepper
1/2 teaspoon granulated garlic
1 lb. ground grass-fed beef
1 lb. ground pastured pork
1/2 cup breadcrumbs
2 eggs
1 large head cabbage
1 pint homemade chicken stock
750 mg diced tomatoes (1 Pomi container)
1 teaspoon thyme
1 teaspoon salt
1/2 teaspoon pepper
1/4 teaspoon granulated garlic
1/4 teaspoon granulated onion

Chop the bacon into small pieces and fry them until crisp. Finely chop the onion, and add it to the bacon in the pan, cooking until the onions are translucent. Add the salt, pepper and garlic. Mix well, and remove from the heat. Let it cool to room temperature.

In a large bowl, combine the beef, pork, breadcrumbs, eggs, and cooled bacon and onion mixture. Place in the fridge to firm up.

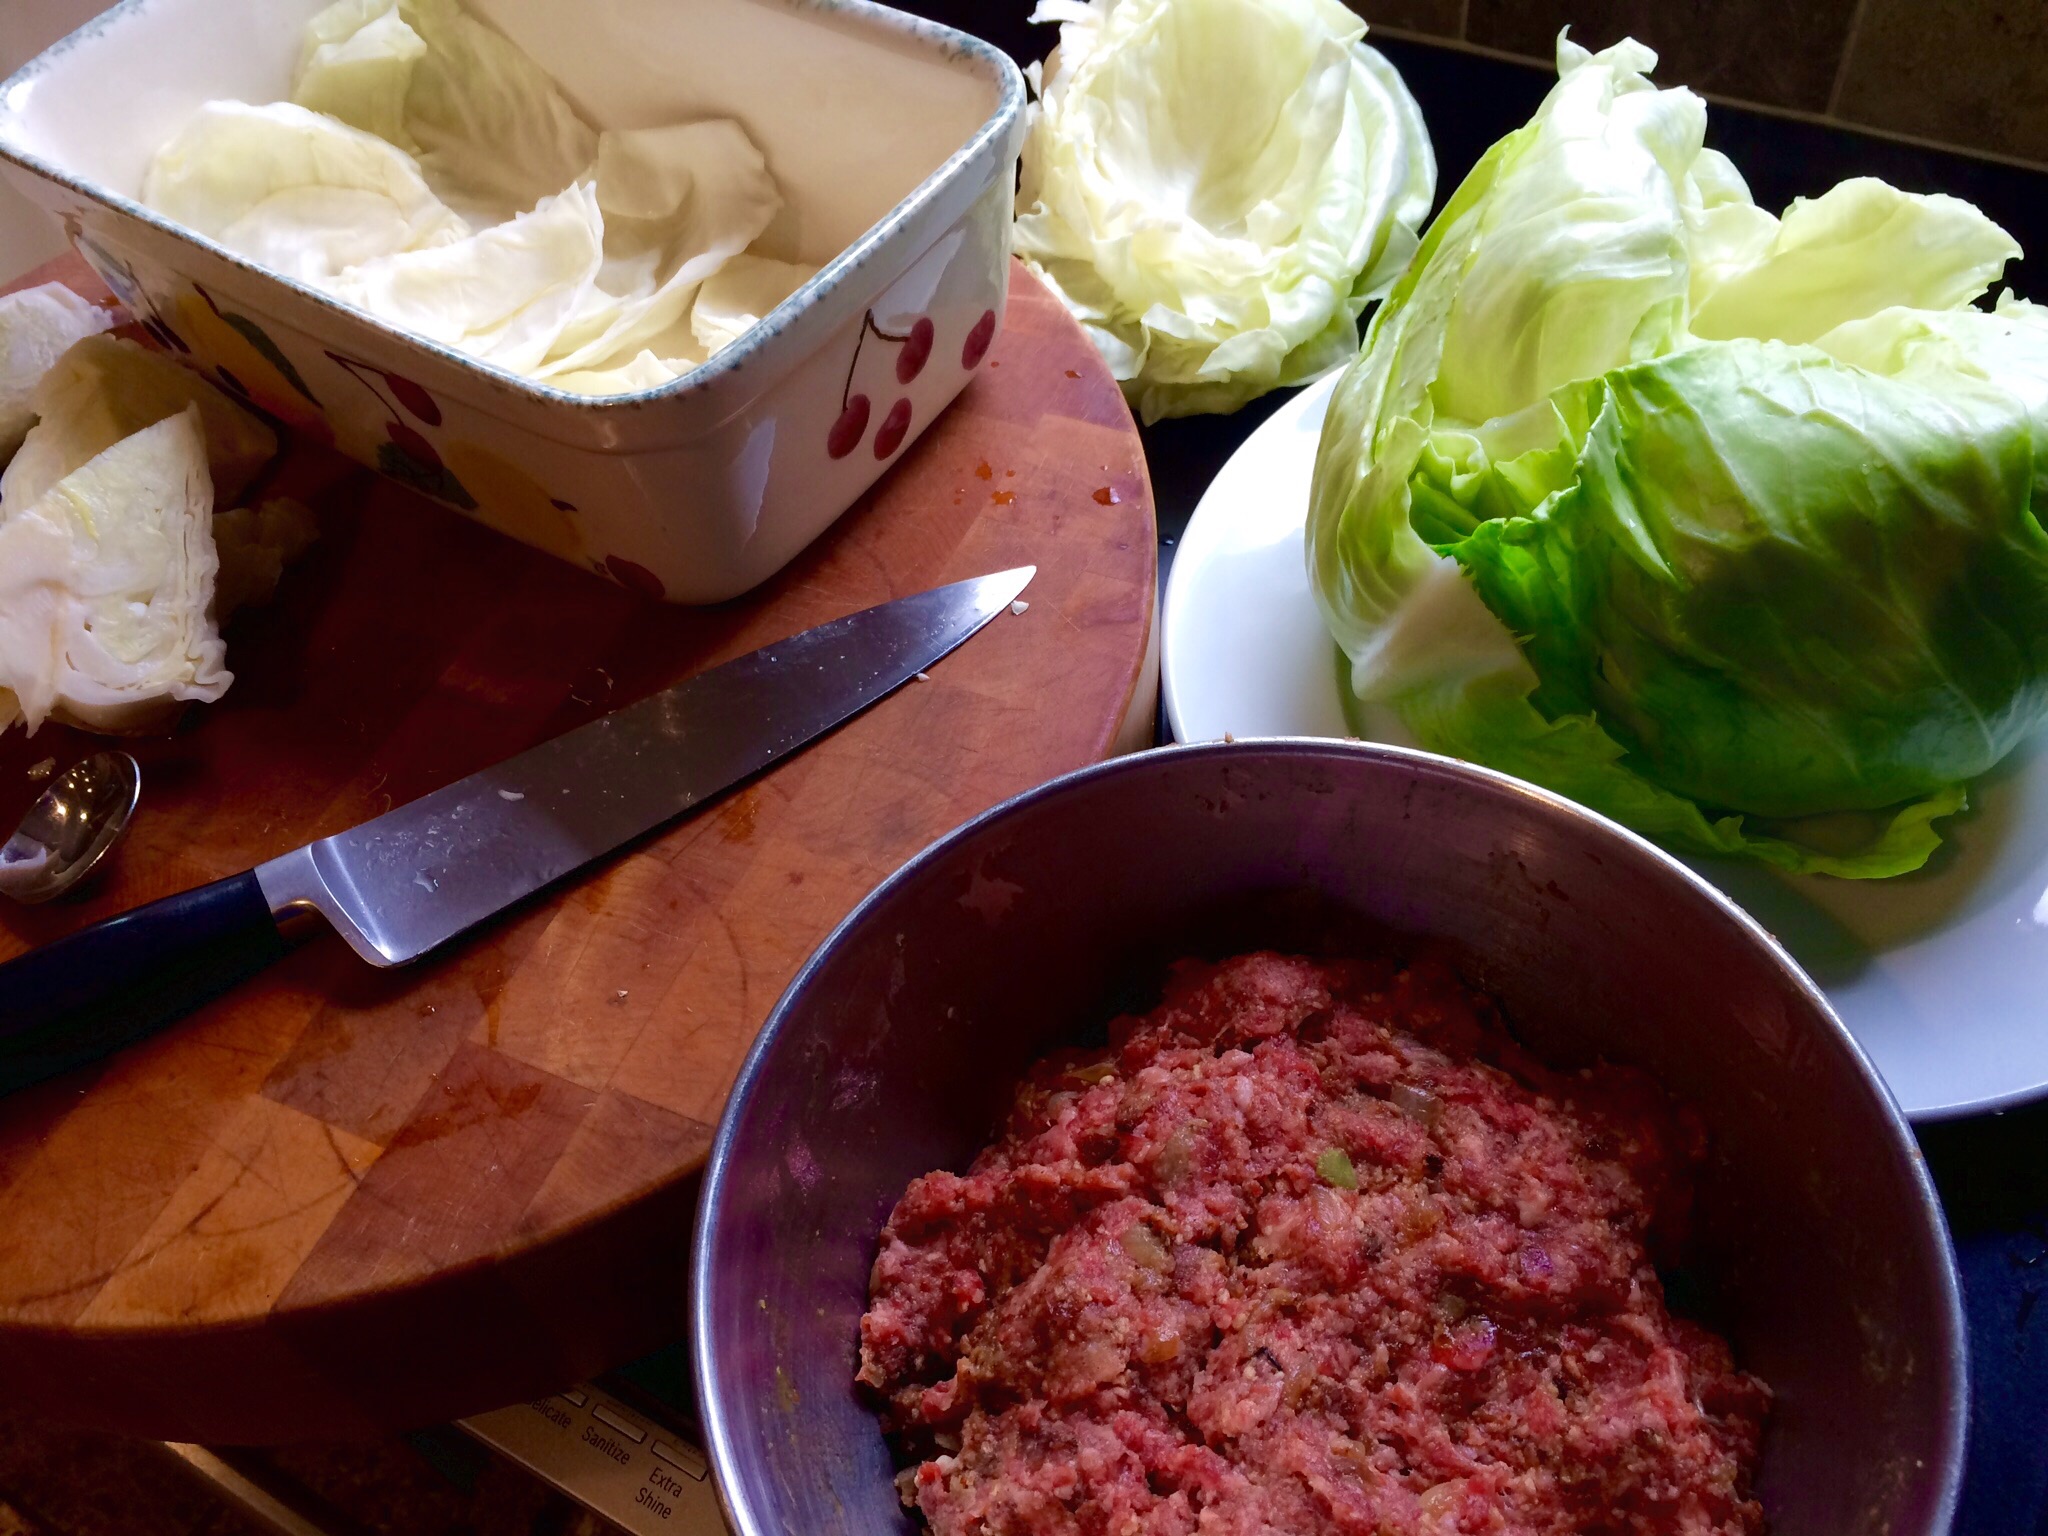
Let a large pot of salted water come to a boil. Core the cabbage, leaving the leaves whole, and carefully immerse the head of cabbage into the hot water. Little by little, the outermost leaves of the cabbage will come off the head, and you can remove them with tongs, so you don’t burn yourself with the hot water. Set the leaves aside to cool, and continue doing this until you can no longer remove leaves from the remaining head of cabbage.

Remove the remaining head of cabbage from the hot water, and using your hands or a knife, break it into flat pieces. Line the bottom of a roasting pan with the pieces. These will keep the stuffed cabbage from burning and sticking to the bottom.

Time to roll the stuffed cabbage. Take the meat out of the fridge. Lay a cabbage leaf flat on the counter, and add some of the meat mixture inside. Roll the cabbage around the meat, folding the sides in as you go, much like a burrito. You might need to slice away the thickest part of the leaf stem to make rolling easier. Lay the stuffed cabbage in the roasting pan on top of the leftover cabbage pieces. (Unlike Mom, I don’t use toothpicks to hold the stuffed cabbage rolls together.)

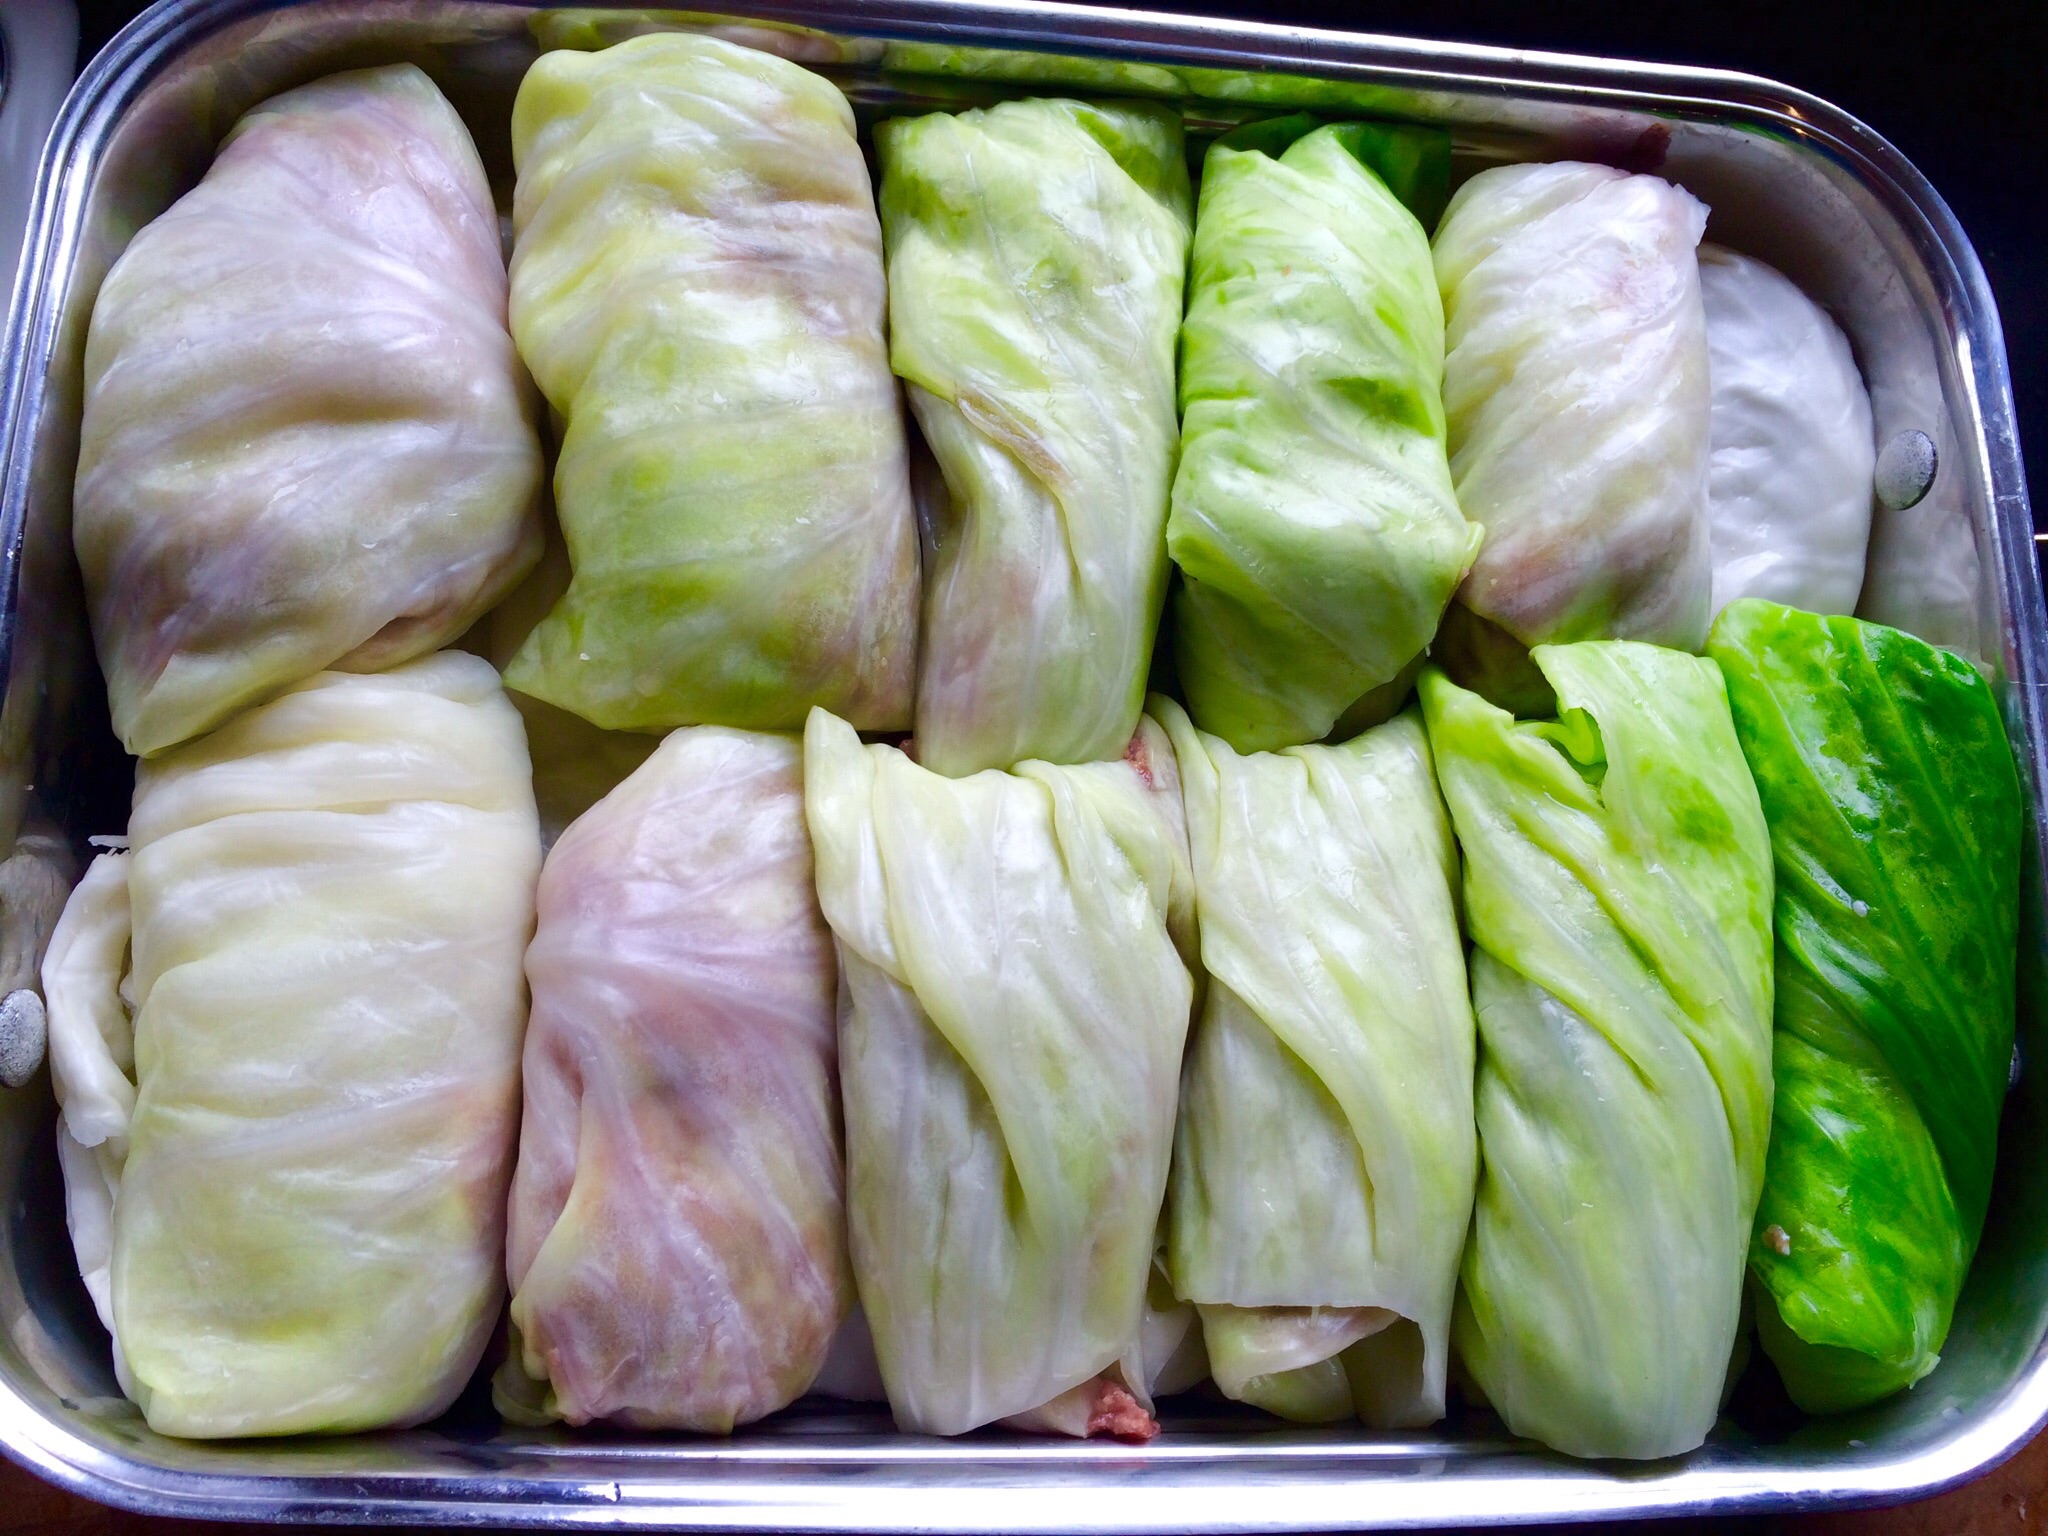
Continue stuffing and rolling the cabbage leaves until you’ve got a pan full of them, shoulder-to-shoulder.

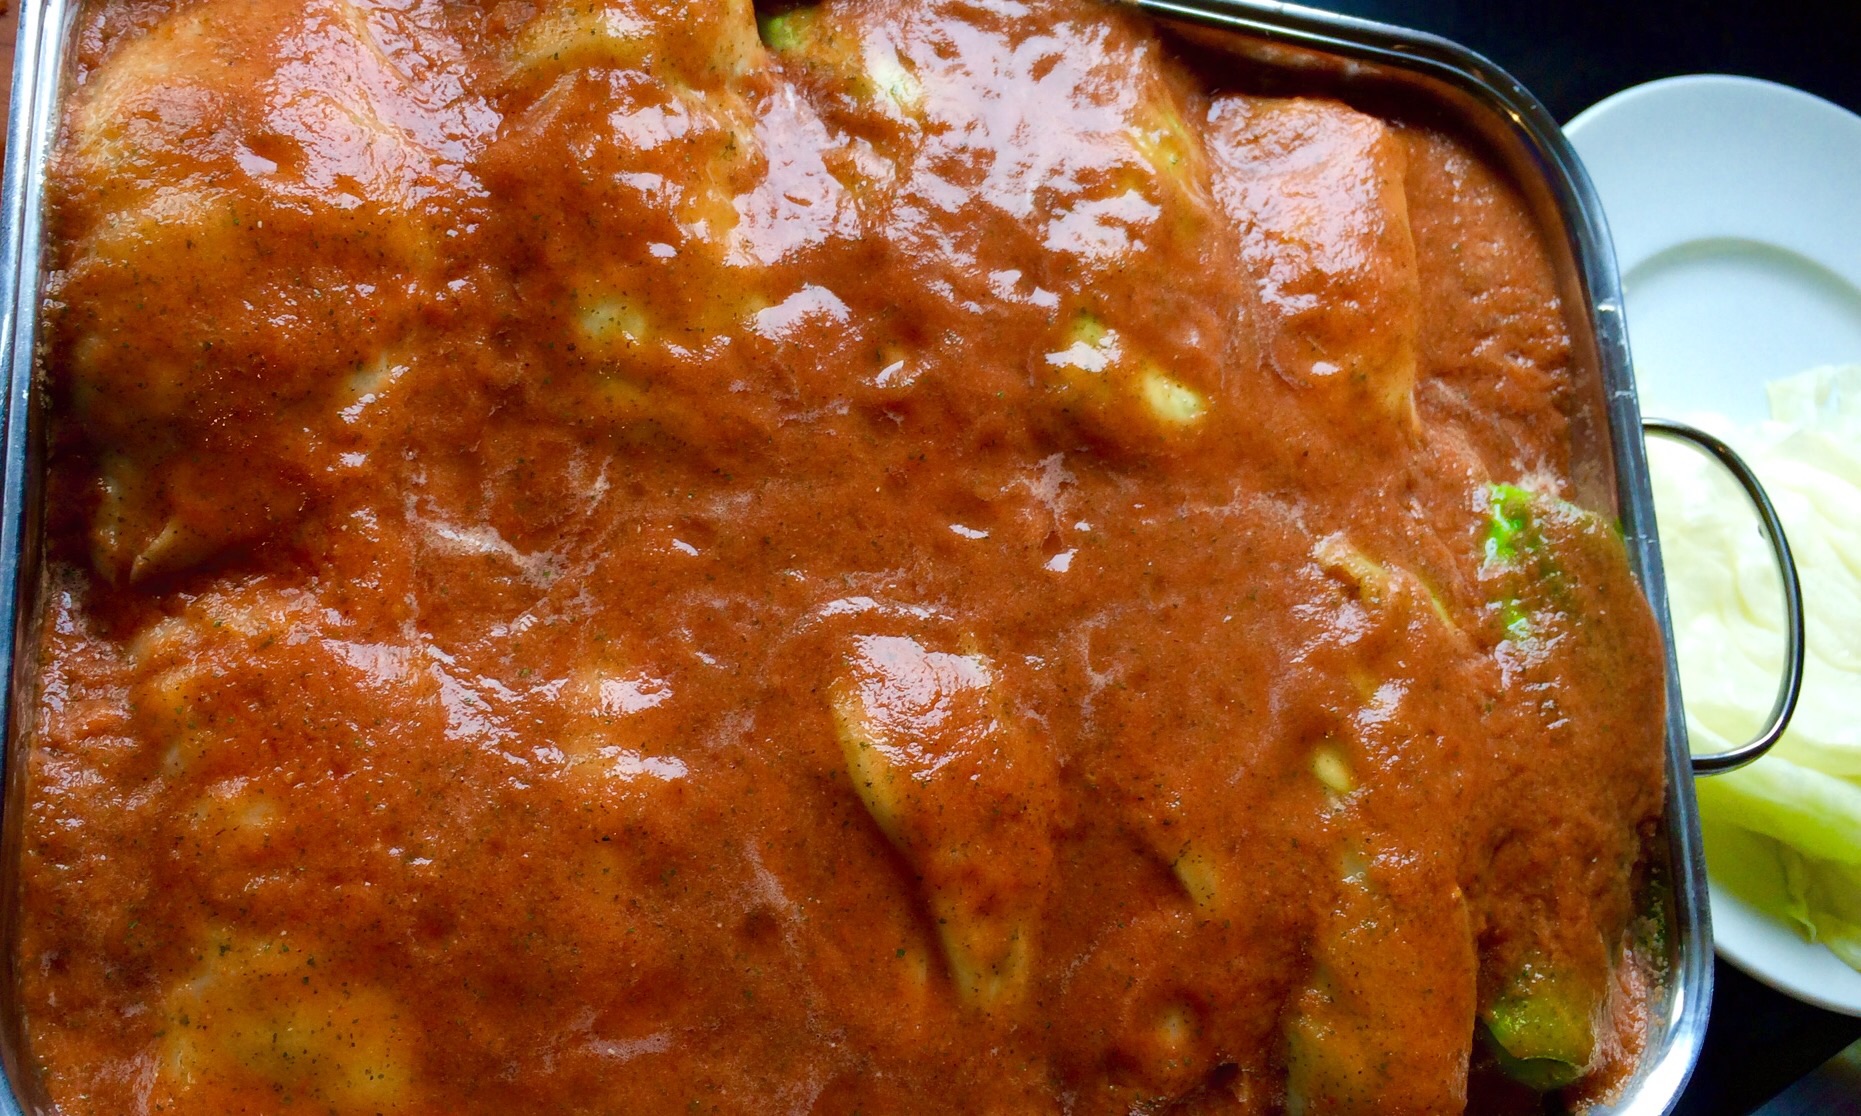
In a blender, combine the chicken stock, diced tomatoes, thyme, salt, pepper, garlic and onion. Pour this mixture over the top of the cabbage rolls in the roasting pan, covering them.


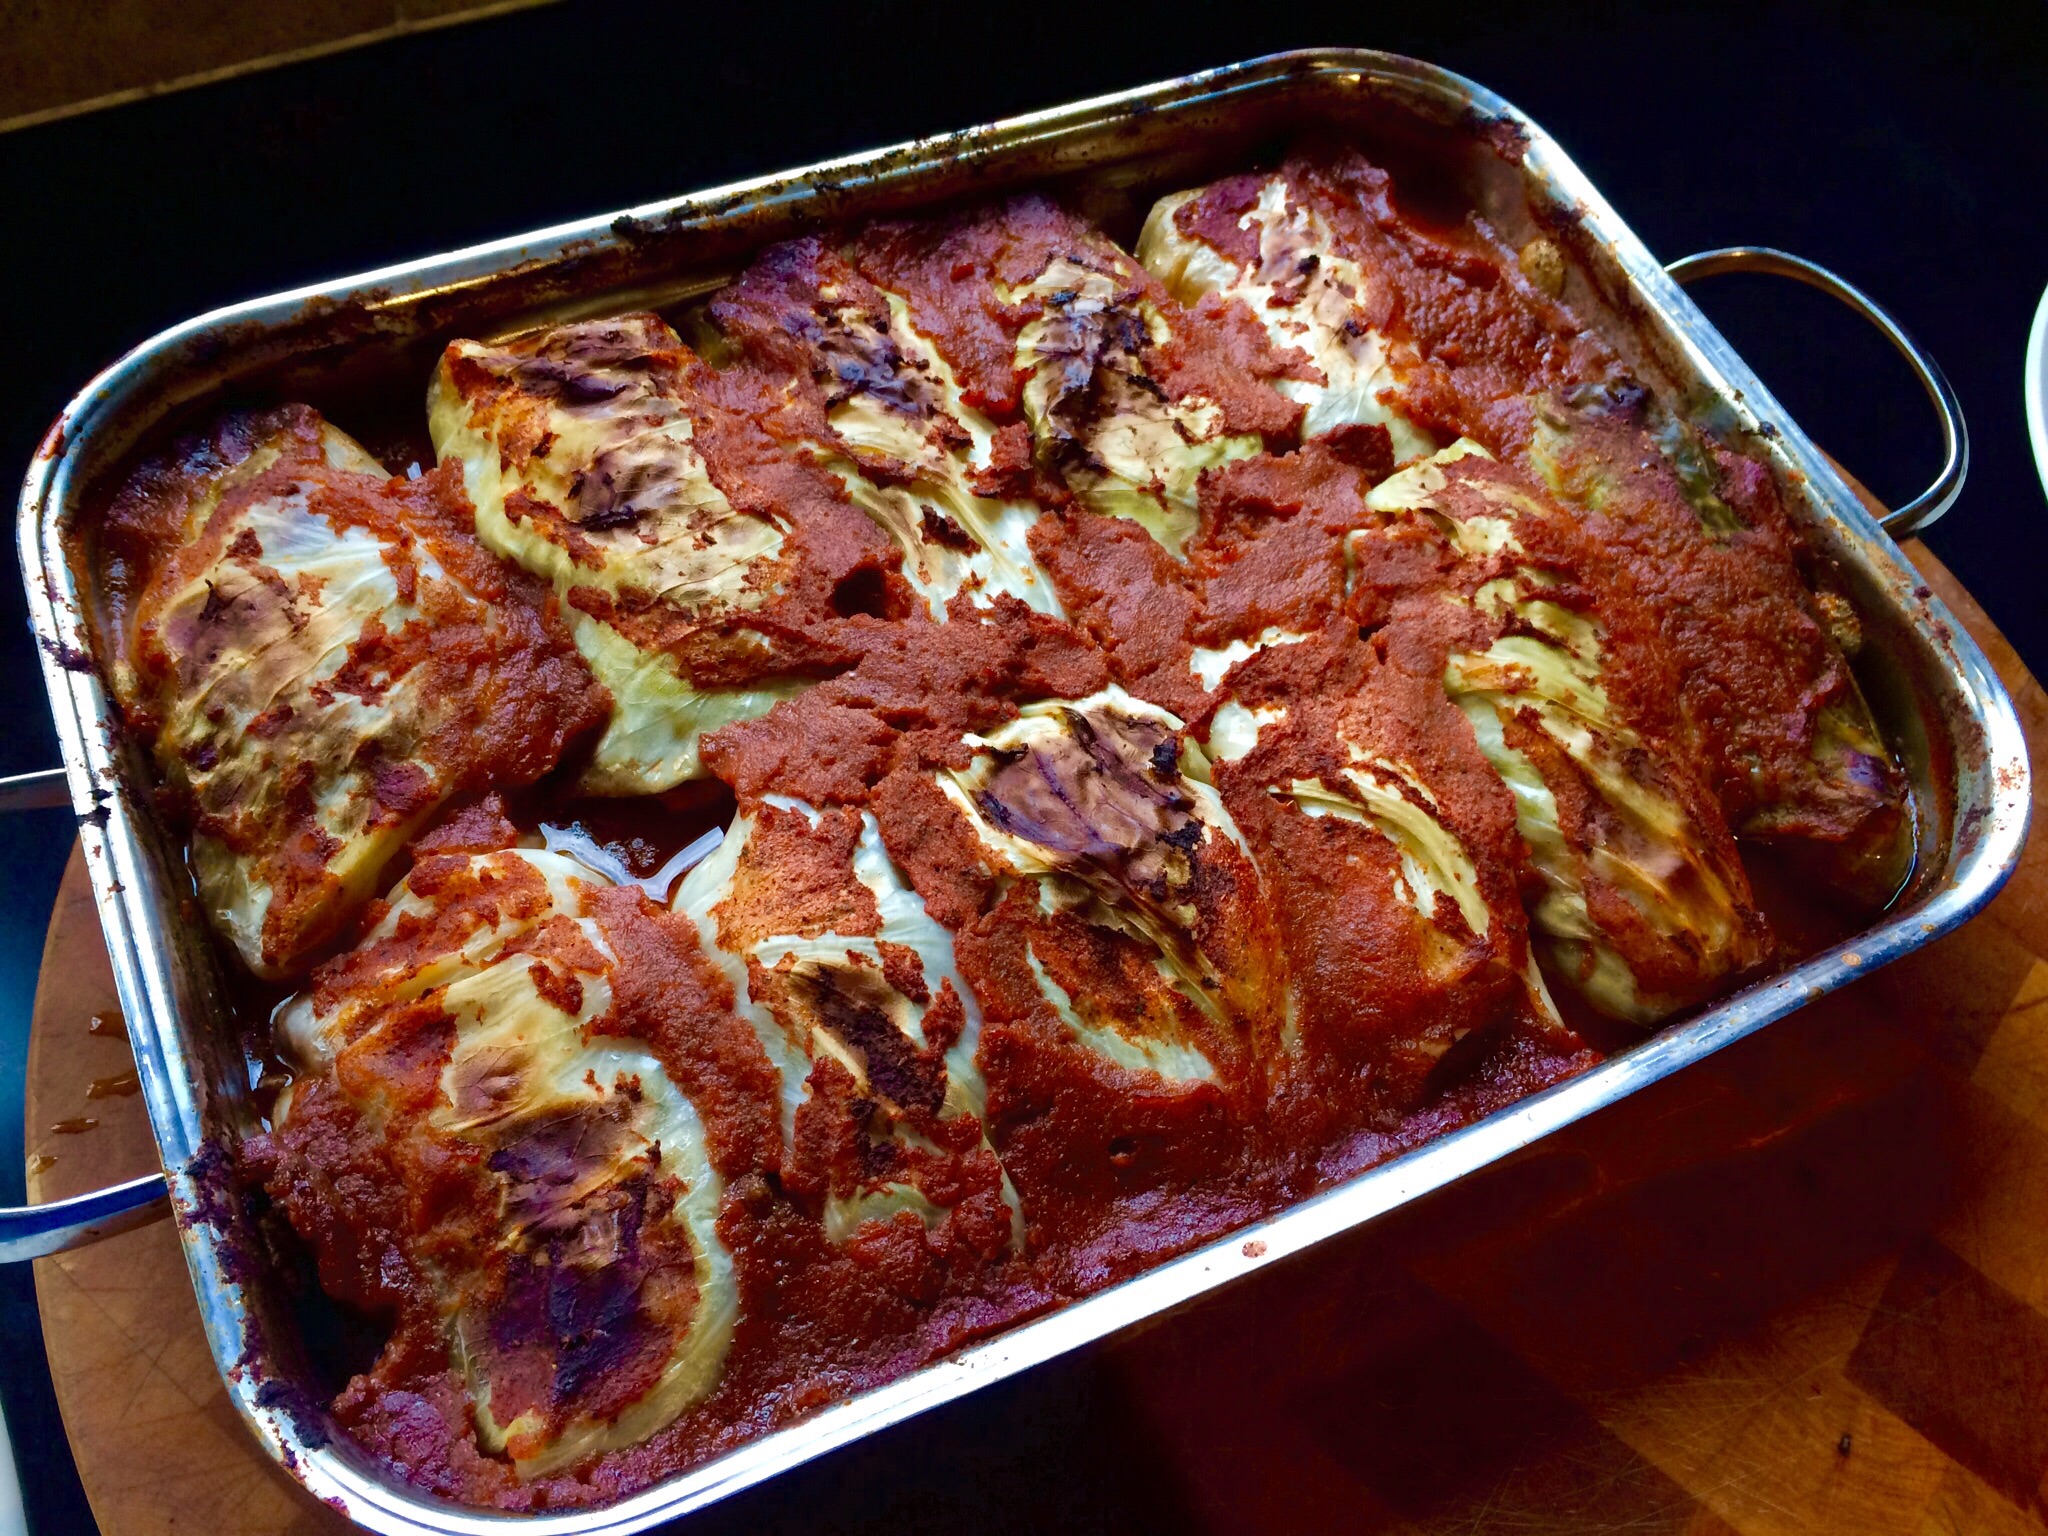
If you have leftover cabbage, you can place another layer of them on top. Otherwise, cover the roasting pan with foil and place in a pre-heated 350 degree oven. Cook for an hour.


After an hour, remove the foil and cook further for another 45–60 minutes.


image