Archive for the ‘Uncategorized’ Category

Pork is magical. And though I’ve loved pork chops and store-bought bacon all my life, it’s only been in the last decade that I’ve learned to appreciate other cuts of pork and how they’re prepared.

Over the years, I’ve learned to cure and smoke my own bacon, from heritage breeds like Berkshire. I’ll make my own pork sausage on occasion. But the need to make a classic Italian dish, genuine spaghetti carbonara, required that I learn how to cure an unusual cut of pork I’ve never used before.


In the beginning, I could only find huge jowls that required them to be cut and weighed to mix with the right amount of cure.

Looking at carbonara recipes online, everyone said the same thing: “Though the genuine dish uses a cured cut of pork called guanciale, it’s hard to find so use pancetta or bacon.” Although both pancetta and bacon meats are quite tasty (both come from the belly of the pig…bacon is smoked, pancetta is not) the flavor and texture is not the same as a pork cheek, or jowl. That’s what guanciale is made from. So I needed to find a source.
I started with a local restaurant, the Back Eddy in Westport, Massachusetts. Being a buddy of the owner and chef (and bribing them with alcohol), I asked if they’d order me some jowls. They did, and that worked well for a while. But I didn’t want to keep bothering them every time I wanted more, so I eventually found my own source on line that supplied me with massive jowls weighing many pounds each, as in the photo above. They were good, but a pain to work with. Eventually, that company went out of business.
I finally found my go-to pork website: http://www.heritagepork.com. They sell a variety of pork products made from a heritage breed of pig known as Berkshire, also called kurobuta. It’s a delicious breed with wonderful fat that’s healthy and full of flavor. And conveniently, they sell pork jowls in 2-pound packs.
My curing process is simple: sugar, salt, peppercorns, and fresh thyme. I cure the jowls for about 3 weeks. I rinse them once they’ve cured, and pat them dry. Then they’re ready to use for carbonara, ragu bolognese, topping a pizza, or any other delicious recipe that comes my way…and any extra guanciale freezes really well.
Once I made my first batch, there was no turning back!

Pork jowls with a good sprinkling of the cure, ready to be wrapped.

2 lbs. raw pork jowls
1/2 cup basic dry rub (recipe below)
1/2 cup brown sugar
1 teaspoon whole black peppercorns
a handful of fresh thyme sprigs
Combine the dry rub, brown sugar, and peppercorns in a bowl.
On a large work surface, lay down several sheets of plastic wrap, overlapping each other to keep the cure from leaking through to the counter underneath. Sprinkle half of the salt mixture onto the plastic wrap in an area where the jowls will lay. Scatter a half-dozen thyme sprigs on top of the salt mixture. Lay the pieces of pork jowl on top of the salt mix and thyme, then top the jowls with the rest of the salt mix, covering them evenly, and top with more thyme sprigs.
Fold the plastic wrap over the jowls as tightly as you can, pressing the salt mix into the meat. If the wrap is loose, use more wrap to really tighten the salt cure around the meat. Then place the entire pork-wrapped package in a container that will hold the liquid that will ooze out during the curing process. If the plastic wrap still isn’t too tight around the jowls, weigh it down with something heavy to press down on the pork. You really want the salt to make contact with the meat. Place the container in the fridge to cure for 3 weeks.
Every couple of days, remove the weight off the jowls and flip the plastic wrap package over, so that the top is now the bottom. Add the weight and return it to the fridge. You want the cure to get at every part of the pork. Don’t pour off any liquid that forms…it will help the curing process.
In about 3 weeks, the pork jowls will feel firmer. This is a sign they’ve been properly cured. Remove them from the plastic wrap, rinse them thoroughly under cold clean water, then pat them dry with paper towels.

Cured, rinsed and dried guanciale. Cut the jowls into smaller pieces before freezing. A little goes a long way!

At this point, you can cut the jowls (now officially guanciale!) into smaller pieces, wrapping each well and placing them in freezer bags. They will keep in the freezer for a long time.
Many guanciale recipes tell you to hang the meat in the fridge for at least a week after curing, but I haven’t really found the need to do that if I’m keeping them frozen. The drying process keeps the meat from getting moldy, but that’s only if you keep it in warmer temperatures.
The Basic Dry Rub
Every good cure starts with a good dry rub. This one’s extremely simple but requires a special ingredient: pink salt. This is not pink Himalayan salt. This is a very special curing salt that must be used in small amounts. It contains nitrites which will help preserve the meat and give it a good color. Many people get bent out of shape over nitrites these days, so you need to decide whether you want to use pink salt or not. I do, because I don’t eat pounds of guanciale like a lab rat.
1 1/2 cups Diamond Crystal Kosher Salt
1/2 cup organic turbinado  sugar
5 teaspoons pink curing salt
Combine these ingredients and mix well. Store it in a tightly sealed plastic bag in your pantry.
Note: the reason I give the brand name for the salt is because all Kosher salt does not weigh the same! A cup-and-a-half of Morton Kosher Salt, for example, will weigh more and will throw off the recipe.

Let’s face it: there’s no such thing as healthy eggnog. This recipe kicks ass but is also a heart attack in a glass.

My buddy, Rick Sammarco, a wicked talented bartender, credits his father, Al, for this eggnog. The original recipe calls for a lot more of everything. I’ve cut it down to a “more reasonable” size.

A word about salmonella: Many people are concerned about it, and you need to decide what works for you. Some recipes tell you to make your eggnog weeks in advance to “sterilize” the drink with all the booze you’ve added to it. I’m not sure that really works. Look…if you’re really worried about it, maybe this drink isn’t for you. I use raw eggs in my Caesar salad dressing and in other recipes, so I’m willing to risk it here.

If you’re lucky, some stores–(though very few of them, and none near me)–sell pasteurized eggs. They say the taste is a bit funky, but that it does remove the salmonella.

eggnog


1.5 quarts vanilla ice cream (I use Breyer’s)
1 pint half & half
15 whole eggs (raw)
½ teaspoon vanilla extract
1/4 teaspoon cinnamon
1/4 teaspoon nutmeg
At least 3/8 cup of each:
spiced rum (I use Capt. Morgan)
whiskey (I use Crown Royal)
brandy (I use E&J)


Let the ice cream soften 1 day in the fridge. Mix the ice cream, eggs, vanilla, half and half in a blender.

Add the spices and liquor. Blend until it’s frothy.

Taste, and add more cinnamon and nutmeg if you like.

After it’s fully blended, let it sit in the fridge, covered, for at least 12-24 hours for the flavors to blend. Even longer is better.


This is a story about something that is near and dear to my heart…and liver.

I’ve been making Krupnikas for over 40 years. (And no, I won’t be posting my secret recipe here.) It’s a honey-based liqueur that is popular in eastern Europe, especially in countries like Lithuania, where my parents were born. Though most of the Krupnikas that I’ve tasted is similar, no two recipes are exactly alike…and that’s where the arguments begin!

I have many friends that make Krupnikas. Some use the leaner-meaner approach (like me)…others go for the everything-in-one-basket approach. I’m not sure that more is necessarily better. Some friends claim that it isn’t real Krupnikas if you don’t use black pepper. But I’ve been to many pubs and restaurants in Lithuania and have never been served Krupnikas with black pepper in it. Other recipes include ginger, turmeric, saffron, and heavy amounts of anise. I prefer a lighter approach.


krupnikas


If you Google “Krupnikas,” you’ll find many different recipes…some pretty good, some incredibly awful…but none as good as mine! I use grain alcohol…there’s no distilling involved. There were times in the last 40 years when grain alcohol was not readily available to me, and so my Krupnikas production came to a screeching halt for a while. But these days, you can usually find it within a short ride from home just about anywhere you live. (Here in New England, it’s sold in Rhode Island and Massachusetts.) Desperate times without grain alcohol forced me to try vodka instead, but I never liked the way it came out.

Krupnikas uses a variety of unusual spices, none of which have their origins in Lithuania, so it’s interesting to hear how these exotic ingredients made their way via various trade routes to eastern Europe.

The story goes that Krupnikas was created by Benedictine monks in the 1500’s, and that it became popular in both Lithuania and Poland for celebrations like birthdays, weddings, and holidays. But when the Soviets shut down all Krupnikas production, the recipes went “underground,” passed down from generation to generation through closely guarded family recipes. That’s why everyone thinks their family recipe is the best!


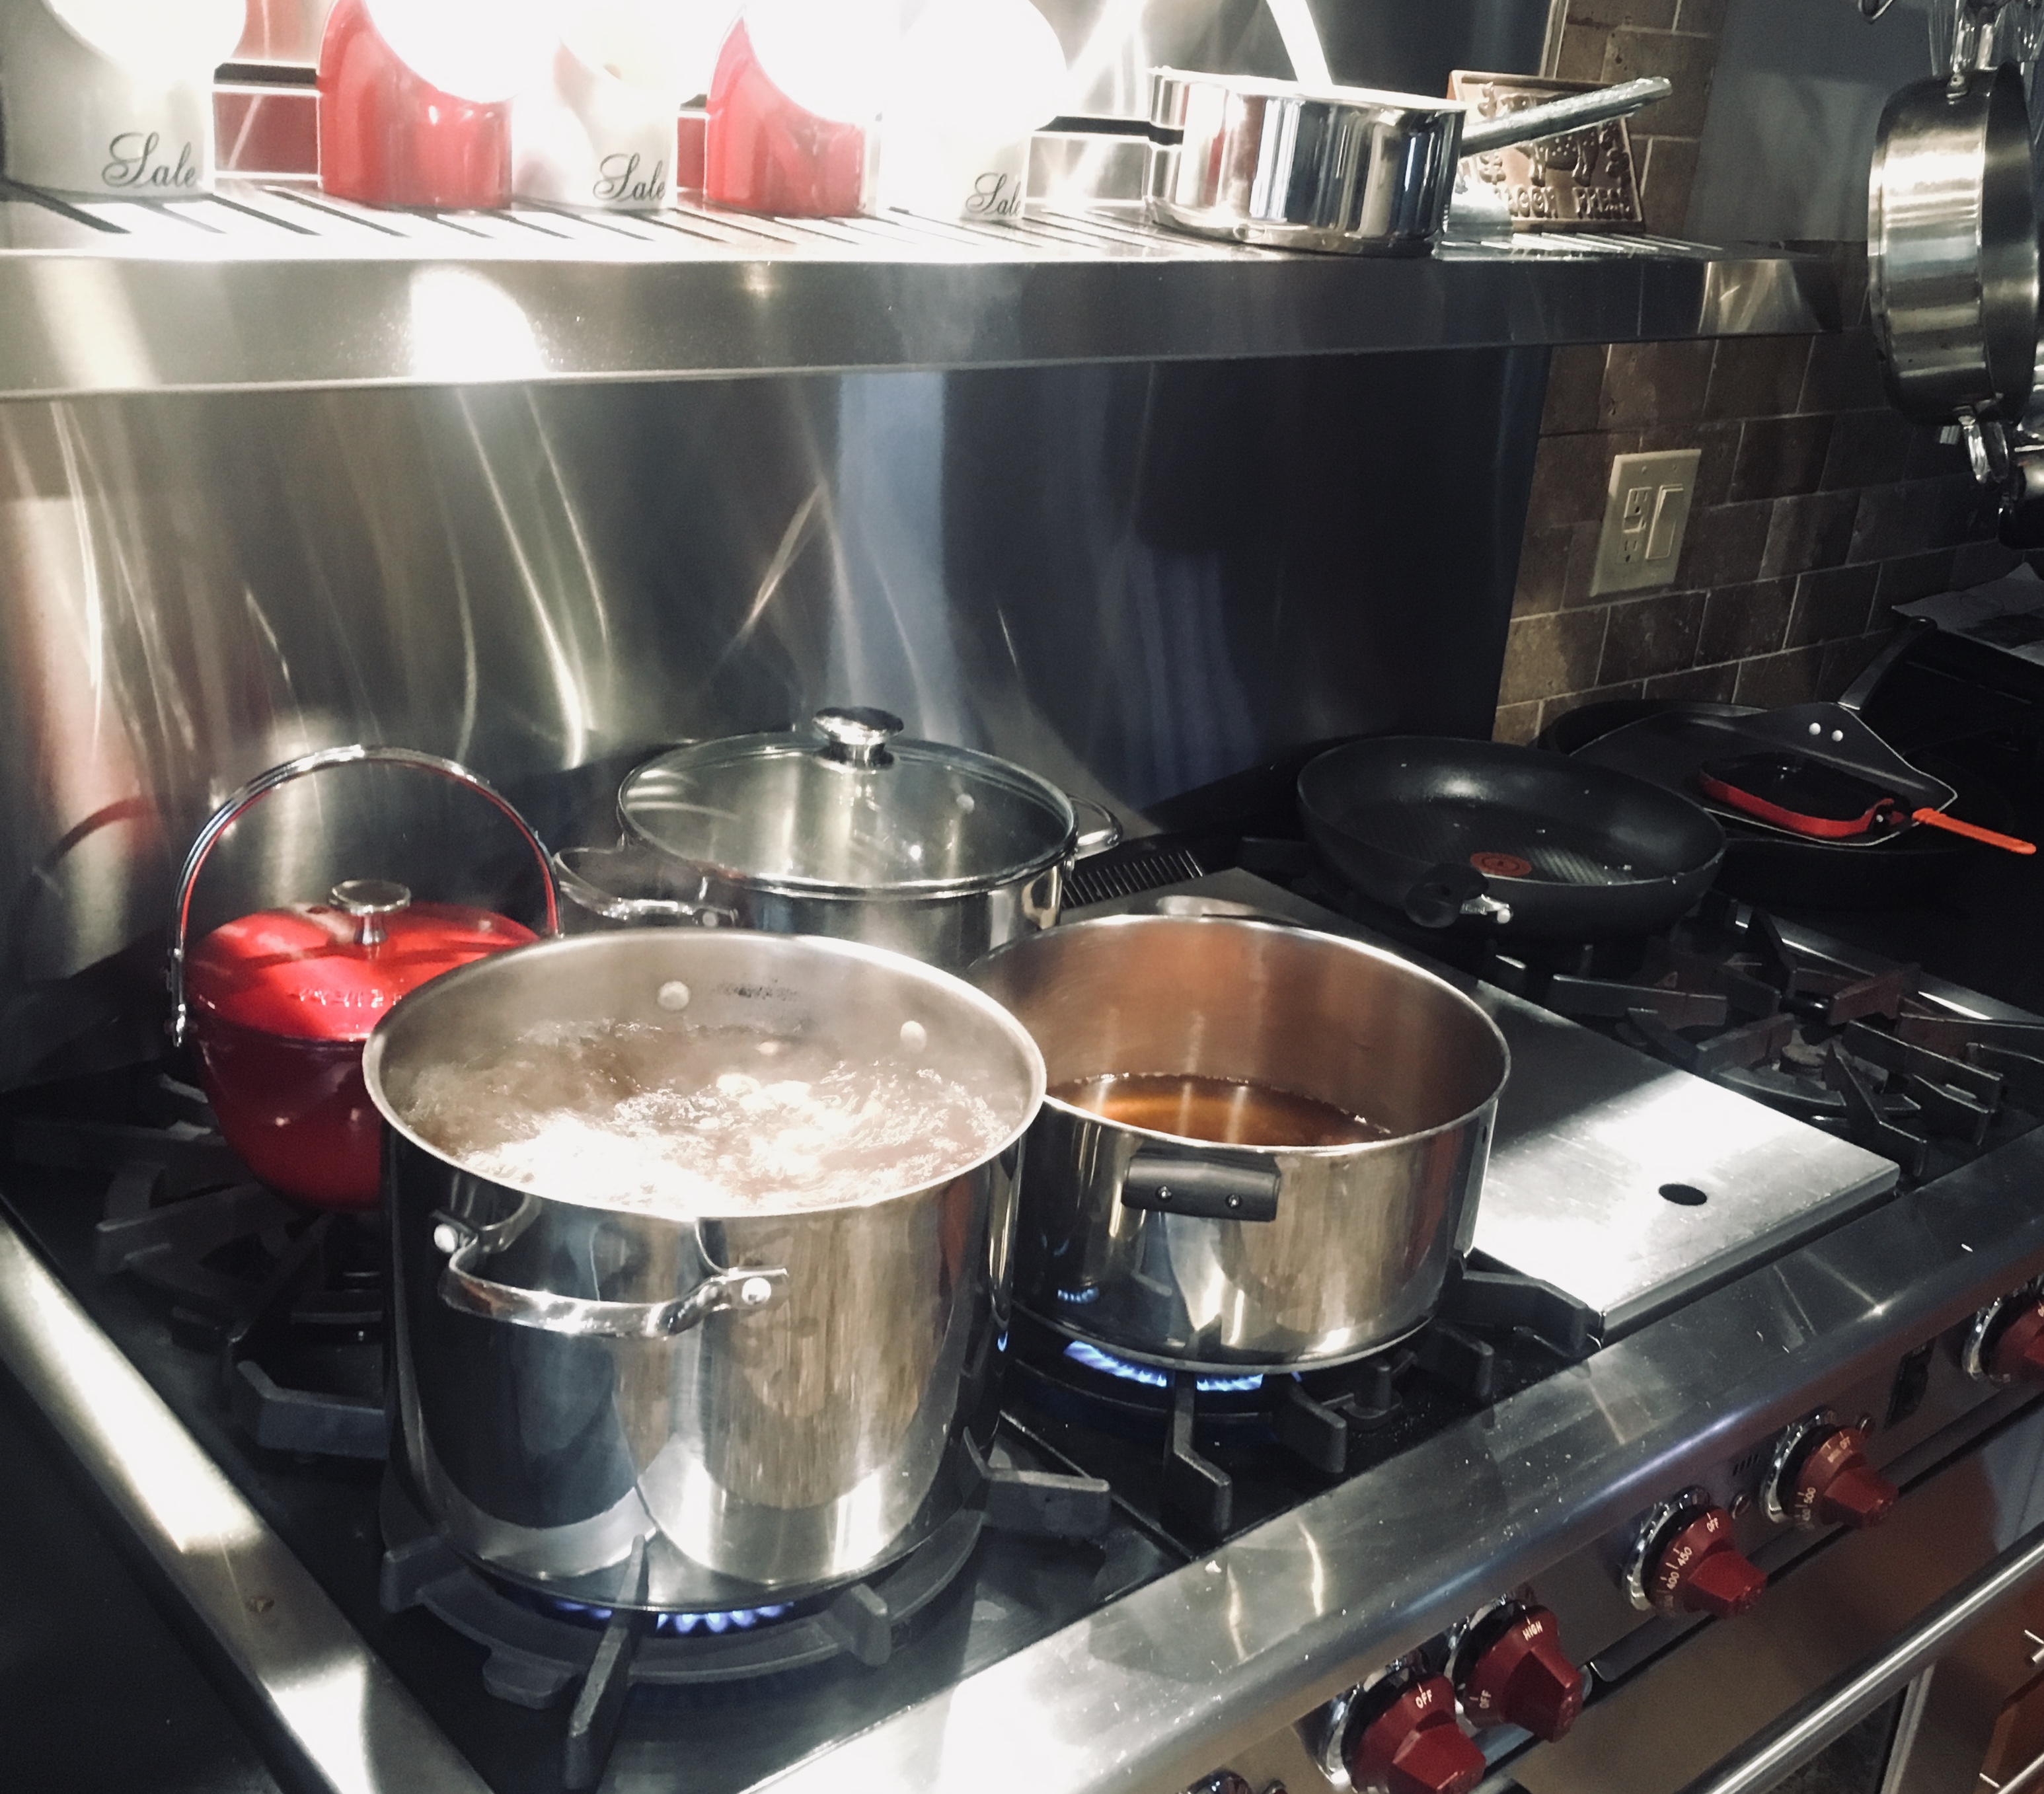
One pot for honey, one pot for the various spices I use…to be combined later.


My own Krupnikas making story started with my uncle, who would make large batches of the stuff in his tiny Richmond Hill, Queens, NY kitchen. Because I am the godfather of my cousin, his son, I received a bottle as a gift from my uncle every Christmas. By New Year’s, that bottle would be gone. It wasn’t long before I got very tired of waiting 51 weeks for another bottle and I asked my uncle if he would share his recipe with me. He never did that exactly, but he did let me sit in on a brewing session and take notes in a cramped corner of his kitchen.


My wife, an artist, helped me design my own label.


I took my notes home from my uncle’s house and tried to decipher what I wrote. Since there was no such thing as the internet back then (what we call “the dark ages,” kids), I drove all over New York City in search of some of the more exotic spices used in making my uncle’s Krupnikas recipe. I became a regular at several Asian and Indian stores, where, at first, they looked at this tall, geeky white dude somewhat suspiciously as I brought my spices to the counter for purchase.
Over the decades, through trial and error, I changed my uncle’s original recipe to the one that I proudly call my own today. You can’t buy it in a store, but if you have tons of money and want to go into business with me, I’m sure we can work something out! Or become my best friend and you’ll get a bottle every Christmas…and then you’ll be the one waiting 51 weeks for another!


krup glasses


Versions of Krupnikas are available in liquor stores: Old Krupnik is a Polish liqueur, and the German brand Barenjager is another. And many whiskies, like Dewar’s and Jack Daniels, now have honey-flavored spirits as well.

Though quite different from my own recipe, there are two authentic Lithuanian style Krupnikas liqueurs made in the United States by acquaintances of mine.

Based out of Durham, North Carolina, the Brothers Vilgalys Spirits Company (www.brothersvilgalys.com) has a pepperier version that uses local North Carolina wildflower honey. President of the company, Rim Vilgalys, the son of my good childhood friend from New York, has done what I never got around to do: make this fabulous elixir available to the public. You’ll find it at ABC stores throughout the state of North Carolina.


bvsco-krupnikas


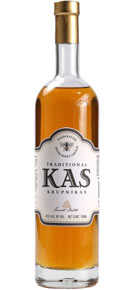
The second brand is made and sold in the New York area and goes by the name of KAS Krupnikas. (www.kasspirits.com)

kas_krupnikas_new

Both are pretty darn good. But are they as good as mine? I think you already know my answer to that question!

Sveiks! (Cheers!)

So I’m watching a video of Andrew Zimmern grilling chicken wings using an apricot-mustard glaze after he marinated them in yogurt and threw them on a hot grill. They looked amazing. But I had ribs already thawed in my fridge (Curve ball 1).  I thought: How bad could this recipe be on pork? I gave it a shot.

Apricot-mustard glaze…
1/2 cup apricot preserves
1/2 cup mustard (I used Gulden’s, but Dijon works well, too)

Combine the ingredients in a bowl, whisking them together. Set it aside.


I got a large bowl out, and cut the ribs into smaller pieces, about 3 ribs per piece. I placed them in the bowl, threw in about a 1/2 cup of plain yogurt, and mixed it around until all sides of the ribs were coated. I let the ribs stand this way at room temperature for about an hour, while I headed to the grill to set it up.


The plan was to light a decent amount of coals that would ash over and then be pushed to one side of the grill, placing the ribs over indirect heat on the other side. They would cook this way until done, with a nice grilled smokey char on the edges.


That’s the little mouse home on the left.

Unfortunately, when I opened my grill, I found that a family of mice had made themselves a happy home inside my grill, and I didn’t have the heart to toss them out, babies and all. (Curve ball 2.)  So I needed to find another way to cook the ribs. I headed to my smoker.

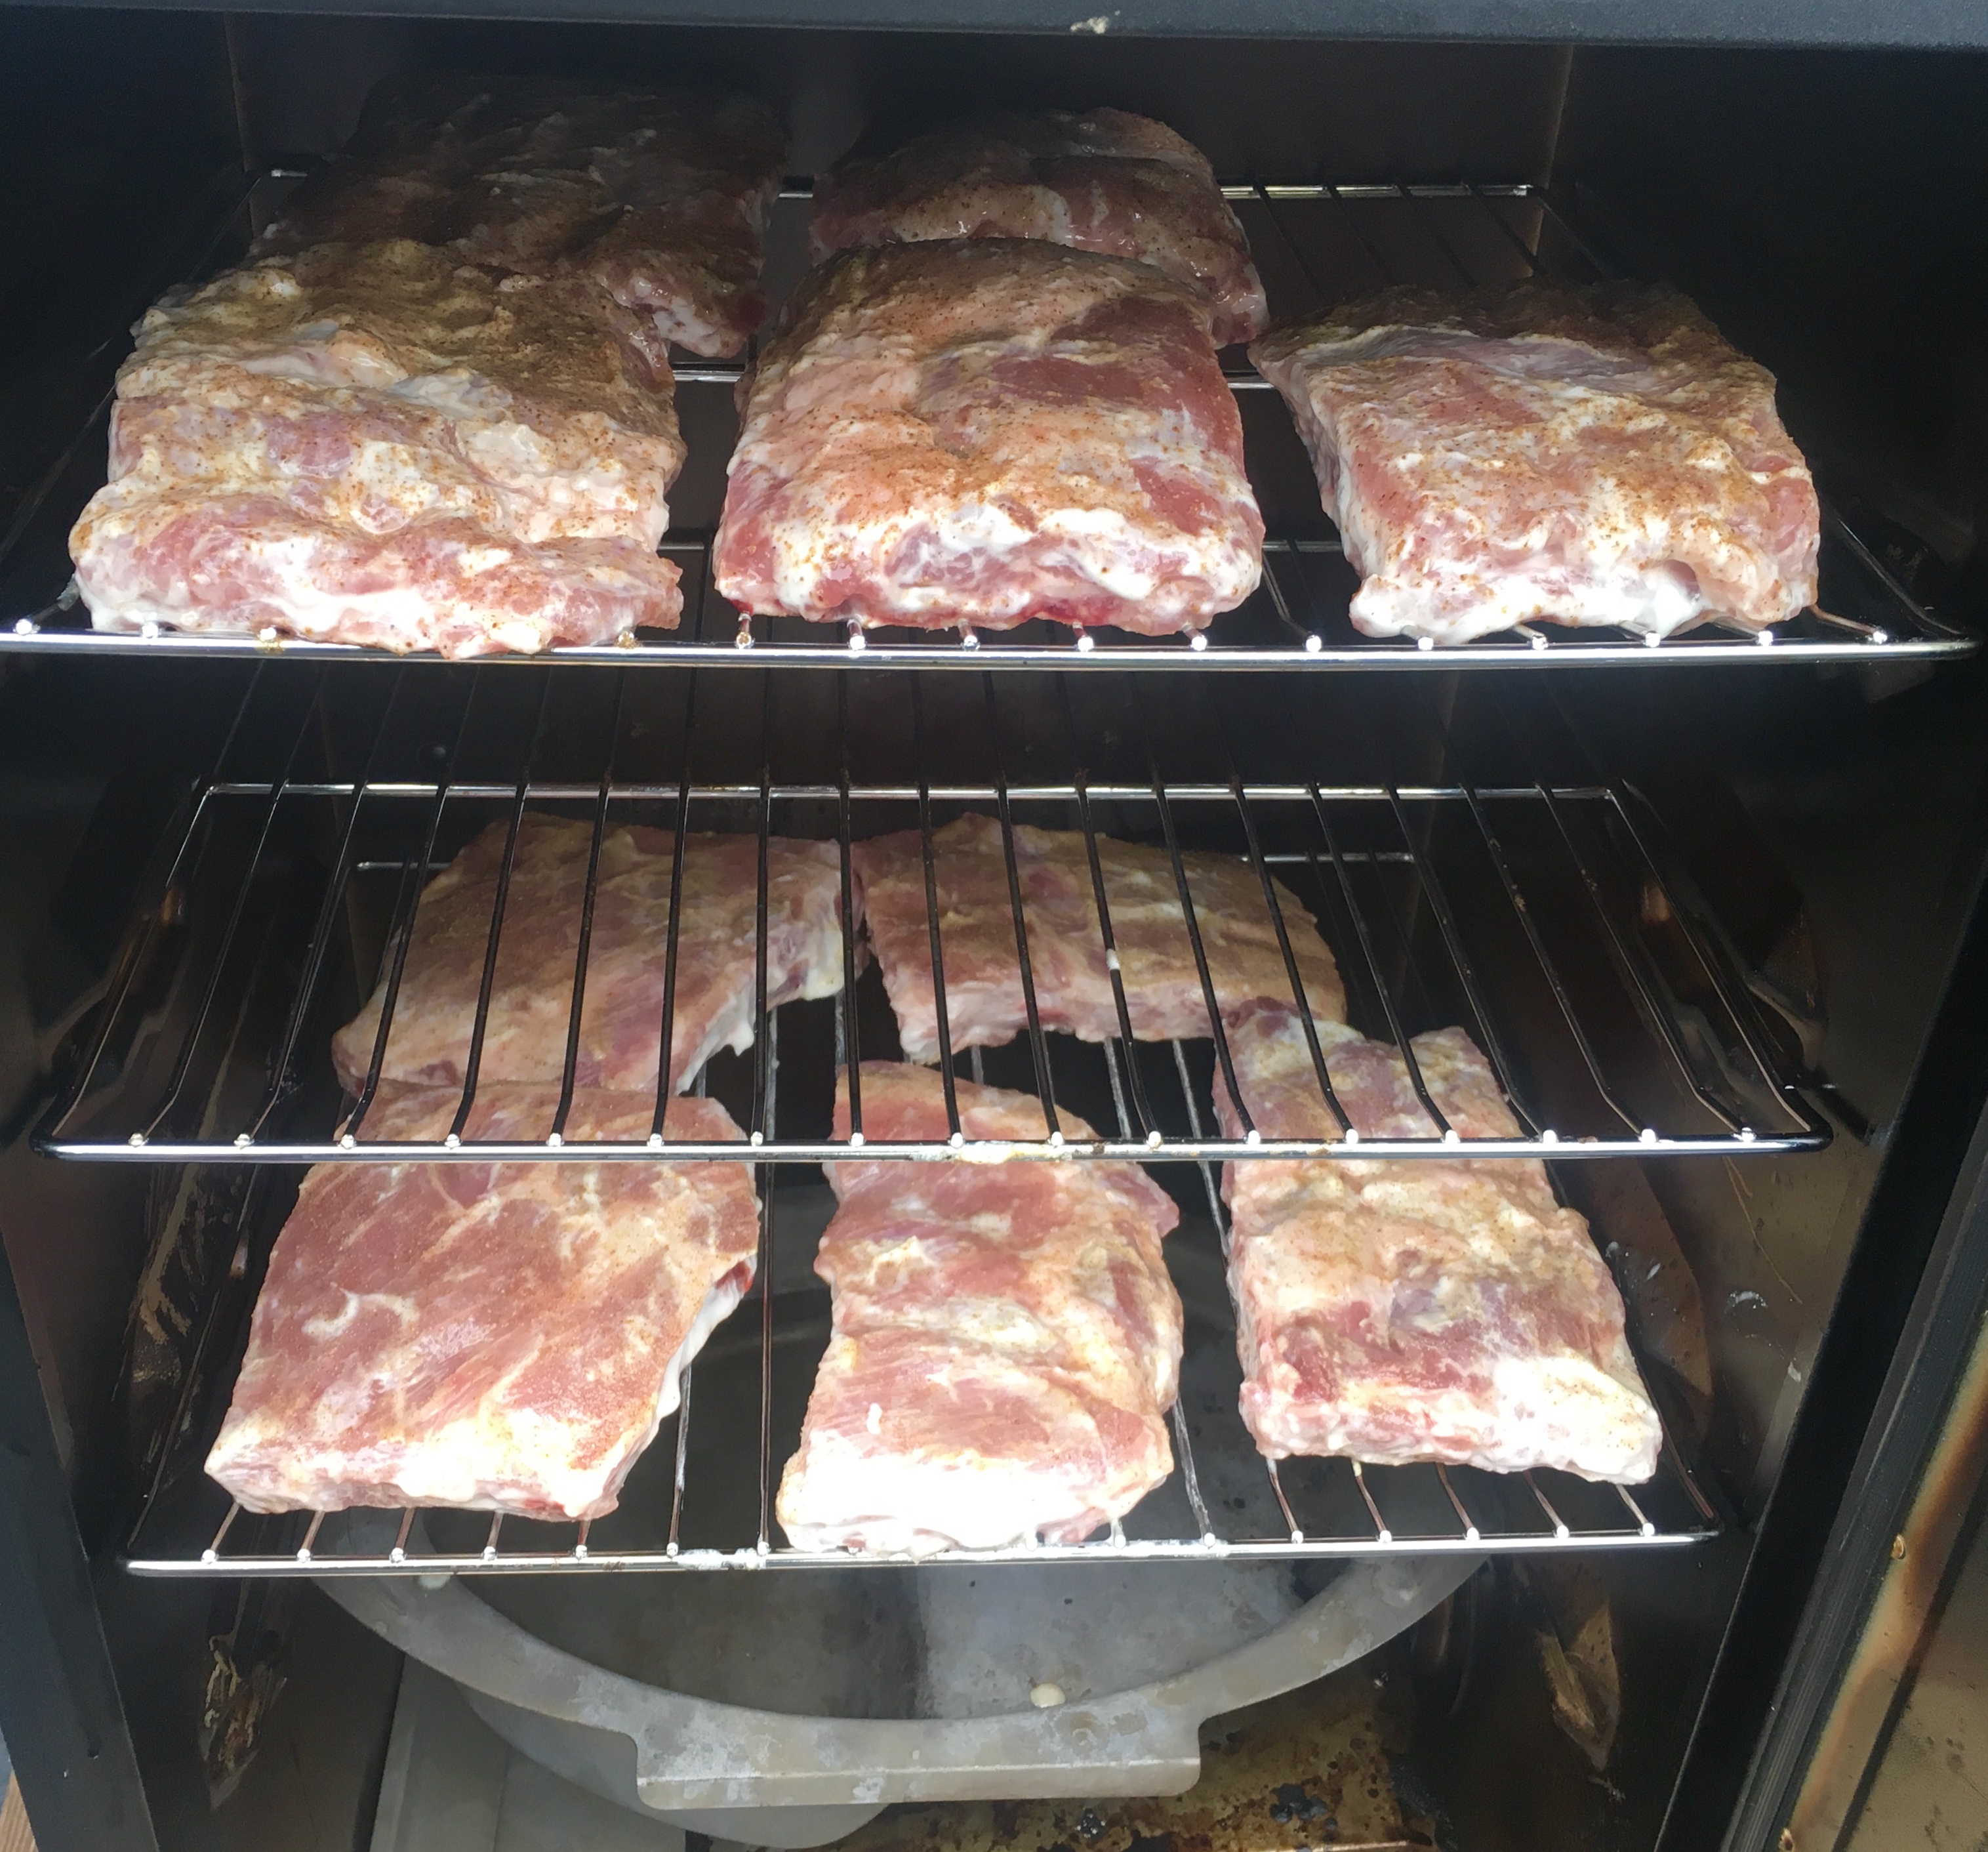
I have an electric digital smoker, which allows me to set the temperature and basically walk away, only returning to add smoking chips every hour so. I set the temperature to 275 degrees.


I removed the ribs from the bowl, placing them on a cutting board, sprinkling one seasoning on half the ribs, and another seasoning on the other half. The first half got my favorite basic seasoning: Lawry’s Seasoned Salt. The second half received my favorite Cajun seasoning: Tony Chachere’s Original Creole Seasoning. The ribs went into the smoker for about 2 hours.


I thought I would smoke the ribs longer than 2 hours, but then I realized it would soon be time to pick my daughter up from school and take her to guitar lessons. (Curve ball 3.)


Out of the smoker.

I took the ribs out of the smoker, one half batch at a time, and placed them under the broiler of my toaster oven, flipping them over once I saw the edges of the ribs get nice and dark. This gave them a bit of that char I was looking for that the grill would’ve given me…had I not had a family of mice in my way!


After a few minutes under the broiler.

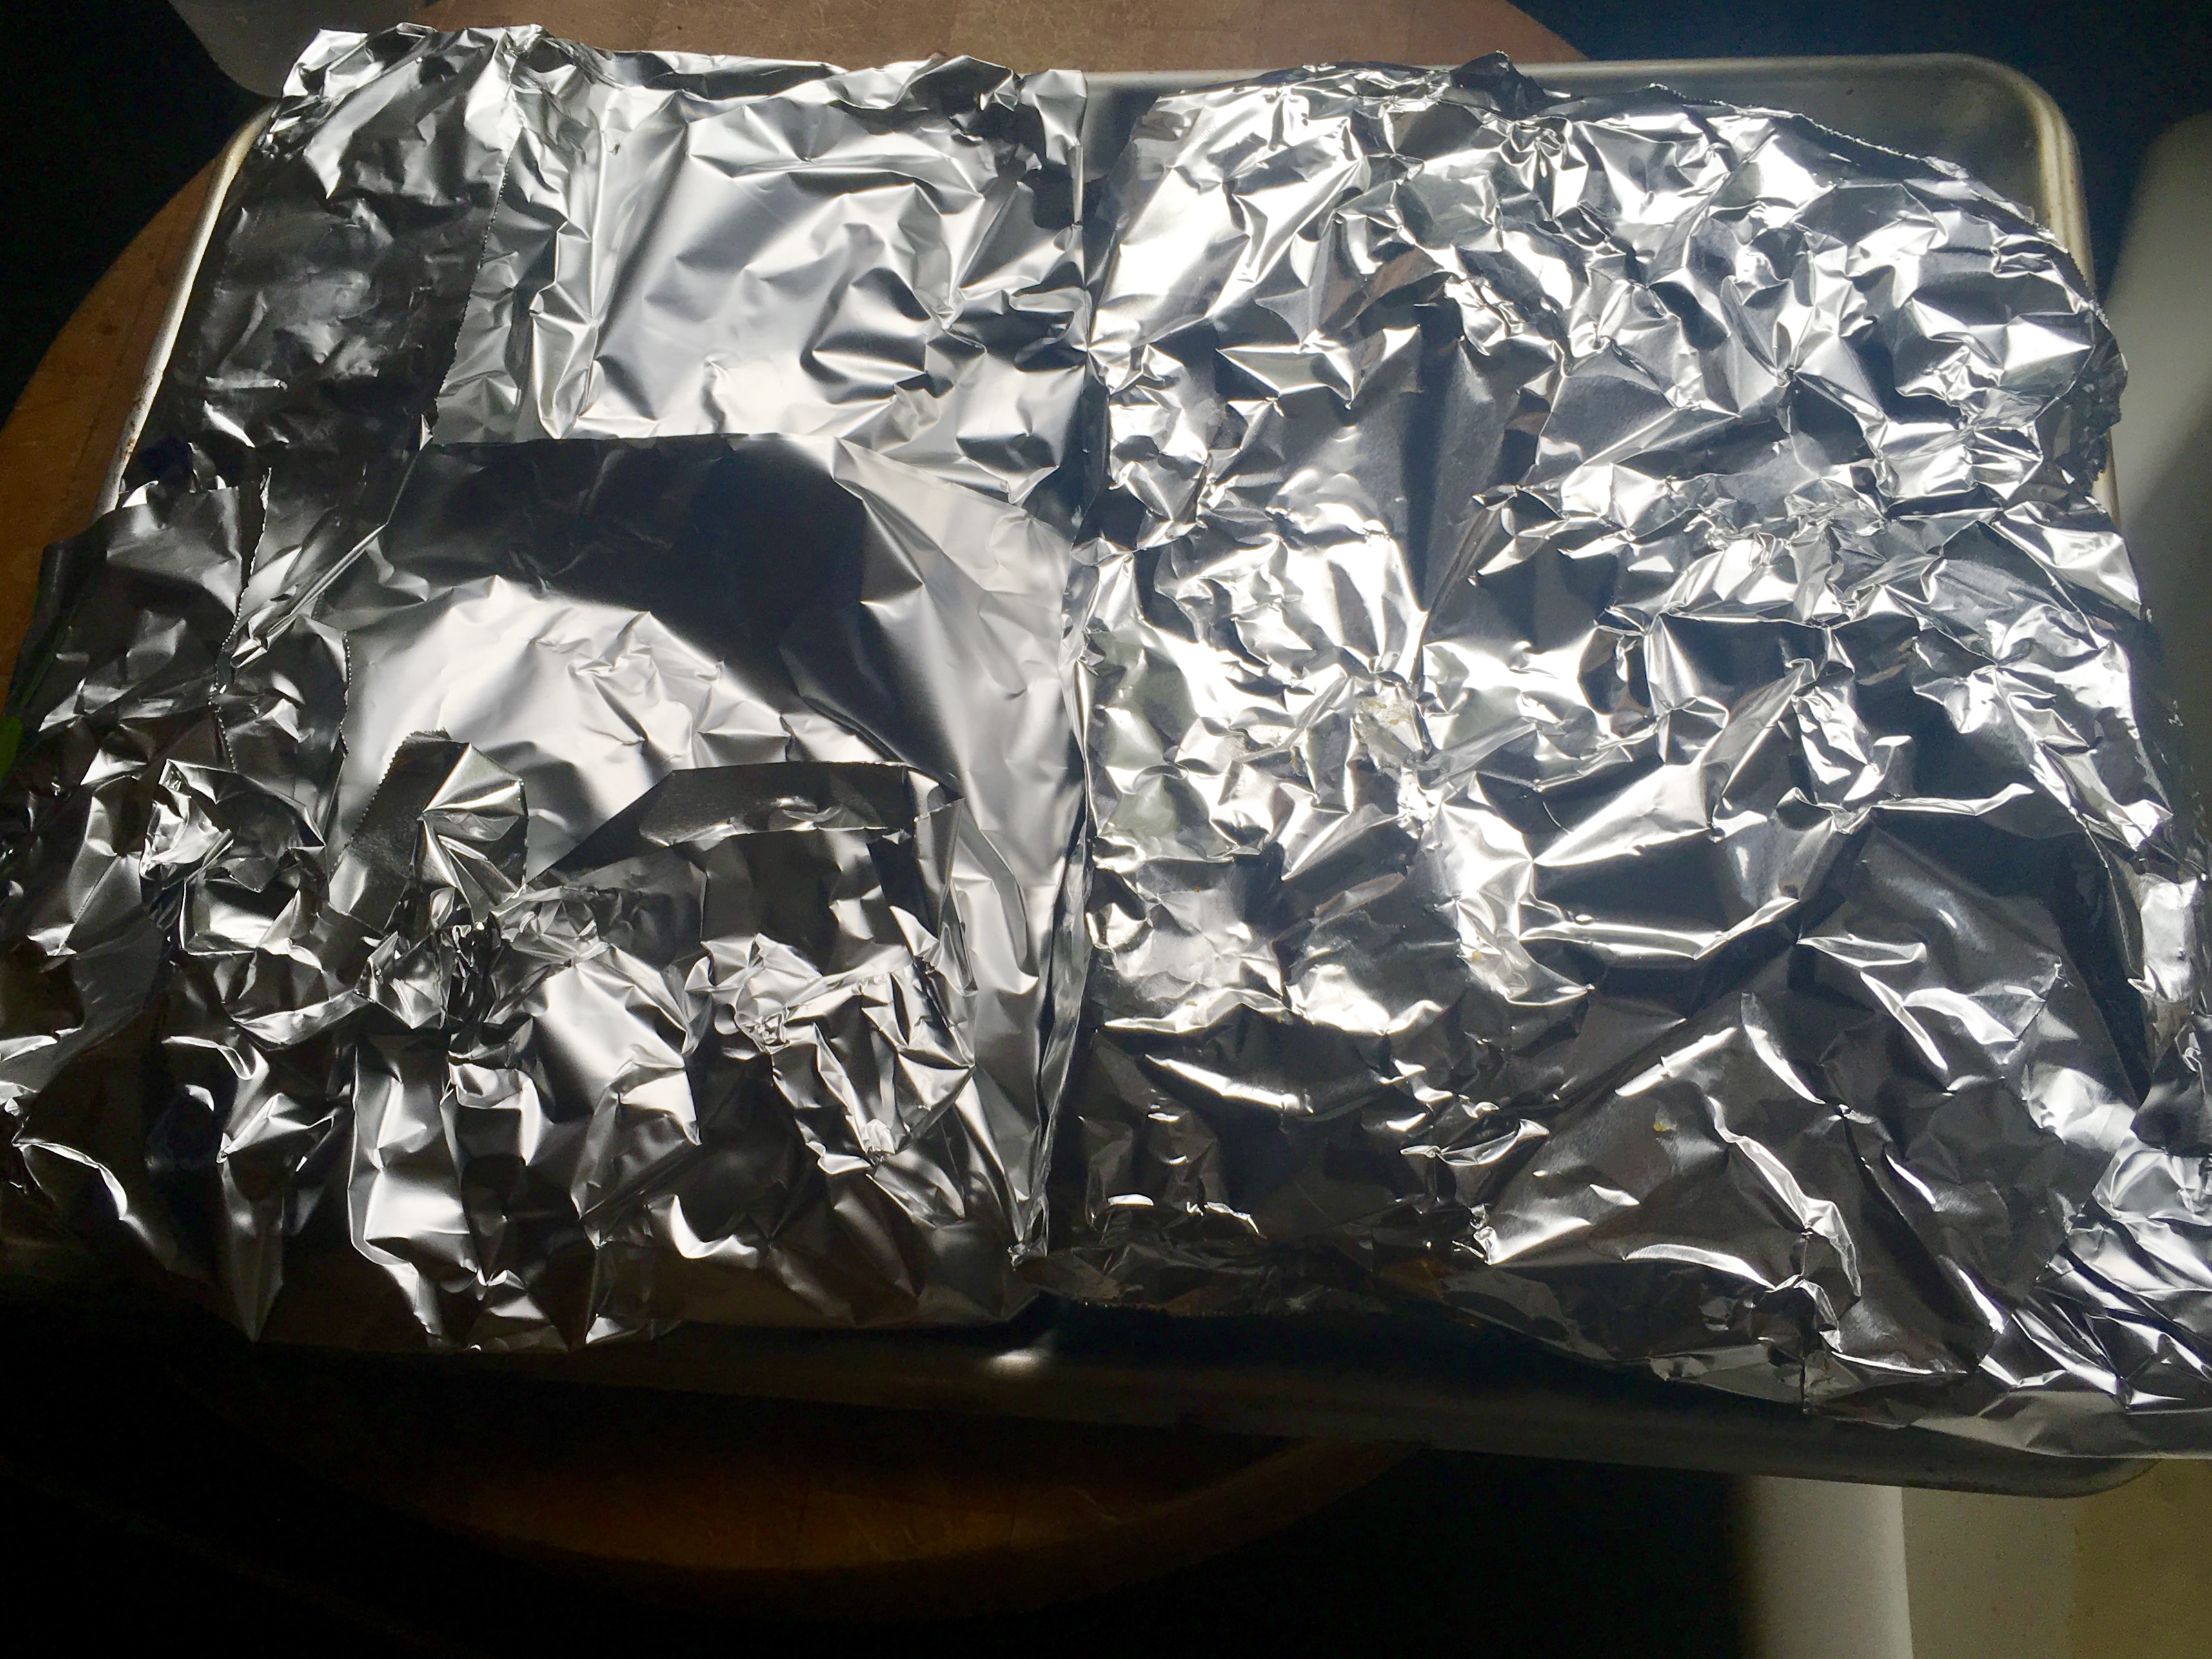
After broiling the ribs on both sides, I placed them in aluminum foil, brushing them on both sides with the apricot-mustard glaze, wrapping the aluminum tightly around them in 2 packages. I placed them on a baking sheet and into a pre-heated 175-degree oven.


Tightly wrapped and into the oven they go.

The low temperature in the oven would continue to cook the ribs low and slow, and the glaze would add a little steam to make them tender, and hopefully, delicious. Off to school and guitar lessons I went.


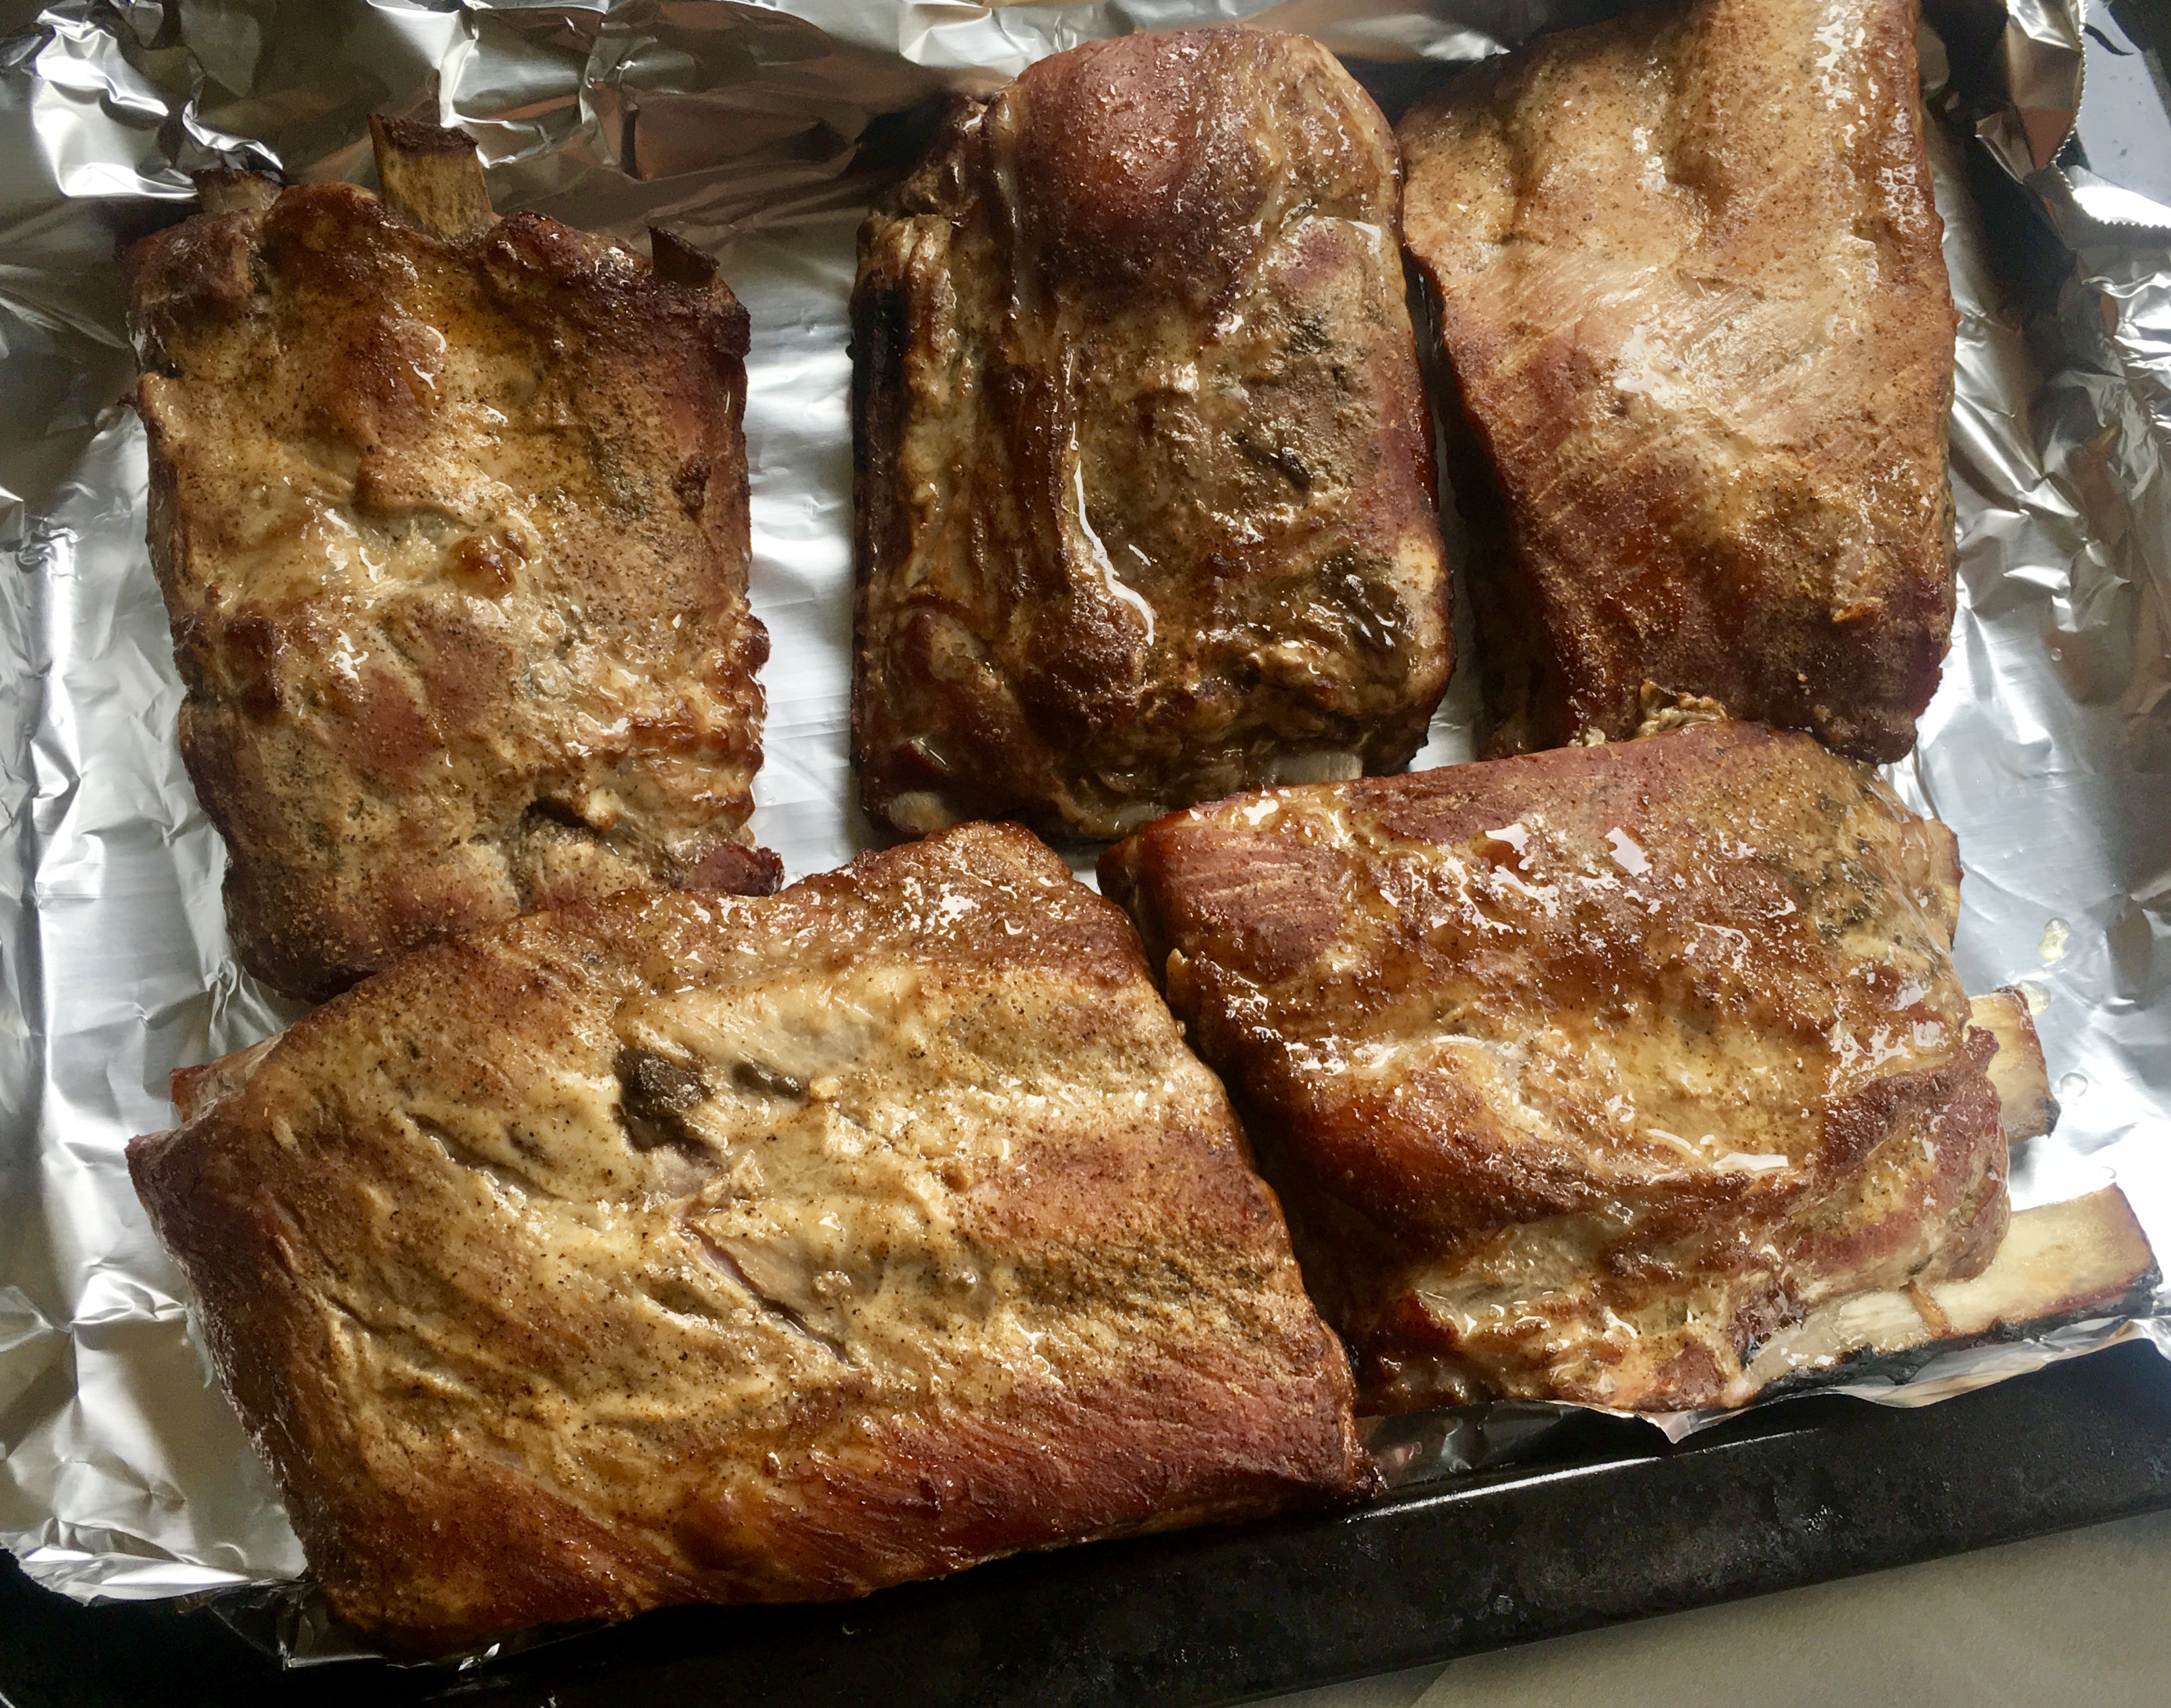
Unwrapping the ribs after a few hours.

We returned a few hours later, and I placed the sheet pan with the ribs on the top of the stove to cool for a bit, allowing the ribs to rest.


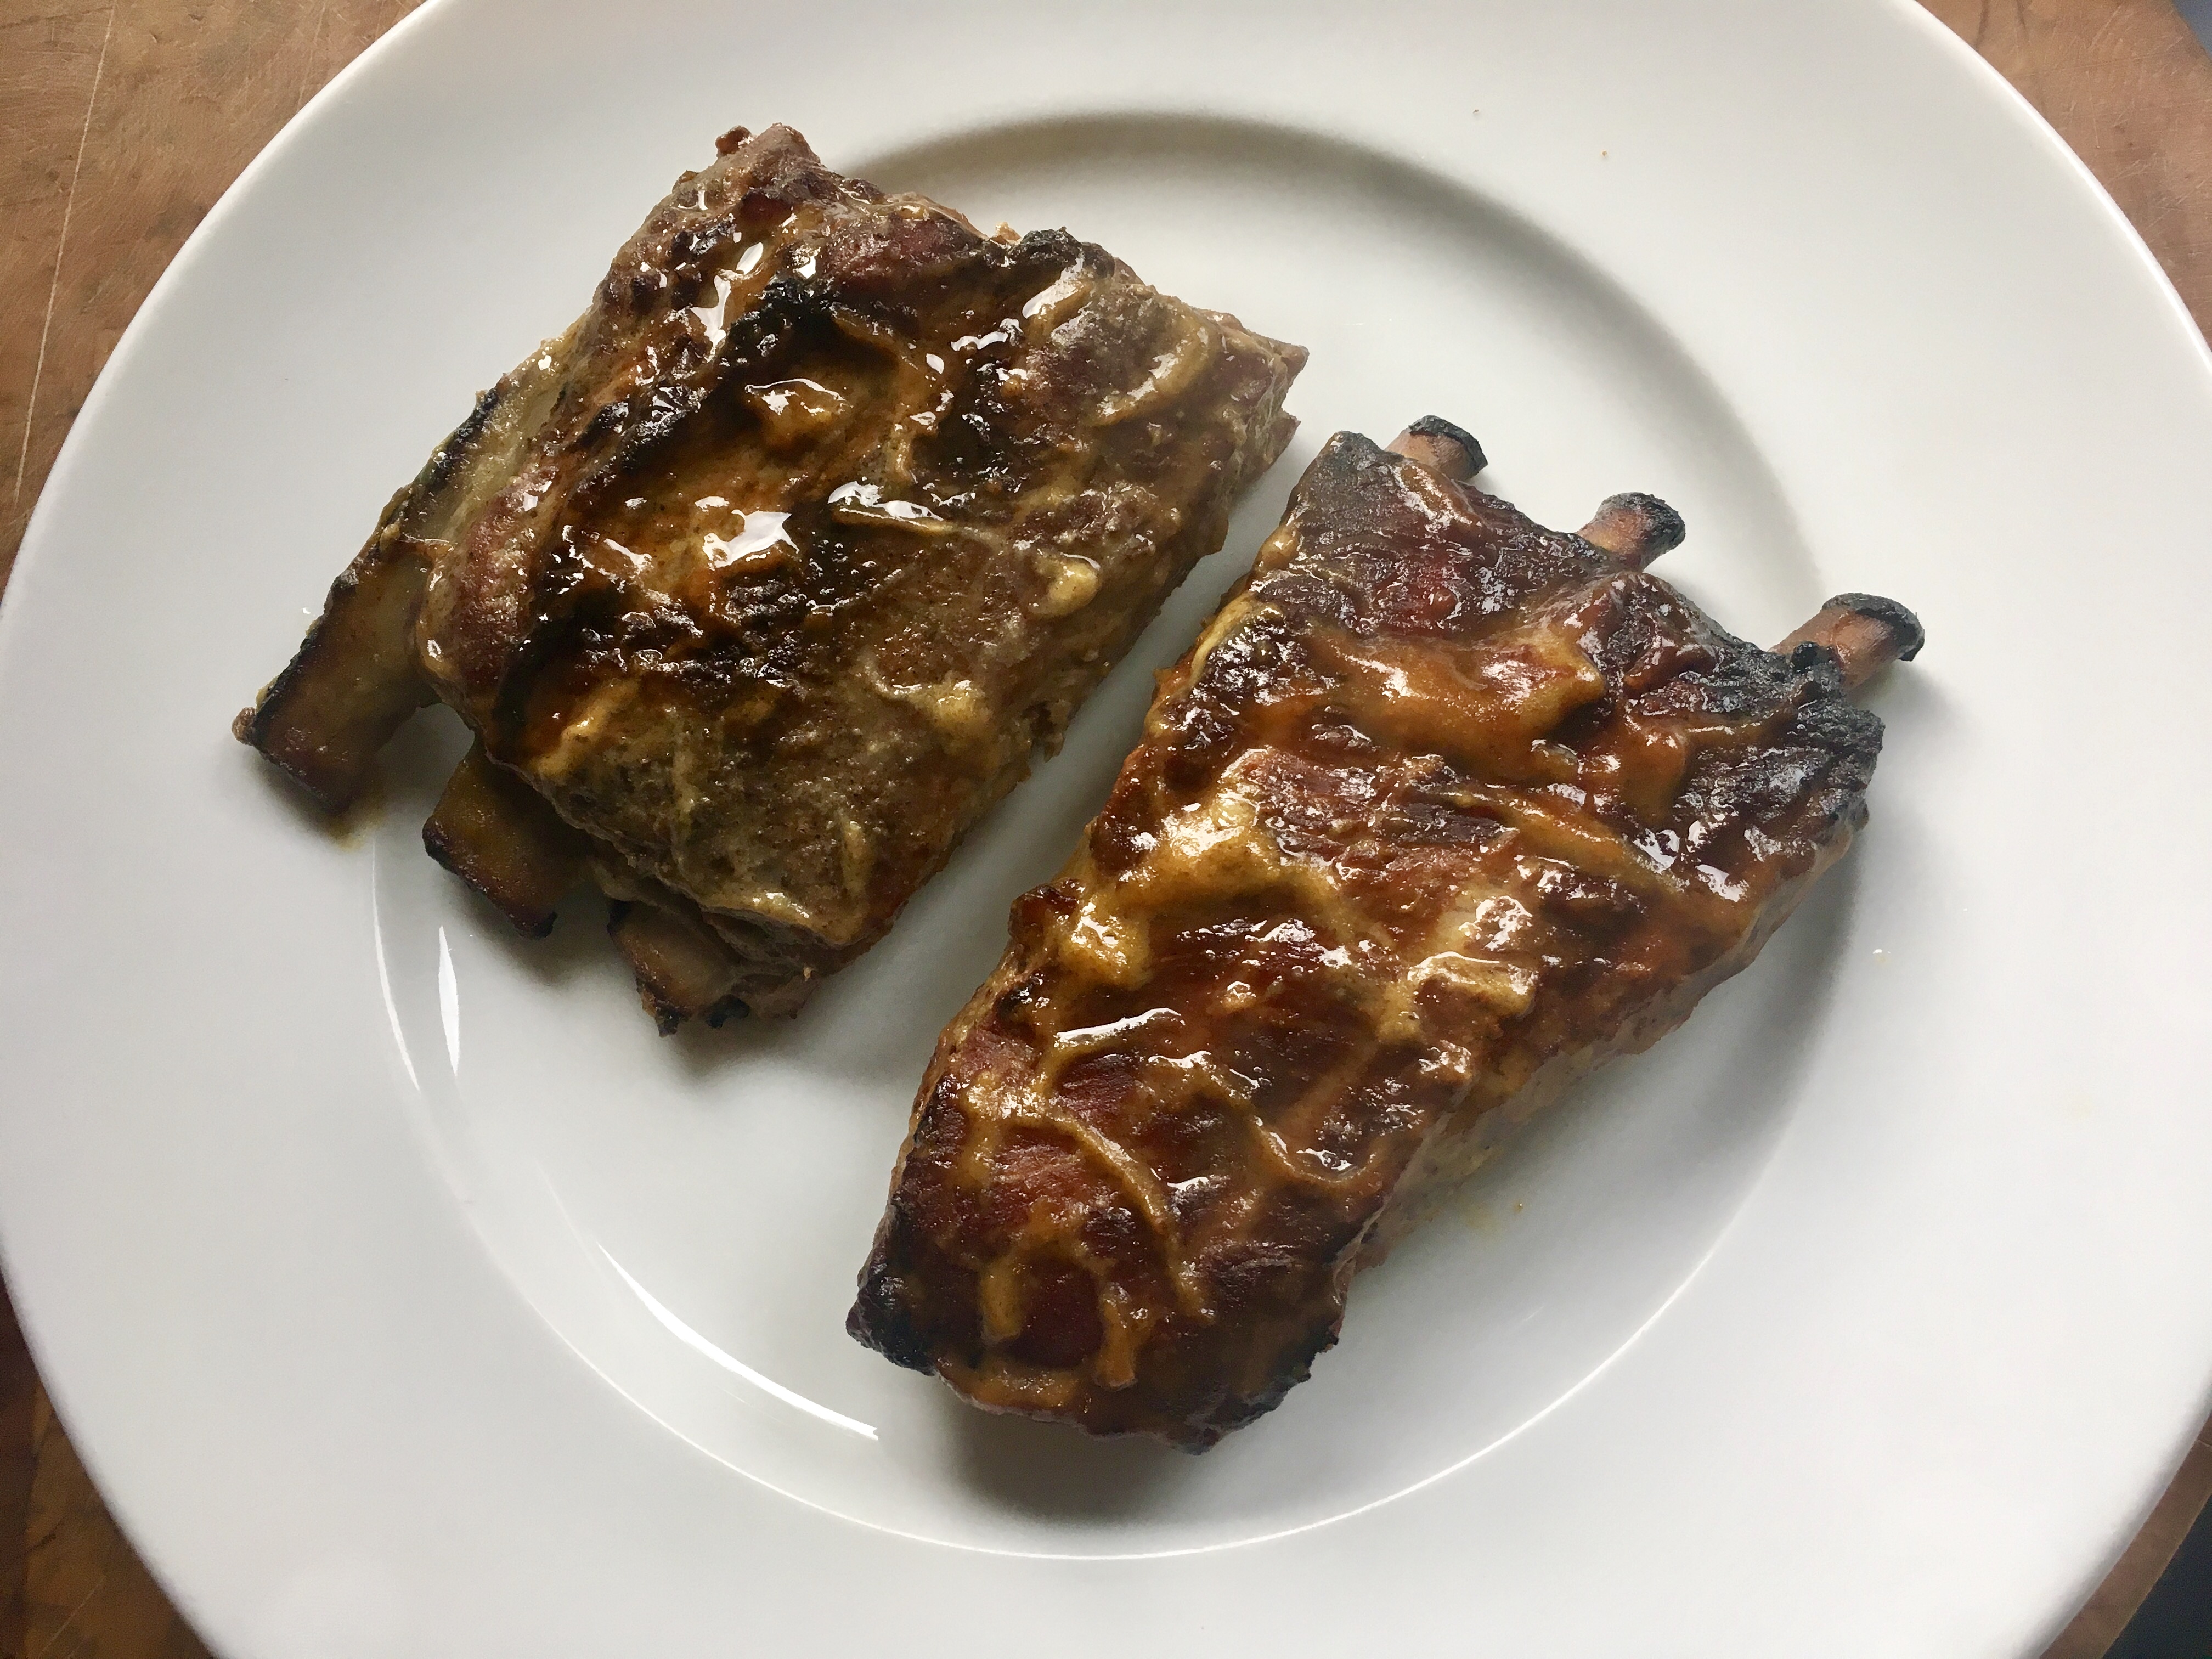
One of each: with Lawry’s and Tony Chachere’s.

Using a bit more of the apricot-mustard glaze, I brushed the ribs one more time and placed them under the broiler one last time before feasting. It was worth that extra effort to get them nice and caramelized.

The final verdict: They came out great, but I preferred the ribs seasoned with Tony Cachere’s better. The Cajun seasoning added a nice kick of heat to counterbalance the sweetness of the apricot-mustard glaze.

Through years of tireless experimentation, I’ve come up with a barbecue sauce that I feel is the best I’ve ever made. Granted, everybody has their favorites, but this one kicks butt. I prefer a slightly sweet and tangy barbecue sauce,  so unless I’m making a classic pulled pork sandwich, I usually avoid vinegar-based sauces.

What makes this sauce special is the citrus. I originally used lemon juice for this recipe and it was good. Lime juice with lime zest was better. I also tried oranges, tangerines, even Meyer lemons. But my breakthrough happened on a day when I was craving barbecued chicken and all I had in my fridge was a grapefruit. I thought: how bad could it be? Turned out to be the perfect foil to the sweetness of the brown sugar and ketchup.

My favorite chicken pieces are the leg quarters: thigh and drumstick all in one. Chicken breasts, even on pastured birds, are pretty flavorless and dry, so I pass on them for the darker meat that’s juicy and fatty. (Honestly, I find it hard to trust anyone that won’t eat meat off a bone.)

Cooking chicken in the oven before putting it on the grill has several advantages. I don’t have to stand over the grill, constantly worrying about the meat burning or the fire going out. I can simply set a timer when I need to brush on the barbecue sauce or remove the chicken pieces. And the chicken cooks evenly…one piece won’t be burned while another piece is undercooked. Cooking them low and slow in the oven keeps the chicken juicy and tender. And I’m assured that my chicken is thoroughly cooked…no worries about salmonella.

I pre-heat the oven to 350 just to get it nice and hot. I line a sheet pan with non-stick aluminum foil, placing the chicken pieces on it. I rub each piece with a little olive oil, and season them lightly with Lawry’s Seasoned Salt. The chicken goes into the oven and I immediately lower the temperature to 200 degrees.

While the chicken is cooking, I combine all the barbecue sauce ingredients in a sauce pan, bring it to a boil, then reduce it to a simmer, letting it cook for about 20 minutes, until it has thickened. Then I turn the heat off and set the pan aside.

I’ll bake the chicken for about an hour, taking the sheet pan out of the oven to brush the barbecue sauce on the pieces before returning to the oven again, now bringing the temperature up to 300 degrees. (Because there’s sugar in the barbecue sauce, I don’t want to crank the heat or it will burn.)

Taking the chicken out of the oven and brushing it with sauce.


In 30 minutes, I take the sheet pan out a second time, and brush the sauce on the chicken pieces again…then back in the 300-degree oven for another 30 minutes.

Once the chicken’s back in the oven, it’s time to start the grill. For projects like this, I like to use a small grill I bought for our family camping trips. It’s like a mini-Weber, and it grills enough food for 4 people easily, without wasting charcoal like a larger grill would.

These small grills are just 20 bucks, and they save you a ton of otherwise wasted, unused charcoal.


I use a smaller charcoal chimney for this project, and I use charcoal briquets, not hardwood, because I want an even fire. The coals are ashed over in just 10 minutes.

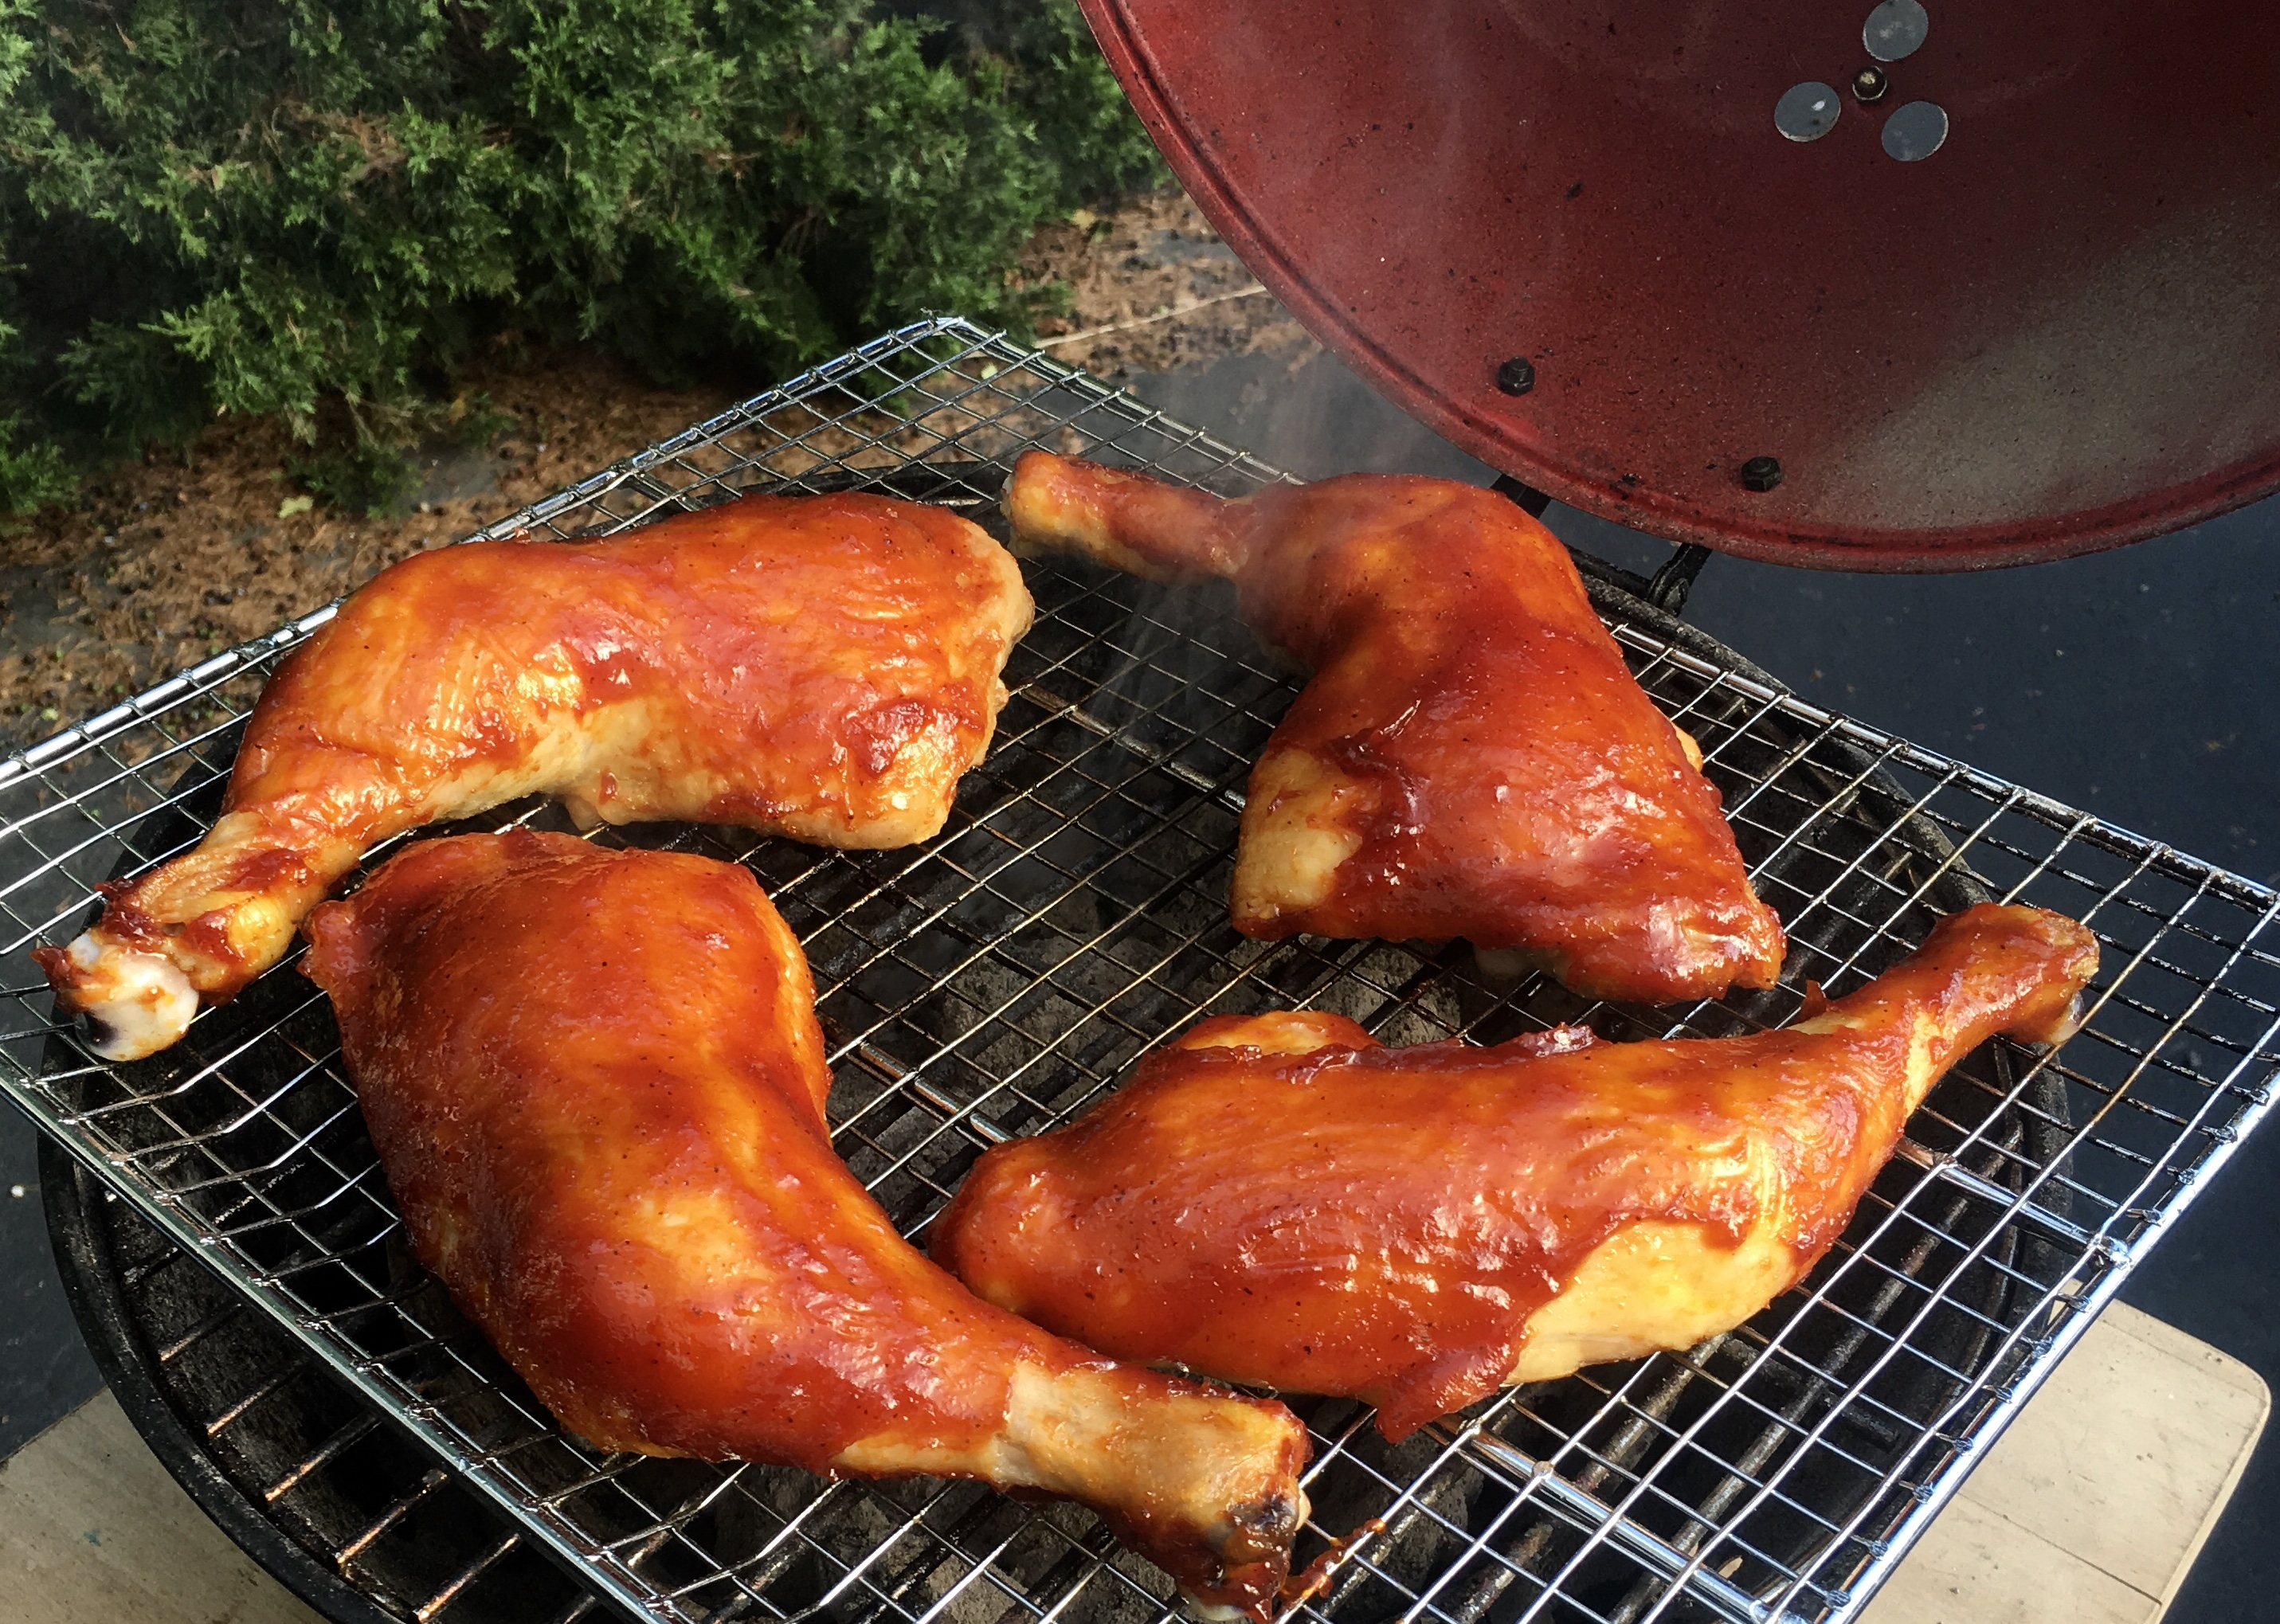
Out of the oven and onto the fire! The grill grate was nasty and rusty, so I just grabbed a clean one I had handy and popped it right on top. (I hate scrubbing grills!)


Once the chicken has cooked its total of 2 low-and-slow hours in the oven, I bring the pieces outside. I spread the coals evenly on my little grill, and place the chicken pieces on it, flipping the pieces so that both sides get nice and smokey with a little bit of char…about 5 or 10 minutes per side will do the trick.

Getting that char on the chicken is key to making it taste like it’s been on the grill all the time.


The chicken goes back to the kitchen, and while it’s still hot, I brush with the barbecue sauce one last time before serving.


Perfectly done…perfectly delicious!


Here is the magical barbecue sauce recipe…

1 cup ketchup
1/2 cup firmly packed brown sugar
Juice and zest of 1 grapefruit
3 tablespoons unsalted butter
1 teaspoon cayenne pepper sauce, like Frank’s Red Hot
1 teaspoon Worcestershire sauce
1 teaspoon granulated garlic
1 teaspoon granulated onion
1/4 teaspoon black pepper
(no salt)

Combine all the ingredients in a sauce pan. Bring it to a boil and then turn it down low, and let it simmer for about 20 minutes, or until slightly thickened.


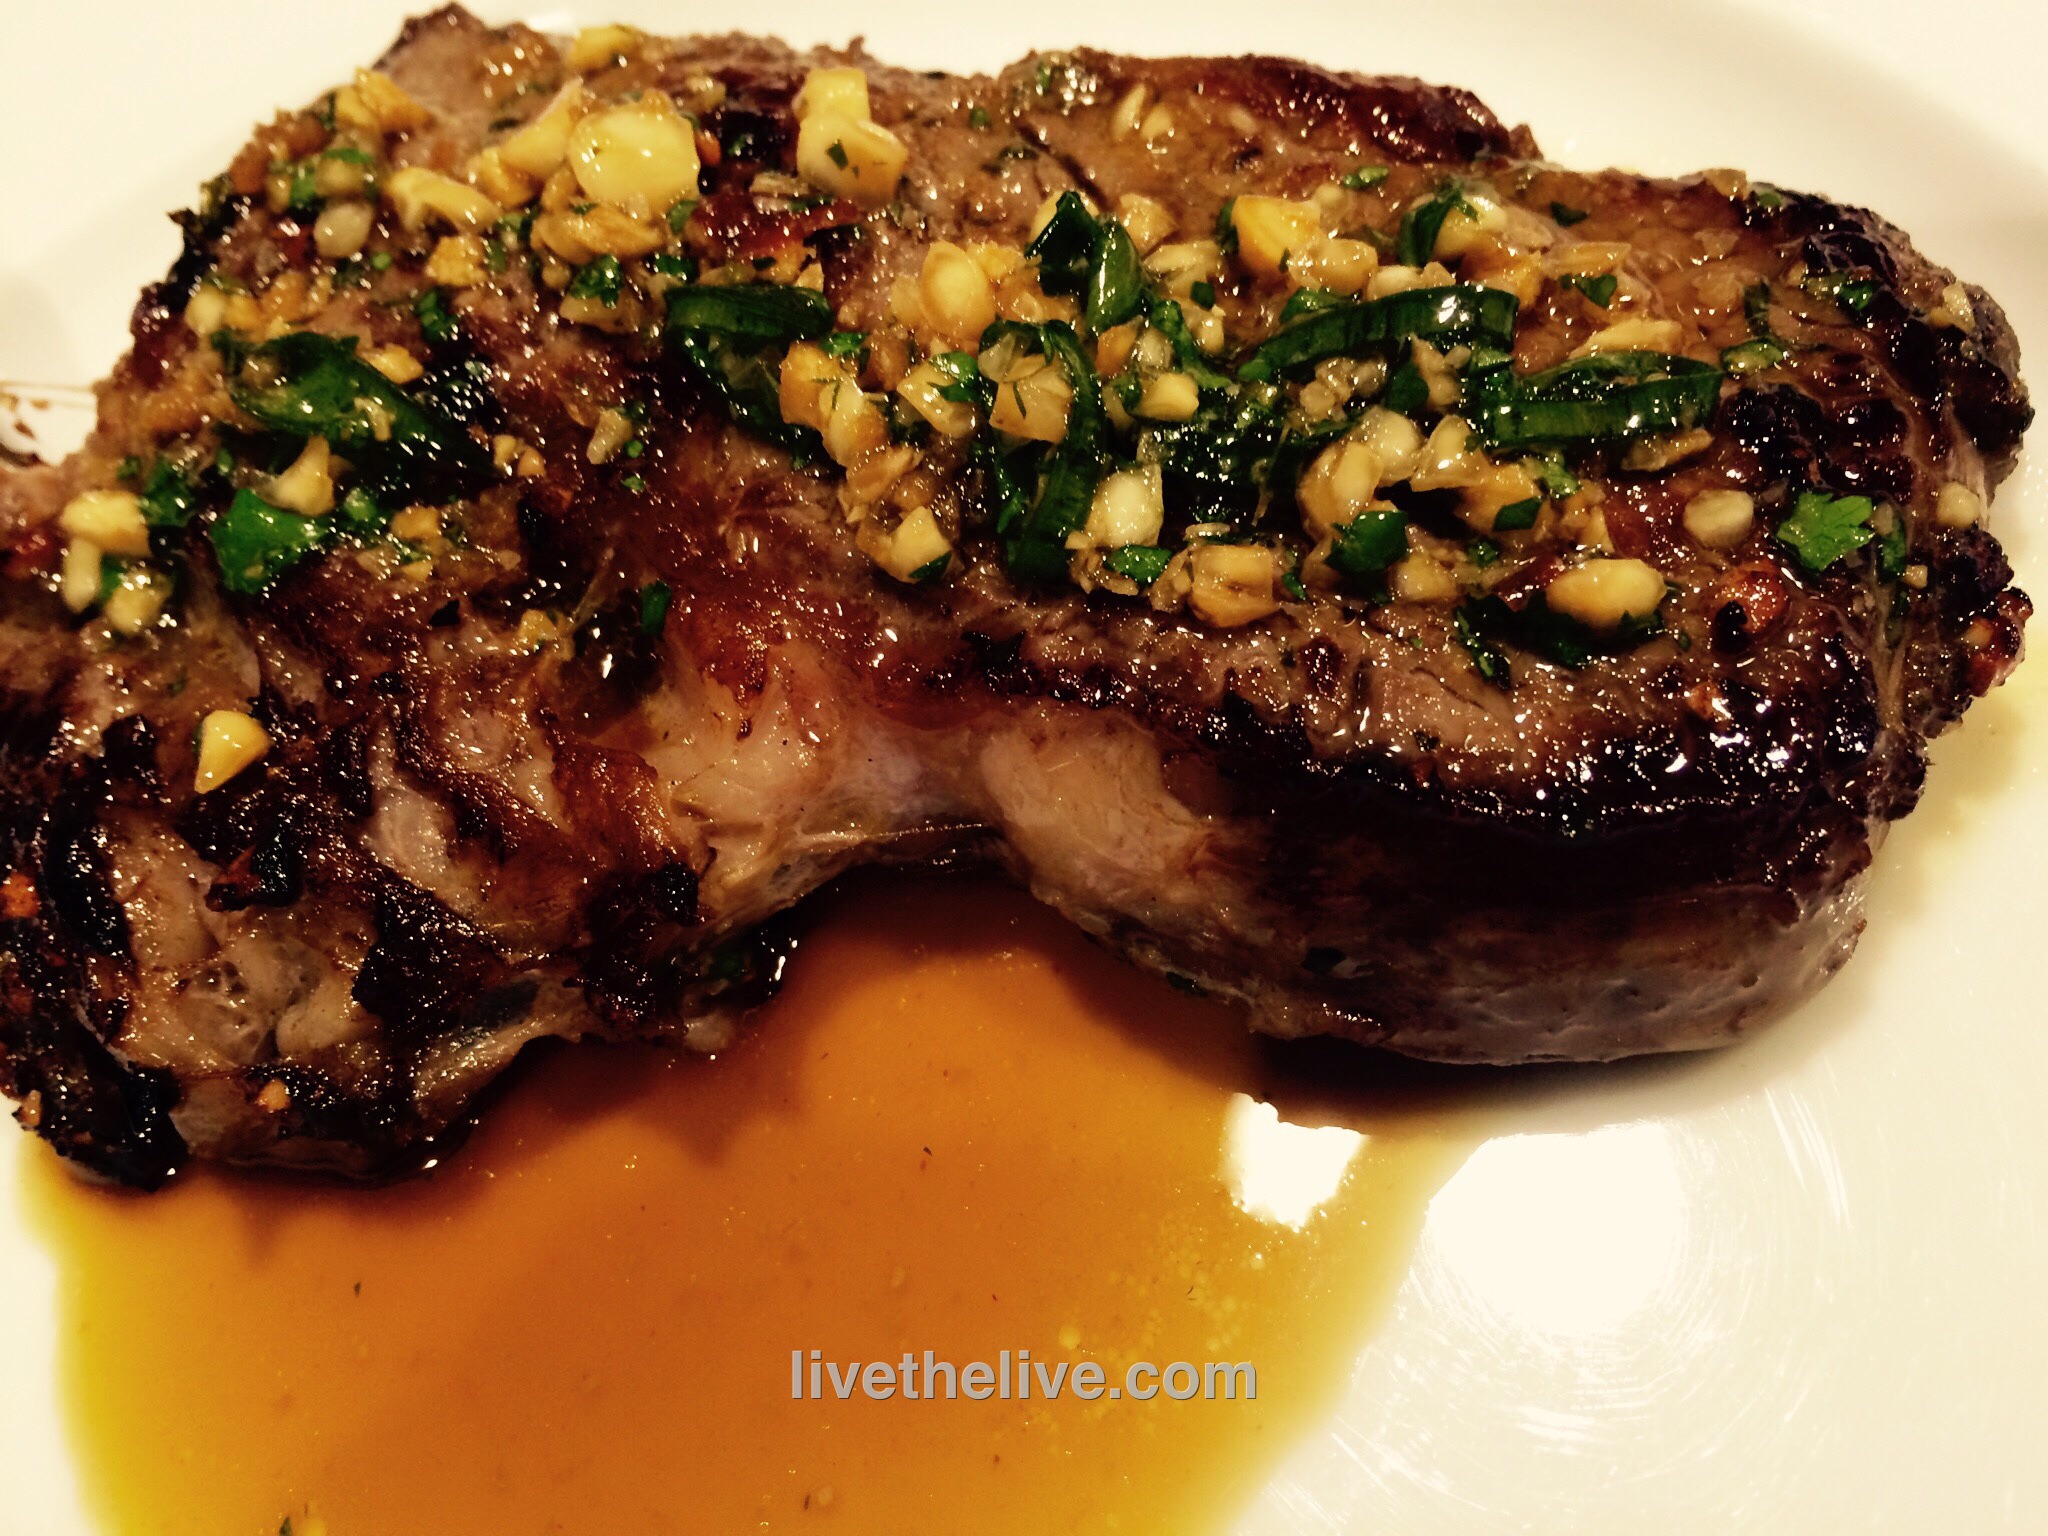
The original recipe called for skirt steak, but I didn’t have any in my freezer. I did have a fat ribeye, though, so once I thawed it, I sliced it lengthwise to get two large, thin steaks which would easily suck up the marinade I was going to make. And the ribeye was nicely marbled, so it stayed juicy and tender.


image


1/4 cup toasted sesame oil
1/4 cup soy sauce
2 tablespoons grated ginger
2 tablespoons finely chopped garlic
2 tablespoons finely chopped cilantro
2 tablespoons chopped dry roasted unsalted peanuts
2 scallions, minced
1 tablespoon light brown sugar
1 tablespoon fresh squeezed lime juice
1 tablespoon chile oil
2 lbs. beef ribeye (or skirt steak or beef flap)
1/4 cup chicken stock (homemade is best)

In a bowl, whisk together the sesame oil, soy sauce, ginger, garlic, cilantro, peanuts, scallions, sugar, lime juice and chile oil. Transfer half of it to a shallow dish.
Add the steak to the dish and turn the meat to coat it well. Cover and refrigerate the beef overnight. Refrigerate the remaining marinade.

The next day, light a grill. While it’s warming up, add the chicken stock to the reserved marinade. I like to heat it to combine it well, not letting it reach a boil,  then remove it from the heat and let it come to room temperature. This will be the dipping sauce for the beef.

Bring the steak to room temp, season with salt and pepper, and grill it over high heat until medium-rare, about 5 minutes. If it’s too cold to light a grill, or if you just want to use the oven, heat a cast iron pan, add a few drops of avocado oil, and sear the beef on both sides before placing it in a pre-heated 375-degree oven to finish cooking.

Devour the beef with the dipping sauce!


I’m fortunate that I can buy my veal from a nearby dairy farm, Sweet & Salty Farm in Little Compton, RI, where the animals are grass-fed and raised humanely. That makes for happier animals and incredibly flavorful meat…and no guilt about using it.

I also buy veal bones from Sweet & Salty Farm, roasting them on a sheet pan in a 400-degree oven for 30 minutes, then placing them in a large pot of water. I take some chopped carrots, onions, and celery, toss them in a little olive oil, and place them on a sheet pan, roasting them in the oven until they’ve caramelized, then add them to the pot with the veal bones. The secret to a great veal bone broth is to boil the bones and veggies for as long a time as possible. Restaurants will do this for days, replacing the water in the pot as needed. At home, I’ll start the broth in the morning and finish it by evening.

The subtle flavor of veal can get lost with heavy seasonings, so I keep it simple. The addition of veal bone broth amplifies the flavor and keeps the meatballs from drying out.


img_0245

1 lb. ground veal
1 cup toasted breadcrumbs (I use Udi’s bread to make it gluten-free)
2 teaspoons parsley
1 teaspoon oregano
1/2 teaspoon basil
1 teaspoon salt
1/2 teaspoon black pepper
1/2 teaspoon granulated garlic
1/2 teaspoon granulated onion
1 egg
extra virgin olive oil
1 lb. pasta, cooked firmer than al dente (I use Garofalo GF pasta to make it gluten-free)
2 cups veal bone broth or beef stock
salt and pepper for seasoning
2 tablespoons half-and-half
2 tablespoons butter
1 cup of frozen organic peas


Pre-heat the oven to 350 degrees.

Make the meatballs: In a bowl, combine the veal, breadcrumbs, parsley, oregano, basil, salt, pepper, garlic, onion and egg, mixing the ingredients thoroughly. Don’t over-mix.

Heat a tablespoon of the olive oil in an oven-proof pan, and form the meatballs one by one, placing them in the pan. Brown the meatballs on all sides over medium heat. Place the pan in the oven to cook the meatballs for 10 more minutes.

In a saucepan, heat the veal bone broth or beef broth. Once the meatballs have cooked in the oven, transfer them to the pot of broth and cover it with a lid, keeping the heat on low. If the broth doesn’t cover the meatballs, turn them every once in a while to keep them moist on all sides. Cook the meatballs in the broth for about 30 minutes, then transfer them to a large sauté pan.

Turn the saucepan with the veal broth on high and reduce it to about 1/2 cup. Season it with salt and pepper.

In a large pot, cook the pasta to a bit firmer than al dente in well-salted water. Drain it and set it aside.

In the large sauce pan with the meatballs, add the butter and the half-and-half. Add the reduced veal broth, the pasta, and the peas.

Gently mix the ingredients in the pan until the peas have warmed through and the sauce clings to the pasta. Serve immediately.


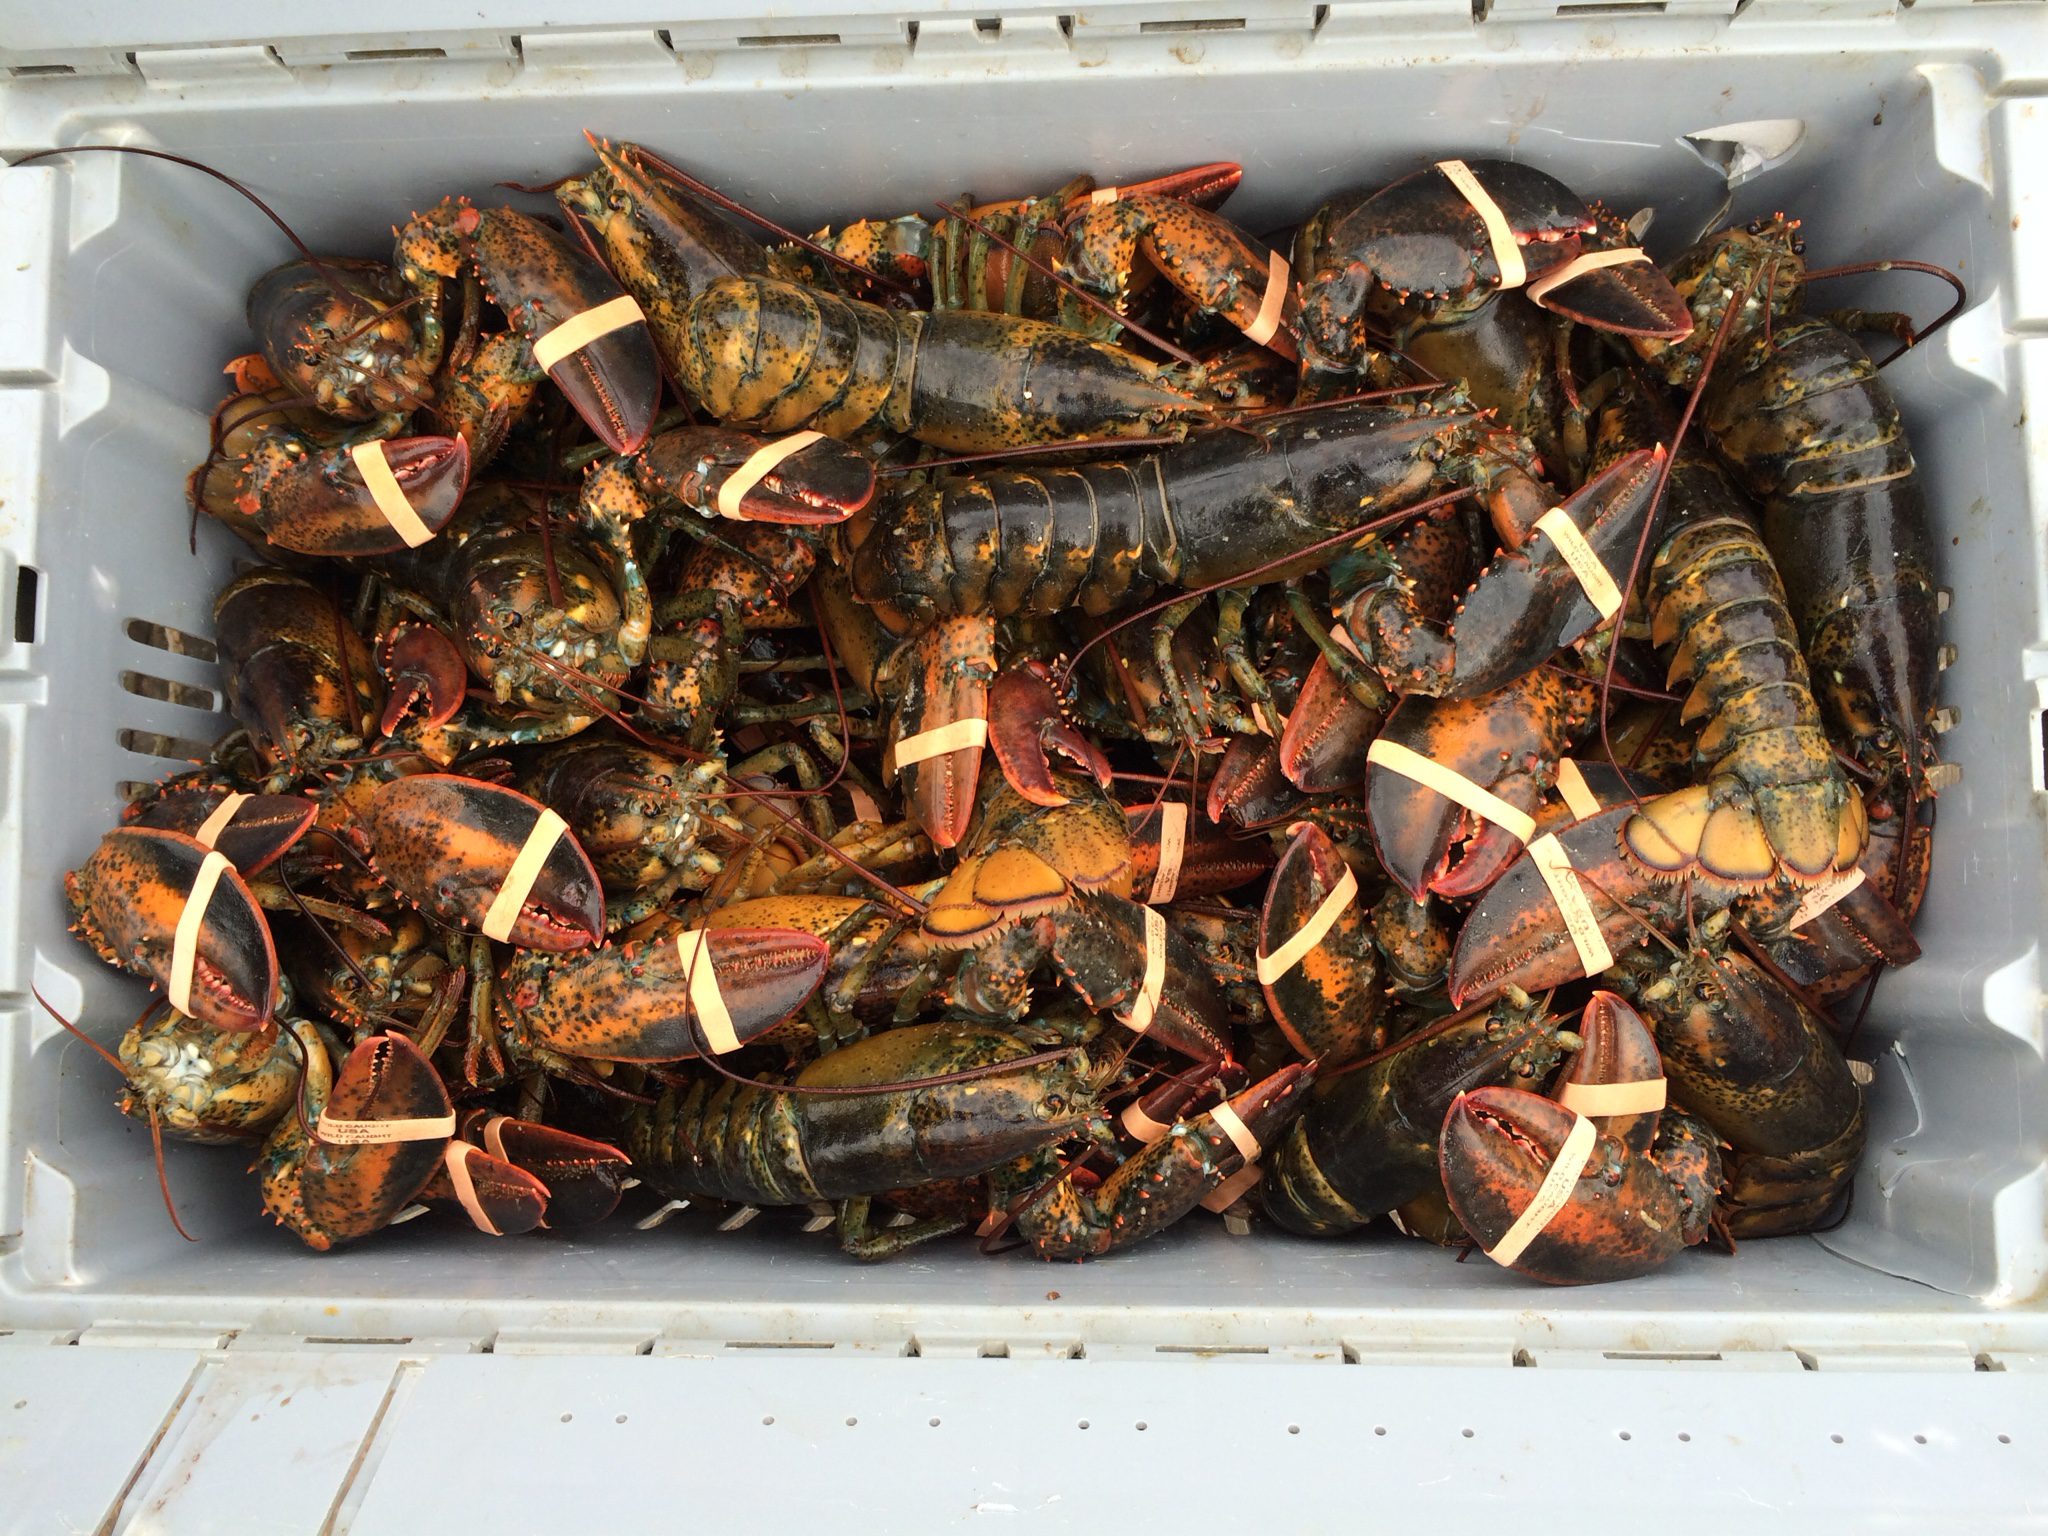
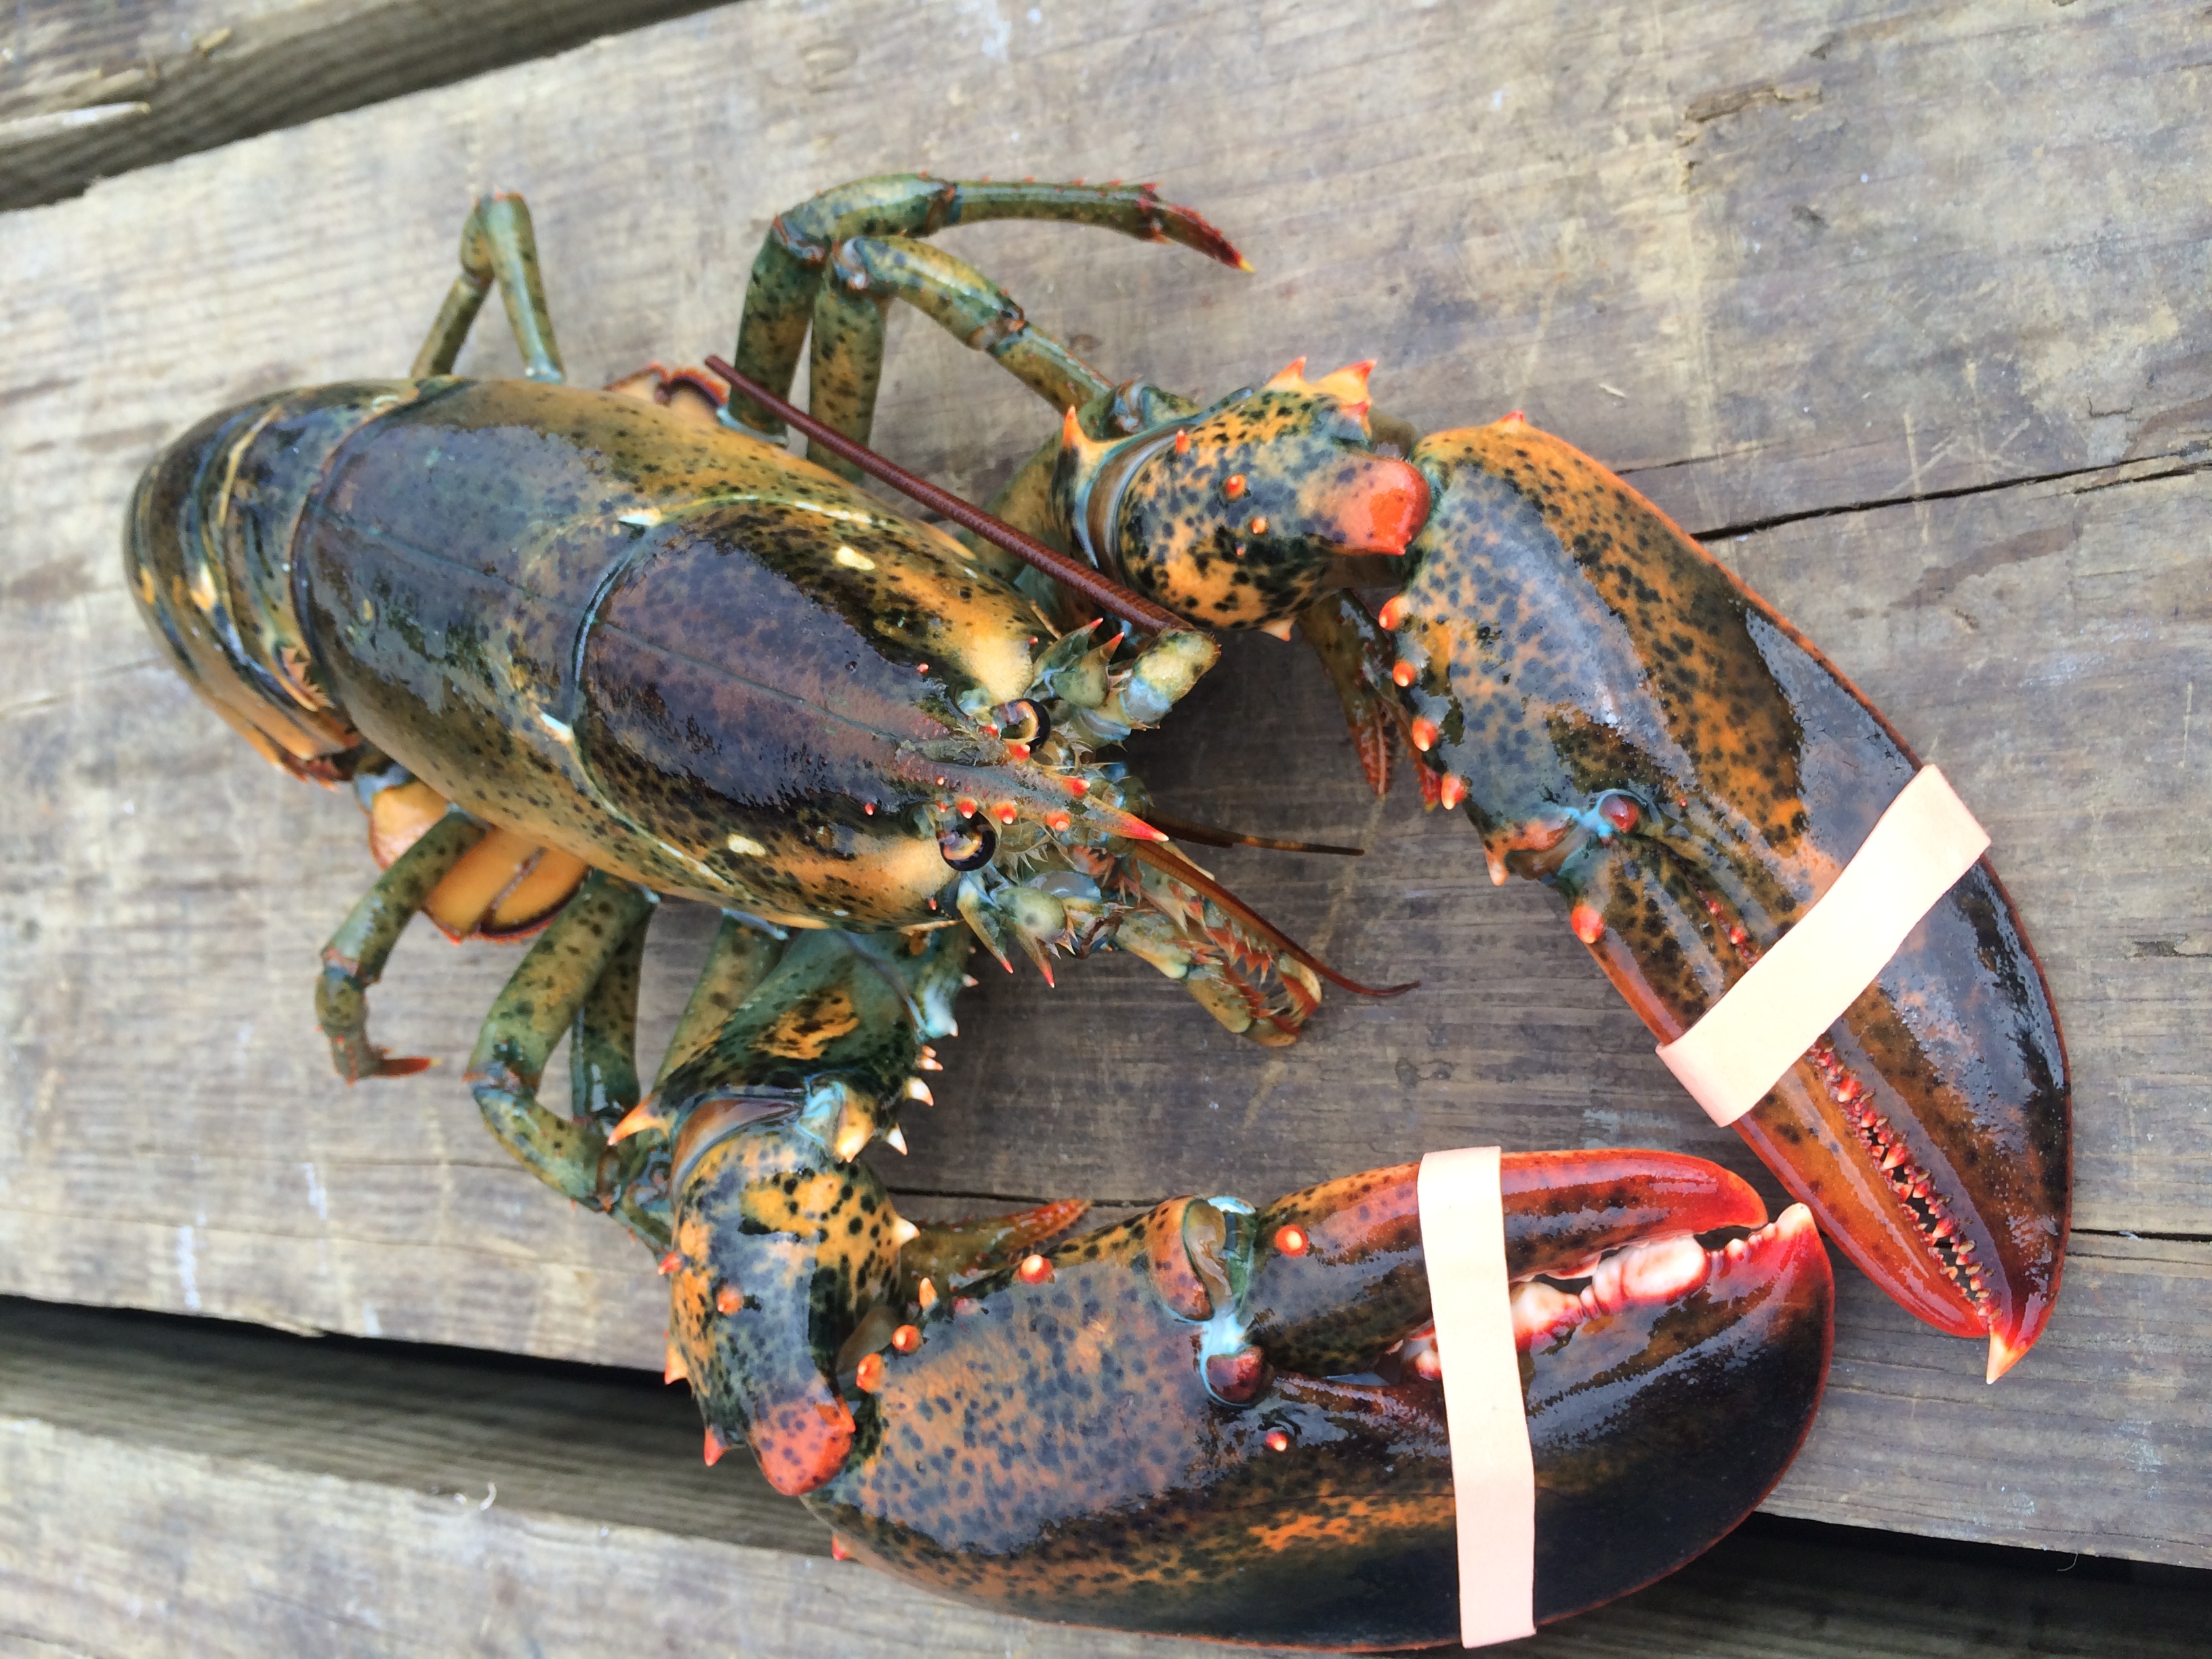
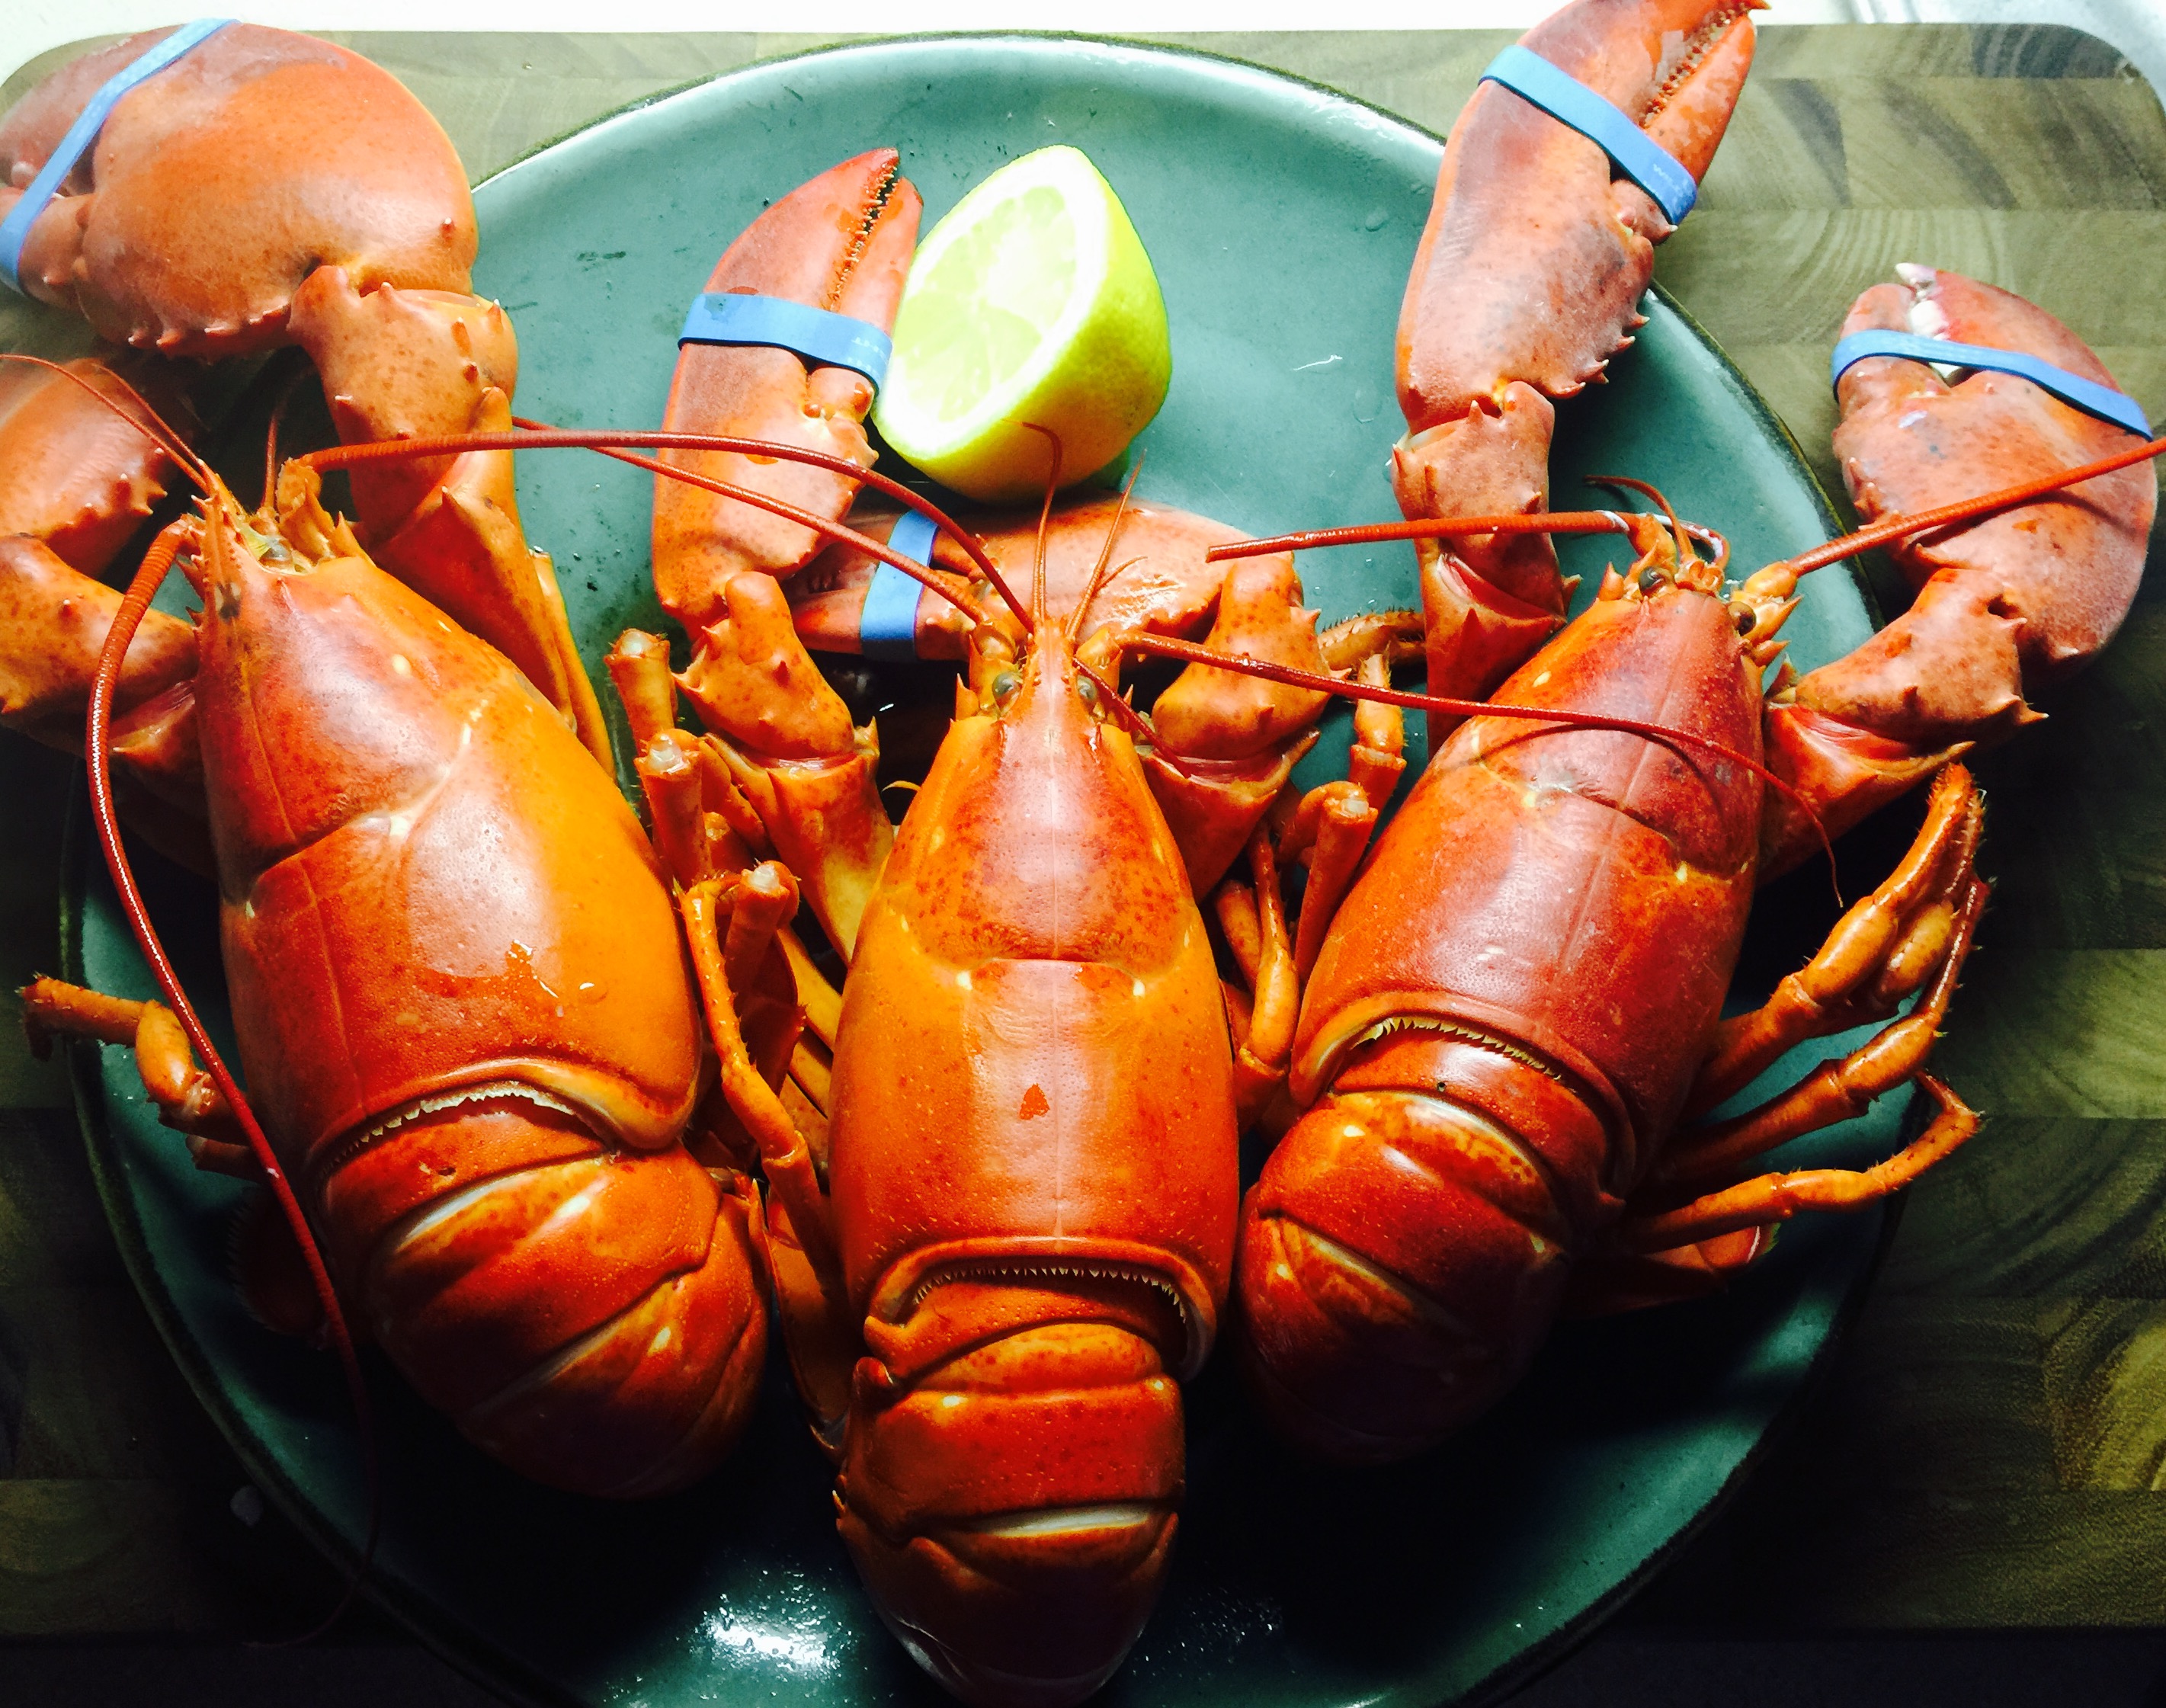
Those of us that live in New England understand the magnificence that is a fresh lobster. Nothing beats a Maine lobster pulled right out of the water, placed in a pot of boiling water, and devoured moments later with nothing but melted butter on the side.


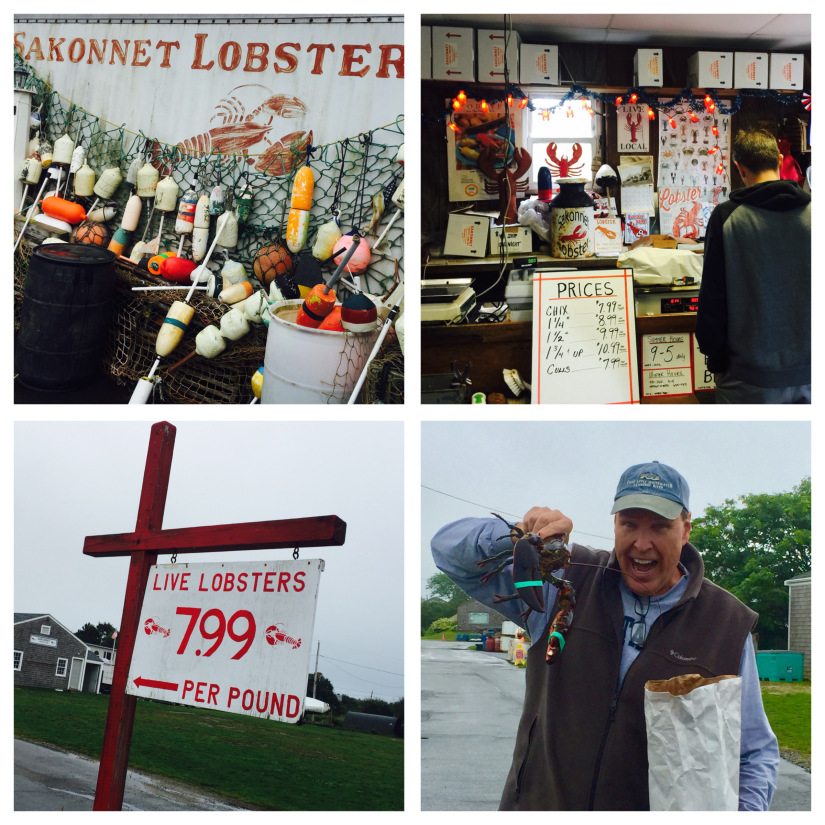
I live in Rhode Island. Our waters are a bit warmer than Maine’s, but my friends at Sakonnet Lobster in Little Compton, literally footsteps from our rental home, Saule (www.sauleri.com…go to Homeaway.com listing #4711871) have the freshest lobster around.


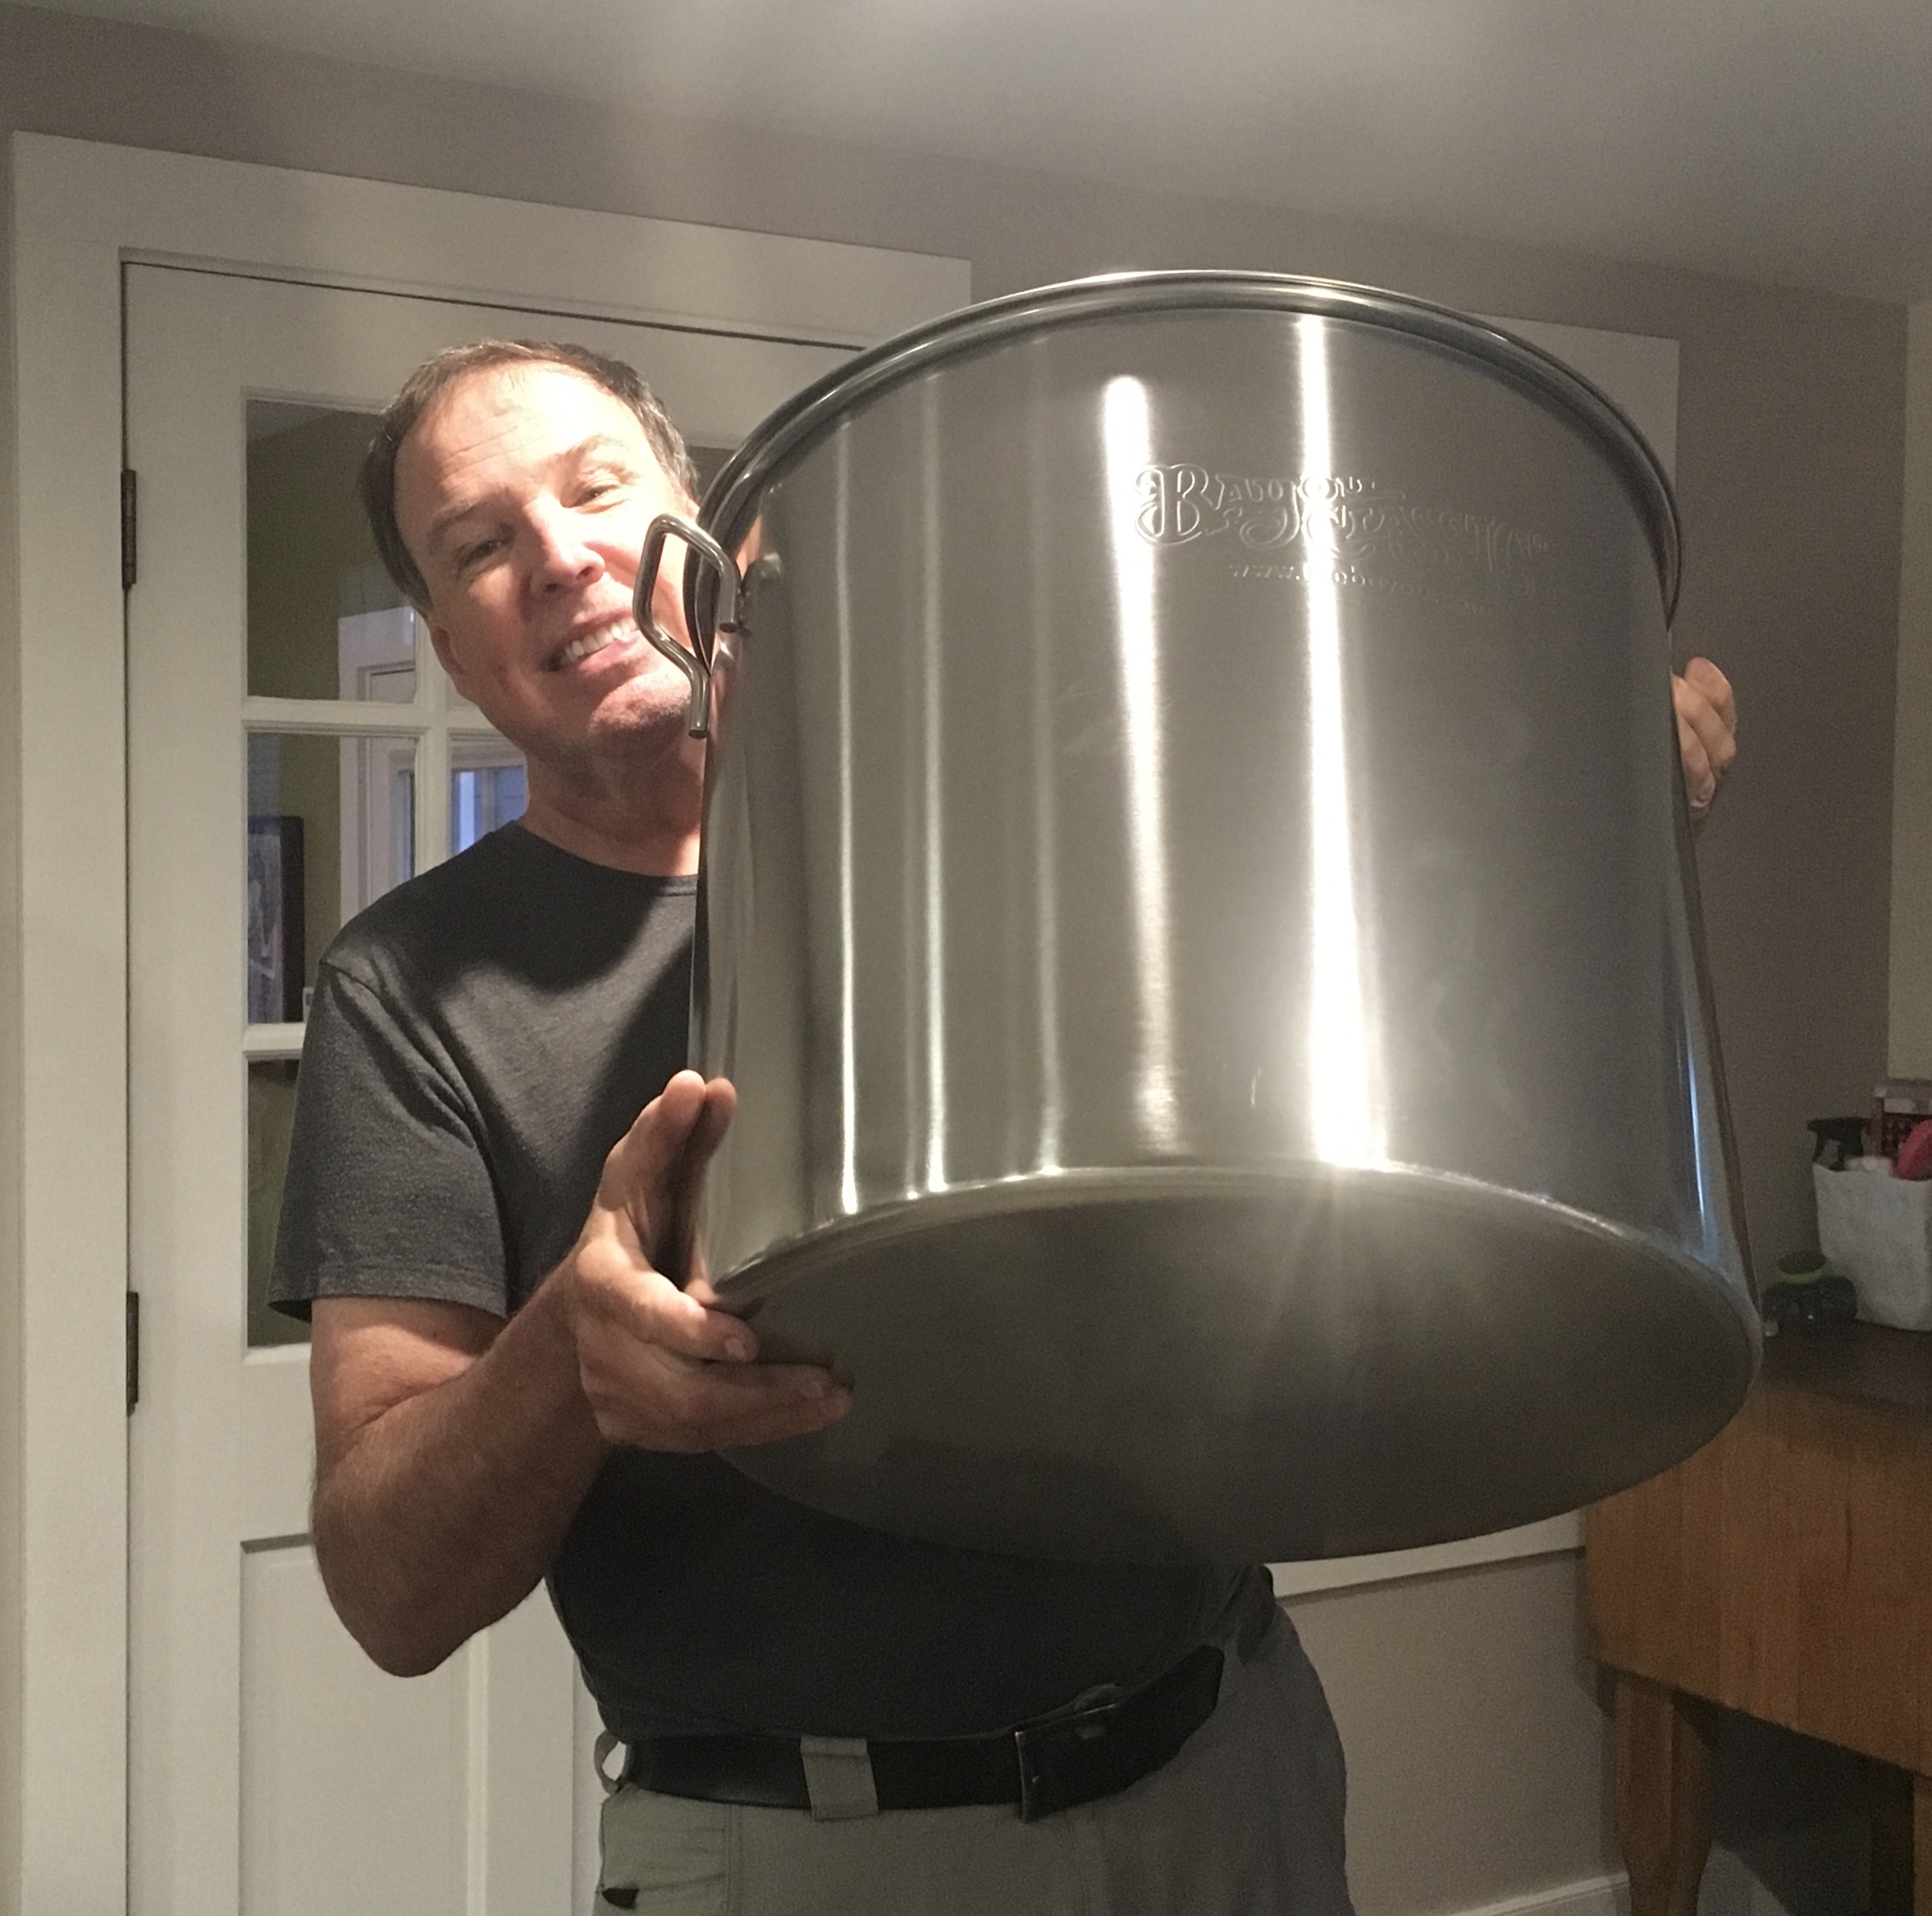
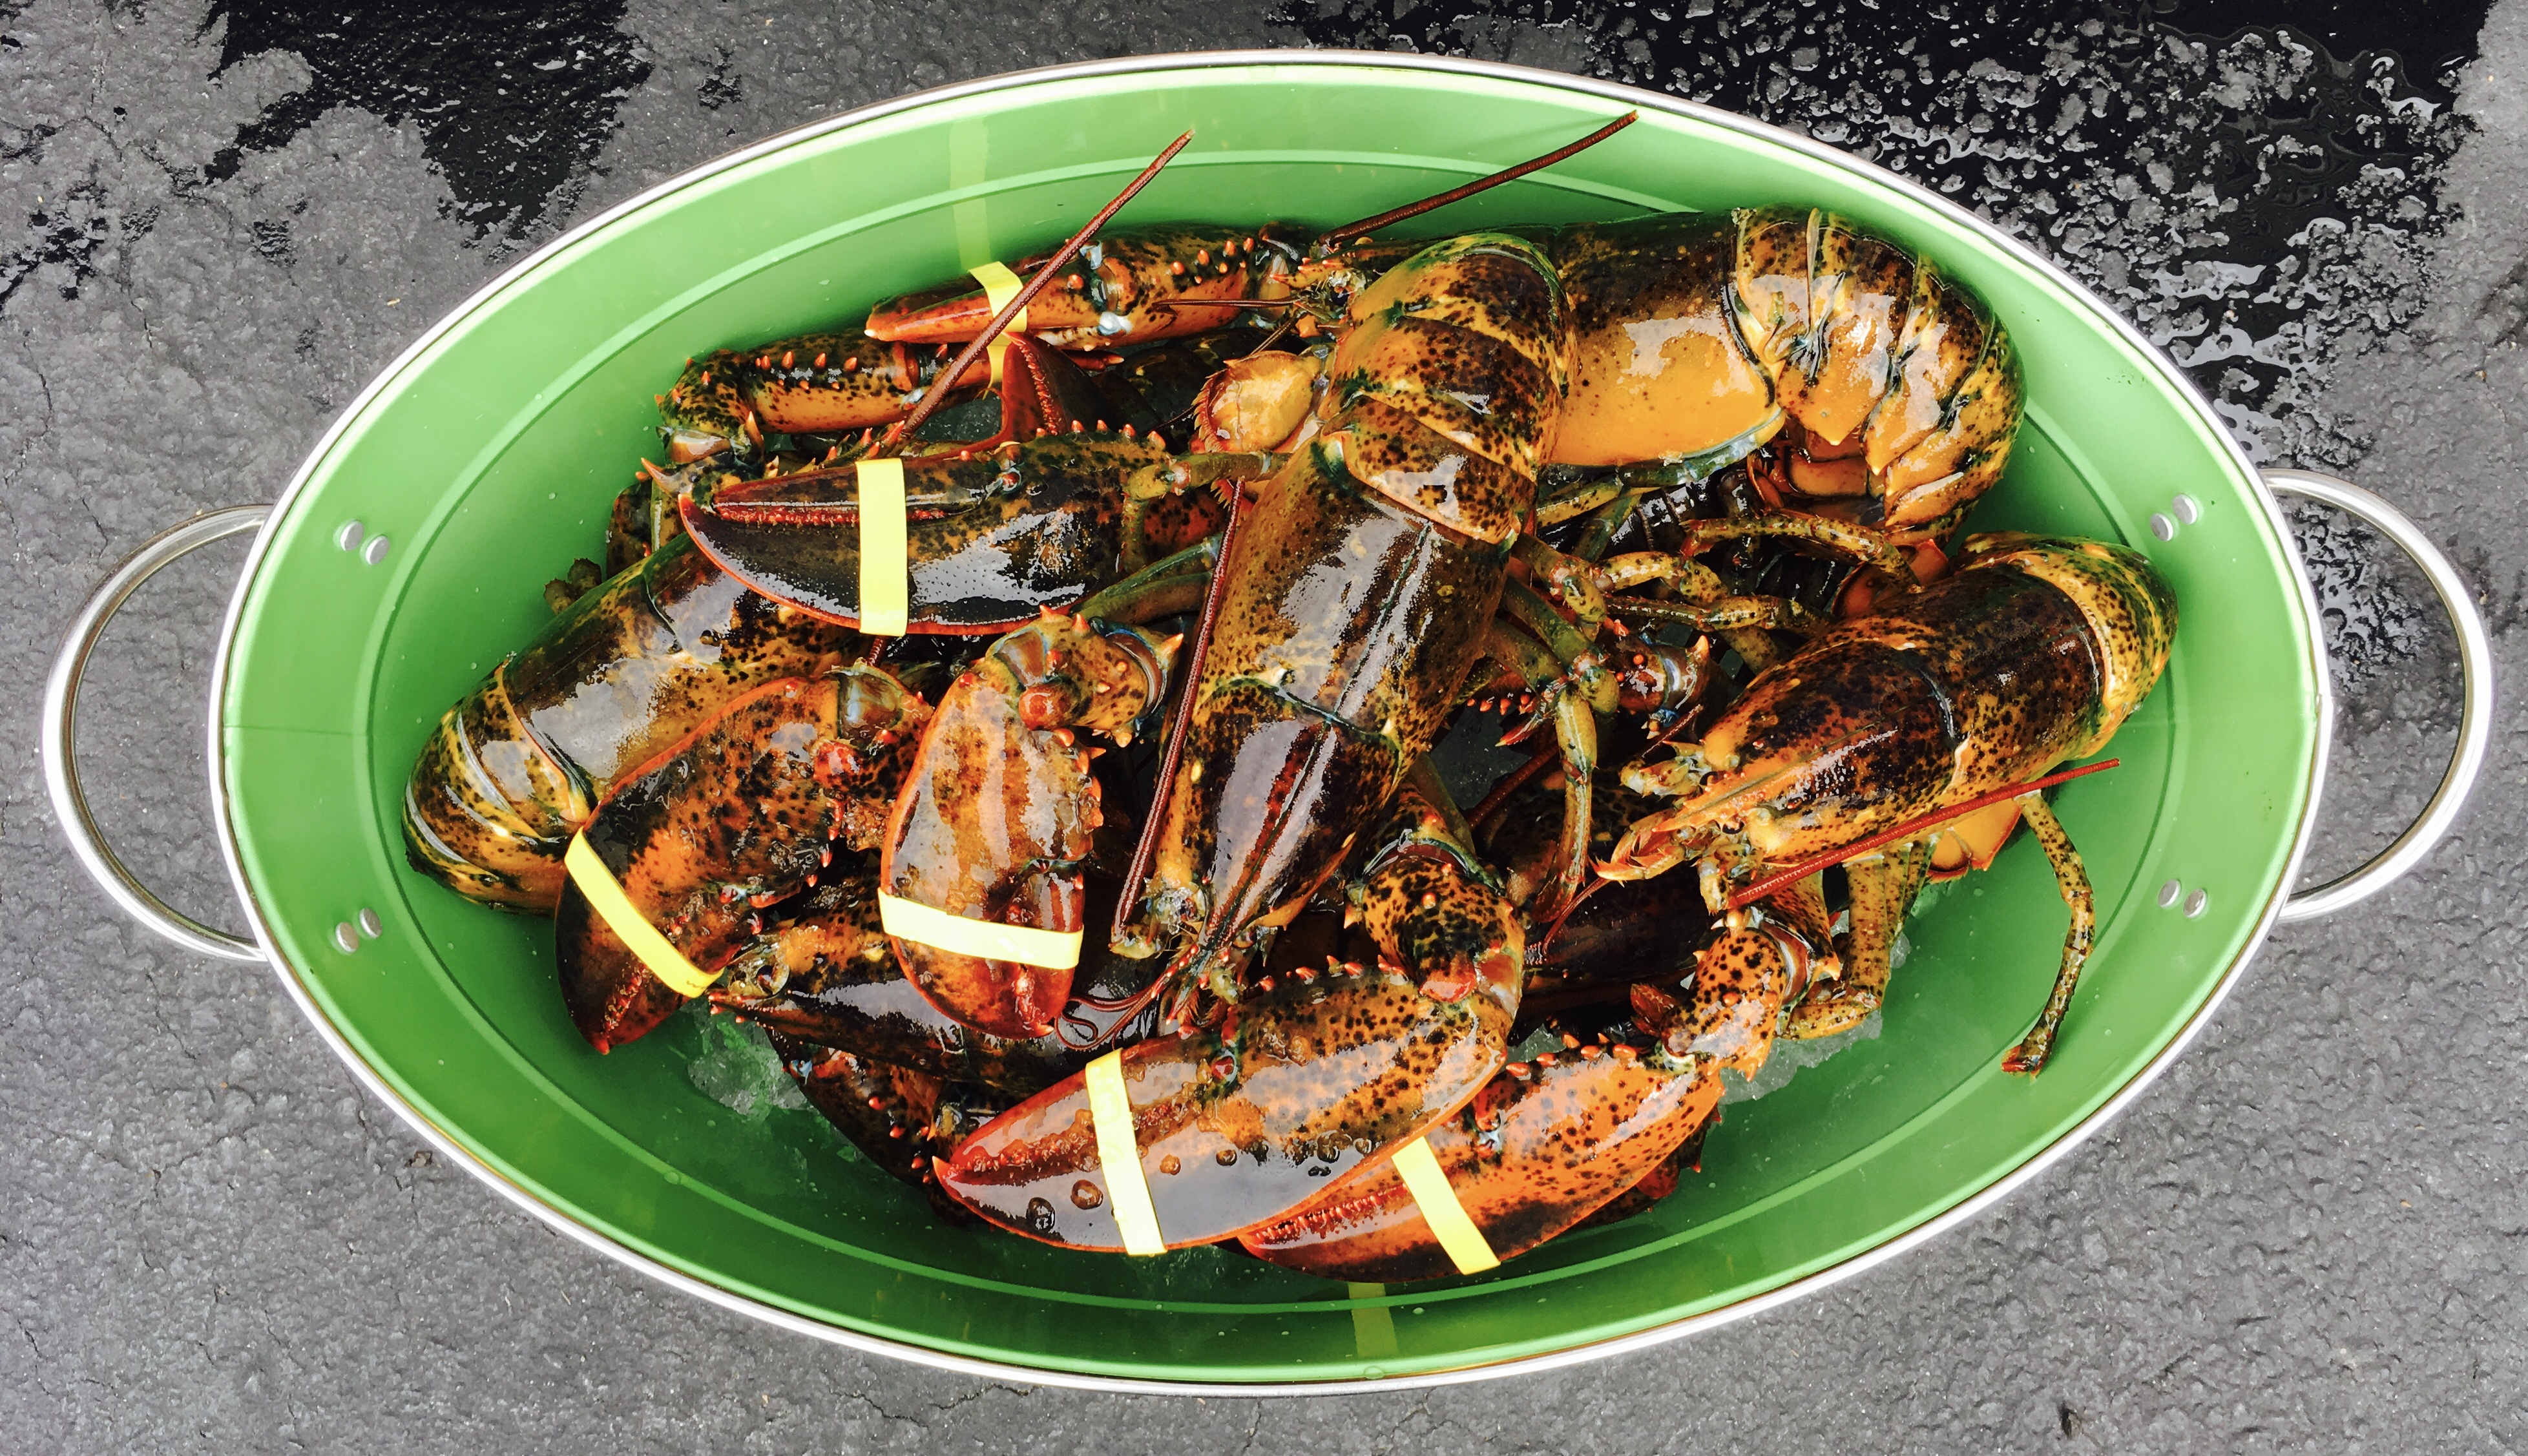
At a recent gathering at our house, I fired up my brand new 200,000 BTU burner and grabbed my 82-quart lobster pot to cook a dozen lobsters.

An 82-quart pot means business!


Many people will argue that steaming lobsters is better than boiling them. I don’t find that to be true, certainly from the perspective of ease of cooking or the taste of the final product. Baked stuffed lobsters are delicious, but that’s a subject for a different time.


Using the outdoor burner method has several advantages. First, all the mess and smell stays out of the kitchen. Clean-up is much easier. Second, when cooking lobsters for a lot of people, the burners on the kitchen stove just don’t have what it takes to boil the water. And third, this method requires no back-breaking lifting of heavy pots full of water.

My buddy, Lee, has a PhD in Chemistry, and has been a lobster lover all his life. With a home in Maine now, he knows a thing or two about cooking lobster. Here’s his fool-proof formula…

Bring the pot of water to a full vigorous boil.
Keeping the flame on high, add the lobsters, which will quench the boil for a few minutes.
Cook for 17 minutes for the first pound + 1 minute per each additional pound of lobsters added. (For example, cooking four 1.25 lb lobsters = 21 minutes.)
The water soon comes back to a full boil and you can reduce heat slightly to avoid boil over.


Experienced lobster boilers will tell you that this cooking formula is pretty accurate, but you do have to adjust the time if the water doesn’t come back to the boil as quickly as you’d like. The lobsters are still cooking even if the water isn’t boiling. If you’ve got an overcrowded pot, you might need to cook things a little longer. An emptier pot: a little less. Play it by ear.


To those that get queasy when it comes to cooking lobsters, there are several ways to kill a lobster before it goes into the pot: Some people put them in the freezer to numb them. Others use a sharp knife and cut down right between the eyes. Some do both. Although people constantly argue about whether lobsters can feel pain or not, my scientist friends assure me that a lobster’s nervous system is no more complicated than an insect’s. Dropping them head-first into a pot of boiling water is the fastest, most humane way of killing them. And they don’t “scream.” That’s just air escaping from the body cavity.


Good to remember: if you overcook the lobster a little, no harm done. But if you undercook it, it’s pretty nasty.


All I need on the side is some melted salted butter.


SALMONELLA…SOLVED

Posted: October 5, 2018 in chicken, Food, Uncategorized
Tags: , , ,

I devour chicken at least three times week…fried, broiled, grilled, barbecued, smoked…it’s all good. But because of that, salmonella paranoia takes over my brain. Watch any cooking show and as soon as the host touches a piece of raw chicken, they show him or her washing their hands before doing anything else. Panicky corporate lawyers make sure you see that so nobody gets sued for something very bad that can be very easily avoided.

I use these easy steps to avoid salmonella worries in my kitchen…


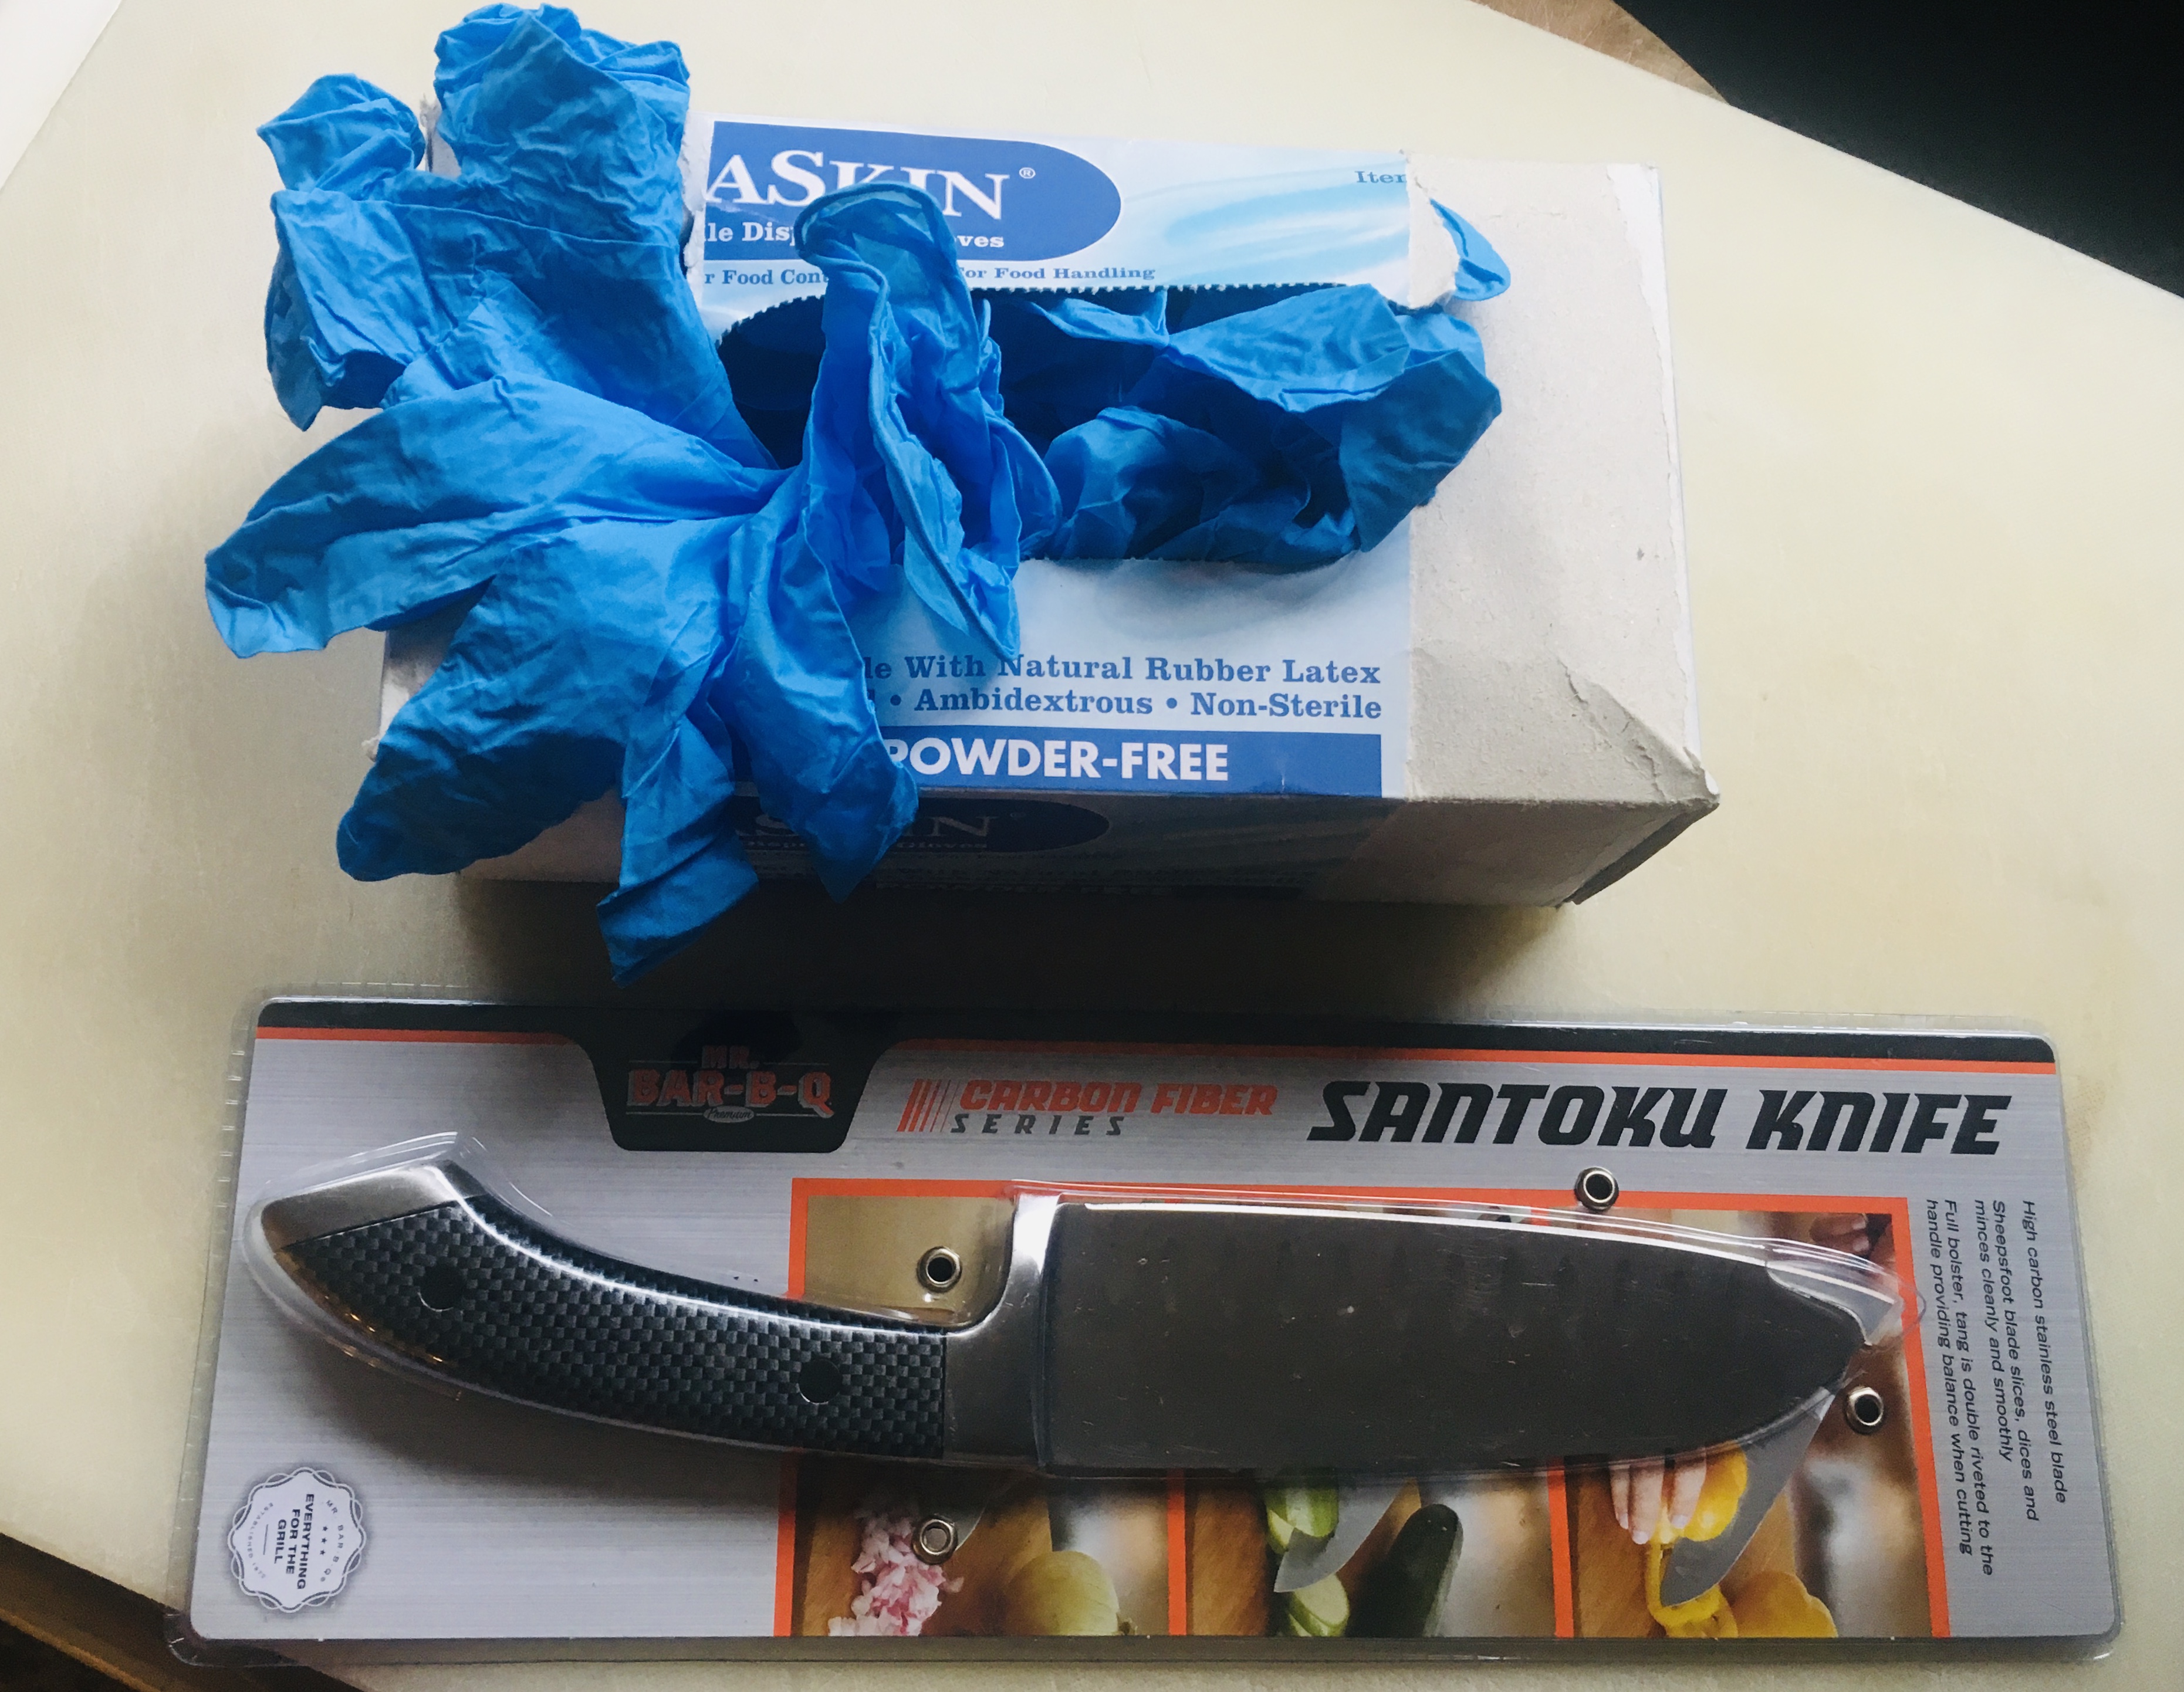
Washable, disposable: the best way to keep salmonella away.


I open the plastic wrapper of the chicken in the sink. You won’t believe how much stuff splatters around when you unwrap chicken. Do it in the sink and it won’t fly onto your countertop, windows, eyeballs, or nearby fruit bowl.


I buy very sharp and very cheap kitchen knives, like the one above. They go for about 6 bucks. Unlike my expensive prized chef knife which never goes into the dishwasher, these knives are easily sanitized by skipping the hand washing and letting the dishwasher do the work. I sharpen them when they get dull, but eventually, the get tossed out and I buy new ones. They’re not for every job in the kitchen, but they are perfect for any questionable food product like raw chicken.

While I’m at the store, I also buy a couple of acrylic cutting boards. The size and shape are a personal preference, but the idea is to use these boards when slicing and dicing chicken or any other nasty gooey thing. Unlike wooden boards that absorb everything, these are non-porous. The muck stays on the board, which is easily sanitized by tossing it in the dishwasher. The last thing I want to be doing with my deluxe wooden butcher blocks is bleaching and scrubbing those suckers because I cut up a couple of chicken breasts on them.

Finally, I buy myself a box of cheap disposable gloves. The main thing is to make sure they don’t slip off my hands while handling a sharp knife, or else I’ll be visiting the emergency room. When I’m done prepping the chicken, I just toss the gloves in the trash.

To be safe, I still rinse my hands with soap and water afterwards. But I don’t feel like I need to dip them in a vat of sulfuric acid to get them clean, and my kitchen workspace remains spotless.

Salmonella solved.

Sometimes the happiest of cooking accidents happen with bacon. My original plan was to make Chinese-style honey ribs for dinner. But instead of pulling a nice rack of ribs out of the freezer, I accidentally took out a slab of pork belly. I only realized my mistake when I thawed it and started cooking it, so I decided to continue the process with the pork belly instead. The results were pretty damn tasty.


image


Marinade:
¾ cup light soy sauce
6 Tablespoons hoisin sauce
5 lbs. pork belly
Zest and juice of 1 lemon
2 whole star anise
2 cinnamon sticks (3”)
1/2 cup honey
4 cups chicken broth
image
Mix the marinade ingredients. Set aside.
Cut the pork belly into pieces that are about 3 inches square. Place them in a large pot. Cover them with water and bring it to a boil. Boil for 5 minutes. Drain.
Place the pork belly pieces on a sheet pan lined with non-stick aluminum foil. Coat them with marinade while they’re still hot. Let them sit for 10 minutes.
Pre-heat the oven to 350 degrees. Bake the pork belly pieces on the sheet pan for 30 minutes.
While the pork belly is baking, start the sauce in a large non-stick pan or pot: combine the lemon zest and juice, star anise, cinnamon sticks, honey and chicken broth. Bring it all to a boil, then reduce to a simmer.
When the pork belly pieces have finished baking, add them (and any fat or liquid in the pan) to the sauce pot and simmer (covered) for at least 15 minutes or until the meat is tender.
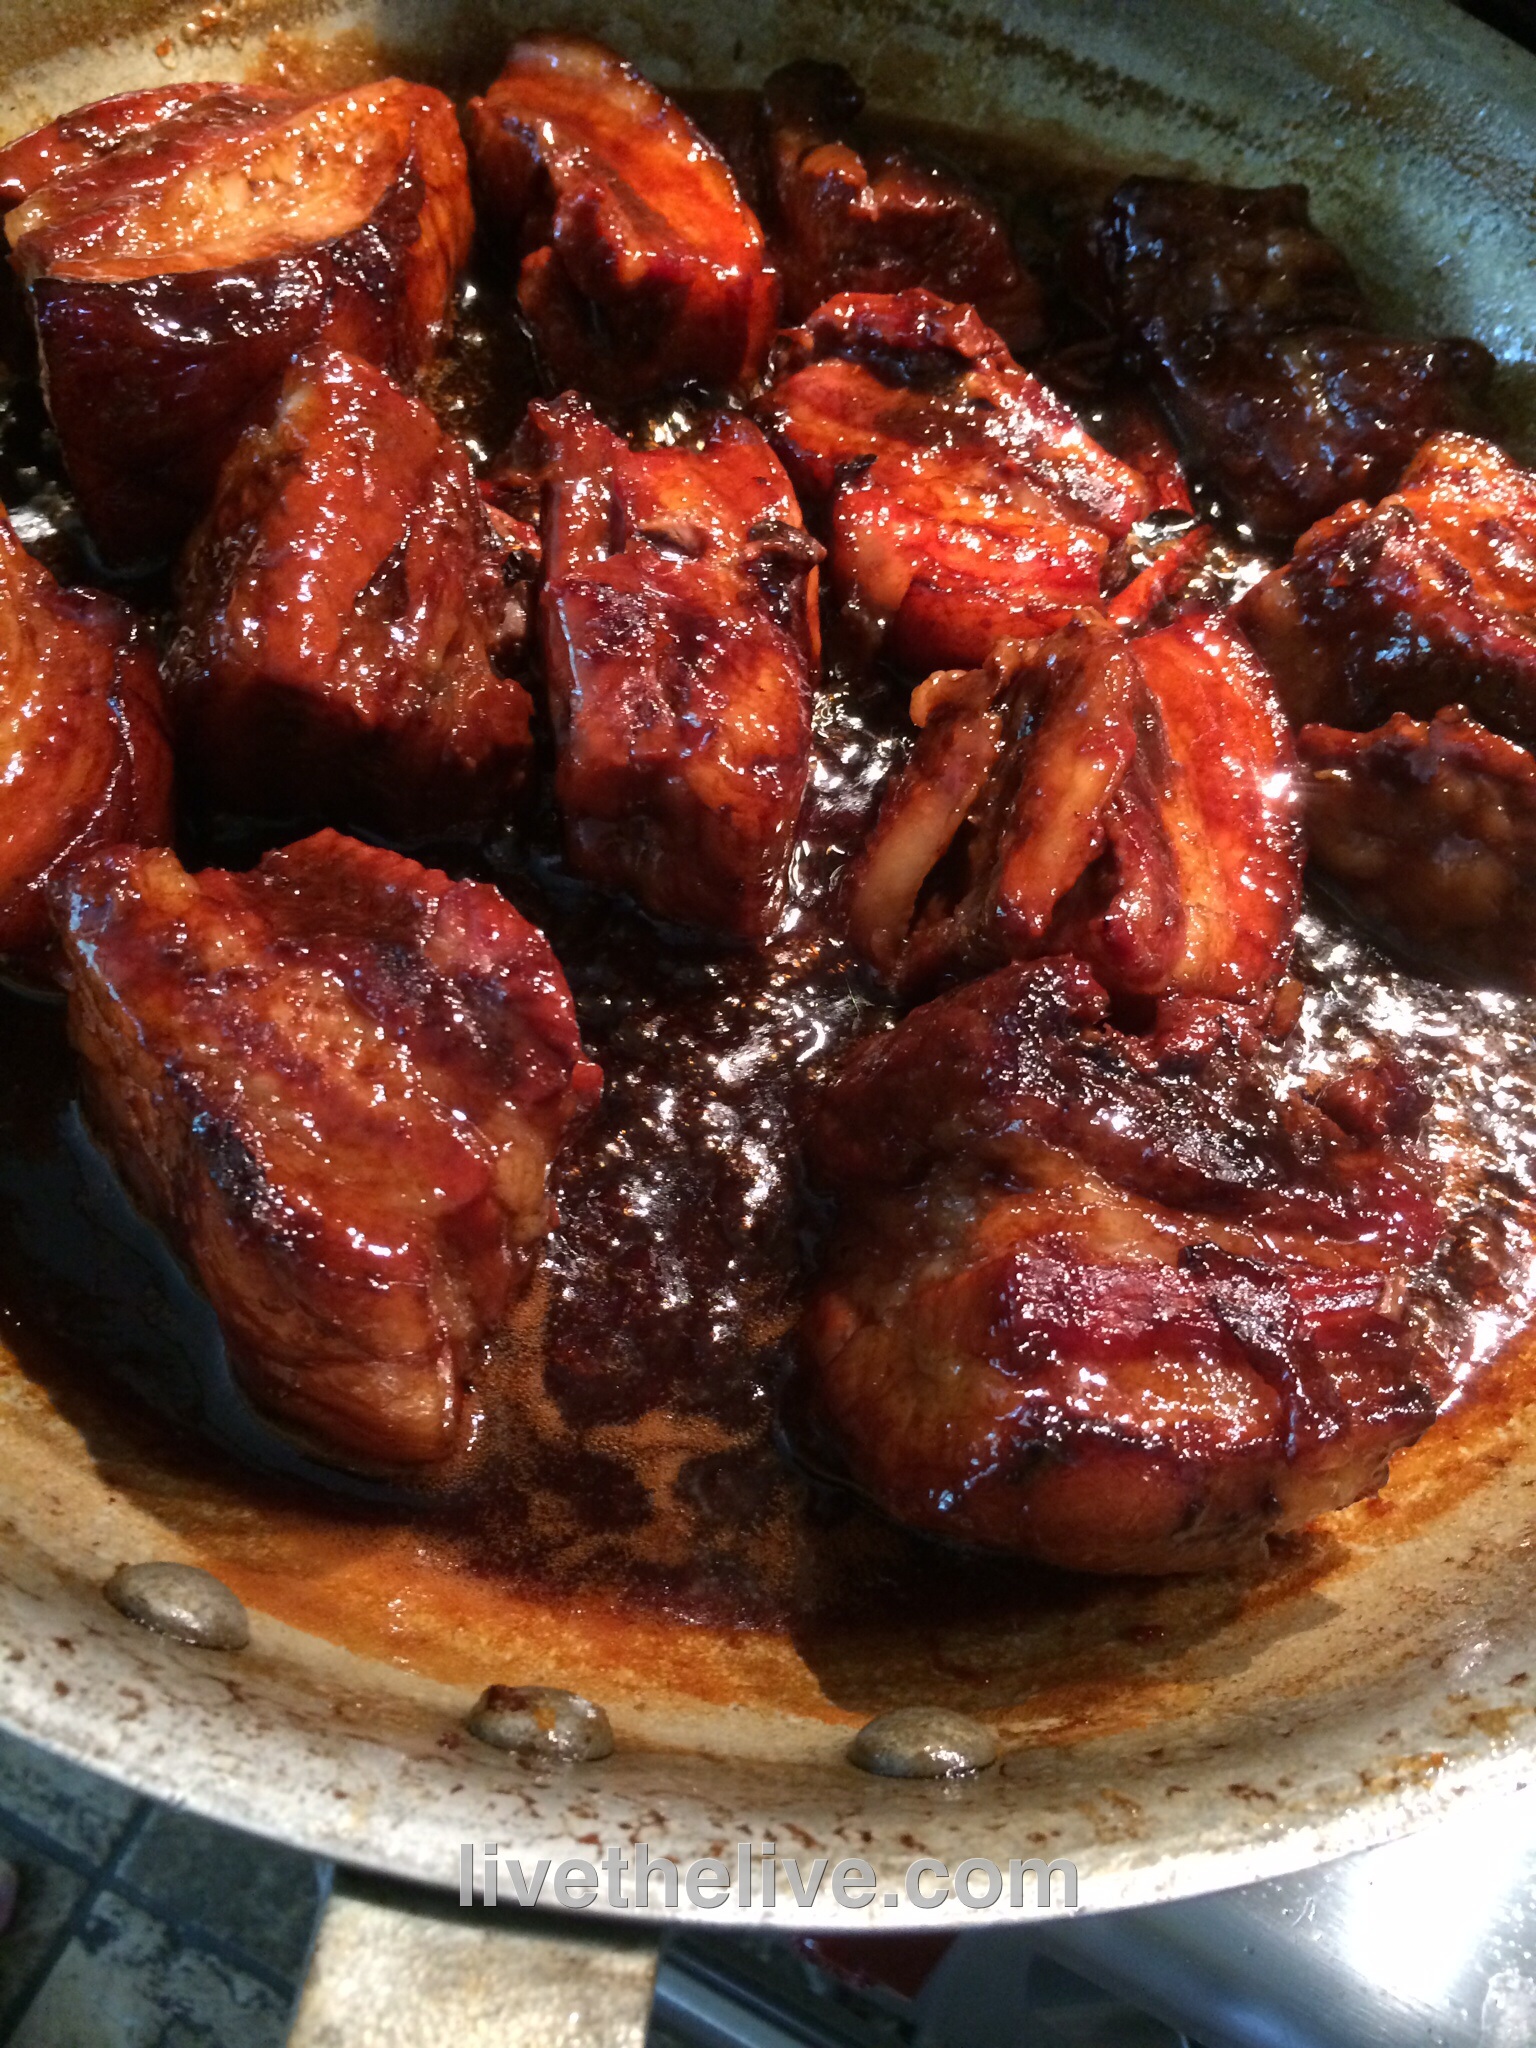
Turn the heat on high, uncover the pot and cook until the sauce is reduced to a glaze that coats the ribs. Reduce the heat as the sauce thickens to avoid the sugars in the honey from burning. When the pieces are sticky and gooey, they are ready!
Let a piece of pork belly cool…then slice the to the desired thickness and fry it like regular bacon….or just pop it in your mouth like pork candy!
Makes an amazing omelet!
image