Somebody in marketing made a fortune when they took a product that had been around since 1945 (the convection oven), renamed it an “air fryer,” and sold millions of them. I still call my old oven a convection oven, but whatever you call yours, this recipe will work in it.
I love cauliflower roasted, boiled, baked–whatever–but my daughter does not. But when she had it air-fried at a restaurant, she suddenly fell in love with the stuff, and I knew it was time to make some at home.

Cutting a head of cauliflower into florets is an easy thing to do. But it’s even easier to buy a bag of cauliflower florets already cut up at a supermarket or membership warehouse.
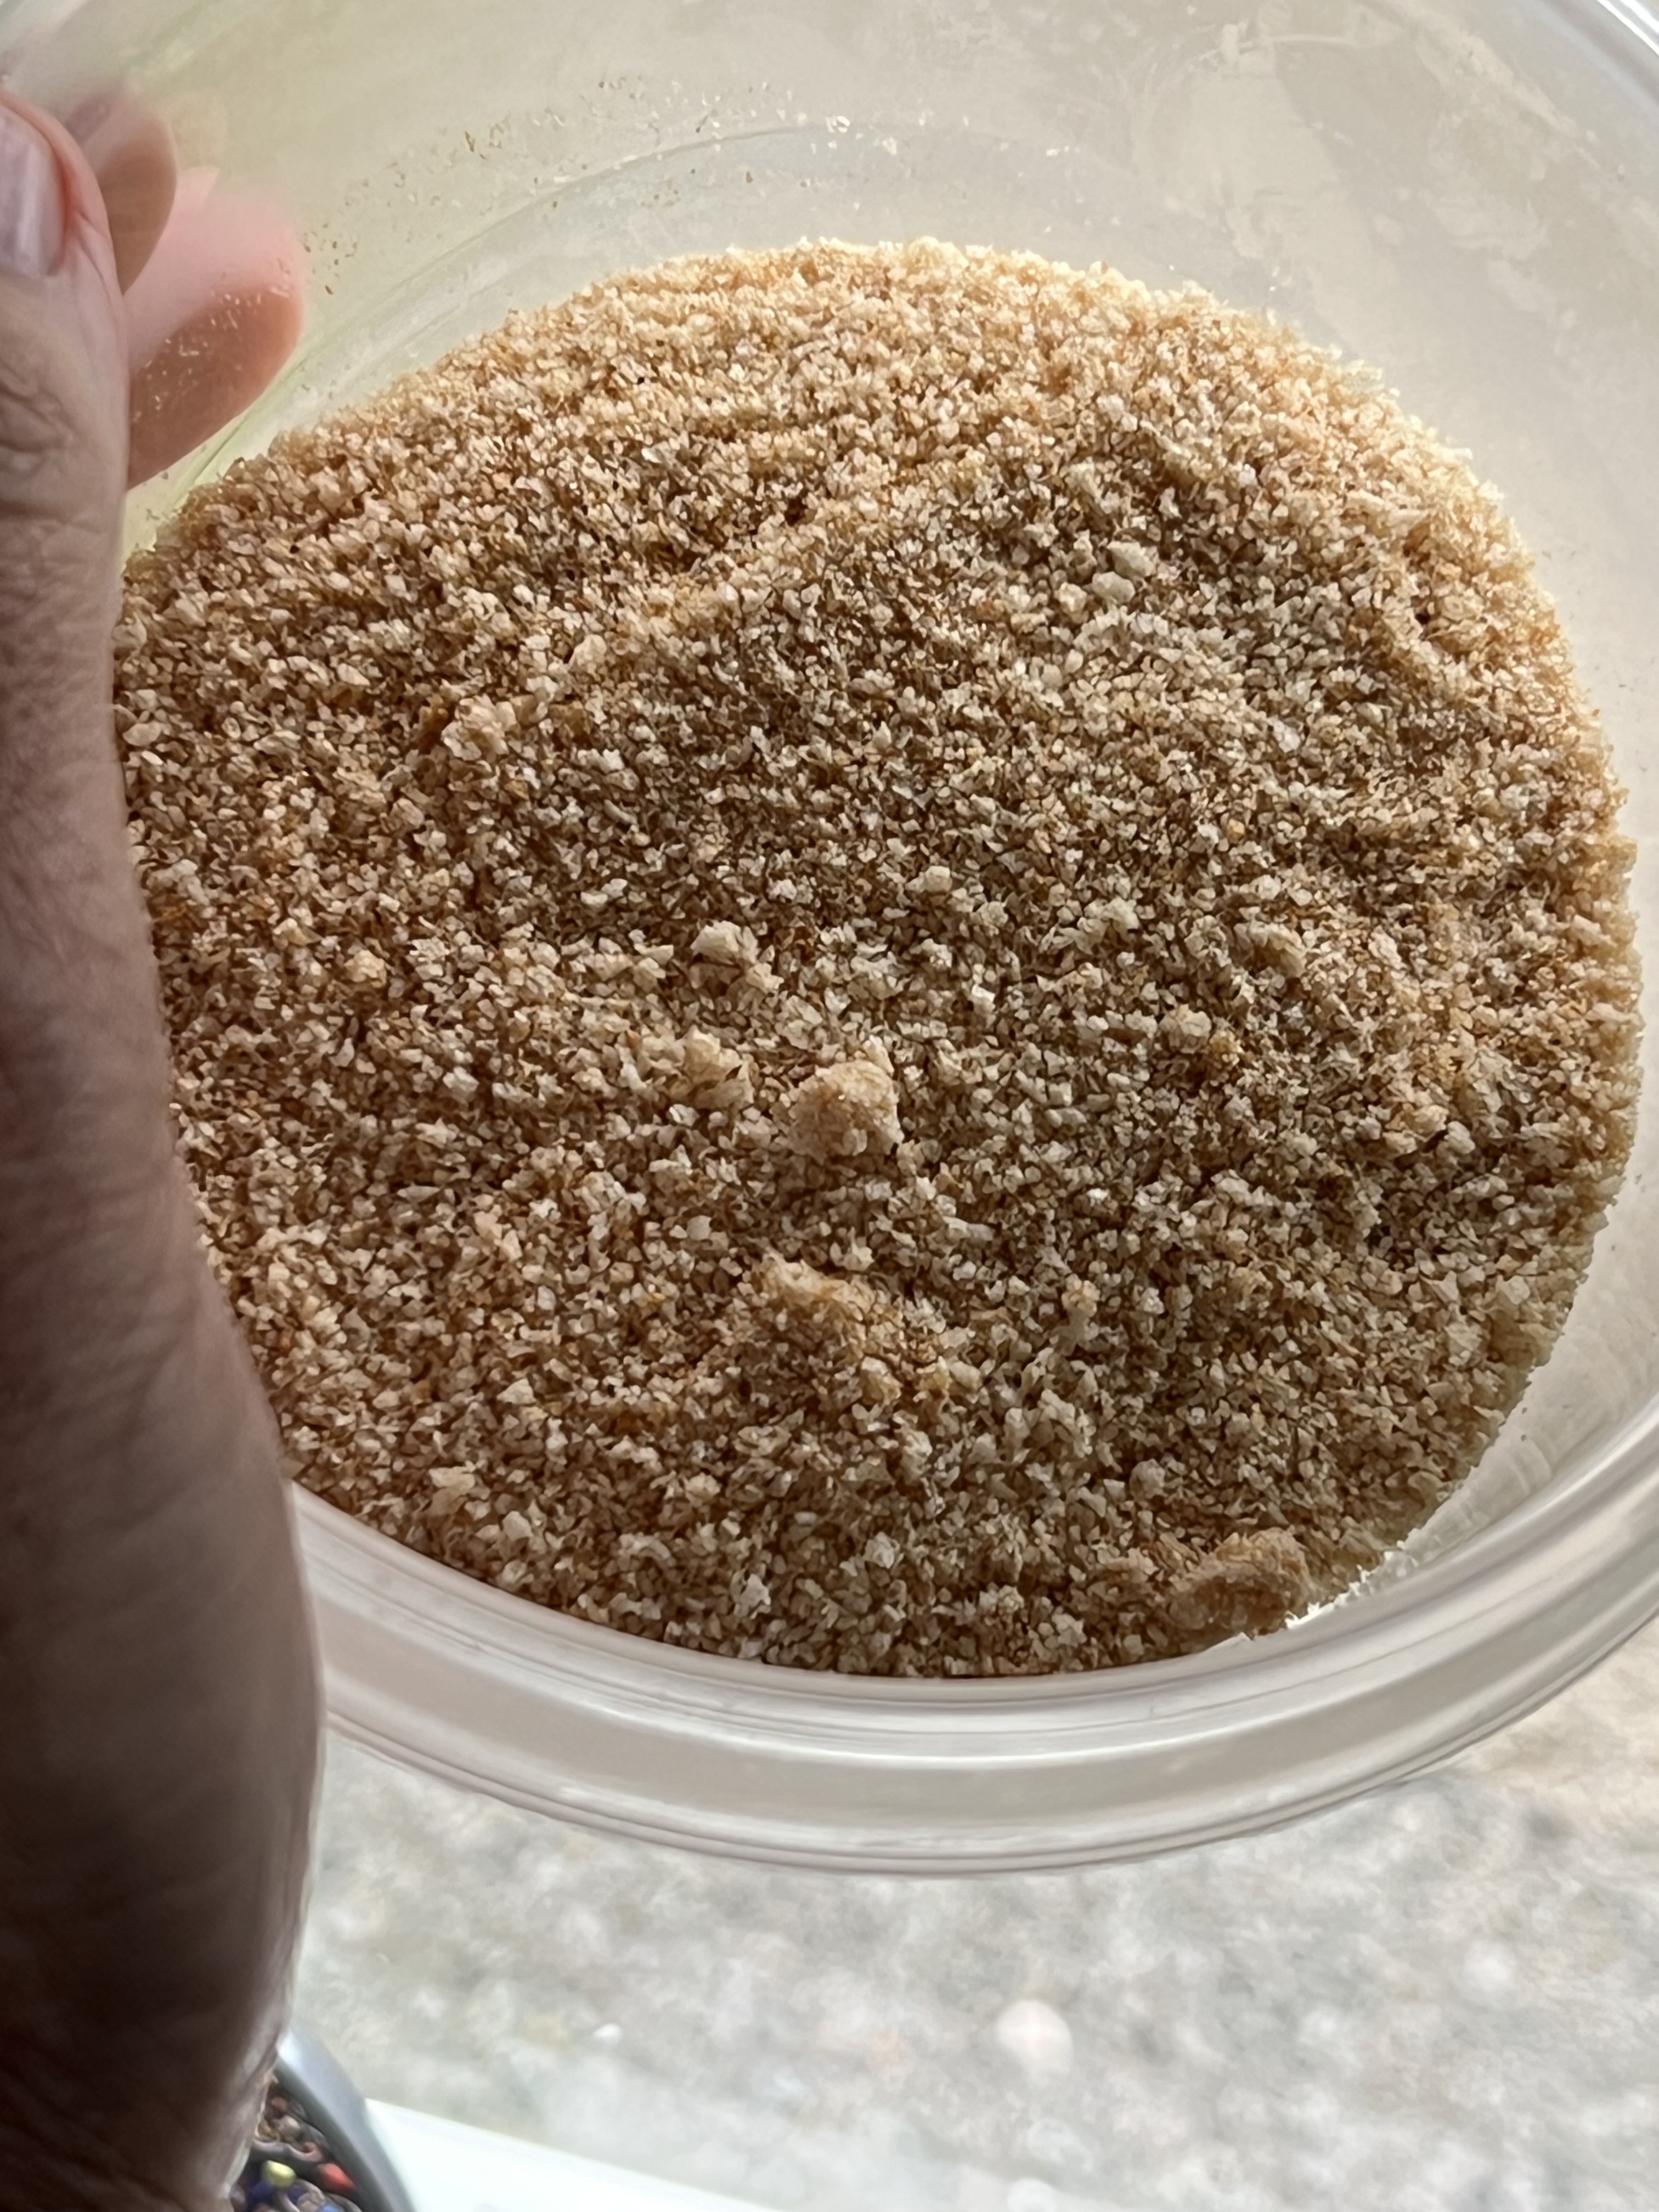
If you want this recipe to be gluten-free, do what I do: buy a loaf of Udi’s frozen white bread, toast it in the oven, and then let it dry out a bit at room temperature. Place it in a food processor and whiz it up for larger crumbs. I like my breadcrumbs fine for this recipe, so I then move them to a blender and grind them fine.
1 head of cauliflower, cut into florets
2 large eggs
1 cup of breadcrumbs (I like them unseasoned and finely milled)
spray can of olive or avocado oil
There are many versions of sweet and spicy Asian-inspired sauces and glazes out there. Simply choose the one that has your favorite ingredients. This one works really well with the cauliflower.
4 tablespoons honey
2 tablespoons chili garlic sauce
2 tablespoons brown sugar
1 tablespoon + 1 teaspoon soy sauce
1/4 teaspoon granulated garlic
1/4 teaspoon ground ginger
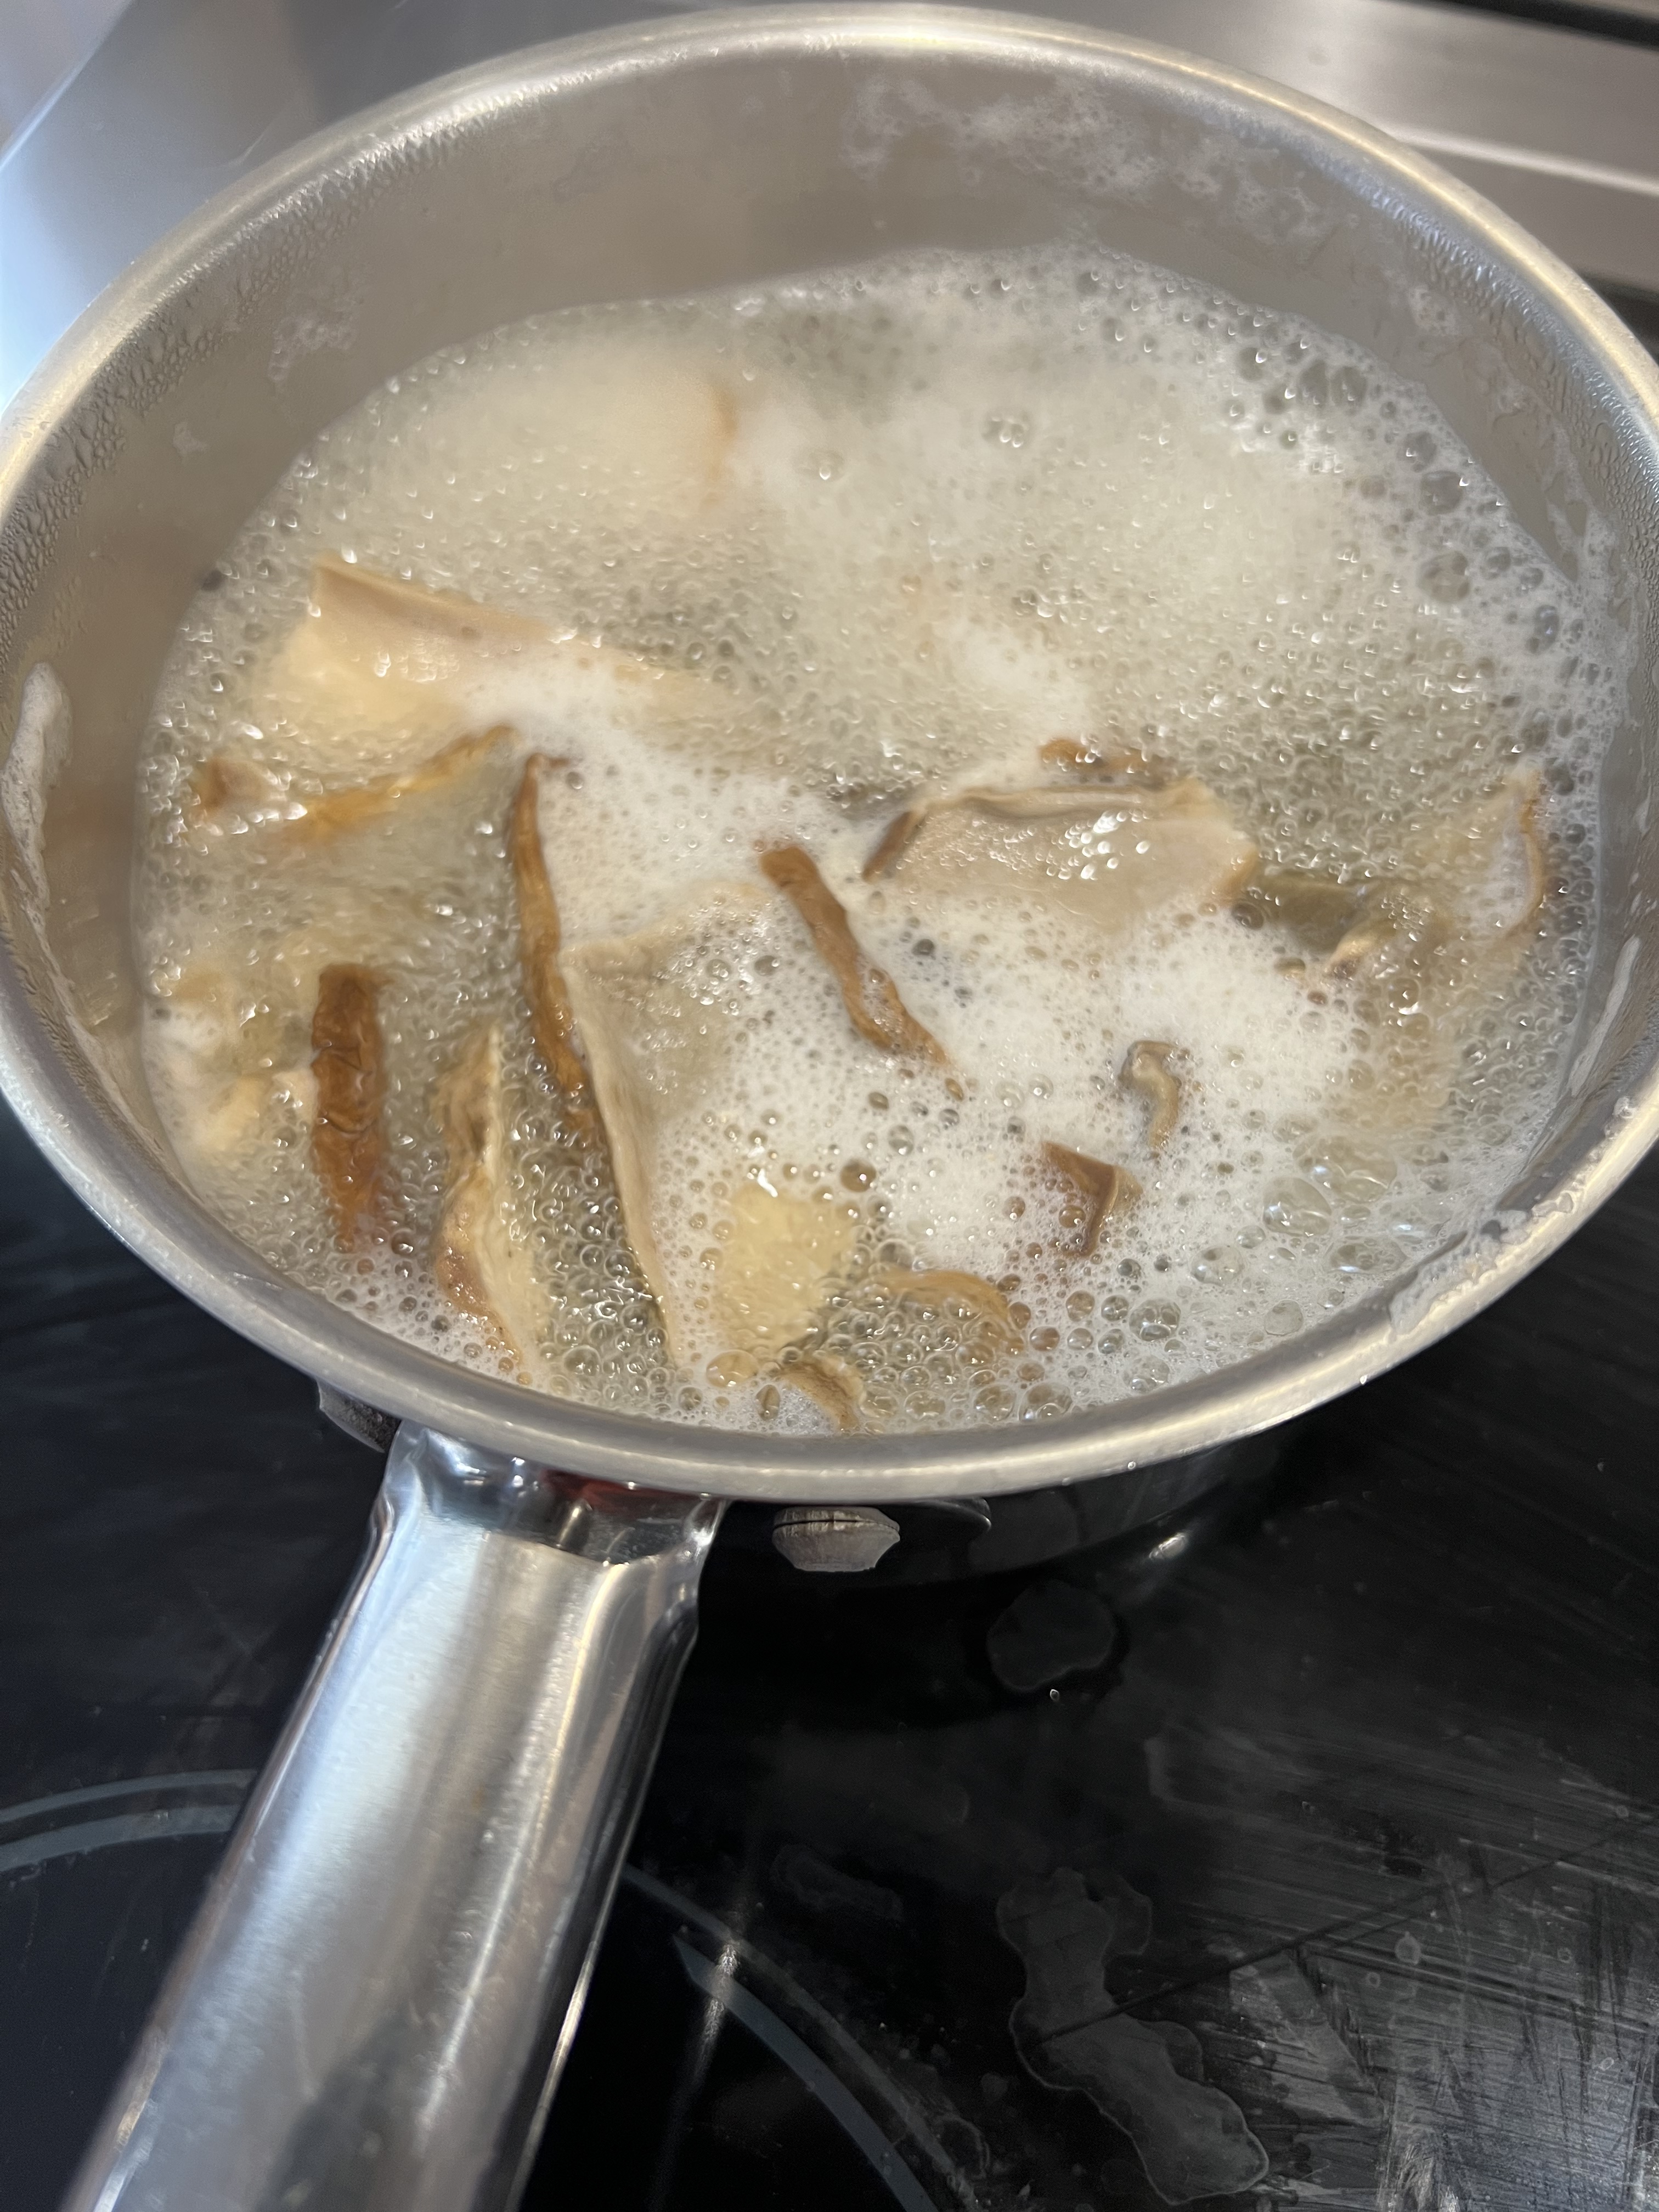
Combine these ingredients in a saucepan and bring it up to a medium heat. When it comes to a boil, take it off the heat and let it cool. (I double this recipe simply because the sauce is so good, and I’ll want to put it on other things, like chicken.)
Pre-heat the oven to 400 degrees.
Scramble the 2 eggs in a bowl.
Add the breadcrumbs to another bowl.
For the oven, set up a slotted metal tray to sit on a baking tray, so that there’s airflow underneath it. The cauliflower goes on the slotted tray, and the baking tray catches any breadcrumbs that may drop. Spray some oil on the slotted tray to keep things from sticking.
Take your cauliflower pieces and place them in batches in the egg, coating them completely. Then move them to the breadcrumb bowl, tossing them to get covered. Once they’re nicely coated, place them on the slotted tray. Do the same with the rest of the cauliflower.
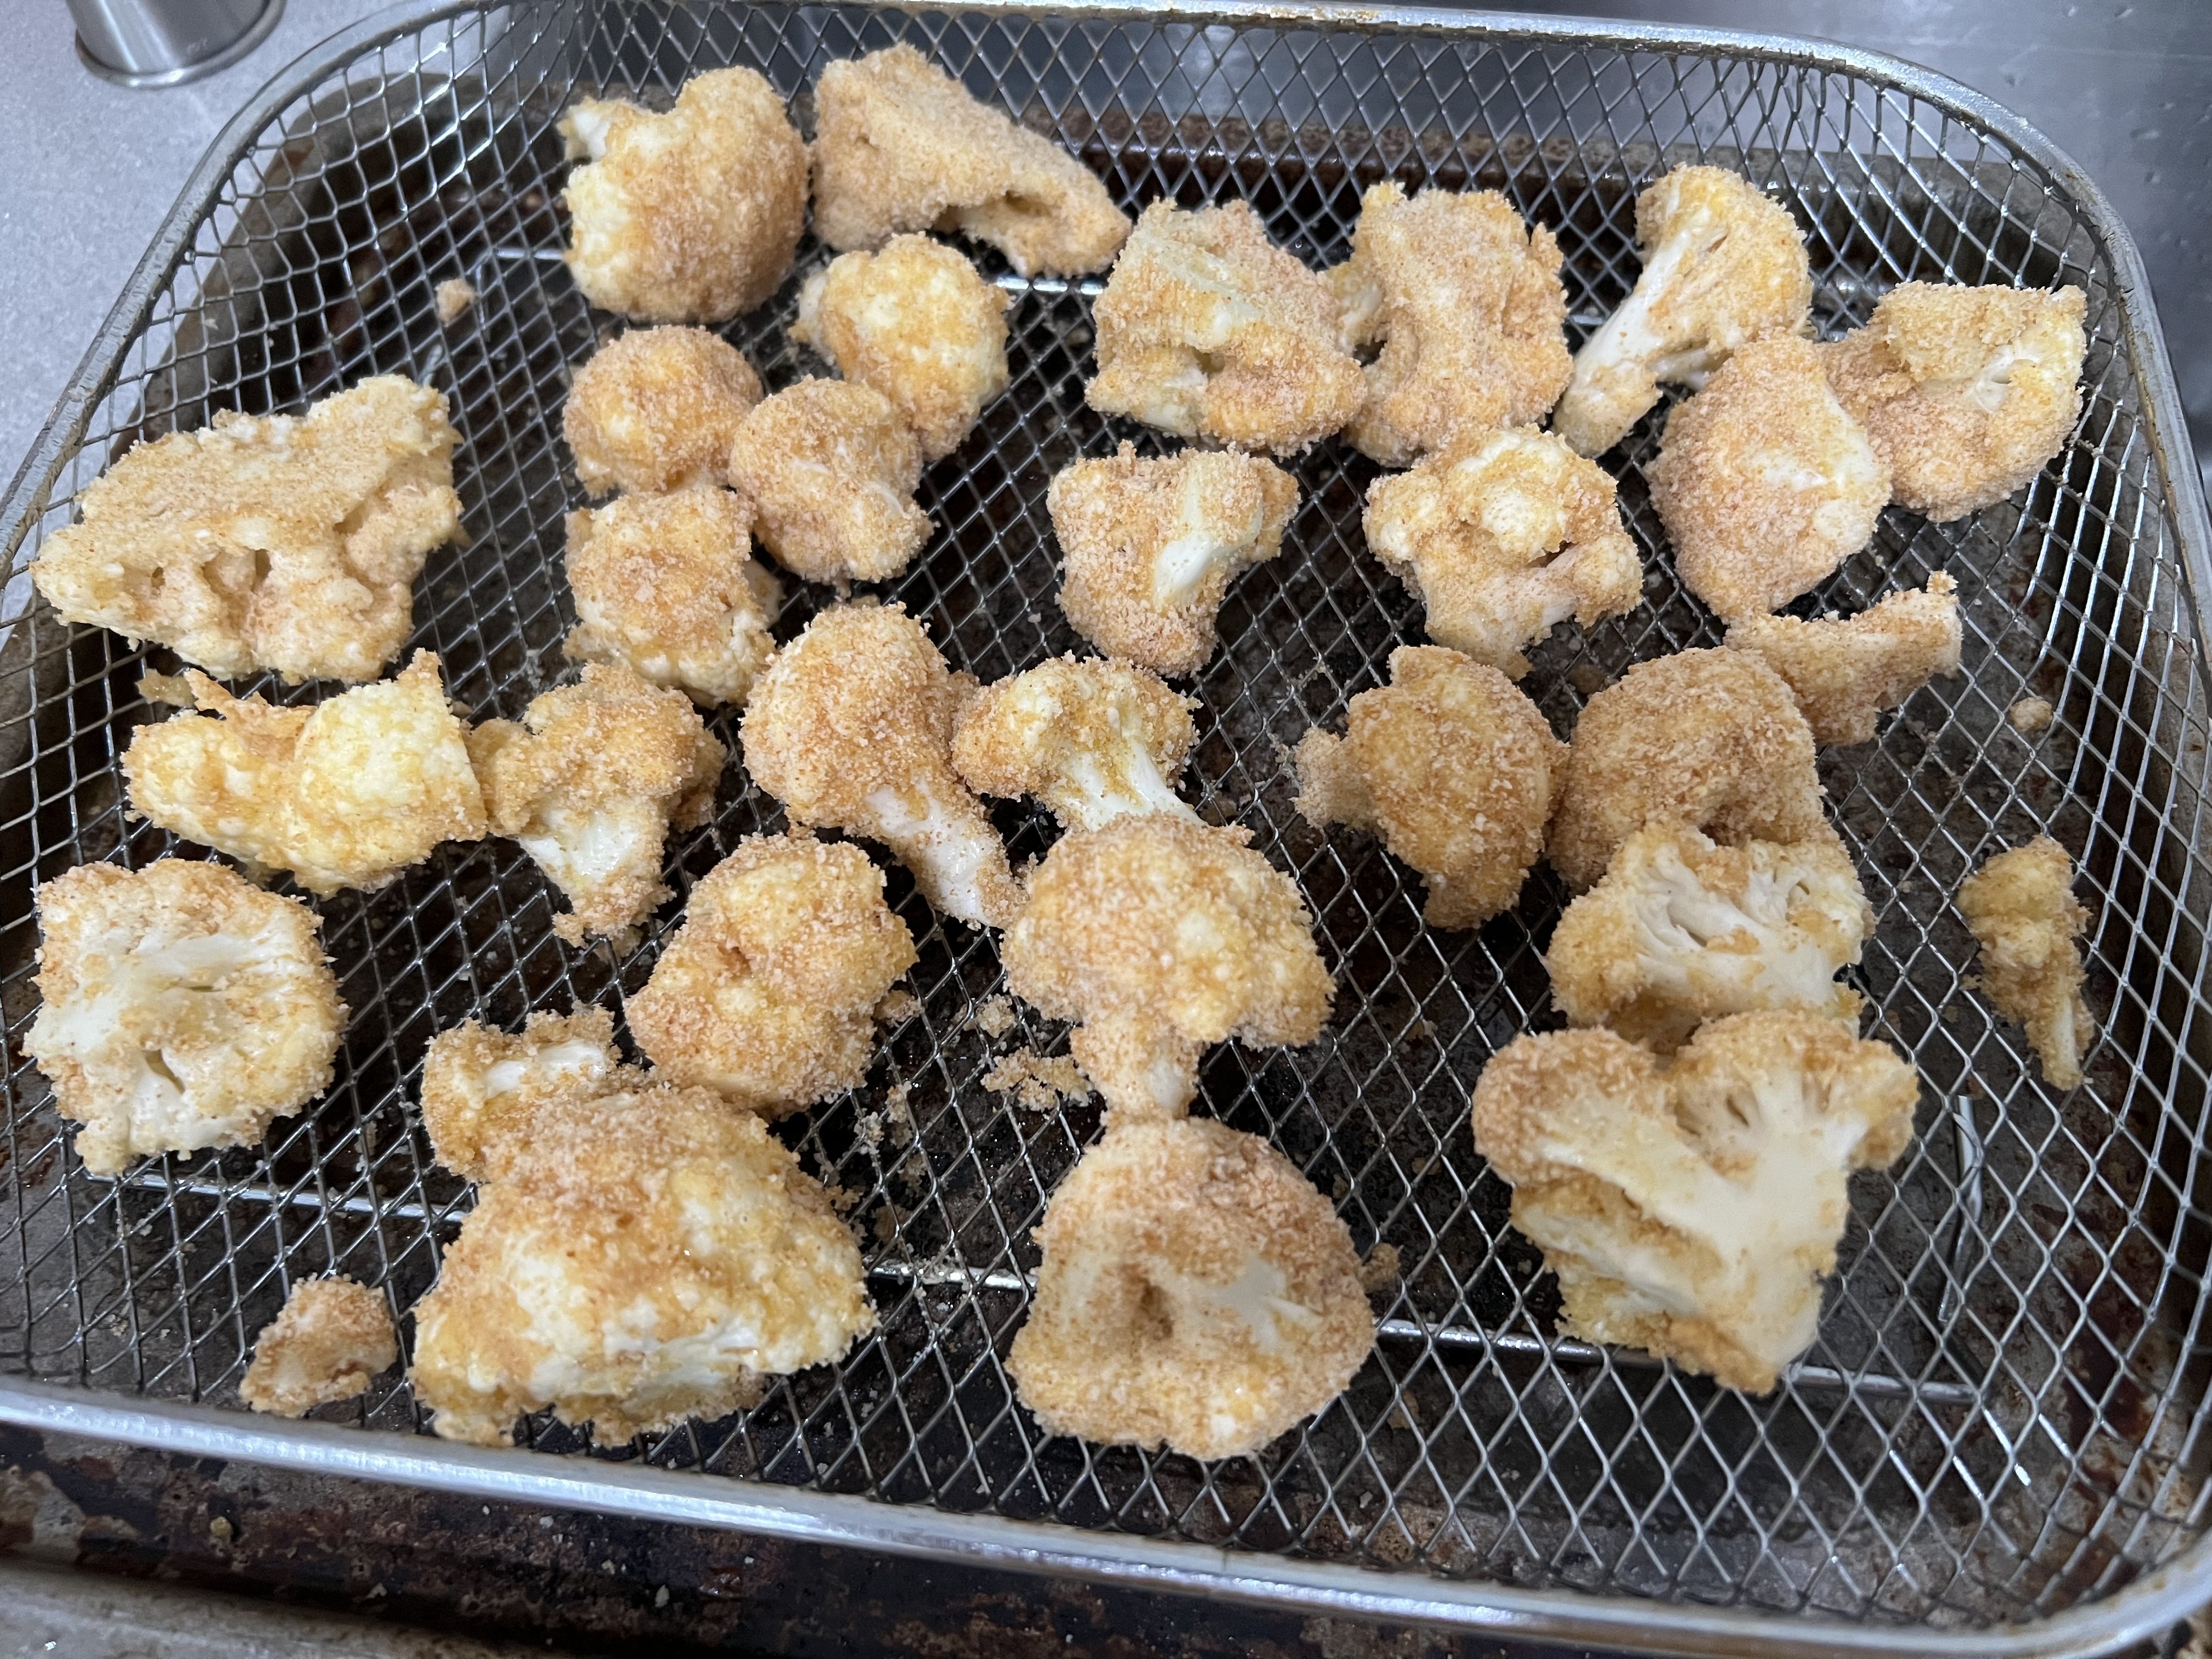
Spray the cauliflower with the oil, and place them in the oven, baking for 30–45 minutes, depending on how cooked you like them.

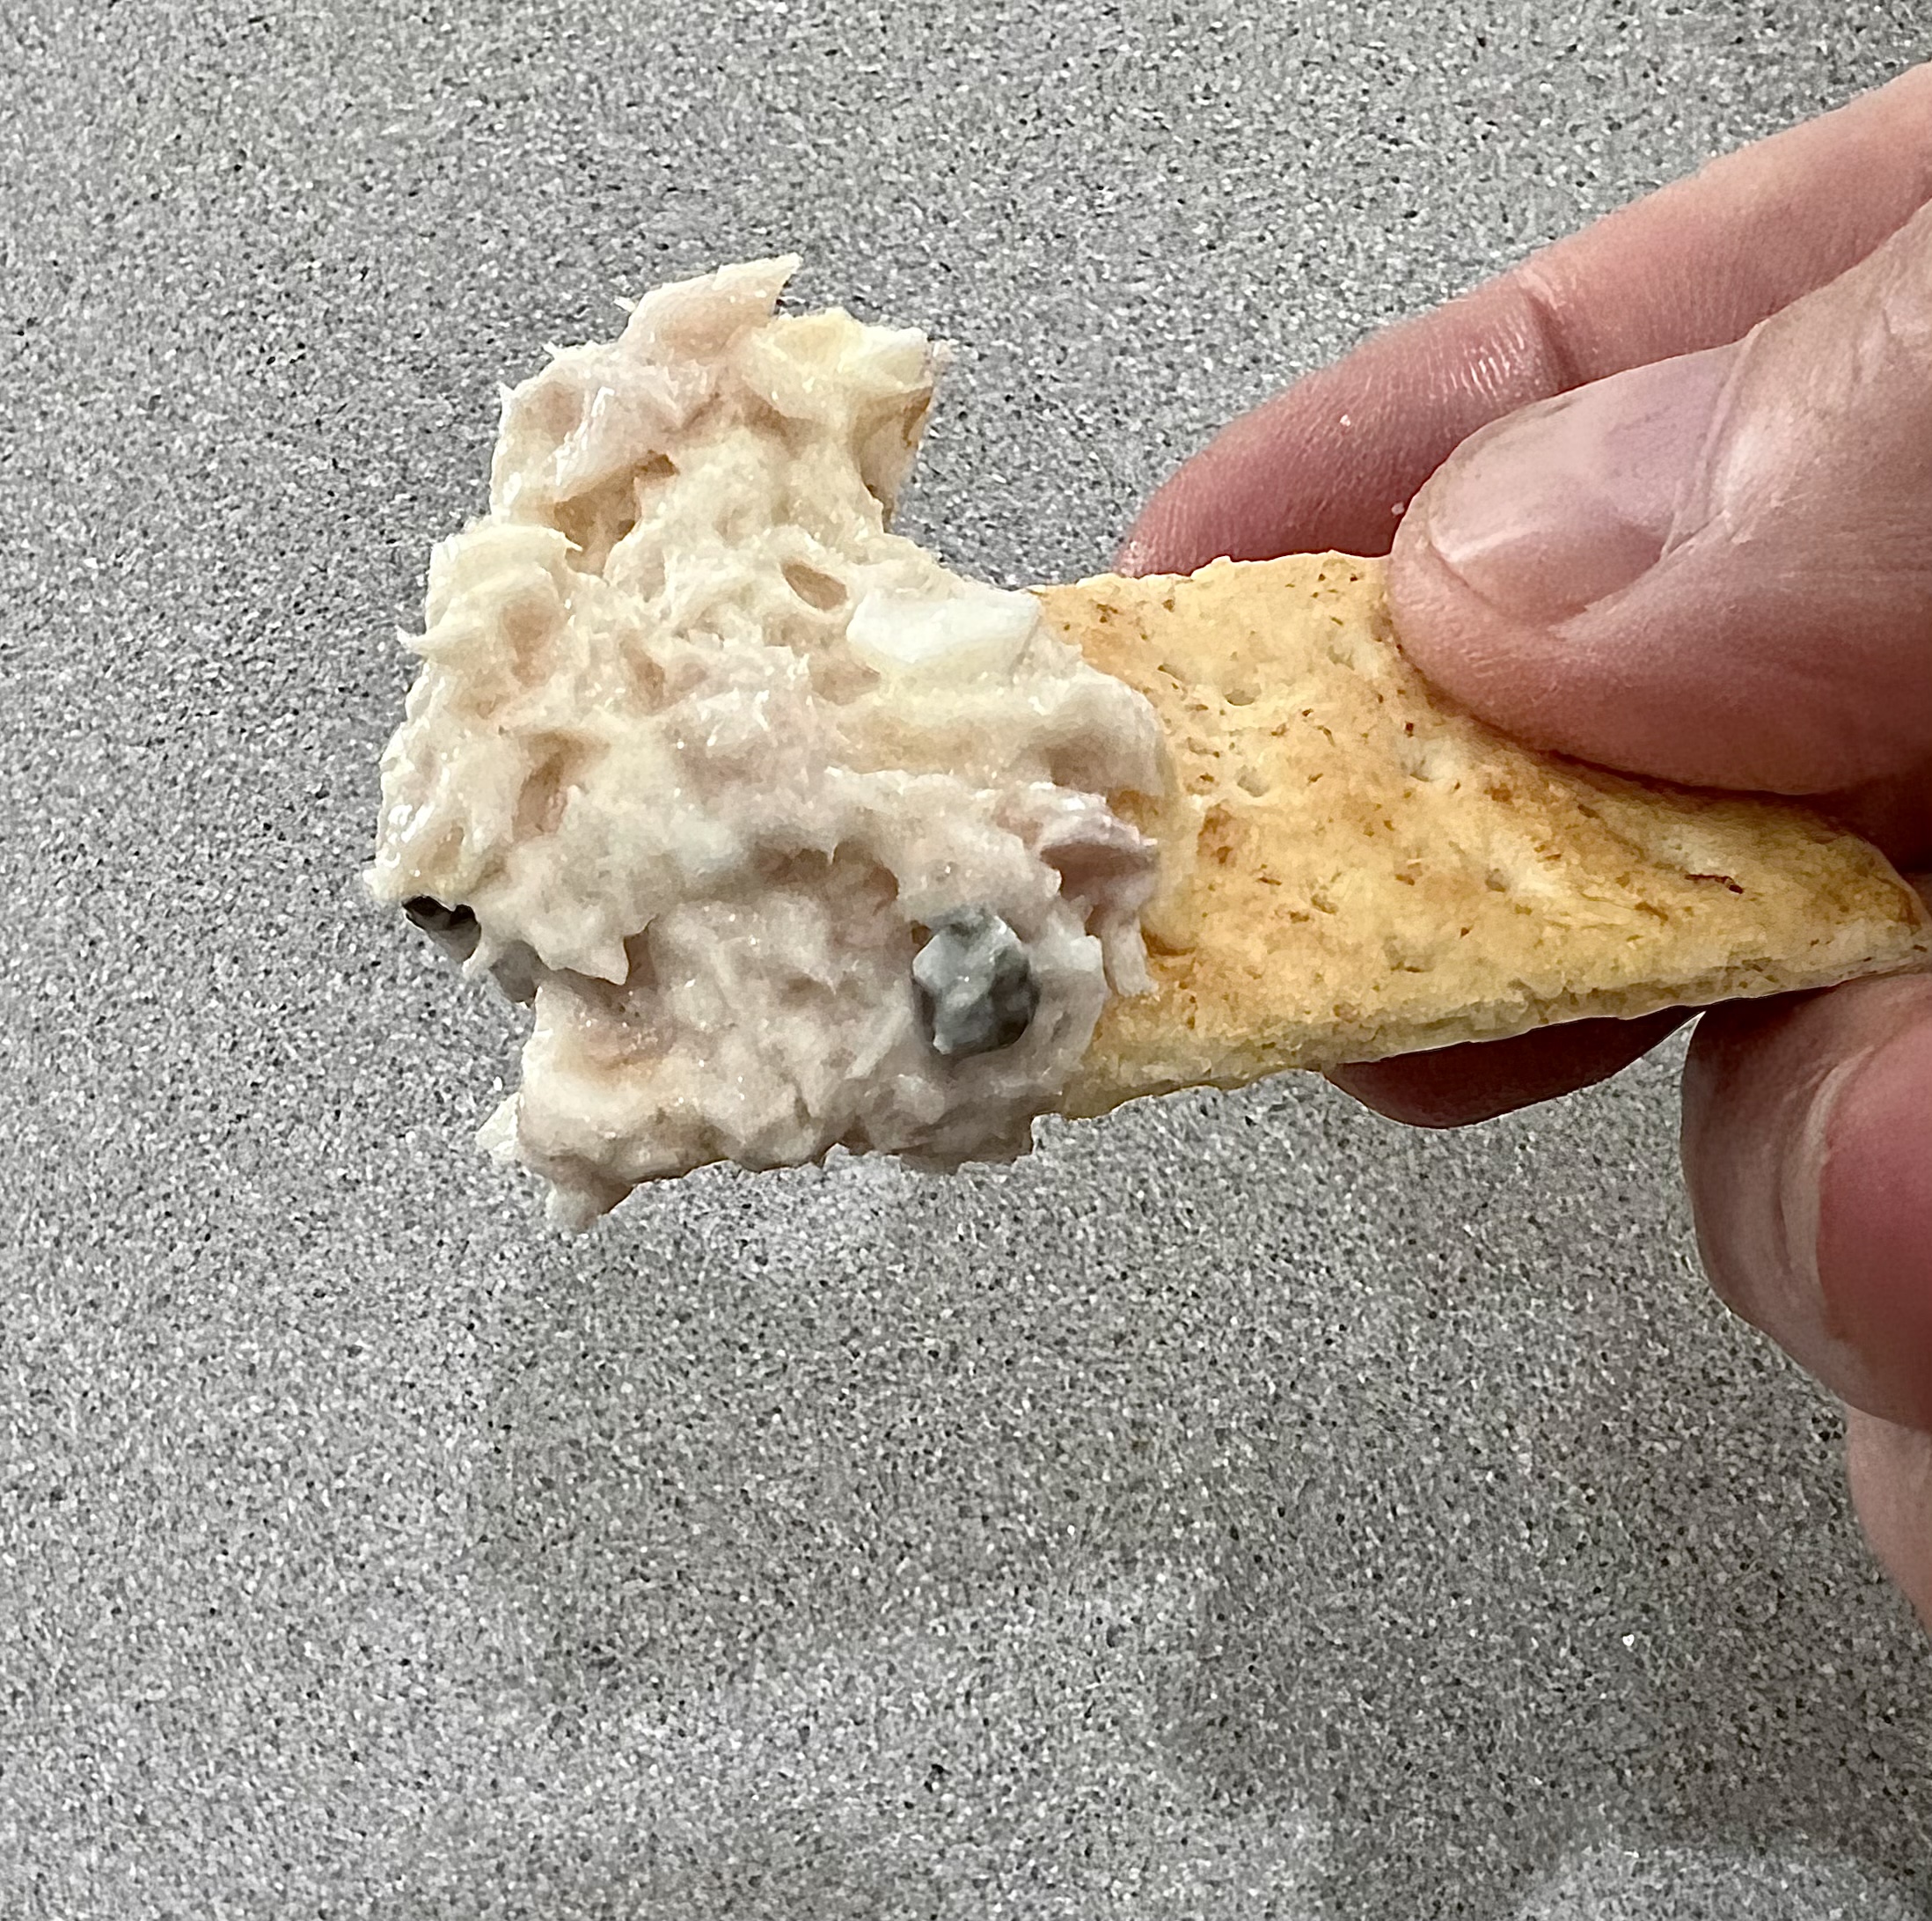
I’ve seen restaurants that completely coat the cauliflower with the sauce, but I prefer to drizzle it on, with some extra on the side for dipping.