Like hot dogs and Slim Jims, jerky is one of those “mystery meats” we love but don’t really know how it’s made or what part of the animal it comes from.
Really excellent jerky is a rare treat, and once you have it, you will never go back to that rancid, preservative-filled dog meat you find in a bag at the supermarket. And the best part is: it’s easy to make.
Although I started my jerky-making endeavors with beef, I later acquired some beautiful venison from friends and family; hunters that had extra meat they were willing to share. I quickly realized that venison was the ideal jerky meat: really flavorful, with a wonderful texture.

Beautiful venison.
But venison is not all that east to find, and farmed venison is expensive. So beef is still the best option for most people.
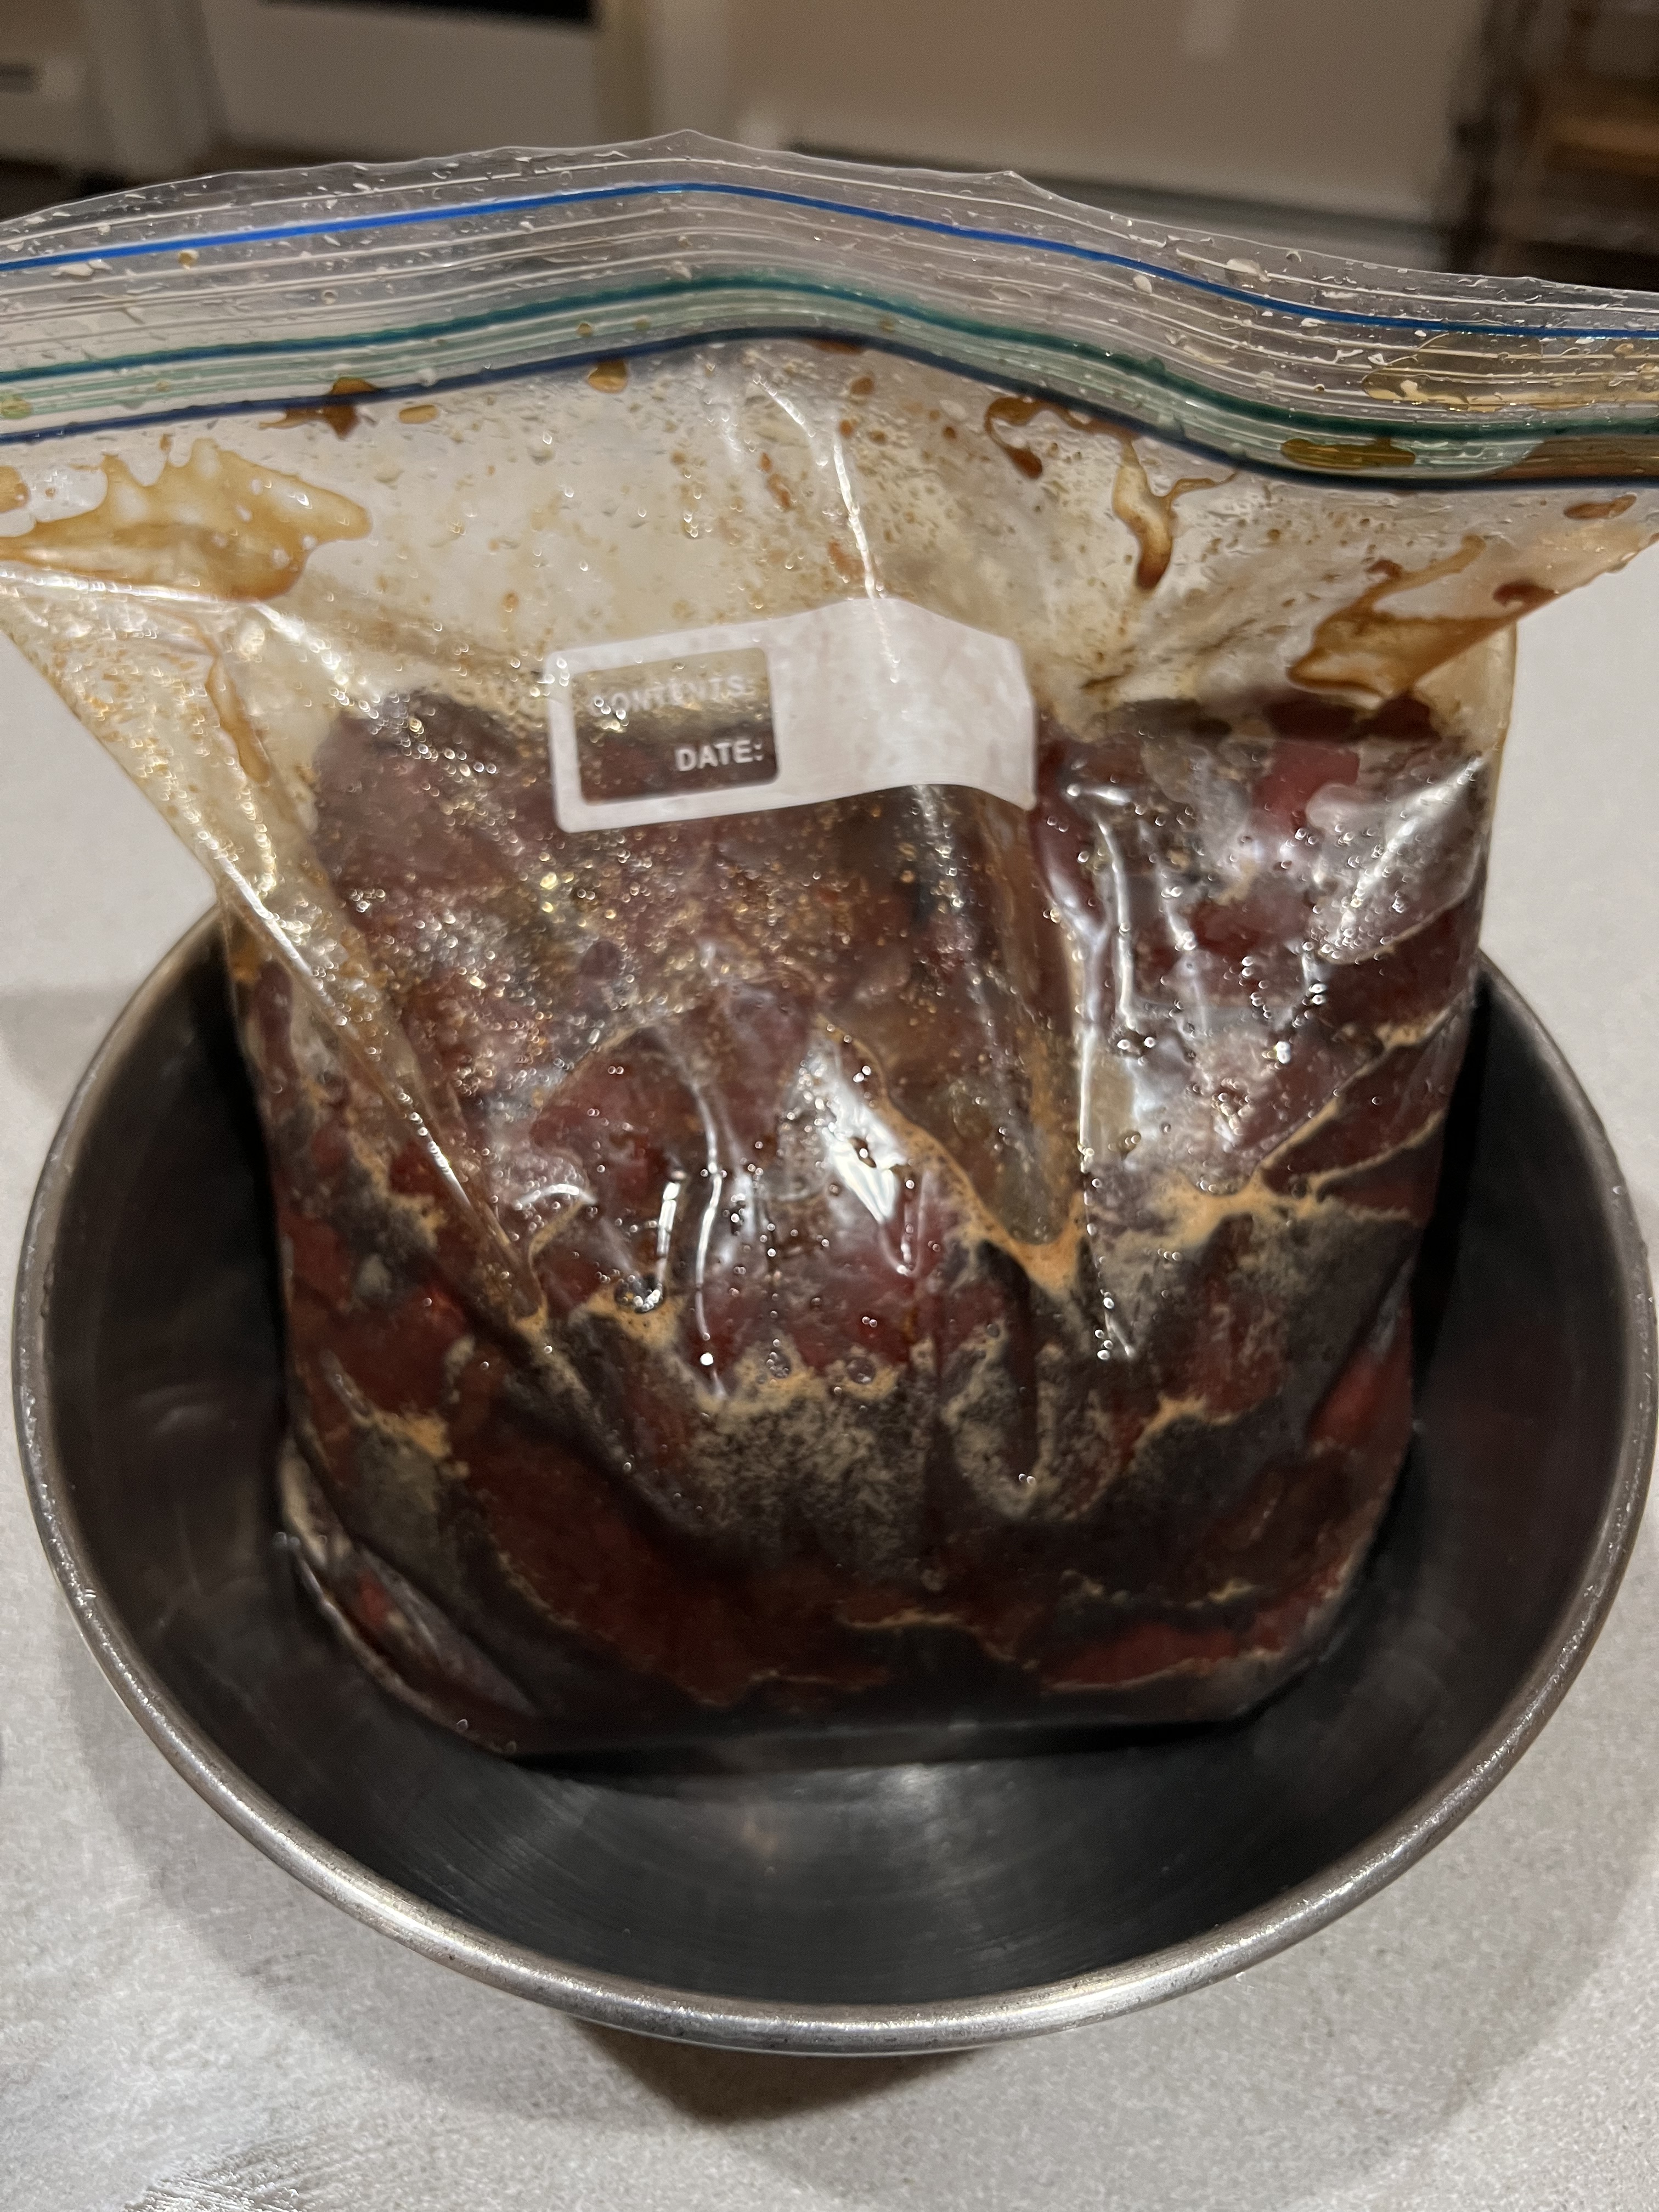
Shop around for a really nice slab of London Broil or similar cut. You don’t need to buy an expensive piece of grass-fed beef, but the better the meat, the better the jerky. Remove all the gristle and fat that may be on the meat and then slice it against the grain and on a diagonal, into 1/4″ thick slices. Toss all the meat in a Ziploc bag. Once you’ve done that, all you need to do is make the marinade, marinate the beef overnight, and then dry it the next day. Your final product will be a flavorful beef jerky that is so good, you’ll find it very hard to stop eating it…or to share it.
If you use gluten-free soy sauce and teriyaki sauce (La Choy is the brand I use, found in any supermarket), this recipe can be considered gluten-free. Be careful: regular soy sauce, and even some tamari sauces, have wheat in them. Read the label!

1 tablespoon salt
1 1/2 tablespoons granulated garlic
1 teaspoon black pepper
1 teaspoon fresh minced peeled ginger
2/3 cup brown sugar
1 cup teriyaki sauce (I use La Choy)
1 cup soy sauce (I use La Choy)
8 lbs. raw, lean beef, like London broil, cut into 1/4″ thick diagonal slices, against the grain of the meat
Combine all the ingredients except the meat in a large bowl. Whisk it well. Place the meat in a large Ziploc bag, pour the marinade inside, seal it, and refrigerate it overnight. Squish the bag around once in a while, to make sure all the meat surfaces make contact with the marinade. Keep the bag in a bowl to prevent any accidental spillage in your fridge!
The next day, pour off the marinade and discard it. Using a food dehydrator, dry the meat by laying strips in a single layer. You can also dry them in a 140 degree oven on racks slightly elevated off a baking sheet. Drying could take several hours to half a day, depending on how dry and chewy you like your jerky, and how thickly you sliced it.

Jerky in the dehydrator.
This recipe makes a lot of jerky, but it stores really well in the freezer. I put small amounts into individual freezer bags, then place all of them in one large freezer bag. Thaw as needed.