Archive for the ‘Recipes’ Category

PRETZEL BREAD

Posted: November 10, 2014 in Food, Recipes, Uncategorized
Tags: , , , ,

Pretzel bread has become a foodie phenomenon in a very short period: not just the bun of choice at your favorite fast-food burger joint or the crust on your pizza, but the go-to bread in any upscale restaurant.

Making pretzel bread at home had one major stumbling block for me: the need for lye,  which has nasty corrosive qualities that I don’t want to deal with in my kitchen. Even special baker’s lye was not an option. So when I found a pretzel bread recipe that used baking soda, a much milder and safer alkaline ingredient that I could simply pour down my drain after using, I knew it was time to bake.

 

image

Ingredients:

½ cup water

½ cup milk

2 tablespoons butter, softened

3 cups all-purpose flour

2 tablespoons brown sugar

1 tablespoon yeast

2 teaspoons salt

1 egg, separated

Cooking spray

¾ baking soda

Kosher salt for sprinkling

Combine the water, milk and butter in a glass container and microwave about 45 seconds to melt the butter and warm the milk. Set aside.

I a mixing bowl, combine flour, brown sugar, yeast, salt and egg yolk. Slowly add the milk mixture and mix until the dough comes together. If it seems too dry, add small amounts of water. Knead the dough until it is smooth and springy, about 5 minutes.

Place the dough in a bowl sprayed with cooking spray. Flip it over so all sides get oiled, and then wrap the bowl with plastic wrap. Place in a warm place until the dough has doubled in size, about an hour.

Pre-heat oven to 375 degrees.

Turn out risen dough on a floured surface and divide into equal pieces. You can make 15 small slider-sized buns, 8 burger buns, 8 hot dog buns or any other shape you like. Once all the pieces have been rolled, cover them with a clean dish towel and set aside to rest.

While the dough is resting heat about 12 cups of water in a large pot. When it comes to a gentle boil, carefully pour the baking soda into it. It will foam and bubble vigorously.

Add the rested pieces of dough to the simmering water and poach them for about 30 seconds and then flipping them over for another 30 seconds. You may need to do this in batches.

With a slotted spoon or spatula, lift the poached buns onto a Silpat baking sheet (or a baking sheet sprayed with oil, then sprinkled with cornmeal.)  Froth egg white with a fork, then brush each bun with egg white. Using a sharp knife, make a few slits on the top of the buns, about ¼-inch deep. Sprinkle with Kosher salt, then bake for 20 minutes until golden brown.

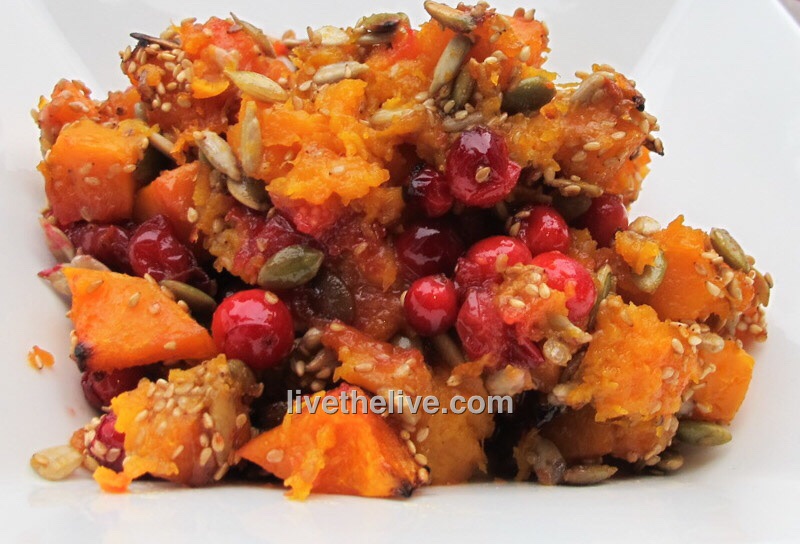
My Mom loves that nasty, gooey cranberry log that oozes out of the can. It would hit the bowl with a splurt and would wiggle for about an hour. I’m more than happy to avoid that and make this delicious side dish instead.

image


Ingredients:


1 medium-sized butternut squash, washed and peeled with seeds removed

Olive oil

Salt

1 cup fresh cranberries

¼ cup sunflower seeds

¼ cup pumpkin seeds or pepitas

¼ cup sesame seeds

¼ cup maple syrup, more if you like it really sweet

image

Pre-heat the oven to 400 degrees.

Once you’ve washed, peeled and seeded the butternut squash, cut it into ½” chunks. Sprinkle a little olive oil and salt on them and toss them to coat. Then spread the squash cubes in a single layer on the baking sheet. Bake for about 30 minutes or until golden on the edges.

Remove the squash from the oven and pour the cranberries into the hot tray. Mix gently. Pour the squash/cranberry mix into a smaller, deeper baking pan.

Increase the oven to 425.

In a separate bowl, combine the sunflower seeds, pumpkin seeds and sesame seeds. Sprinkle the seeds evenly over the squash/cranberry mixture. Drizzle the maple syrup over everything and place the baking pan in the oven. Cook for another 20 minutes, until the seeds have roasted.


The Thanksgiving countdown begins!

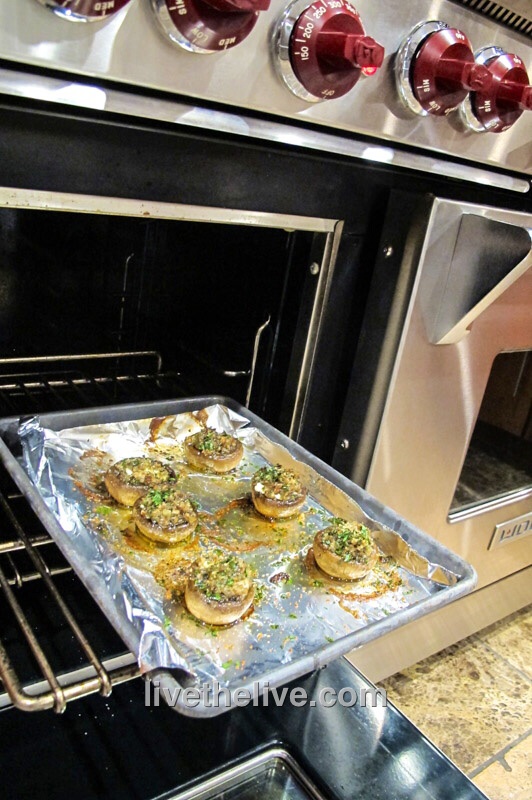
This is a great side dish for any special occasion. And you can substitute to suit your needs. Goat cheese not your speed? Try Gruyère or smoked gouda. Need it to be gluten-free? Use easy-to-find GF breadcrumbs. Don’t like mushrooms? Okay…I can’t help you there…

image

Ingredients:


1 package large white mushrooms

olive oil

1/2 shallot, finely chopped

1 clove garlic, through a press

1 tablespoon fresh thyme, finely chopped

pinch of red pepper flakes

salt and pepper

fresh goat cheese

bread crumbs

1 tablespoon fresh parsley, finely chopped


Pre-heat oven to 400 degrees.

Rinse the mushrooms in cold water to clean. Remove the stems of the mushrooms and set aside. Rub mushroom caps with olive oil and place on a baking sheet, open side, down, in a 400-degree oven for a few minutes.

In a pan, saute shallots and garlic in a little olive oil. Chop the mushroom stems finely and add to the pan. Add thyme and pepper flakes.

Reduce oven temp to 350 degrees after removing the mushroom caps. Flip the mushroom caps over so that they look like little bowls. Break off a small piece of goat cheese and place in each mushroom. Top each with sautéed shallot mixture. Sprinkle breadcrumbs on top and sprinkle parsley over that.

Return baking sheet to the oven, cooking mushrooms until they are lightly golden in color, and the cheese has melted.

image


Mushroom myth: Soaking mushrooms in cold water makes them mushy. Not true! Alton Brown, on an old episode of “Good Eats” on the Food Network, showed that mushrooms do not soak up any water when left to soak for even 30 minutes. So use your mushroom brush…use your kitchen towel…whatever you like. But I prefer to get them really clean with cold water.


A few years ago, at Le Saint-Amour, a great restaurant in Quebec City, the dish I ordered had these small strange-looking root vegetables sitting next to my roasted duck entrée. They resembled tiny twisted parsnips…or caterpillars! I needed to know what these things were, and so I asked my French waiter, who came back with a piece of paper that had the word “crosne” written on it. He said: “I don’t know how they say it in English.”
Back at the hotel room, I went right to the laptop and started a search on-line and discovered that crosnes (pronounced crones) are also known as Chinese artichokes, and although they are somewhat common in European gardens, they are really difficult to find in the states.
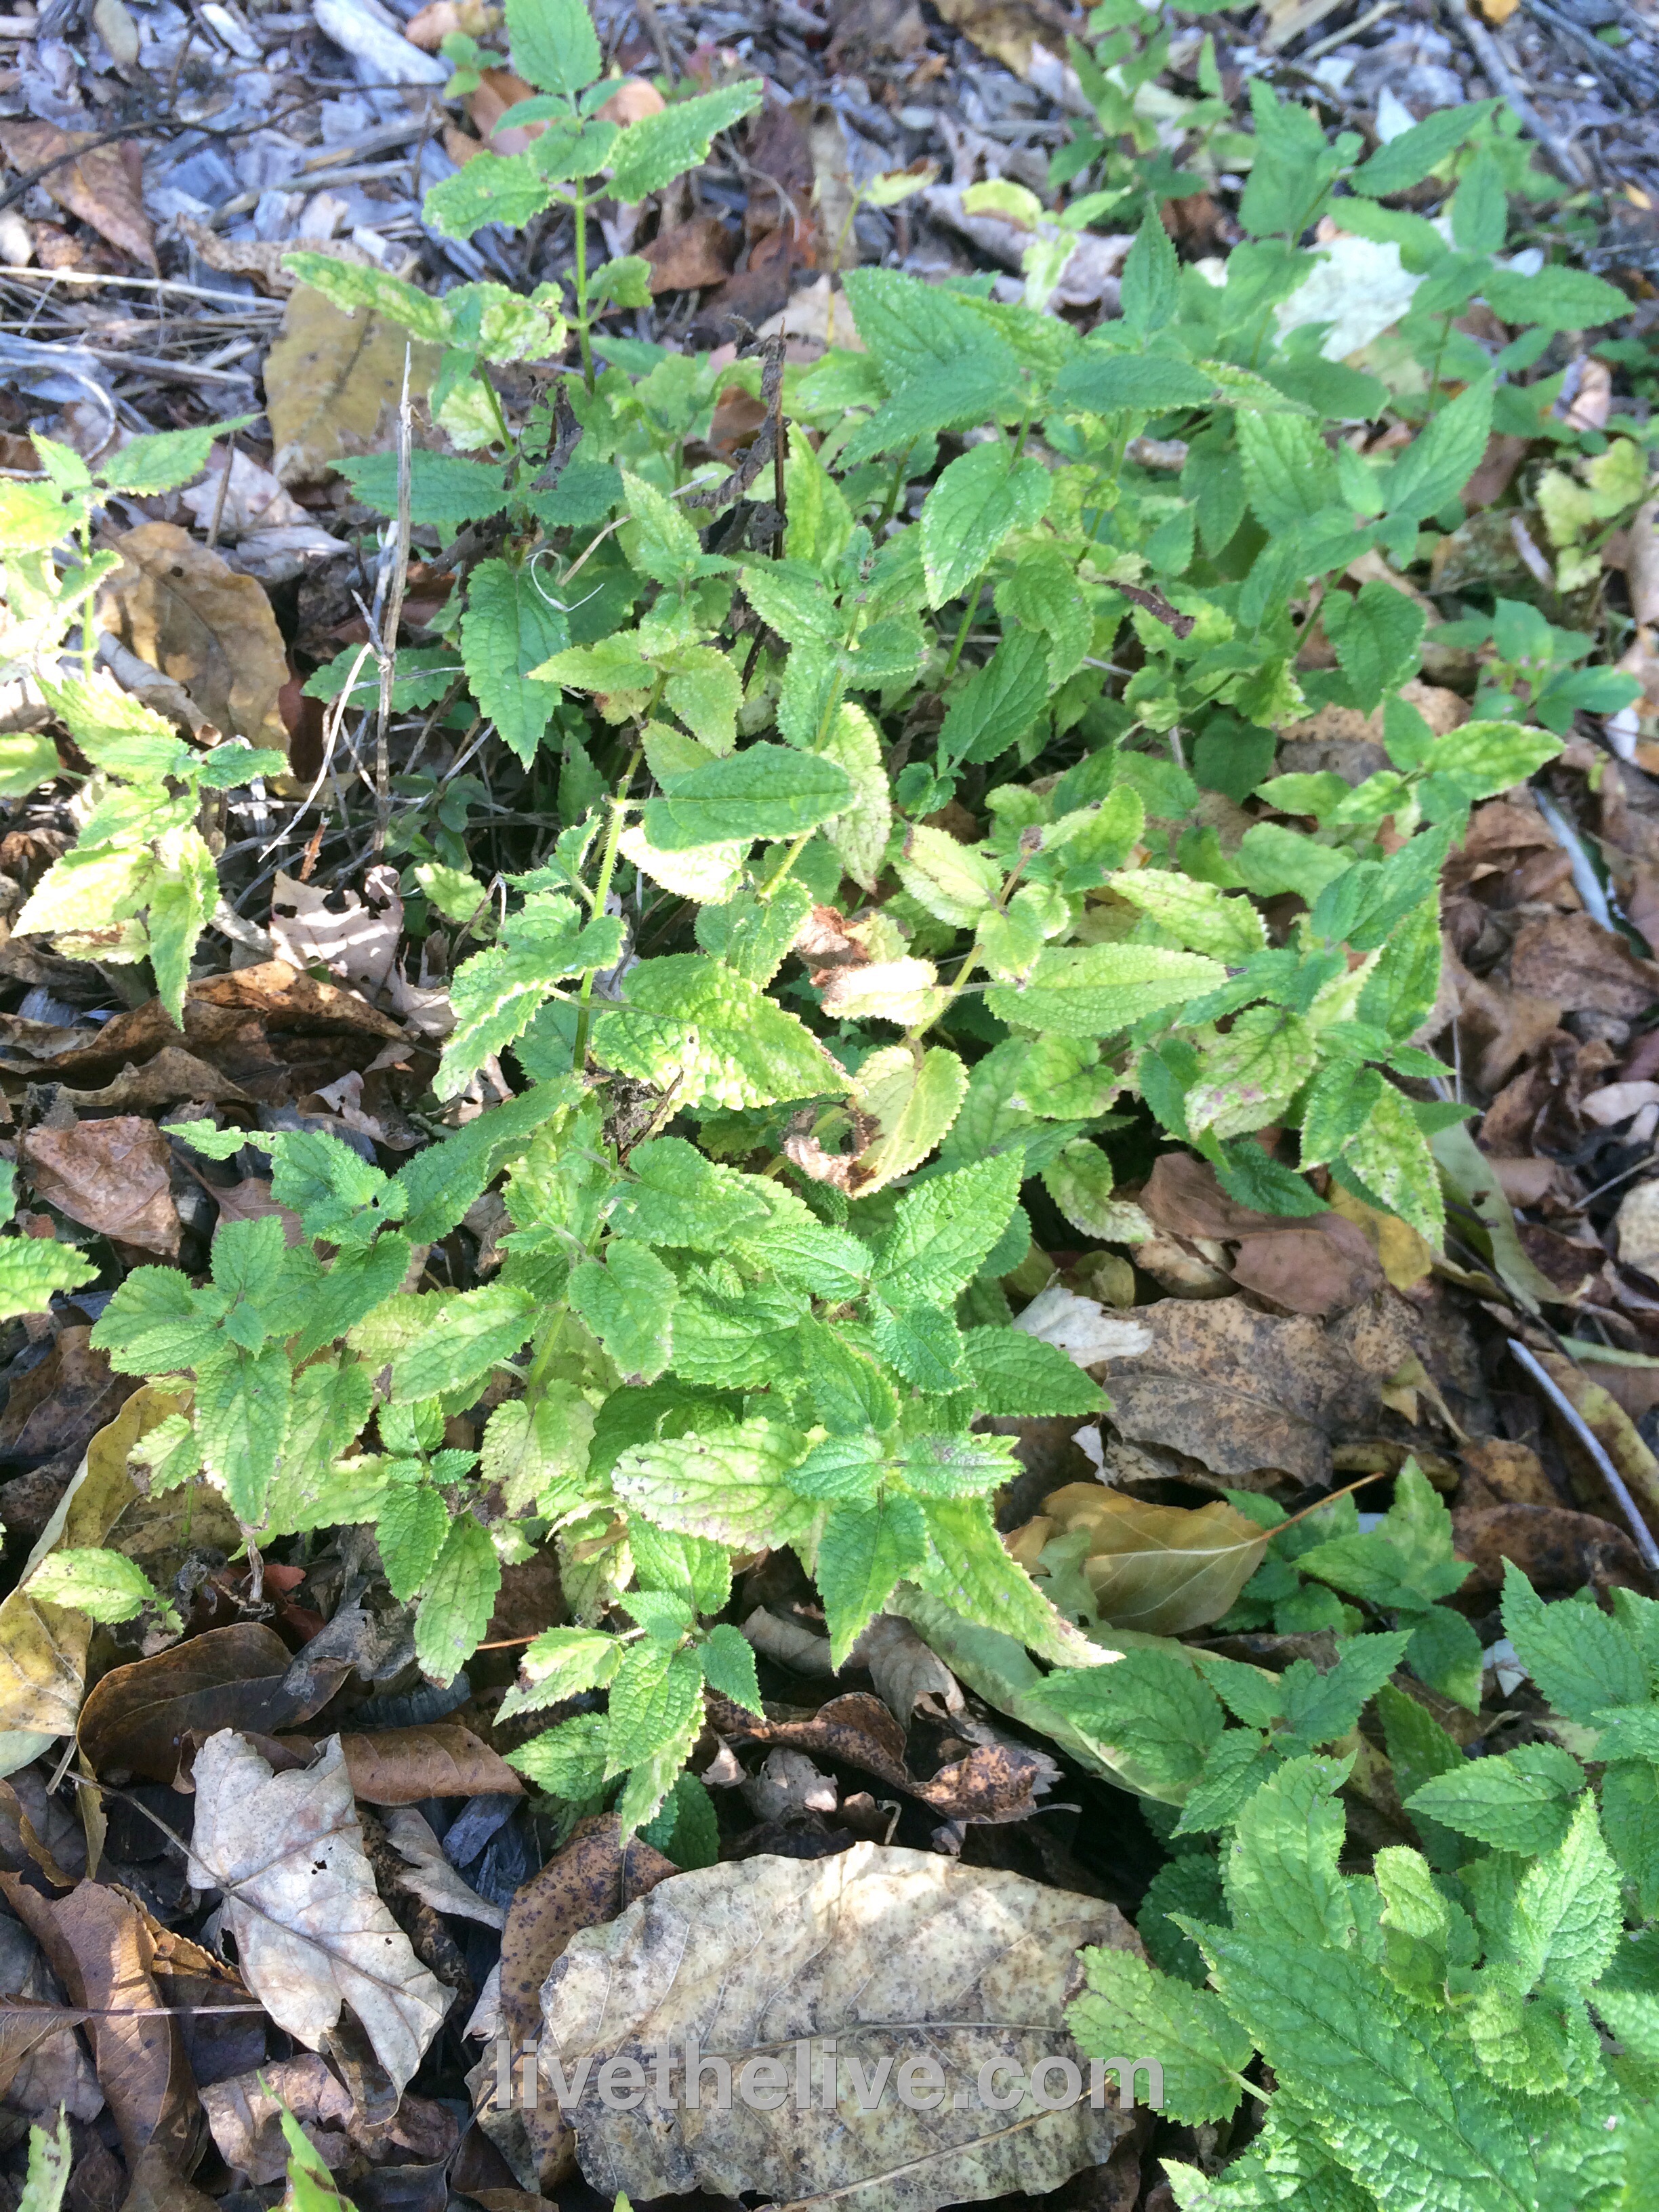
The leaves look like mint, but don't have a fragrance.

The leaves look like mint, but don’t have a fragrance.

The plant is a relative of mint (though the leaves have no aroma), a perennial, is easy to grow, spreads on its own, and has those small, convoluted and delicious root clumps (known as tubers to gardeners.) So what’s not to like? Well, apparently, it’s not the gardeners that don’t want to deal with them…it’s the cooks! The tubers are very small and therefore need a little extra effort to make sure they are washed clean before cooking. They don’t need to be peeled (now that would be a pain in the ass) but to many chefs, even the washing is too much of a hassle.
image
Now it seems that more chefs are discovering crosnes, and they just can’t get a hold of them.
As a Master Gardener, I found all of this pretty interesting so I searched for sources of buying crosnes plants for my own garden. It took a while (most growers were in Europe or Great Britain), but I finally found a source in Oregon that sold the plants and I bought a few for my home garden.
image

A relative of the mint plant, crosnes are pretty hardy and are tough to remove once well established, so they need to be planted in an area where you don’t mind if they take over. The tubers are ready to harvest around October, and as long as I leave some in the ground over the winter, the crosnes will be back again the next year. Seems pretty low-maintenance for such a delicious little treat!

image

As for preparation, a light saute in olive oil and butter (or lard), salt and pepper is all they need, until cooked but crisp. They also go well with a deep, rich demi glace reduction like I had with my duck at Le Saint-Amour.

What did a girl from Michigan, with family in the Upper Peninsula, have in common with a guy who grew up on Long Island in a mostly Jewish community? Well…smoked whitefish, for one thing!

Growing up in NY, I was introduced to smoked whitefish, herring, and lox at an amazing deli just down the road from my parents’ house. My wife’s family from Michigan, meanwhile, caught the whitefish, herring and salmon and smoked it themselves.

Now we share our mutual love of smoked fish at home in Rhode Island. My Yooper father-in-law showed me how to properly remove the meat cleanly from the smoked whitefish then I took his recipe for smoked whitefish salad and tweaked it.

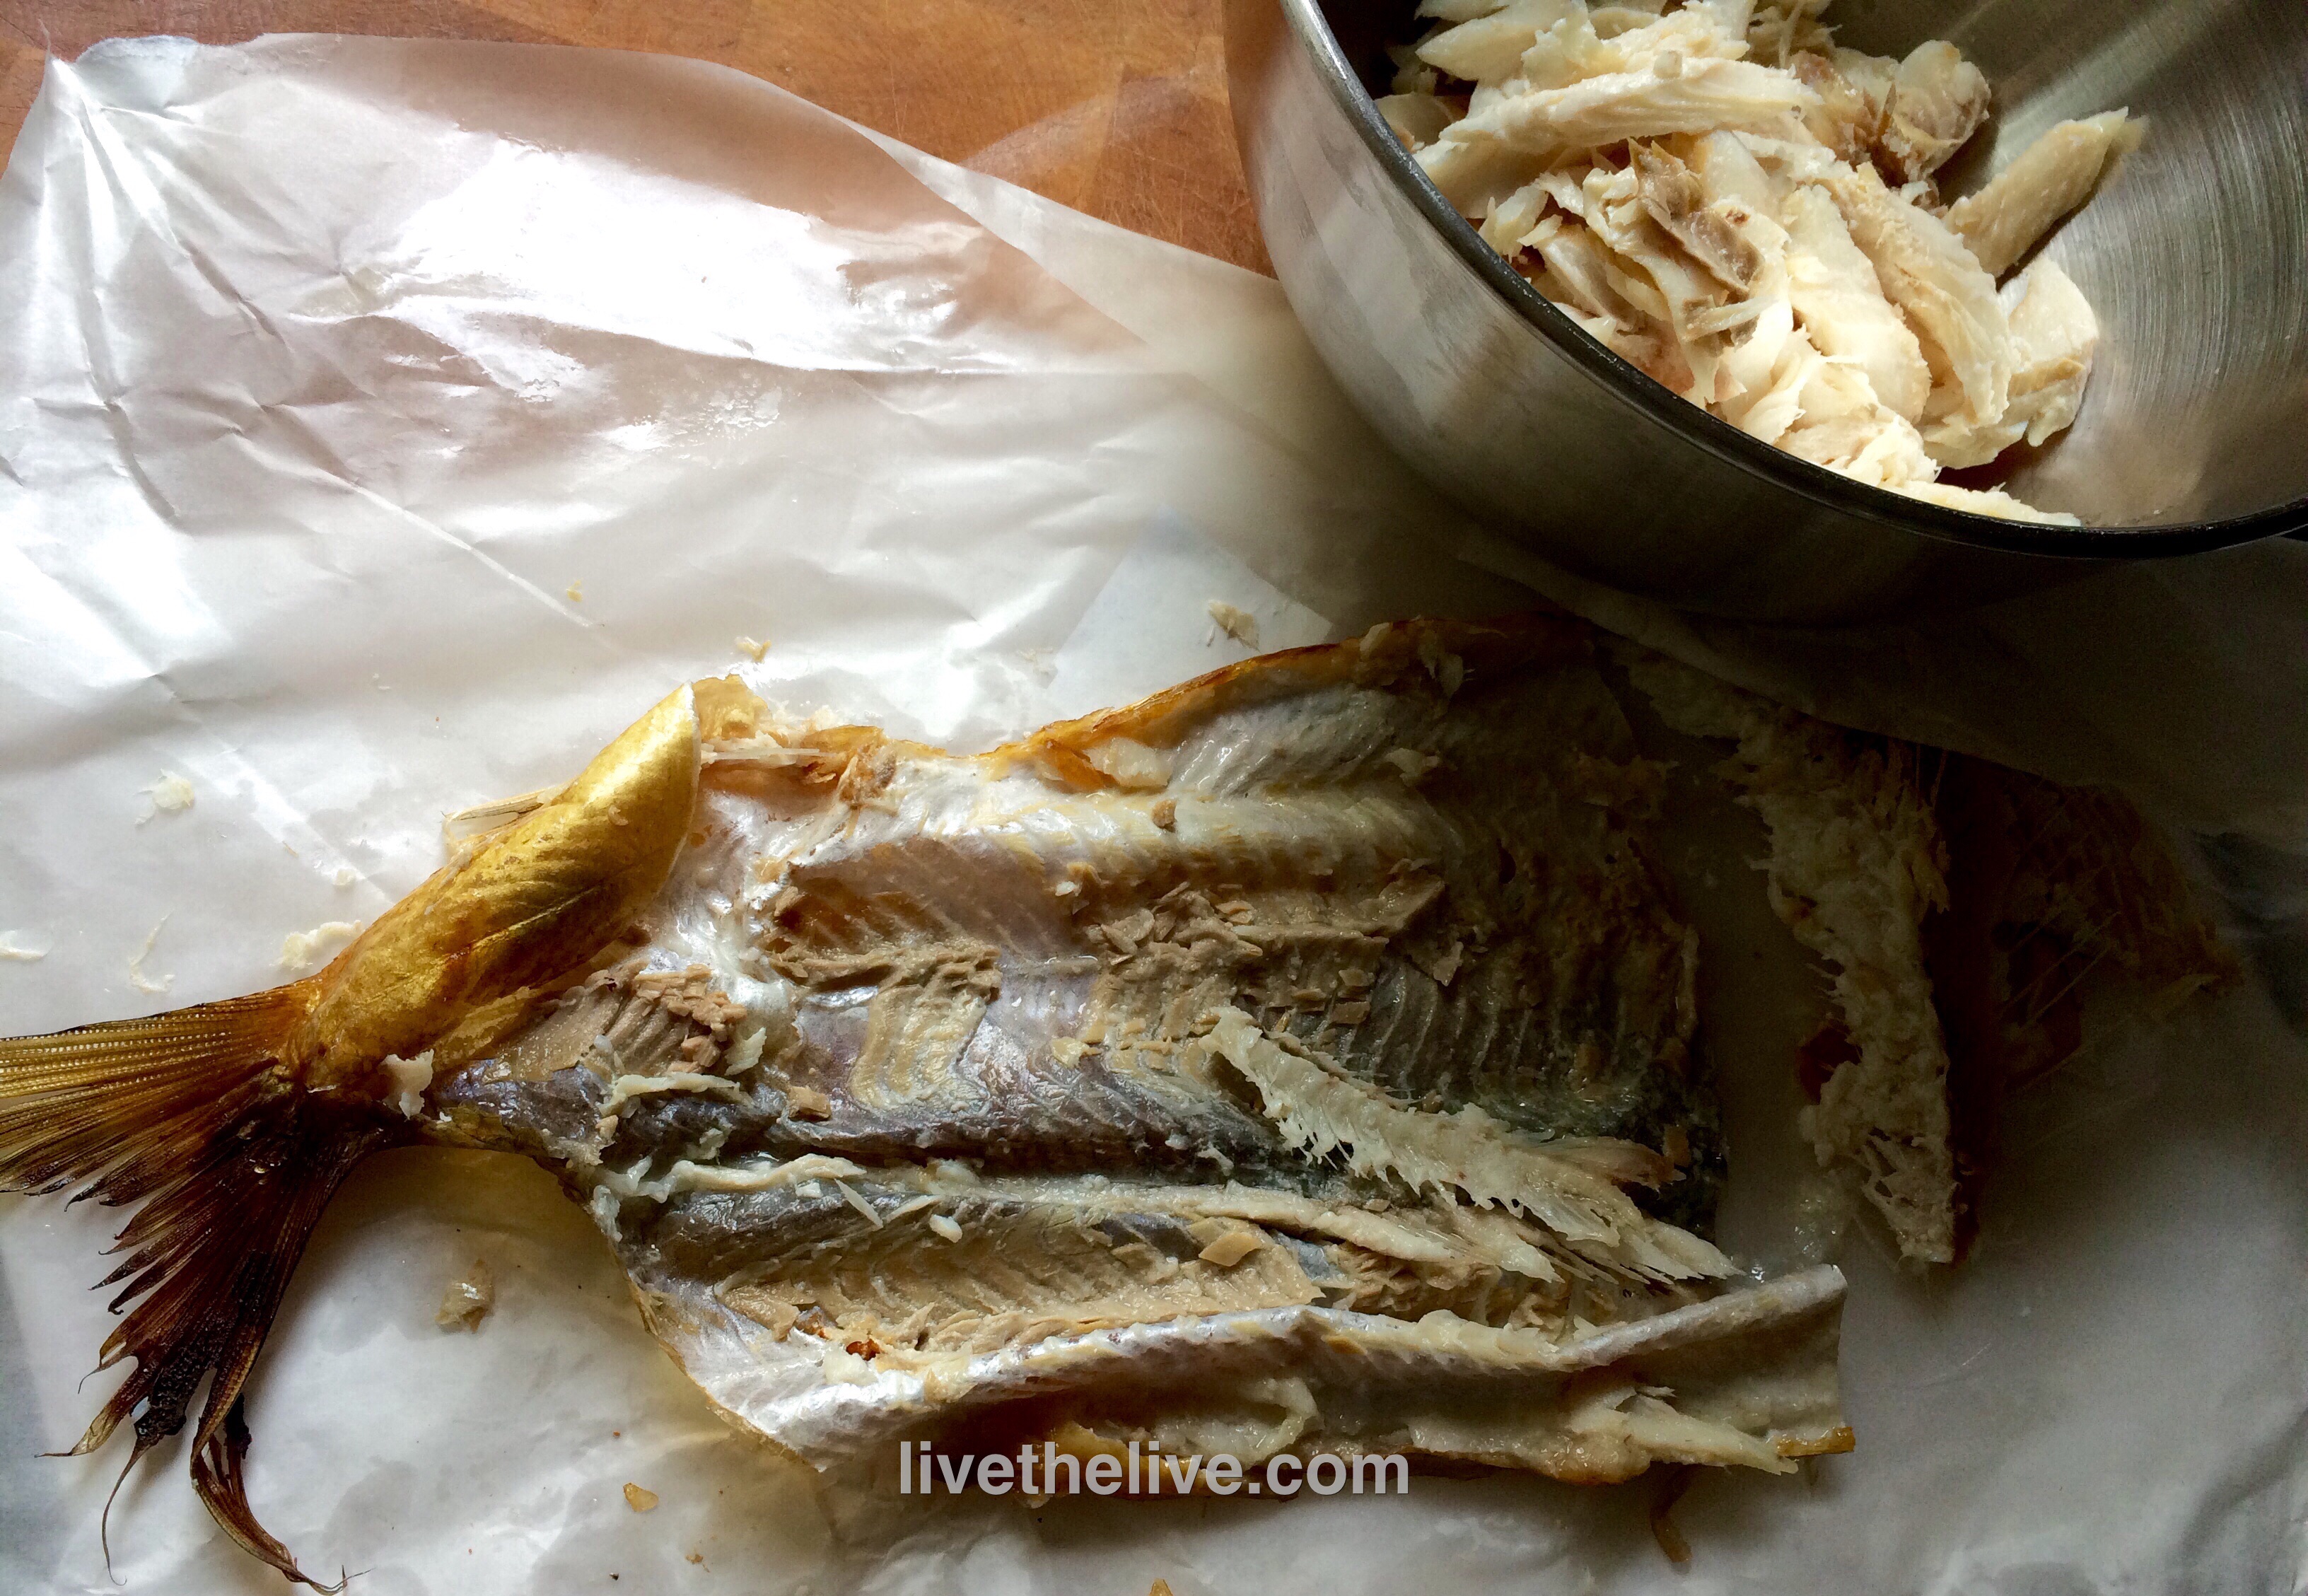
Remove every bit of meat. Double-check for bones!

Remove every bit of meat. Double-check for bones!

Ingredients:


1/2 whole smoked whitefish, meat removed
1/2 cup mayonnaise
1/4 cup finely chopped Vidalia onion
1 tablespoon capers, finely chopped
1 tablespoon freshly squeezed lemon juice
1 hard-boiled egg, finely chopped
Freshly ground pepper
Pinch of sea salt (I like Fleur de Sel)


Remove the meat from the smoked whitefish carefully, making sure all the small bones have been removed. Doublecheck to make sure you’ve done this really well. Place all the white fish meat in a bowl.

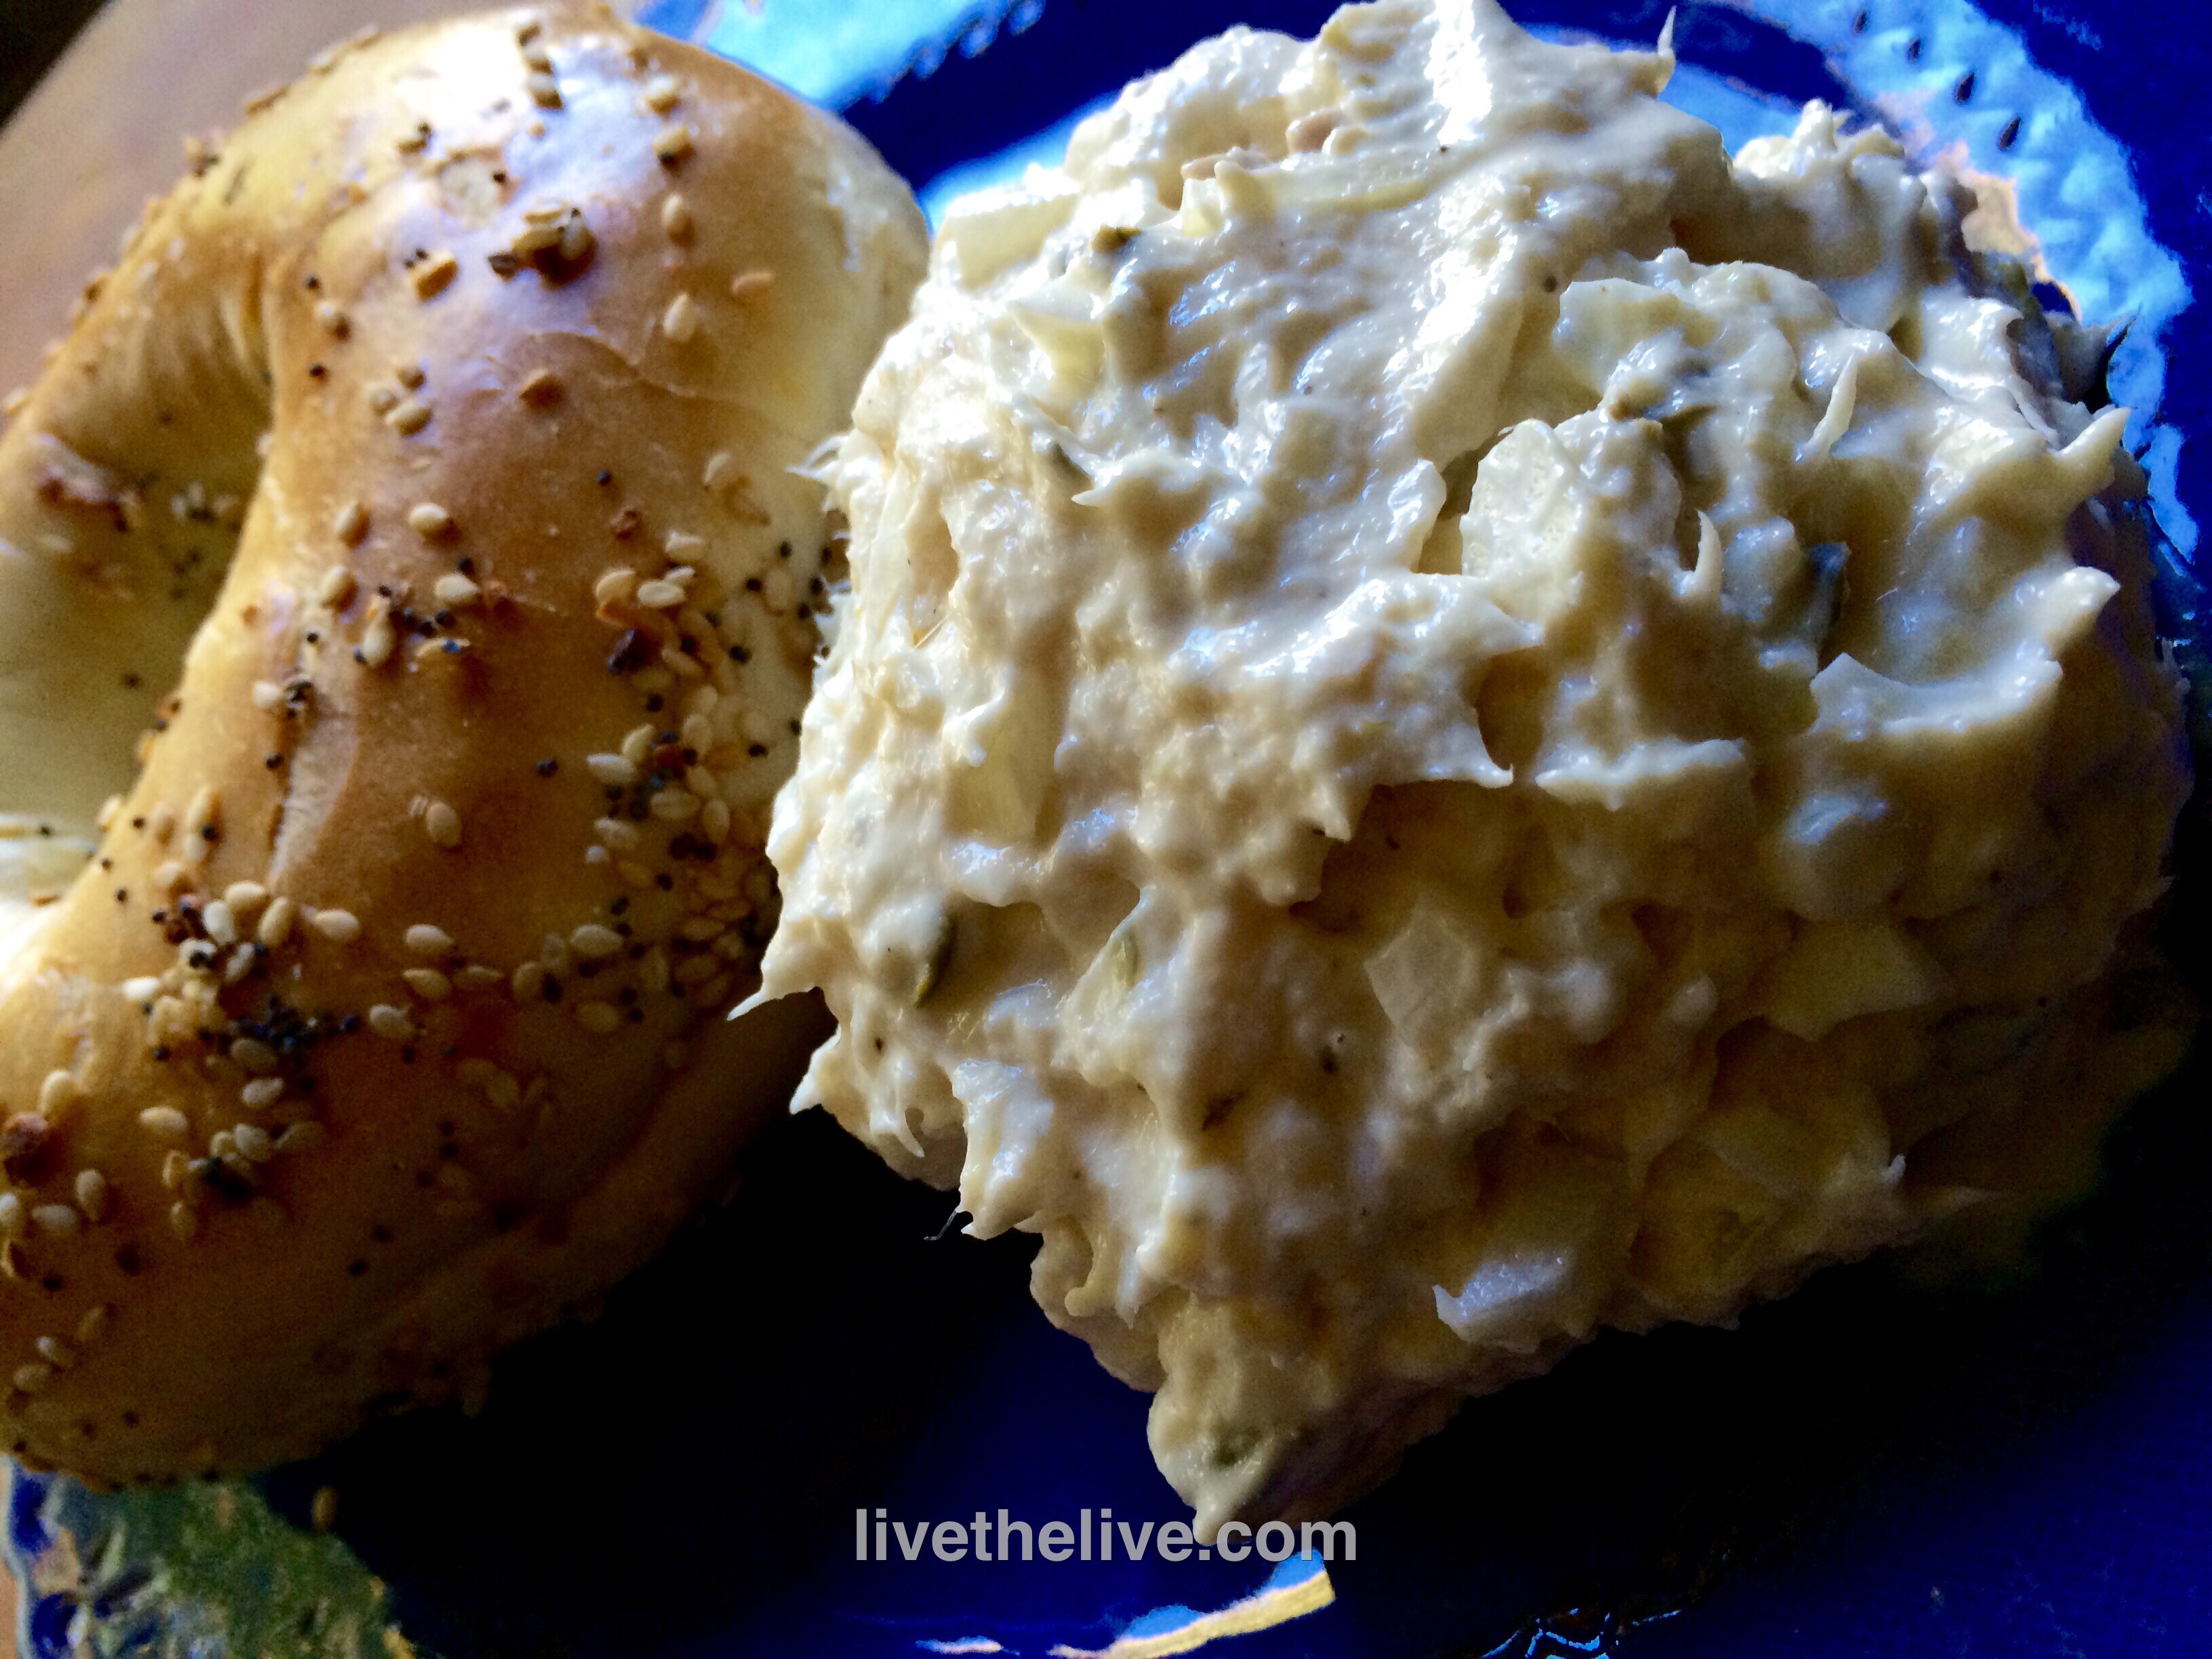
Combine all other ingredients with the fish thoroughly using a fork. Serve with crackers, or my favorite: a toasted everything bagel from New York!
image
Here’s a shot of the real deal straight out of the smoker, at a fish store in Mackinaw City, Michigan, on the way to the in-laws’ house in the Upper Peninsula…
image

My pal, Paula, has a great Portuguese soup recipe that has been passed down from her Mom. Her Mom even adds chicken feet to the stock, which Paula chooses to leave out. Like most Portuguese soup recipes I’ve seen, there’s a ton of carbs: often potatoes with pasta with a lot of beans. As someone that tries to cut their carb intake, I make my soup with a lot less of that stuff.

Here’s Paula’s recipe…

Paula’s Portuguese Soup

Ingredients:

3 cans garbanzo beans

2 cans white cannellini beans

1 can pink beans

1 fennel bulb

Large bunch of kale

5-6 potatoes

1 cabbage

2 sticks hot chourico

Beef ribs

1 cup dry macaroni (elbows)

Red crushed pepper wet-optional

Drain and puree  3 cans of garbanzo beans in food processor .  Put puree in large pot with about  a gallon of water.  Chop chourico , and add it to the puree along with the ribs. Boil for 20 minutes.  Chop fennel bulb in food processor , chop cabbage ( 2 inch squares).  Add fennel and cabbage to soup and boil  for 30 minutes.  Add  chopped kale , boil for 30 minutes. Add cubed potatoes and before the potatoes are done, add the remaining drained cans of beans. Add macaroni and cook for a short time at the end.

My version of the classic Portuguese kale soup.

My version of the classic Portuguese kale soup.

Here’s my version: carb-friendly, but still packs a lot of flavor.

Ingredients:

4 cups home-made chicken or beef stock

4 cups water

1 cup lentils, rinsed in cold water

1 onion, finely chopped

1 carrot, finely chopped

2 stalks celery, finely chopped

1 clove garlic, through a press

1 lb chourico, peeled and chopped into small cubes (I use the mild stuff: Mello’s, out of Fall River, Mass.)

1 large bunch organic kale

salt and pepper

Add the stock and water to a large pot. Heat until boiling. Add the lentils.

In a saucepan with a little olive oil, saute the onions, carrots, celery, and garlic for a few minutes. Add the chopped chourico and saute a few minutes more. Add the contents of the saute pan in the pot.

Wash and de-stem the kale, tearing the leaves into smaller pieces. Add the leaves to the pot and stir. Discard the stems.

Cook the soup until the lentils are al dente. Taste and season for salt and pepper before serving.

Like hot dogs and Slim Jims, jerky is one of those “mystery meats” we love but don’t really know how it’s made or what part of the animal it comes from.
Really excellent beef jerky is a rare treat, and once you have it, you will never go back to that rancid, preservative-filled dog meat you find in a bag at the supermarket. And the best part is: it’s easy to make.
Shop around for a really nice slab of London broil or similar cut. You don’t need to buy an expensive piece of grass-fed beef, but the better the meat, the better the jerky. Remove all the gristle and fat that may be on the meat and then slice it against the grain and on a diagonal, into 1/4″ thick slices. Toss all the meat in a Ziploc bag. Once you’ve done that, all you need to do is make the marinade, marinate the beef overnight, and then dry it the next day. Your final product will be a flavorful beef jerky that is so good, you’ll find it very hard to stop eating it…or to share it.
If you use gluten-free soy sauce and teriyaki sauce (La Choy is the brand I use, found in any supermarket), this recipe can be considered gluten-free. Be careful: regular soy sauce, and even some tamari sauces, have wheat in them. Read the label!
image
Ingredients:
1 Tablespoon salt
1 1/2 Tablespoons granulated garlic
1 teaspoon black pepper
1 teaspoon fresh minced peeled ginger
2/3 cup brown sugar
1 cup Teriyaki sauce
1 cup soy sauce
8 lbs raw, lean beef, like London broil, cut into 1/4″ thick diagonal slices, against the grain of the meat
Mix all ingredients except meat in a large bowl. Place meat in a large Ziploc bag, pour marinade inside, seal, and refrigerate overnight. Squish the bag around once in a while, to make sure all meat surfaces make contact with the marinade. Keep the bag in a bowl to prevent any accidental spillage in your fridge!
The next day, pour off the marinade and discard. Using a food dehydrator or simply an oven at 140 degrees, dry the meat by laying strips on cookie sheets in a single layer. Drying could take several hours to half a day, depending on how dry and chewy you like your jerky.
This recipe makes a lot of jerky, but it stores really well in the freezer. I put small amounts into individual freezer bags, then place all of them in one large freezer bag. Thaw as needed.

HOLIDAY BRISKET

Posted: October 11, 2014 in beef, Carnivore!, Food, Recipes
Tags: , , , ,

This is my friend, Lori’s, recipe…and it rocks! It takes a couple of days to cook, and it’s worth it. image

I’ve had barbecued brisket, corned beef and pastrami. But this is the quintessential comfort food version that brings her family home for the holidays.


Ingredients:

1 beef brisket, 5 to 7 lbs.

salt, pepper, garlic powder

1 large onion, chopped

2 celery stalks, chopped

1 bottle (12 oz.) Heinz chili sauce

1 cup water

1/4 cup chopped parsley

2 tablespoons brown sugar

2 tablespoons Worcestershire sauce

1 packet Lipton onion soup mix


Pre-heat oven to 325 degrees.

Rub brisket with salt, pepper and garlic powder to taste. Place fat side up in a pan.

In a bowl, combine onion, celery, chili sauce, water, parsley, brown sugar, Worcestershire sauce, and soup mix. Pour over meat. Cover the pan with heavy duty aluminum foil to make a tight seal. Cook for 3 hours. (This is the first cook!)

After 3 hours, remove the pan from the oven (leave foil on) and let the meat cool to room temp, then place in fridge. Skim off the fat when the meat has chilled.

While the meat is cool, slice it as thin as you can and place the meat in a glass/Pyrex pan–a 9 x 13 works well–and pour all the gravy/cooked juices on top. If it looks dry, add a little water. Cover the pan tightly with aluminum foil and cook at least one hour at 325. (This is the second cook!)

At this point, you can remove the brisket from the oven and keep it in the pan in the fridge until you’re ready to serve. When it’s time to serve, heat the brisket one more time at 325 until it has warmed all the way through.

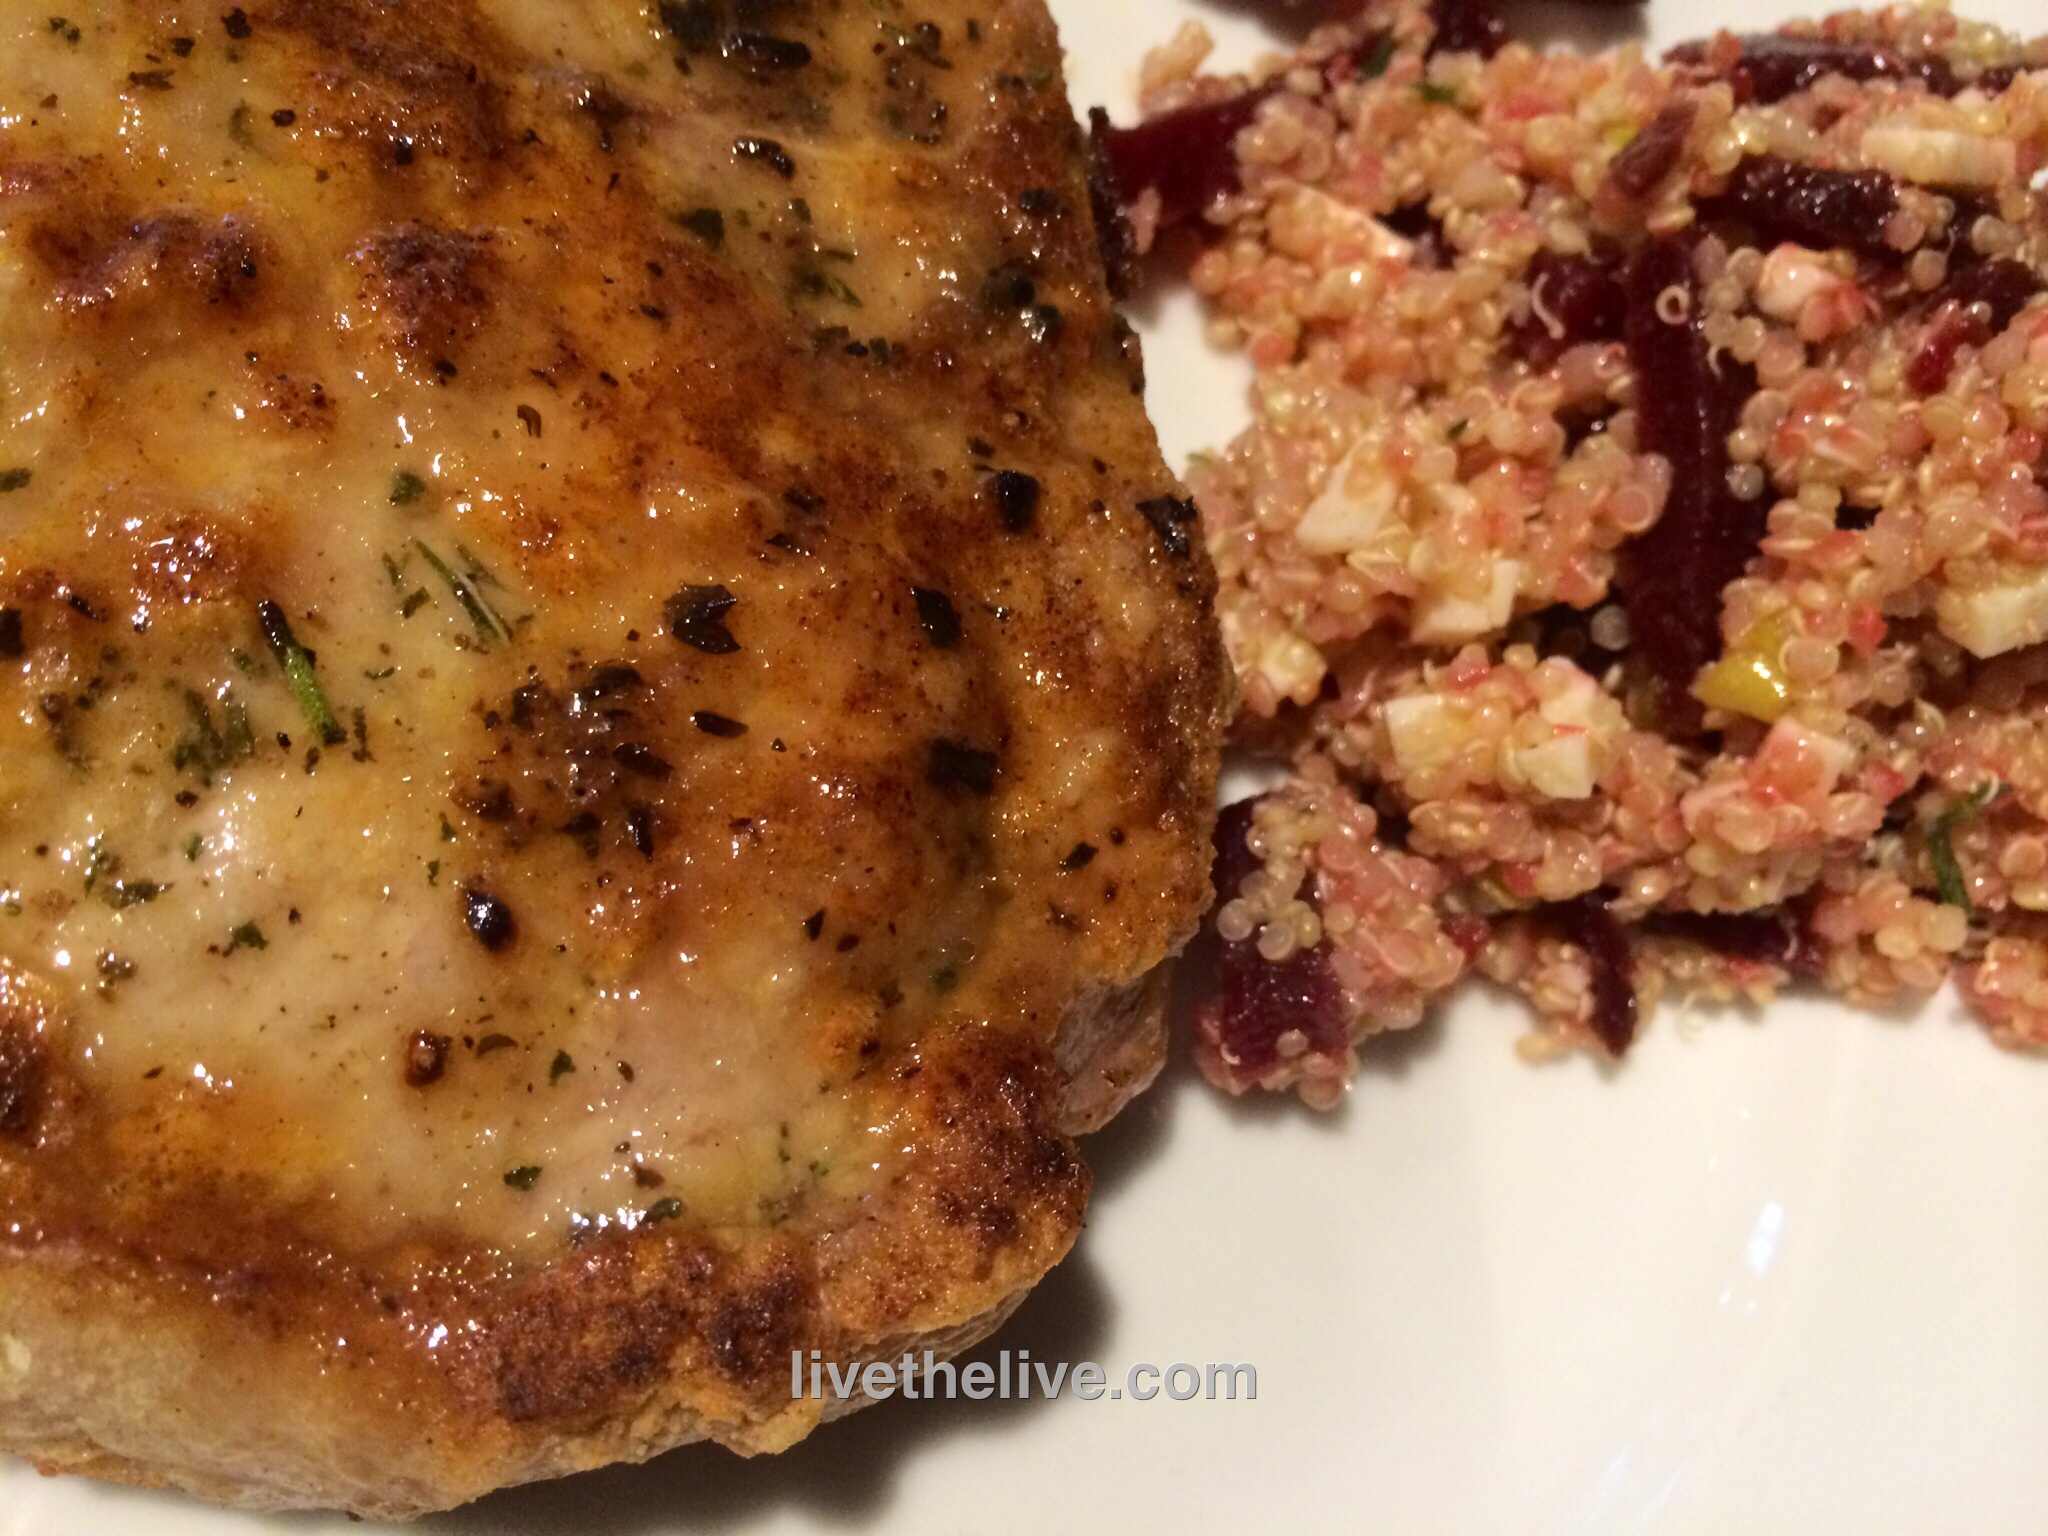
Even the "breaded" pork chop makes this meal gluten-free. See below...

Even the “breaded” pork chop makes this meal gluten-free. See below…

Beet season is in full swing right now. They’re healthy and delicious…and they also store really well, so you can enjoy them all winter long. Combining them with quinoa, cheese and arugula makes a great salad that goes well with this pastured heritage pork chop.

To keep the meal gluten-free, I used all-purpose gluten-free flour to dust the chop after I dipped it in egg. Then I seasoned it with garlic salt, pepper, and some freshly minced sage and rosemary. I seared it in a hot pan with organic canola oil, then finished cooking it in a 350-degree oven.


Ingredients for the beet salad:

1/2 lb beets, cooked and sliced
2 cups cooked quinoa
1/2 cup extra virgin olive oil
1/2 cup red wine vinegar
1 teaspoon sugar
1/2 clove garlic, through a press
1/2 teaspoon salt
1/4 teaspoon ground black pepper
1 scallion, finely minced
2 cups baby arugula
5 ounces feta cheese, crumbled

Prepare quinoa according to package instructions. I like to substitute half of the water with homemade chicken stock.

While the quinoa is cooking, combine olive oil, vinegar, sugar, garlic, salt and pepper in a separate bowl.

Once the quinoa has cooked, place it in a bowl and add half of the dressing, mixing gently with a fork to fluff up the quinoa. Place in the fridge to cool completely.

I like to use the product LoveMyBeets, where they come fully cooked and peeled, ready to slice. Slice the beets and place them in the bowl of quinoa. Add the scallions, arugula and cheese. Mix well.

When the mixture has cooled down, taste and add more of the dressing if needed.

You don’t have to stand by your smoker and cook for hours to have amazing ribs. As the glaze cooks down, it gets sticky, gooey and delicious…but use a non-stick pot if you can or you’ll be scrubbing when you should be eating!
 image
 Ingredients:
Marinade: ¾ cup light soy sauce
                     6 Tablespoons hoisin sauce
5 lbs pork ribs
Zest and juice of 1 lemon
2 whole star anise
2 cinnamon sticks (3”)
1/2 cup honey
4 cups chicken broth
Mix marinade ingredients. Set aside.
If the ribs are large, cut them into pieces. If smaller, cluster 2 or 3 ribs together. Place in a large pot. Cover with water and bring to a boil. Boil for 5 minutes. Drain.
Place ribs on a sheet pan with a rack and coat with marinade. Let sit for 10 minutes.
Pre-heat oven to 350 degrees. Bake ribs in sheet pan with rack for 30 minutes.
While the ribs are baking, start sauce in a large non-stick pan or pot: combine lemon zest and juice, star anise, cinnamon sticks, honey and chicken broth. Bring to a boil, then reduce to a simmer.
When ribs have finished baking, add them to the sauce pot and simmer (covered) for at least 15 minutes or until rib meat is tender.
Turn heat on high, uncover pot and cook until the sauce is reduced to a glaze that coats the ribs. Reduce heat as sauce thickens to avoid sugars in honey from burning. When the ribs are sticky and gooey, they are ready!