Fettucini alla Bolognese has been my daughter’s favorite Italian dish for years. The recipe isn’t difficult, but like many great dishes, it depends on the best quality ingredients you can get your hands on.
I like to use a combination of ground beef, ground veal and ground pork in my Bolognese recipe. But I don’t sweat it too much if I don’t have all three, substituting a little more of one or the other, depending on what’s in my freezer at the time. (2–1, beef to pork, is a good ratio.)
I use humanely raised grass-fed ground veal that I get down the road from a local dairy farm: Sweet & Salty Farm in Little Compton, RI. I use ground Berkshire pork, full of “good fat.” And I use grass-fed beef from local farms. Guanciale, a cured pork product that comes from the cheek (jowl) of the pig, is something that I prepare myself. I buy the Berkshire pork jowls raw and cure them at home. (That’s another blog!) If you can’t get your hands on guanciale, a nice slab of bacon or pancetta will do the trick.
The rest of the ingredients are organic, when available.
This recipe probably feeds a dozen people. I make a lot at once because it takes time to put it together and let it cook on the stove, and it freezes really well. I place leftovers in tightly sealed single-portion containers in the freezer and then re-heat them when my daughter gets the craving, adding it to freshly cooked pasta.
How much pasta you make with this dish depends on how many people you’re going to serve.

5 tablespoons extra virgin olive oil
3 tablespoons butter
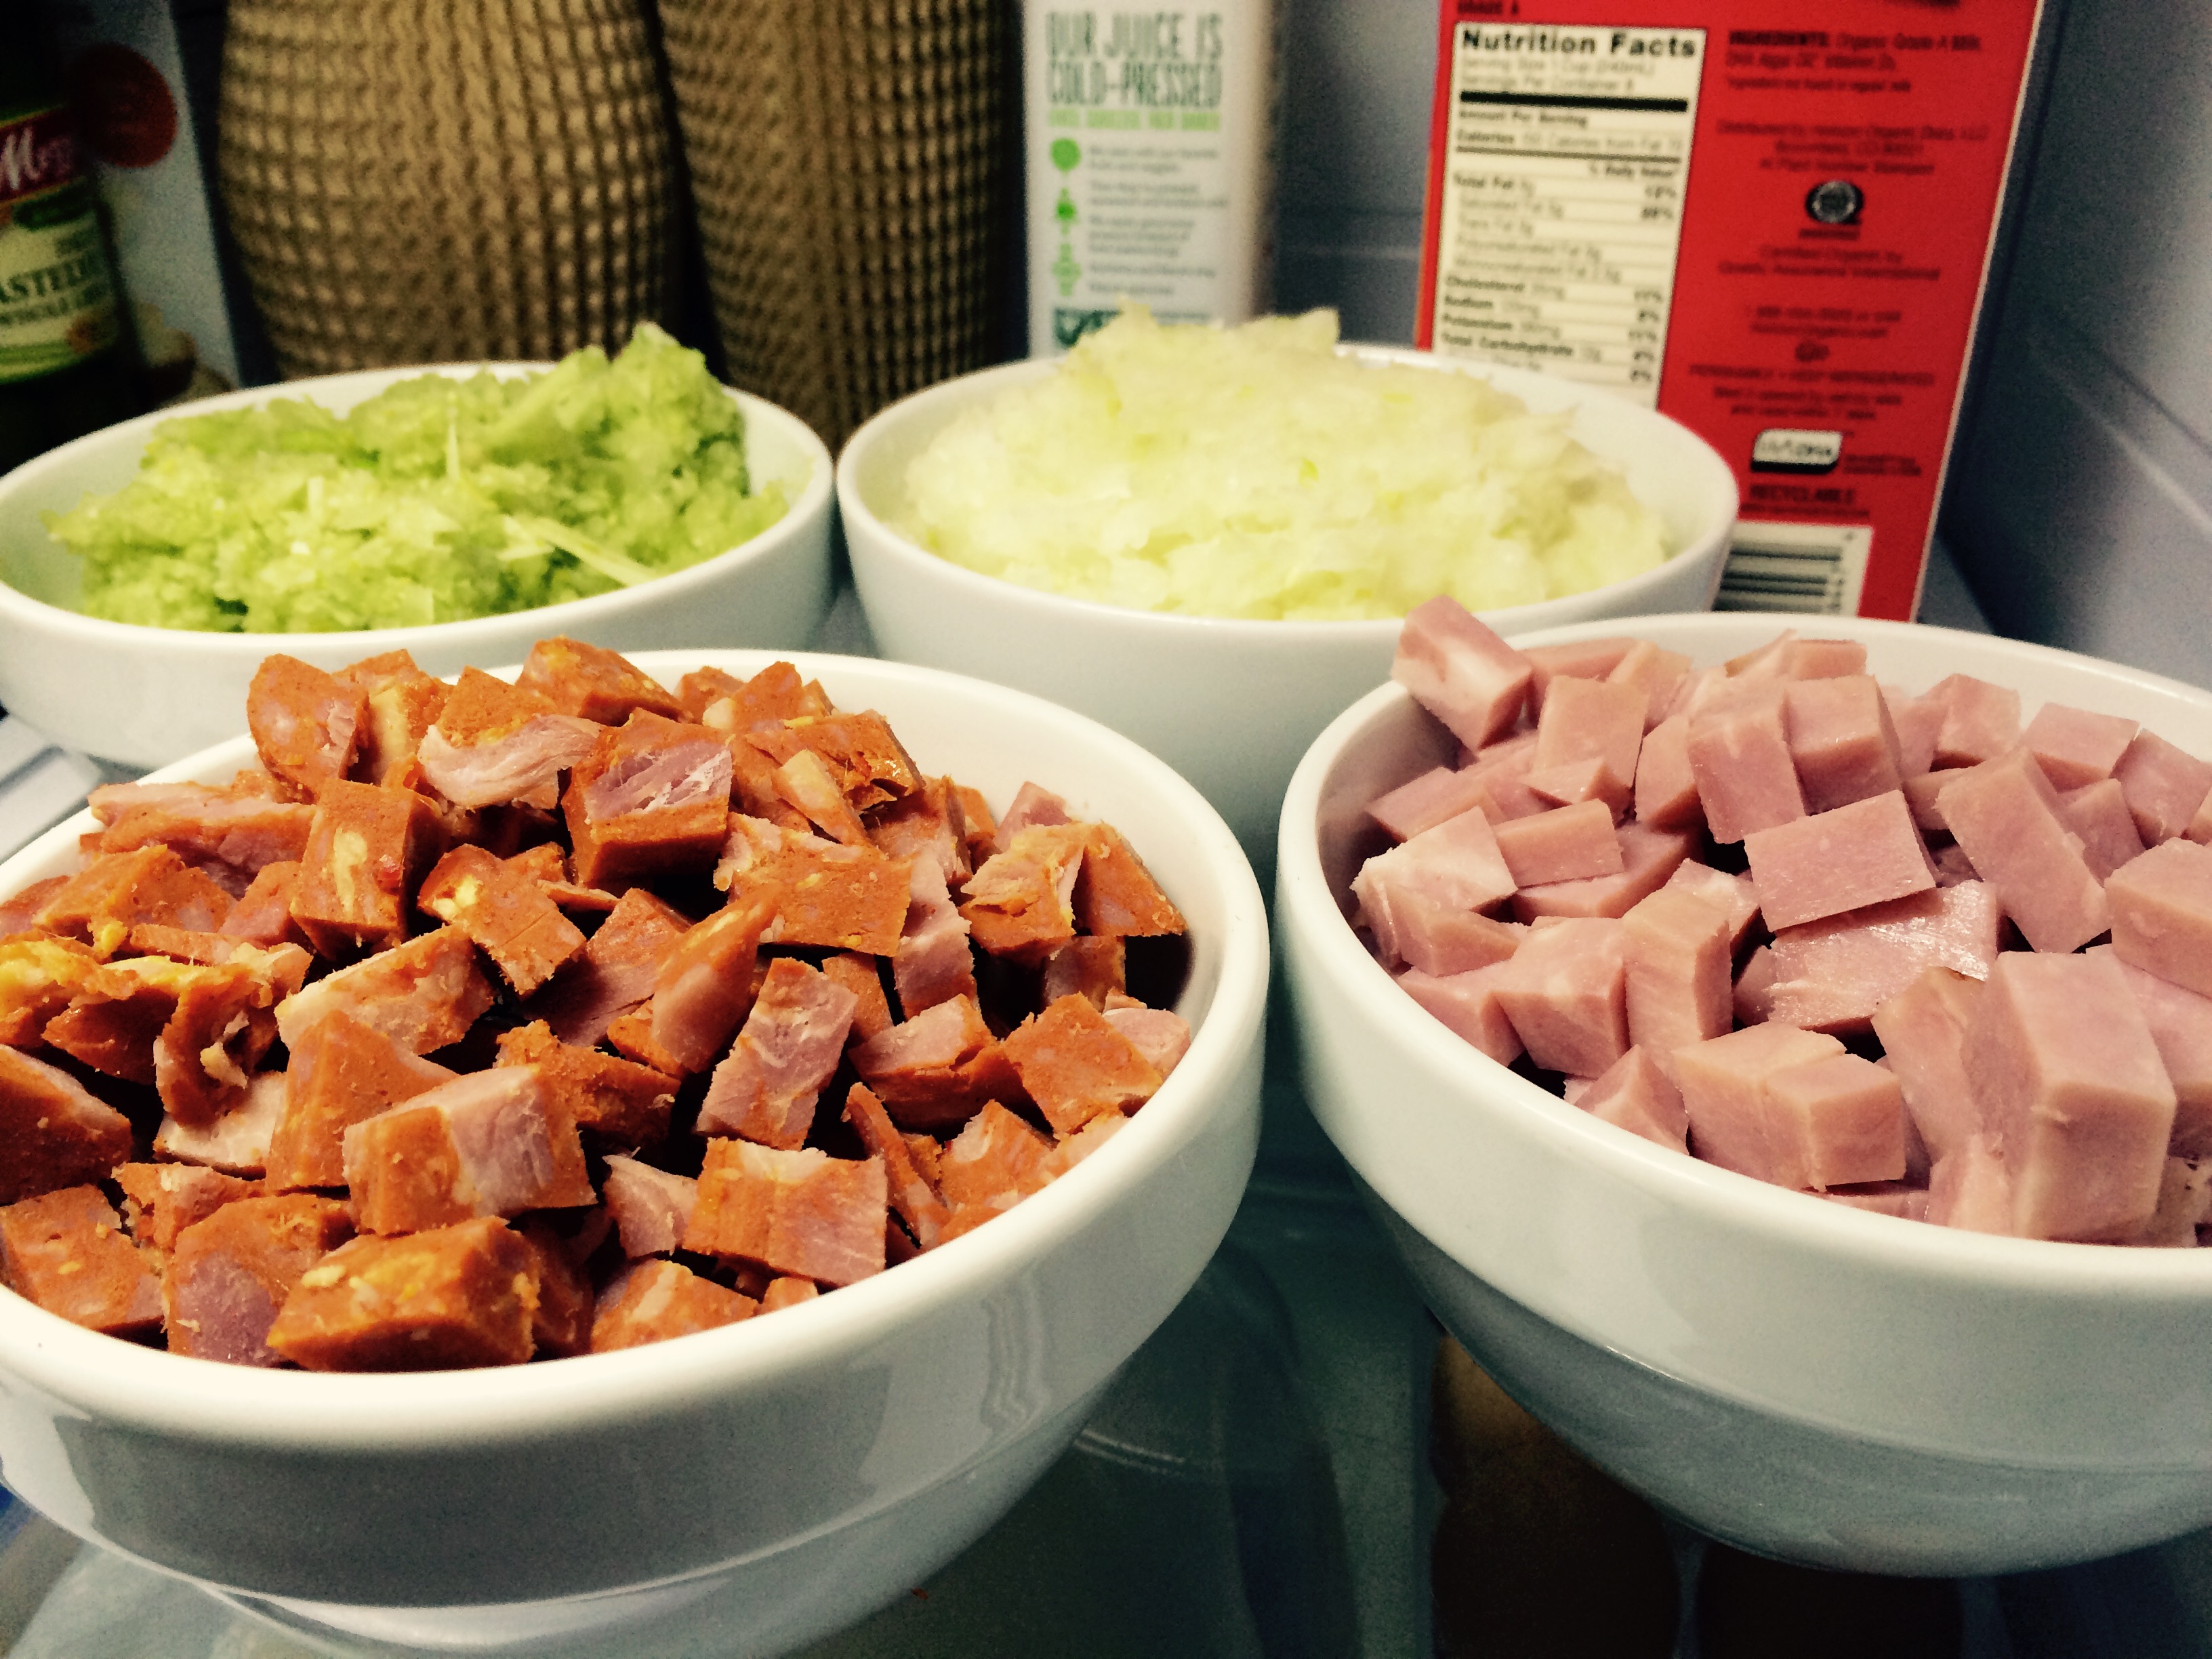
1/2 cup finely chopped guanciale or bacon or pancetta
1 lb. ground veal, 1 lb. ground pork, 1 lb. beef (or any combination to make 3 lbs.)
1 large onion, finely chopped
2 carrots, finely chopped
3 stalks celery, finely chopped
2 cloves of garlic, squeezed through a garlic press or thinly sliced
1 small can (6 oz.) tomato paste
6 cups ground tomatoes
2 cups whole milk
2 cups white wine (I use an un-oaked French chardonnay)
salt and pepper
pasta, cooked (regular or gluten-free )
Freshly grated Parmigiano Reggiano
Place the olive oil and butter in a large sauce pan with a heavy bottom over high heat. Once the butter has melted, add the guanciale, letting the fat render out. When it’s almost brown, add the veal, pork, and beef, stirring constantly. Make sure the meat is broken down into small pieces and completely browned.
Add the finely chopped onion, carrots, celery and garlic, stirring well. Sweat the veggies for a few minutes, letting them get nice and soft. (Here’s a tip: rather than wasting time chopping all the veggies finely by hand, toss large pieces into a food processor–the onion, carrot, celery and garlic cloves all at the same time–and pulse until they’re finely chopped.)
Add the tomato paste, the ground tomatoes, milk and wine, stirring well. Allowing the sauce ito come to a boil will activate the tomato paste’s thickening power. Let it boil for a minute, then reduce the heat to medium-low, and let it simmer for at least a couple of hours, stirring occasionally.

Add the ingredients one step at a time until the sauce comes together: 1) guanciale, 2) meat, 3) veggies), 4) tomatoes.
You don’t want the sauce to be runny, and you definitely want to give it enough time on the stove top for the flavors to blend and for the alcohol in the wine to evaporate.
Carefully give the sauce a taste, and season it with salt and pepper.
Traditionally, ragu Bolognese is served by placing a part of the cooked pasta in a pan, and adding just enough sauce to have it cling to, not drip from, the pasta. It’s not soup!
Top it with freshly grated Parmigiano Reggiano cheese.