Posts Tagged ‘food’

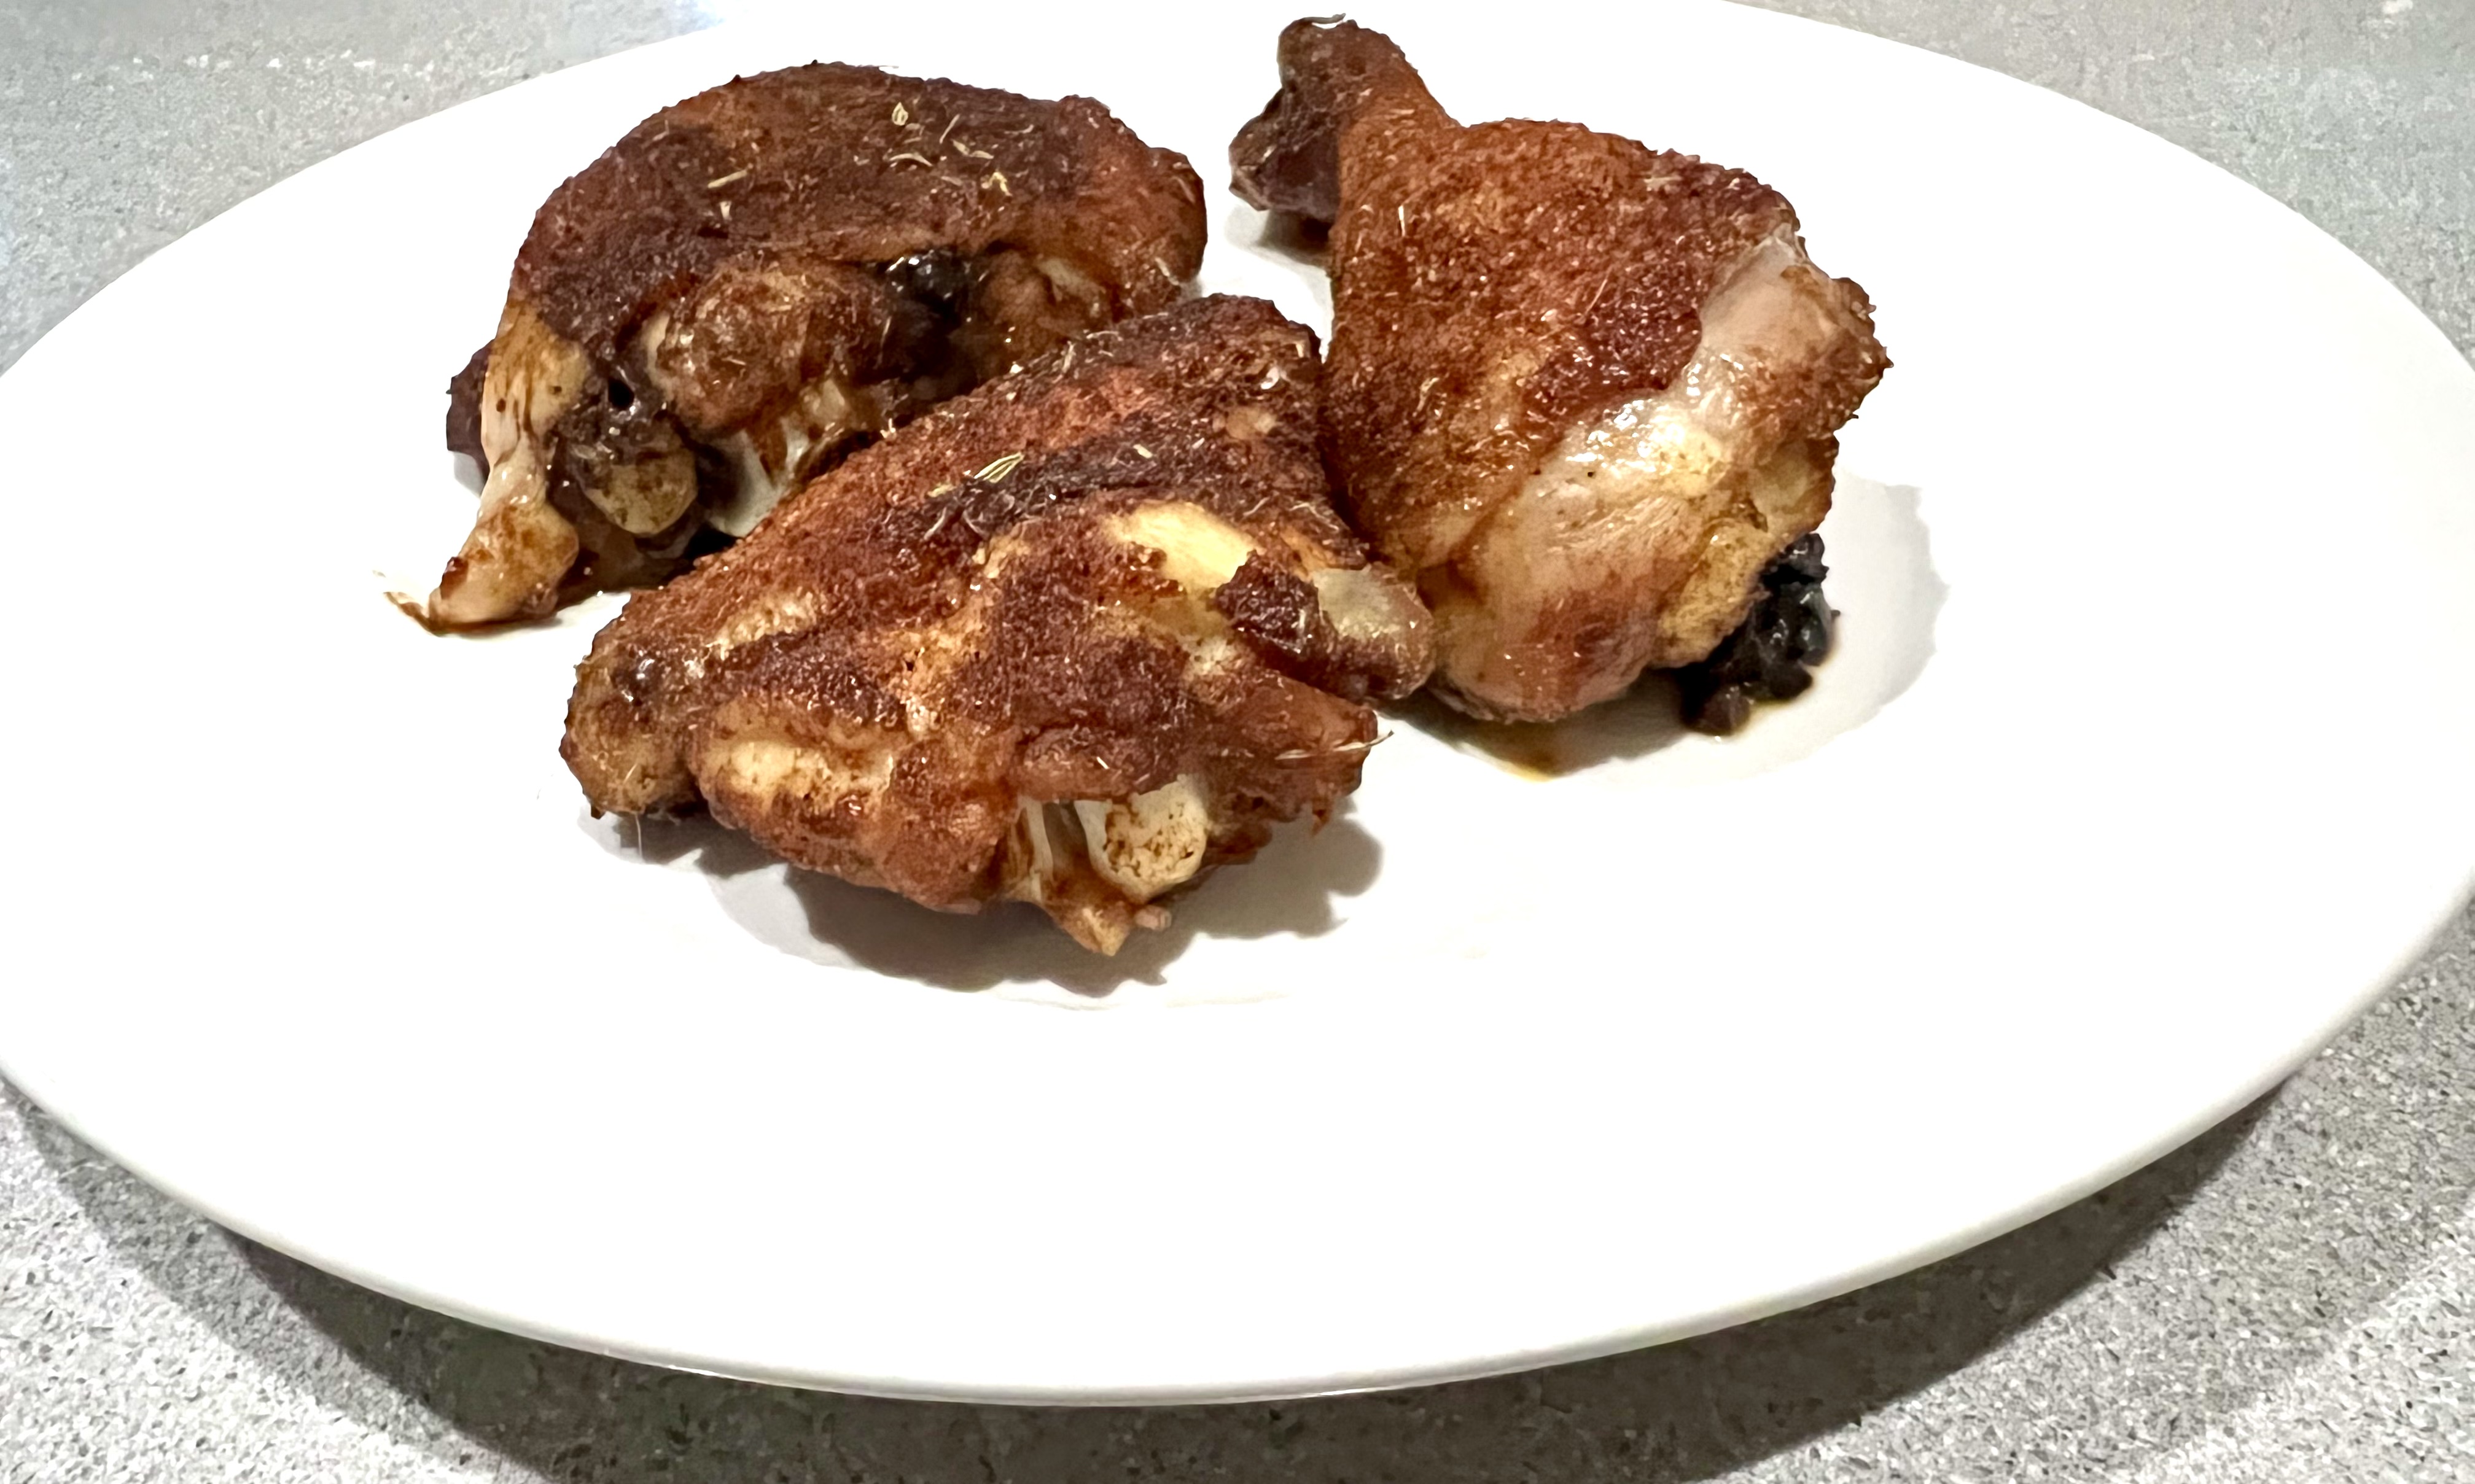
Brining, the process of letting a hunk of protein soak in a salt solution for a few hours, is a great way to add flavor and moisture to any cut of meat. I brine chicken pieces for 3 hours before using a sweet and spicy rub. They can be grilled or roasted in the oven.

The first time tried this recipe, I used chicken wings. But later, I cut up a whole chicken, and found that parts is parts…every piece was delicious!


image

The brine…

1/2 cup Kosher salt
3 tablespoons light brown sugar
1 teaspoon whole black peppercorns
1 whole bay leaf
2 quarts water

Combine all the ingredients in a saucepan and heat until the sugar and salt dissolve. Remove from the heat, and let it cool to room temperature.
 

The rub…

1/4 cup light brown sugar
1/4 cup granulated sugar
1/4 cup sweet paprika
1 tablespoon Kosher salt
1 tablespoon granulated onion
2 teaspoons black pepper
1 teaspoon dried thyme
1 teaspoon dry mustard
1 teaspoon ground ginger
1 teaspoon cayenne pepper

Combine all the ingredients in a bowl.

If you have a baking pan like this, you can brine and then cook the chicken in one pan.

Place about 3 lbs. of chicken wings or parts in a baking pan, as above. Place it in the fridge for 3 hours. Pour in the cooled brine, making sure the pieces are submerged.

After 3 hours, remove the chicken from the brine and dry the pieces with paper towels. Discard the brine, and place the chicken pieces back in the empty baking pan.

Sprinkle the chicken pieces with 1/3 cup of the rub, rubbing it in to coat the chicken well. (Wearing disposable gloves makes this less messy.) Place the pan with the chicken in the fridge until you’re ready to cook.


About 30 minutes before cooking, remove the pan from the fridge and let the chicken come to room temperature.

Pre-heat the oven to 350 or light a grill.

Toss the chicken with some more of the rub, if you like.

Bake at 350 for 30–40 minutes or until they’re done, about 165 degrees.
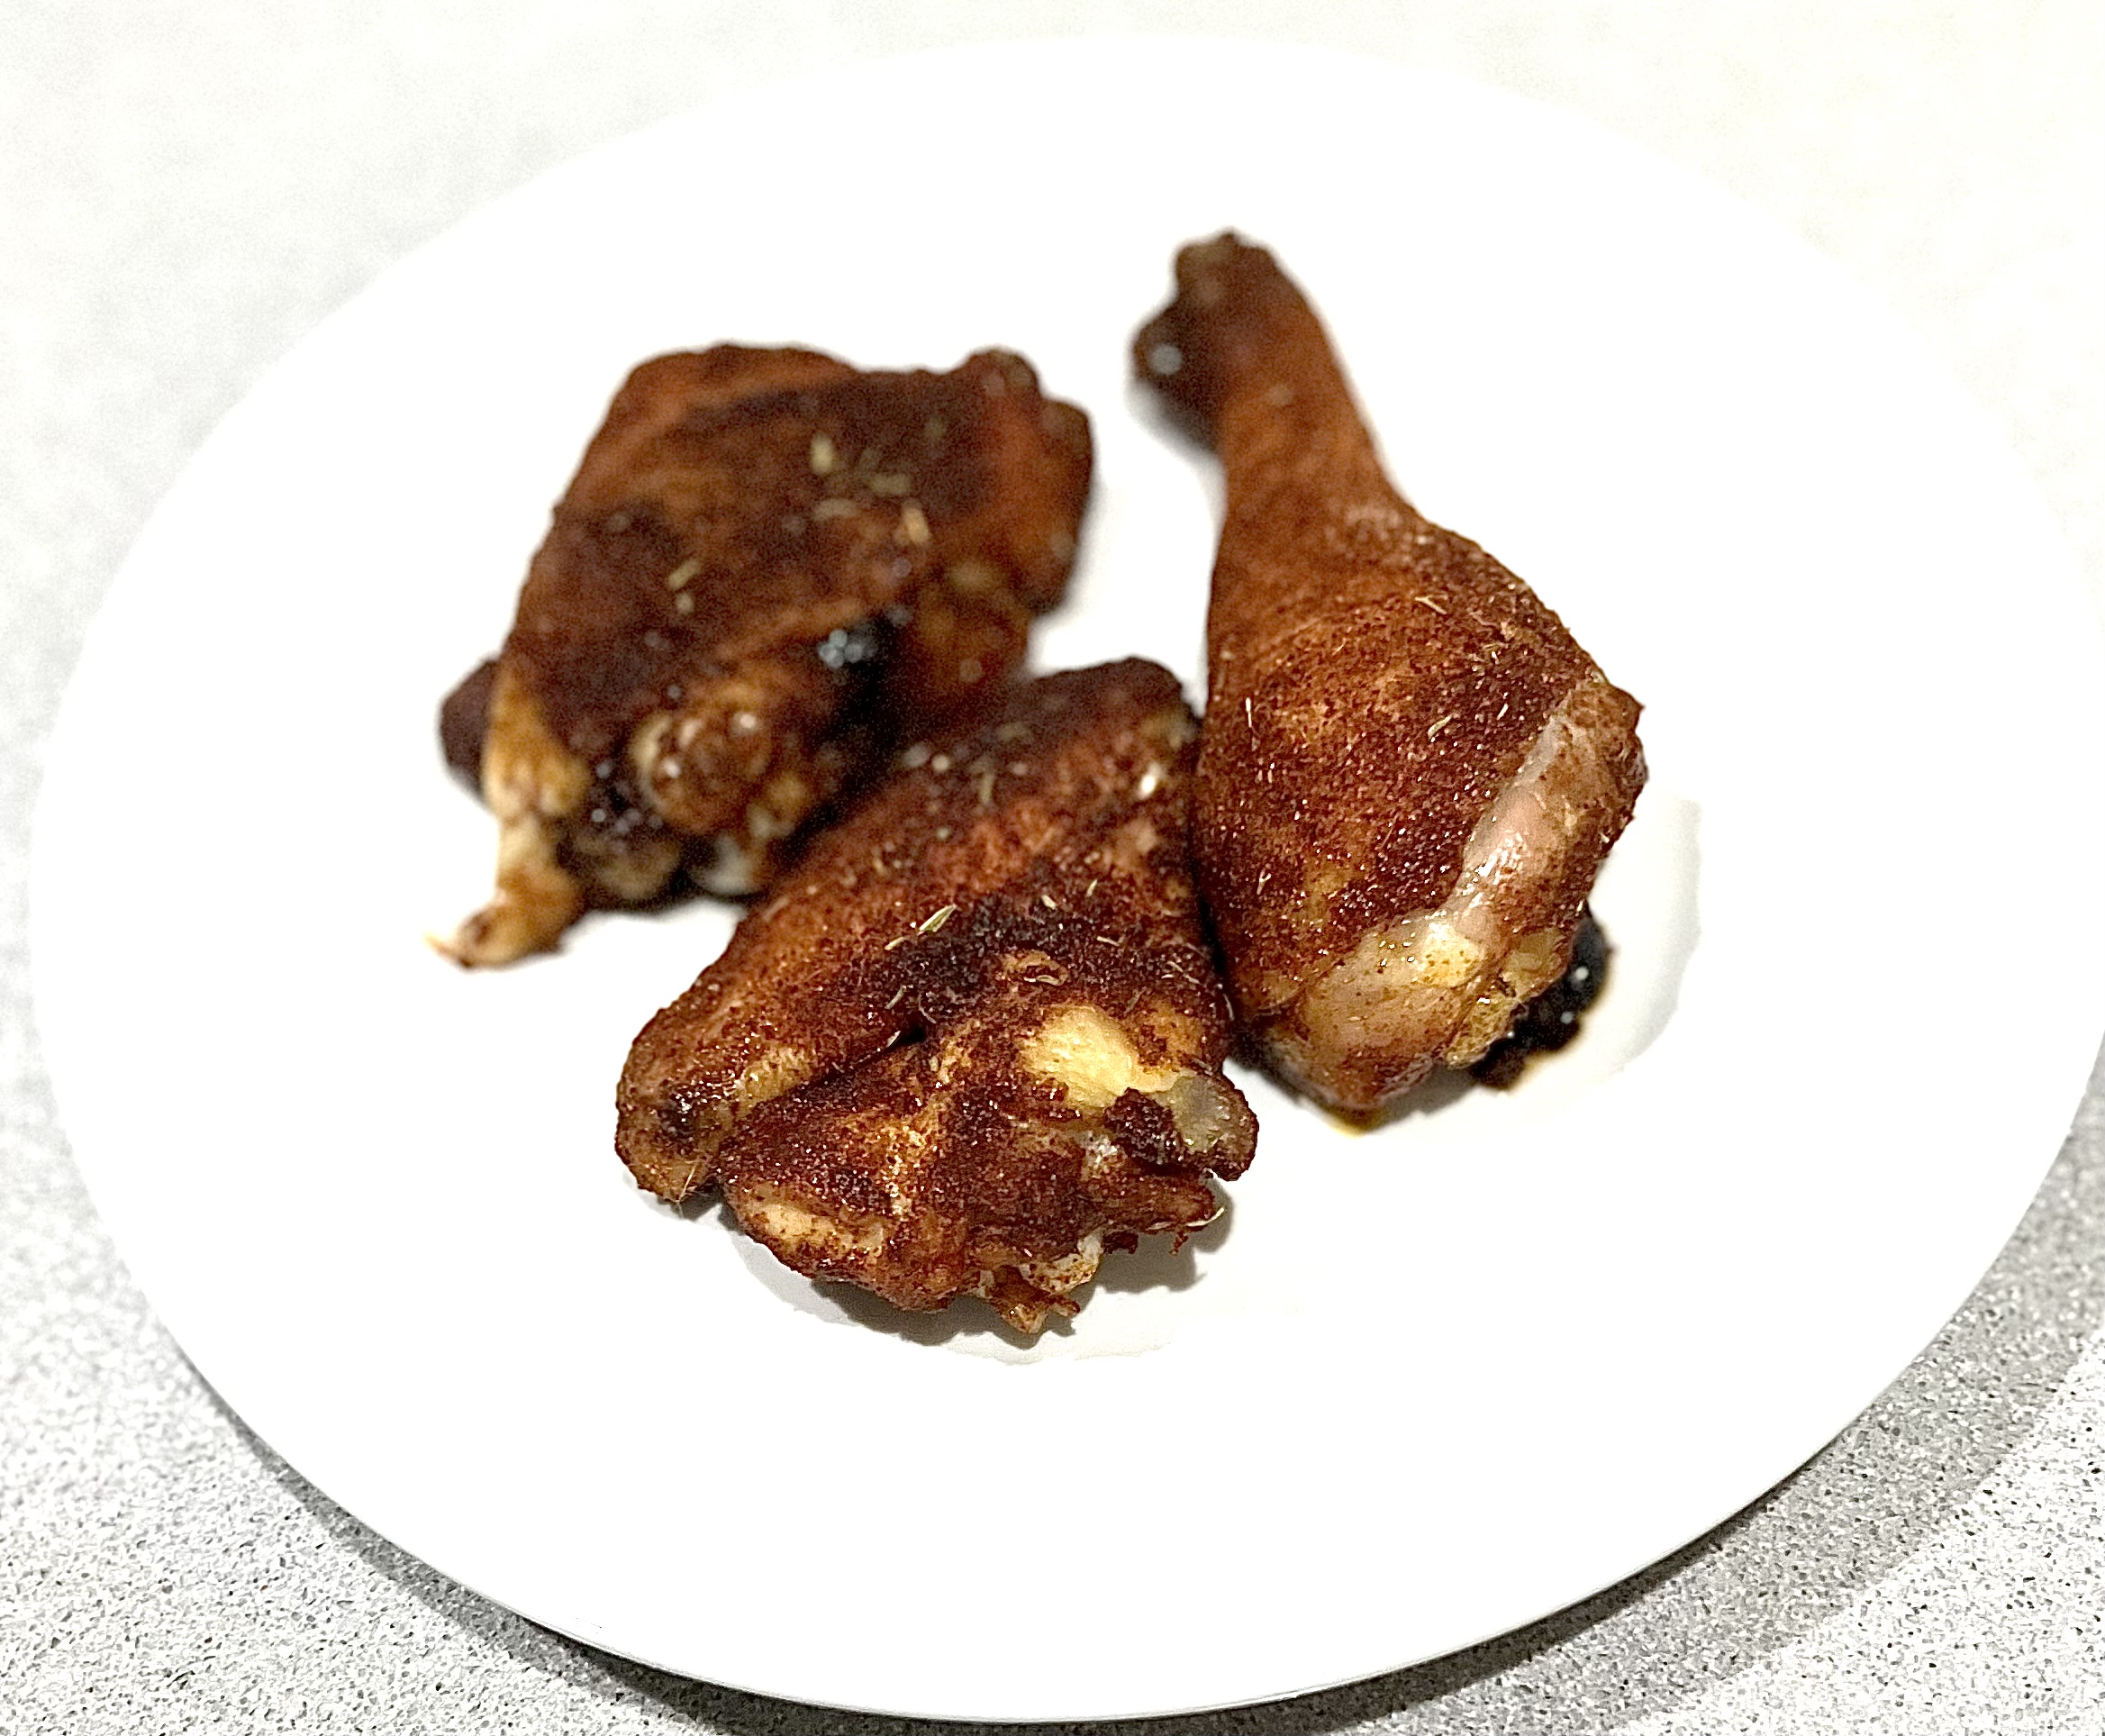
If you’re grilling, cook the wings over medium heat, turning them frequently to prevent burning. Cook until the chicken reaches temperature of 165 degrees.
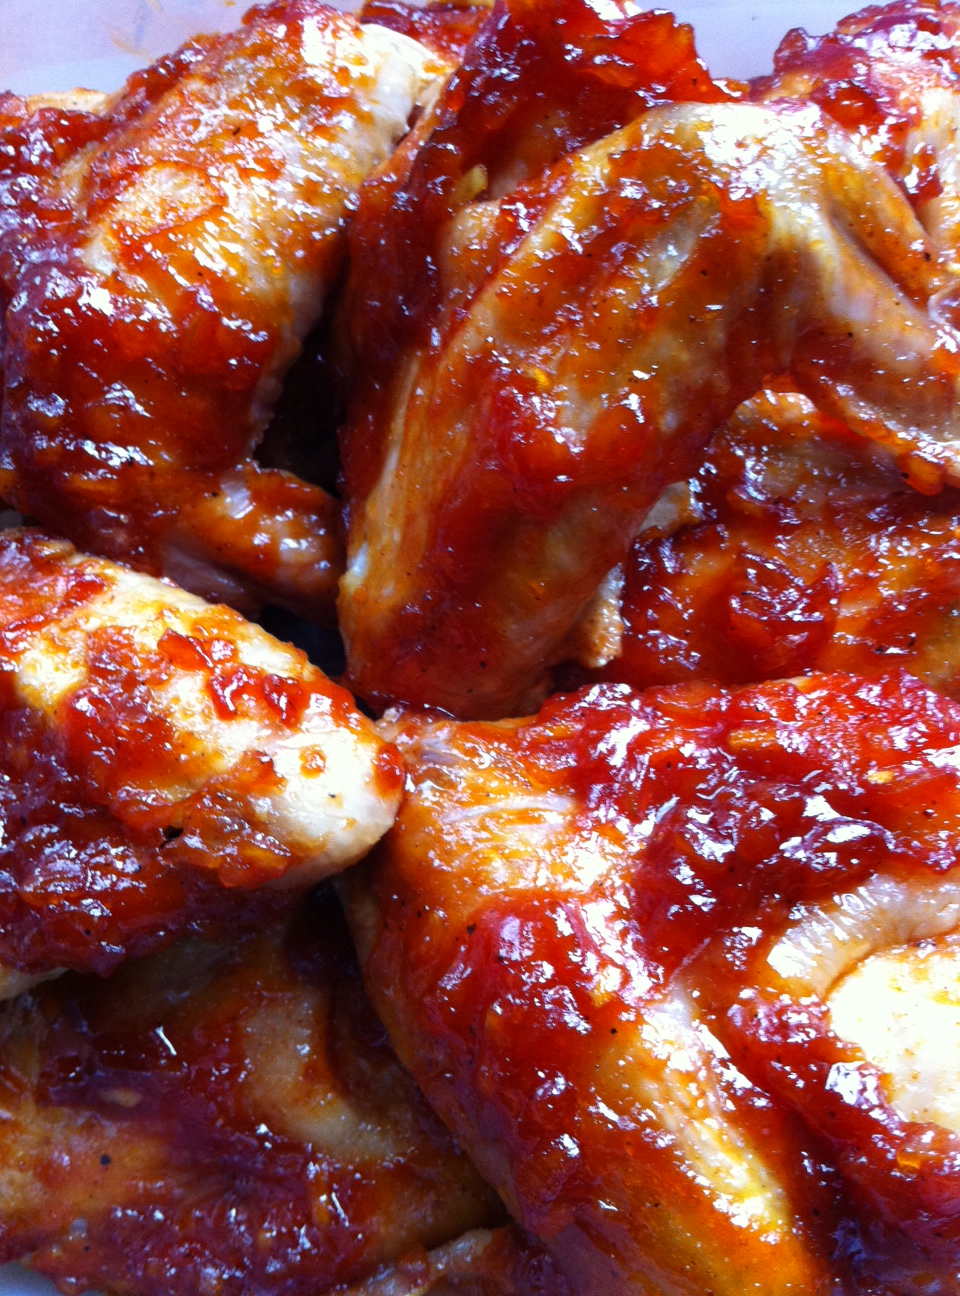
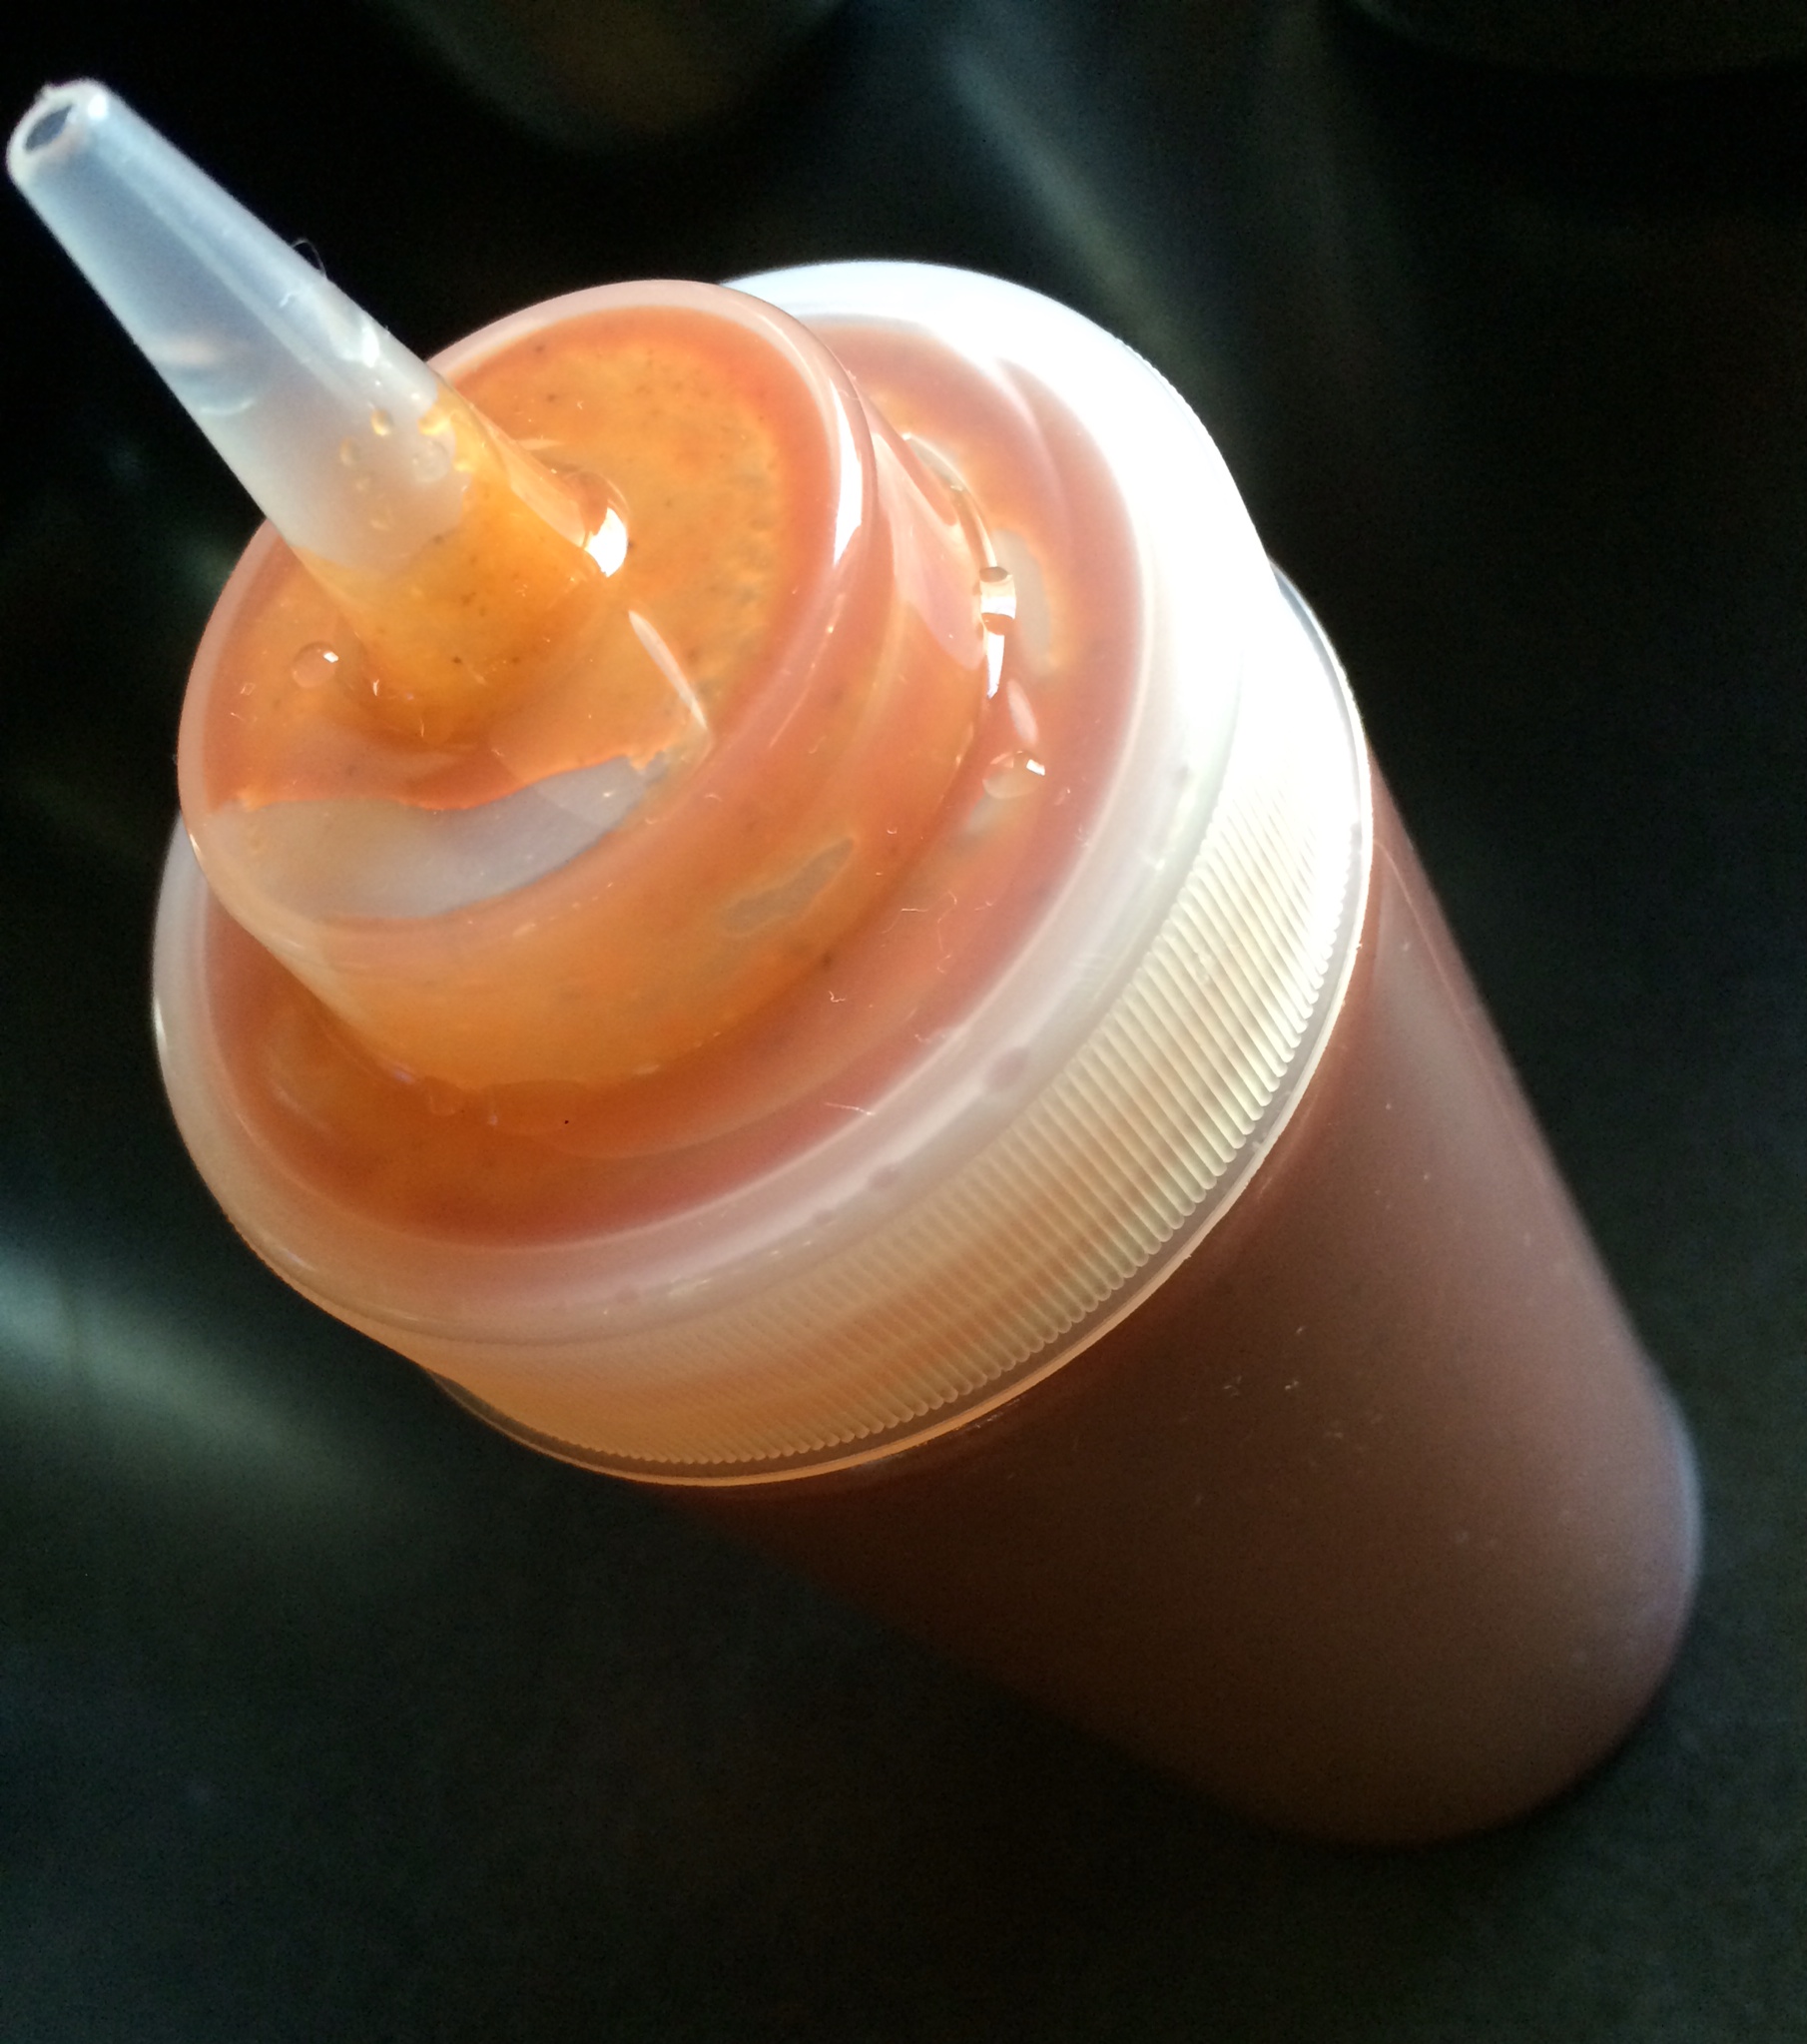
 

I grill year-round. I’ll stand in 3 feet of snow to get smoked ribs just right, if I have to. Through years of tireless experimentation, I’ve come up with a barbecue sauce that I can be proud of. I prefer a slightly sweet and tangy barbecue sauce,  and it works really well with pork or chicken.

What makes this sauce special is the citrus. I originally used lemon juice for this recipe and it was good. Lime juice was better. Adding lime zest: even better than that. I tried orange juice and zest, even Meyer lemon. But the Big Daddy of ’em all was grapefruit. I was craving my barbecue sauce one day and only had a grapefruit in the fridge. I thought: how bad could this be? Turned out to be the perfect foil to the sweetness of the brown sugar and ketchup.

Try this sauce on your next batch of chicken wings or even a whole bird. Cook the bird almost all the way through, brushing the sauce on for the last 20 minutes so that the sugars don’t burn. Then just try to stop eating it!

Chix BBQ


GRAPEFRUIT BARBECUE SAUCE
1 cup ketchup
1/2 cup firmly packed brown sugar
Juice and zest of 1 grapefruit
3 tablespoons unsalted butter
1/4 cup dried onion flakes
1 teaspoon cayenne pepper sauce, like Frank’s Red Hot
1 teaspoon Worcestershire sauce
1 teaspoon granulated garlic
1/4 teaspoon black pepper
(no salt)

Combine all ingredients in a sauce pan. Bring to a boil and then simmer for about 20 minutes on low, until slightly thickened.


saucey

If you like a less sweet, more vinegary style to your barbecue sauce, this is the one. How could a sauce that’s inspired by what most people claim to be the best barbecue joint in the USA, Franklin’s Barbecue in Austin, Texas, be bad? People line up early in the morning and wait as much as four hours for a slab of brisket from this place. I’ll get there one day. In the meantime, I have the sauce…


2 cups ketchup
3/4 cup water
6 tablespoons cider vinegar
6 tablespoons white vinegar
6 tablespoons brown sugar
3 tablespoons Worcestershire sauce
1 tablespoon chili powder
2 teaspoons salt
2 teaspoons black pepper
1 1/2 teaspoons cumin


Mix all the ingredients in a saucepan and simmer until the flavors have blended, about 20 minutes. Remove from heat and cool to room temp. If you store it in an airtight container in the fridge, it’ll stay good for a few months.


Recently, I received a couple of pounds of ground venison from my buddy, Bruce, an avid hunter here in my town. I started thinking about what I could make with it…


I didn’t want to go with a venison burger right out of the gate. After all, venison is very lean, containing half the fat of beef, but with more protein. In fact, venison even challenges chicken in the protein department. But being really lean, it would dry out as a burger. And it can be gamey tasting, so I wanted to mix it with a few other ingredients. I decided to go with the safer option of making a taco with it.

Well, somewhere in the process of taco making, I thought of pork and beans and said: “Yeah, what if I made something like venison pork and beans? How bad could that be?”

Well, venison and beans can almost be called chili (depending on what rules you have about beans in chili), and I thought: “But I don’t really like chili.” But then I thought: “It’s not chili if I don’t call it chili.” Problem solved!


I used small red beans, but you can use what you like.


What I finally came up with is a venison pork-and-bean chili taco…or something like that.

Whatever…it tastes pretty good!

And obviously, if you don’t have venison, or just don’t want to use it, you can use lean (like 93%) beef for this recipe.


1 tablespoon avocado oil
1 small onion, finely chopped
4 strips (about 40g) pre-cooked bacon, finely chopped
1 lb. ground venison
Taco seasoning (see the recipe below)
20 grape tomatoes (100g), chopped
1/2 cup ketchup
2 tablespoons spicy brown mustard (I like Gulden’s)
2 tablespoons Worcestershire sauce (Only Lea & Perrins will do)
4 tablespoons brown sugar
2 cans (15.5 oz. each) of small red beans, not drained


Pre-heat your oven to 350 degrees.

Spray a baking pan with oil spray (I use avocado) and set aside.

In a large pan, heat the avocado oil and add the chopped onion. Sauté the onion until it’s translucent.

Add the chopped bacon, and sauté until some of the fat starts rendering out of it.

Add the pound of venison, and cook until the meat has browned nicely, adding the taco seasoning to the meat as it cooks, little by little, until you’ve used all the taco seasoning up.

Add the chopped grape tomatoes, and stirring after each addition, add the ketchup, mustard, Worcestershire, and brown sugar.

Pour in the two cans of beans, liquid and all, and stir gently, letting it all come to a boil.


Pour the contents of the sauté pan into the baking pan, cover it with foil, and place it in the 350-degree oven to cook for 40 minutes.

After 40 minutes, remove the foil off the pan and cook another 10 minutes.


The Taco Seasoning…
2 teaspoons cumin
1 teaspoon salt
1 teaspoon black pepper
1 teaspoon oregano
1 teaspoon granulated garlic
1 teaspoon granulated onion
1 teaspoon paprika

Combine all the ingredients in a bowl, and set it aside.


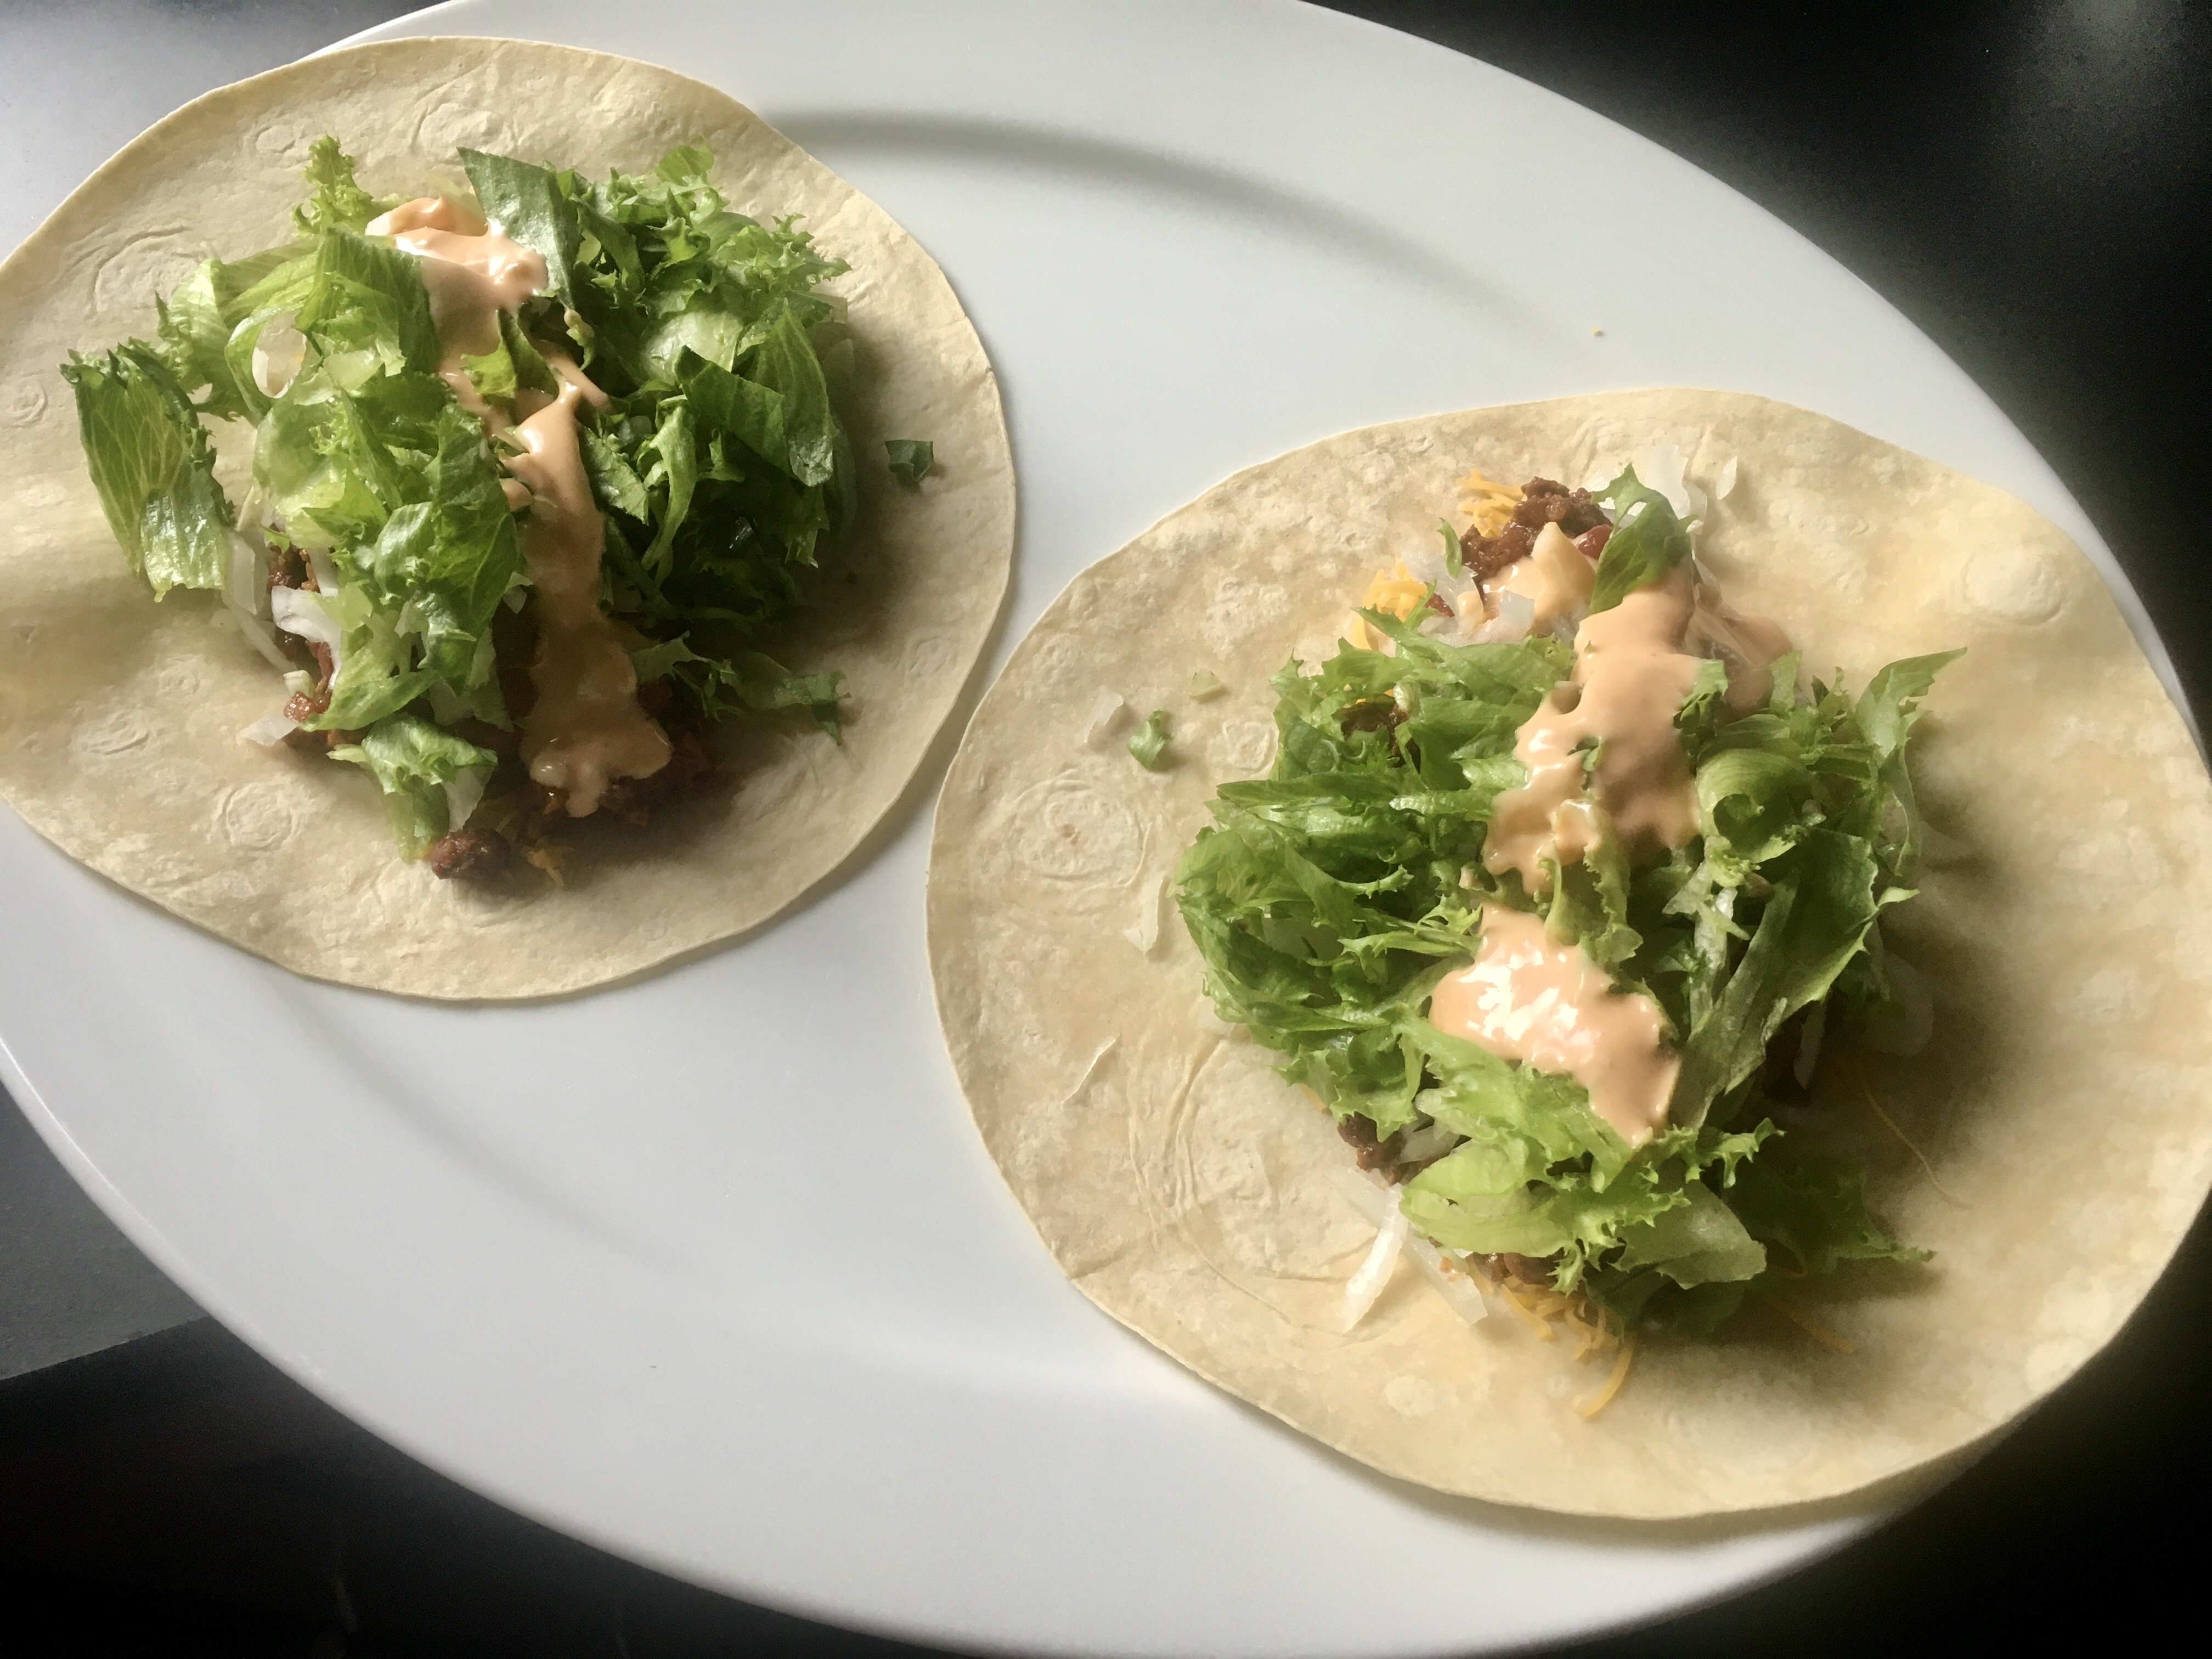
Once the venison pork-and-bean chili taco meat has finished cooking, I like to use it in a flour tortilla, with shredded lettuce and a little shredded cheese on top.


Shredded lettuce, grated cheddar cheese, some raw Vidalia onion, and a touch of 1000 Island dressing!


CHIMICHURRI

Posted: August 24, 2022 in beef, Food, grilling, marinade
Tags: , , , ,

Chimichurri is a garlicky, herby green sauce usually used with grilled meats. This pesto-like condiment originated in Argentina and is also commonly used in Nicaragua and Uruguay. Though some recipes include cilantro, many people insist the original is made only with parsley. To pack an extra punch, chimichurri also makes an excellent marinade for grilled meats.

My buddy, Lee, a chemist and avid chimichurri fan, is the inspiration for my version of this sauce. It’s incredibly easy to make. Just make sure to use fresh ingredients, and it’s always a good idea to wash all the veggies before using, even if you’re going organic.


chimi


1 bunch flat-leaf parsley, chopped
1/4 cup water
1 medium onion, chopped
3 cloves garlic, minced
3–4 tablespoons fresh oregano, leaves only (or 1 tablespoon dry)
1 tablespoon paprika
1 teaspoon crushed bay leaf
1 tablespoon coarse sea salt
1 teaspoon freshly ground black pepper
pinch red pepper flakes
1/4 cup red wine vinegar
1/2 cup extra virgin olive oil

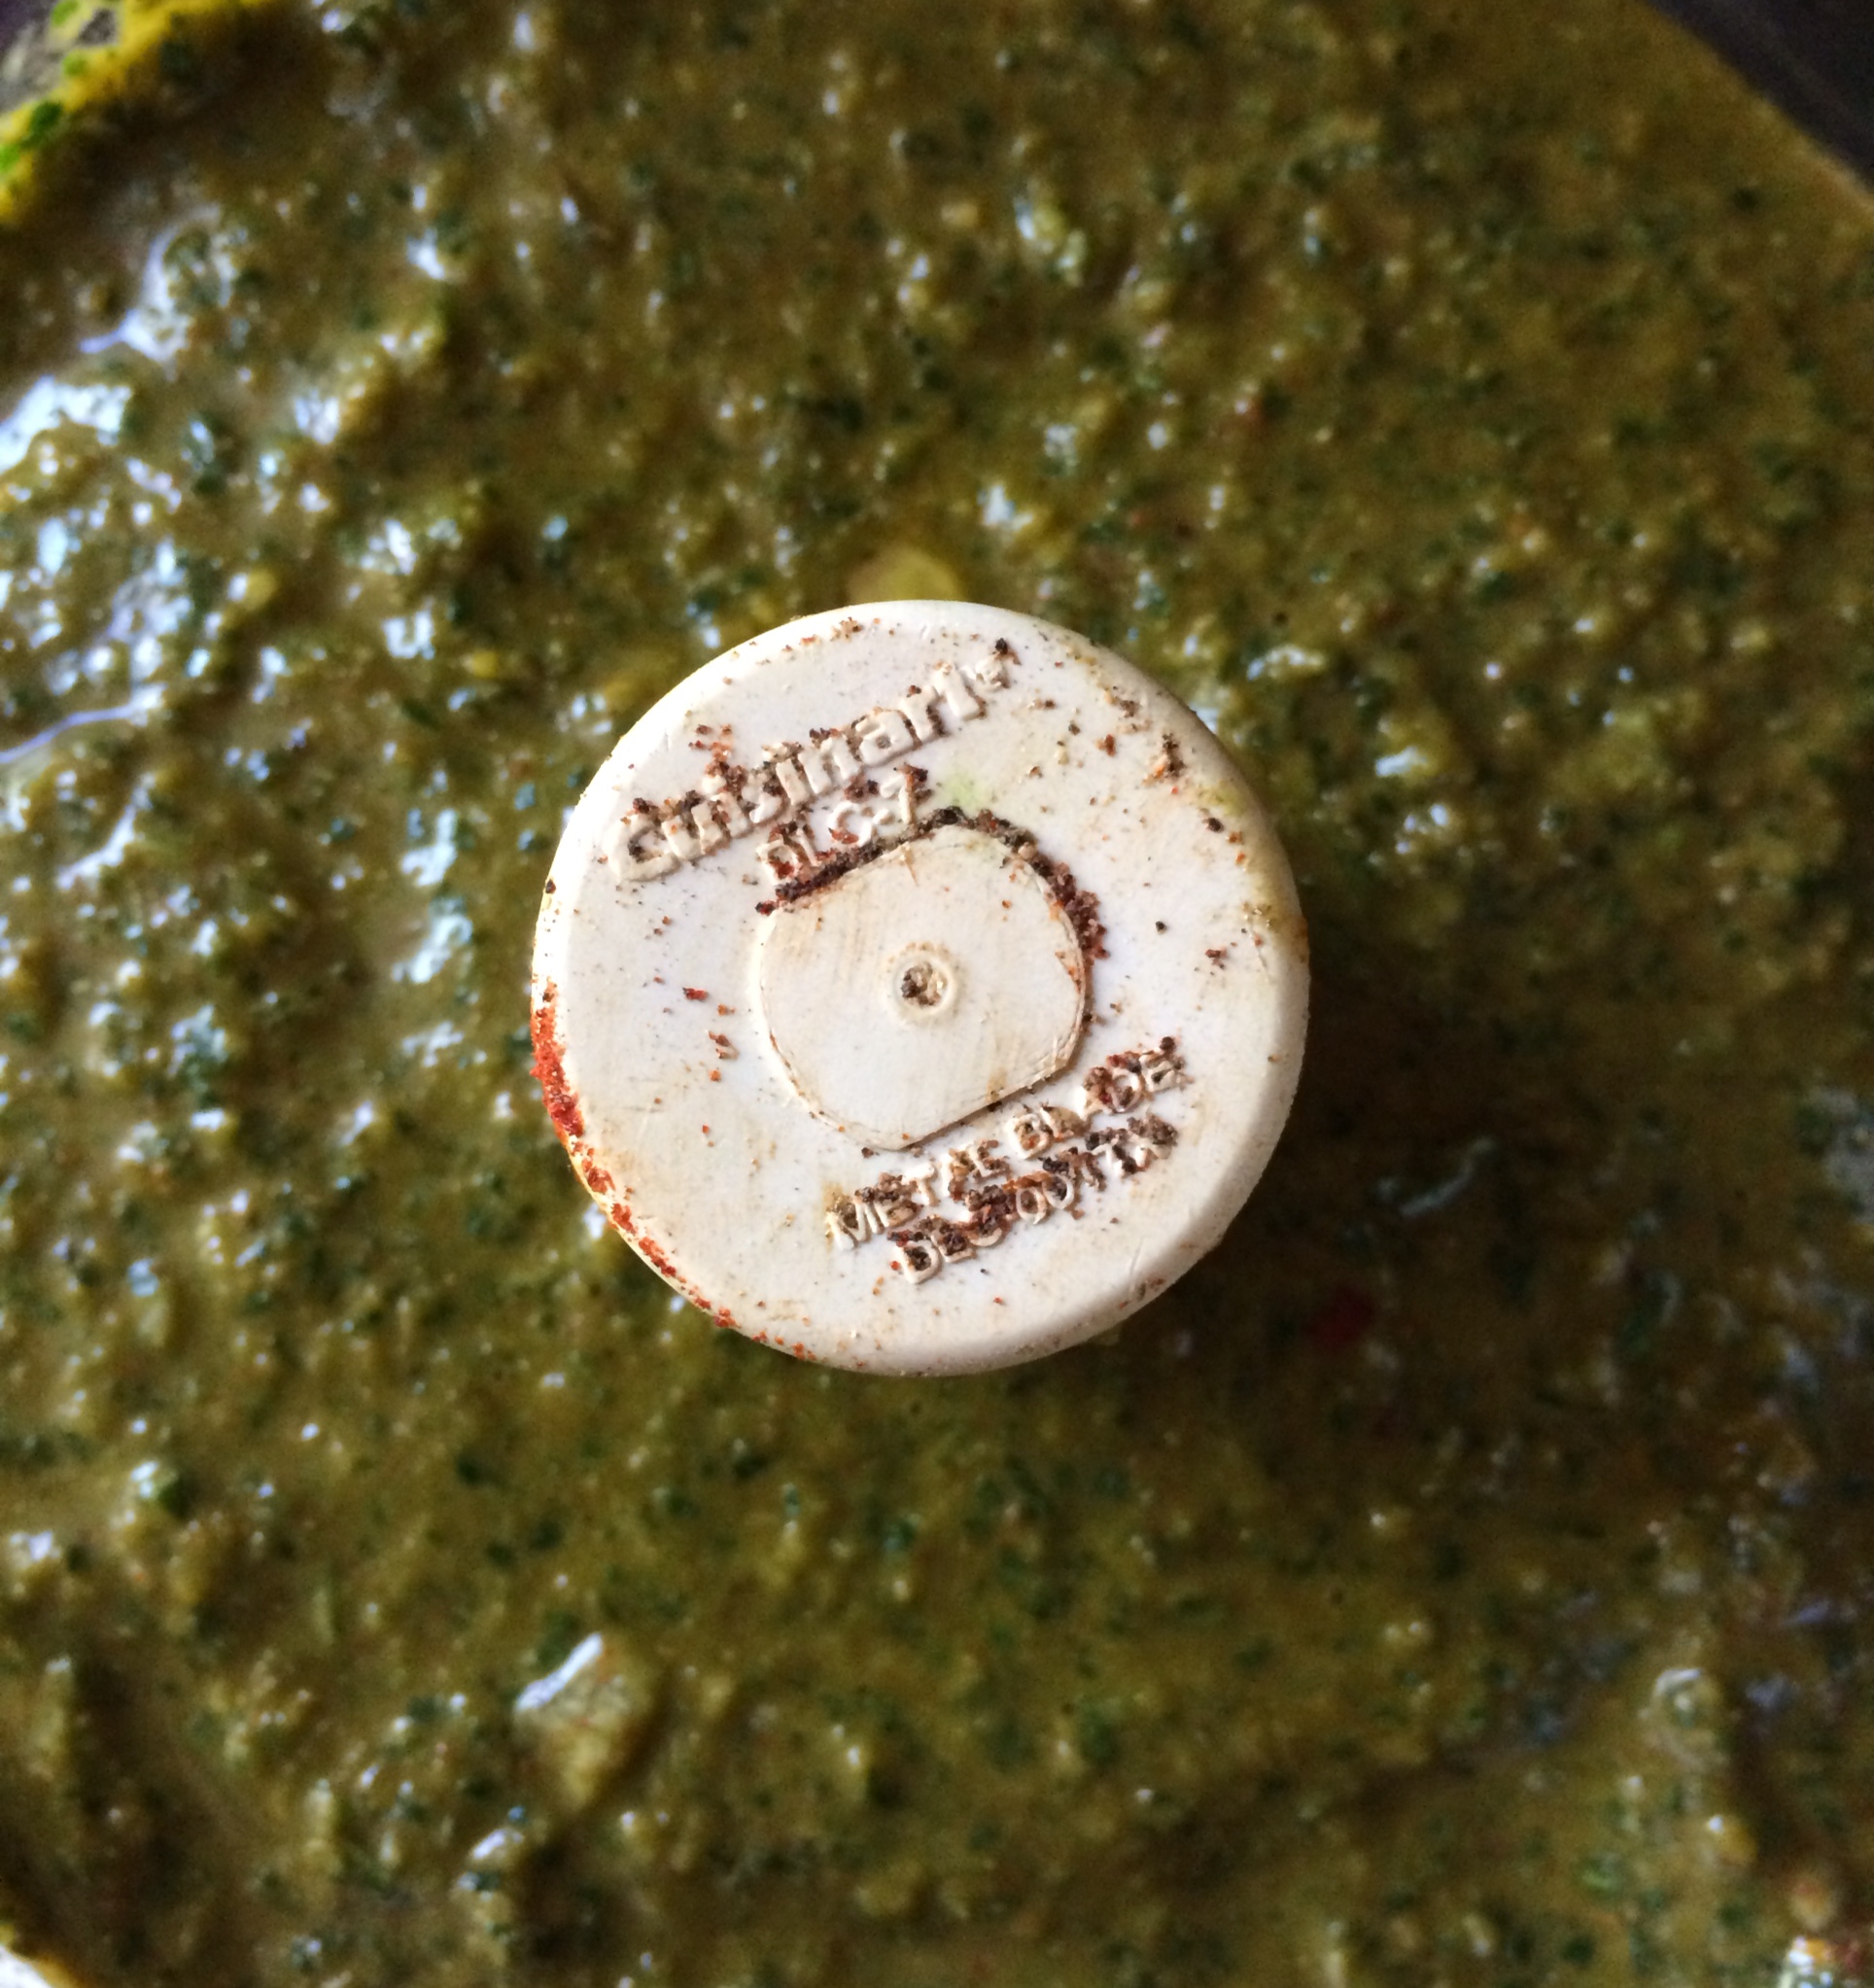
Place all the parsley and the water in a food processor and begin to chop, pulsing for a second at a time. When the parsley is in small pieces, stop pulsing and add the remaining ingredients, except the vinegar and olive oil. Start the processor on a full run now, and slowly pour in the vinegar, then the olive oil. Try not to make it too smooth…leave some tasty bits. Allow it to rest for at least 30 minutes, but overnight in the fridge is best.

I marinated 2 grass-fed beef ribeyes in chimichurri overnight, simply smearing the meat with the sauce, and placing the ribeyes in a resealable plastic bag in the fridge. The next day, I let the beef come to room temperature and I wiped the marinade off. I discarded the marinade, then I re-seasoned the beef with a little salt and pepper and pan seared them, finishing them in a 350-degree oven until medium-rare. A little dipping of fresh chimichurri on the side.


Grass-fed beef ribeyes with chimichurri

Grass-fed beef ribeyes with chimichurri


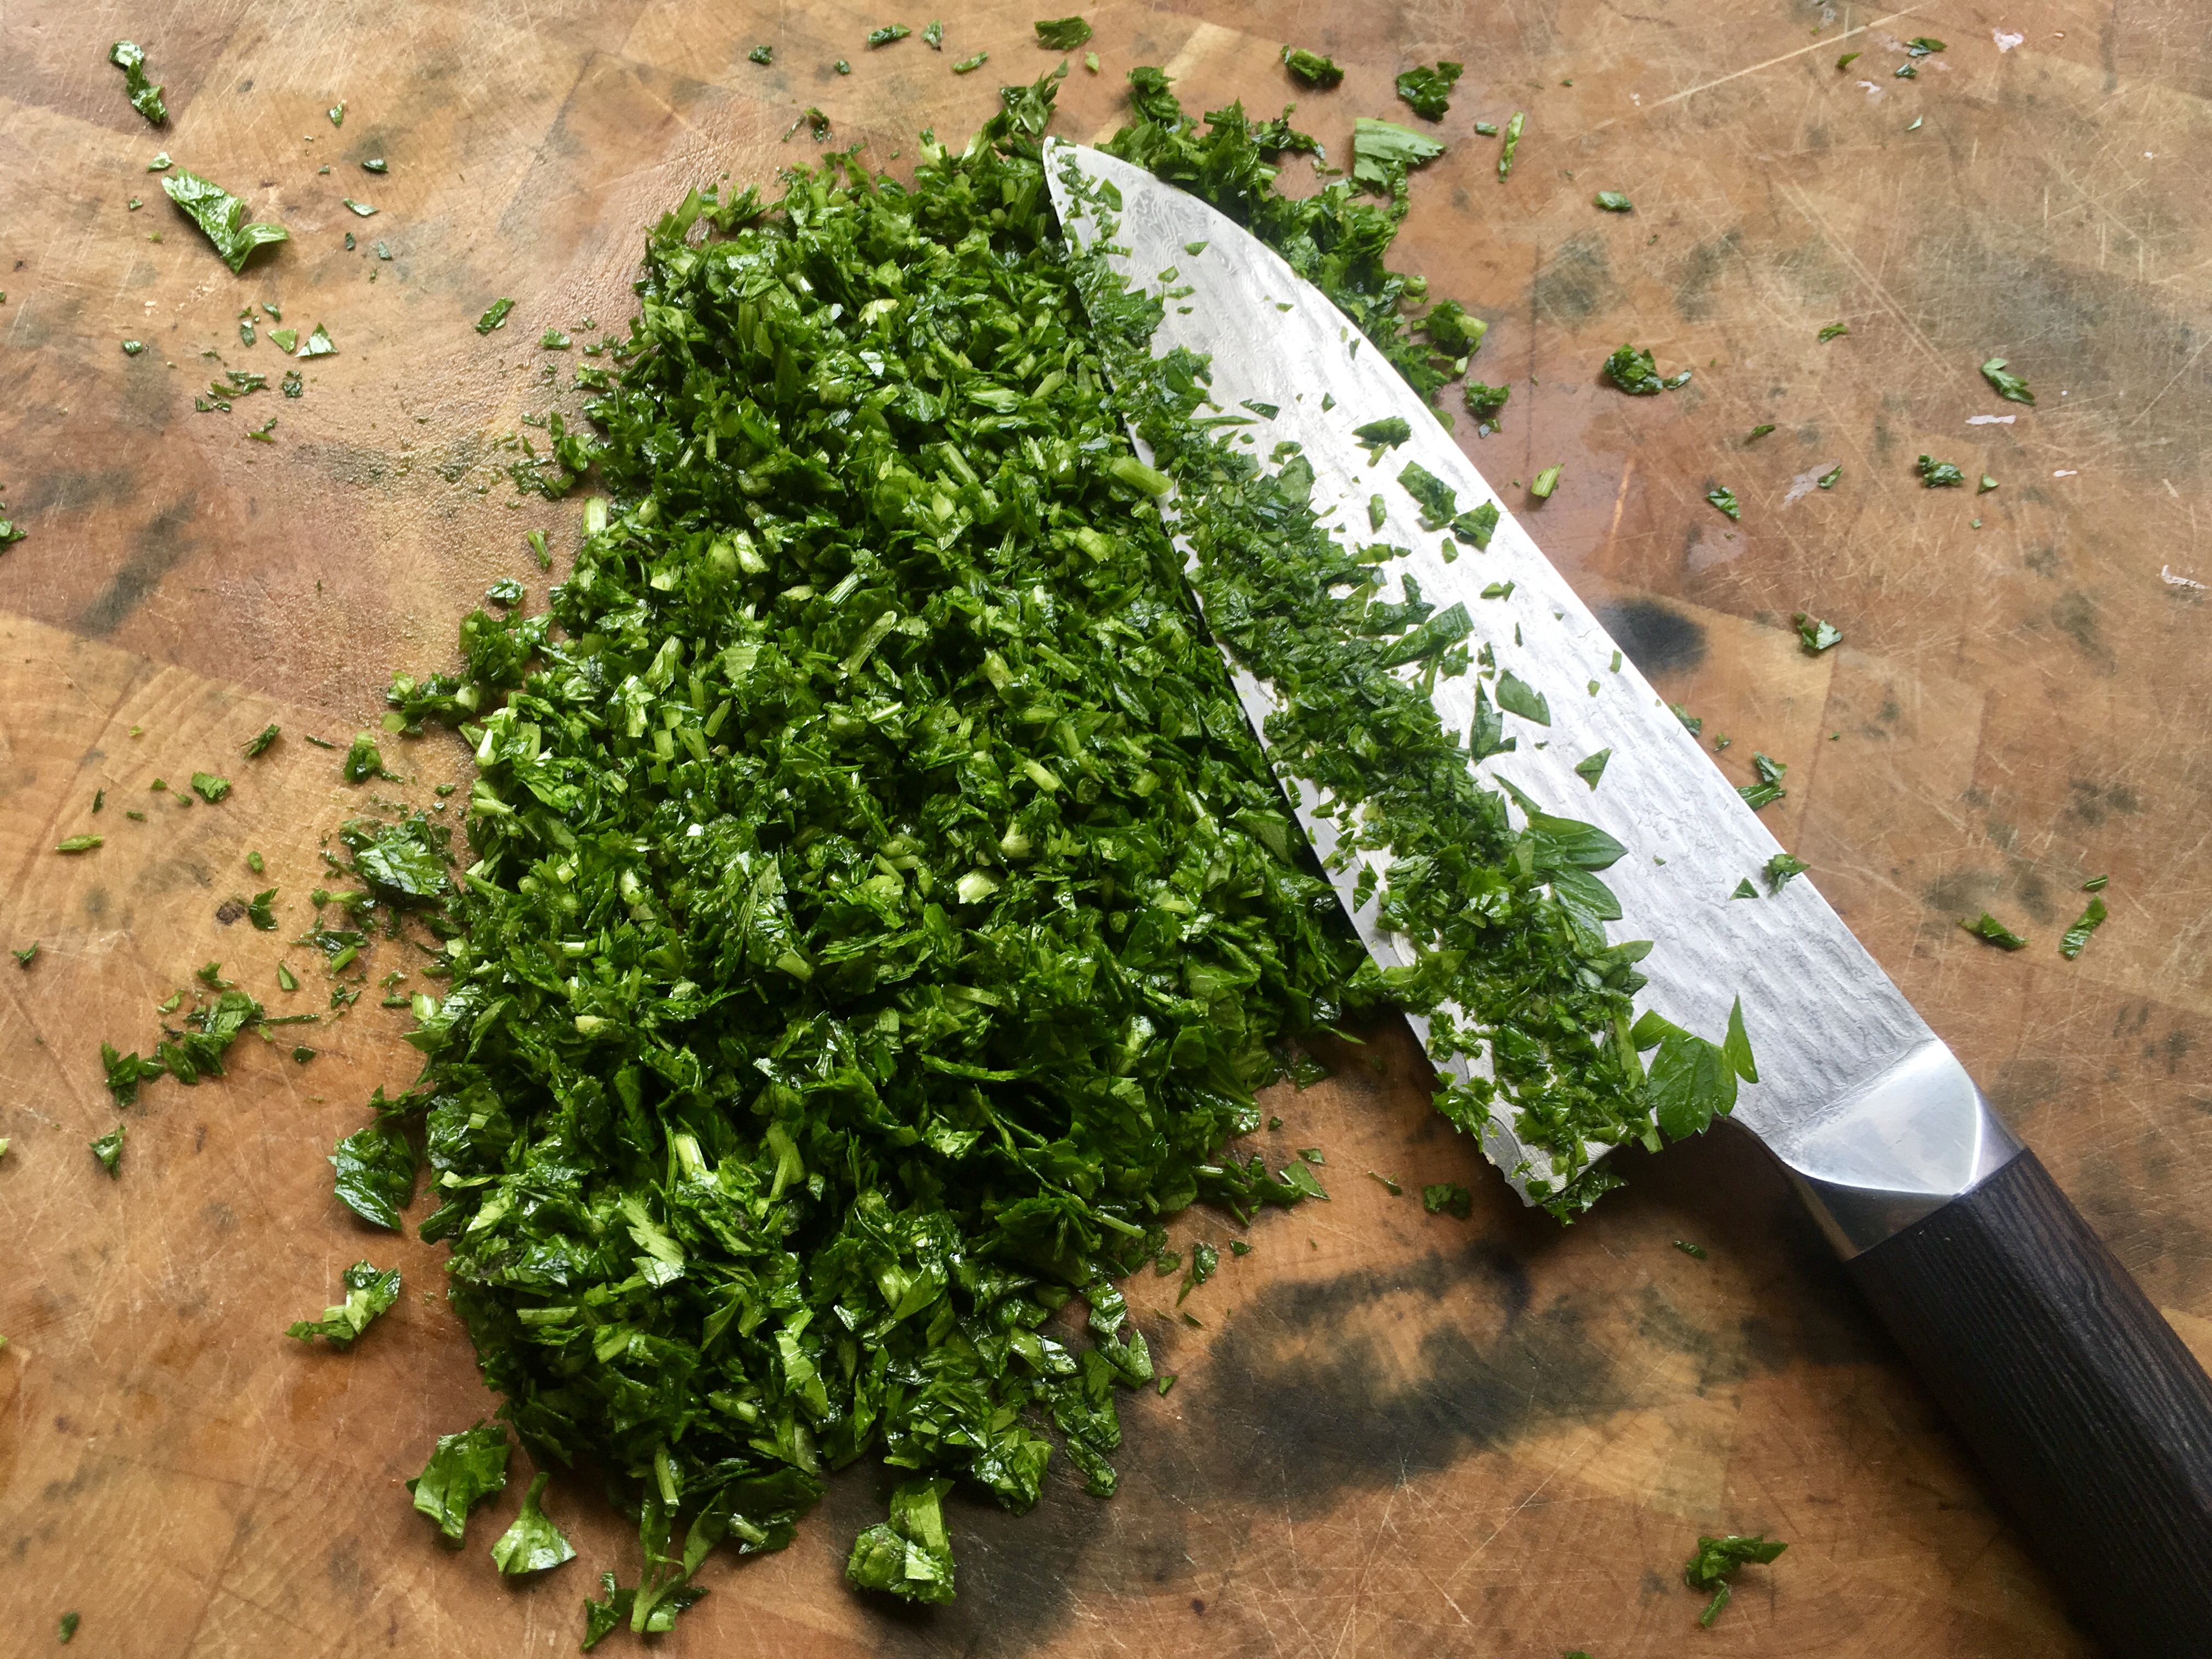
Lots of fresh parsley is key!


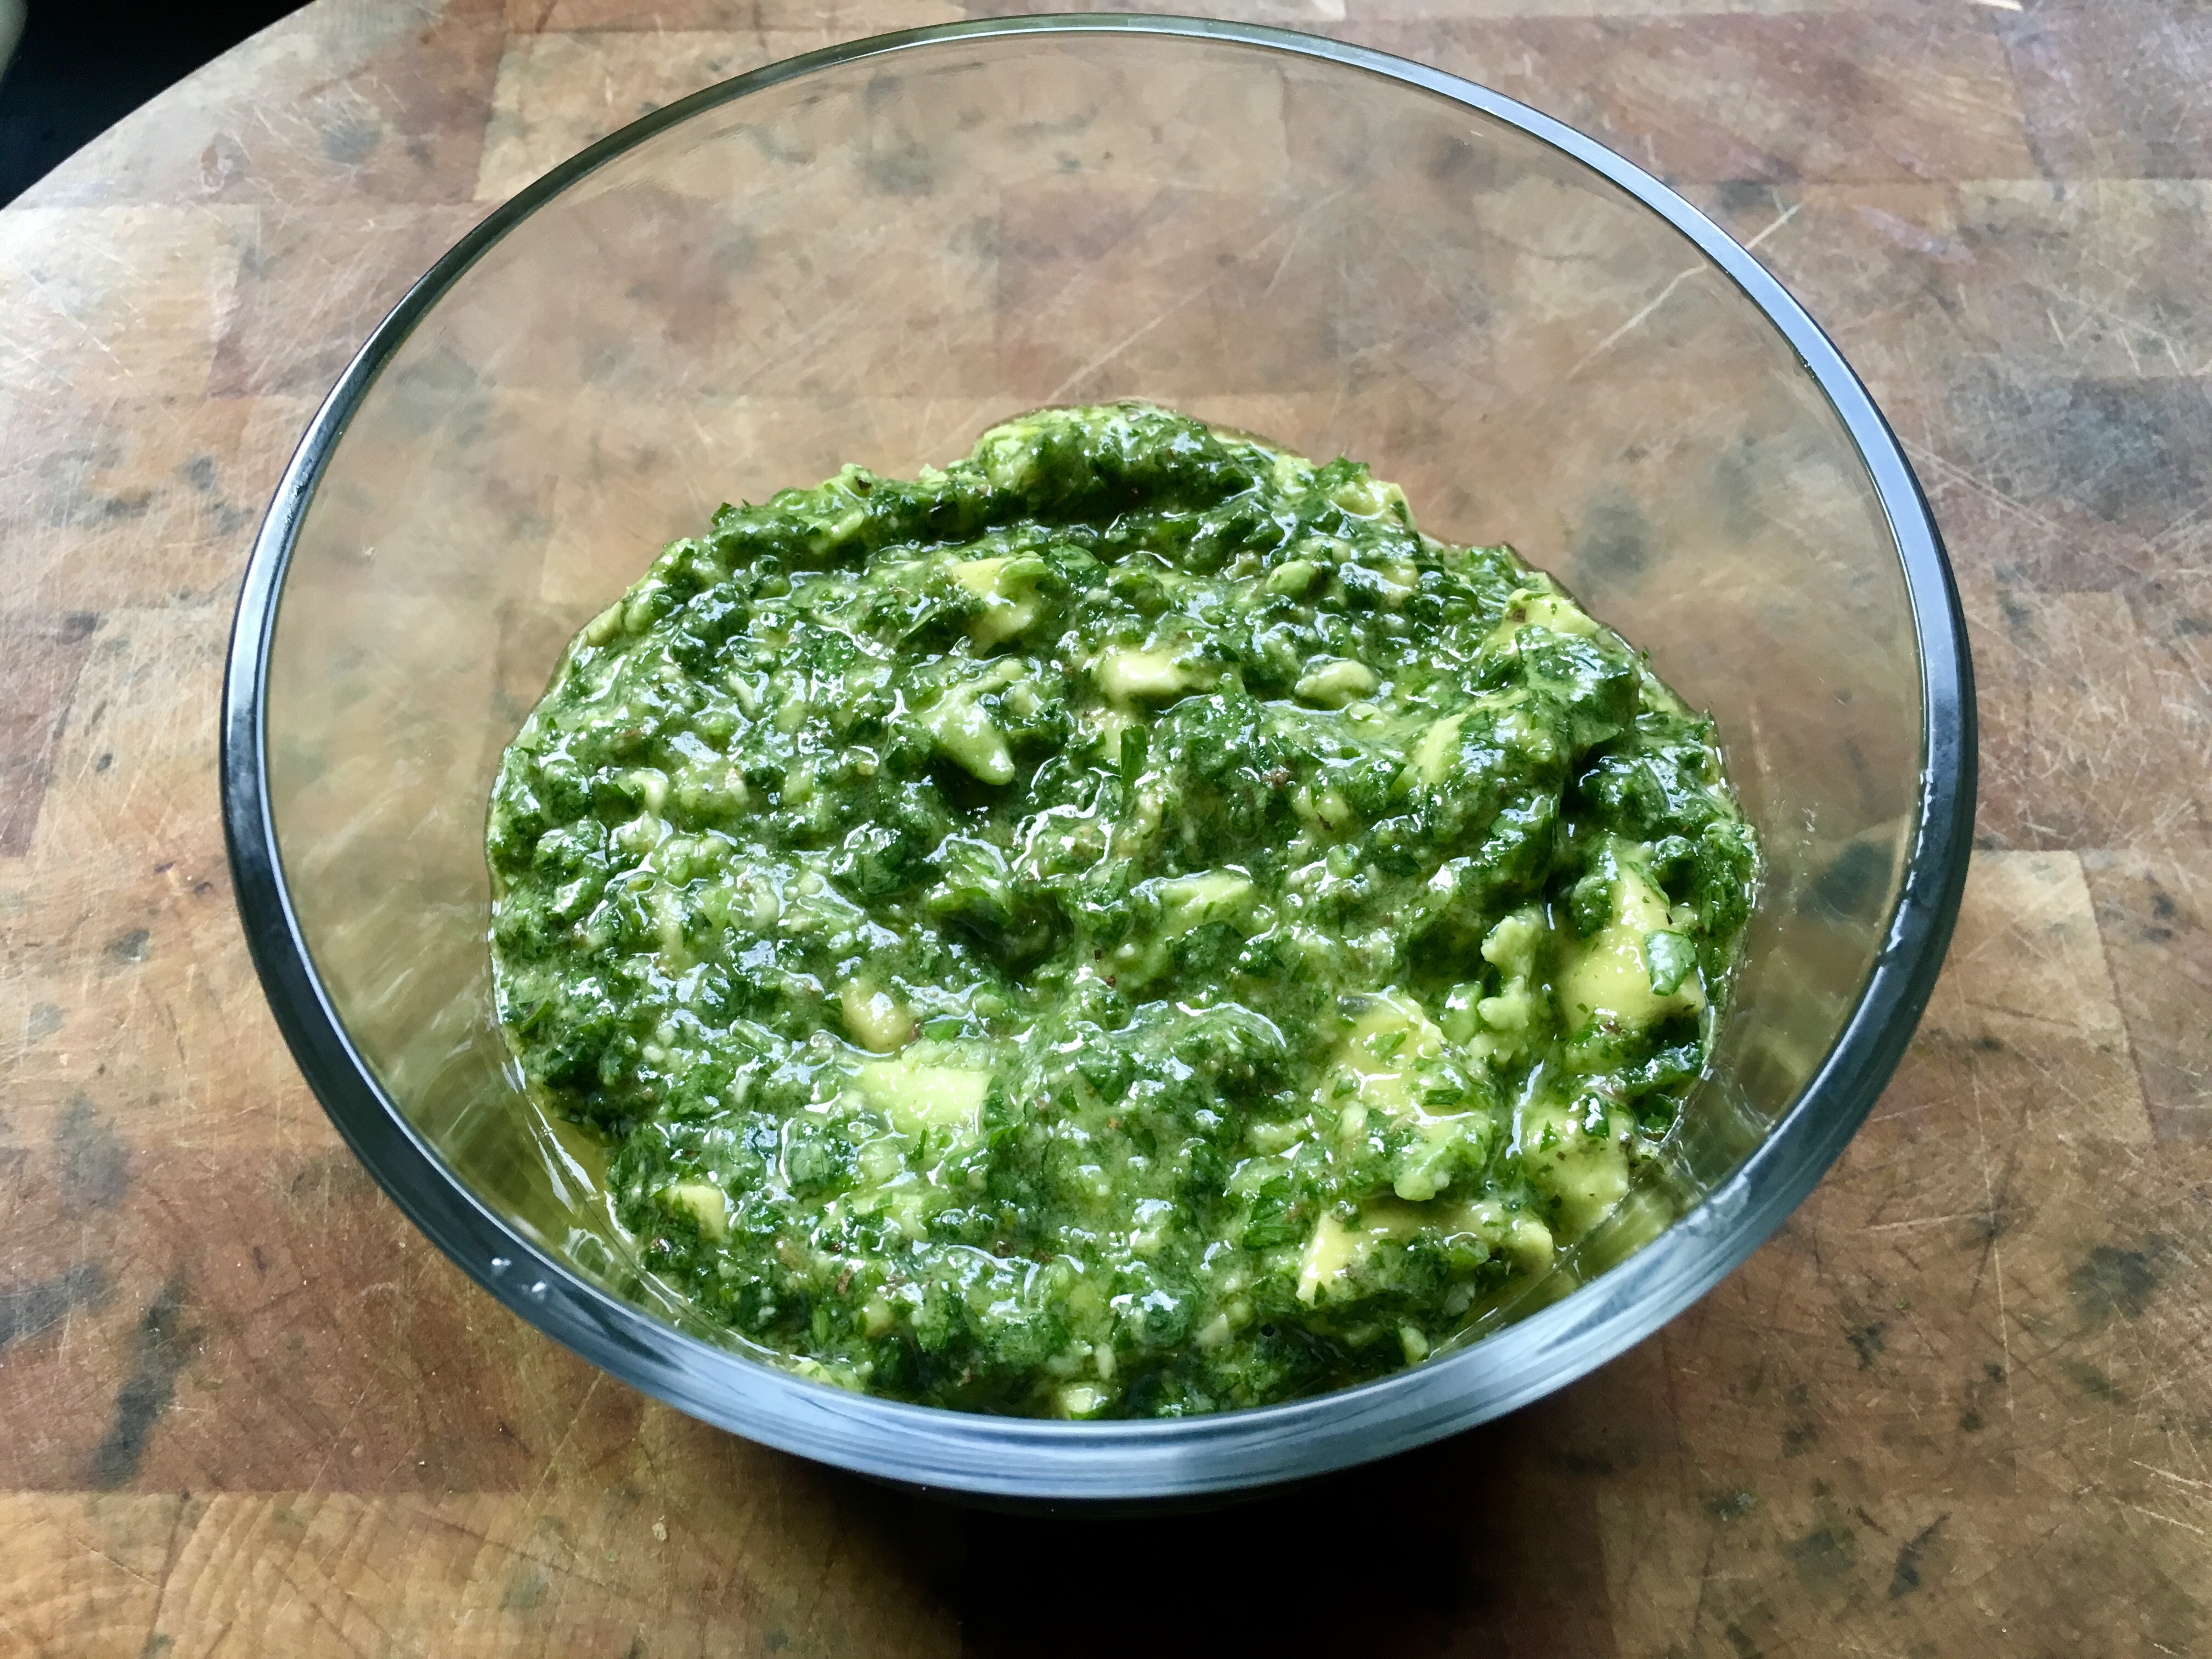
I recently saw a chimichurri recipe that included avocado, and thought: now that sounds tasty! It’s not the classic recipe, of course, but it is delicious! I can see this stuff used as a dip for veggies or chips. The fresh lime juice keeps the avocado from browning.


1/3 cup extra virgin olive oil
1/4 cup fresh lime juice
1 garlic clove, minced
1 cup finely chopped parsley
1 tablespoon finely chopped oregano, or 1 teaspoon dry oregano
1 Hass avocado, peeled, pitted and diced
Kosher salt

In a medium bowl, whisk the olive oil with the lime juice, garlic and a pinch of salt. Stir in the parsley and oregano and let stand at room temperature for 30 minutes. Fold in the avocado and season with salt.


Avocado chimi. Chunky and tasty.


The chimichurri can be refrigerated for up to 4 hours.

Some people don’t like cooking with veal because of the way the animals are treated, and I completely understand because I’m one of those. But…I’m fortunate that I can buy my veal from a nearby dairy farm, Sweet & Salty Farm in Little Compton, RI, where the animals are grass-fed and raised humanely. That makes for happier animals and incredibly flavorful meat…and no guilt about using it.

If you can’t get humanely raised veal, pork and beef work, too.

I also buy veal bones from Sweet & Salty Farm, roasting them on a sheet pan in a 400-degree oven for 30 minutes, then placing them in a large pot of water. I take some chopped carrots, onions, and celery, toss them in a little olive oil, and place them on a sheet pan, roasting them in the oven until they’ve caramelized, then add them to the pot with the veal bones. The secret to a great veal bone broth is to boil the bones and veggies for as long a time as possible. Restaurants will do this for days, replacing the water in the pot as needed. At home, I’ll start the broth in the morning and finish it by evening, straining out the veggies and bones at the very end of the cooking time.

The subtle flavor of veal can get lost with heavy seasonings, so I keep it simple. The addition of veal bone broth amplifies the flavor and keeps the meatballs from drying out.

img_0245

1 lb. ground veal
1 cup toasted breadcrumbs (I use Udi’s bread to make it gluten-free)
2 teaspoons parsley
1 teaspoon oregano
1/2 teaspoon basil
1 teaspoon salt
1/2 teaspoon black pepper
1/2 teaspoon granulated garlic
1/2 teaspoon granulated onion
1 egg
extra virgin olive oil
1 lb. pasta, cooked firmer than al dente
2 cups veal bone broth or beef stock
salt and pepper for seasoning
2 tablespoons half-and-half
2 tablespoons butter
1 cup of frozen organic peas

Pre-heat the oven to 350 degrees.

Make the meatballs: In a bowl, combine the veal, breadcrumbs, parsley, oregano, basil, salt, pepper, garlic, onion and egg, mixing the ingredients thoroughly. Don’t over-mix.

Form the meatballs one by one, about golf ball size, and place them in an ovenproof pan. I line the pan with non-stick aluminum foil for easy clean up. Cook the meatballs for about 10 minutes. Don’t overcook them! (Even if you’re using pork, 10 minutes is OK because you will be cooking them longer. )

In a saucepan, heat the veal bone broth or beef broth. Once the meatballs have cooked in the oven, transfer them to the pot of broth and cover it with a lid, keeping the heat on low. If the broth doesn’t cover the meatballs, turn them every once in a while to keep them moist on all sides. Simmer the meatballs in the broth for about 30 minutes, then transfer them to a large sauté pan.

Turn the saucepan with the veal broth on high and reduce it to about 1/2 cup. Season it with salt and pepper.

In a large pot, cook the pasta to a bit firmer than al dente in well-salted water. Drain it and set it aside.

In the large sauté pan with the meatballs, add the butter and the half-and-half. Add the reduced veal broth, the pasta, and the peas.

Gently mix the ingredients in the pan until the peas have warmed through and the sauce clings to the pasta. Serve immediately.

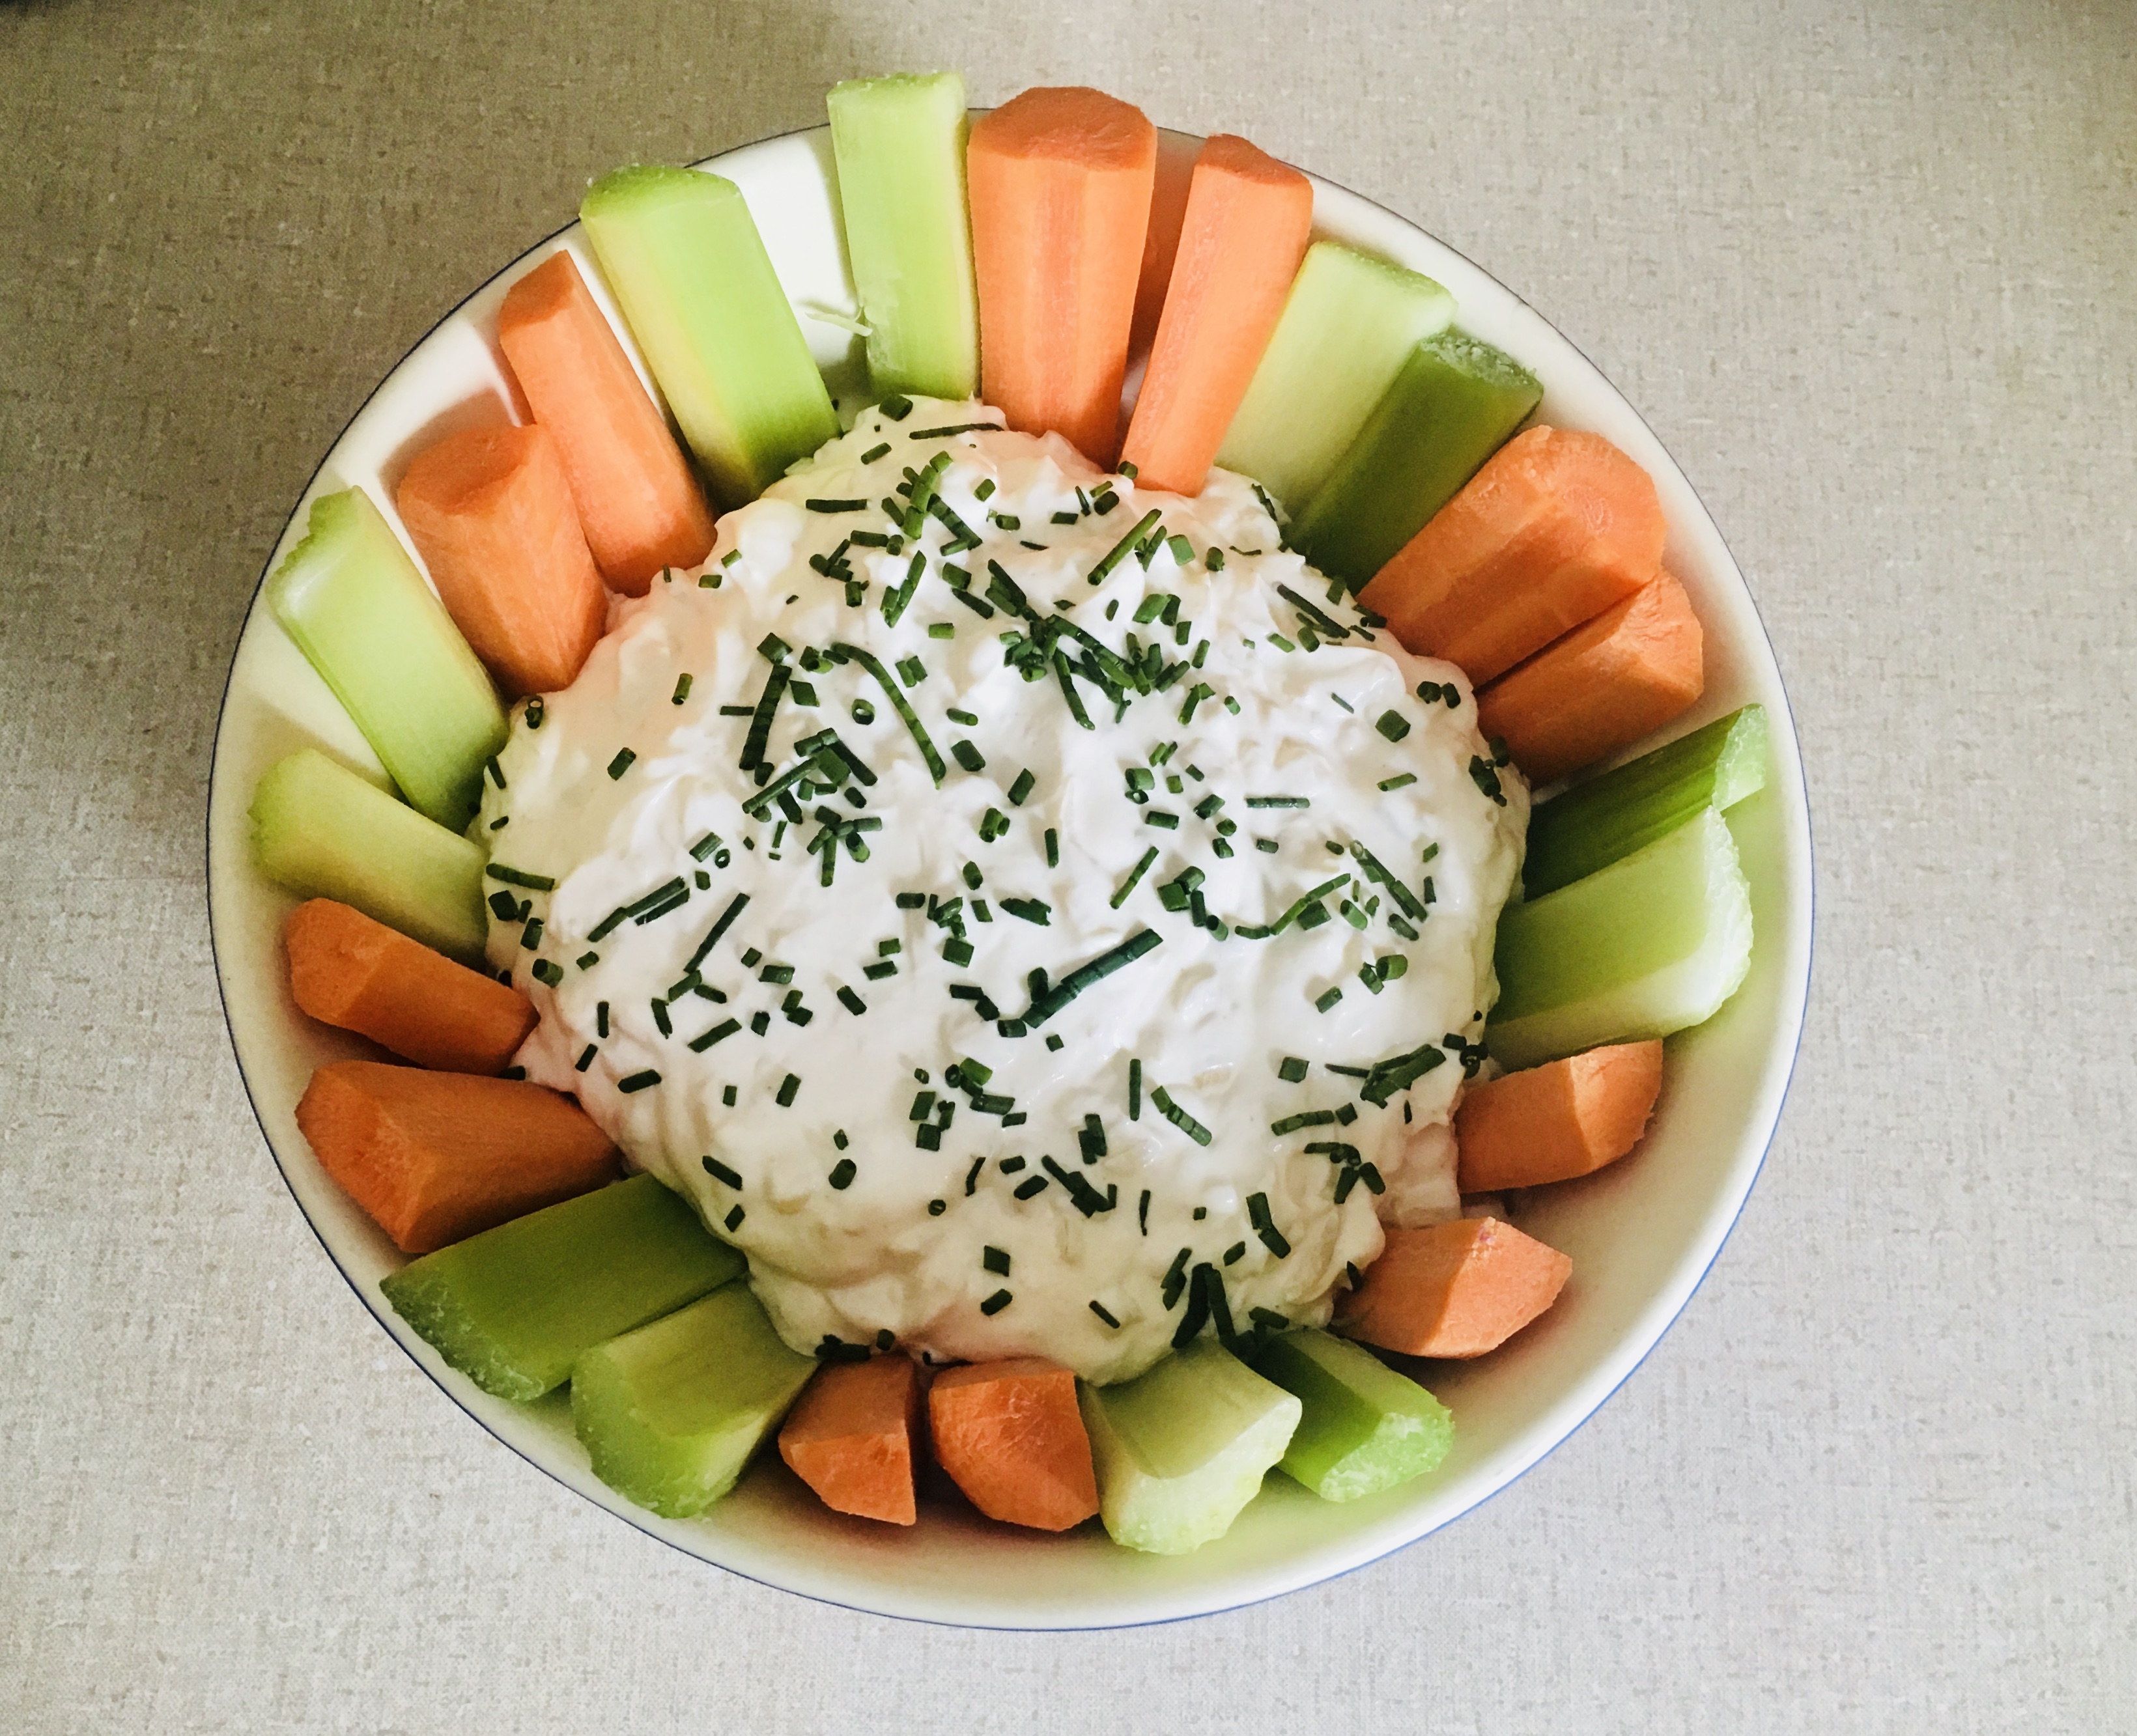
I love onion dip, and really good onion dip is hard to find…you’ve got to make it. It’s not difficult to do, and it’s worth the effort. Great with chips or veggies, it’s perfect for TV binge munching.


2 tablespoons olive oil
1 1/2 cups diced sweet onions
1/4 teaspoon salt
1 1/2 cups sour cream
3/4 cup mayonnaise
1/4 teaspoon granulated garlic
1/4 teaspoon white pepper
1/2 teaspoon salt
chopped chives, to garnish

In a pan over medium heat, sauté the onions in the olive oil and salt until they are soft and barely caramelized, about 15 minutes. Remove them from the heat and set them aside to cool to room temperature.

In a bowl, combine the rest of the ingredients except the chives, then add the cooled onions and mix well.

Refrigerate the dip and stir again before serving. Sprinkle the chopped chives on top to garnish.

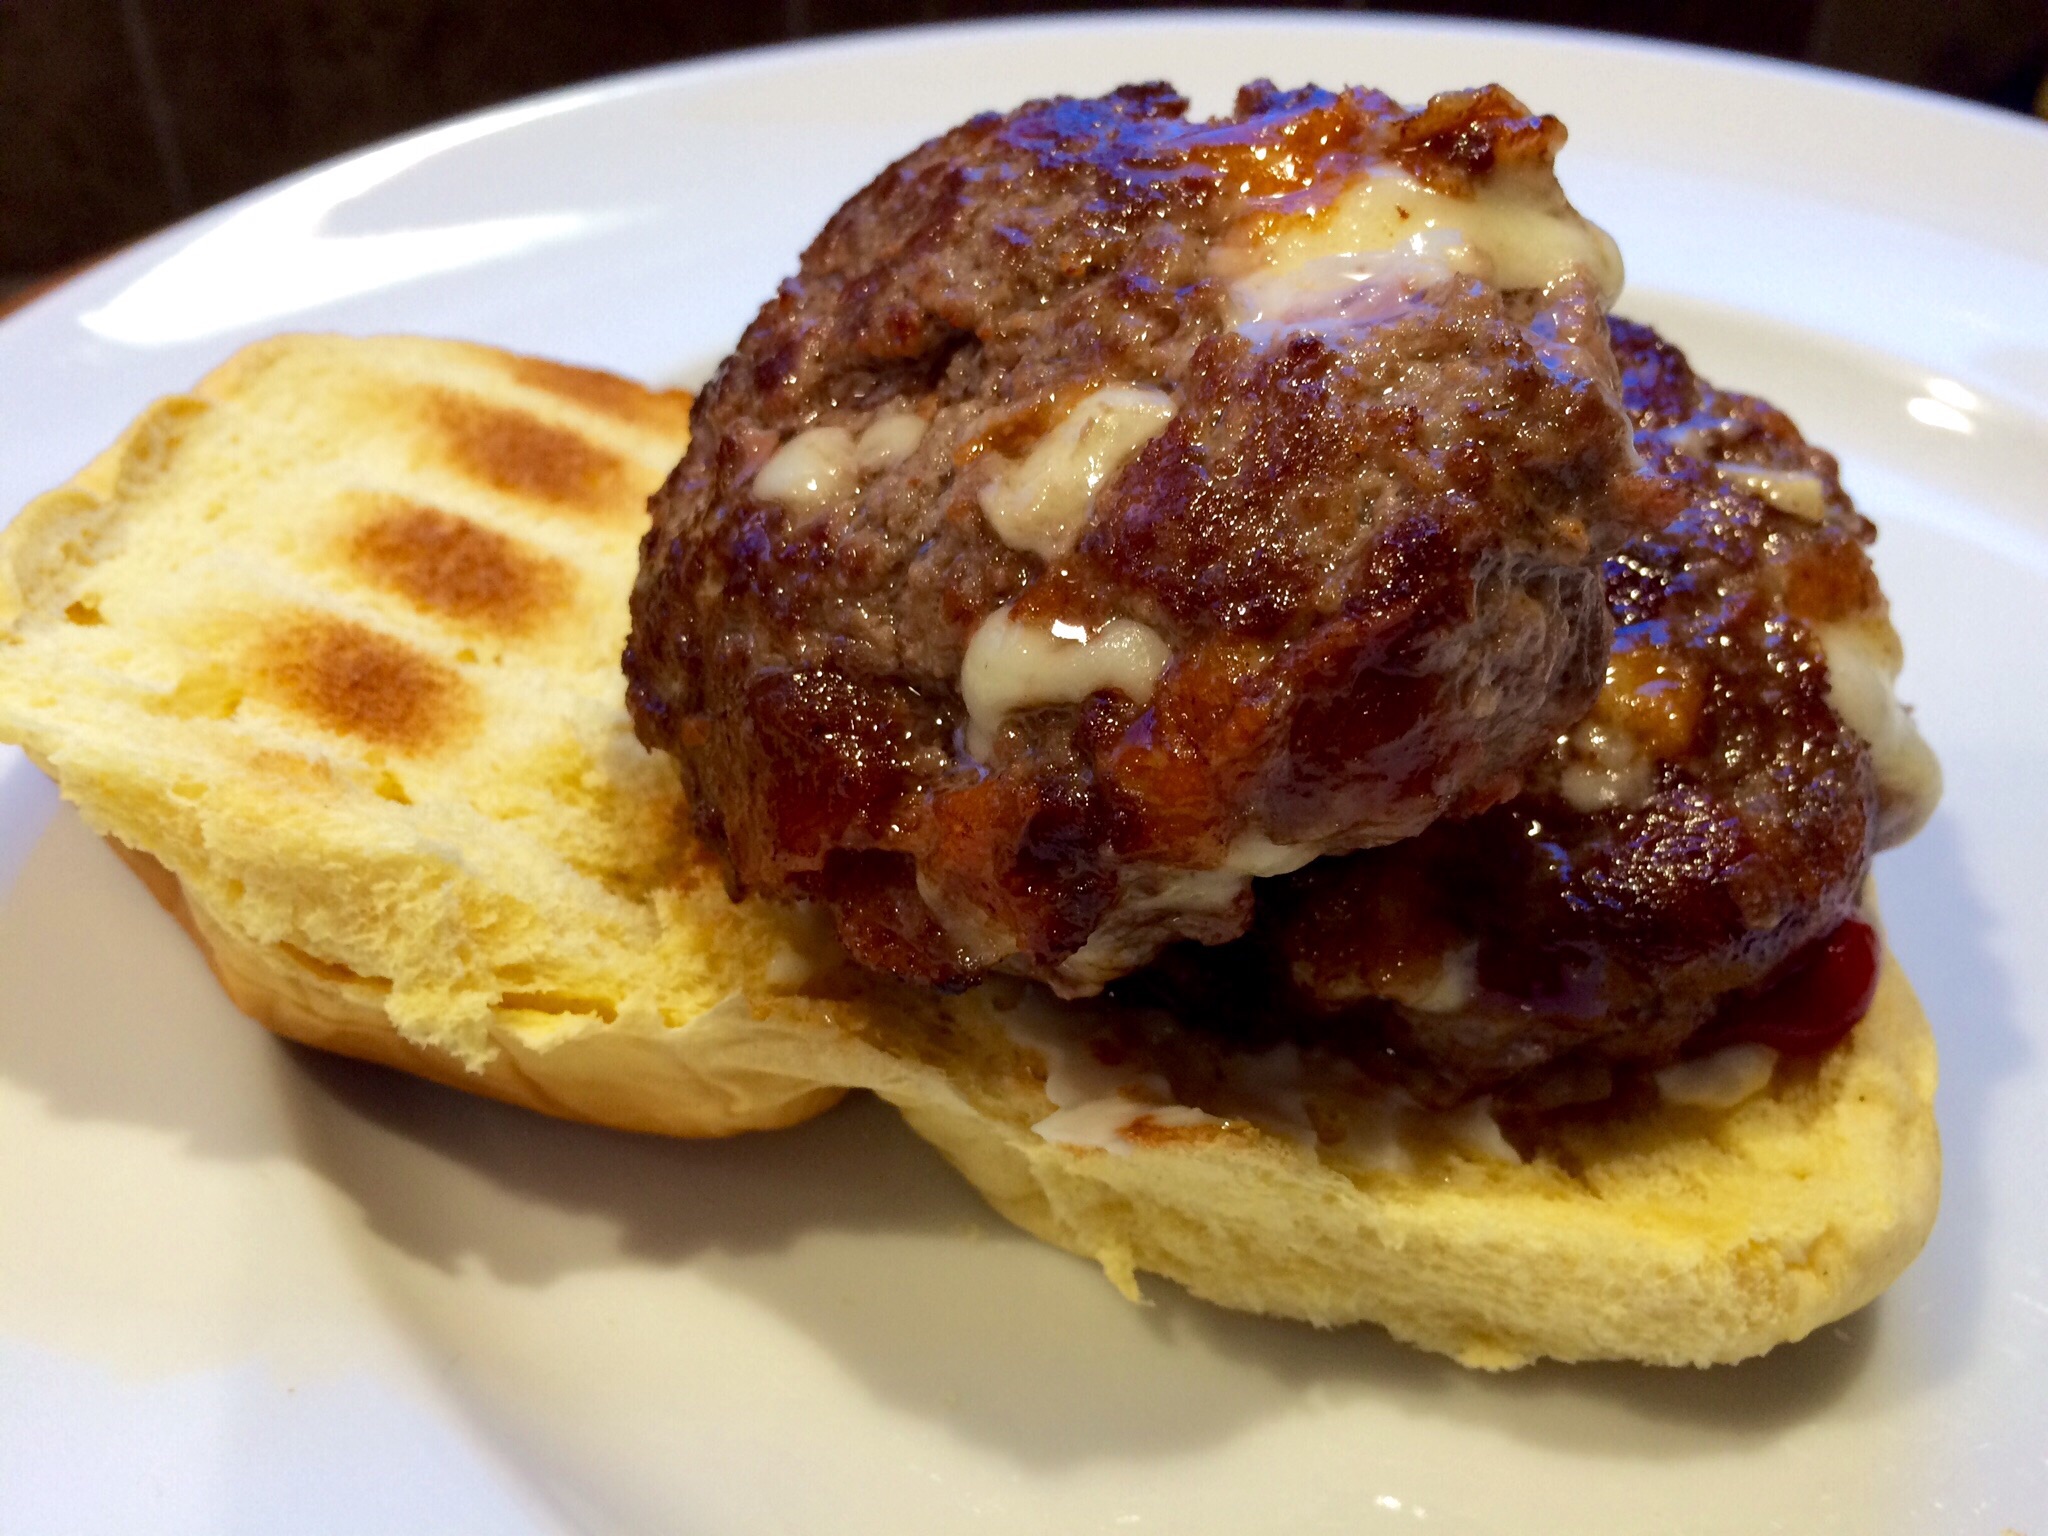
Not a very complex idea. I just put the stuff that’s usually on the outside, on the inside of my burgers. Why? Why not?

If I’m making bacon cheeseburgers to bring to a barbecue, even if it’s on my back deck, instead of bringing a package of bacon and a package of cheese and a stack of burgers, I’ve got all the ingredients conveniently in the patties. And as the burgers cook, the fat from the bacon and the gooey cheese melt and combine with the burger meat to make a really tasty and moist burger.

I make 2 lbs. of burgers at a time, using grass-fed beef.

image

2 lbs. ground beef
1/2 cup sharp cheddar cheese, cut into 1/4″ cubes
1/2 lb. bacon, cooked crisp, cooled and crumbled
garlic salt
avocado oil or pork fat


In a bowl, combine the beef, the cheese and the bacon, mixing well so that all the ingredients are evenly incorporated.

Form the beef into 1/4 lb. patties. Refrigerate them until you’re ready to cook to firm them up.

Heat a cast iron skillet and add a drop of oil or pork fat. Place the burgers in the hot skillet to sear and sprinkle with the garlic salt. When browned, flip the burgers and place the skillet in a 350-degree oven to finish cooking.

image


Though it may sound Japanese, the word “saganaki” refers to a small frying pan used in Greek cooking. The most famous of these dishes, simply called saganaki, is a fried cheese, often flamed at the end with a little ouzo.

Shrimp saganaki is one of my favorite Greek dishes, and it usually involves cooking shrimp in a tomato-based sauce with plenty of feta cheese sprinkled in. It’s simple yet fantastic if the ingredients are fresh. Doesn’t hurt to be sitting in a taverna on the beautiful island of Santorini while eating it, either!


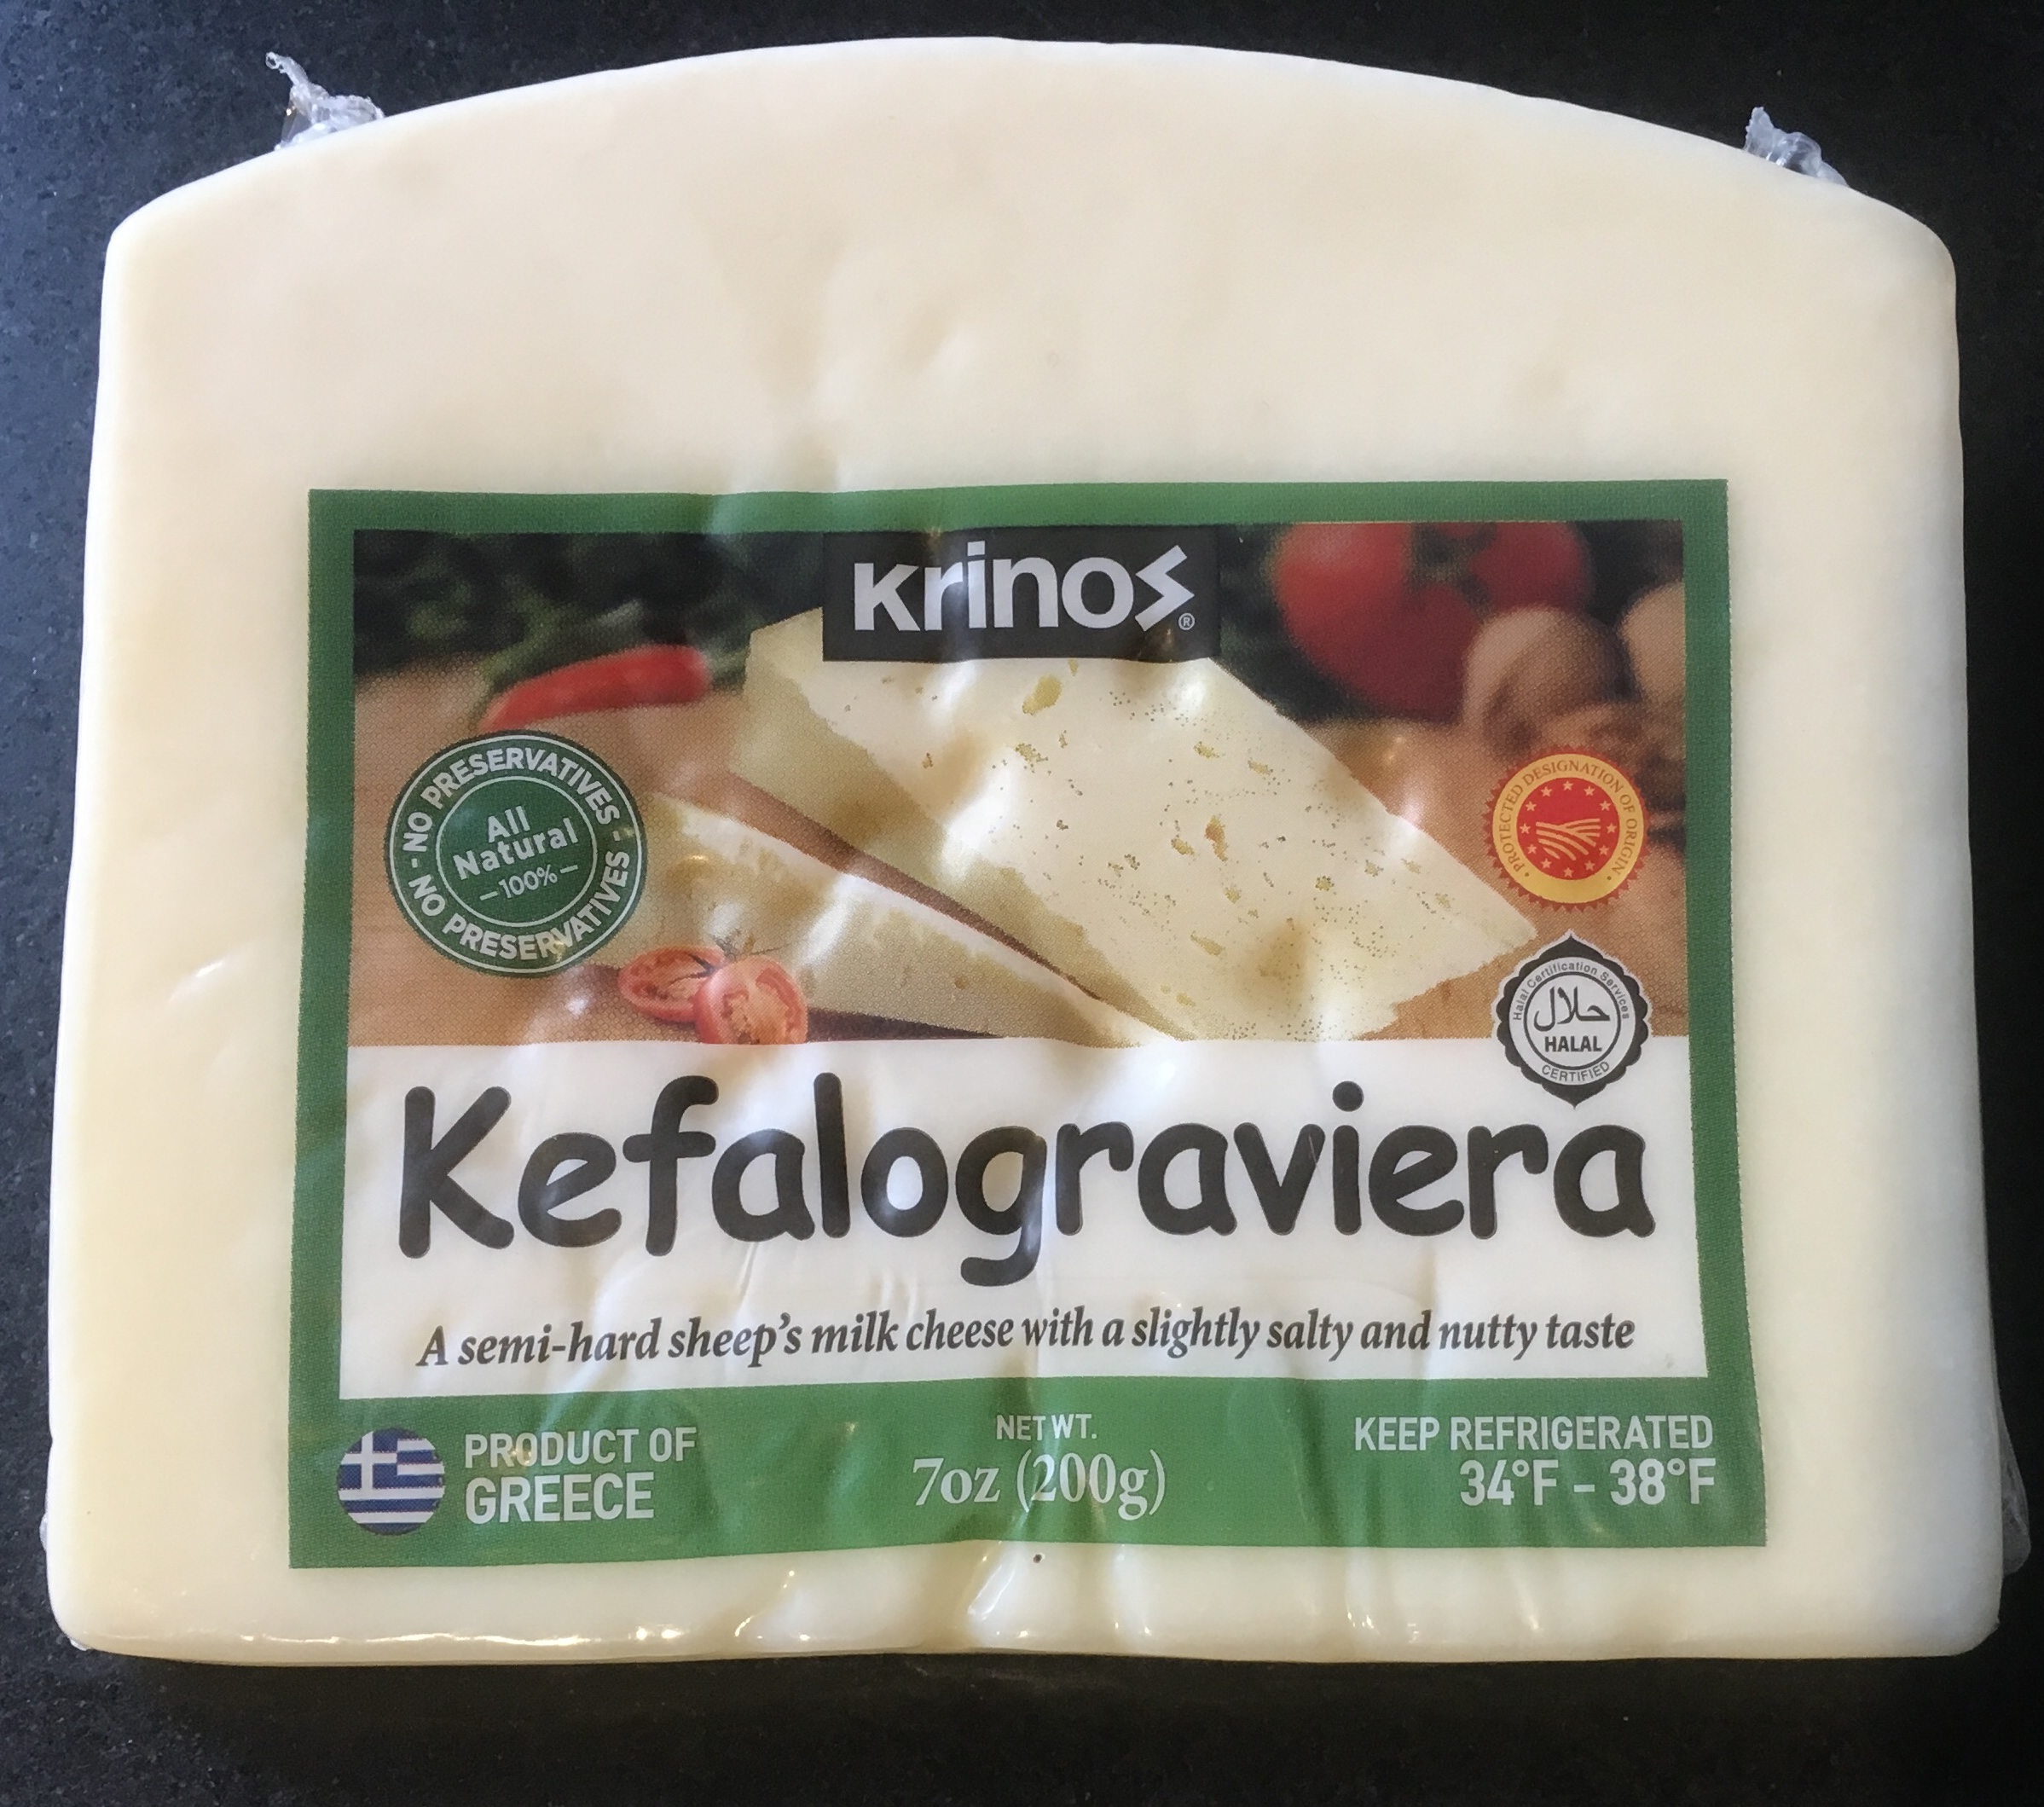
You can find Graviera cheese in most supermarkets.


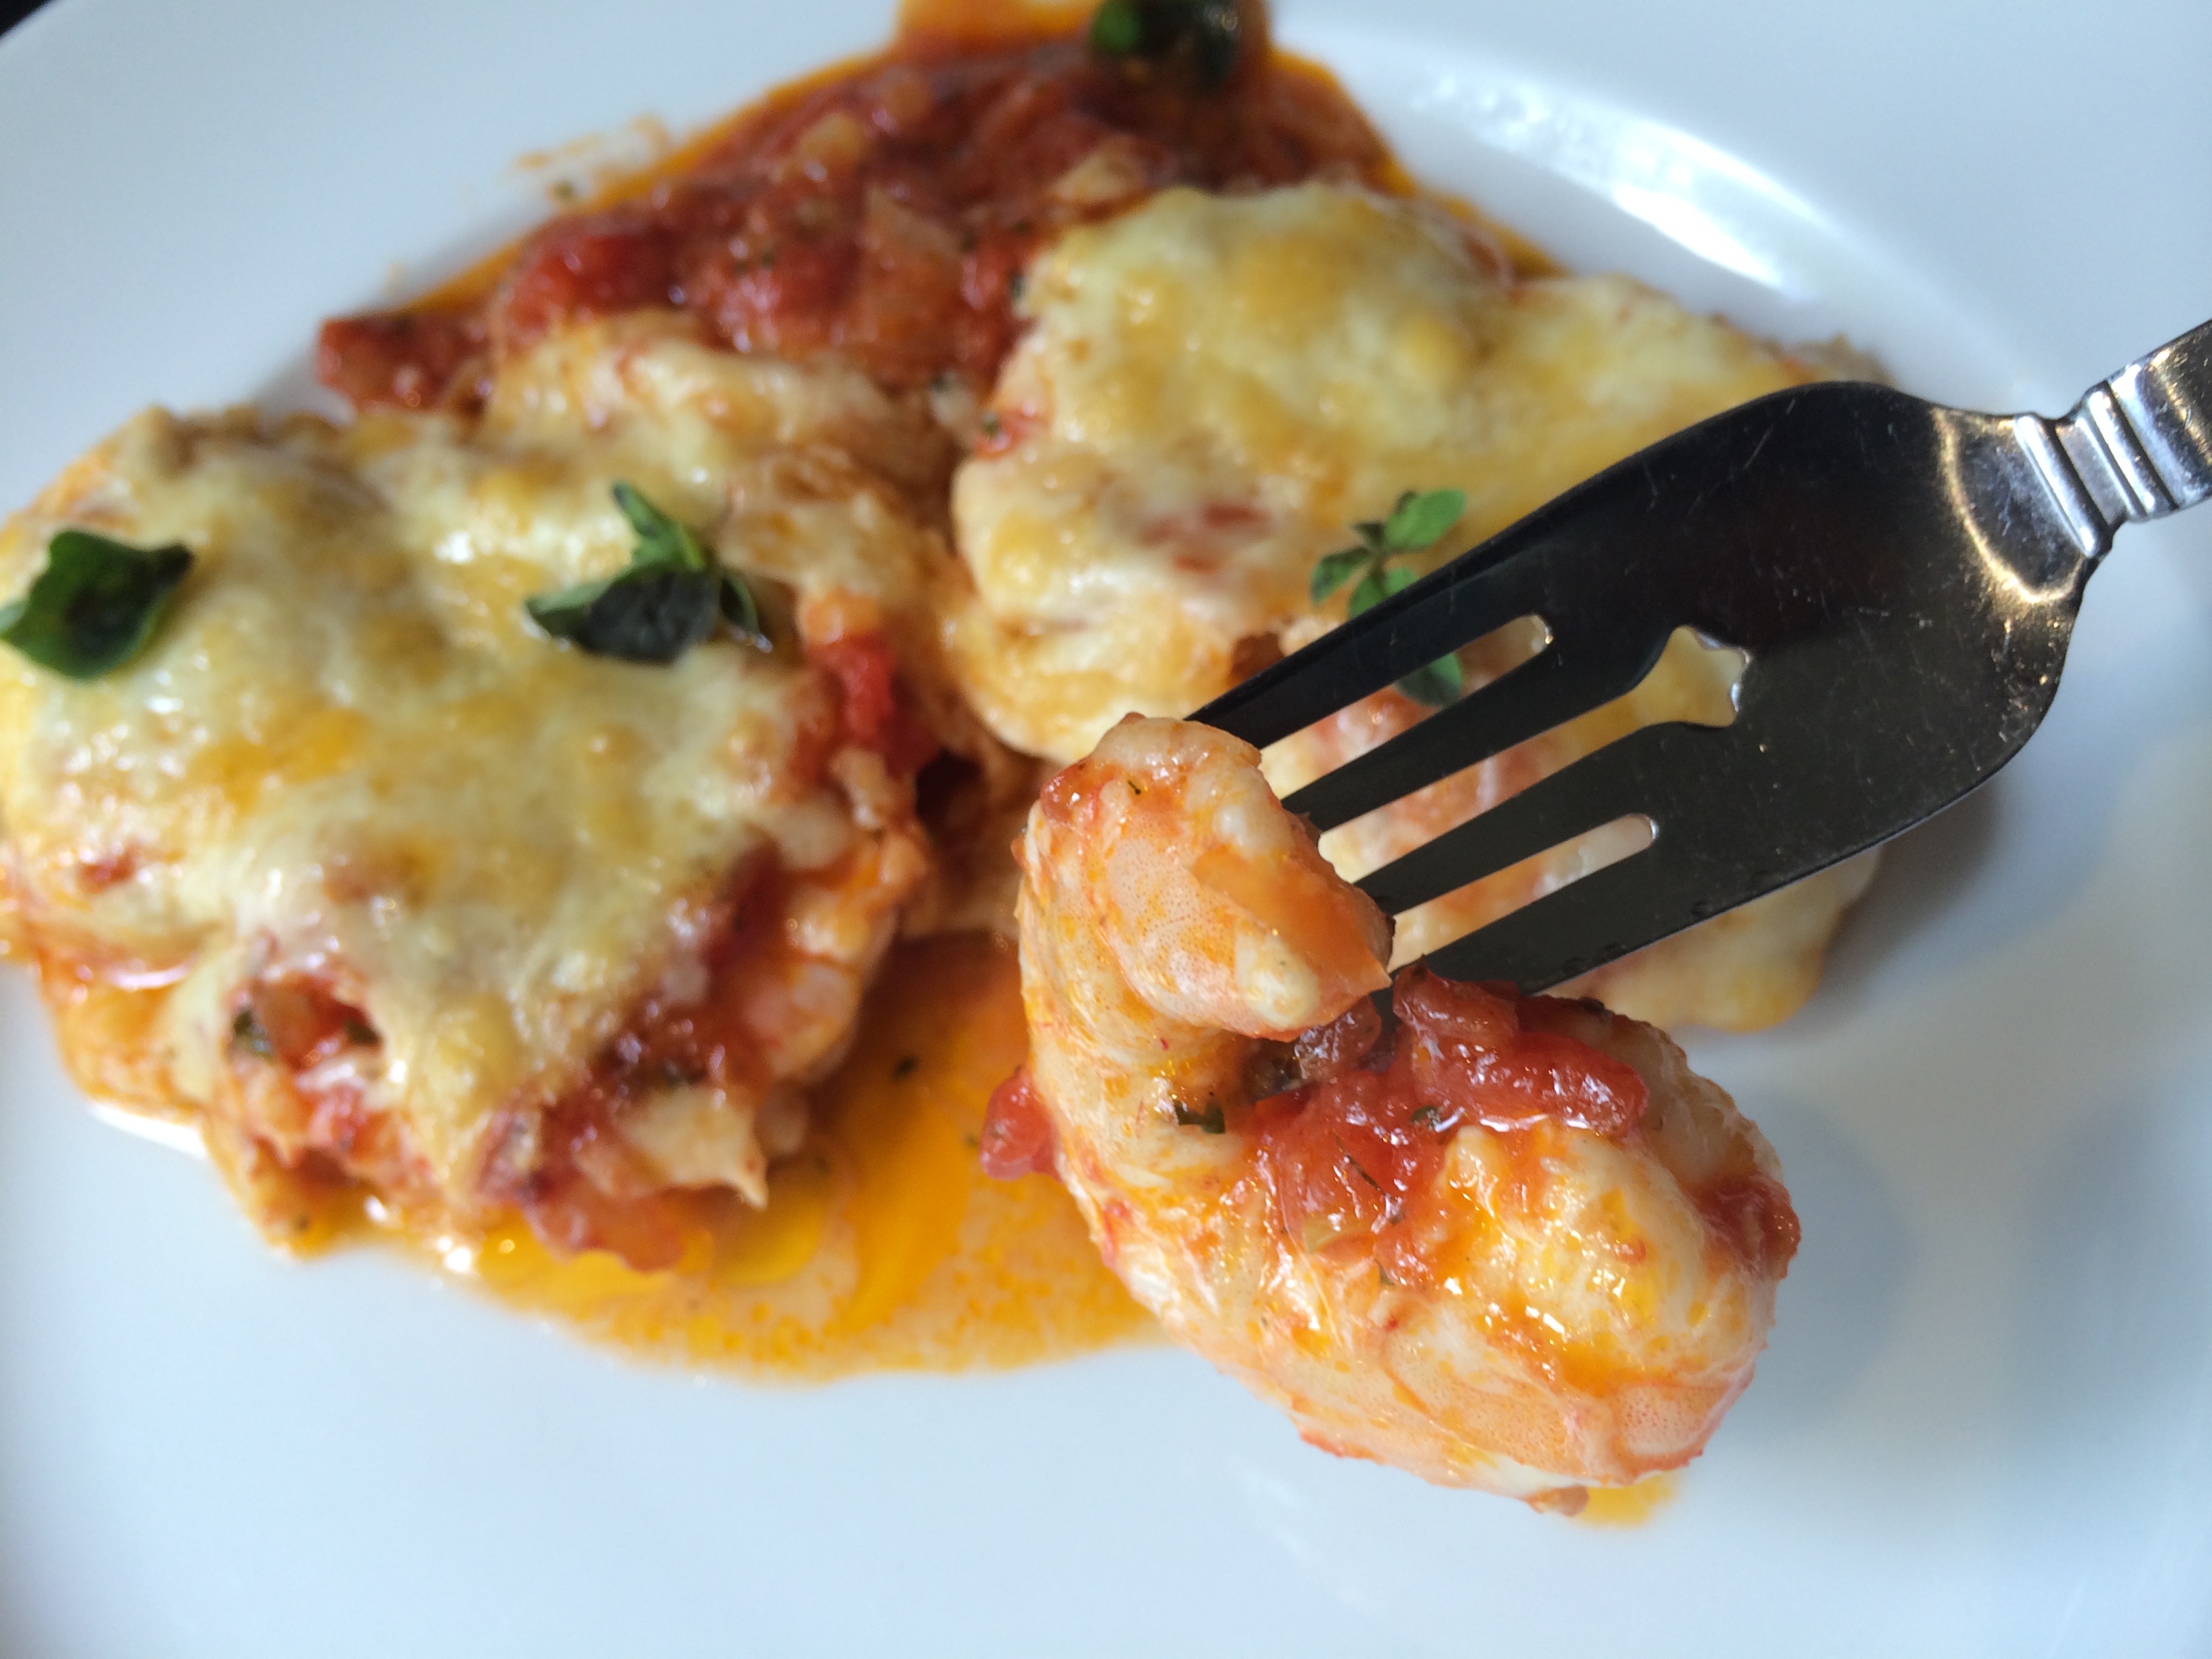
I found a slab of Graviera cheese at a local supermarket, and decided to recreate shrimp saganaki using that instead of feta. It was pretty darn amazing.

I like using peeled and deveined 24–30 shrimp, because larger shrimp don’t always cook through. These smaller shrimp will be bite-sized and delicious.


Melty, gooey, delicious!

Melty, gooey, delicious!


200g package (7 oz.) grated Graviera cheese
1 can (28 oz.) whole tomatoes
1 lb. (about 24) shrimp, thawed, peeled and deveined
1 medium onion, chopped
juice of 1/2 lemon
1/4 cup olive oil
2 cloves garlic, through a press
pinch red pepper flakes
1 1/2 tablespoons fresh dill, finely chopped
1 tablespoon fresh oregano, finely chopped
1 1/2 tablespoons Ouzo
salt and pepper


Peel and devein the shrimp (or you can buy them that way already.) Place them in a bowl. Squeeze the juice of  1/2 of a lemon on to the shrimp and toss. Set them aside.

In a large pan, sauté the onions in the olive oil until translucent. Add the garlic and cook for a few seconds more.

Crush or puree the tomatoes and add them to the pan. Add the red pepper flakes, dill and oregano, and salt and pepper. Add the Ouzo.

Let this sauce cook down for a bit until all the flavors have blended together.

Pour a layer of the sauce on the bottom of a metal broiler-proof pan. Lay the raw shrimp in a single layer into the sauce. Cover the shrimp with the rest of the sauce and sprinkle the grated Graviera on top.

Place the pan in a pre-heated 350-degree oven and bake until the cheese is golden brown and bubbly and the shrimp have cooked through. I like to finish it under the broiler for a few minutes to get the cheese brown and melty.


shrimp saganaki


A few years ago, we were invited to a very cool retro summer party: cocktails and appetizers from the 60’s, and everyone contributed to the music by bringing in their favorite songs on vinyl.

We were also asked to contribute to the apps, so I brought waffle chips with clam dip.


image

2 8-oz. packages cream cheese, softened
3 6-oz. cans of chopped clams, drained, liquid reserved from one can
1 tablespoon fresh lemon juice
2 teaspoons Worcestershire sauce
1/2 teaspoon salt
1/4 teaspoon black pepper

Combine all the ingredients, except the clam liquid, in a bowl and mix them well with a fork.

Add 1 tablespoon of the clam liquid and mix well. Keep adding the clam liquid until the dip reaches a consistency you like.

Serve with the potato chips.


image

Last year, I was having dinner at The Boat House restaurant in Tiverton, RI, with my buddy, Lee, who lives in Maine half the year, and we started talking about what makes the perfect lobster roll.

Often, when you go to a restaurant and order one, they’ll first ask if you want it cold with mayonnaise or warm with butter. (A warm lobster roll with melted butter, we were told by our bartender, Cayce, is called “Connecticut style.”) The three of us discussed the mayonnaise-to-lobster ratio, and other significant factors. The final conclusion was that everyone likes their lobster roll a little differently.

It’s certainly easy to go to a clam shack or seafood restaurant to get one, but nothing beats making one yourself.


The lobster roll at The Back Eddy in Westport, Massachusetts. Delicious and fresh. But it breaks one of my cardinal rules about lobster rolls. (Go to the bottom of the page.)

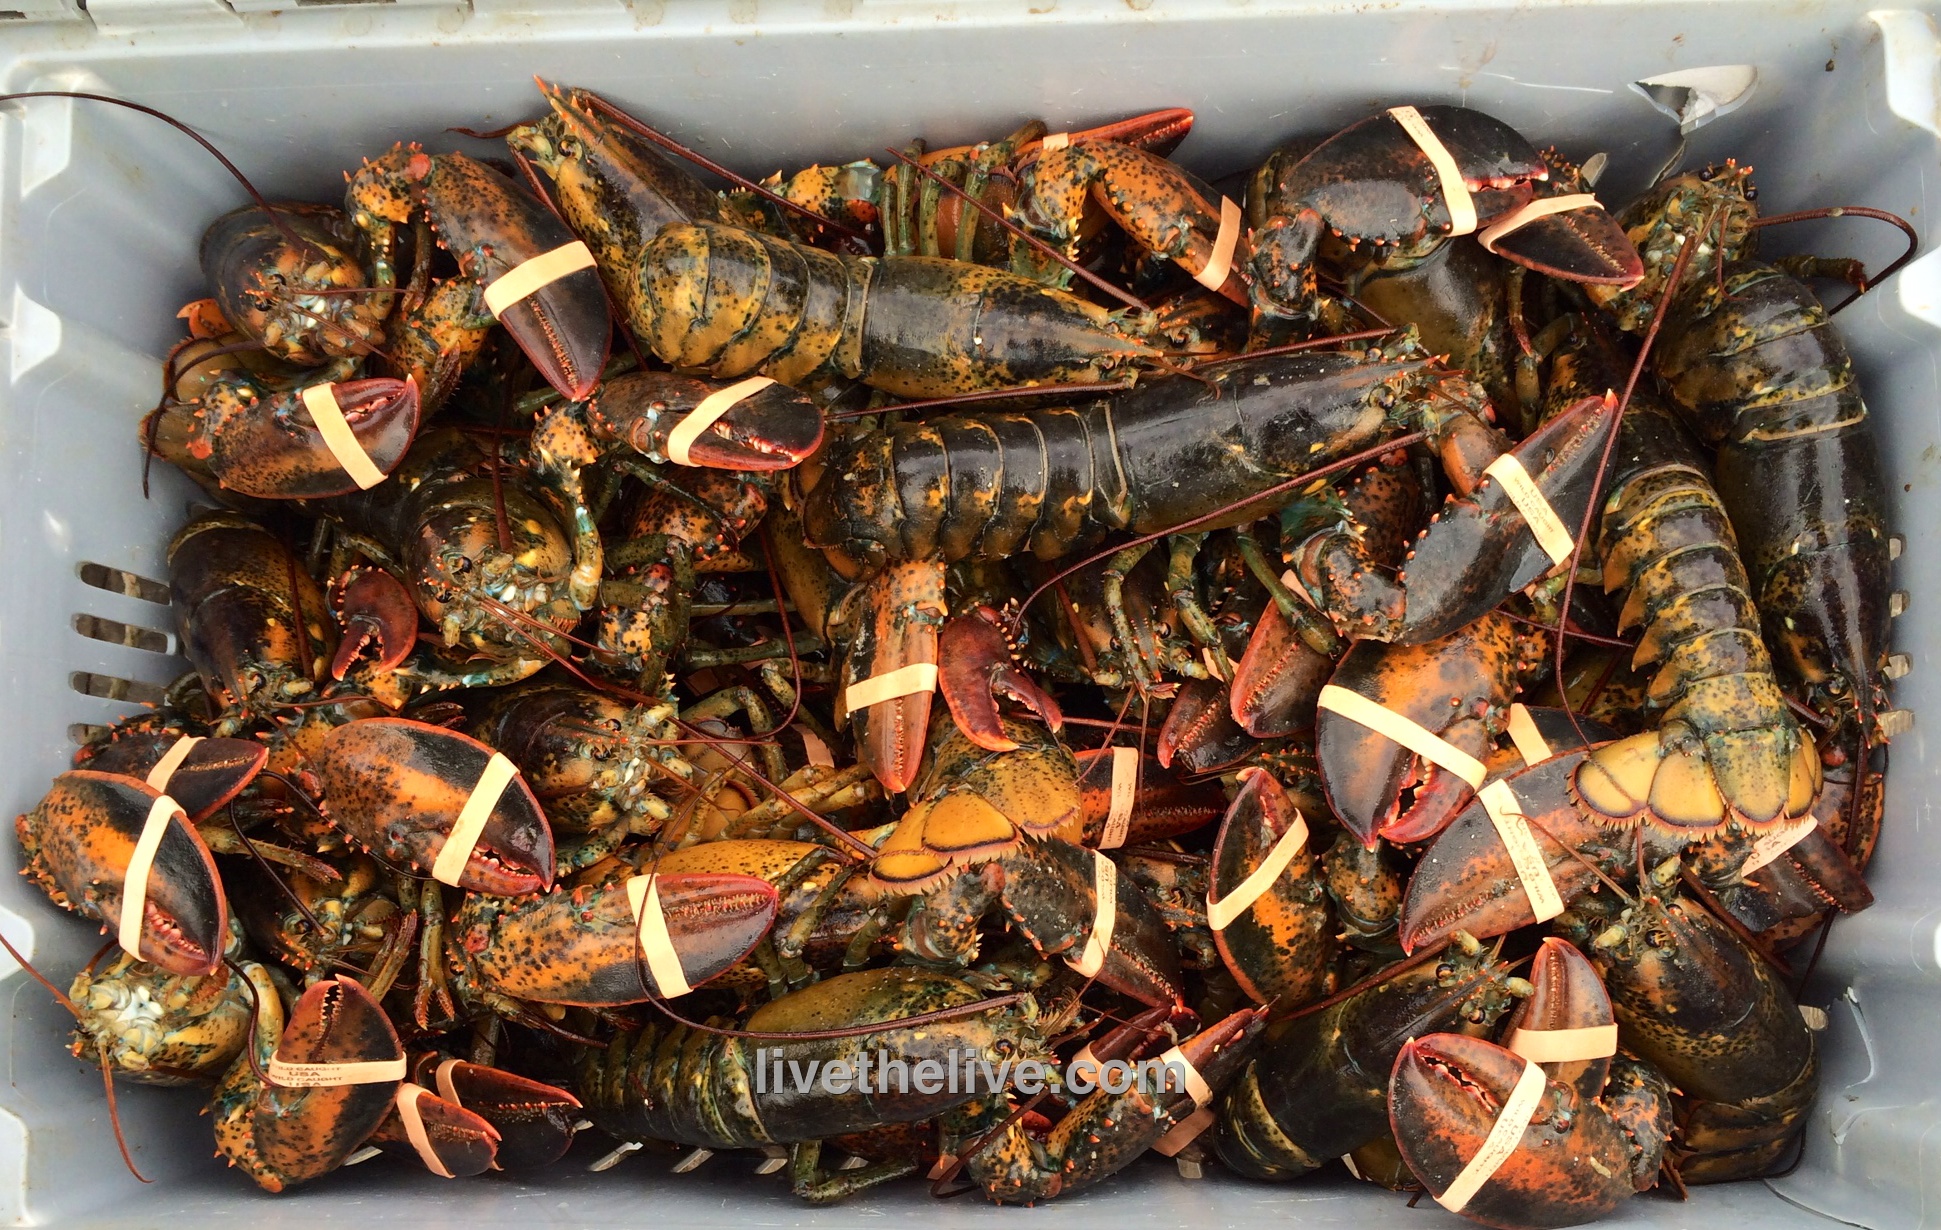
When I make my own lobster rolls, freshness is key. I always start with live lobsters. I get them from the Sakonnet Lobster Company on Sakonnet Point in Little Compton, RI.


Once you’ve bought your live lobster, the next step is to cook it right. Some people steam and some people boil. I’ve always been a boiler myself. I fill a large pot half-way with water and add sea salt. I bring it to a rolling boil before the lobsters go in. And then I do the math…

I boil my lobsters for 10 minutes for the first pound. I add 3 minutes per pound for each additional pound thereafter. For example, a 2-pound lobster should boil for 13 minutes and a 1 1/2-pound lobster should boil for 11 1/2 minutes. And if I’m boiling more than one lobster, the same rule applies: 3 2-lb. lobsters = 6 pounds. So 10 minutes for the first pound, plus 3 minutes x 5 for each extra pound (that’s 15) for a total of 25 minutes. (These times are for hard shell lobsters. I reduce the boiling time by 3 minutes if I’m cooking soft-shell lobsters.)

Remember, you’re going by total weight of all the lobsters, because the more you have, the longer it takes the water to return to the boil once you put them in.


Lobster catch LTL


A larger lobster is not always better. My uncle used to buy the largest lobster he could find, and it was impressive when he placed at the center of the dinner table. But the meat was like rubber. And personally, I felt bad for the old lobster that made it that far in life. His last days should’ve been in the ocean, not on a plate.

My maximum lobster size is 2 lbs. But at 1 1/2 pounds, you have the perfect ratio of meat-to-shell…with lots of delicious meat that is still sweet and tender. It’s perfect.

After the lobsters have been removed from the pot and have cooled for a few minutes, I get to work: cracking the claws and tail and removing every bit of beautiful meat I can find. Lobster lovers will tell you that the legs have some meat in them and that the tomalley (the green liver and pancreas) and roe (eggs) are delicacies not to be missed. For the purpose of making lobster salad, I don’t use these parts. But I do save the tomalley and roe for a separate treat…and I save all the legs and cleaned empty shells for lobster stock.

Cleaning lobster legs is easy: simply remove all the legs from the body and place them flat on a cutting board. Grab a rolling pin, and one at a time, roll the pin over the lobster legs, starting at the claw end and working your way up. Like a tube of toothpaste, the meat will squeeze right out of the leg!


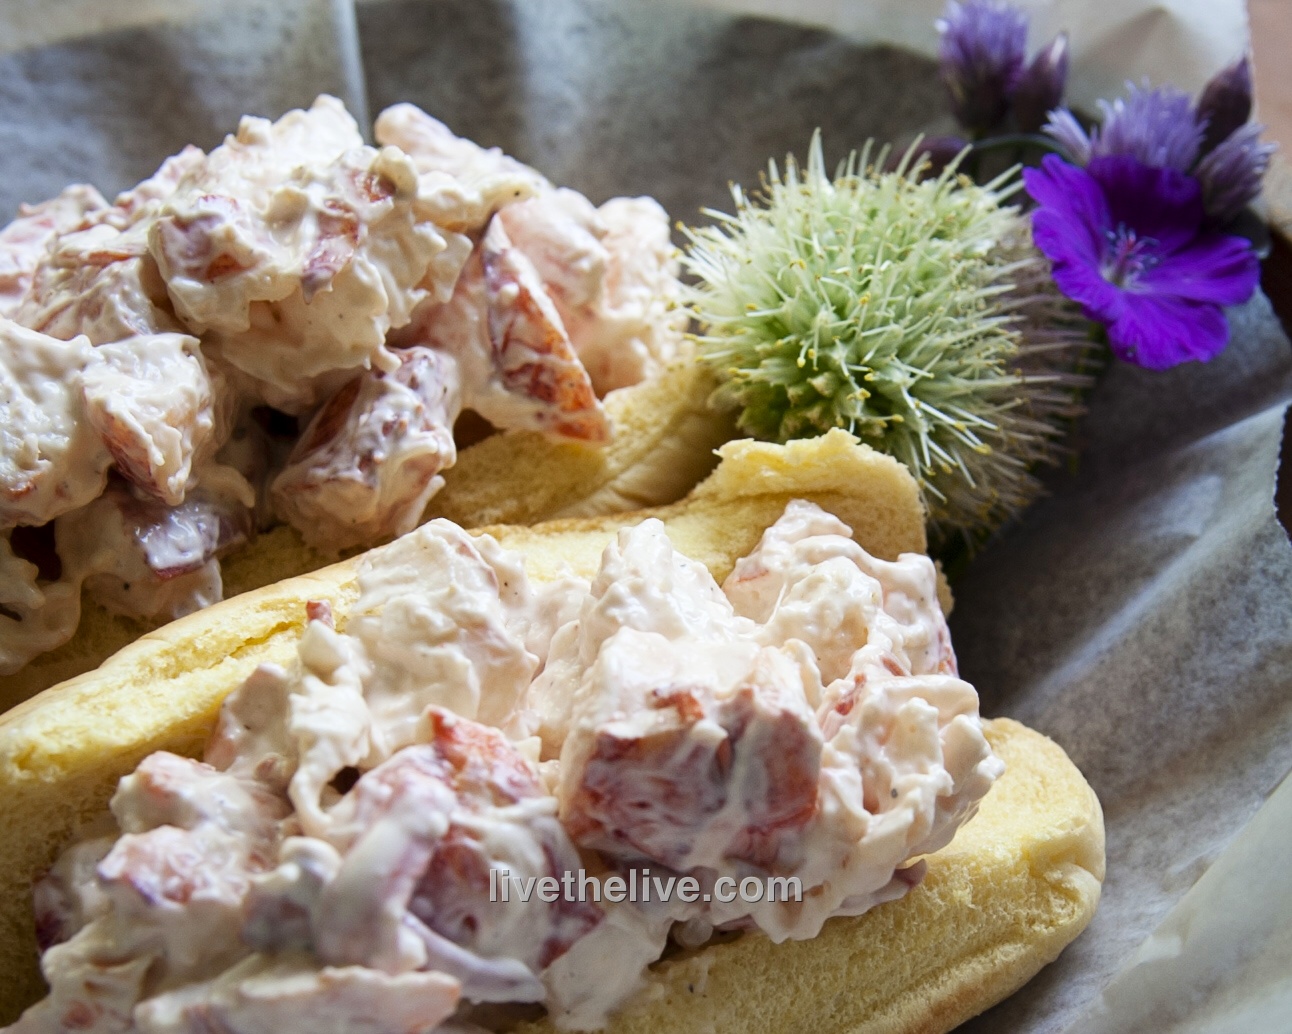
Lobster roll LTL


Now for the important stuff. What goes in a lobster roll, and more importantly, what doesn’t… I have very strong opinions in this matter.

First, there should NEVER be anything green in a lobster roll! No celery, no pickle, and it certainly shouldn’t be sitting on a bed of lettuce! Nothing should be crunchy in a lobster roll! The magic is in the texture of the perfectly cooked lobster meat. Don’t mess with it!

NO paprika or Old Bay seasoning!

A pinch of celery salt? Yes!

Mayonnaise? Only Hellman’s!

White pepper, not black, and just a touch.

Salt? A pinch of Fleur de Sel or other fine finishing salt.

And the secret weapon to bring out all the flavors: the tiniest squeeze of fresh lemon juice…not enough to give it lemon flavor…just to brighten the taste.

As for the roll, you can’t go wrong with Martin’s potato long rolls: soft and squishy straight out of the bag, or to take a page from the Connecticut-style lobster roll lovers: lightly grill the rolls and brush them with a little melted butter!