This cold weather always has me craving comfort food…and nothing says comfort more than Shepherds Pie!

To make this recipe, I used organic vegetables, organic grass-fed dairy products, grass-fed beef, pastured eggs, and homemade chicken stock. These extra efforts made a big difference to me, but use what you are most comfortable with and have easiest access to.
And although the basic recipe calls for beef, I’ve had great success using lamb and even venison.
If you’re on a gluten-free diet, the only gluten in this recipe is in the all-purpose flour. Using a GF flour, like Cup4Cup or Bob’s Red Mill 1 to 1 Baking Flour, does a great job of thickening without the gluten.

Potatoes are the classic ingredient in Shepherds pie, but I found that sweet potatoes are a fantastic substitute. (See the photos at the bottom of the blog.) Give either one a shot yourself, or be really bold and try a combination of the two! The procedure is the same either way…
2 oz. cheddar cheese
1 1/2 lbs. Russets (or sweet potatoes), peeled and cubed
1/4 cup half-and-half
2 oz. unsalted butter
3/4 teaspoon Kosher salt
1/4 teaspoon freshly ground black pepper
1 egg yolk
Grate the cheddar cheese. Set it aside for later.
Peel and cube the potatoes and place them in a pot of cold water. Bring it to a boil and cook the potatoes until they are fork-tender.
While they are boiling, place the half-and-half and butter in a microwave safe bowl and zap them for 35 seconds to warm them up.
Once the potatoes are done, drain them and place them back in the pot. Add the half-and-half and butter and mash really well. Add the salt and pepper and continue mashing. Finally, add the egg yolk, mixing quickly and thoroughly. Then set the potatoes aside.

The meat filling…
2 tablespoons bacon fat (or your favorite oil)
1 cup chopped onion
2 carrots, peeled and diced small
2 garlic cloves, minced
1 1/2 lbs. beef, cut into 1/2″ cubes
1 teaspoon Kosher salt
1/2 teaspoon freshly ground black pepper
2 tablespoons all-purpose flour
2 teaspoons tomato paste
1 cup chicken broth, preferably homemade
1 teaspoon Worcestershire sauce
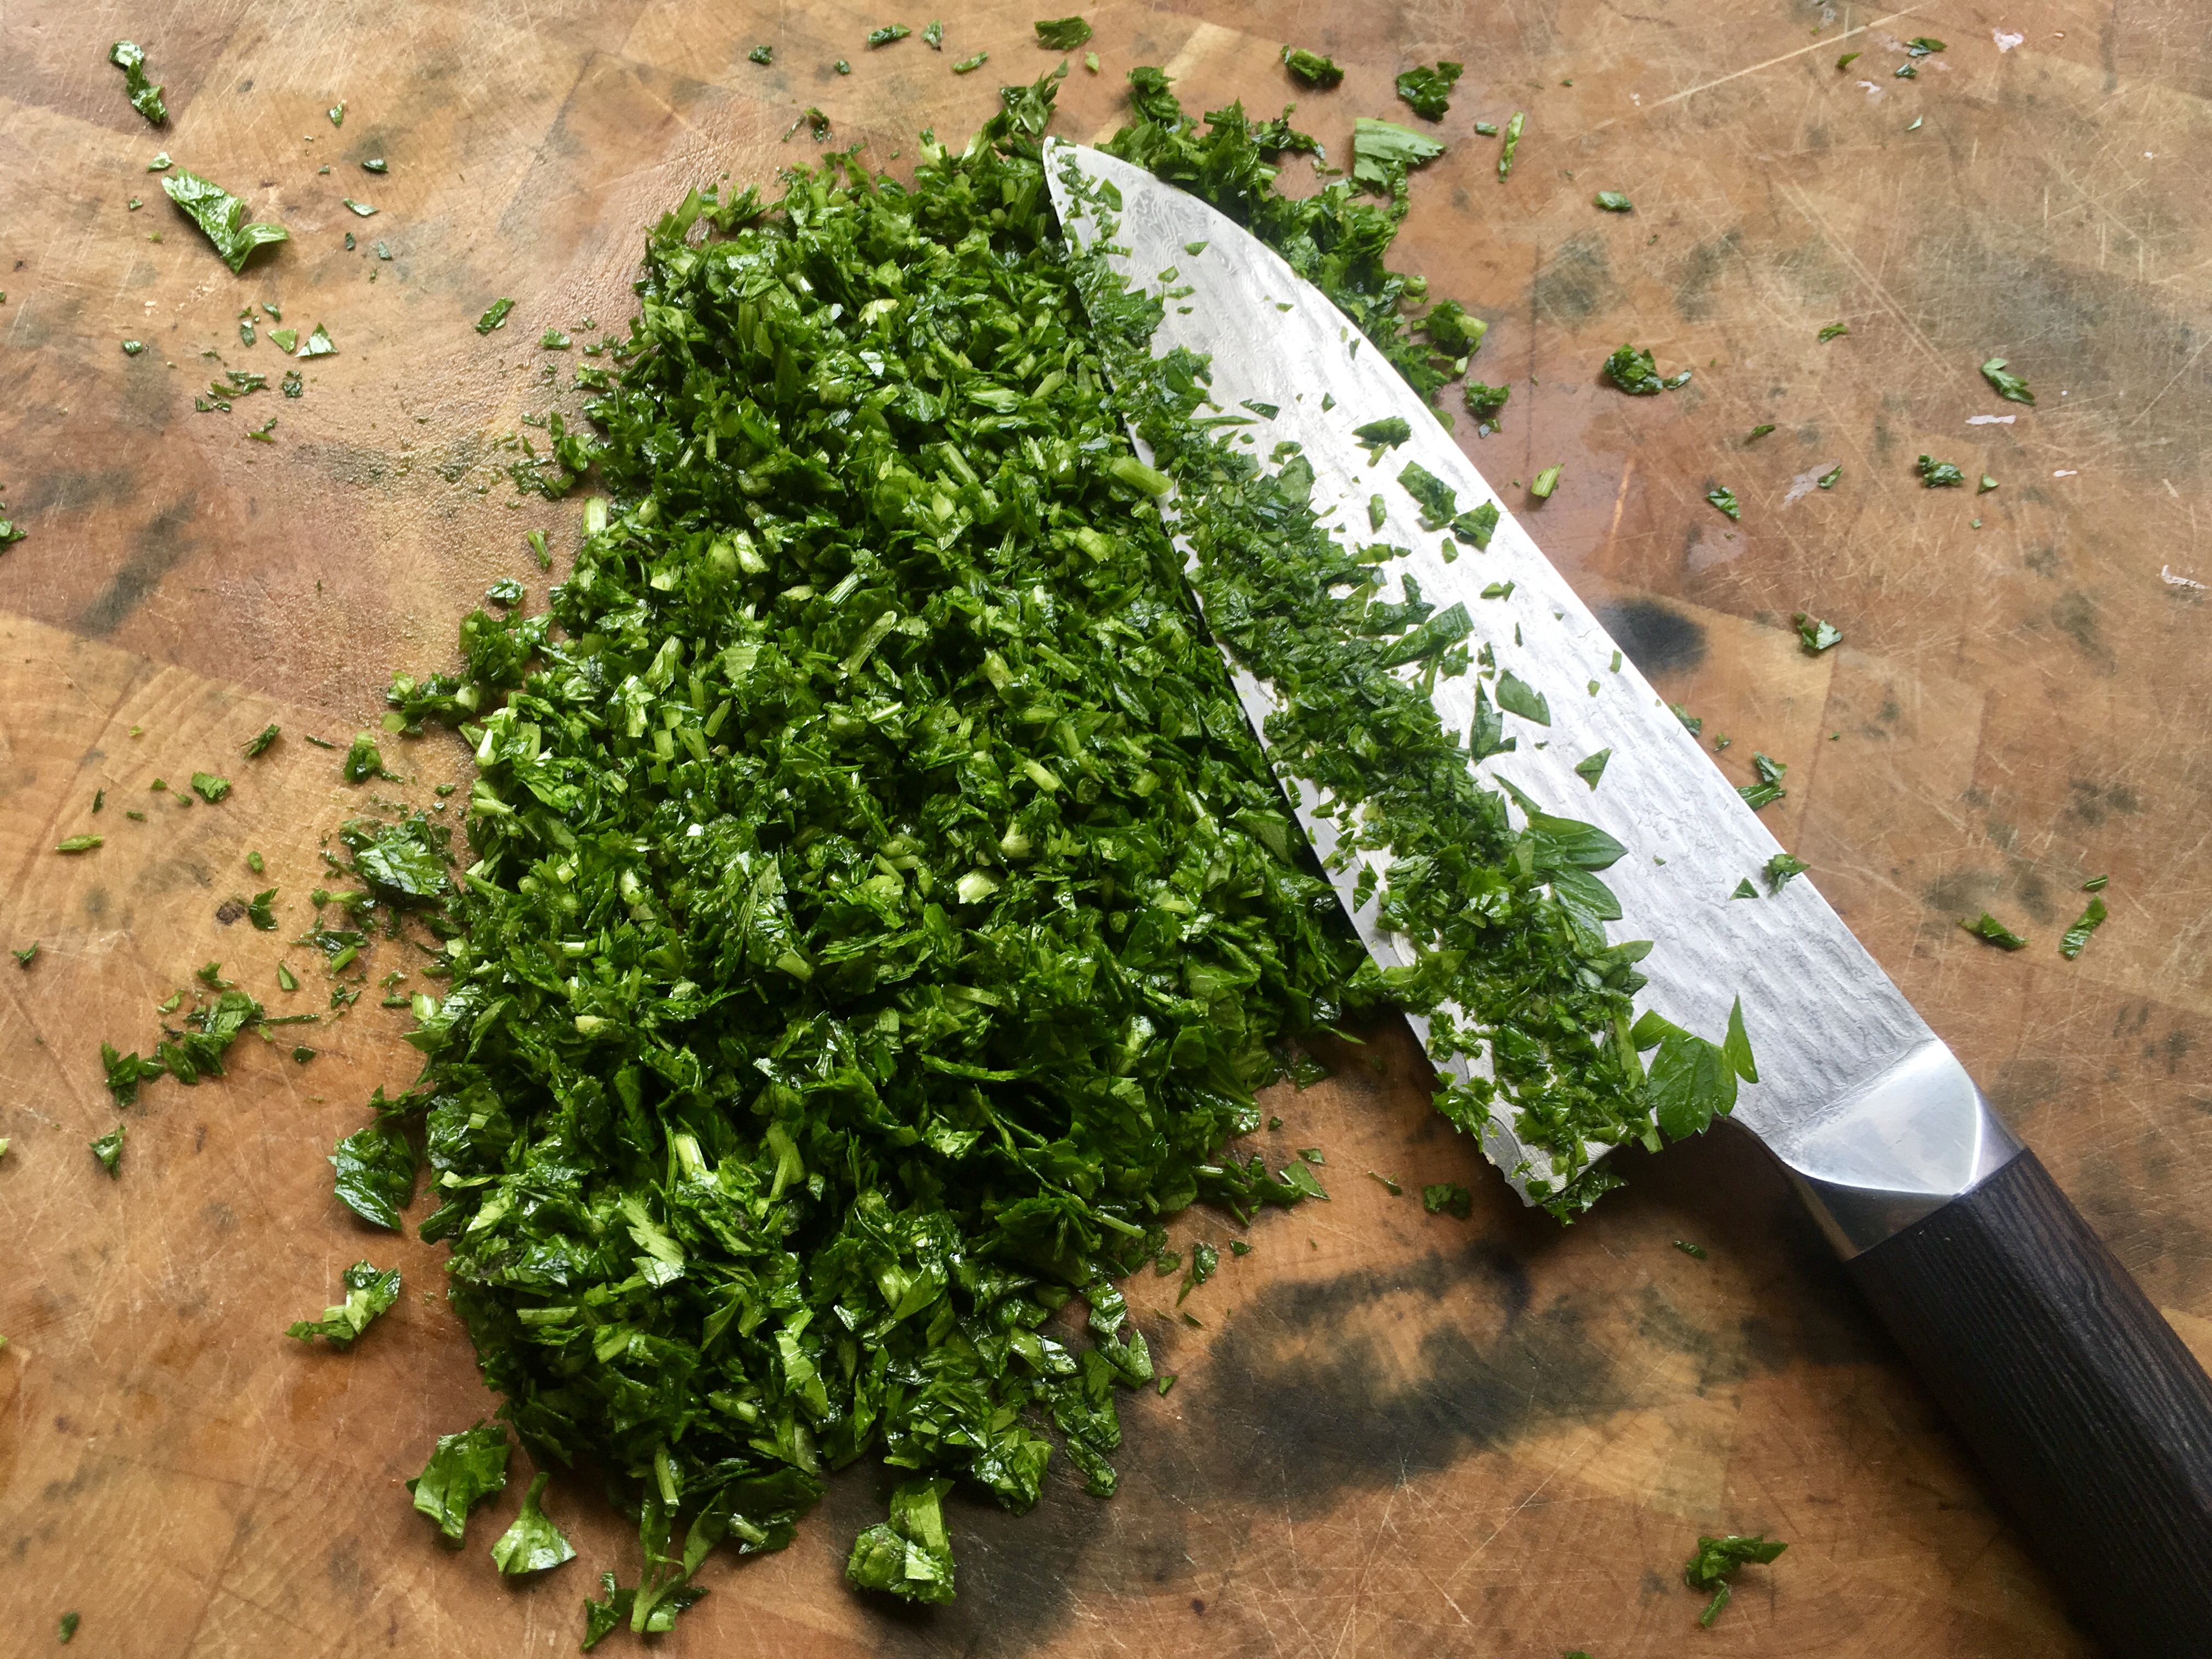
2 teaspoons freshly chopped rosemary leaves
1 teaspoon freshly chopped thyme leaves
1/2 cup fresh or frozen corn
1/2 cup of fresh or frozen peas
Preheat the oven to 400°.
While the potatoes are cooking, prepare the meat filling.
Place the bacon fat or oil in a pan and set it on medium high heat. Add the onions and the carrots and cook until the onions are translucent. Add the garlic and stir.
Add the beef and the salt and pepper and cook until the meat has browned nicely.
Sprinkle the meat with the flour, and mix to combine, cooking for another minute.
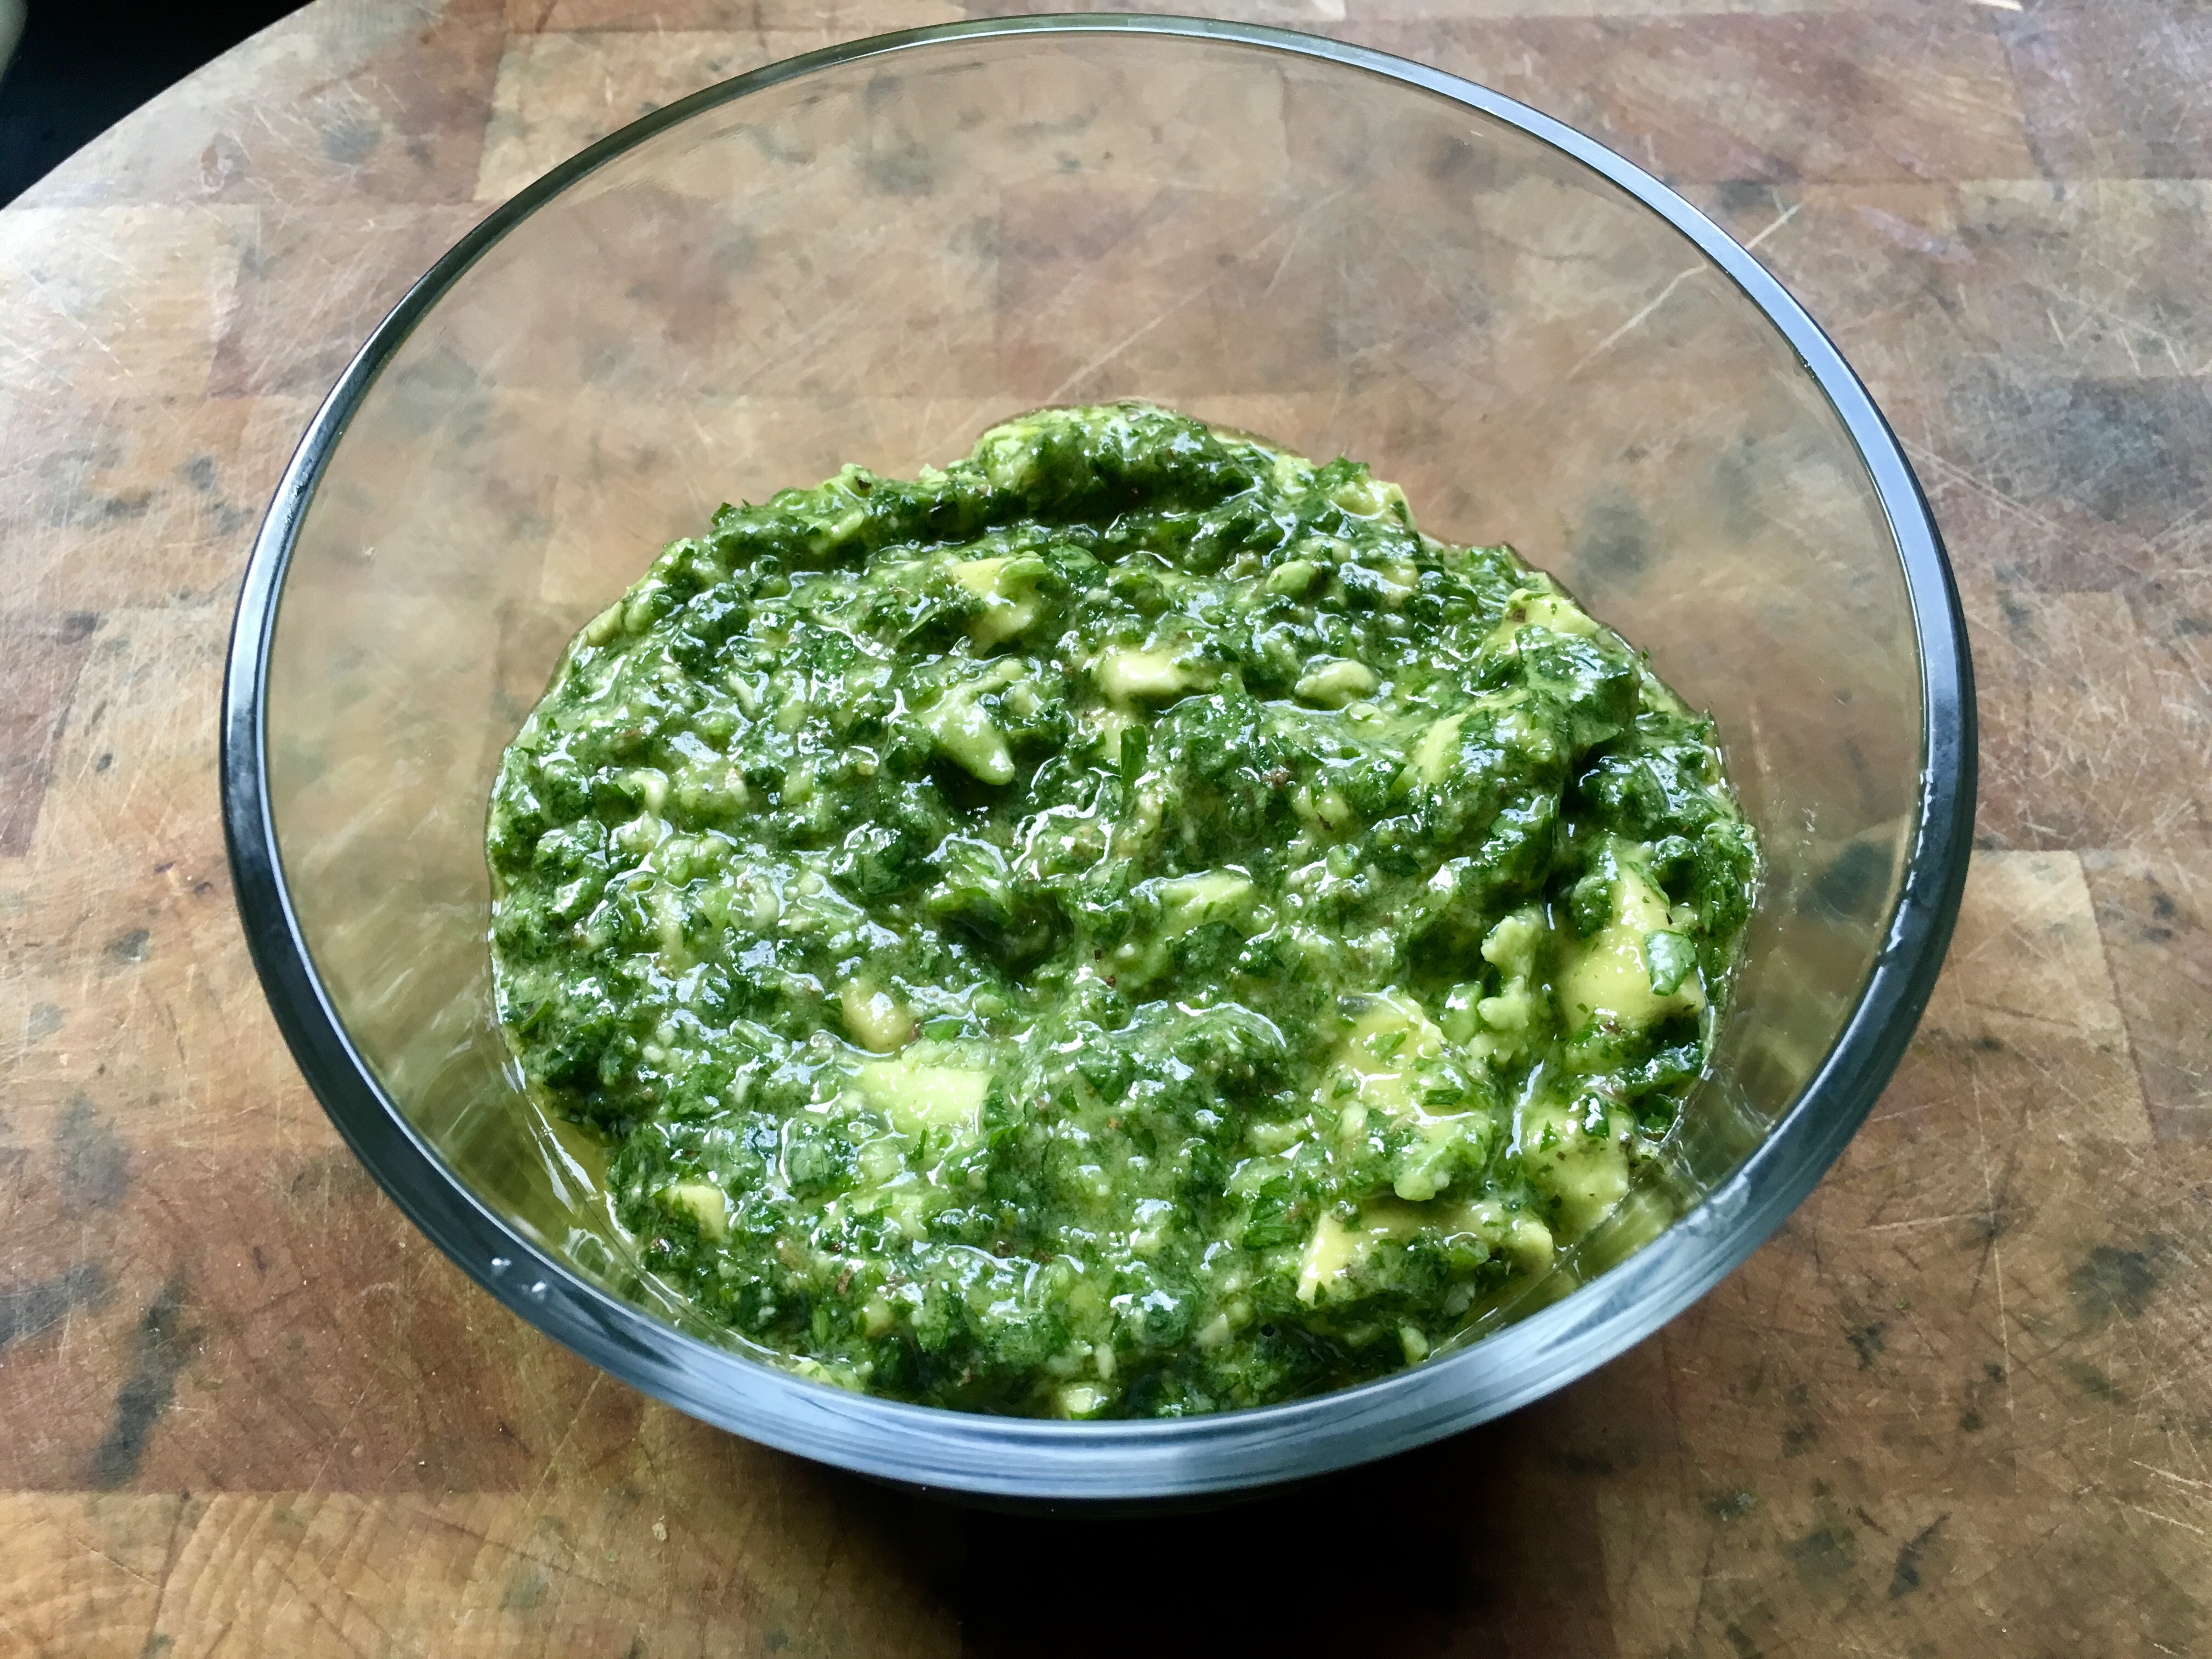
Add the tomato paste, chicken broth, Worcestershire sauce, rosemary and thyme, and stir to combine.
Bring this to a boil, reduce it to a simmer, and cook it for about 10 minutes, until the sauce has thickened nicely.
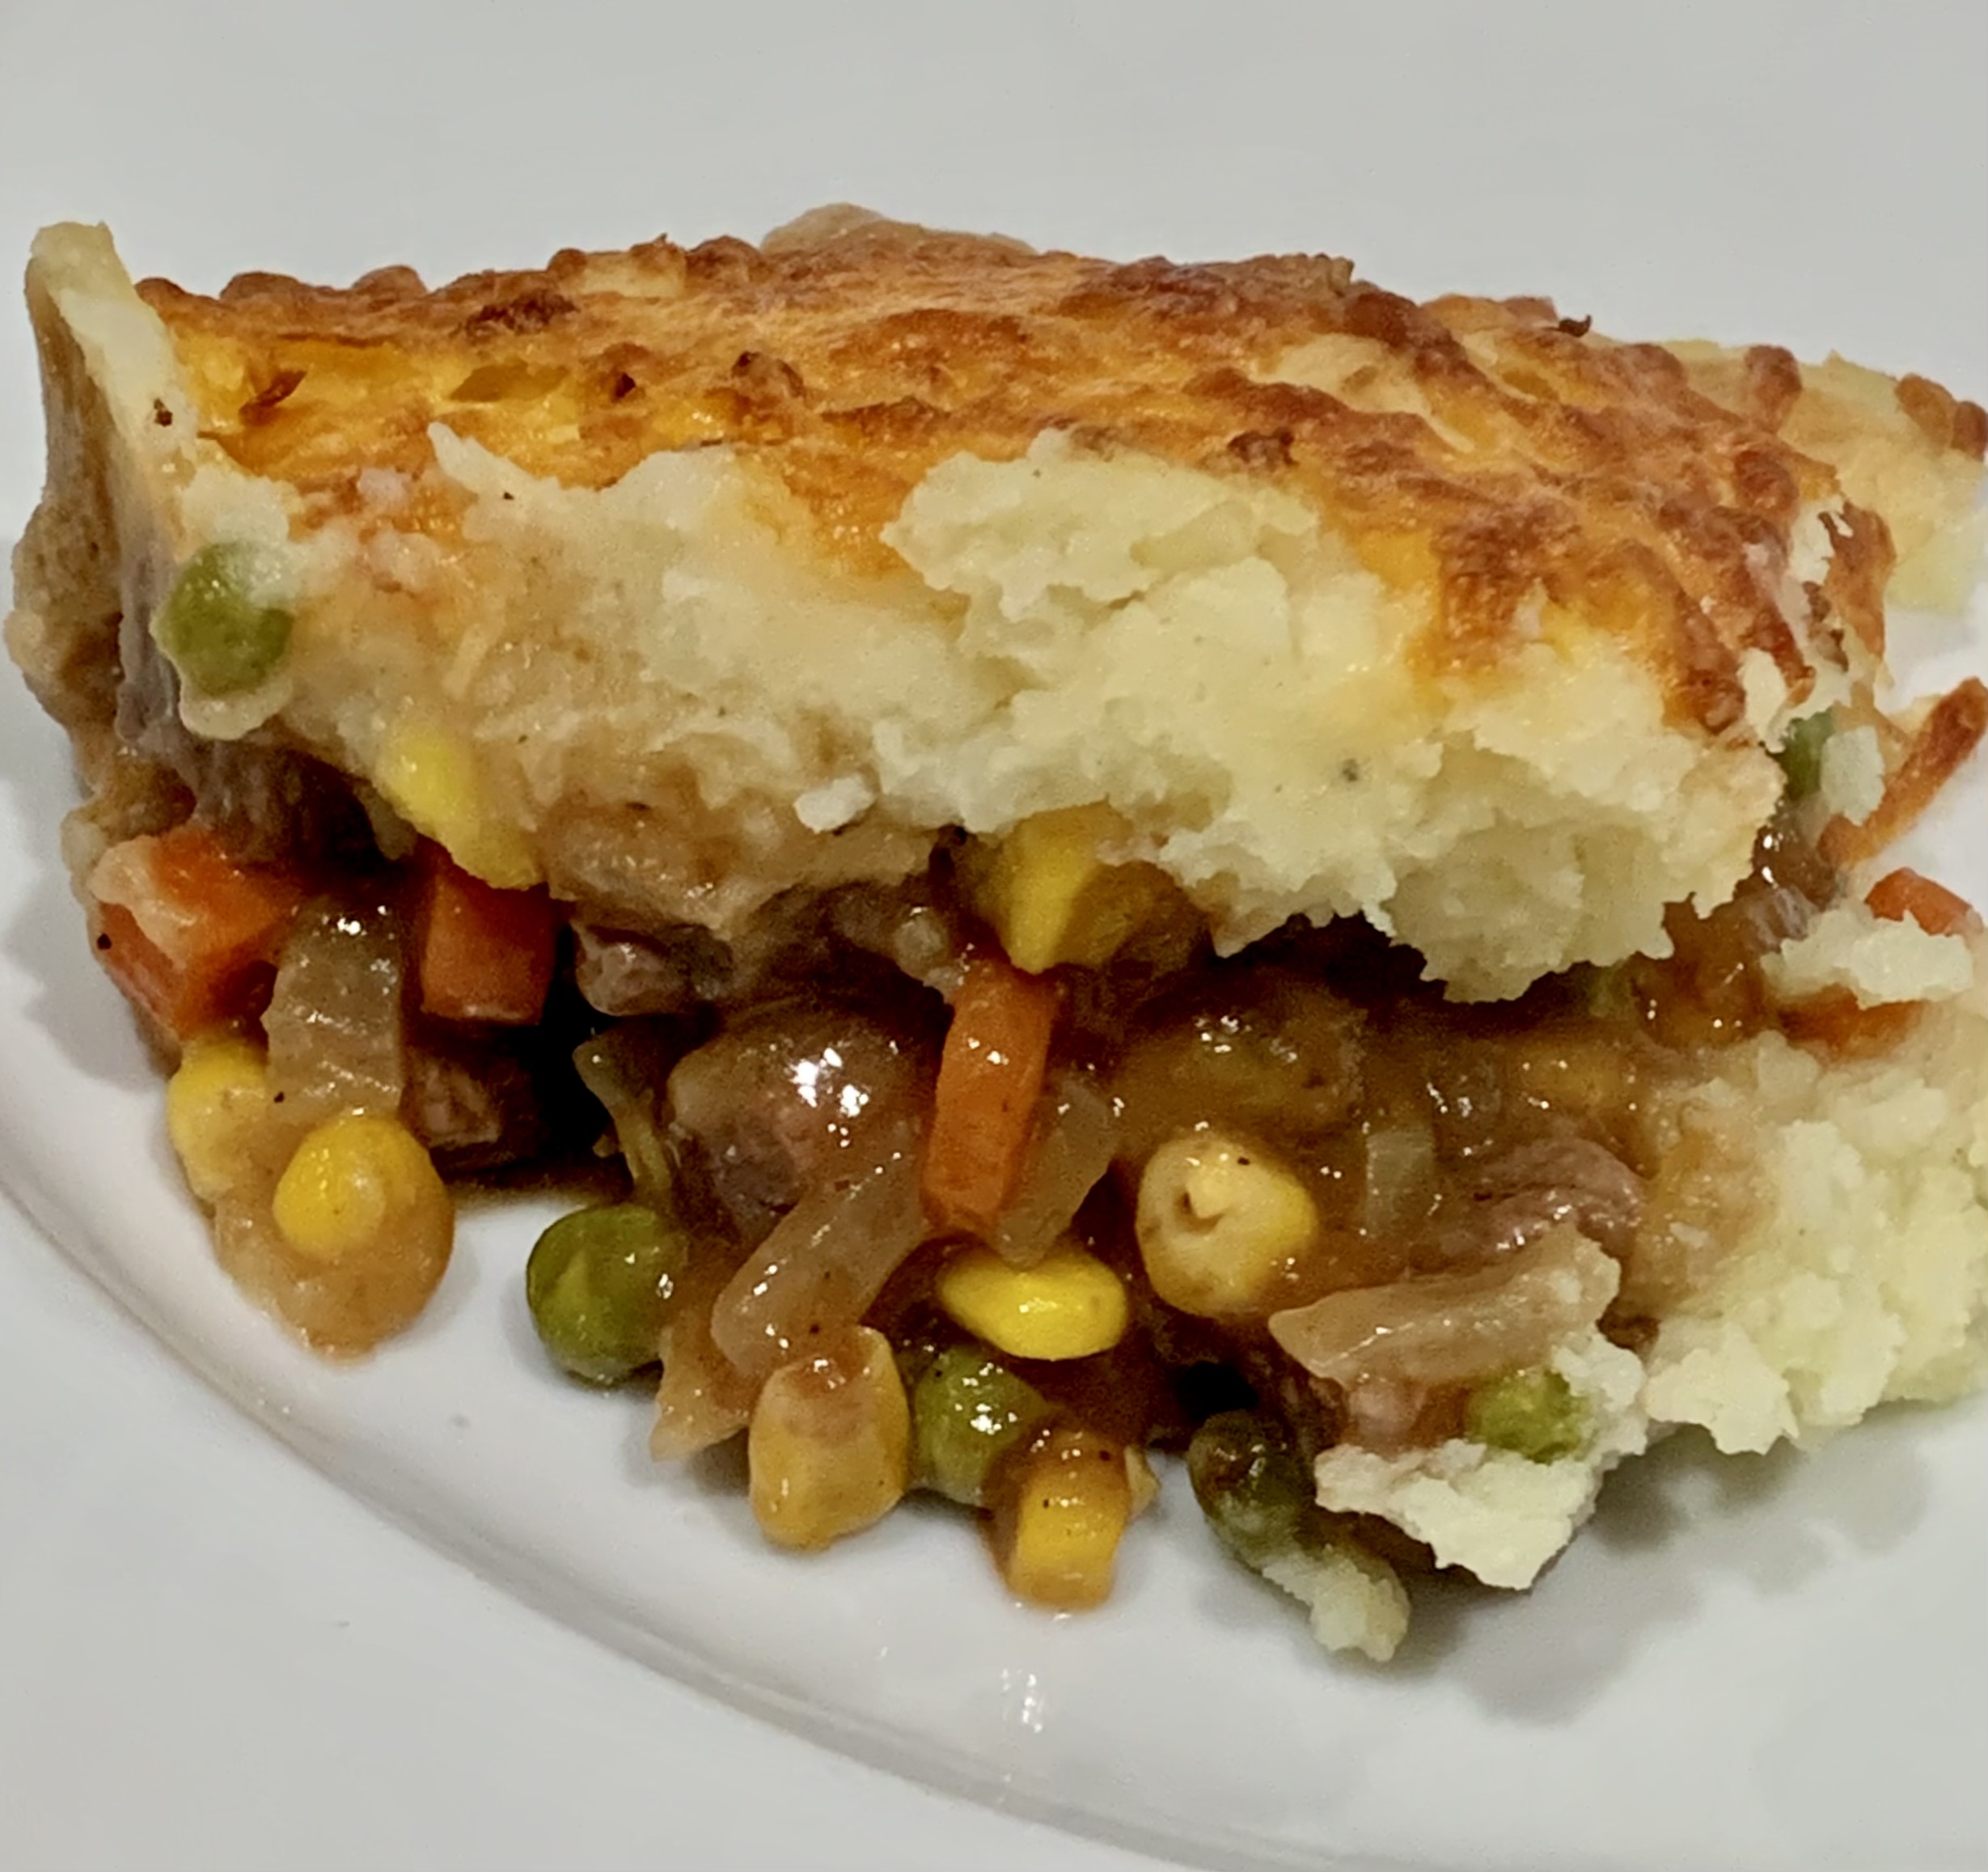
Add the corn and the peas to the meat mixture, and then pour it all into a baking pan. ( I used a 9-inch round metal baking pan that was about 3 inches deep.)
Spread the mashed potatoes on top of the meat mixture. If you use the mashed potatoes all around the edges, it seals the meat mixture in, and prevents bubbling over and messing up your oven. A rubber spatula makes this job easy.
Place the pan on a parchment-lined baking sheet (to prevent spills), and in the oven to bake for 15 minutes.
After 15 minutes, remove the pan and sprinkle the grated cheddar cheese on top of the potatoes. Then return the pan to the oven for 10 more minutes, until the cheese has melted and created a beautiful golden crust on top.
Remove the pan from the oven, placed it on a wire rack, and let it cool at least 15 minutes before serving.
As I said earlier, sweet potatoes make a great substitute for regular potatoes. Give them a try!